


Wow… Awesome
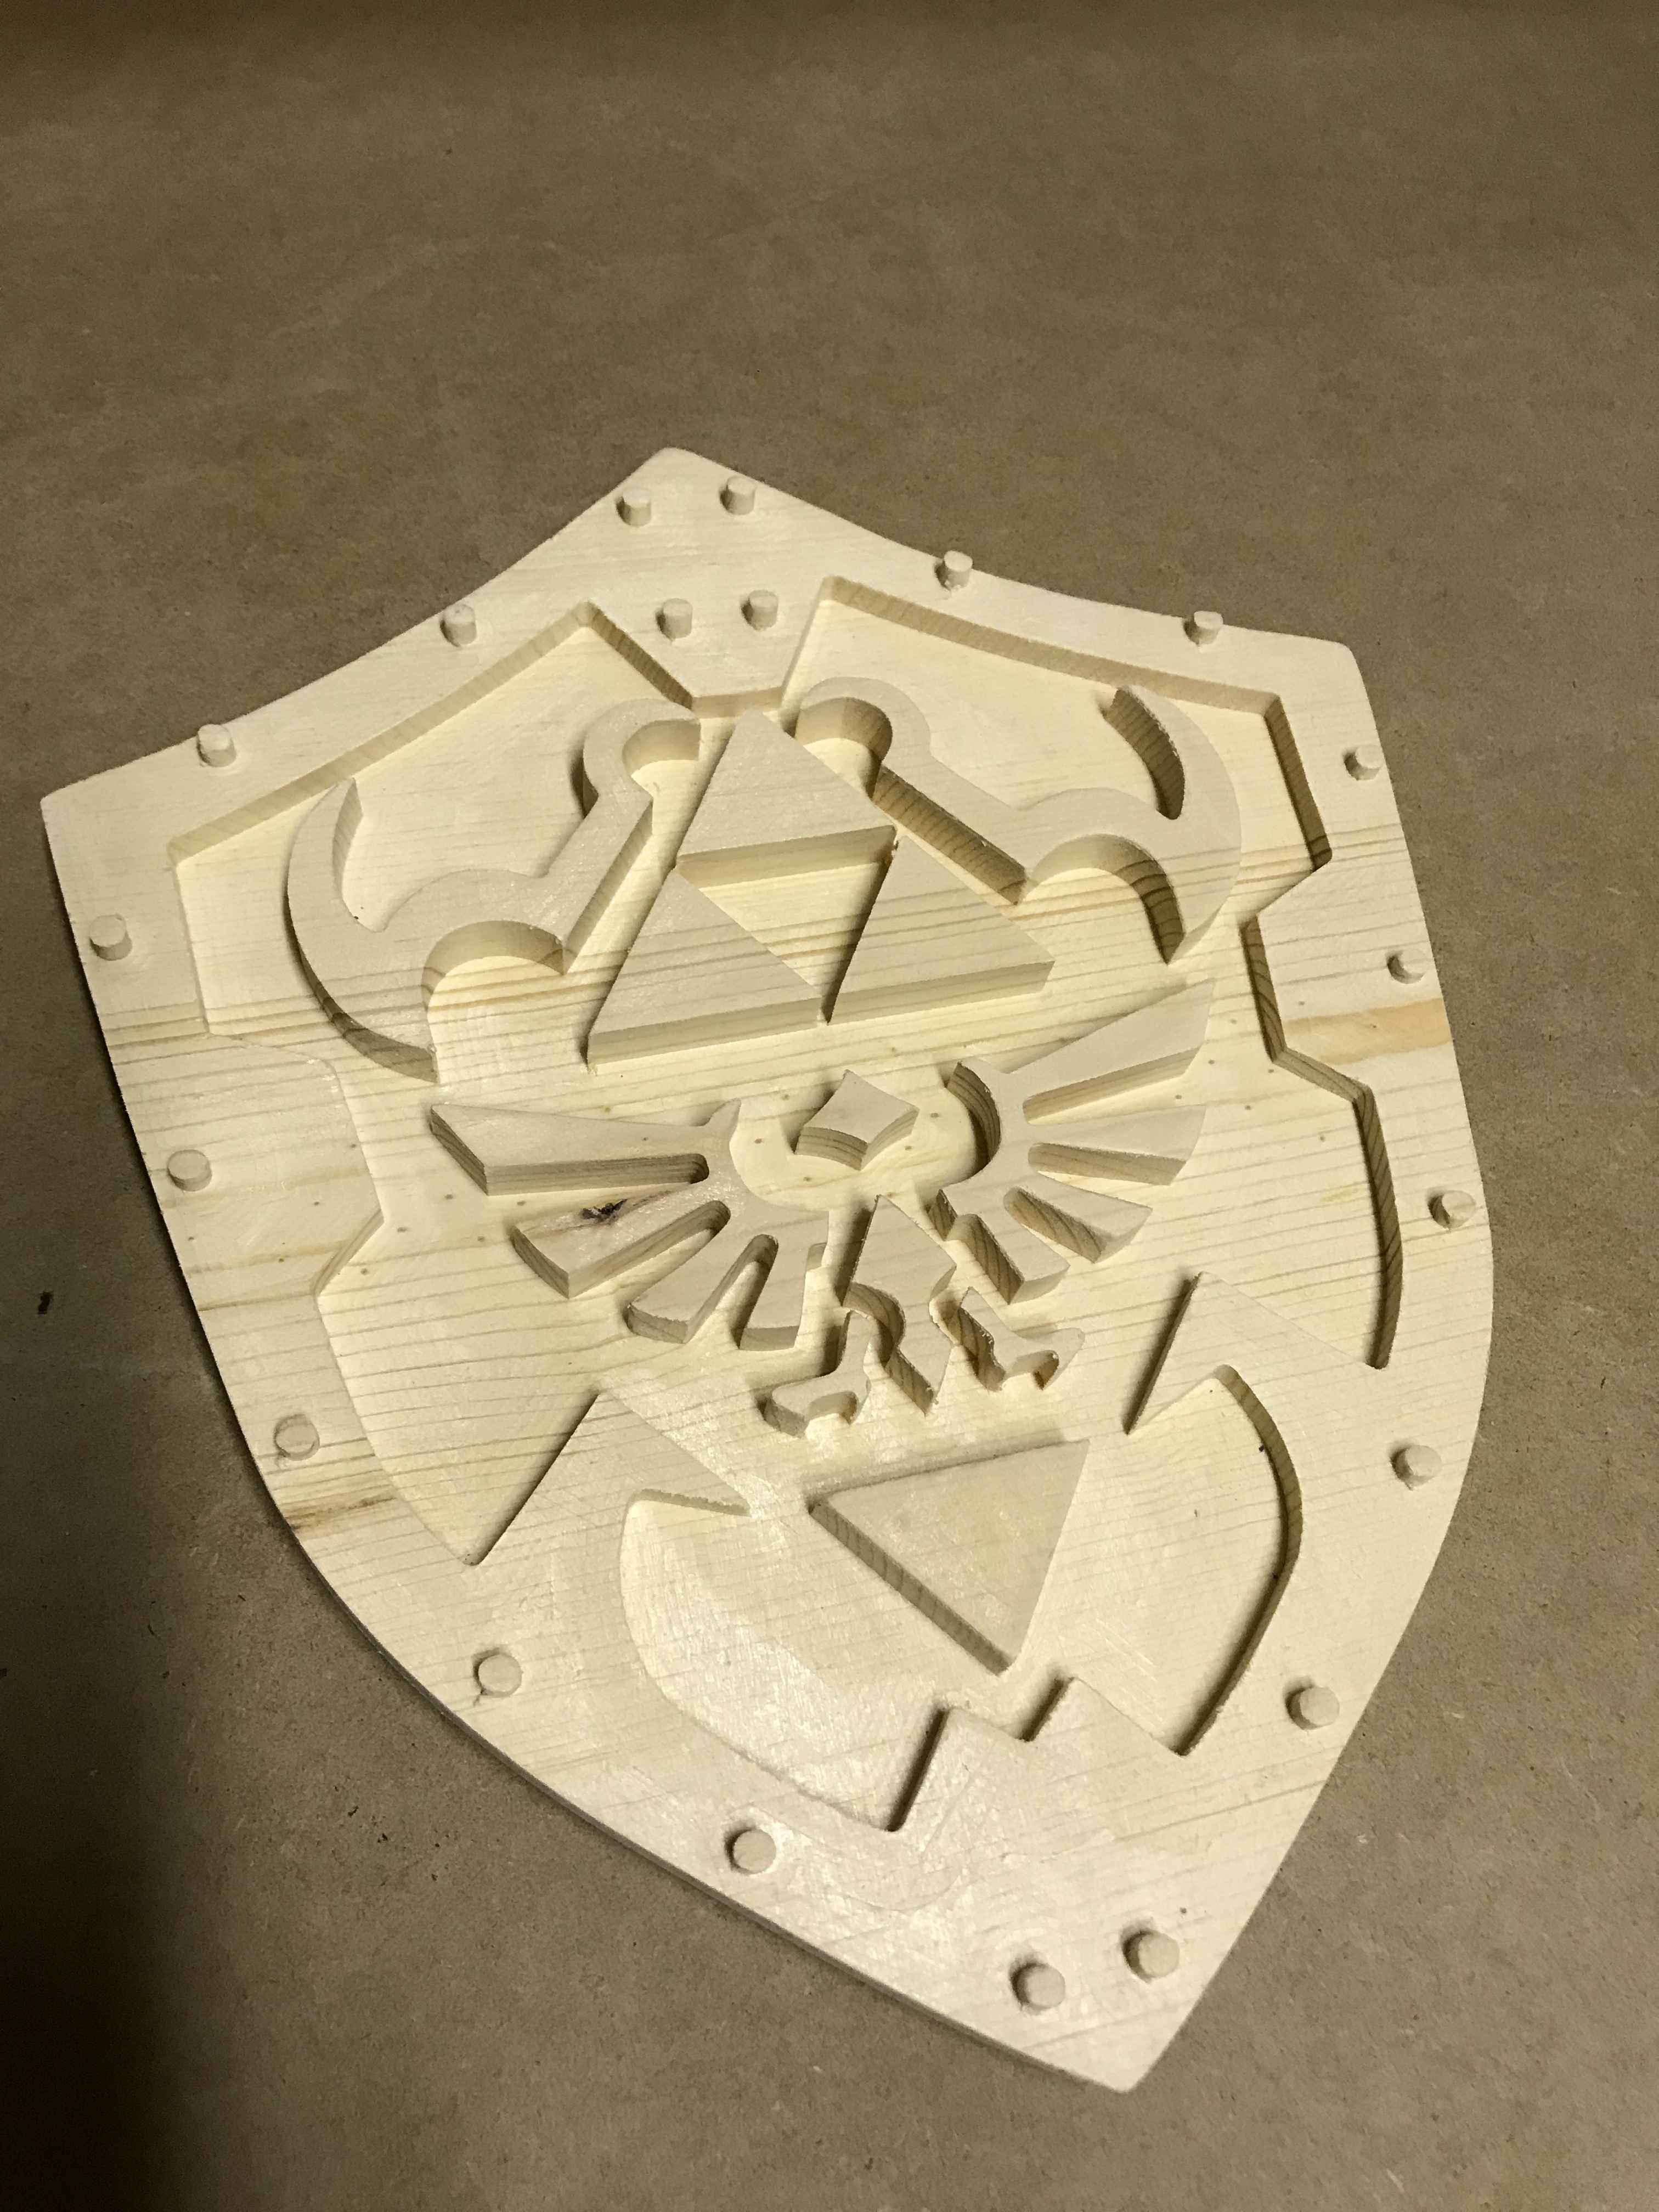
Especially the captain America shield, what was your work flow process with that one, and what software? I have only done a few double sided jobs with varying levels of success, that one looks great!
Thanks for sharing
I like what you are doing. I have been too busy with mundane things like cutting grass and other projects to do much with my Shapeoko lately. I have a back log of projects I have been wanting to do.
Good stuff keep it up.
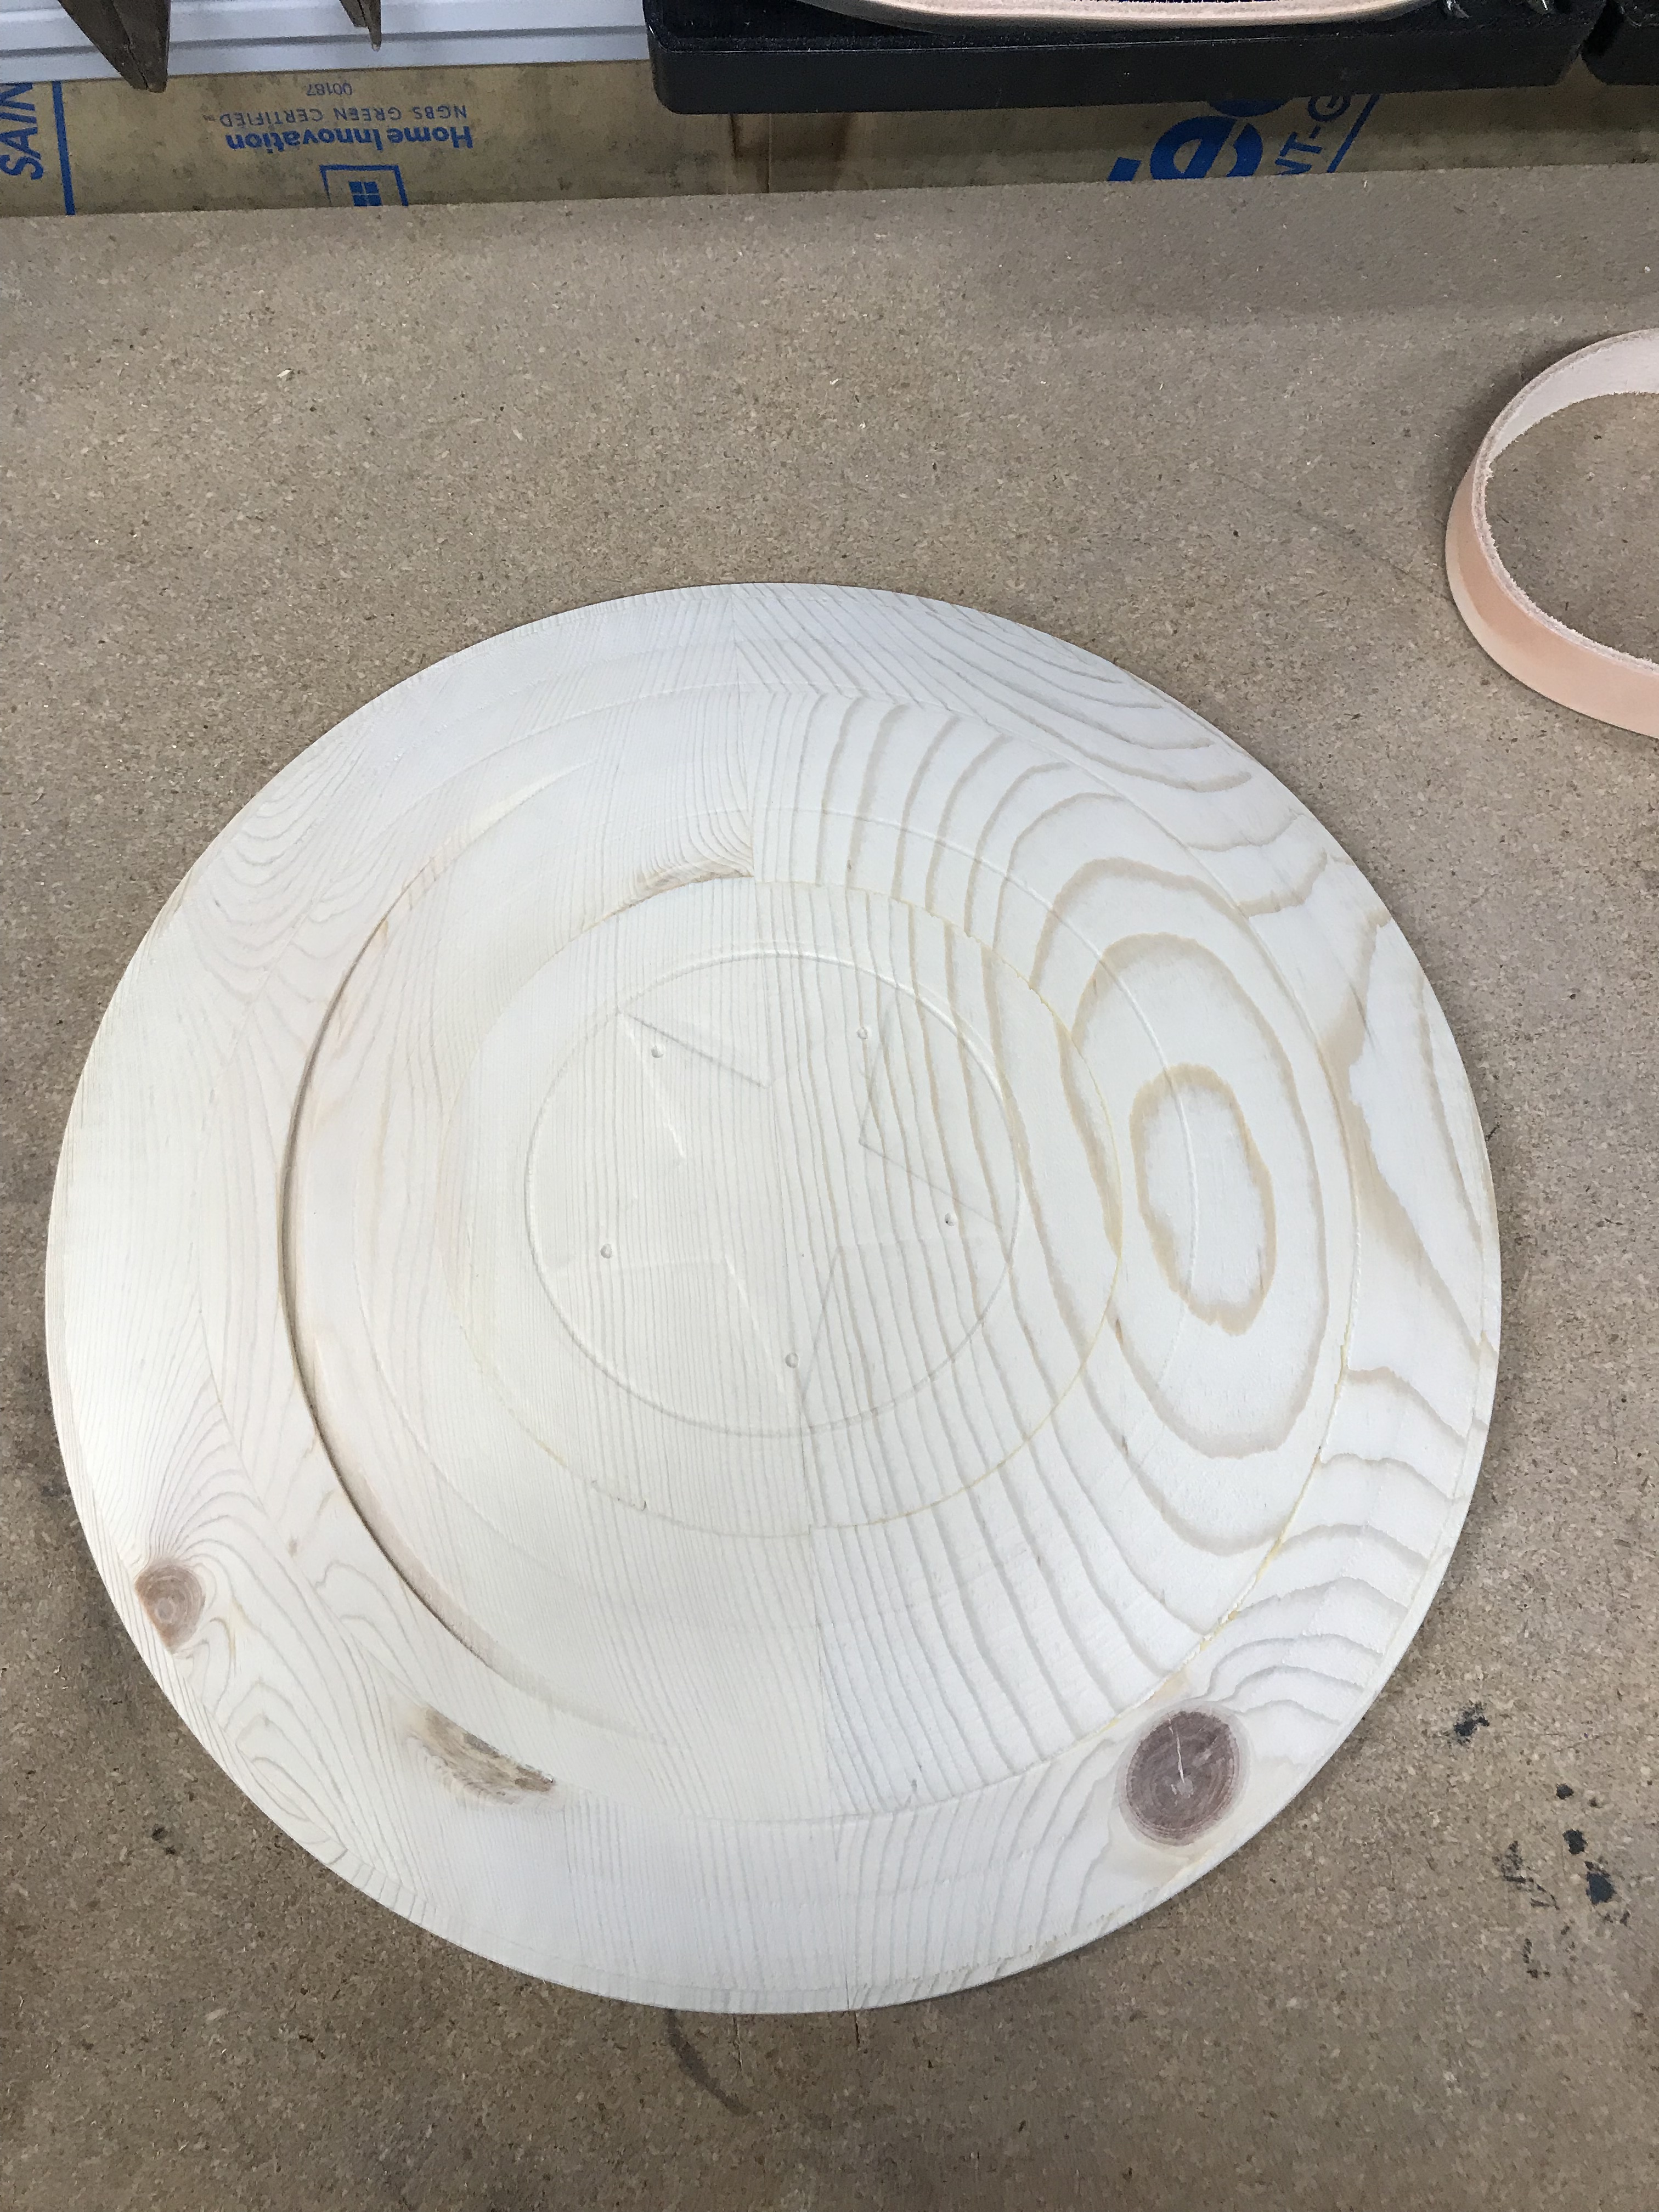
The captain America shield was the worst time I’ve had so far. I had a bunch of disconnect issues while I was running out of time to have it done in time for a friend’s daughter’s bday. I got the STL off of thingiverse. I used Fusion360 for setting up the tool paths and carbide motion for the cutting. Luckily I made two blanks to begin with just in case the first one got screwed up and it did bc the mill hit a knot too fast and lost steps so it ended up cutting through the shield. The second one ended up with a gouge that you can see in the shield bc it hit an edge and part of the blank lifted where the layers were glued and jammed the mill up enough to lose steps, but I saved it by shutting down in time and running this one a little thicker than the first.
So what I did for the process was to cut the backside first since it was concave and leave the outer stock flush so I had a flat surface when I flipped it. I also modeled three holes on the left and three on the right, one on center and two on either side equal distance from center to use as reference points for pins (these were a separate cut file that was ran first and then ran on my wasteboard between the flip) everything lined up nicely after the flip. Between the pins I inserted and some can clamps everything was snug and not moving. I then ran an adaptive clearing to get rid of all the excess stock in the front of the shield down to the middle of the lip so there was still material to hold it. After all the detail work I just ran a contour cut with tabs in place to cut it out.
Definitely a learning experience as it was my first 3D carve. But trying and failing is all part of learning what to do different the next time.
Going to try doing the Master Sword from Zelda for my youngest and then a Daedric sword for my oldest sometime soon (hopefully)
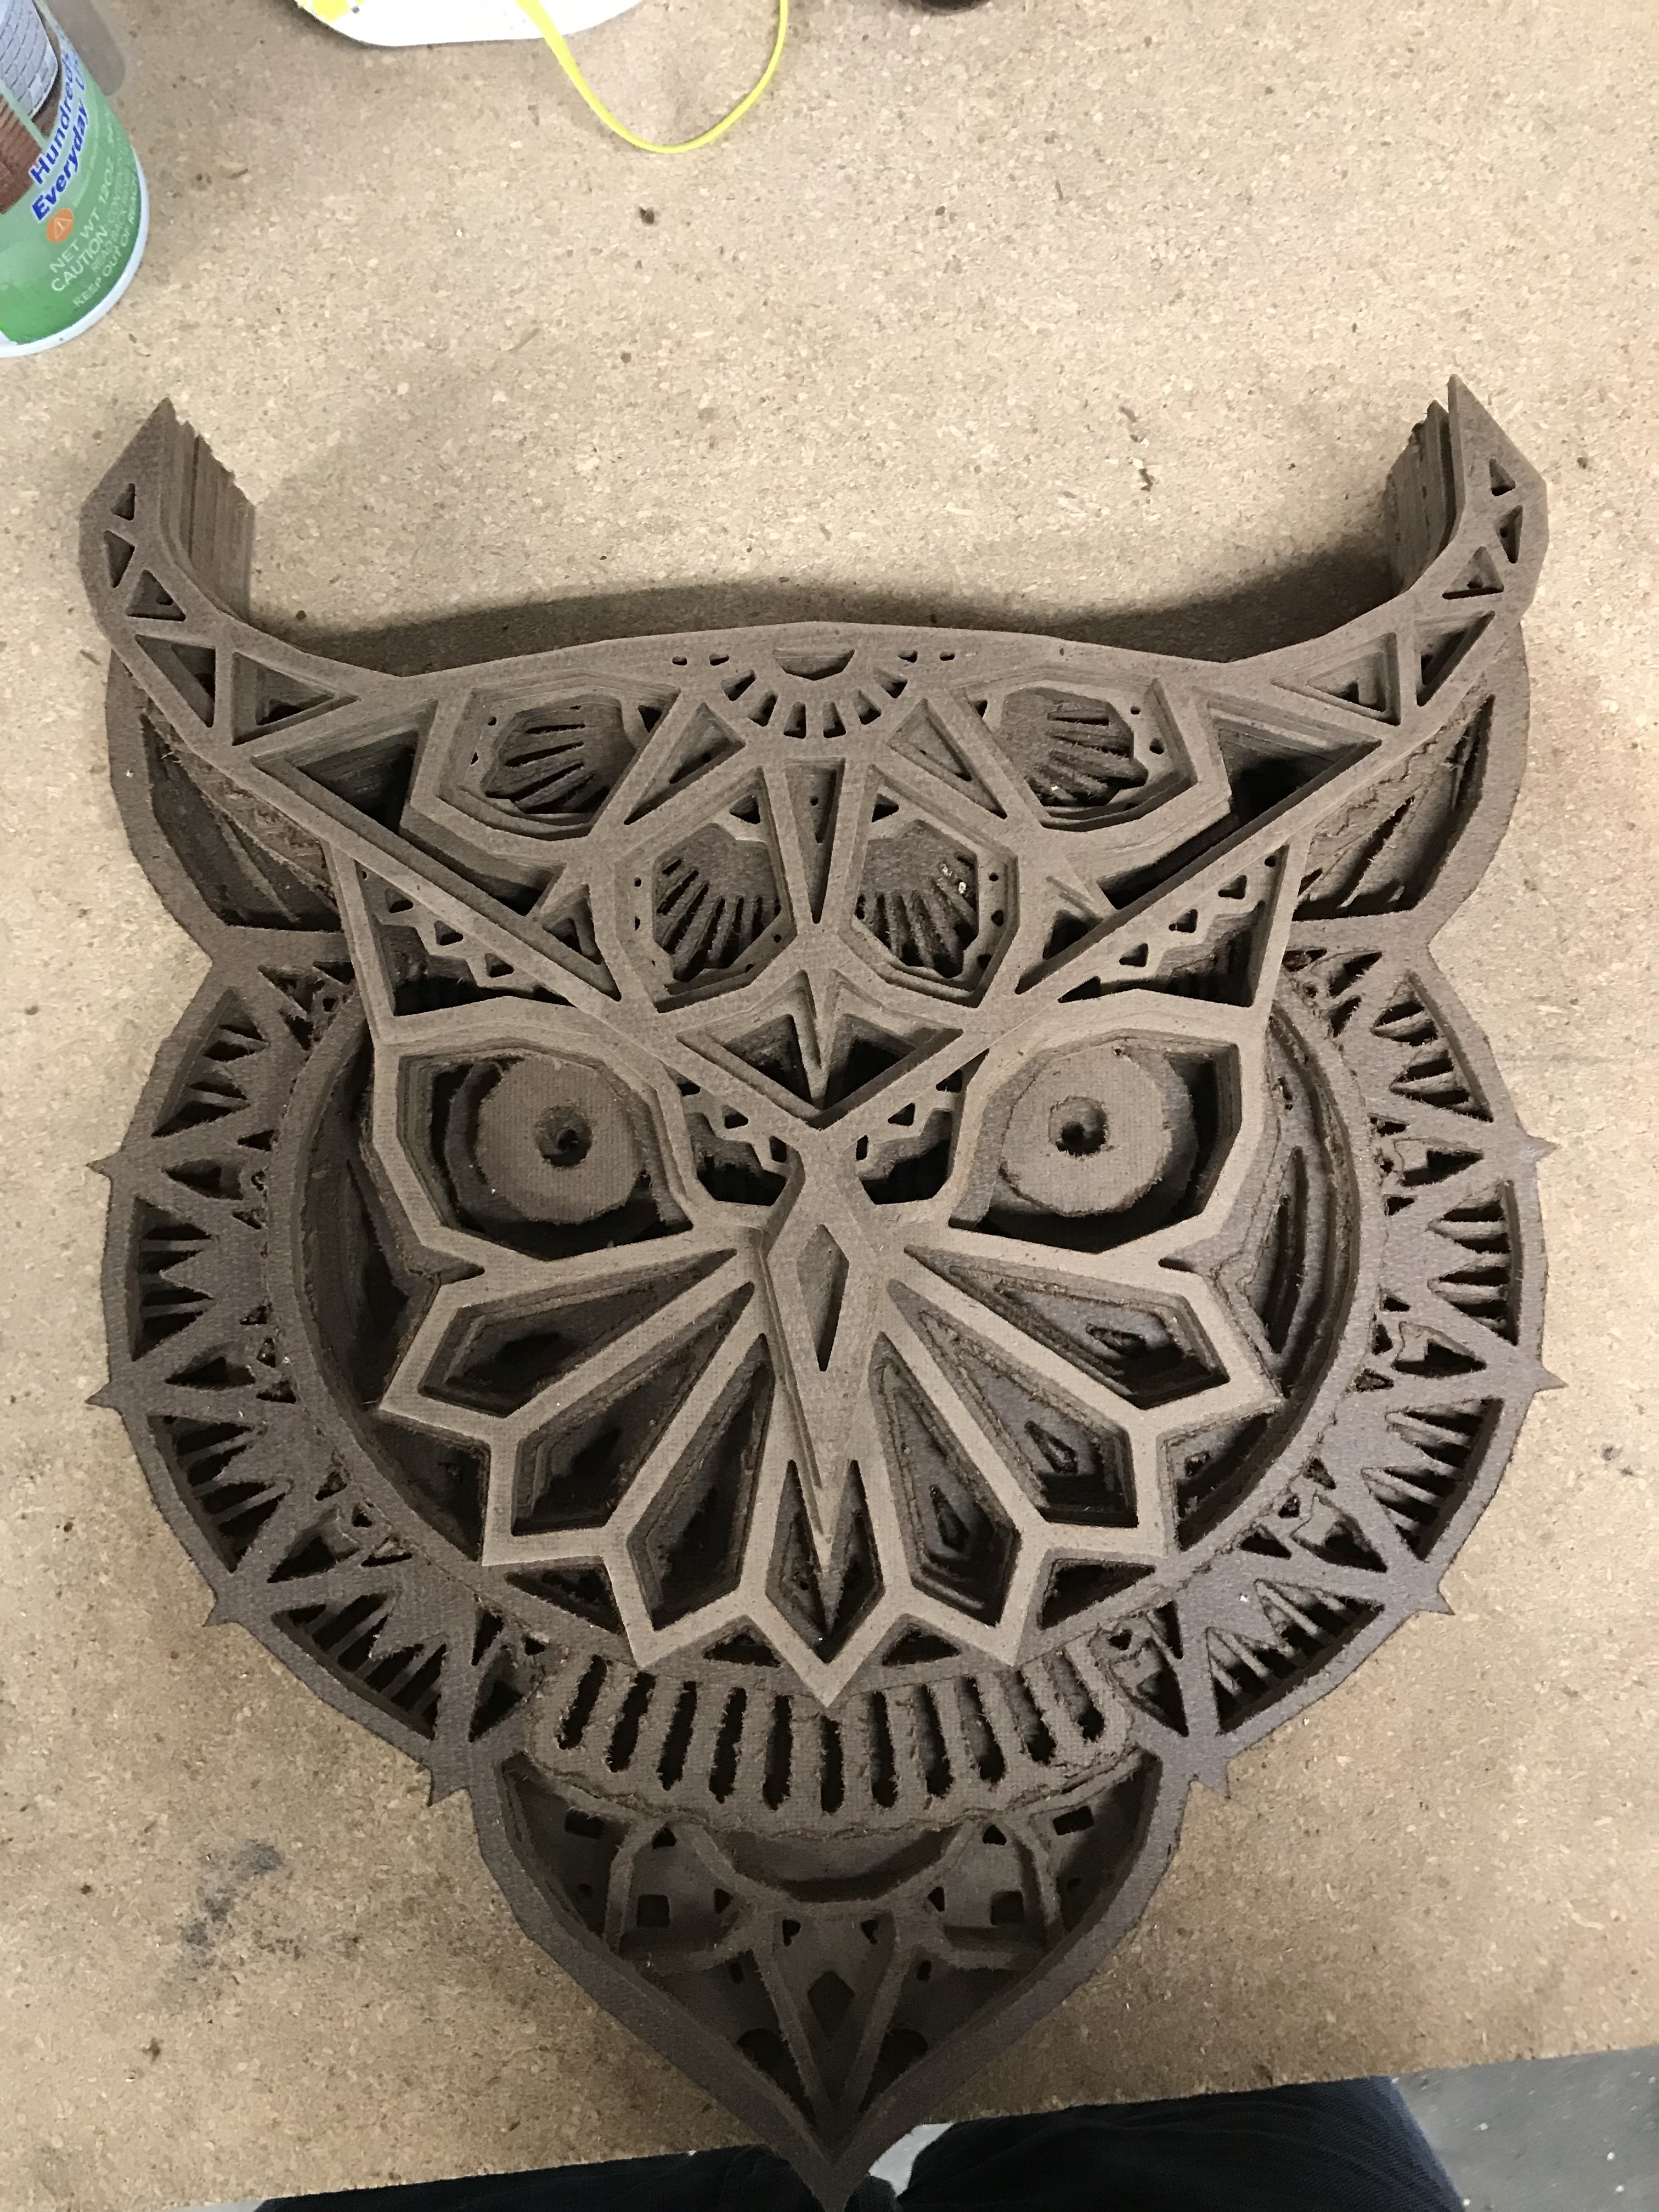
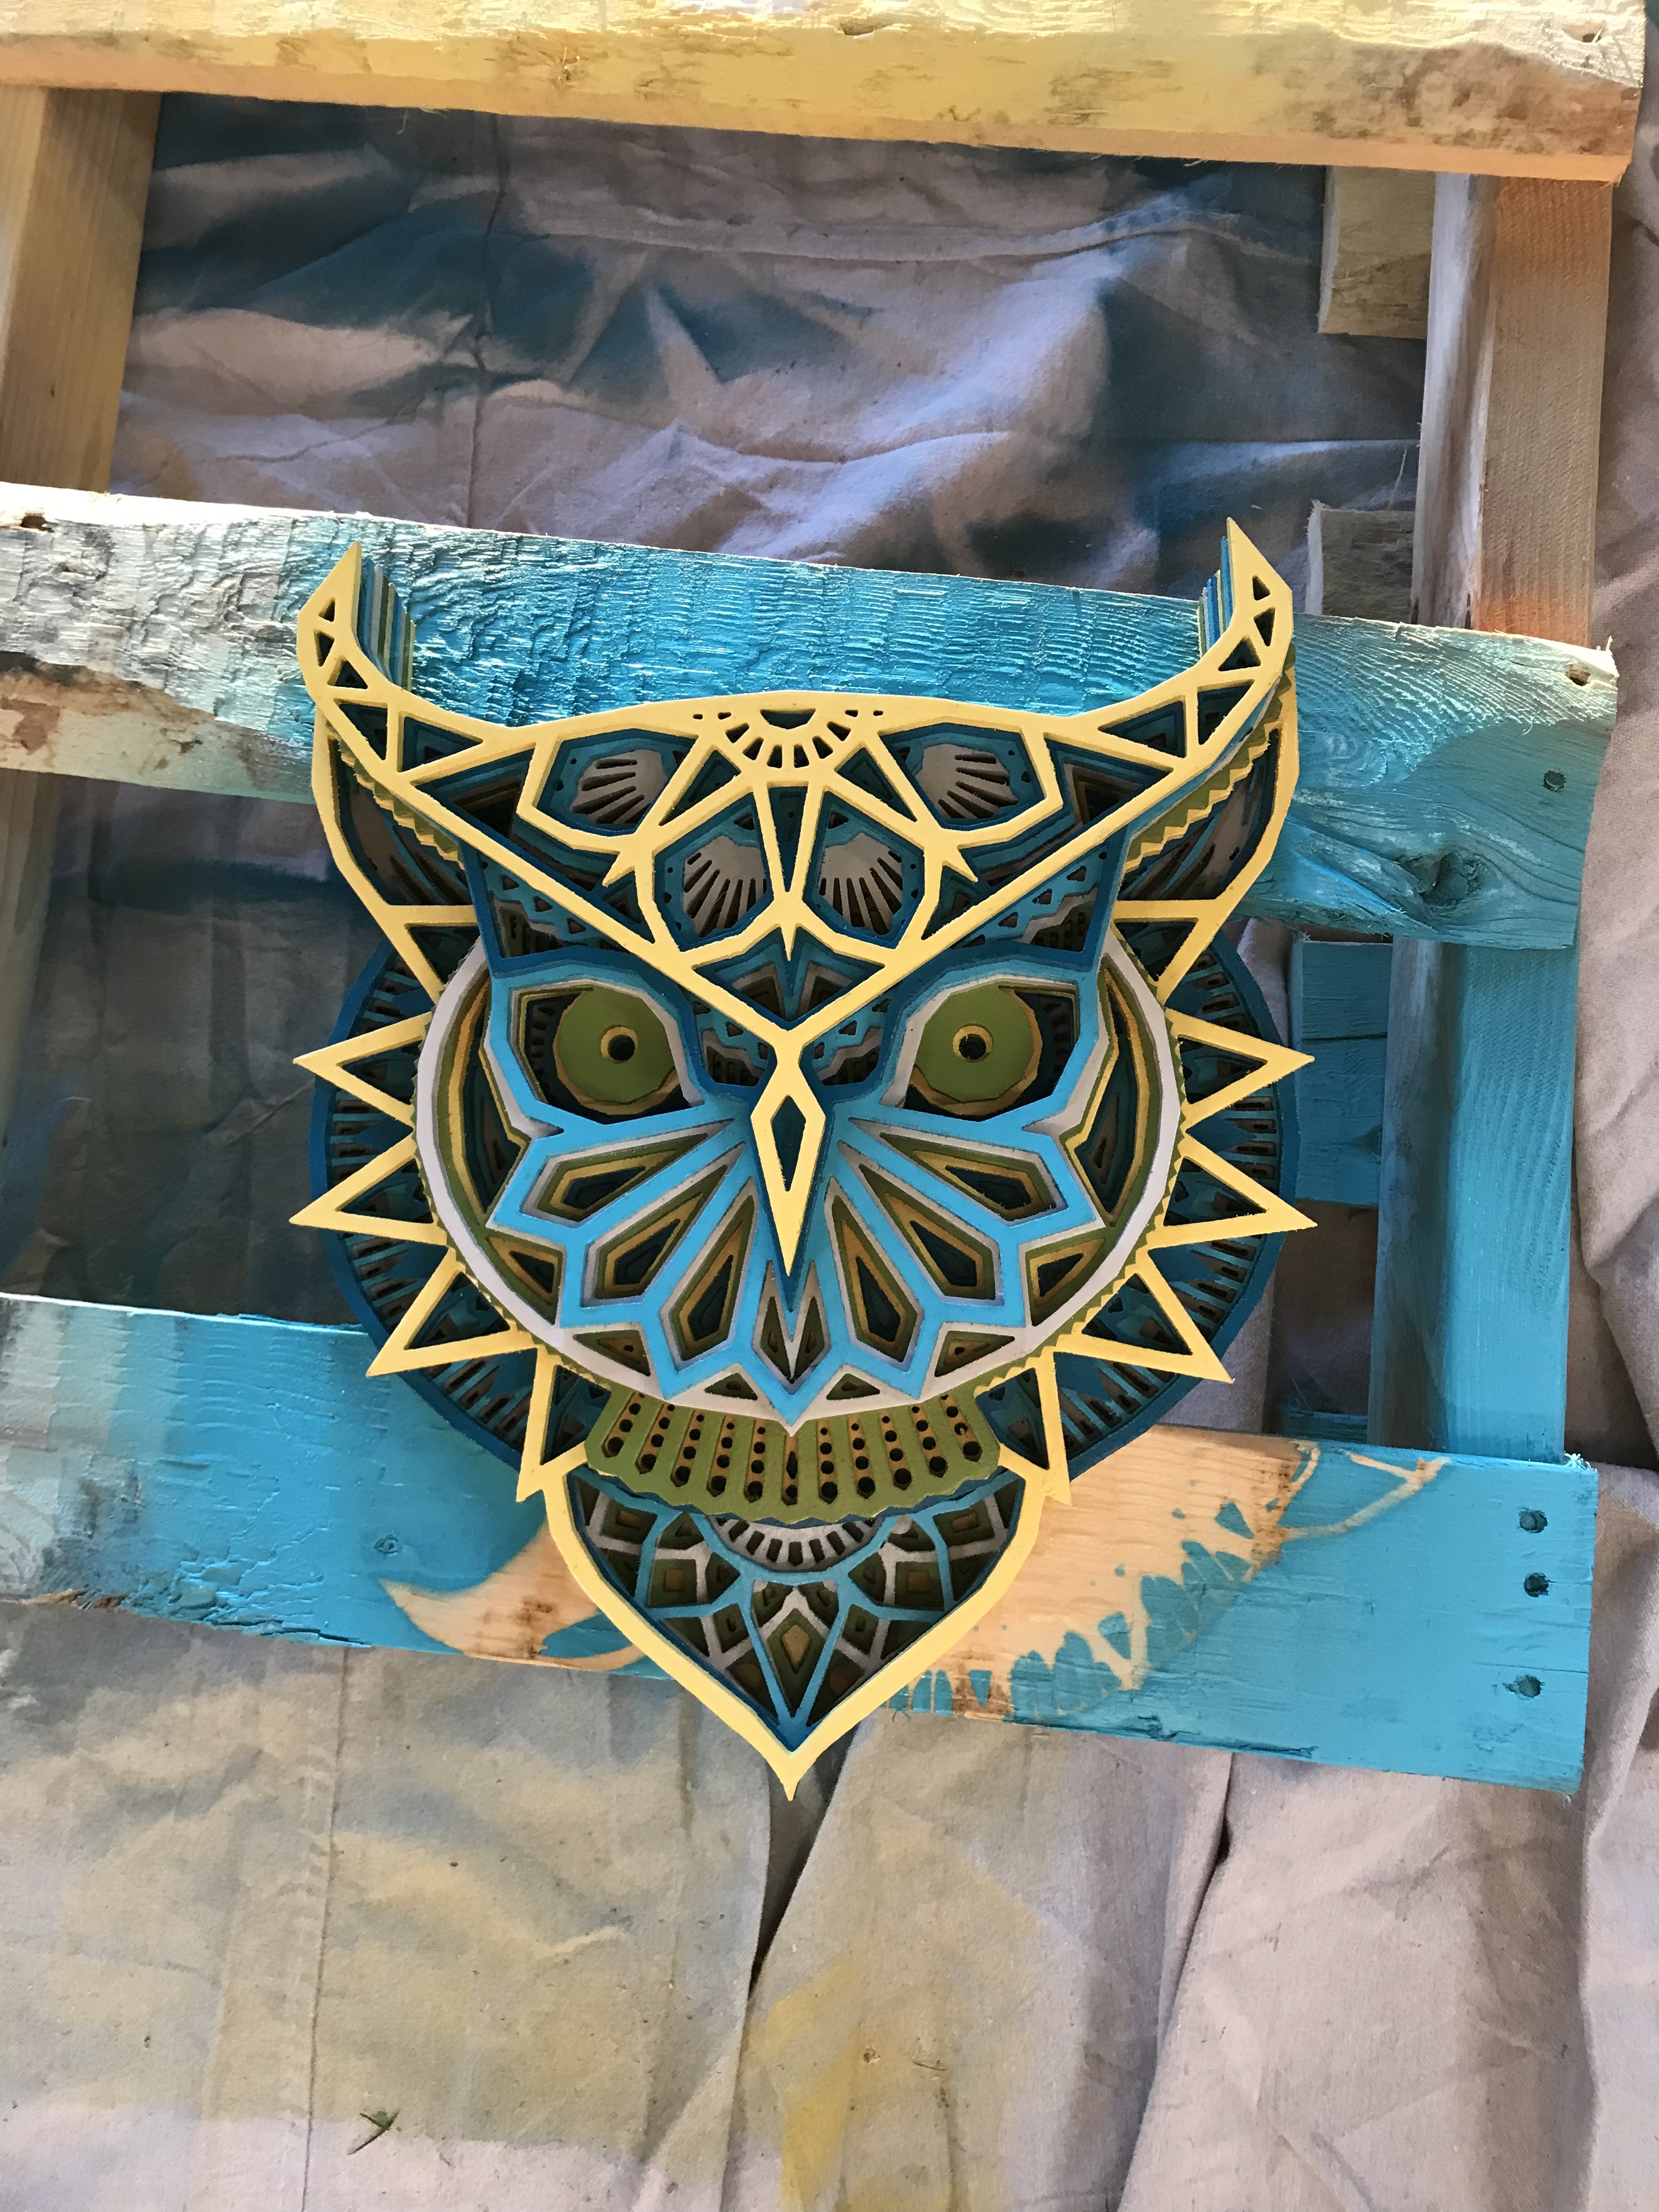
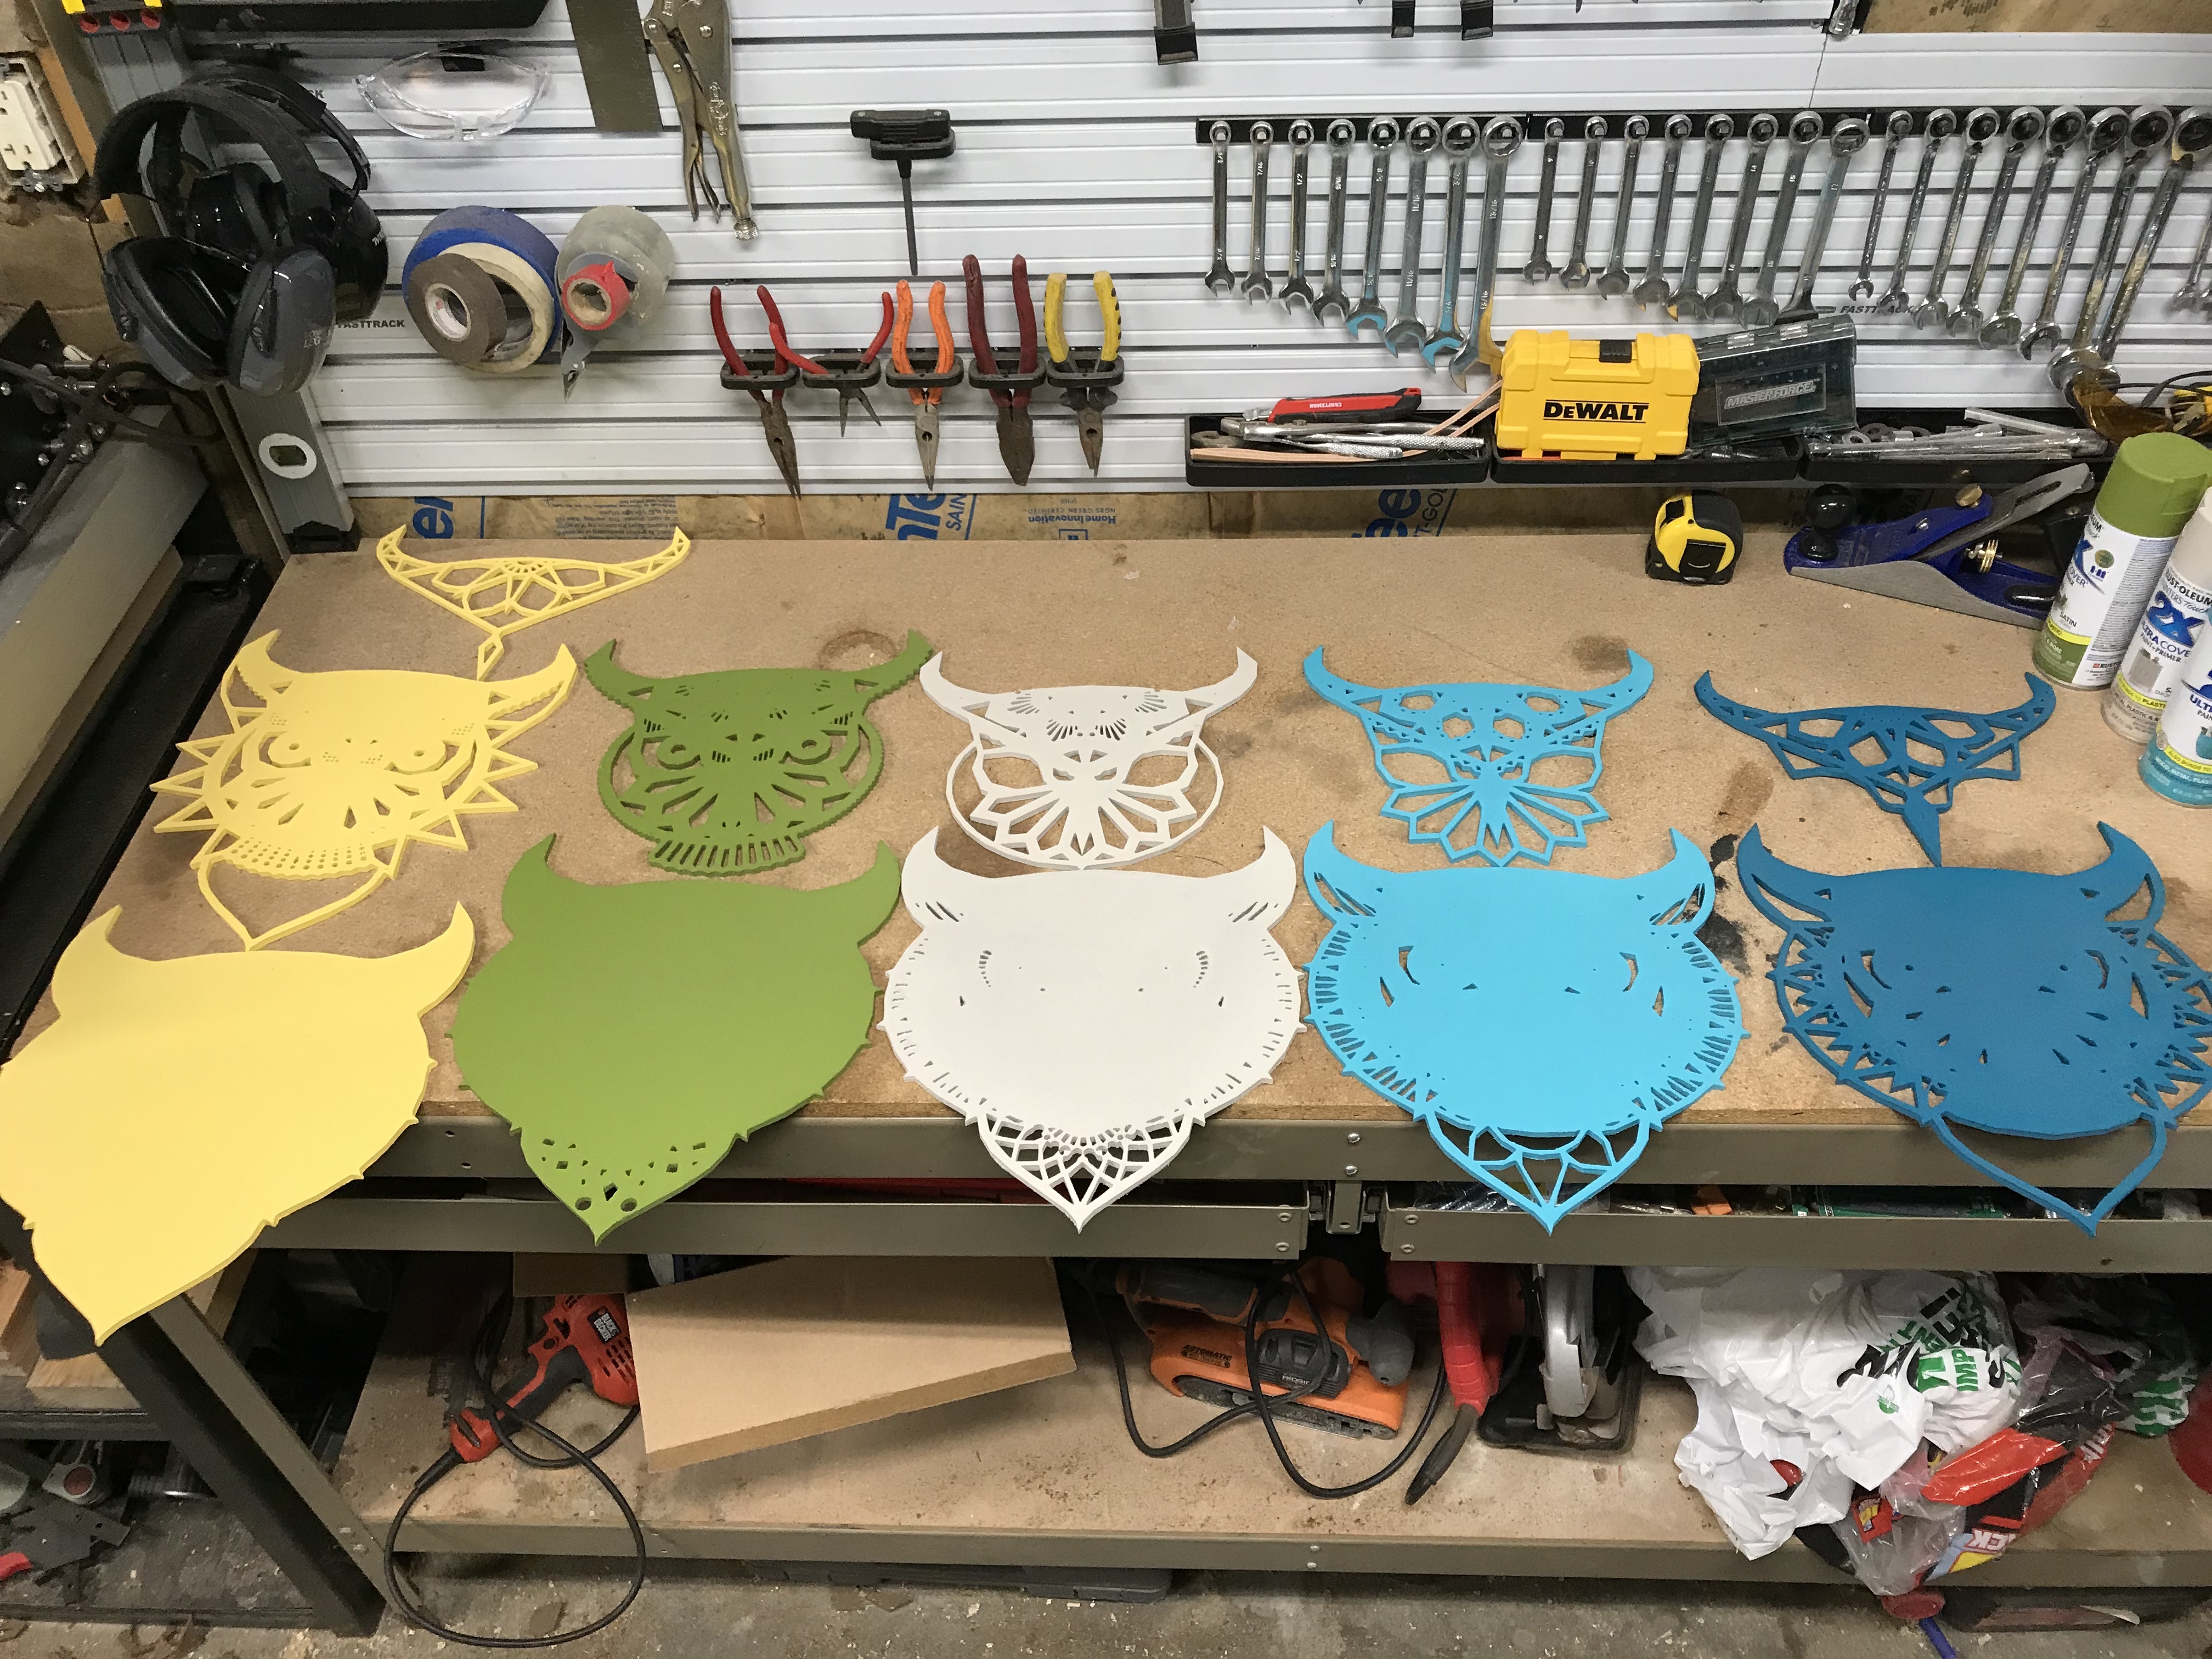
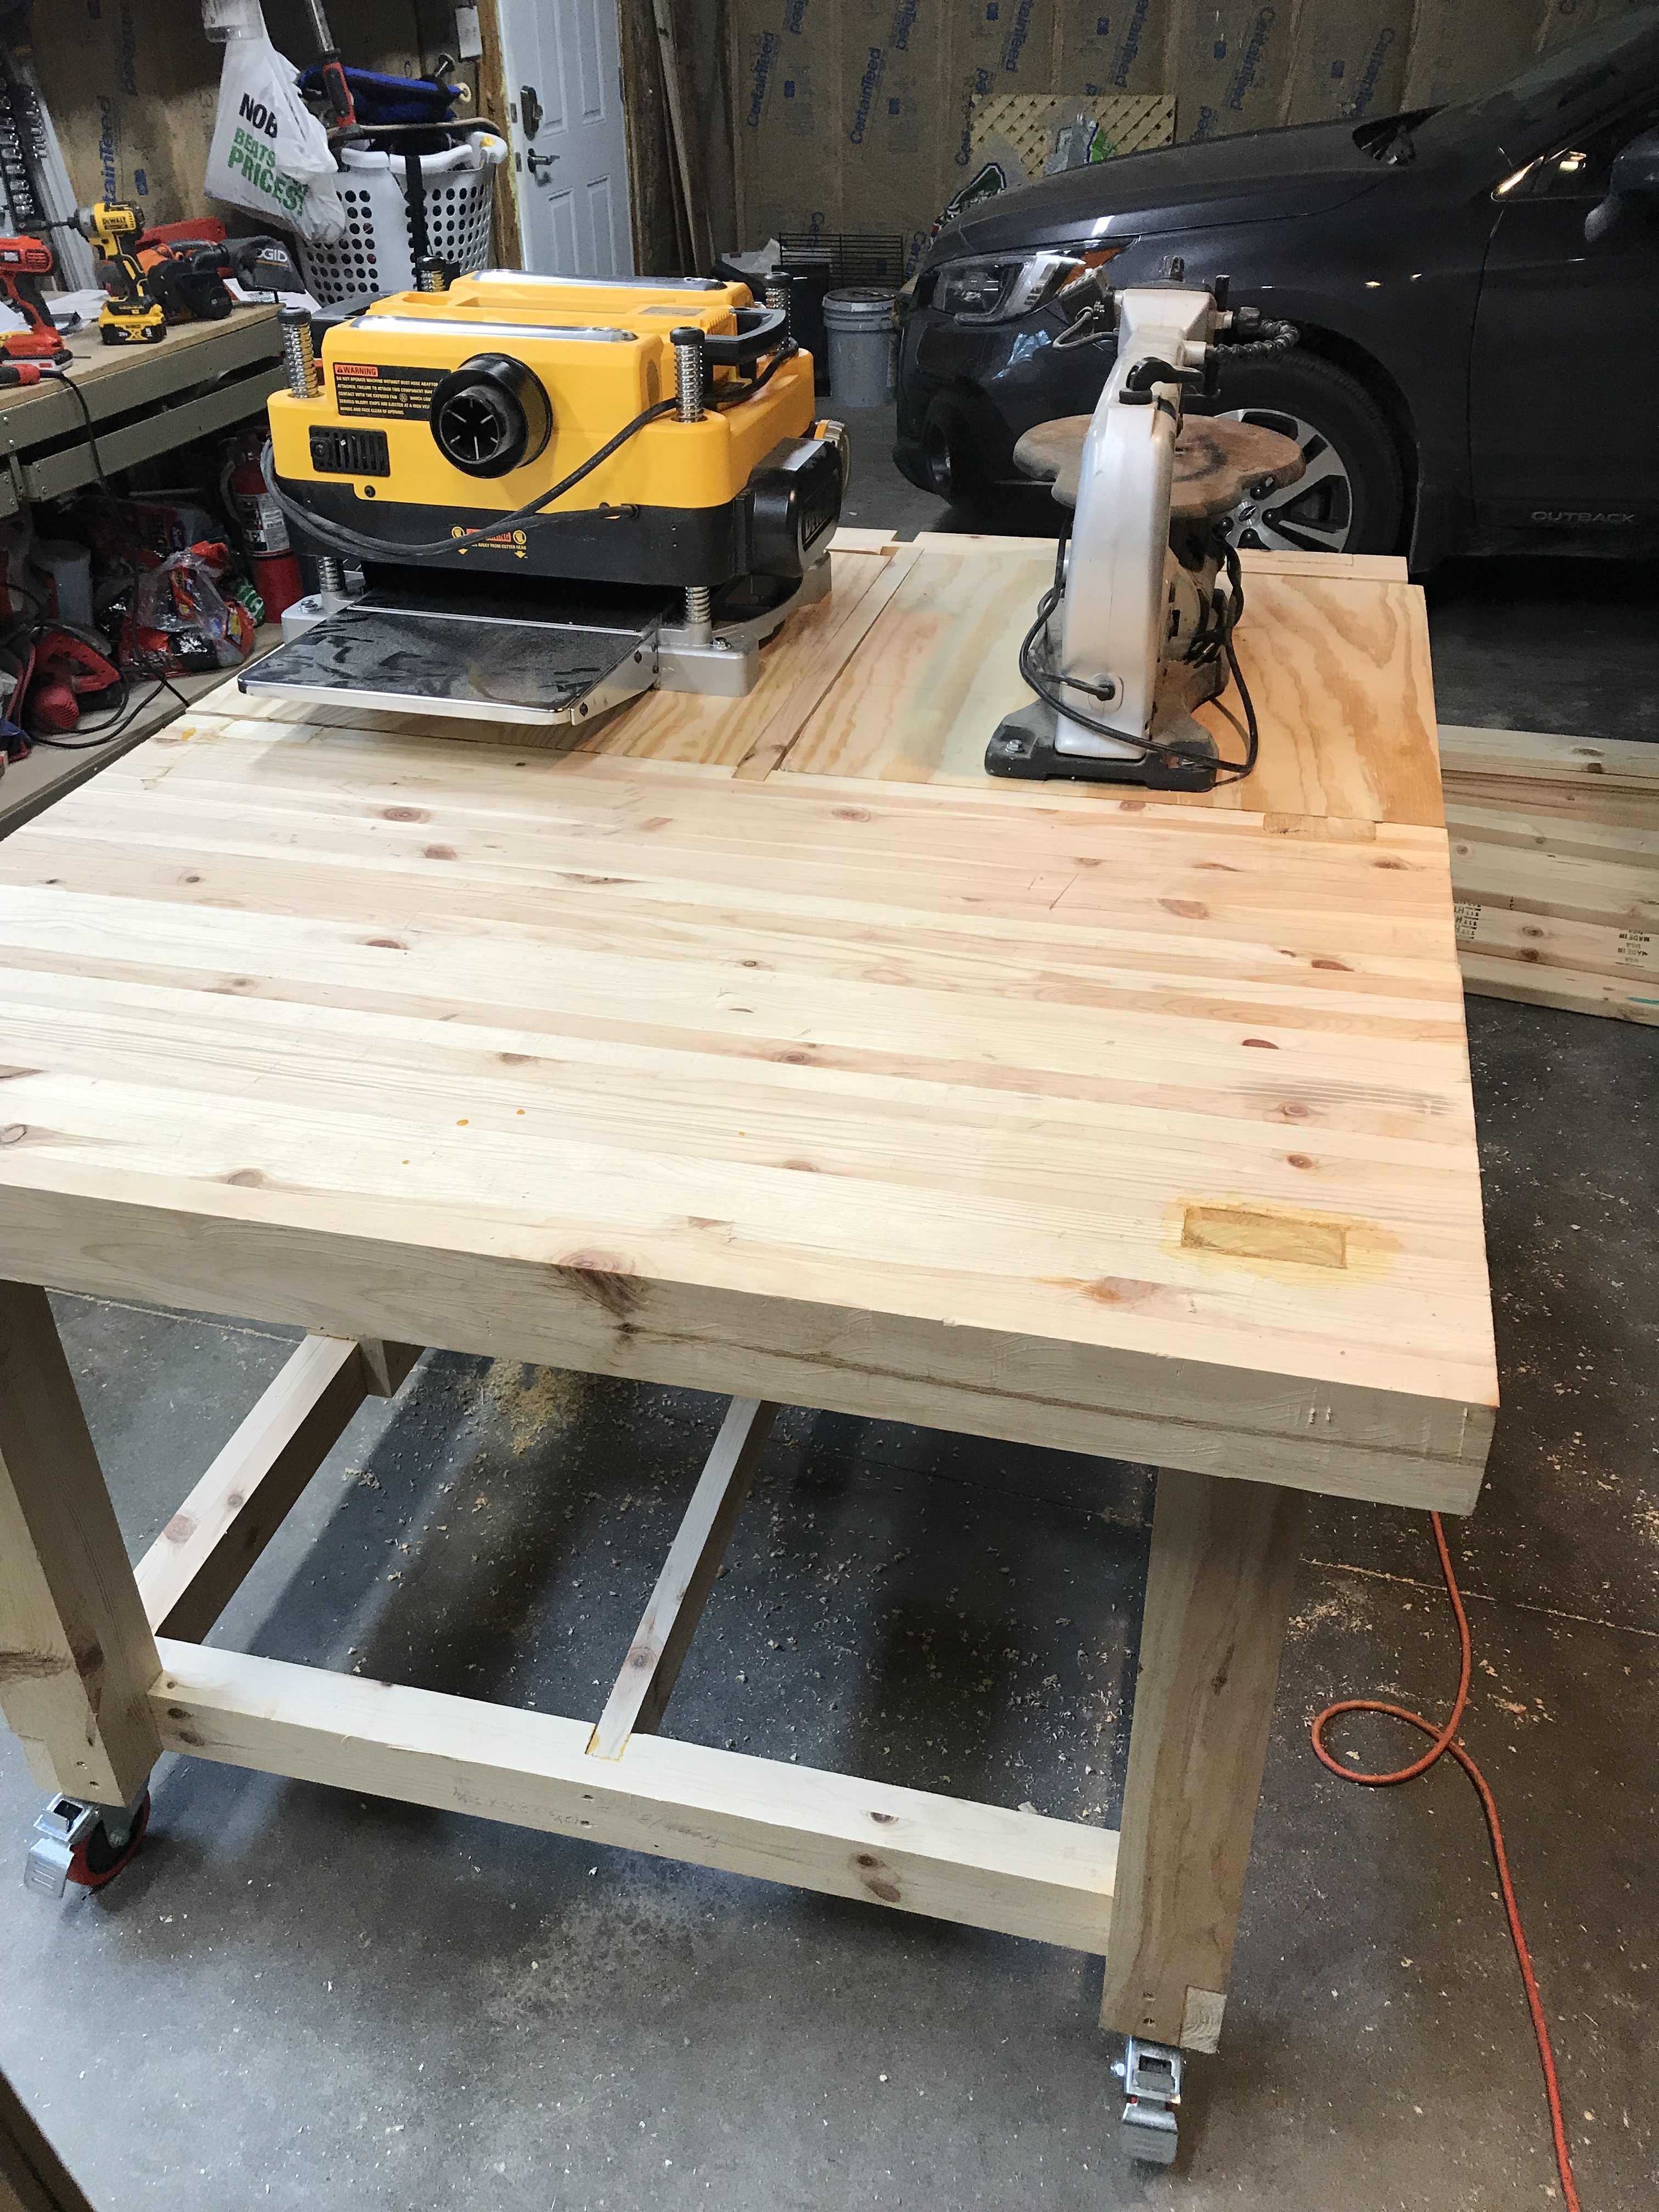
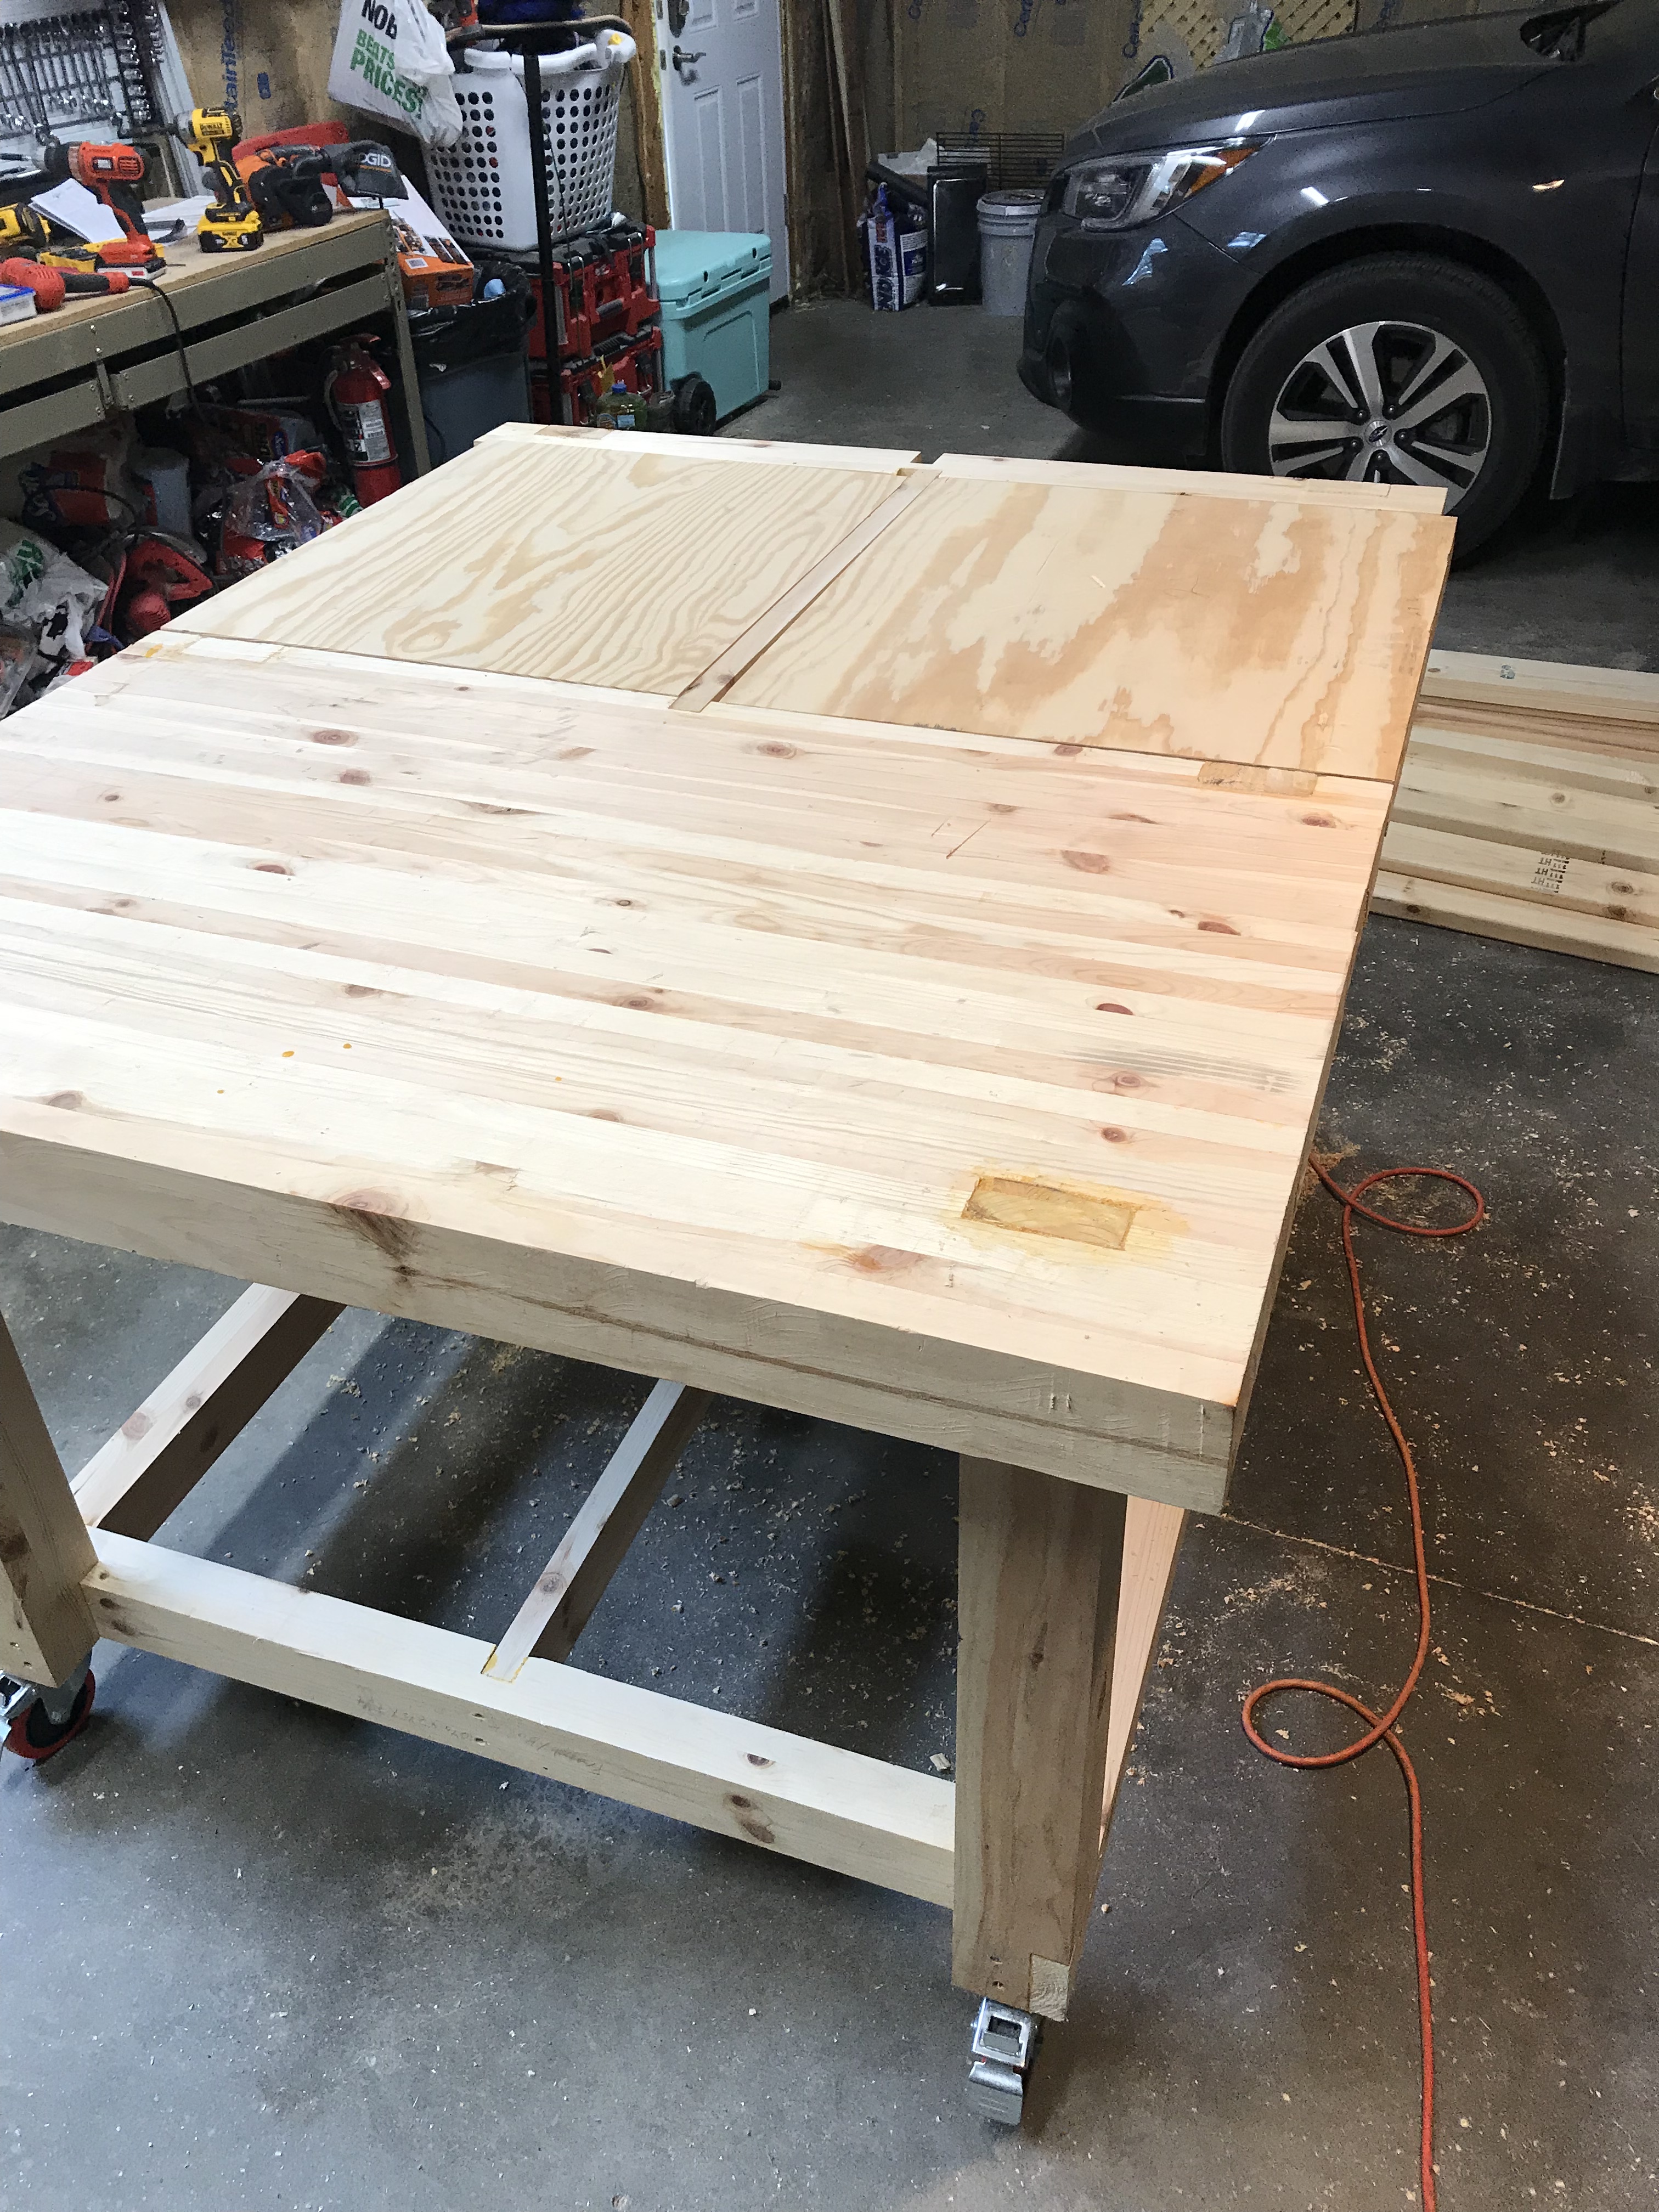
Thanks, this is some of the stuff I’ve been doing since I got mine this April. Have wanted to get a lot more done but I’ve had other things get priority (a new double flip top work bench to house my planer and scroll saw, and a new cabin loft bed for my youngest) but hopefully nothing else pops up so I can get some more practice in.
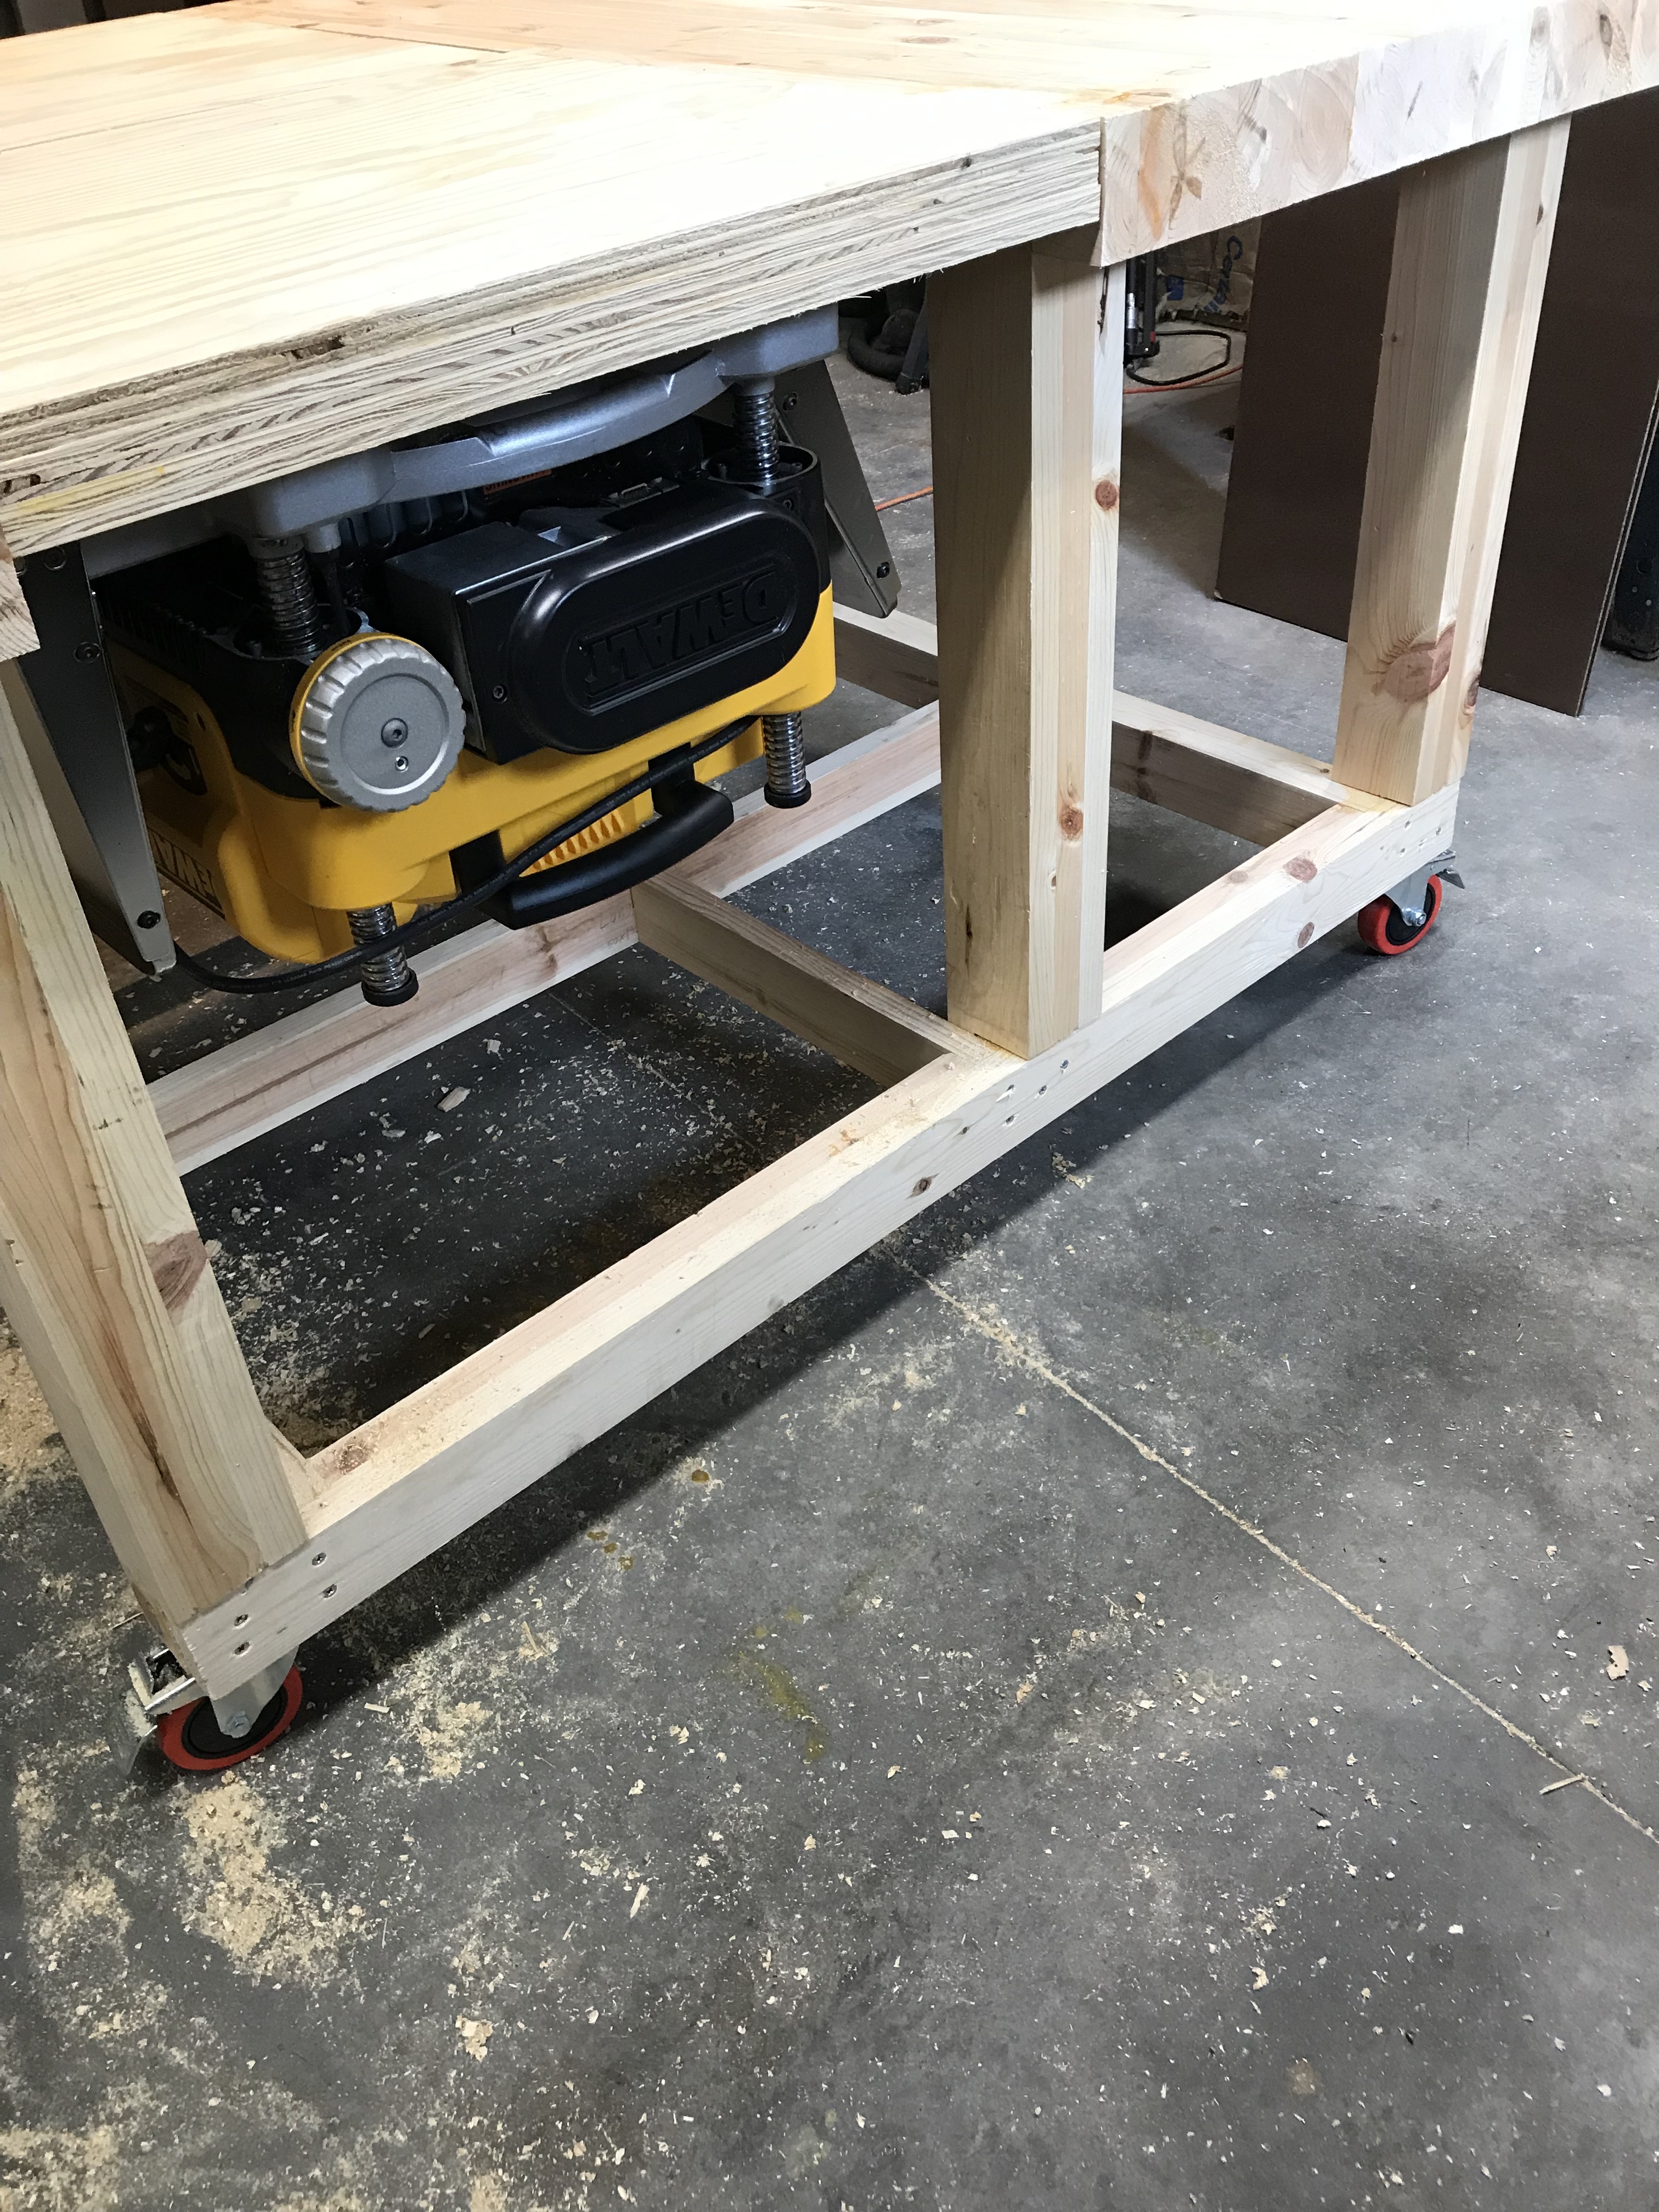

Again nice work. I have a pretty good size shop but have been those flip top type projects for years. I have the same Dewalt planner and it is heavy. So is the flipping of the planner hard to do or was you able to find the center of gravity to flip it.
Even though I have a large shop every tool in my shop is on wheels. It makes it much easier to move equipment around and clean. I used to have a regular 2 car garage so every thing was on wheels but bunched up and I would pull out what I needed to the center of the garage. So that made me play musical chairs with my equipment. Even though I have a larger shop now my equipment is still bunched up on one end and I roll the piece I need out and work with it then push it back to the coral.
Sorry took me so long to reply tried to last night and it said I had reached my limit of replies for being a new member and had to wait 20 hours.
The planer is definitely heavy, it isn’t too bad flipping it since the middle of the planer sits center of where the rod runs. It still takes a bit of muscle to turn it over but better than hauling it off the floor or shelf every time I need it. I don’t have a whole lot of room currently since I only have a 30’x24’ garage that needs to house at least 1 car and with winter coming fairly soon I would like to get my other car in the garage also (Fargo winters are hell)and my various wood working/hobby tools and various mechanic tools taking up space. That’s the main reason I did this bench and I have been looking at various ideas for adding supports for holding my table saw on the end of this one also when I need it kind of like the Paulk work bench has so that the bench is a good sized outfeed table.
I have the same planer and the weight is definitely and issue. I have made room for it under a cabinet and I’m planning on building a scissor lift table to bring it to the level of my tablesaw when I need to use it. I dread having to lift it so this will address the issue as I don’t have floor space in my shop for more flat surfaces.
Did you make up your own plans for the flip top or find some online? I have the same planer and was looking at doing something similar for that and my sander.
I used these plans https://www.gunflintdesigns.com/fliptop-workbench-part1
They are $15 but very detailed. I will mention if you follow that plan that on the cut list pay attention to the cuts for the backboard they were wrong on the cut list and I didn’t notice until I went to put it together. He also has some YouTube videos where he walks through some of the major things to help out.
Thanks, I appreciate the info!