I purchased my 5Pro 2x4 in late November 2024 with the intention of making one-off cutting boards as gifts for friends and family. While the learning curve was steep, the support of folks from this community (especially WillAdams, Tod1d, and Logan01) has made it possible for me to make several boards. I share the following images of boards I’ve made as a way of saying thank you to all those who have generously shared their knowledge and advice. Without that, I doubt I would have been able to get as far as I have with this hobby and light up the faces of those who have received these boards. Thank you very much! Mark
30 Likes
Outstanding! Very clean lines.
Keep going with this. Those boards look great!
Excellent! VERY! precise! I love the sharp corners in ingrain cutting! In my boards these corners love to break out.
Can you please share what settings you use?
What v-carve (ho many cutting edges?)? What speed & feed for that?
What max depth for him and her?
Looking sweet. You’ve done an excellent job.
Thanks for the positive feedback everyone. I’m not satisfied unless I’m able to get nearly perfect lines. Here is some information about how I’ve approached these projects:
I use a 30 degree v-bit. I’ve found success with both the 30 degree Extreme Detail and the 30 degree Groovee Jenny, both from IDC Woodcraft.
For pocketing, I like to use the Jenny 1/4 compression or the 1/8 Mini Jenny depending on the project.
I use the speeds and feeds recommended in their database.
I’ve found that doing the vcarve before pocketing produces better results.
I do my work in inches.
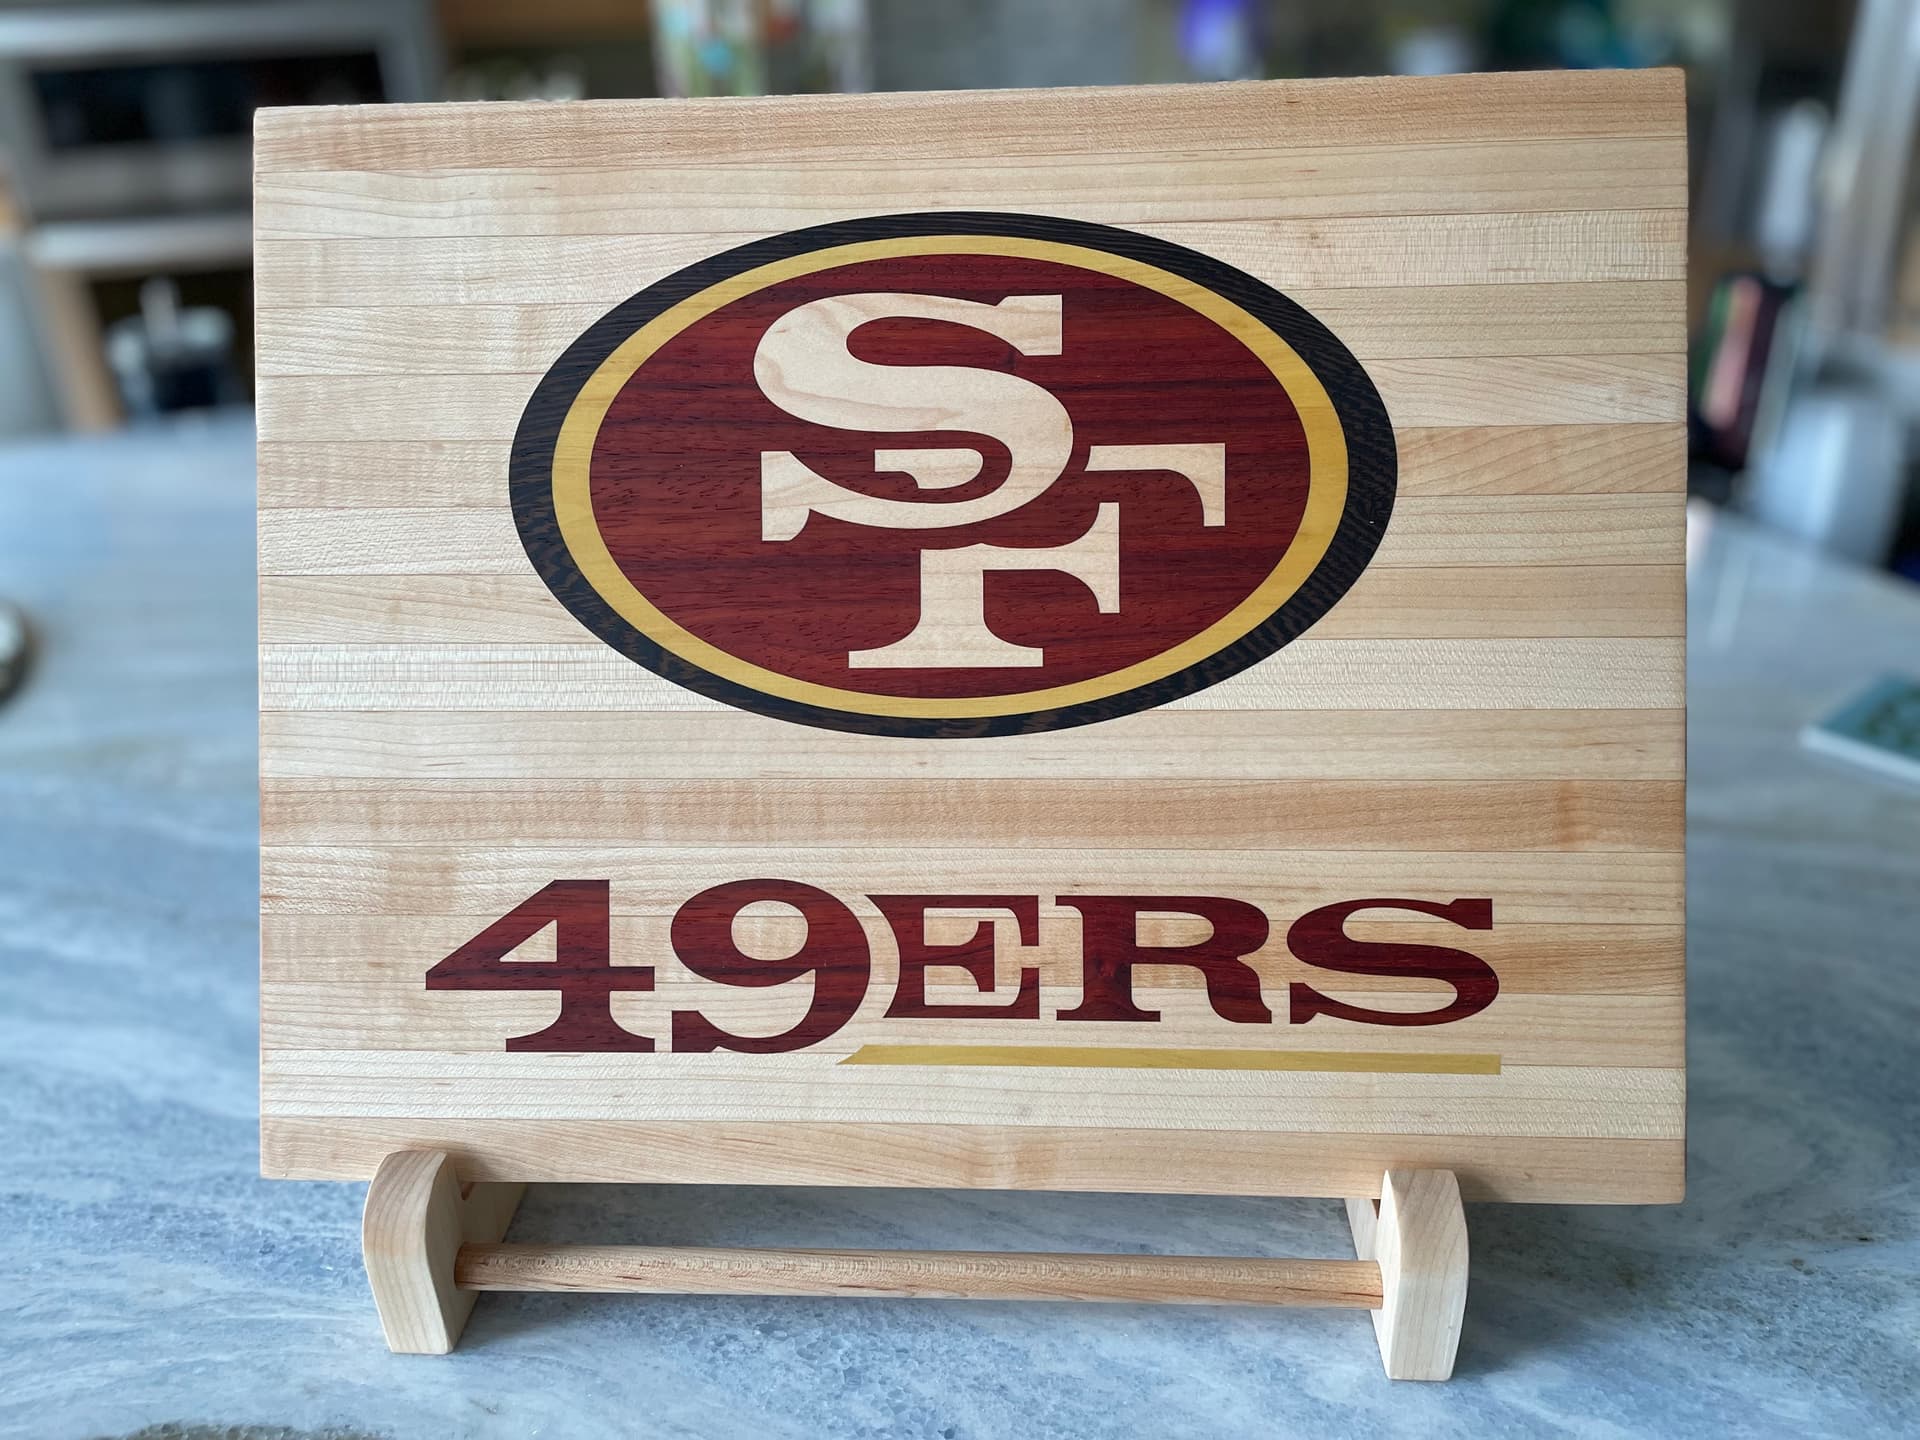
The 49er board has .25 pockets. The plugs are .2 depth and .05 top gap
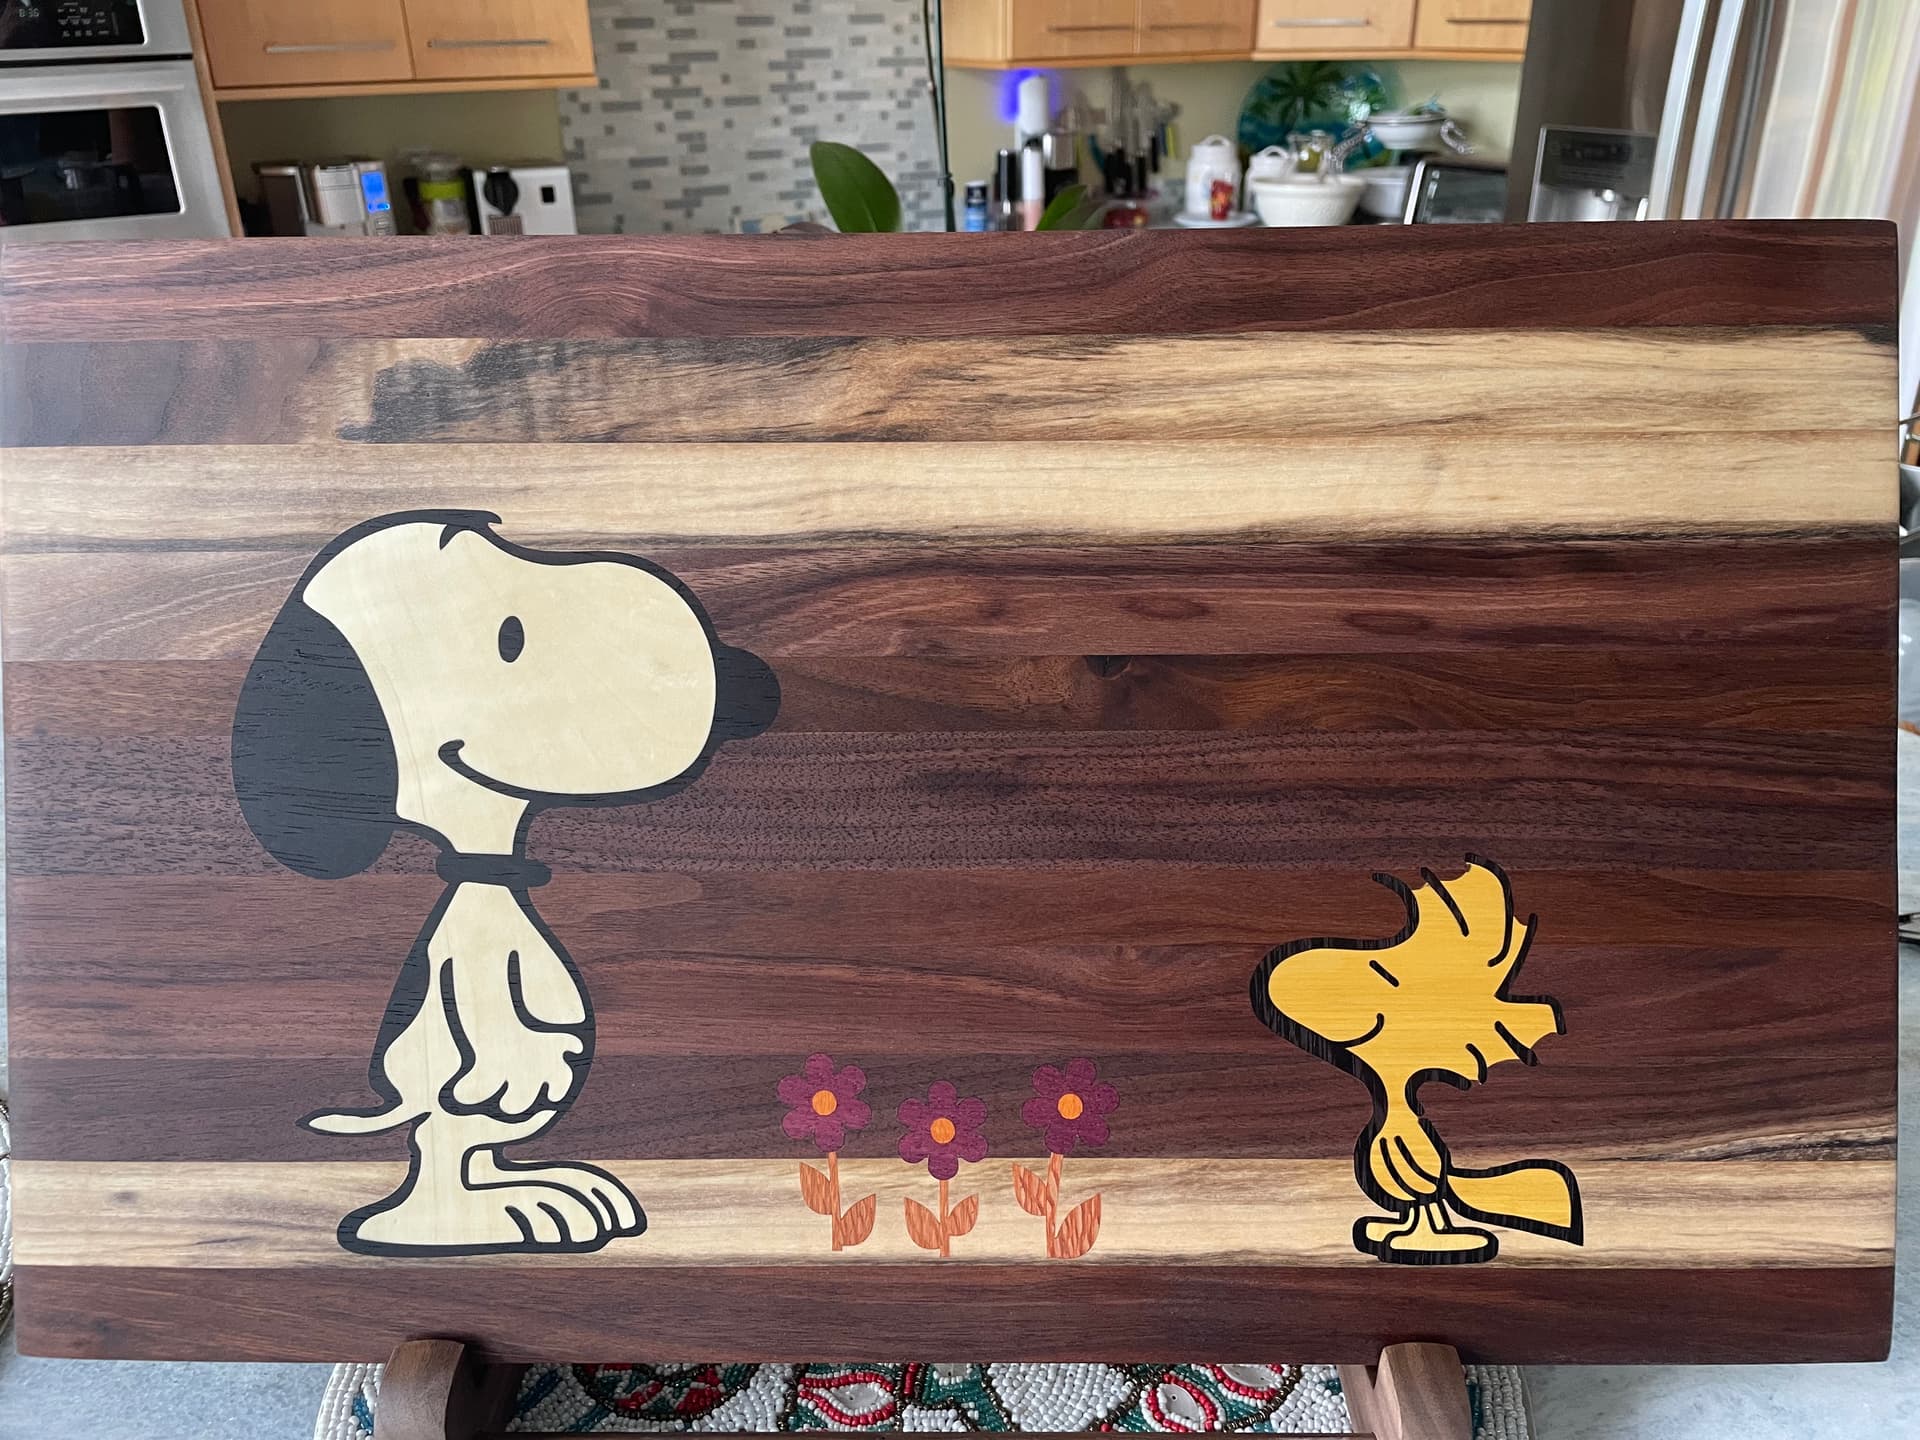
The Snoopy board has .18 pockets. The plugs are .14 depth and .06 top gap
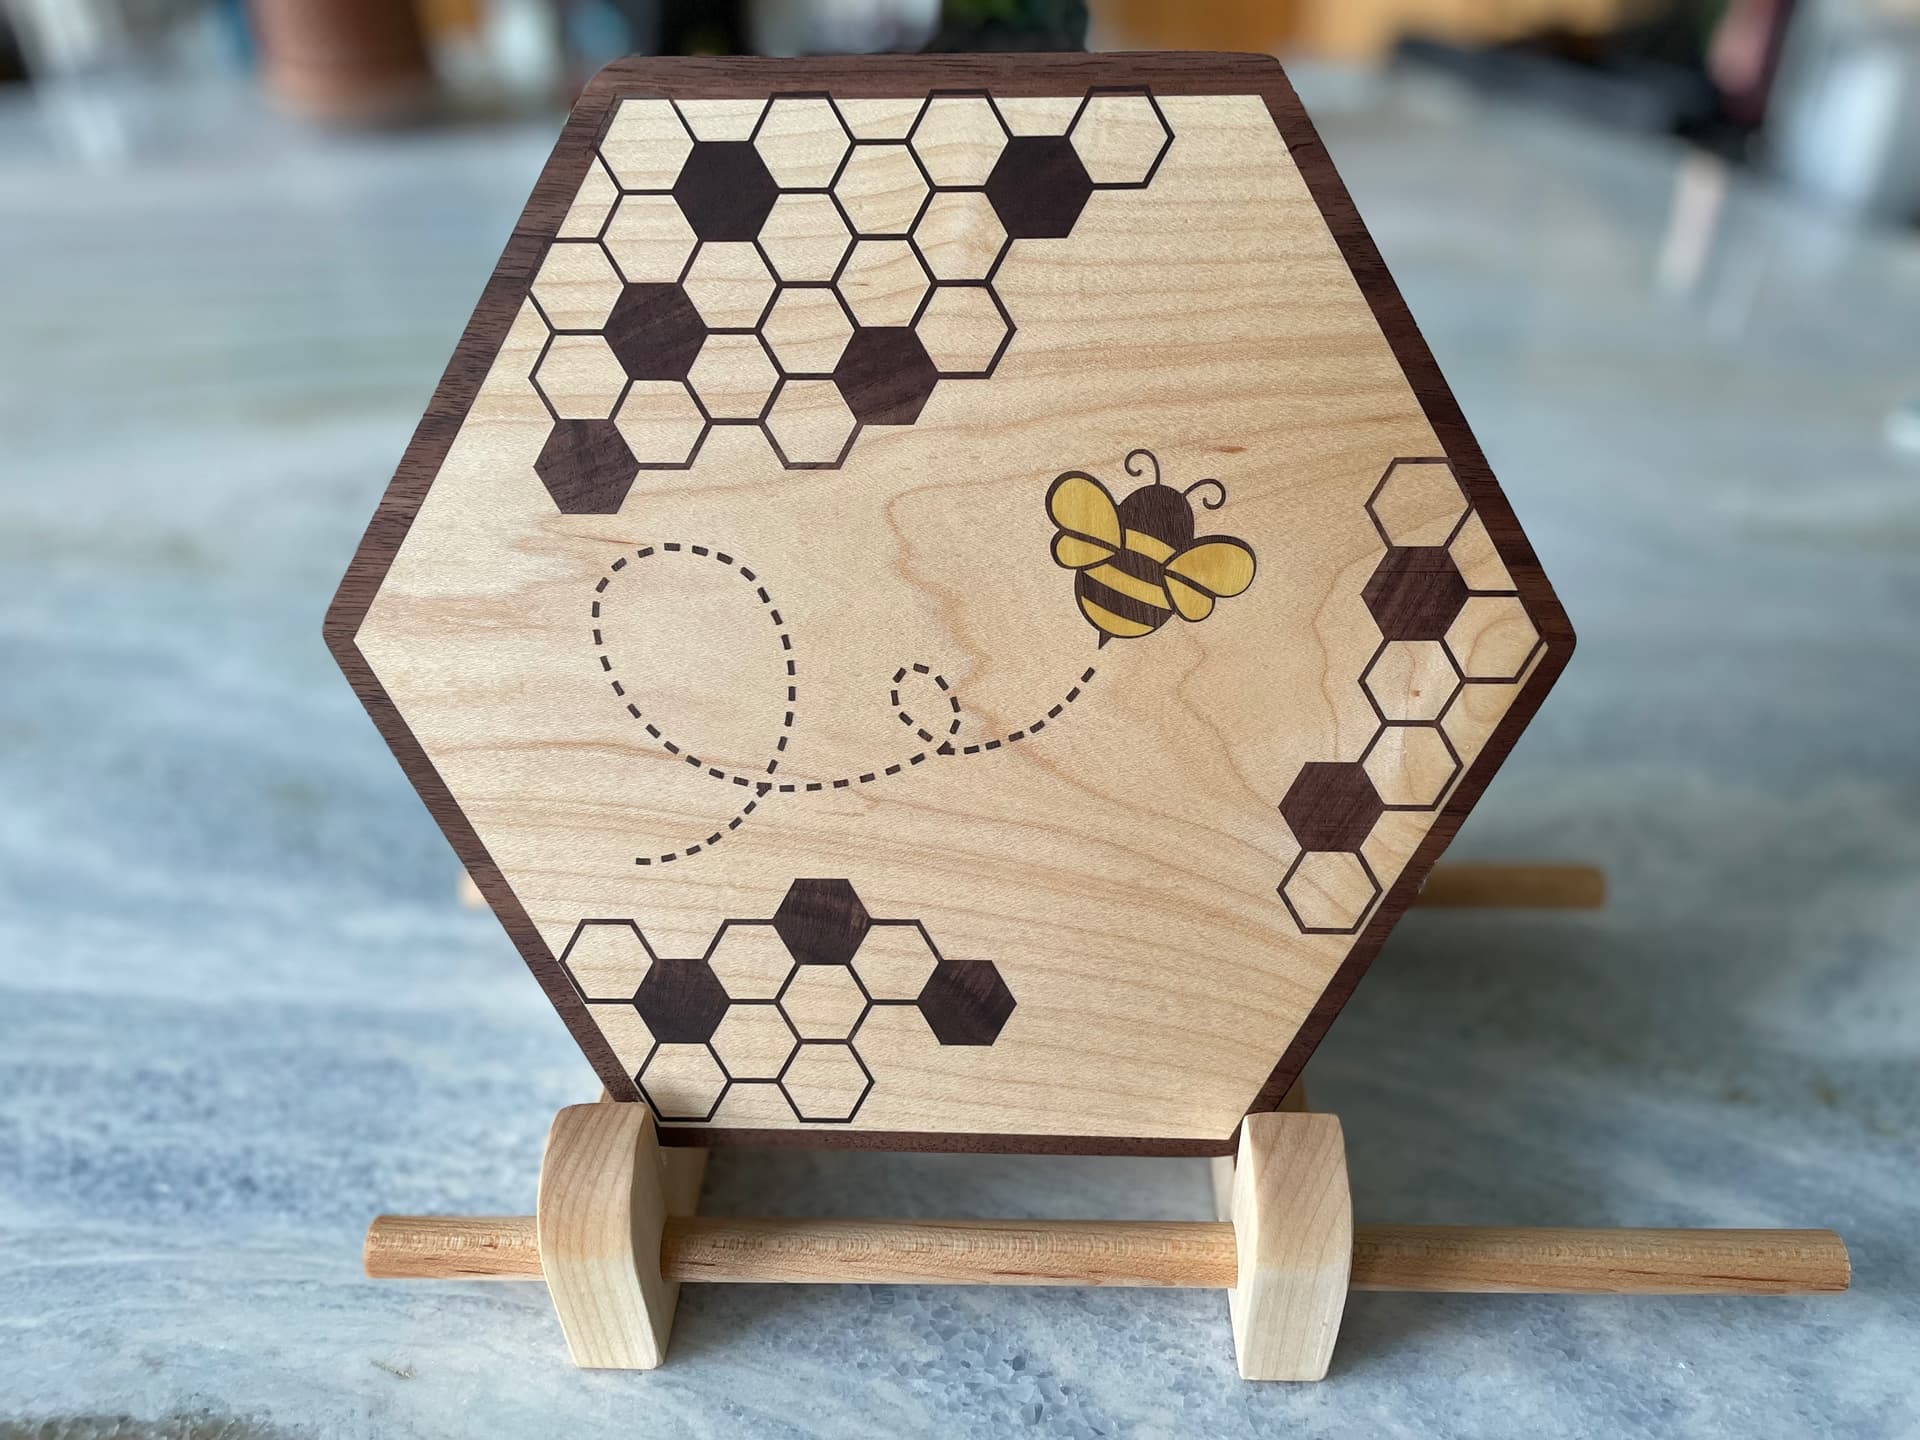
The Bee board has .125 pockets. The plugs are .075 depth and .05 top gap
Again, thank you for the compliments and thank you to all those who have generously shared their knowledge and advice. This is one of the main reasons I selected Shapeoko and I couldn’t be happier.
Happy carving…
1 Like
I forgot to mention that setting up your board square with the machine is critical as is creating a repeatable XY zero. I use a corner square mounted on my work surface to ensure my board always mounts to the exact same spot. I use center of stock as my reference for XY zero. I set up a user defined macro to ensure the machine always returns to the exact same XY location between pocketing steps. Sometimes it is a little bit off, so I double check, make any necessary tweaks, and then reset my XY zero if needed. I cannot over emphasize the importance of this. If you look closely at the Bee on the Bee board, you will see the wings are slightly different. This is how I began to learn and develop my procedure for repeatable XY positioning.
1 Like
Mark, TY thousand times! I am excited as hell to use your recommendations for my next item. I did some end grain “one level” inlay boards, came out quiet nice, did few face grain boards with sharp edges where some very small parts broke off, what I had to fill with glue/wood dust: call that cheating. Of course nobody else sees that except me, Kevin said that, but I do… Like you and the bee wings: nobody sees any flaw, but you…
And your face grain boards, multi level, look as precise: makes me jealous (not really, but I deeply admire the craft and art), that gave me some courage not to give up.
Still I need to sell them… (another challenge…)
My pleasure and thanks again for the kind words. I’ve tried to stick with doing edge and face grain boards/plugs to avoid the process of creating end grain blanks for my plugs. Plus, I like the grain patterns that show up in the final project. I may experiment with end grain in the future realizing of course that I cannot mix end and edge/face grains. One final thought on the importance of squaring your stock and generating a repeatable XY zero in center of stock. If you also look closely at the Bee board, you will see the honeycomb is not properly centered. This is because I was trying to zero XY at lower left and I did not have a sound procedure for making sure my board was mounted in the exact same location between stages. I had so much difficulty getting XY consistently set with each subsequent stage of the project. Therefore, I switched to center of stock which was much easier for me, and mounted a corner square on my waste board.
Don’t give up! Good luck with your projects!
1 Like
Hey Mark, are you saying that while running a job that you loaded in motion, you actually zero again in the middle of running that job, so in between tool paths? If so, does that have to be set up in the gcode somehow?
the 9ers board is killer
how did you get the color?
(go eagles)
![]()
Kraig,
No, what I mean is the boards I’ve done have multiple pocketing steps, each of which may come after I inlay the plug and do clearing from the previous step. This means, I have to remove my board from the machine and glue the inlay, then remount the board for clearing that plug before the next pocketing step. I use that mounting and XY zero procedure I described to make sure the next pocket is exactly where I expect it to be on the board.
I’m sure my whole procedure, start to finish, can be made more efficient with the use of layers or other features of Carbide Motion that I’ve yet to learn. That is on my list of things to learn…
Thanks! I made that for my sister who is a huge 49er fan. The red color is Padauk, the gold is represented by Yellow Heart, and the dark is Black Wenge.
Your work is absolutely stunning! Very inspiring! For the snoopy, I assume it’s two separate inlay plugs added layer by layer? What wood are you using for the black part?
Thank you! Yes, the Snoopy is two separate inlay plugs. Black Wenge is the black part and was laid in first. The white layer is American Holly.
That makes sense. Thank you for the explanation, greatly appreciated!!