A monkey gets his hands on a Shapeoko (Regularly Updated)

Photo dump while I eat a late lunch…

Little Bluetooth speaker wasn’t cutting it as a shop stereo. Had some old car speakers sitting around, so I slapped something together that sounds so much better. My wife hates it :rofl::

Loving this recent purchase. Makes sanding down tabs a breeze:

More odds and ends:

!


Looking forward to digging into some new stock I picked up recently:

Couldn’t help myself :joy::

As always, stay safe and happy cutting everyone!

13 Likes

This is a great gallery thread, really nice stuff.

If monkeys really were this talented and competent, humans might be in trouble :wink:

4 Likes

As you mentioned about the speakers wives generally have a 6th sense when their husbands are enjoying themselves and they instinctively want to quash it. :heart_eyes:

4 Likes

After 50 years with the same woman, I measure my enjoyment by how many tiny little tasks I’m asked to do “before you go out to the workshop.” :smiley:

7 Likes

Love the Tennessee signs! How did you achieve the nice and clean two-color look? I’m thinking about trying out some of that shelf liner that people have mentioned in other posts to achieve the two-tone paint job.

1 Like

@KeimCNC, I have had a lot of luck with OraMask but I have read that the shelf liner paper works just as well.
Here is my method for masking: Best Masking Material? The smaller river signs in my most recent post are actually full color mdf that I painted in a contrasting color before cutting, so no masking needed.

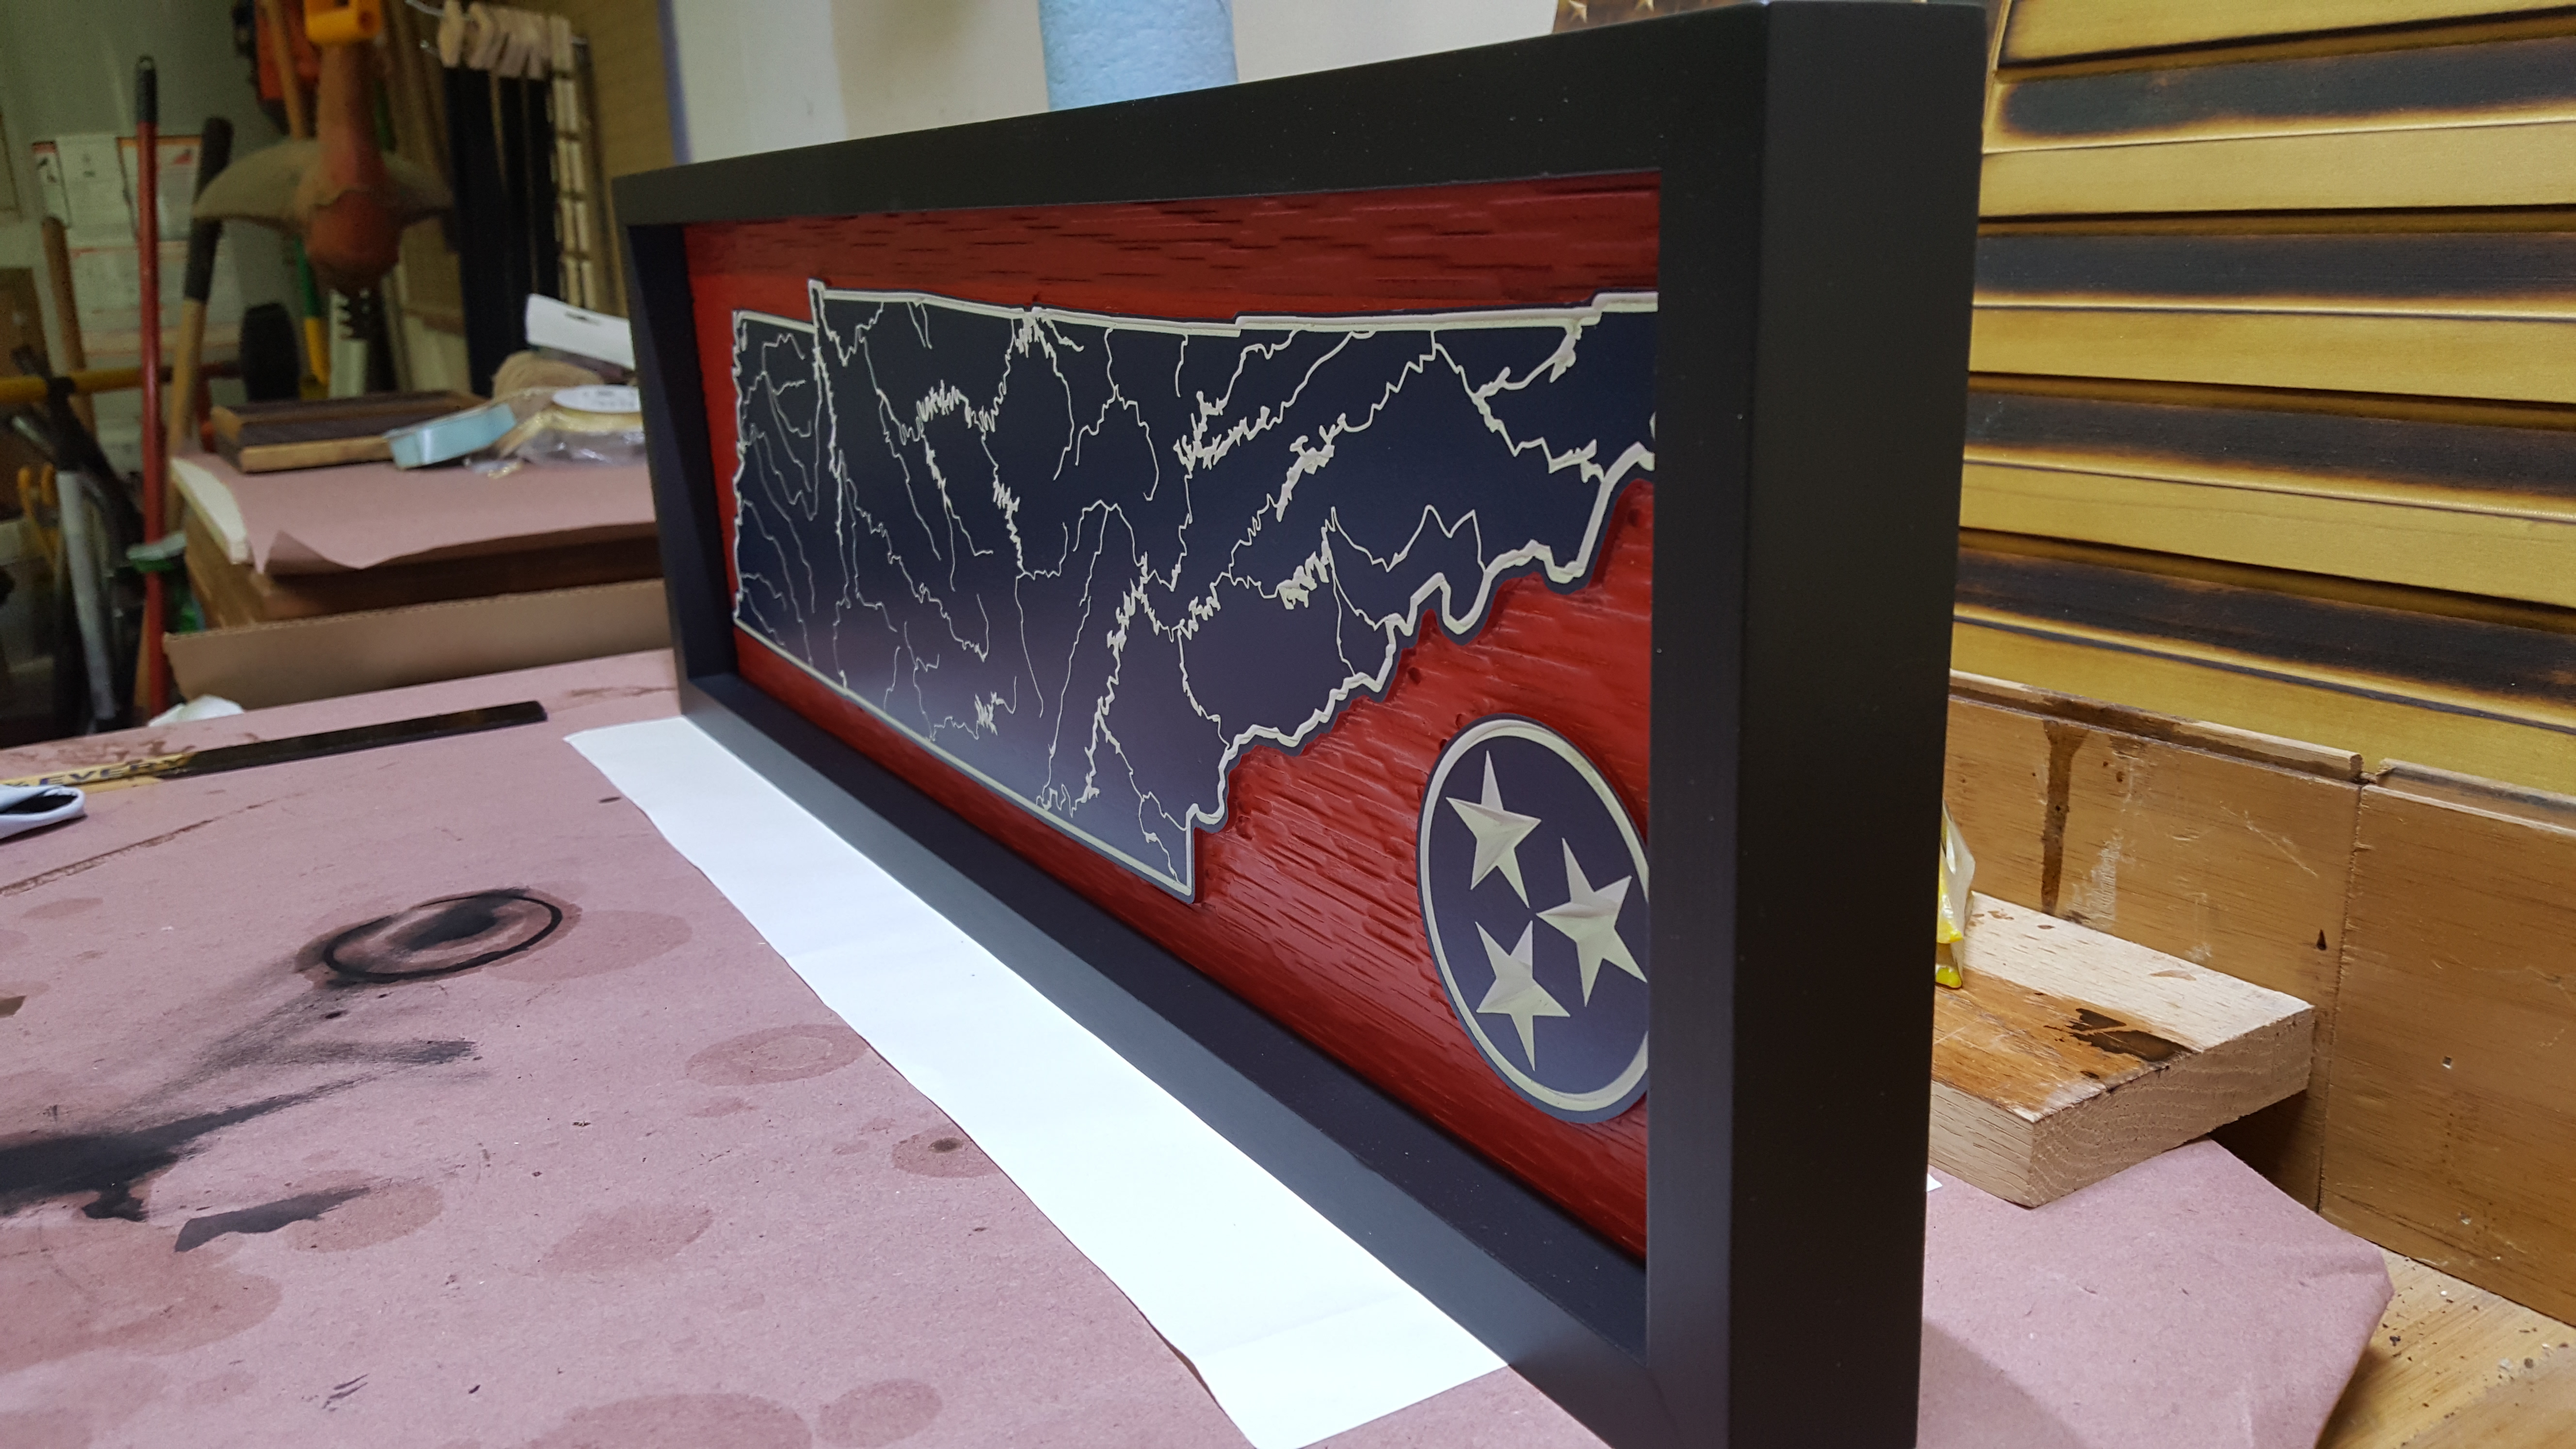
Edit: this one was made from a piece of poplar with a couple different rounds of masking and painting, so masking can give awesome results if done carefully:

7 Likes

Just wait until your wife finds out!

4 Likes

Great work Monkey… keep it up

3 Likes

Awesome piece sir. Thanks for the help

2 Likes

You in the Columbia area? I see your crooked ear mule! I live just north of town.

2 Likes

Hi Scott,
Fantastic work! What steps did you take in creating the beautiful black bkgd signs with white/natural wood lettering? Did you paint it, let it dry and then CNC over it? The paint didn’t peel or chip?

Thank you,
Gary

1 Like

@zwbenedict - those were made to order for a friend of mine who lives out there. I have heard from multiple sources that the mule is a big deal in your neck of the woods! I am a few hours east of you, but if you ever venture out this way let me know.

@designer_daddy - thank you for the compliment, Gary! Yes, they are painted and then carved. Proper surface prep and giving the paint a day or two to dry and harden is all it takes.

And to both of you- Welcome to the forum!

2 Likes

Man you were doing so good, then I see that Auburn buzzard and spoiled my day. Just joking with ya your works are extra nice. Now be a real man and do an Elephant (Roll Tide). Keep up the fine work.

1 Like

Your projects have a quality look to them! You inspire me to make more stuff!!

2 Likes

@Dirtyknuckles, as much as I love the different takes on the elephant logo and look forward to carving one for a customer, I don’t see myself being able to cut one “for fun” and not have my shop burnt down by my wife who is a hardcore UGA fan. Something about that “happy wife, happy life” thing… Thank you for the compliment!

@Jairo, thank you for the compliment! It prompted me to check out your website/insta and I really dig your work! My wife added another item to my honey-do list when I mistakenly showed her the “red hot lips” decoration you sell! :rofl::joy: You think I would have learned to stop showing her all the neat stuff I come across online.

2 Likes

Yeah finish on these is superb

2 Likes

Thank you @Sherpa! Speaking of superb, your Death in the Family (#201) post was one of the best I have ever read! Had me rolling :rofl:

1 Like

Monkey, your work is exceptional! I’m a few weeks in my CNC journey, somI have ways to go. If you don’t mind me asking, how do you get the texture in what looks like the Ironman mask and I believe the flag?

You produce really nice work.

Thank you, Ernie! I used the texture toolpath in Carbide Create. See: Carbide 3d tutorials-textures for a quick intro. And here is a great video by Chris Powell that covers it pretty well:
Adding textures with Carbide Create
Only tip I can share: if you are trying to texture around an element of your design and it is important that the texture toolpath doesn’t cut into the edge of said element (like a raised letter), you need to offset the toolpath away from the element by at least half the diameter of your endmill. CC, for some reason unknown to me, likes to run the center of your endmill all the way to the edge of the whatever you have selected for the texture toolpath. Like any monkey, I learned that the hard way…
@MrGNY, thank you for the compliment! It has taken me longer than I like to admit to “dial in” my finishing.

Edit: oh, and @erniediaz123, don’t let Perturabo hear you mistaking the chapter logo of the ninth legion with ironman. I heard he has anger issues…

4 Likes