I’m fairly new to CNCing and this is my first community question. I have the 5 Pro and use carbide create pro.
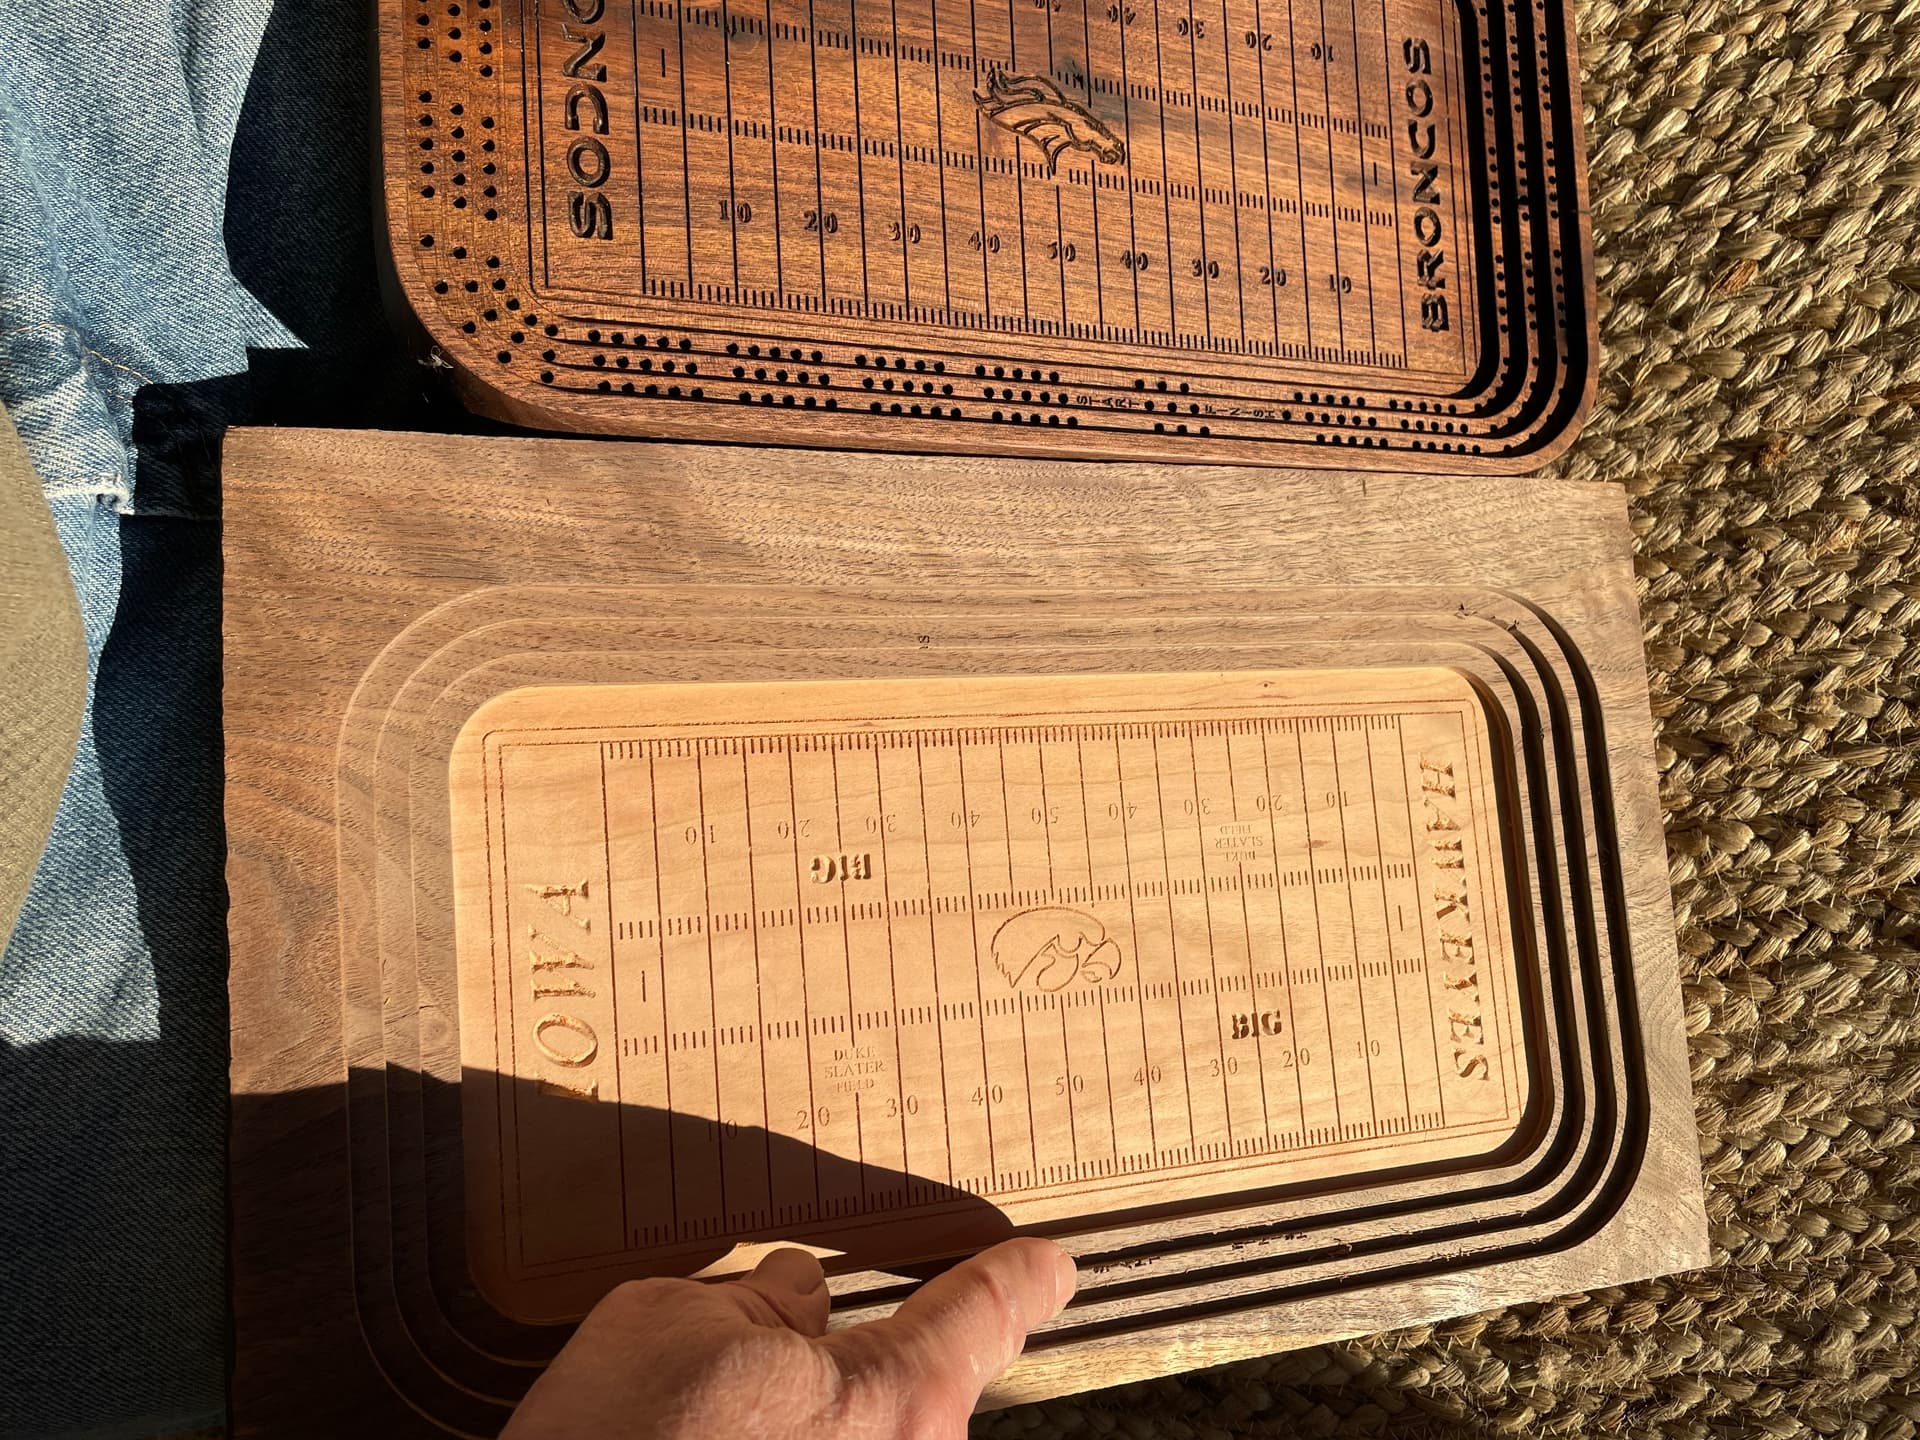
I made a “Bronco stadium” cribbage board that turned out great, first try. I just made the same board with Iowa Hawkeye logo etc. and have issues.
I copied and pasted the good bronco stadium to a new page and added the Iowa logo. I then rewrote the tool paths identical to the original bronco board with the exceptions of hole depth and some yard line depths.
On the Iowa board all toolpaths work perfectly until I got to the toolpath words “Start/Finish” and the actual “peg holes.” They are all off about 1/8 inch to the inside of the tool path. However the simulation shows that all is good.
I decided today to run the good bronco program with my partially finished Iowa board. I disable all tool paths on the good bronco board, except the “Start/Finish” and “holes” tool path… he same thing now happens on my “good” bronco program?
I’ve now ruined 3 walnut and cherry laminated boards and spent hours trying to figure it out what’s up with no luck.
The good board is the Bronco board
The problem board is the Iowa board…
I’ve enclosed a couple pictures where you can compare the words on the boards, I stopped the program before it started dilling incorrect holes again, but they are “off” the same distance as the “start/finish” words.
Sorry for the long babble! If you can decipher what I’m saying and can help…THANK YOU.
This issue reads to me as purely mechanical since the Bronco Stadium file now experiences the same issue as Iowa Stadium file.
How are you setting your X-Y zero for these projects? Is it possible you misaligned your work pieces in subsequent runs? This seems most likely to me since the holes from the Bronco file is now exhibiting the same behavior → both offset from expected zero by the same amount.
Other possible causes:
How aggressive are the rest of your cuts? If the motors on the machine are pushed too hard they will skip steps and thus be slightly offset from their actual position for the rest of the cut.
Loose parts such as belts, pulleys, wheels and pretty much anything else that moves can cause slop. I haven’t experienced these issues myself so I’ll let someone else chime in.
Thank you for your input, I appreciate it.
I use a bit zero so I think that part is good. After I clamped my piece down I did not move it throughout the entire 10 tool paths. I’ll check for loose parts but the machine only has about 10 hours on it and the other tool paths work fine. Thanks again!
I just climbed off the roof!!! As I’m finding out as a new CNC guy…99% of the problems are operator error. Problem solved.
And a simple one… I just manually measured the interior length and width of the 2 boards…almost 1/4 inch difference!! Apparently when I was moving the board around I stretched it an 1/8 and didn’t realize it. Wow I feel like a dork!
All part of the process. It’s why we new guys are encouraged to cut test files first before ruining the good wood. The good thing is you nuked it out yourself. It is also why most of the beginner videos provided by C3D state “measure, measure, measure your stock”.
I shouldn’t be glad but I am… I mean that it’s not just me … lol… I make this type of error myself from time to time… what helped me out was the use of a checklist before actually cutting… it really helps… I would think to myself that I know what I’m going to do and just like that… I missed a step and had to start over… the boards look great… I really like the peg holes going around where the seats would be… great job figuring out the issue…try a checklist…