Can anyone tell me how to figure the exact cutting area on the xxl?
Does the cutting area start where the machine homes?
How far from the back base rail should I place my material? I’m thinking it’s somewhere around 8 3/4”- 9”? Is there any defined area like this that is standard?
I may not be making any sense at all but hopefully someone will grasp what I’m talking about.
Thanks in advance!
This is what Google has to say: Shapeoko XXL has a cutting area of 838mm x 838mm x 75mm (33" x 33" x 3") and an overall footprint of 1137mm x 1023.62mm (44.8" x 40.3") It uses a 1.25hp spindle and NEMA 23 stepper motors for motion control with an accuracy of about 0.005".
2 Likes
Please see: https://wiki.shapeoko.com/index.php/SO3_Function_Test#XXL and the section before that.
I wrote a bit about this at:
but only have access to an SO3 and XL at this time (hoping to upgrade a machine to an XXL presently) — the dimensions noted should be much the same, just increased along Y by the added extrusion length.
2 Likes
You also need to consider the cutting diameter of the bit your using. Not much of an issue for the smaller endmill - but a consideration if you have a larger diameter surfacing bit in.
3 Likes
You could go to Carbide Motion and to the Jog tab.
Rapid position to the SW corner and zero all offsets.
Rapid position to the SE corner and see what your X value is.
Rapid position to the NE corner and see what your Y value is.
You now have your basic cutting area dimensions - at the very centre of whatever bit you have in.
Your cutter will extend beyond this though. So for whatever cutter you have divide the cutting diameter by 2 and add it the X and Y values above.
That said - this shouldn’t be a concern unless you’re trying to cut something at the maximum dimensions. If you’re just wanting to cut something 8 3/4" x 9" you can just mount it on the table and zero the machine on your work piece and it will start cutting at that point. Hopefully that helps.
5 Likes
Thank you all for your input! I think this is going to be very helpful!
I ran into a situation where my piece was too long to cut within that area. Wound up cutting it on the diagonal. Worked out great.
5 Likes
Yep, the machine doesn’t mind which direction it’s going. Like scotty says the machine can show you where the limits are.
For large pieces, especially those that overhang the bed, I generally;
- draw on the workpiece the key parts of my cut outline, furthest extents I need to cut, if I plan to finish cutting out on a table saw etc. these could be well inside the true edge of the part
- insert the largest bit I need for the job
- rapid to North-Something at the back of the table, you can then manually step a few more 1mm steps back as the rapids stop short of the travel limits but be careful with what your CAM tool decides to do when moving between cuts, it may need extra room
- line up the rear-most cut extent so that it’s a little forward of the cutter, gives room for CAM lead ins, I watch the CAM preview / simulation to see where those are
- rapid forward to South-Something and then manually feed forward more, there’s quite a bit of travel forward as the rapids stop over the bed and the Shapeoko has some overhang
- check I’ve got enough forward travel to accomodate the most forward marking
- now figure out where to put the X, Y, Z zero for the workpiece, at the edge of the stock might not be possible, that might be outside the reachable area of the machine so you might end up marking a zero point on the stock in the area the machine can reach
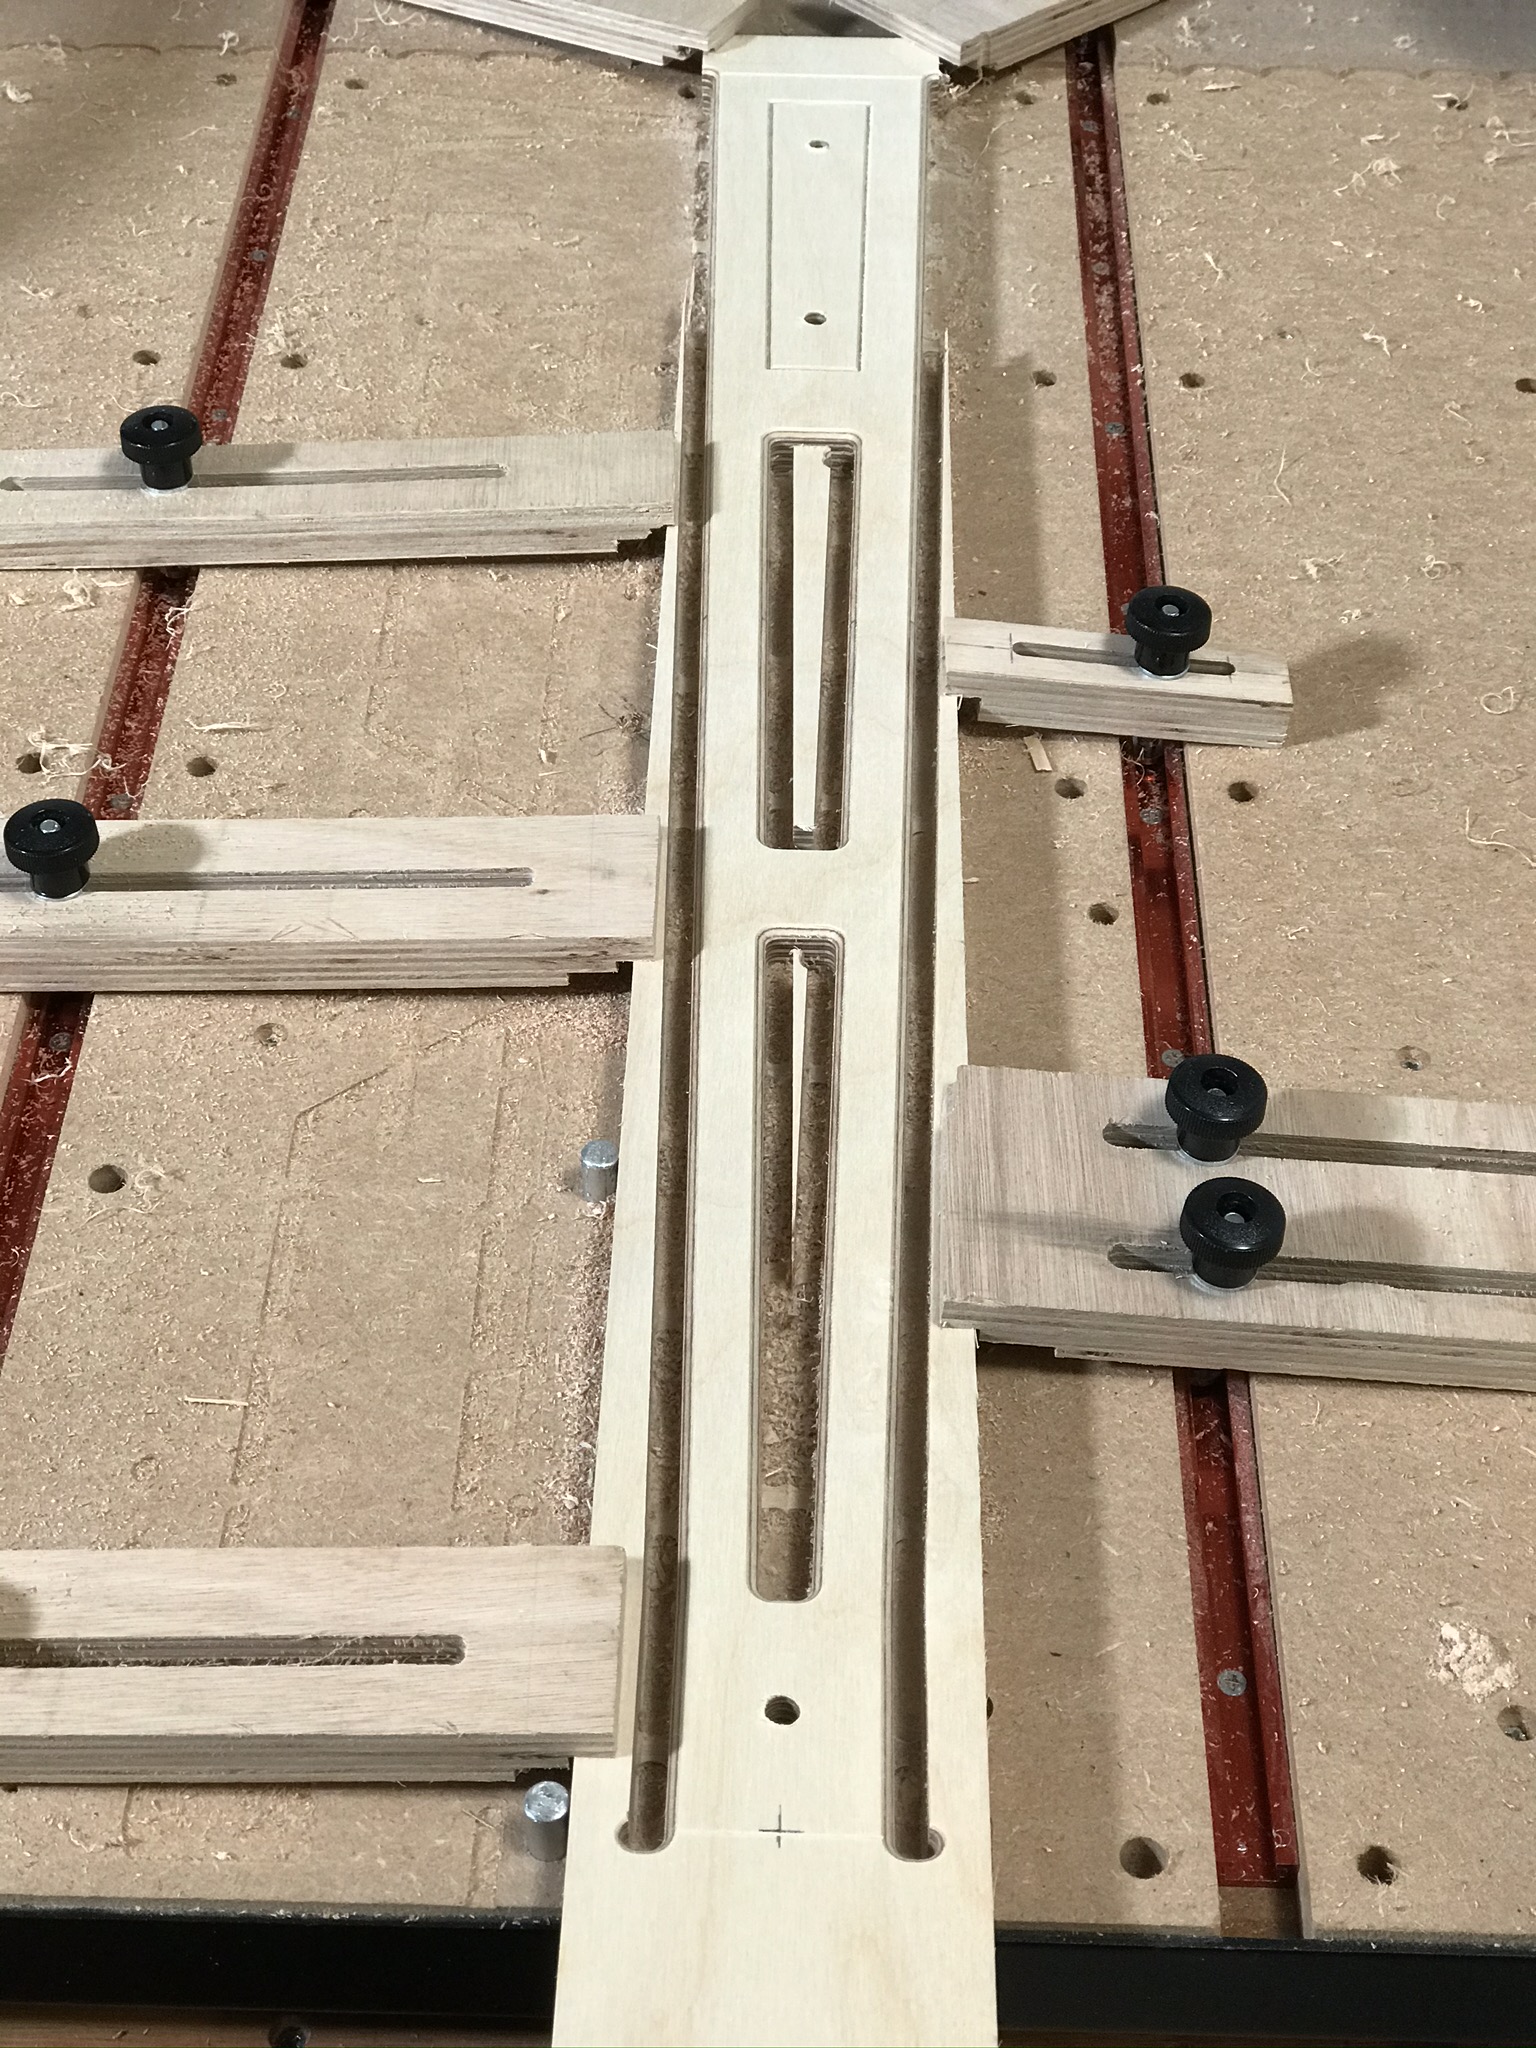
Below there’s an X drawn on the stock at the front I used as zero, all the cuts were done with the CNC or after the CNC so it just had to fit everything within the stock, top and bottom were chopped off with the table saw later. I couldn’t get the bitzero on the edge as it was too far off the front so it was a manual X, Y zero with a V bit.
You can also see the ridge at the back of my wasteboard where I installed it too deep toward the back of the machine and can’t reach it in a surfacing pass, will install shorter MDF strips next time.
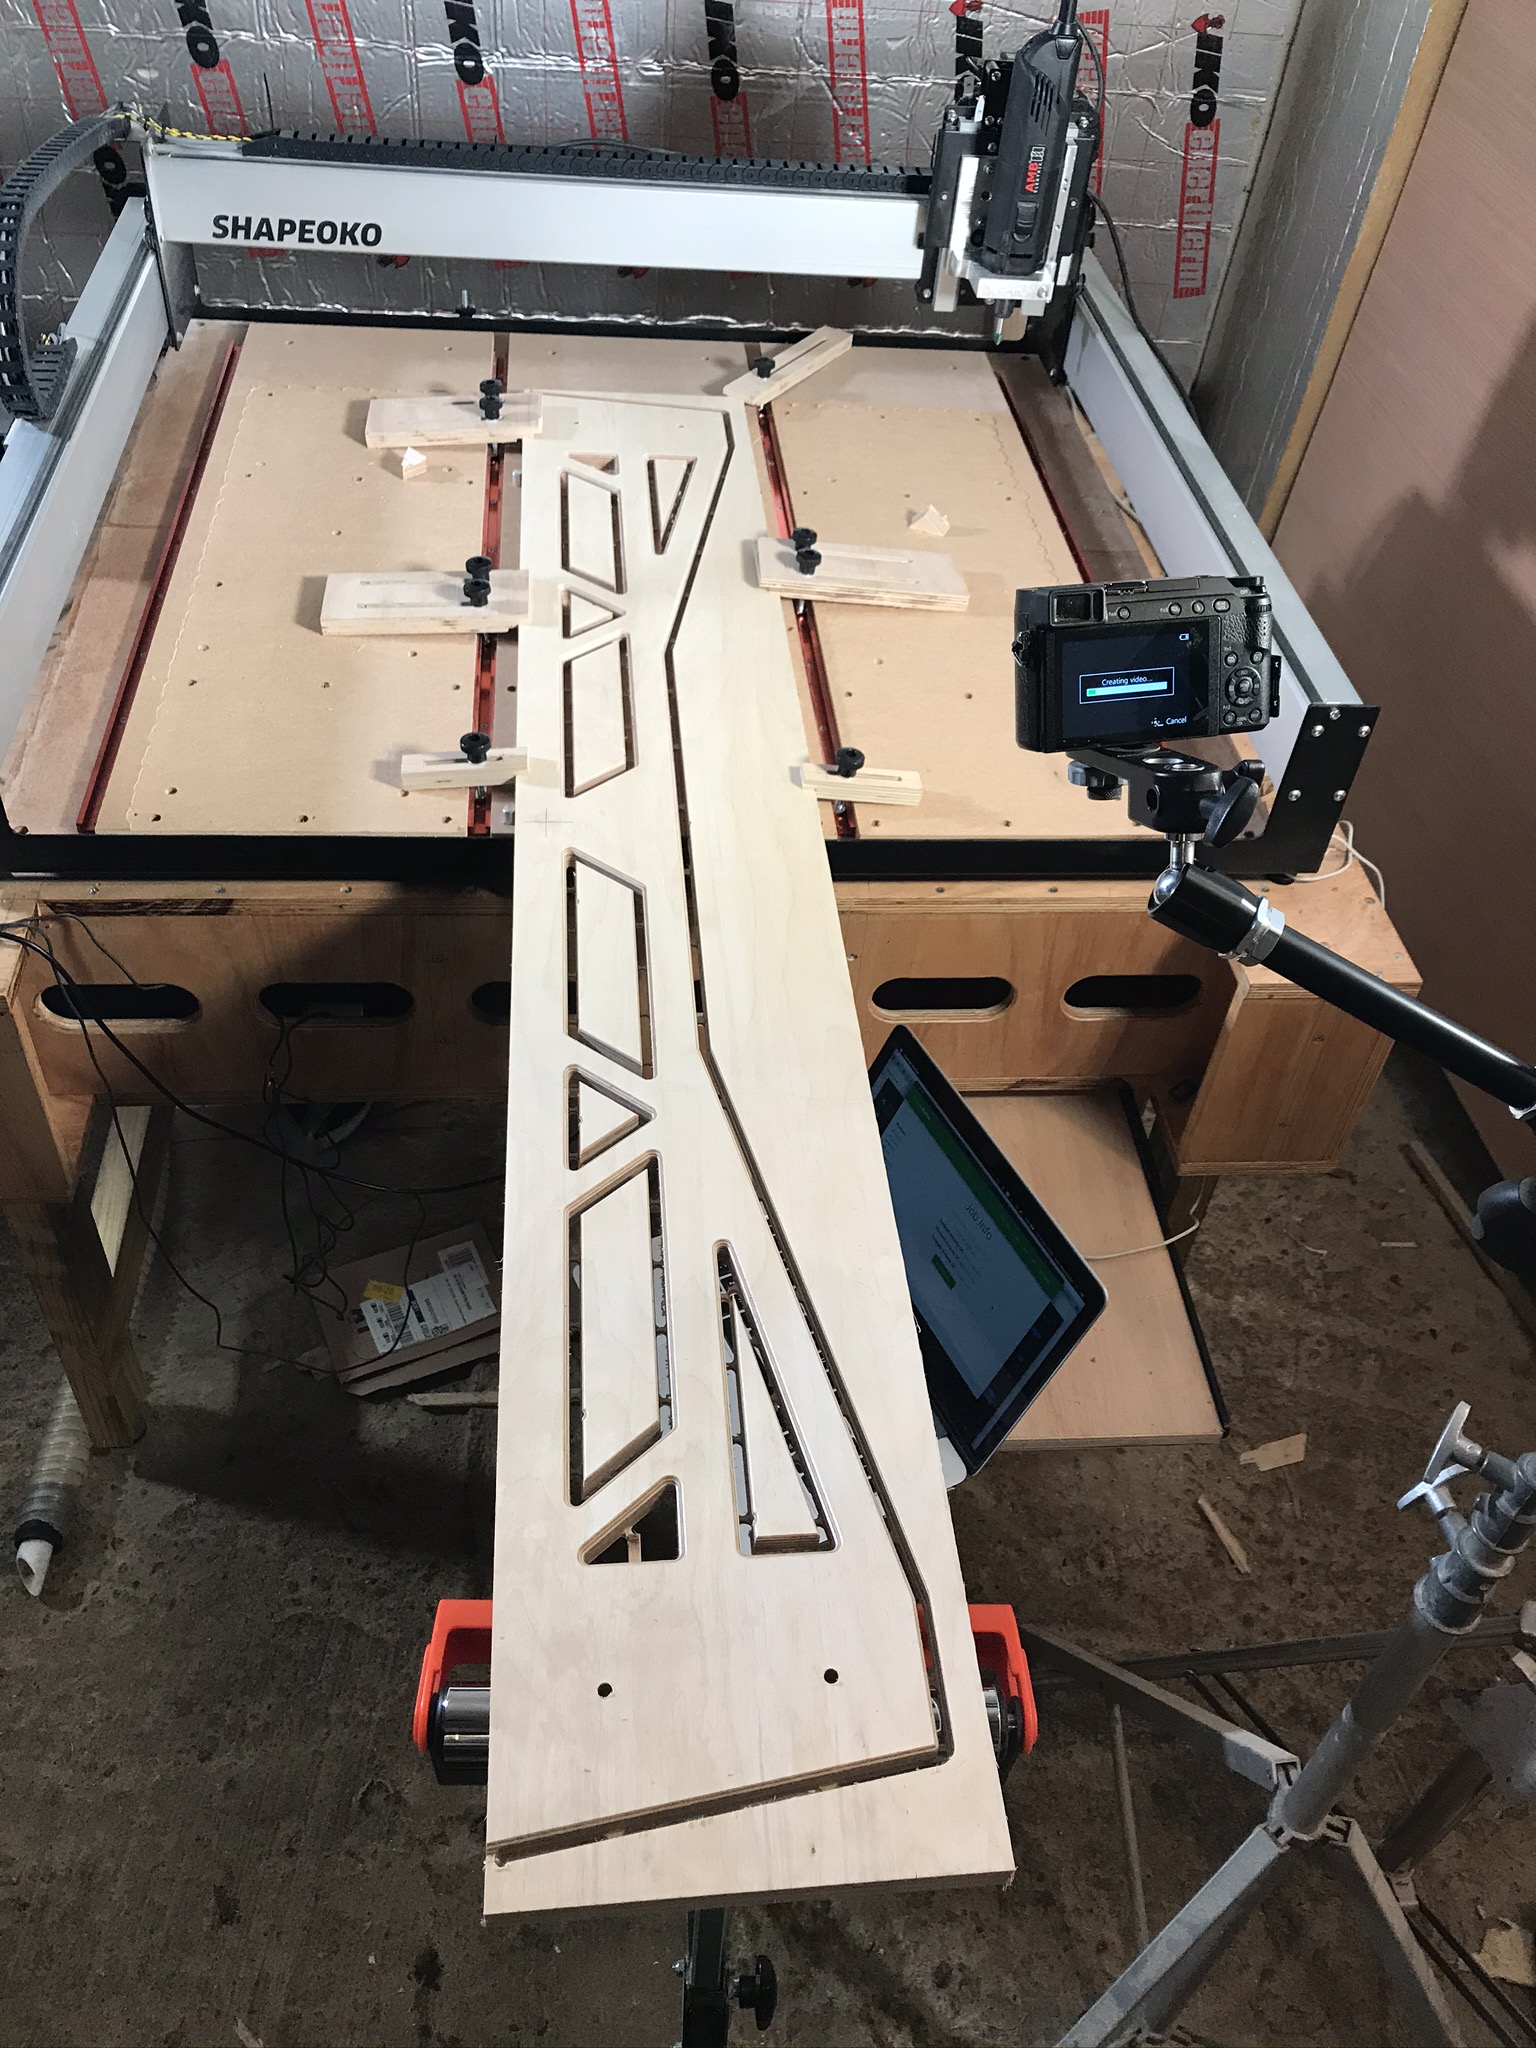
And here’s one with the part center off the front of the machine but still in the reachable area, had to be flipped round that center and machined in two passes, with careful zero-ing I got close enough that sanding took out the join line.
2 Likes
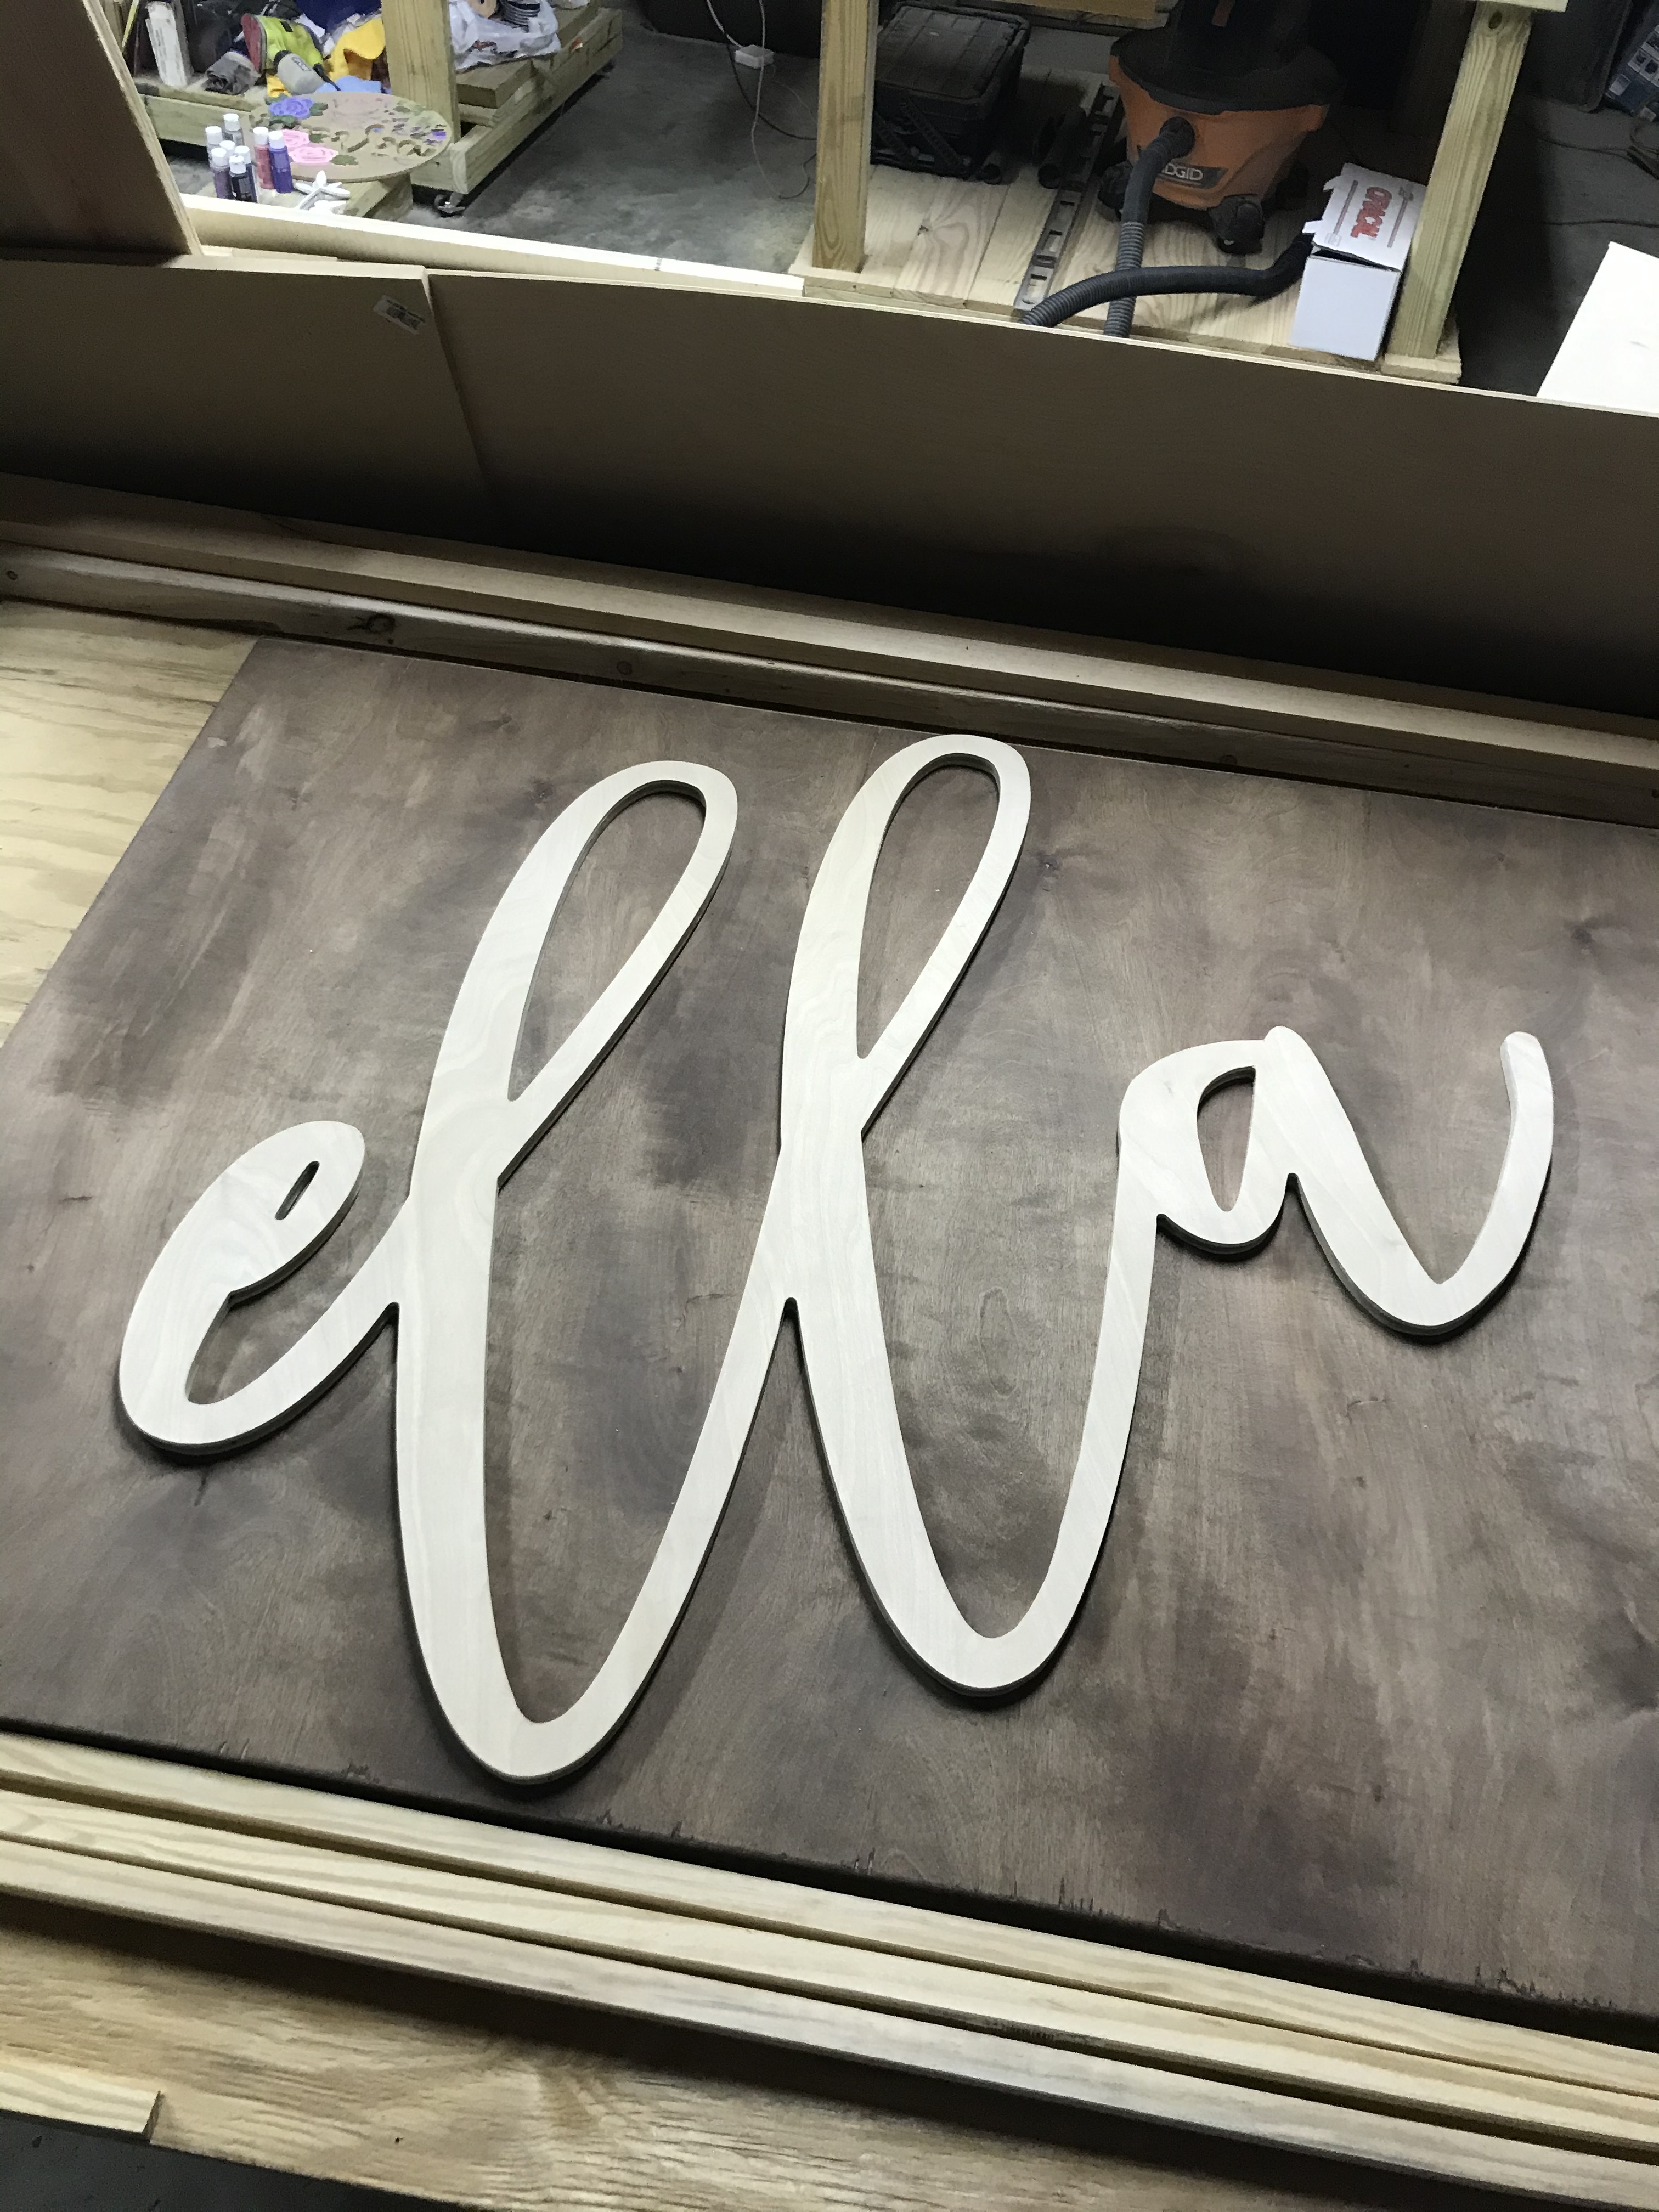
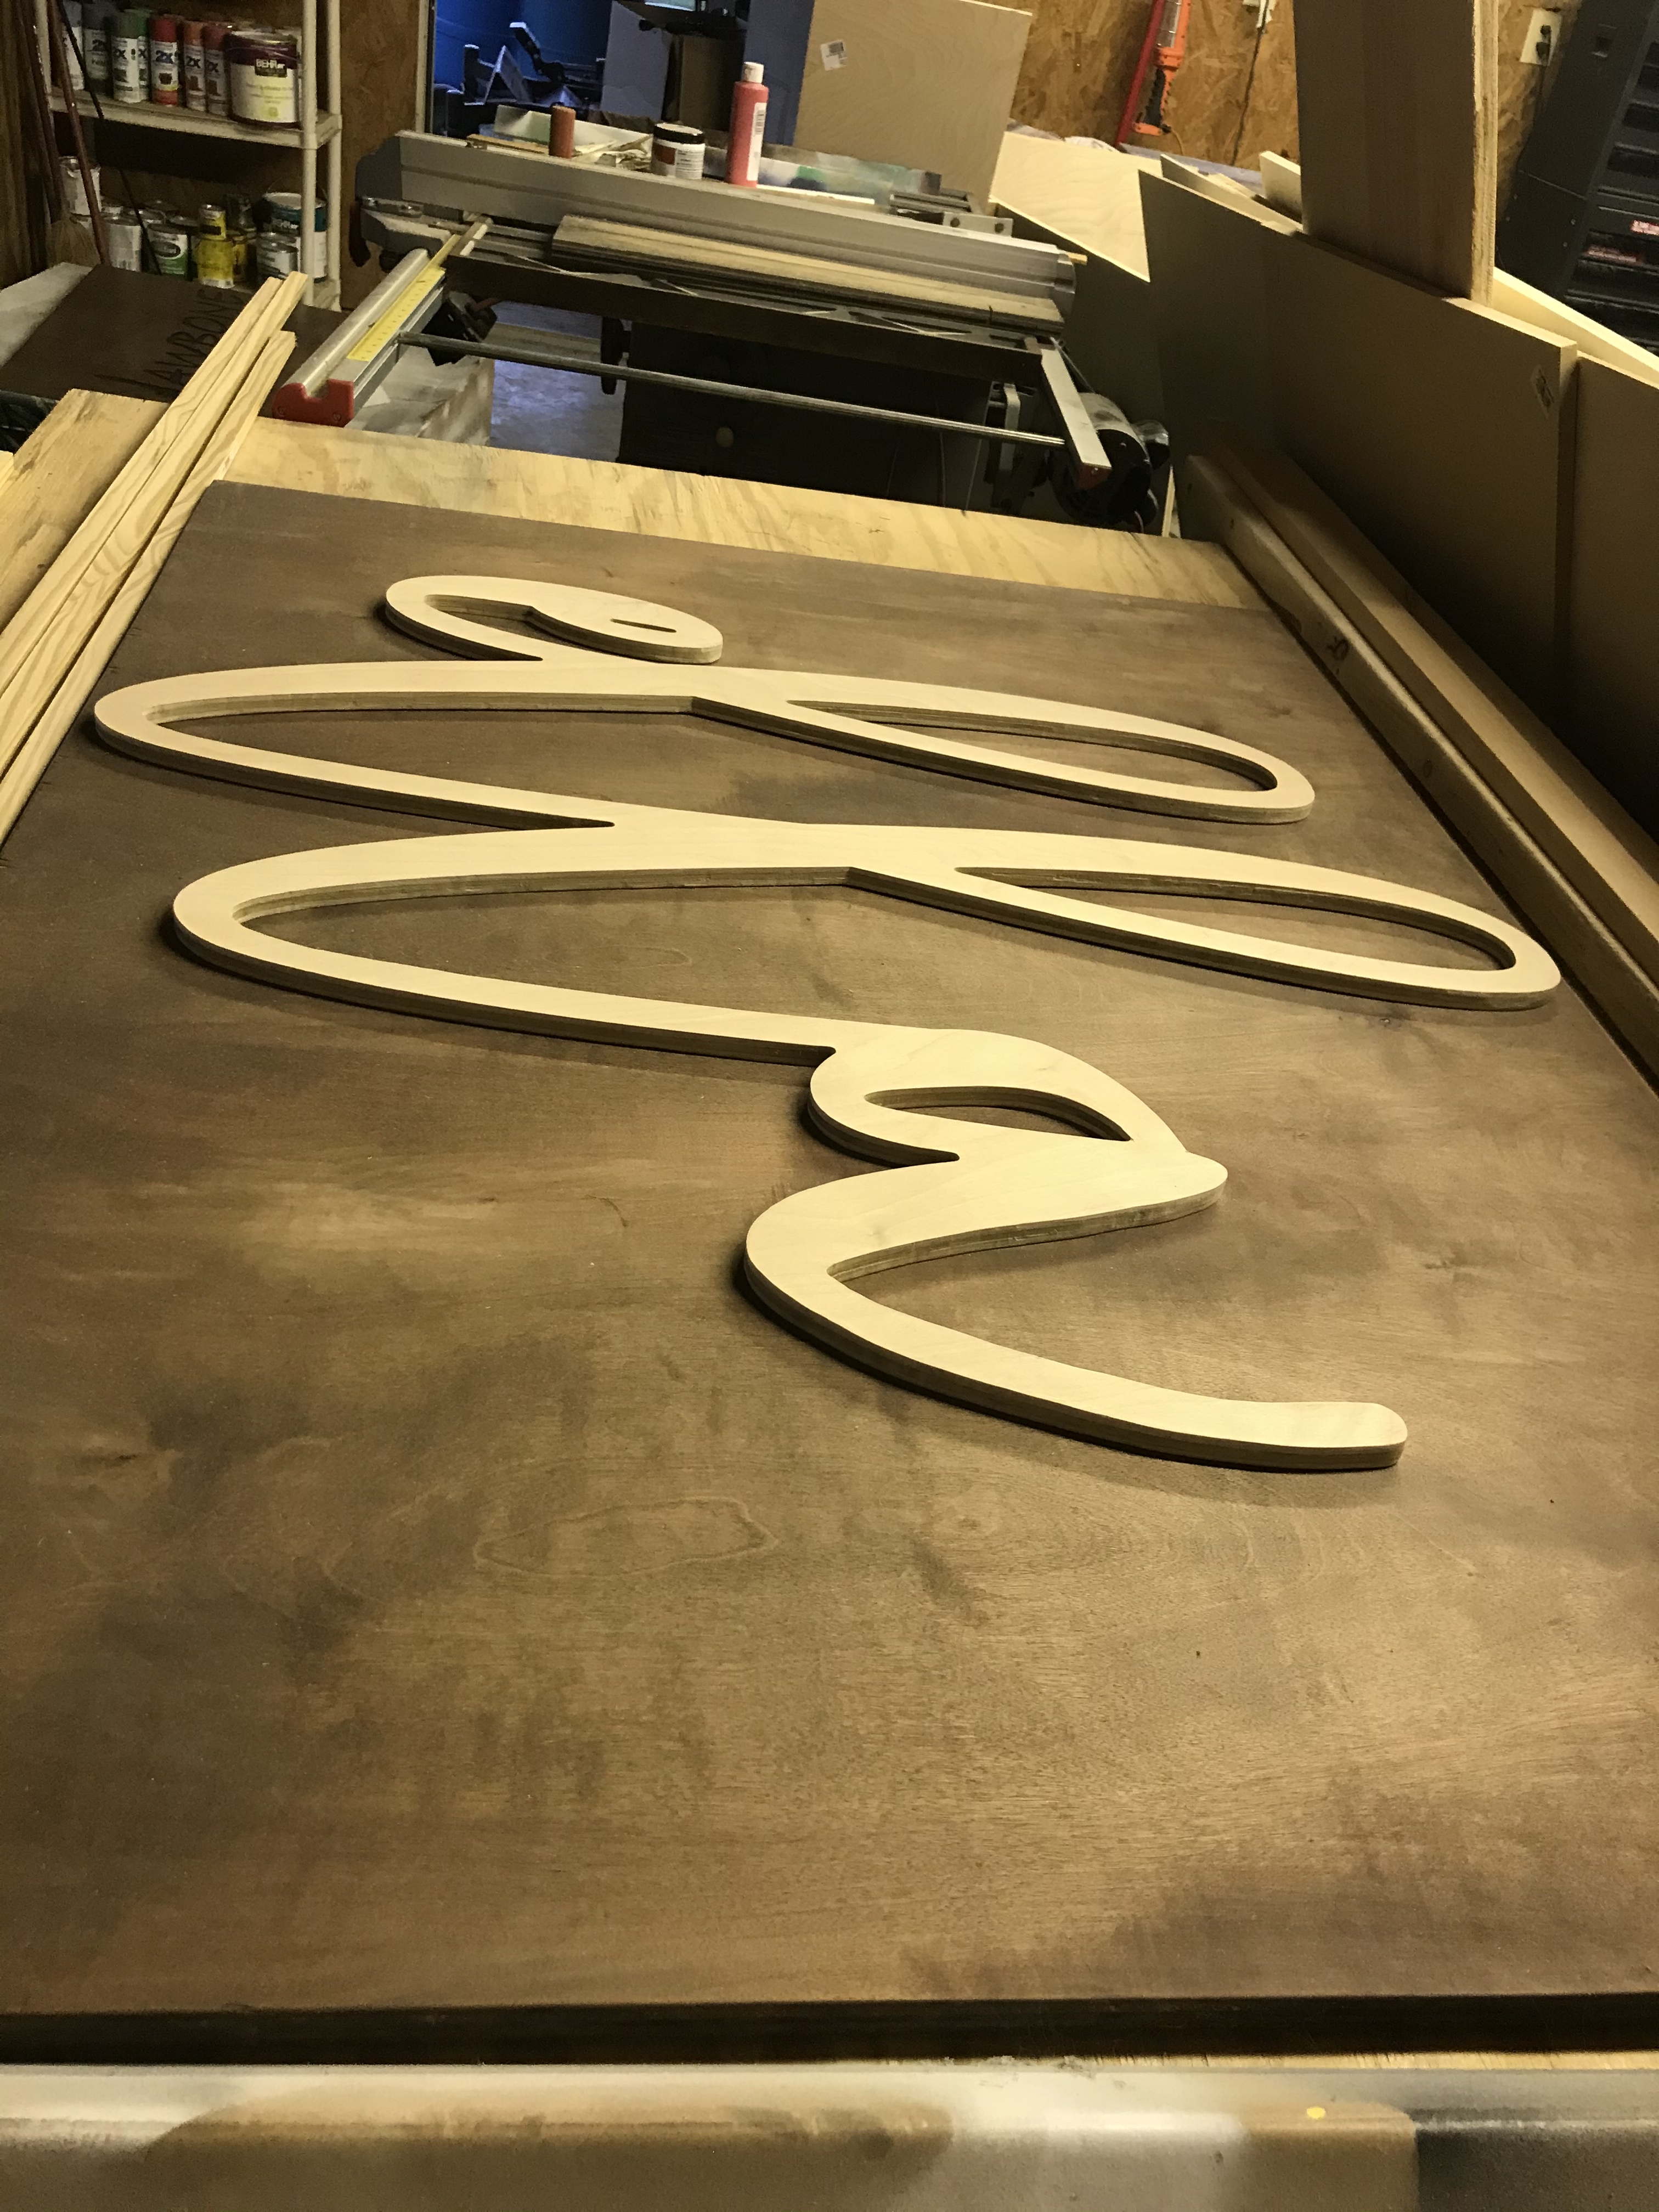
I have done multiple pieces that had overhang but they all had a “breaking” point. This last piece was a continuous name in script font and knowing where to start at the back of the machine was helpful due to the way I had it tiled (which I won’t do that way again)! I use carbide create so had to do the pocketing around the outside instead of an outside cut. Anyway, it all worked out.
Thanks for being so willing to help.
5 Likes
That’s a really rather good piece.
2 Likes
Thank you! I felt like it turned out pretty nice in the end.
This topic was automatically closed 30 days after the last reply. New replies are no longer allowed.