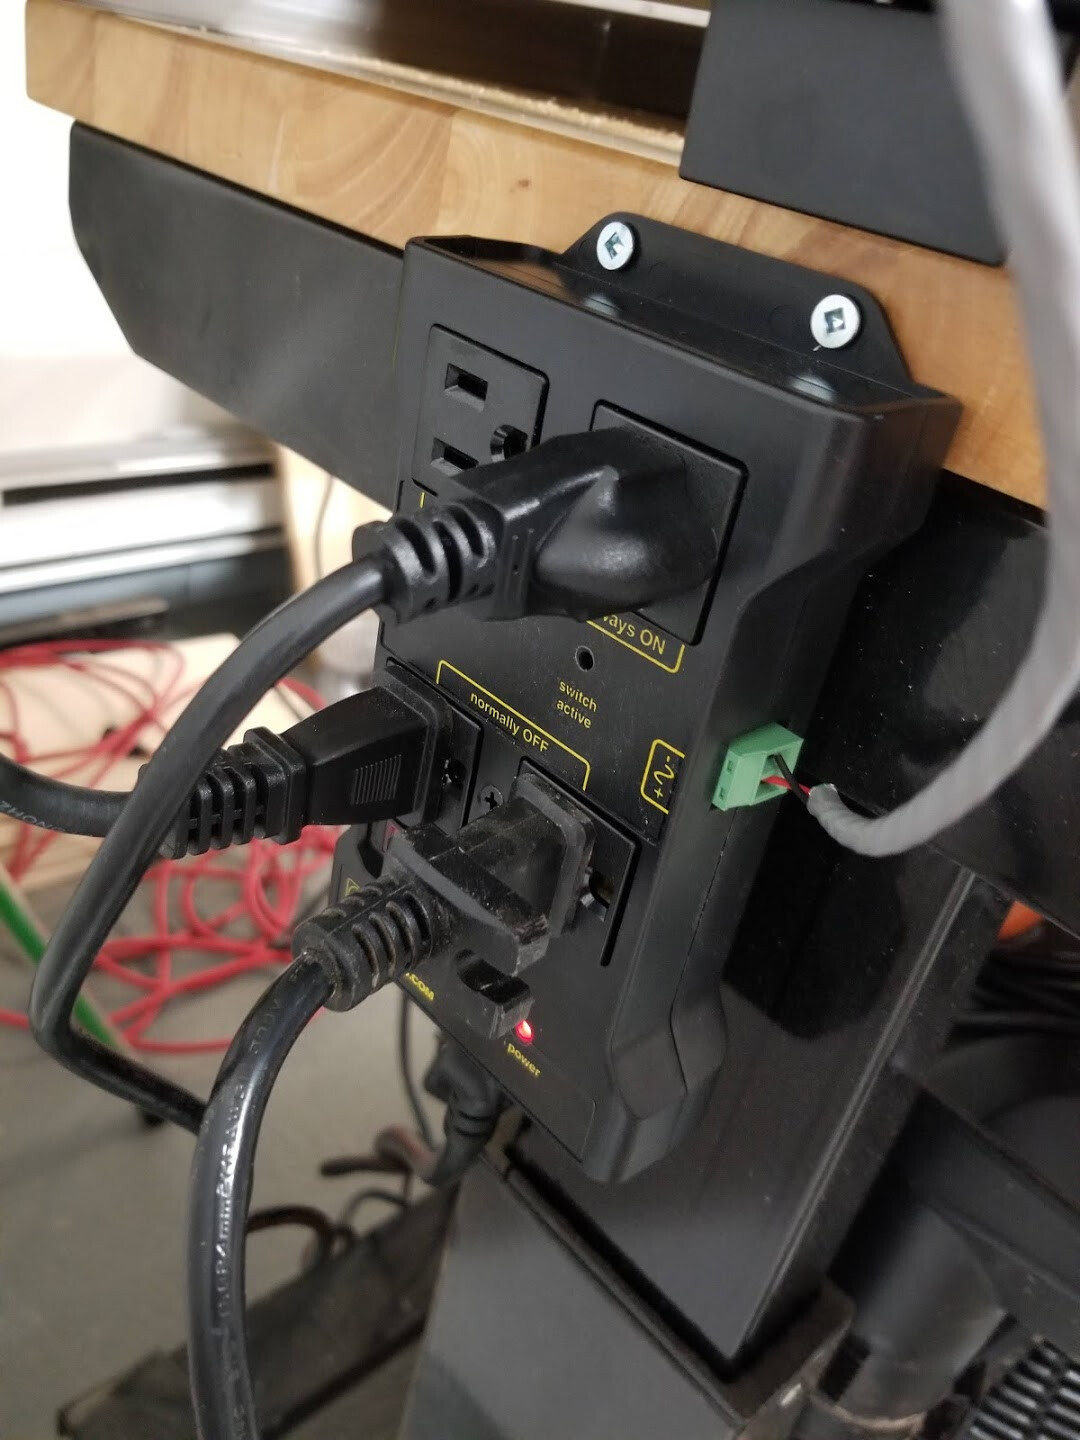
I’ll be using a WiFi smart outlet. It will plug in to the “always on”, and then the Shapeoko itself will plug into the always on. This way, the smart outlet is not in the path of the high current (shopvac / router) devices. Turning off the shapeoko will inherently kill the spindle/shopvac immediately. (Go ahead, ask how I know this )
Any wifi outlet will do, but personally I prefer UL approved ones. I picked up a few 3-packs from Costco 2 years ago which happened to be Intertek/UL approved - very rare - so I’m set for life
@greg5 Excellent work here. I’ve been waiting for the BitRunner, but this is certainly a great option.
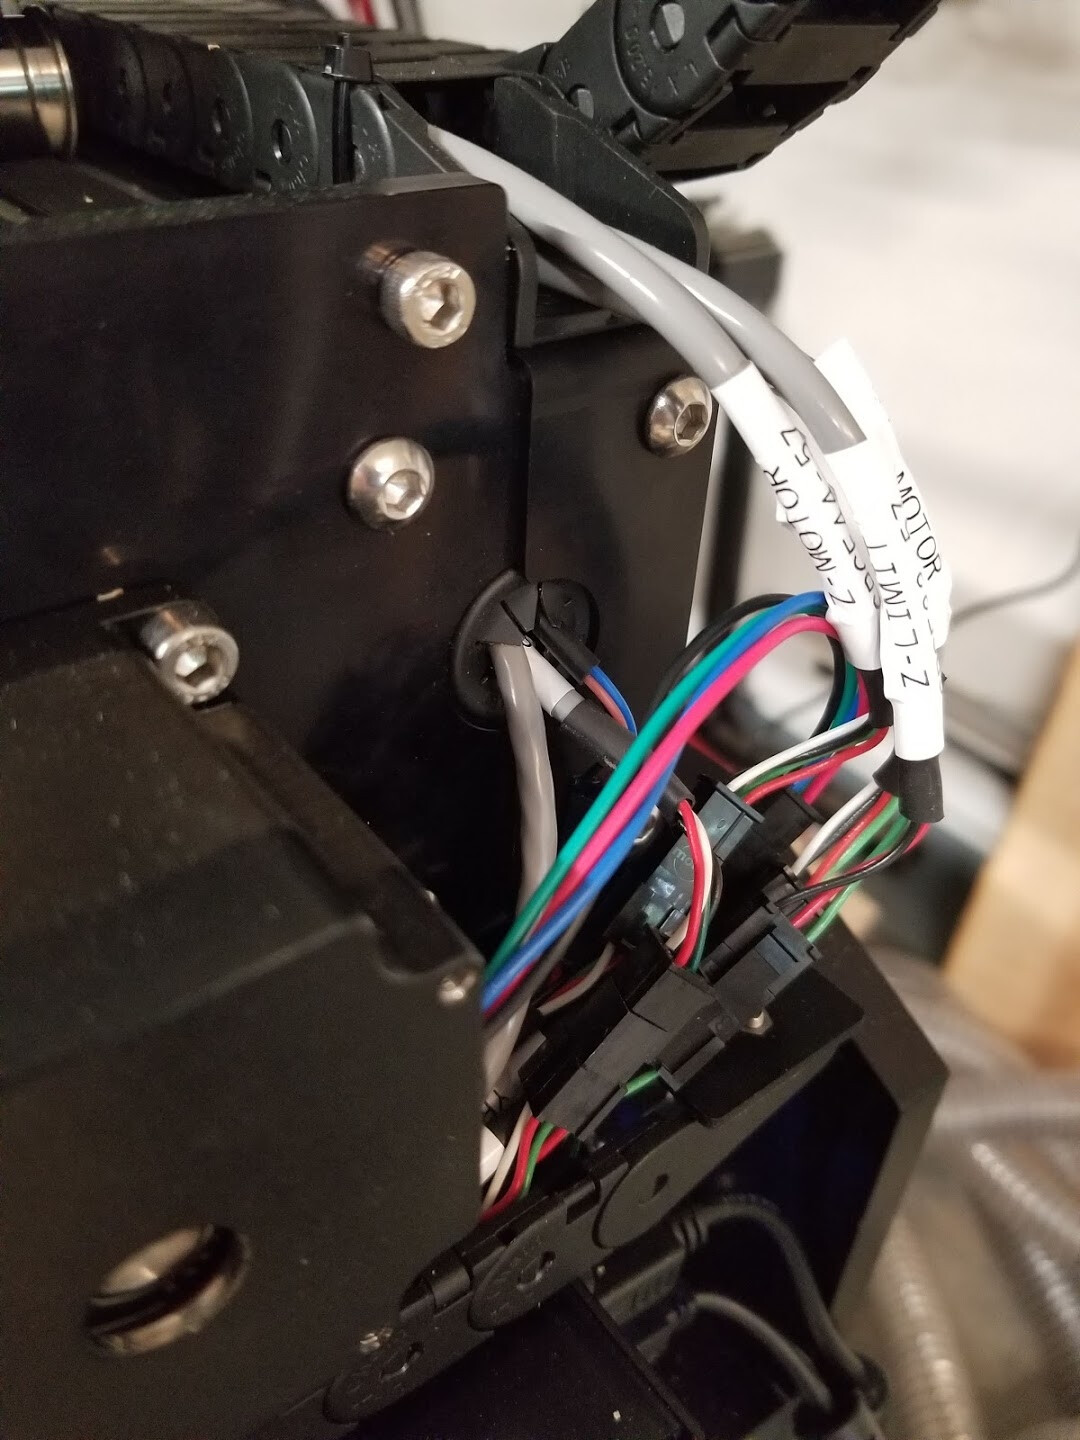
In the first pic, looks like there is a gray wire grounded to the frame. Are you splitting the ground from the black wire running from the relay to the frame and molex connector? Where does the gray wire connect to?
I’ve been using the same setup for a while now, works great. The only difference is I have my Shapeoko and laptop plugged into a surge protector on a different circuit.
The grey wire shown in the first picture, is the BitRunner (PVM) connection at the Shapeoko controller and it(grey wire) goes to the green connection on the side of the IOT relay.
The cable is a shielded 2 conductor. So the red/black is digital ground and the PWM signal from the Shapeoko.
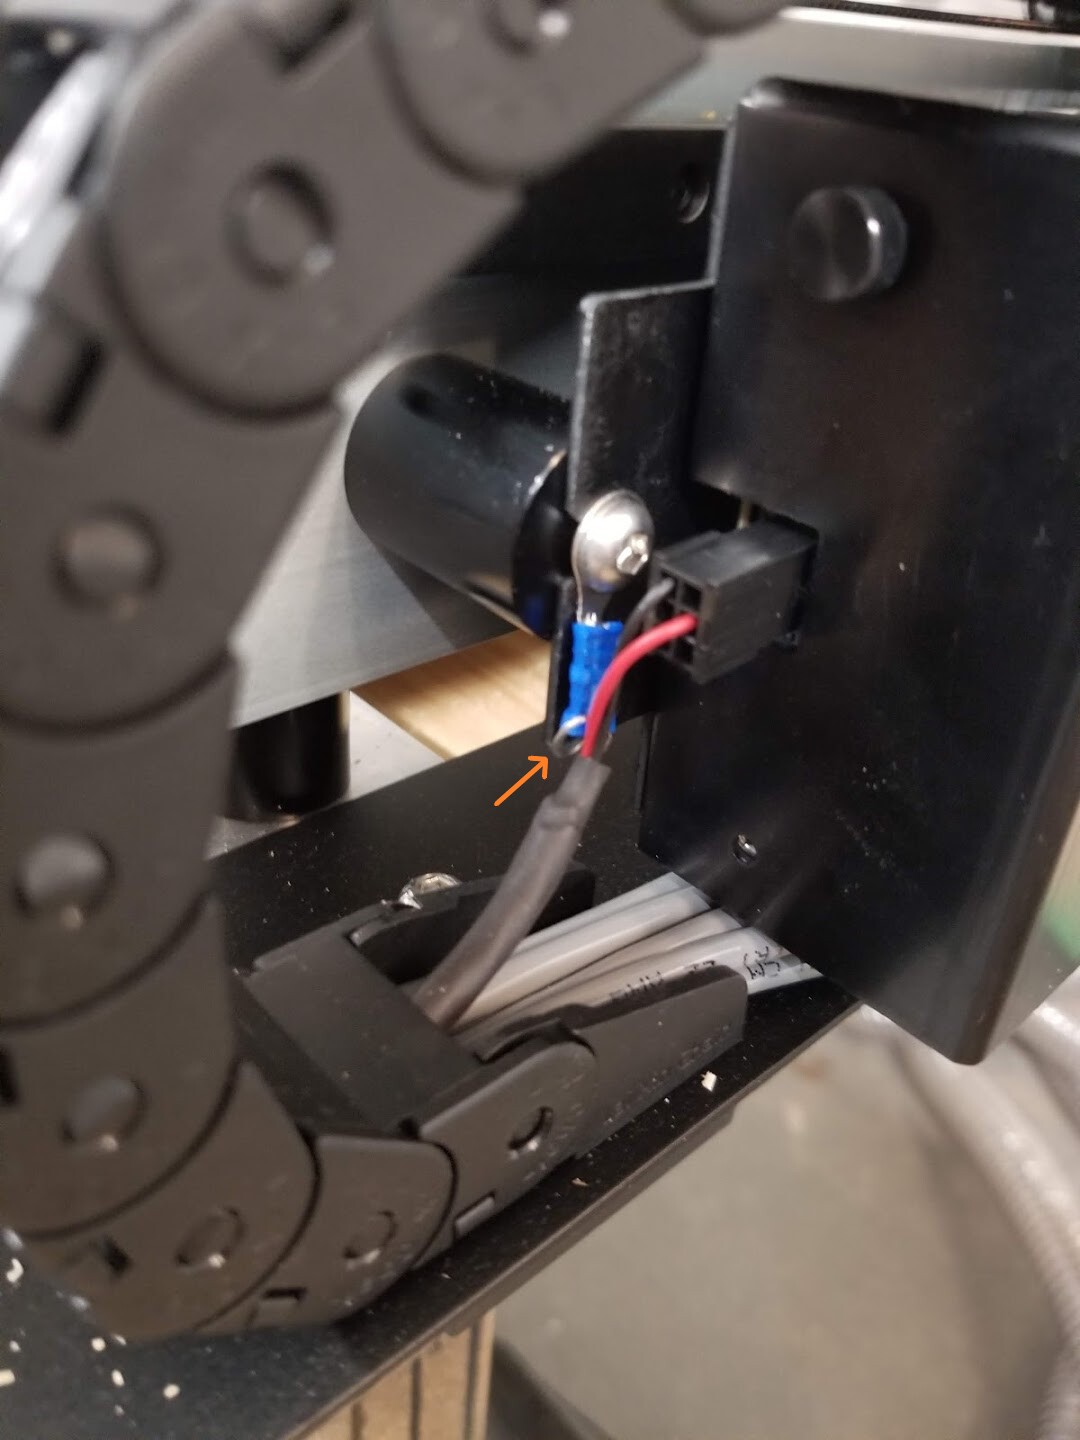
The crimped eyelet that goes to the frame is attached to the braided grounding sheath, that runs along the entire cable. The braided sheath forms a faraday’s cage, but also any noise that “hits” the outside of the cable will be sent along the conductive braiding to protective earth, or the ground found in your outlet. Not the same ground as the digital ground. This keeps nasty noise away from both the Shapeoko circuit board, as well as the circuit board in the IoT powerbar.
(As you strip the cable, you can just grab the strands of the sheath and twist to form a crude wire and then get an eyelet crimped on it.)
It is important to connect 1 end in this manner. Connecting both ends is not needed, and I think it might also be a bad idea in some situations, although I"m not certain.
While I only have a week under my belt with this setup, it has been flawless so far.
Nice, clean install! I have the iot relay on my SO4 until they have the BitRunner V2 available. I like the iot realy, but it is built like a toy compared to the BitRunner V1 that I have on my SOPro.
I used the PWM connector that is unpopulated on the board and used a press-in Molex connector from JTech. I plan to use that for the 7W laser later, once the BitRunner V2 goes on. That way I can have both hooked up full time later.
I got a bit lazier than you running the cables. I just ran mine thru one of the bottom bed-frame extrusions. They are actually really nice for that use.