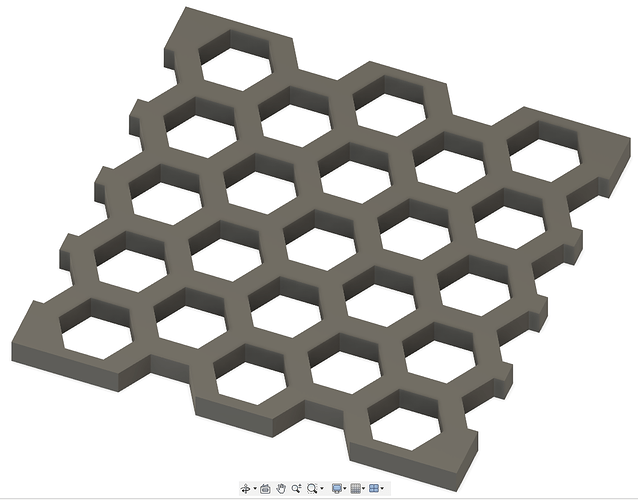
I am looking at adding a hexagon or honeycomb type pattern to a part in fusion. looking at pocketing out the hexagons leaving a lighter weight structure with the ribs still in place to offer some stiffness. Is there a quick way to do this that anyone has found? I dont want to have to draw and space all of the hexagons(or other shapes) if there is a simpler way. @Vince.Fab I know you have done something similar in some of your aluminum parts in the past. Thanks!
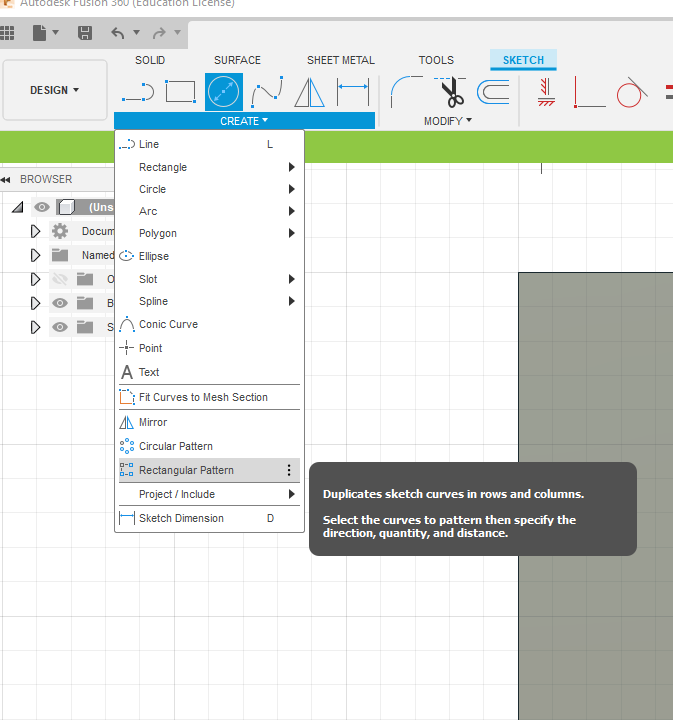
I find myself using the rectangular pattern feature (in sketch mode) very often. Combining two of these (shifted by half a period) from one single hexagon shape should get you there very quickly
A little more detail: (there are a number of ways to do this, of which @Julien’s is probably the easiest)
Put ONE instance of the feature into the sketch. Say you want the repeated feature to be a circlular pocket of radius 10mm, with 2mm walls between the circles. The center to center will be 12mm
Since the pattern tools are for circular patterns and rectangular pattern, hexagonal is a bit more thinking, but not terrible. You can geometrically construct it, or math it.
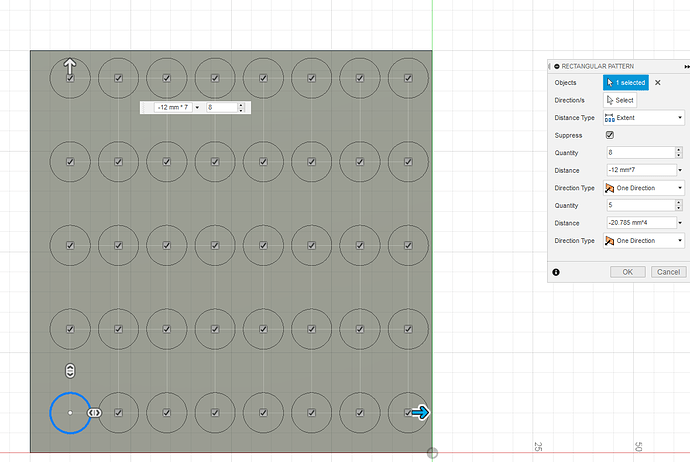
To math it, I would use rectangular pattern, select the circle (feature to pattern) with one direction being n repeats at a spacing of 12mm, and the other being 12*sqrt(3)mm (20.785mm). This gives a rectangular grid.
Now, duplicate the grid, and place the duplicate to fill the voids (6mm offset one direction, 10.393mm the other)
Close the sketch and machine the pockets.
You can also do the pocket and do the same to the 3d feature, rather than duplicating in the sketch.
I don’t have Fusion on this machine. I can dummy up an example for you when I get out of work if no one else does it first.
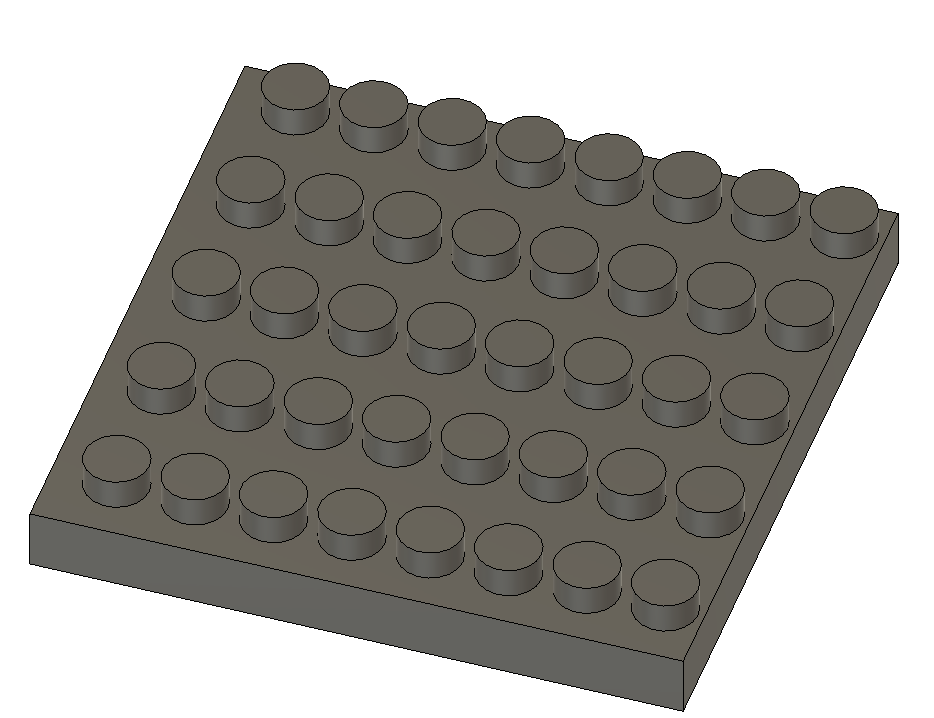
Here is one way. I used cylindrical extrusions for ease.
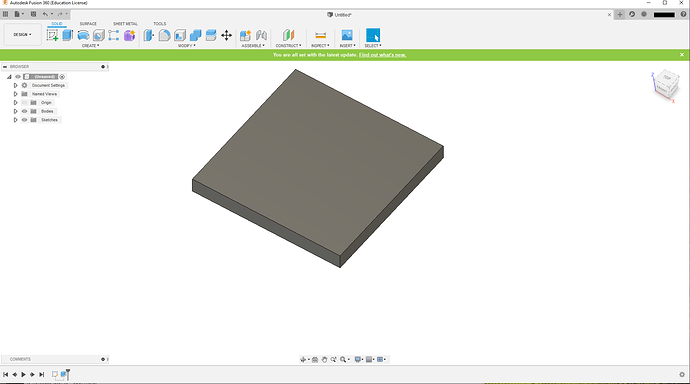
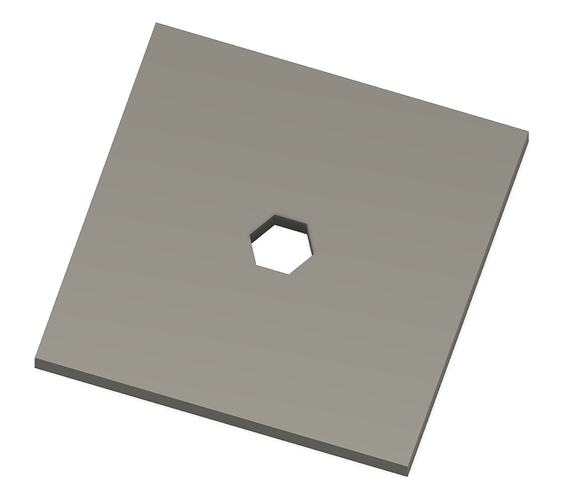
Initial extrusion: 10mmthk 100X100 mm slab
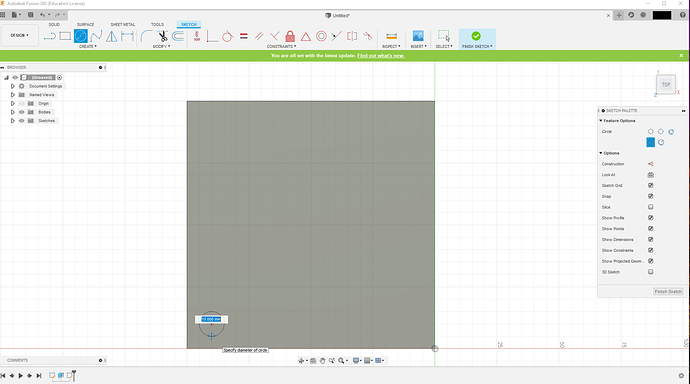
10mm circle as base element
rectangular pattern tool
The initial pattern: note the spacing is 12mm in x and 20.785 (12\sqrt{3}) in y
Extruded
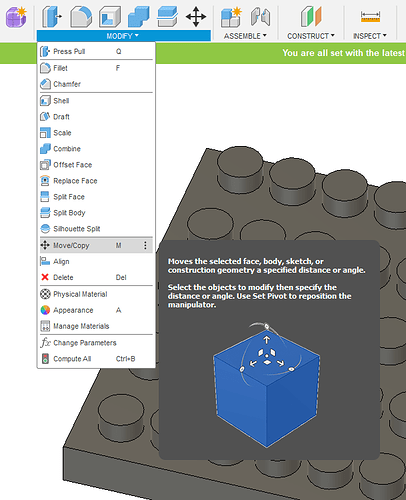
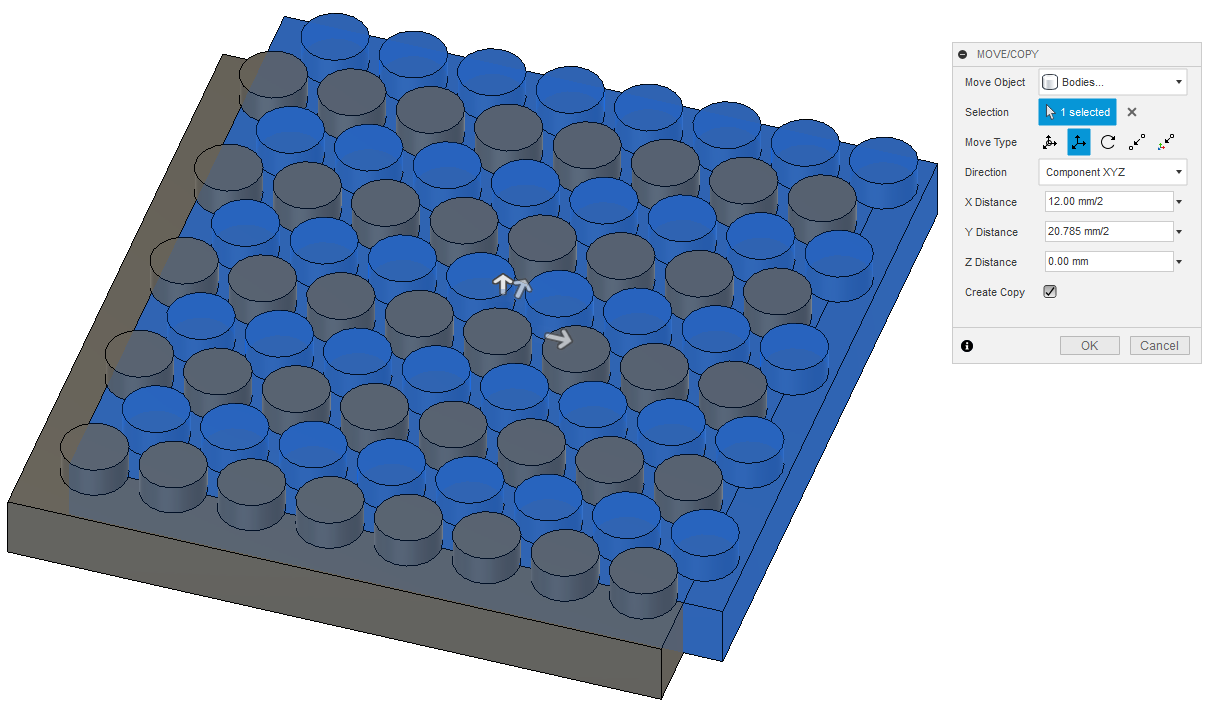
Now, a copy of the pattern shifted to make the triangular grid
half spacing shift on x, half spacing shift on y: note the tool selections, including selecting copy at the bottom
For a true HEX grid, like a Settlers board, use a hexagon rather than a circle.
If you want to see the steps for a geometric construction, I can probably whale a demo up, but it will take more than the 10 minutes this did.
The way fusion generates the model leaves THREE bodies here. If the construction is done using TWO circles in the second sketch, one offset by 6mm in X and 10.392 in y, then one rectangular pattern using both will produce the hex grid in one shot, giving a single body.
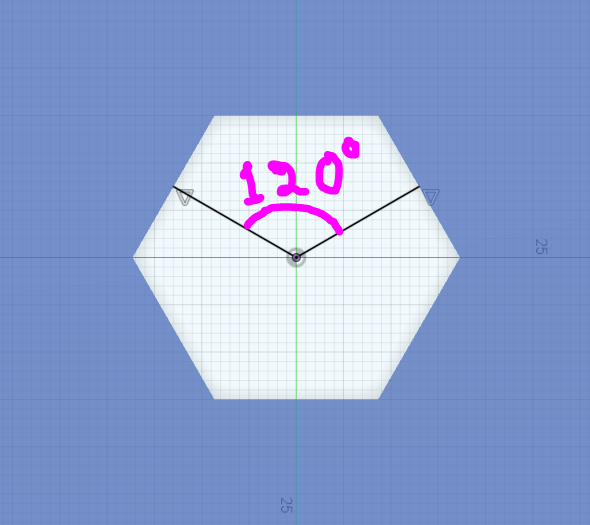
Piggybacking on what @Julien and @enl_public said. Rectangular patterns do not have to be patterned on lines that are 90 degrees. They will work along any two lines. Set those two lines at 120deg, perpendicular to your hexagon, and go from there.
I set the Rectangular pattern up for “Spacing”, so I could adjust the spacing between centers. I used “Symmetric” to go both ways across the piece. Object was the extrusion, paths were the two lines.
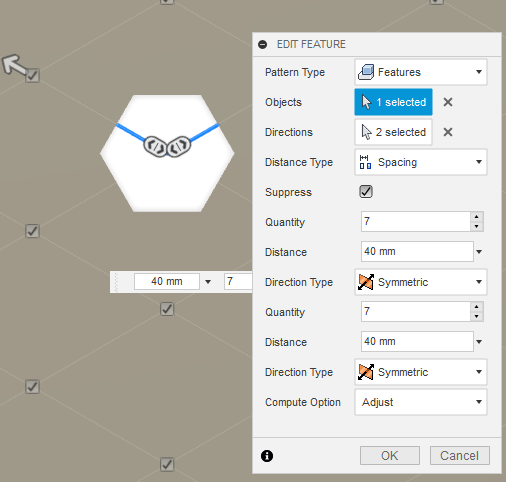
Do it a couple of times, and it takes only a minute.
Thank you both for the insight! I have used linear patterns quite a bit but didnt realize they could follow non 0/90 lines. Ill give this a shot.
I do it exactly how @neilferreri just explained - I find it the fastest and easiest way to get it how I want.
@neilferreri that’s the easiest way 
This topic was automatically closed 30 days after the last reply. New replies are no longer allowed.
