My Woodworking Club wants me to make some cutting boards for a July Project. In Carbide Create I put the SFA Logo in as an svg. I created an advanced vcarve with #102 clearing tool and a 60 degree Vee. that looks good. I want to just inlay the SFA letters and maybe the Texas State outline. I created another c2d file and eliminated the outline of Texas and think that the male inlay will work. Please take a look to see if the new inlay feature is in line with what I want to do. I tried a box around the SFA part of the male inlay but just the opposite effect I wanted so I removed the box.
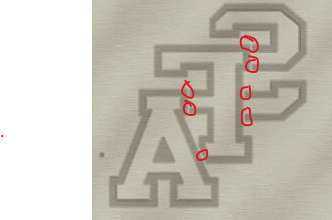
The only thing I would suggest is to remove these small sections that are part of the outside perimeter of the letters. You don’t have that perimeter anywhere else in the inlay.
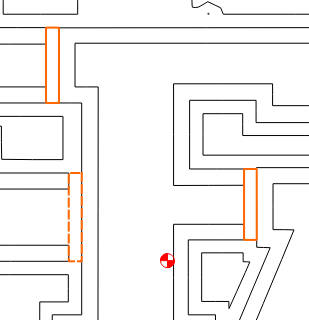
Create a rectangle around the logo the size of your stock, or big enough to cut out.
Then Adv. Vcarve the rectangle and the inside of the letters. Don’t select the outside edges of the letters.
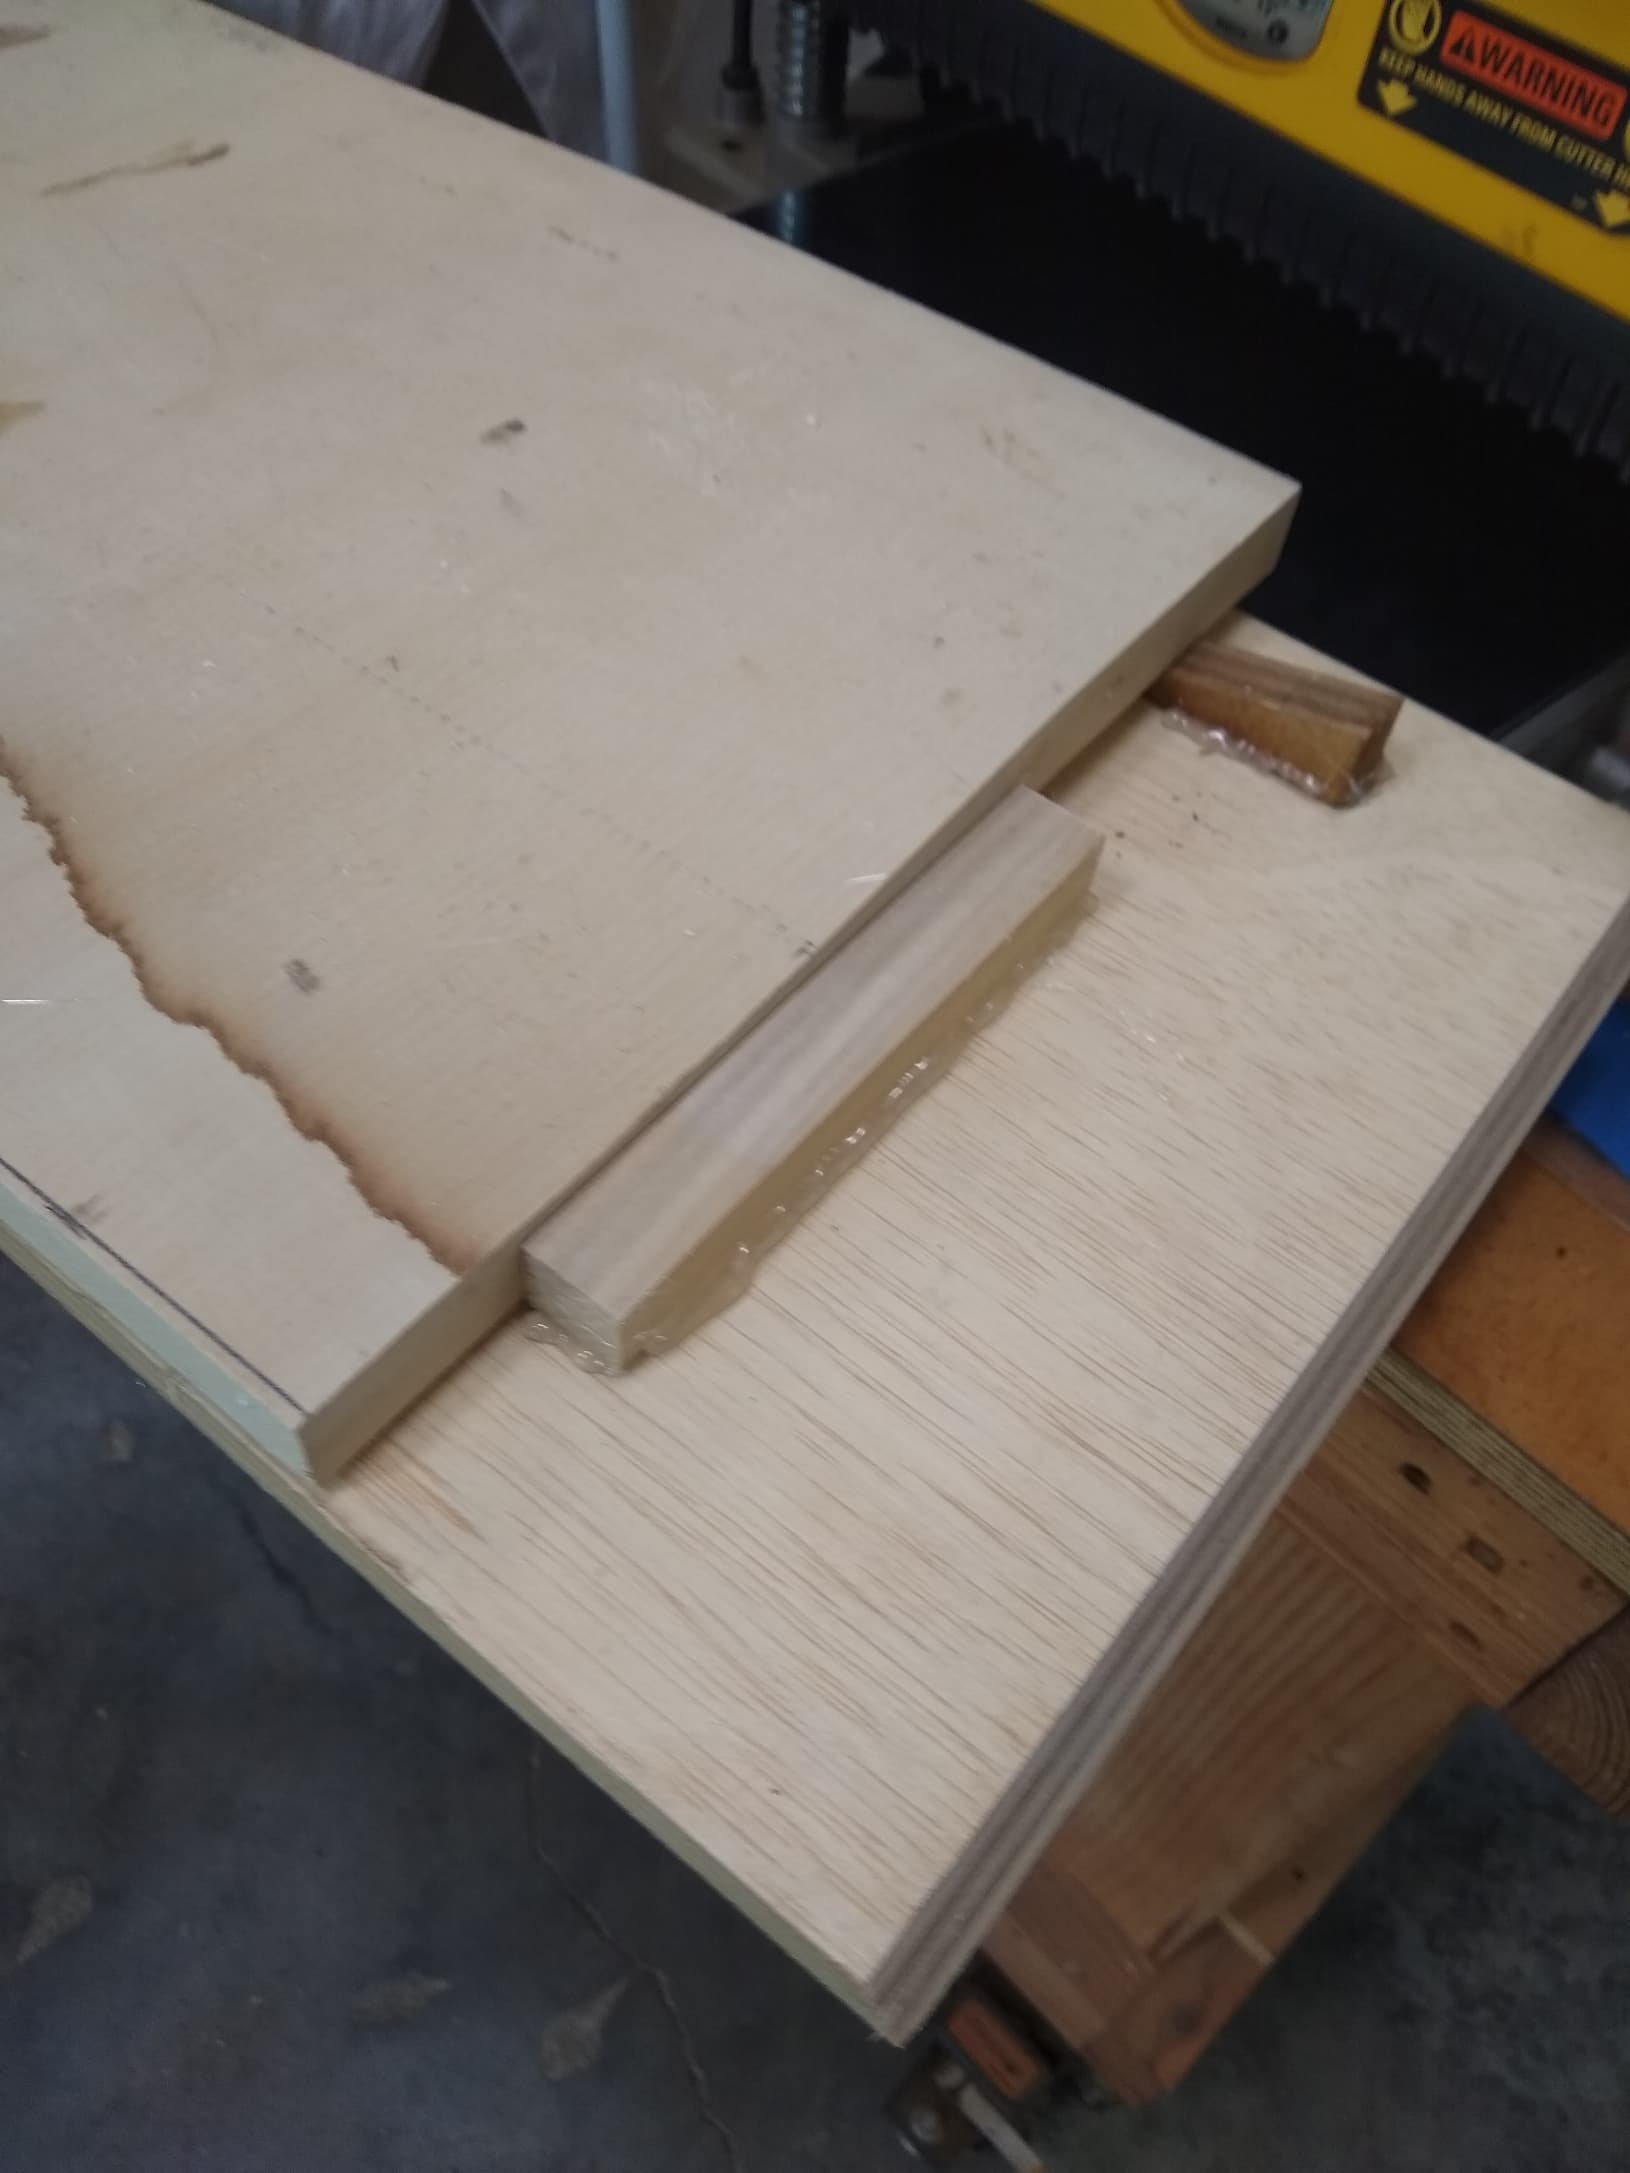
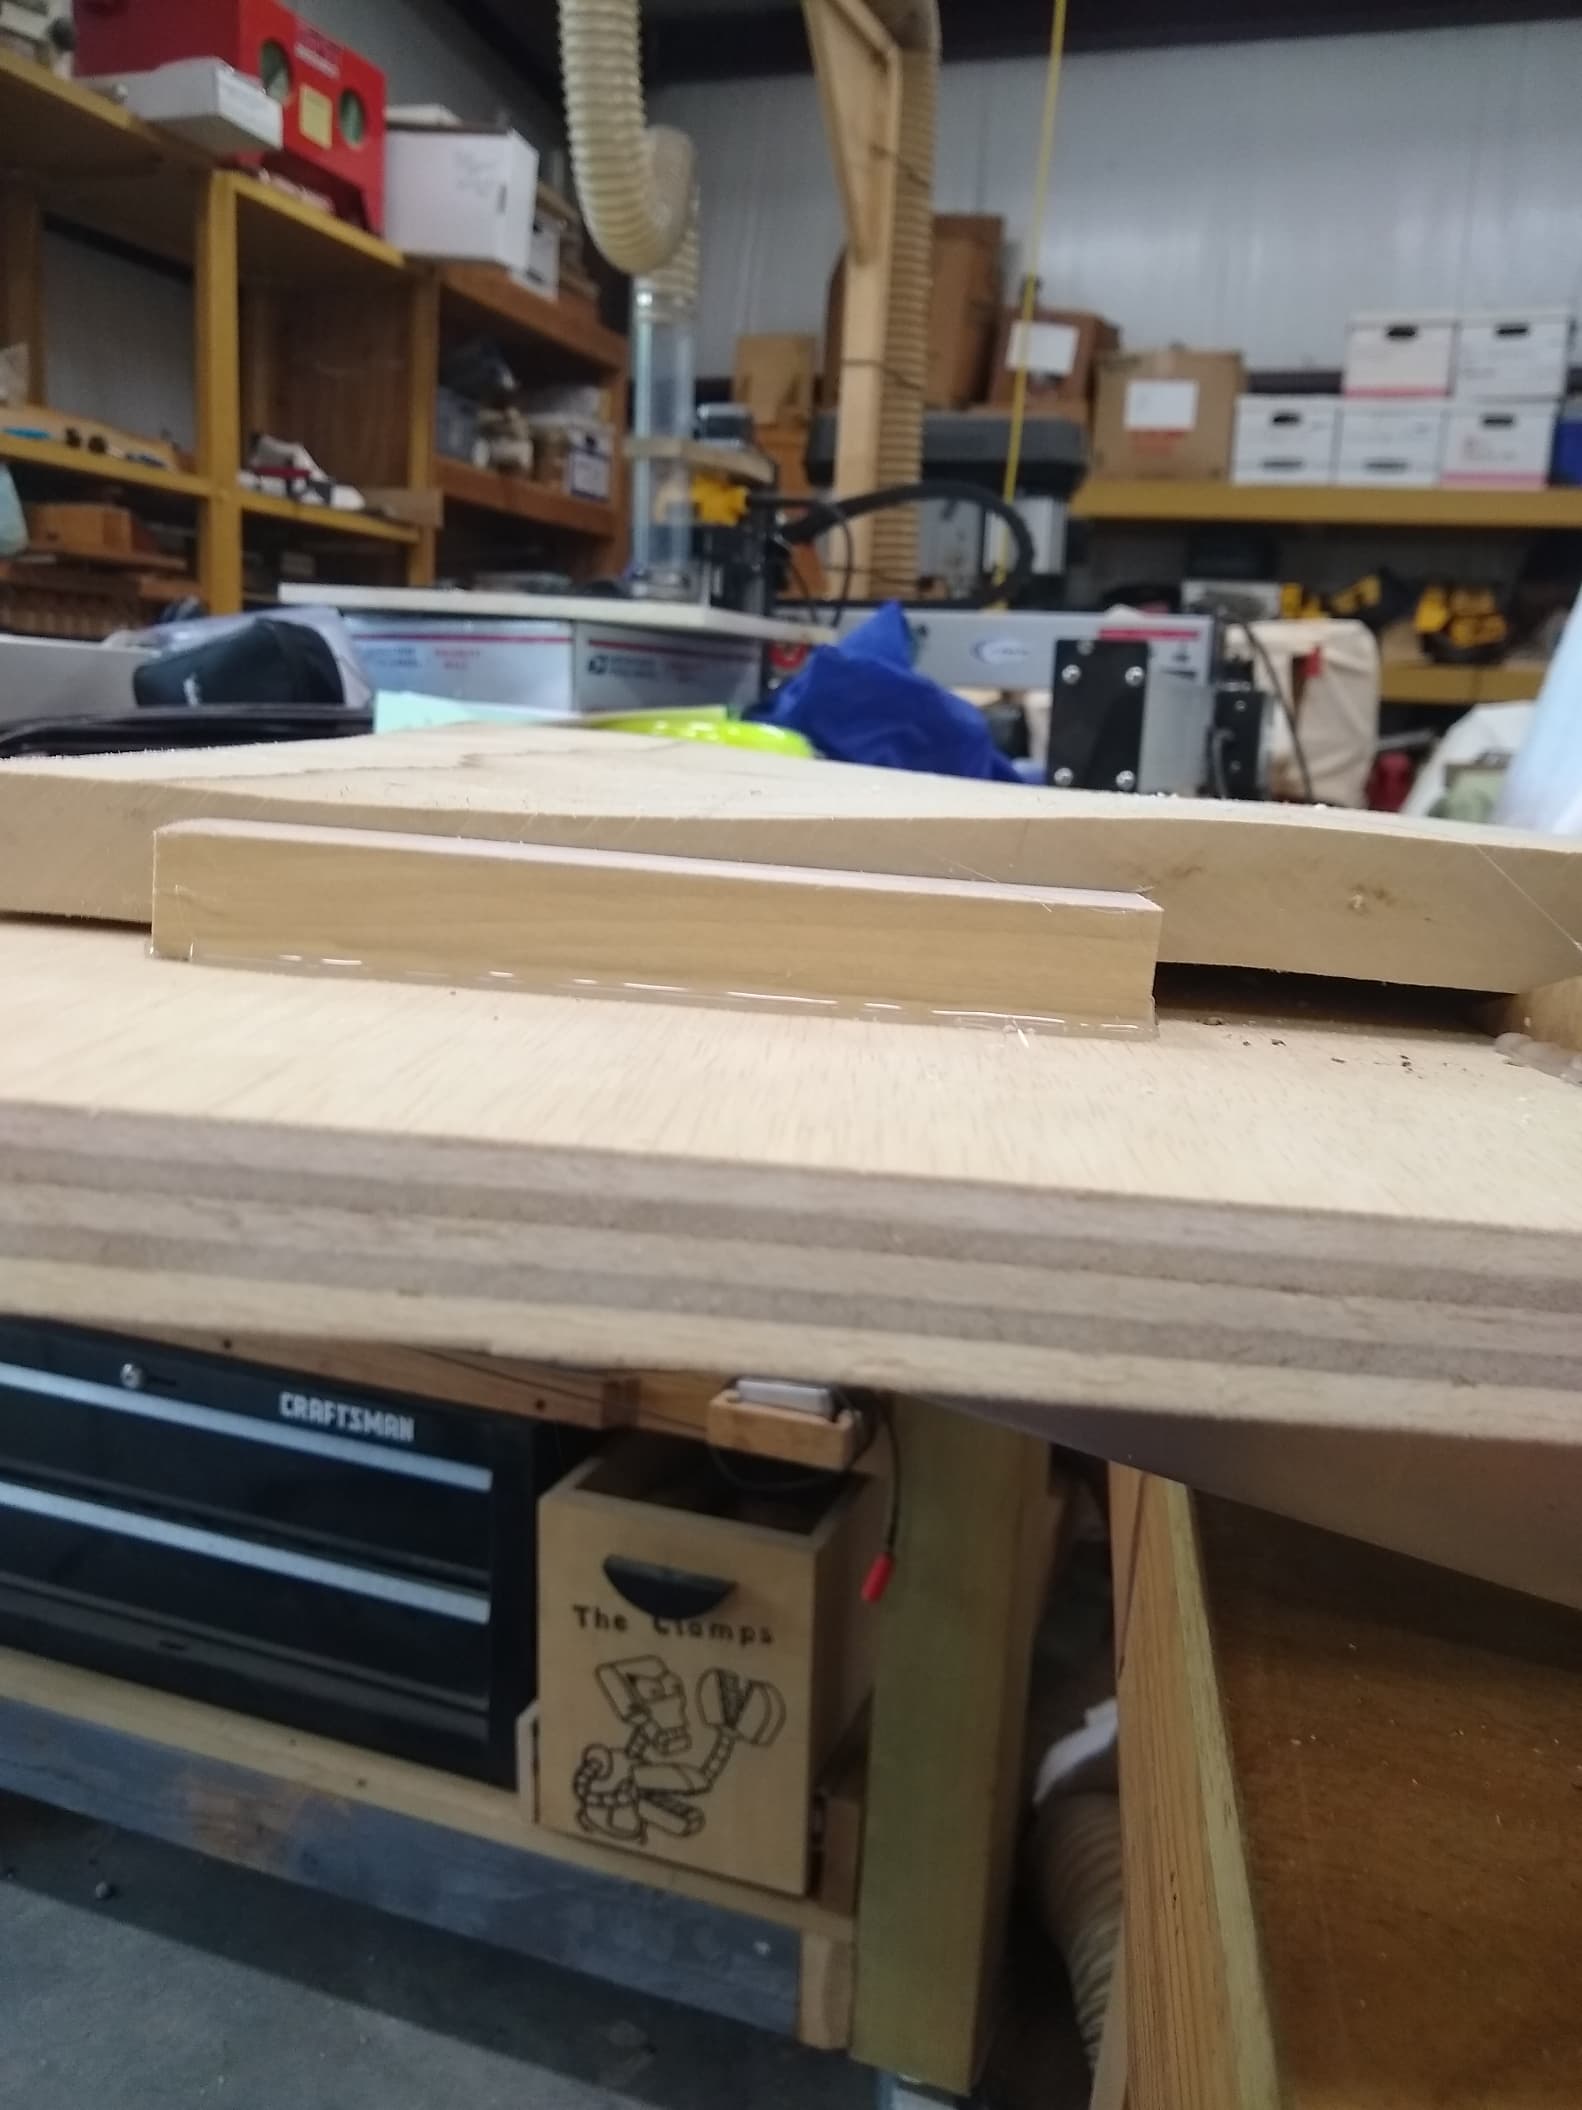
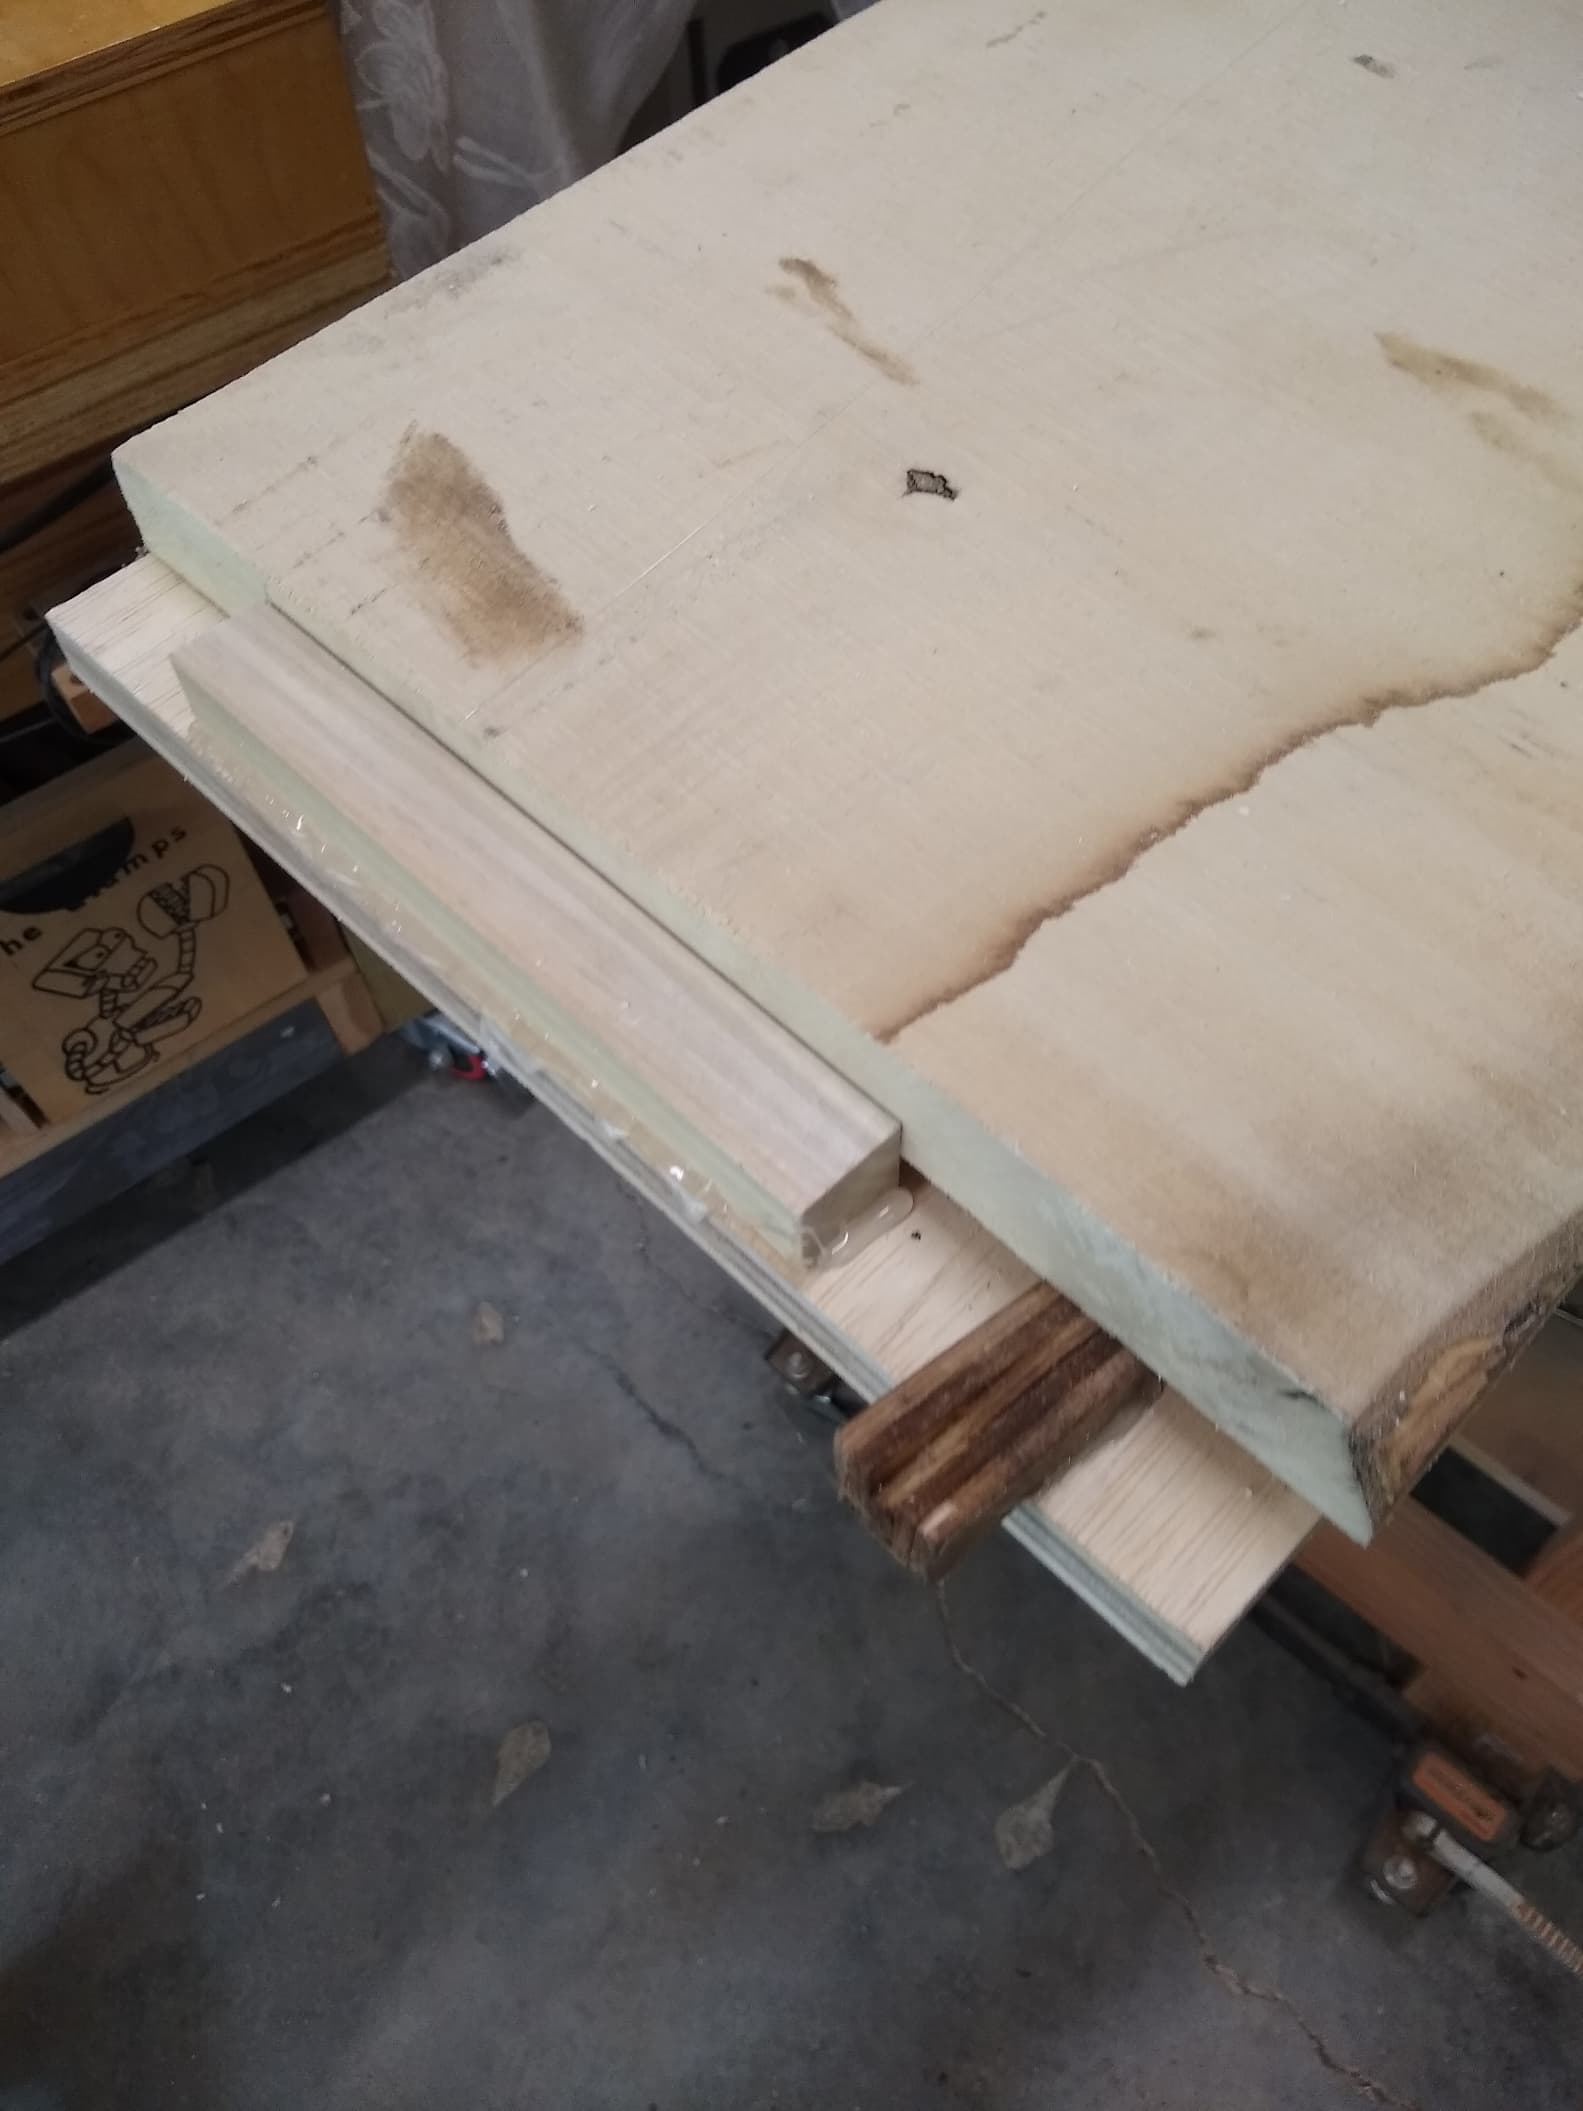
This is a Woodworkers Club of East Texas community type project. We want to show this to the Dean of SFA to get permission to use the logo and sell these cutting boards/wall hangers at a silent auction to raise money for Forestry scholarships. I got started today by milling up the base piece from some Texas Maple. Maple is not very common in East Texas and the board I got was quite wavy. I made a quick sled to put through the planner to get one side flat. I used hot glue to glue the wedges and end and front pieces down and it worked. I likely used too much but I did not want the board to come loose during the planning.
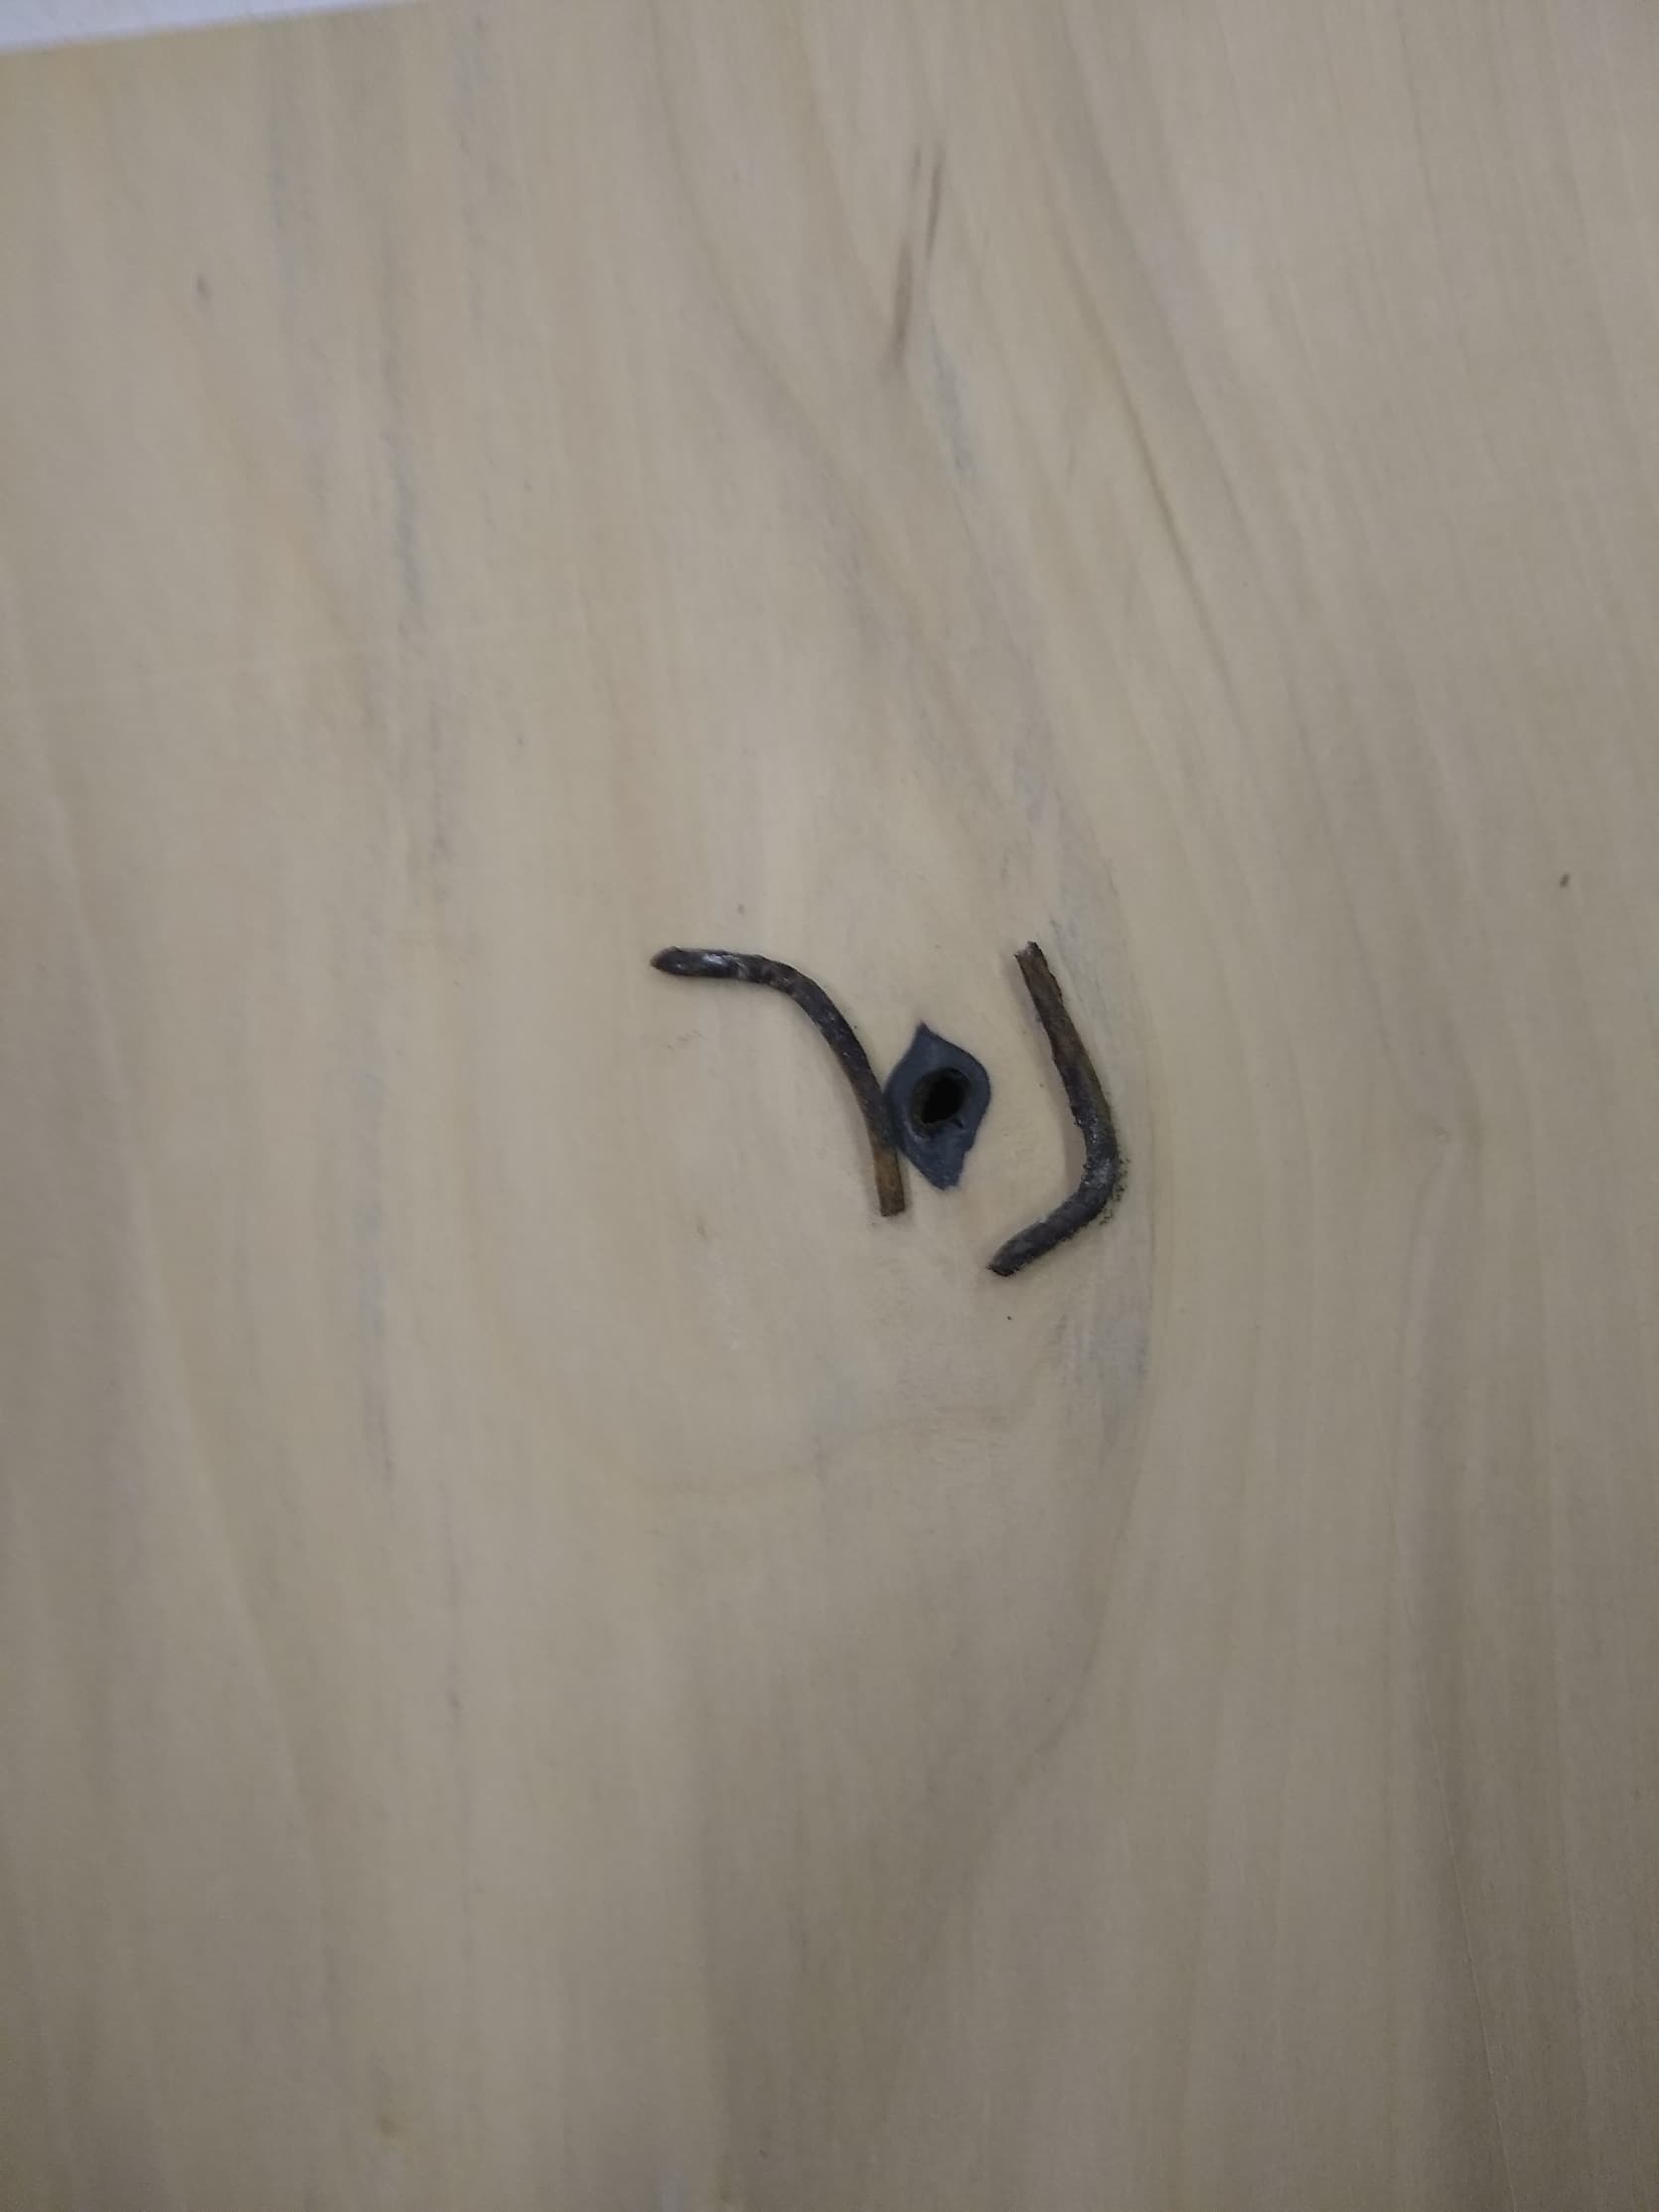
So I got two boards planned but the first one had a nasty surprise in it. It appears to be a nail or a staple. Many people use existing trees to fasten the barbed wire fences along property lines. What was surprising was it was in about 1/3 of the way in the tree so it must have been nailed/stapled when it was much younger. The board was about 18" wide but soooooooo wavy. I got a piece about .65" thick. The metal nicked my Dewalt knive but just barely. Luckily I saw the bright metal when I went to run the sled through again. The Dewalt 735 planner knives nick for no reason some times. I just have to run the piece through twice to get rid of the little ridge it leaves behind.
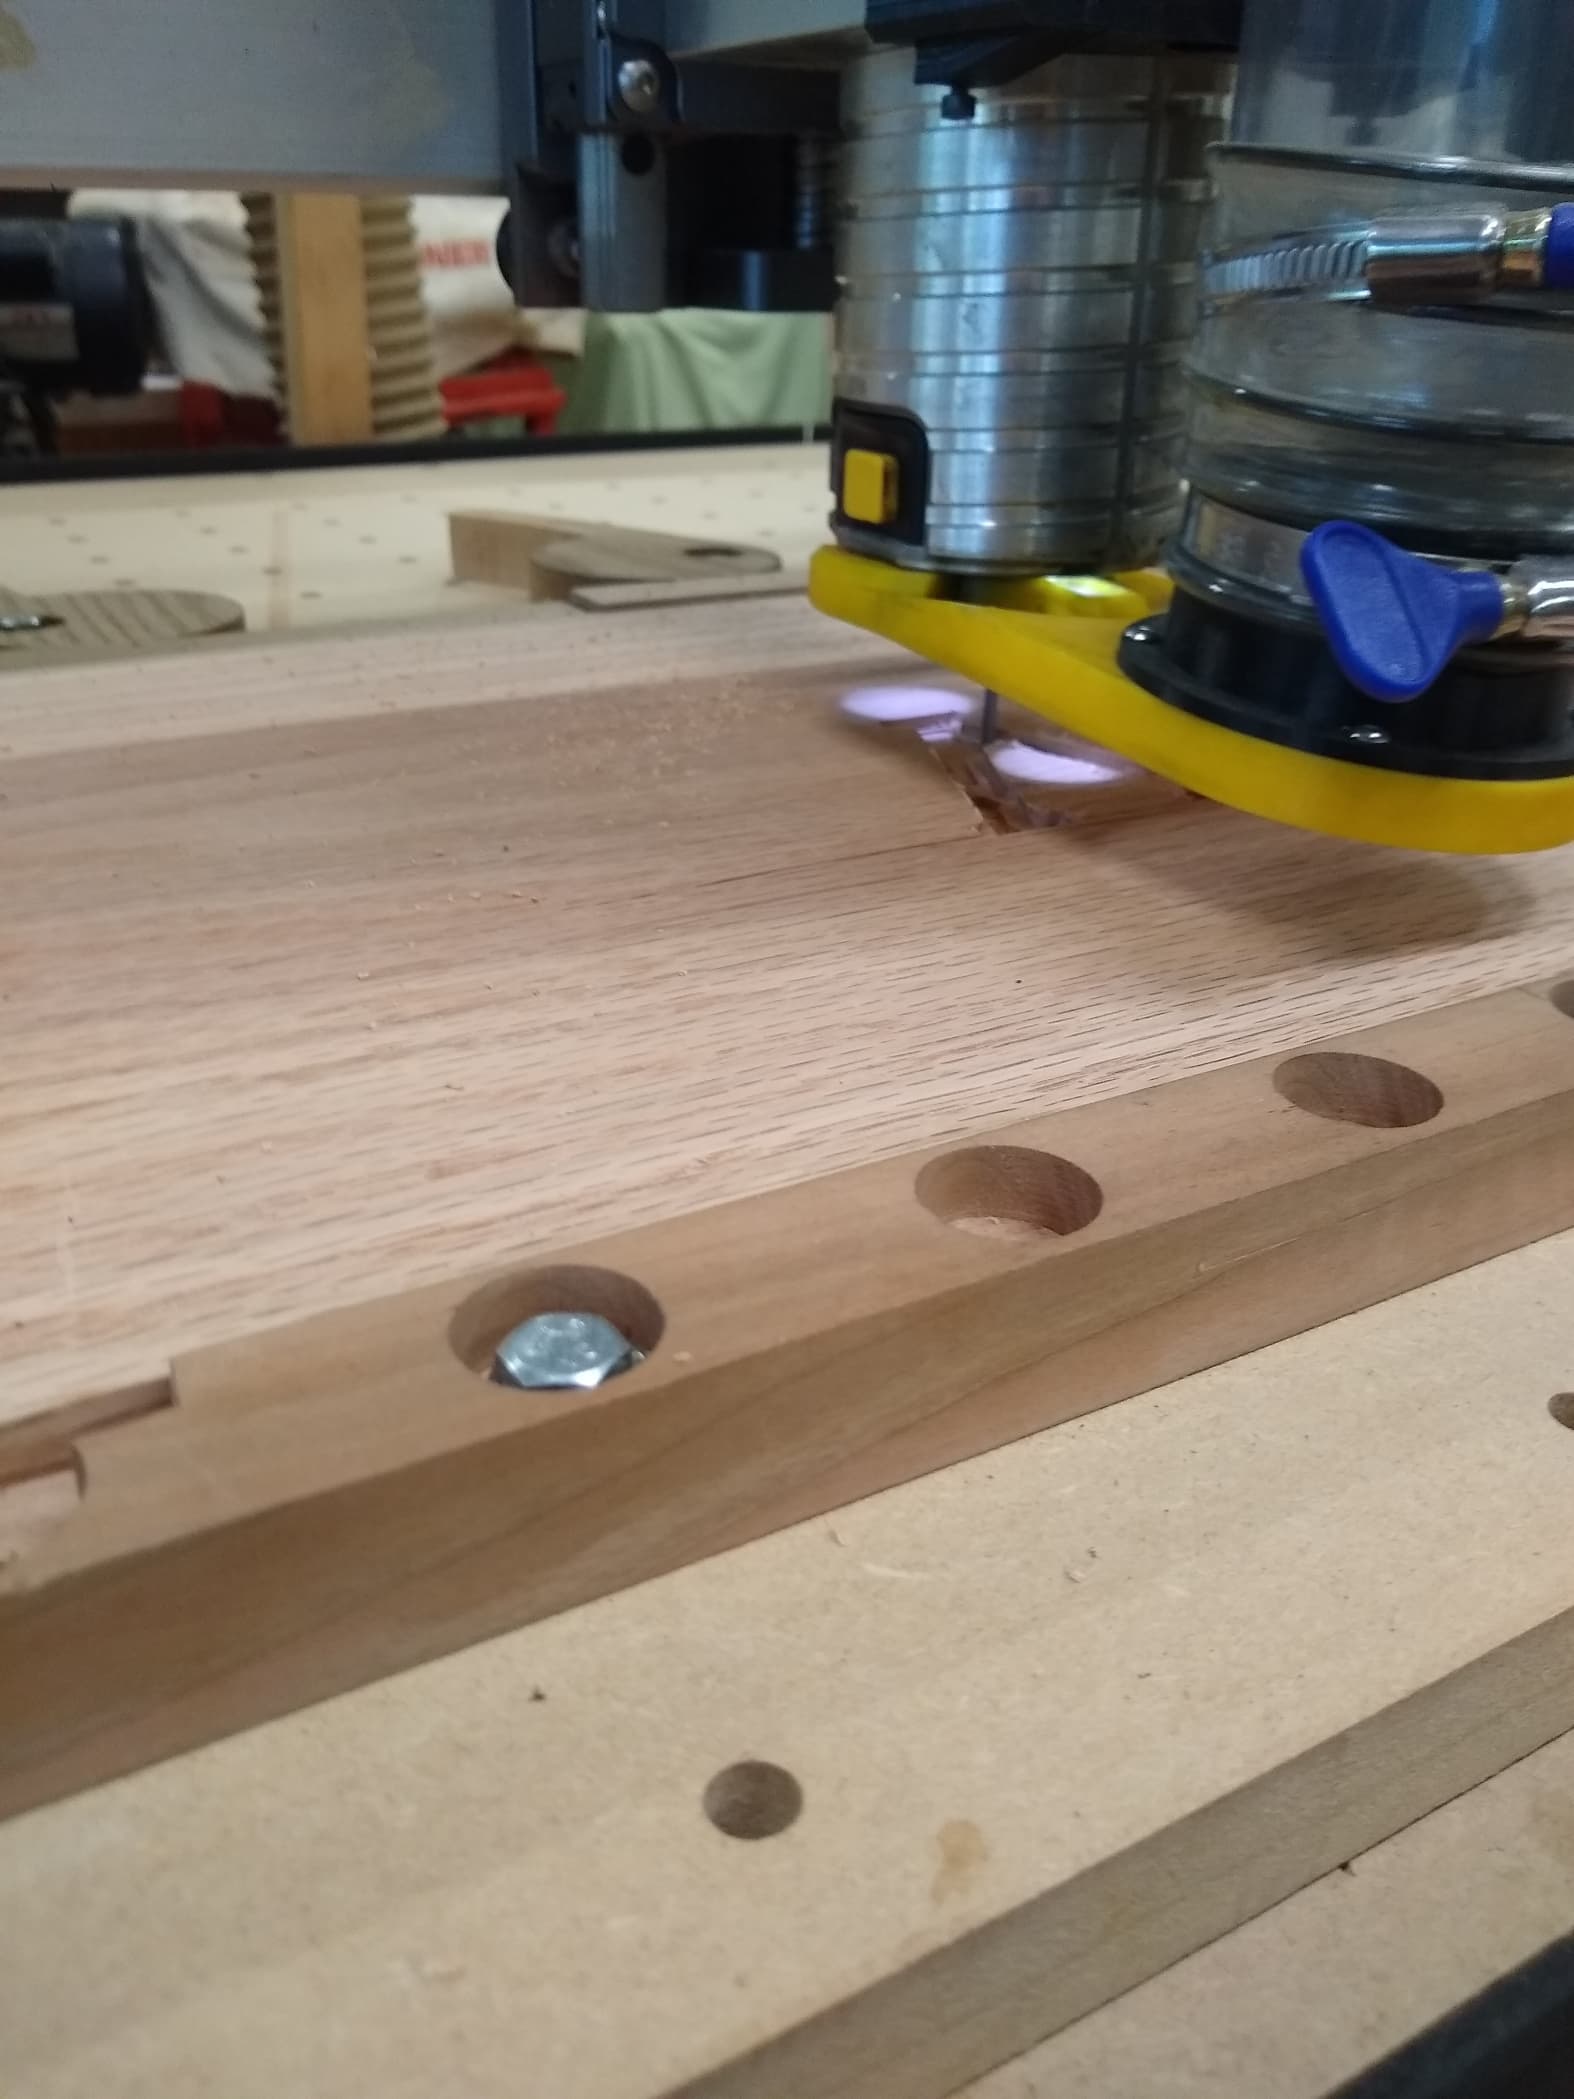
I dont have a jointer wide enough to flatten the board completely so when I get it on the Shapeoko I will flatten it because vcarve is very sensitive to surface variations. I have thought about buying an SCM and/or Felder combination planner/jointer. Maybe someday but for now my trusty Dewalt will have to do. But I do have a 32" wide (Shapeoko 3 XXL) planner. I am going to let the boards sit until tomorrow in case they warp now that the inner tension is released.
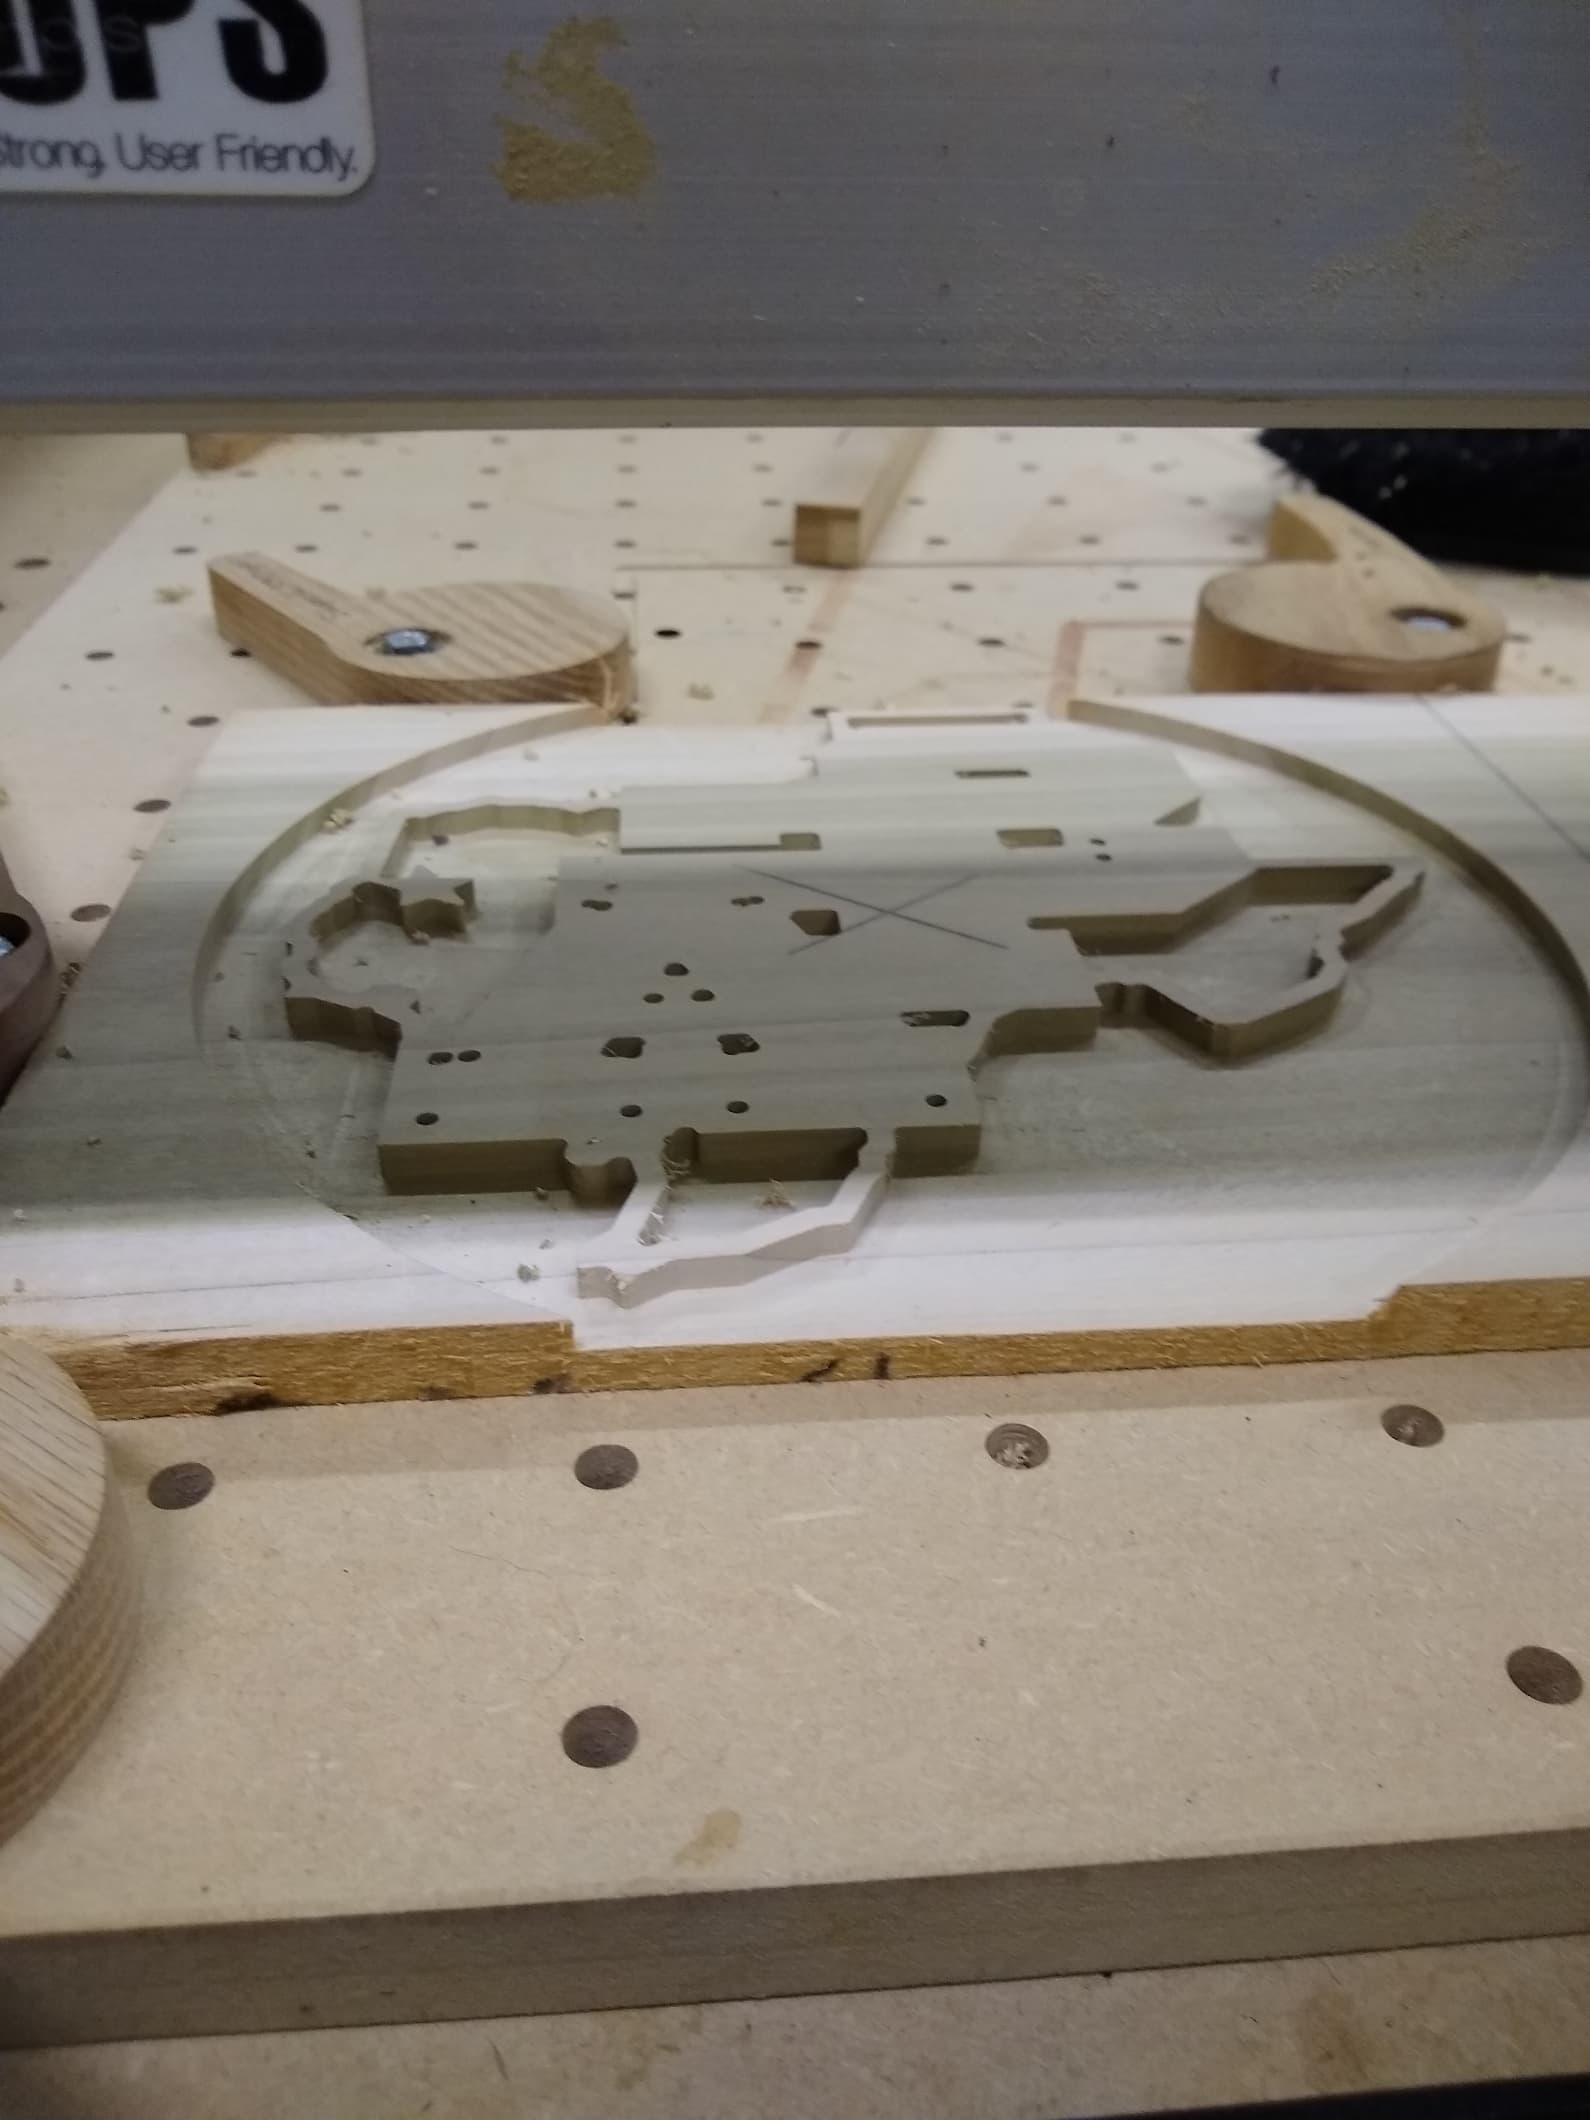
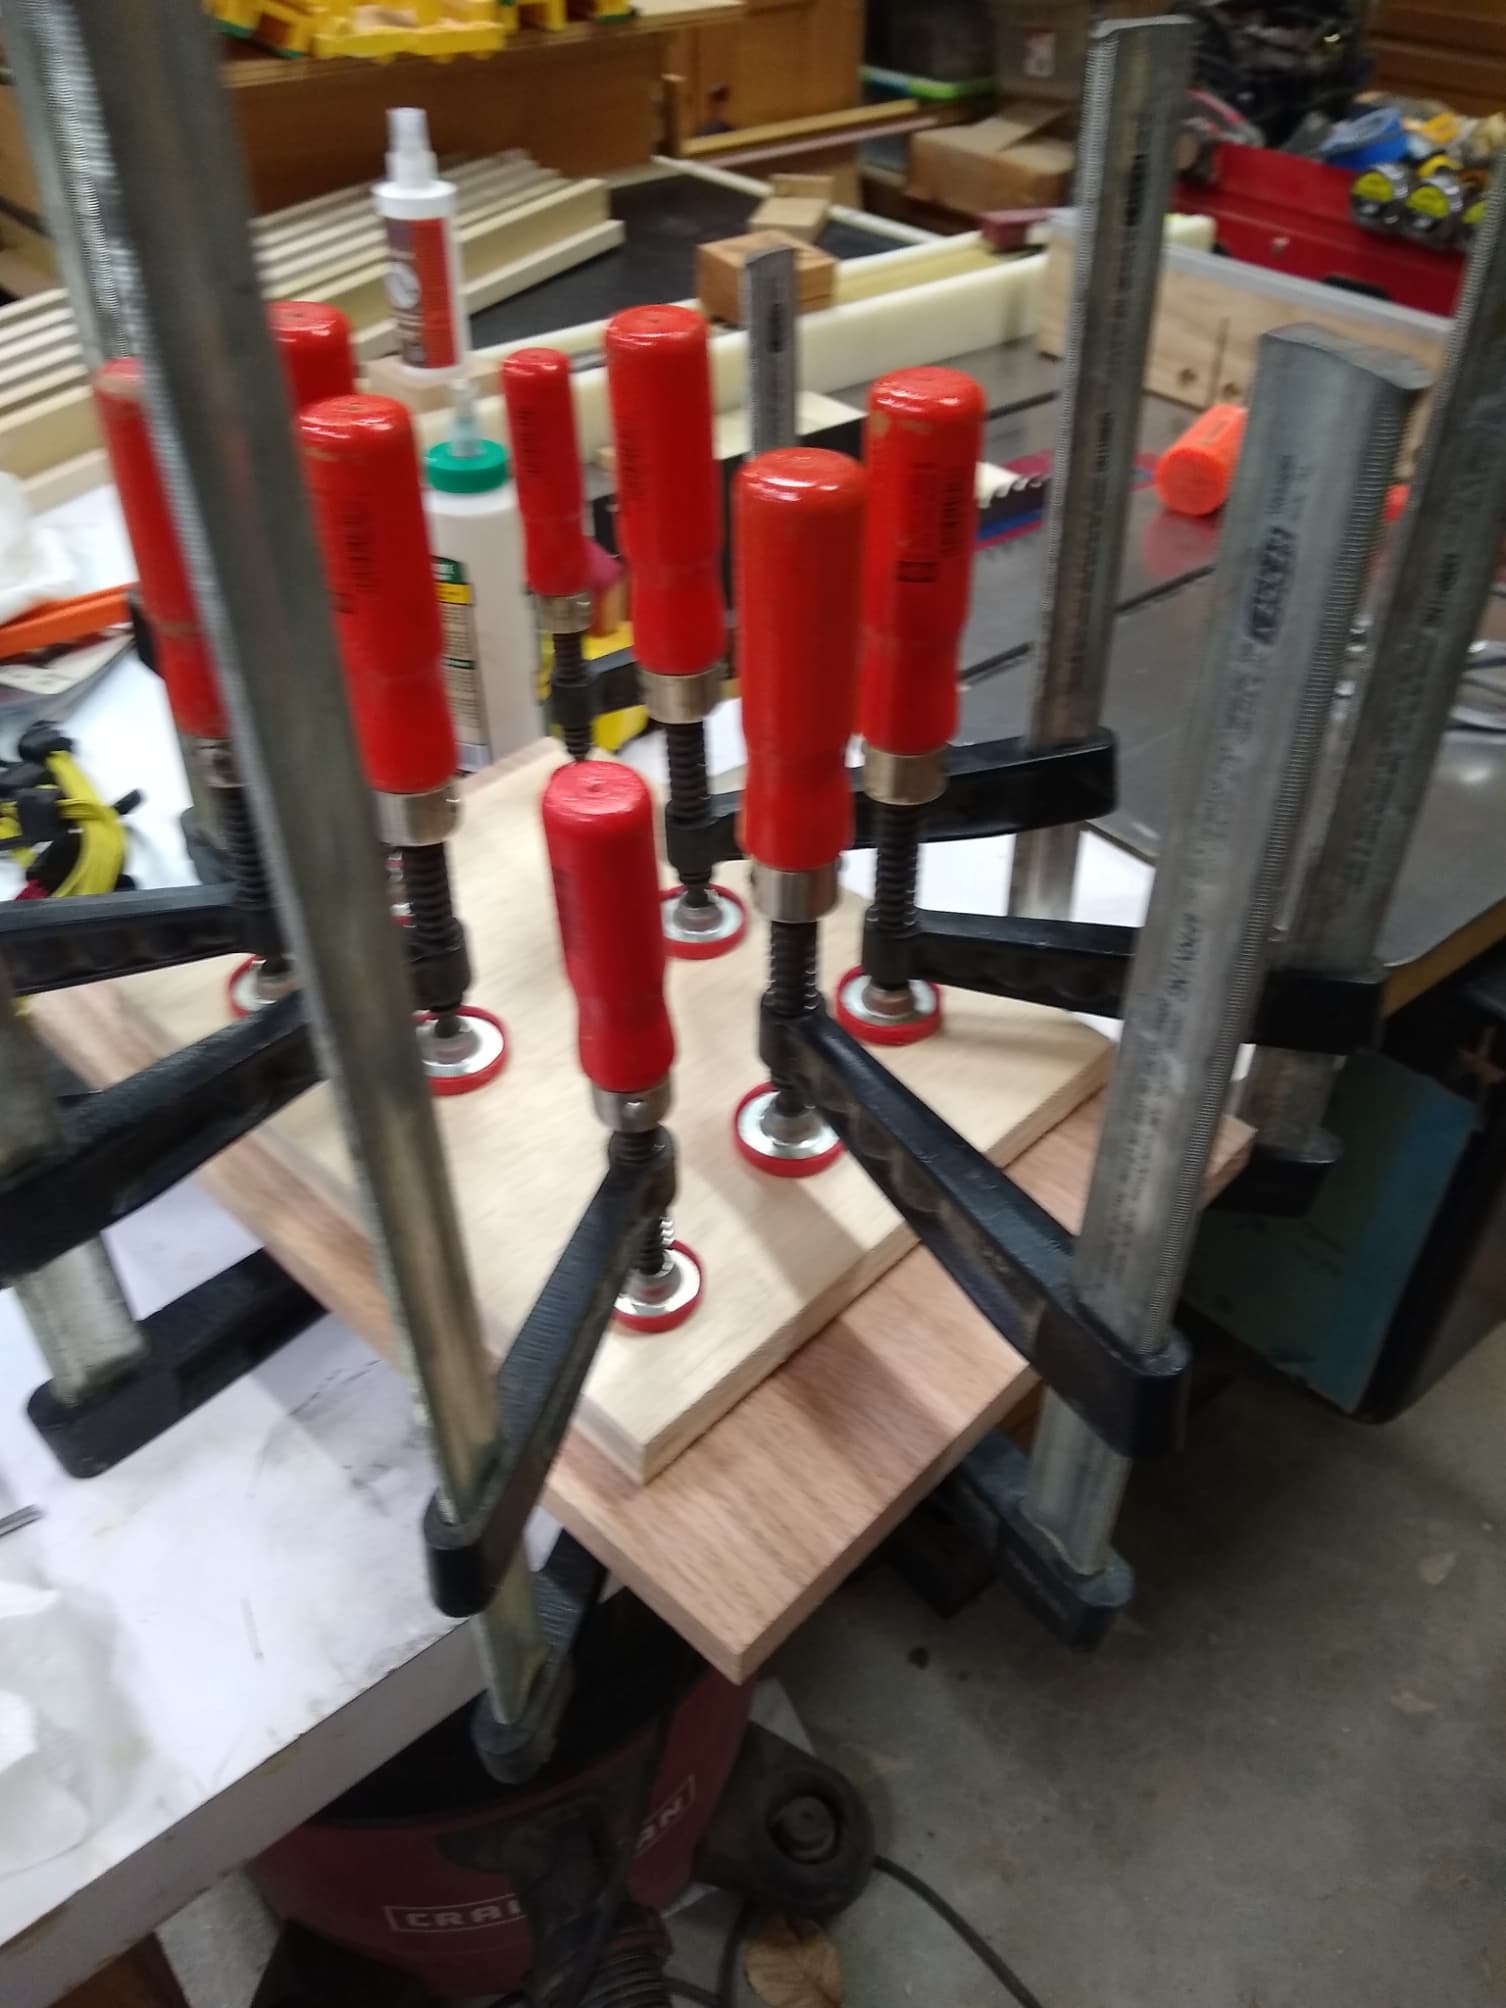
I made some progress. I cut a piece of oak and poplar to test the new inlay function. The female pocket cut perfectly. The male inlay had some high spots so I could not seat the inlay all the way. I used a chisel and cut off the tops (bottom) of the male inlay and got the thing glued up. Tomorrow I will remove the inlay and see what I have. The female pocket only tool about 30 minutes but the male inlay tool 3.5 hours. Texas is a complicated state.
Here is the piece of oak carved with the female pocket. The material was 11.25" x 16". The final piece will be 16" X 12" so for a prototype I used what I had.
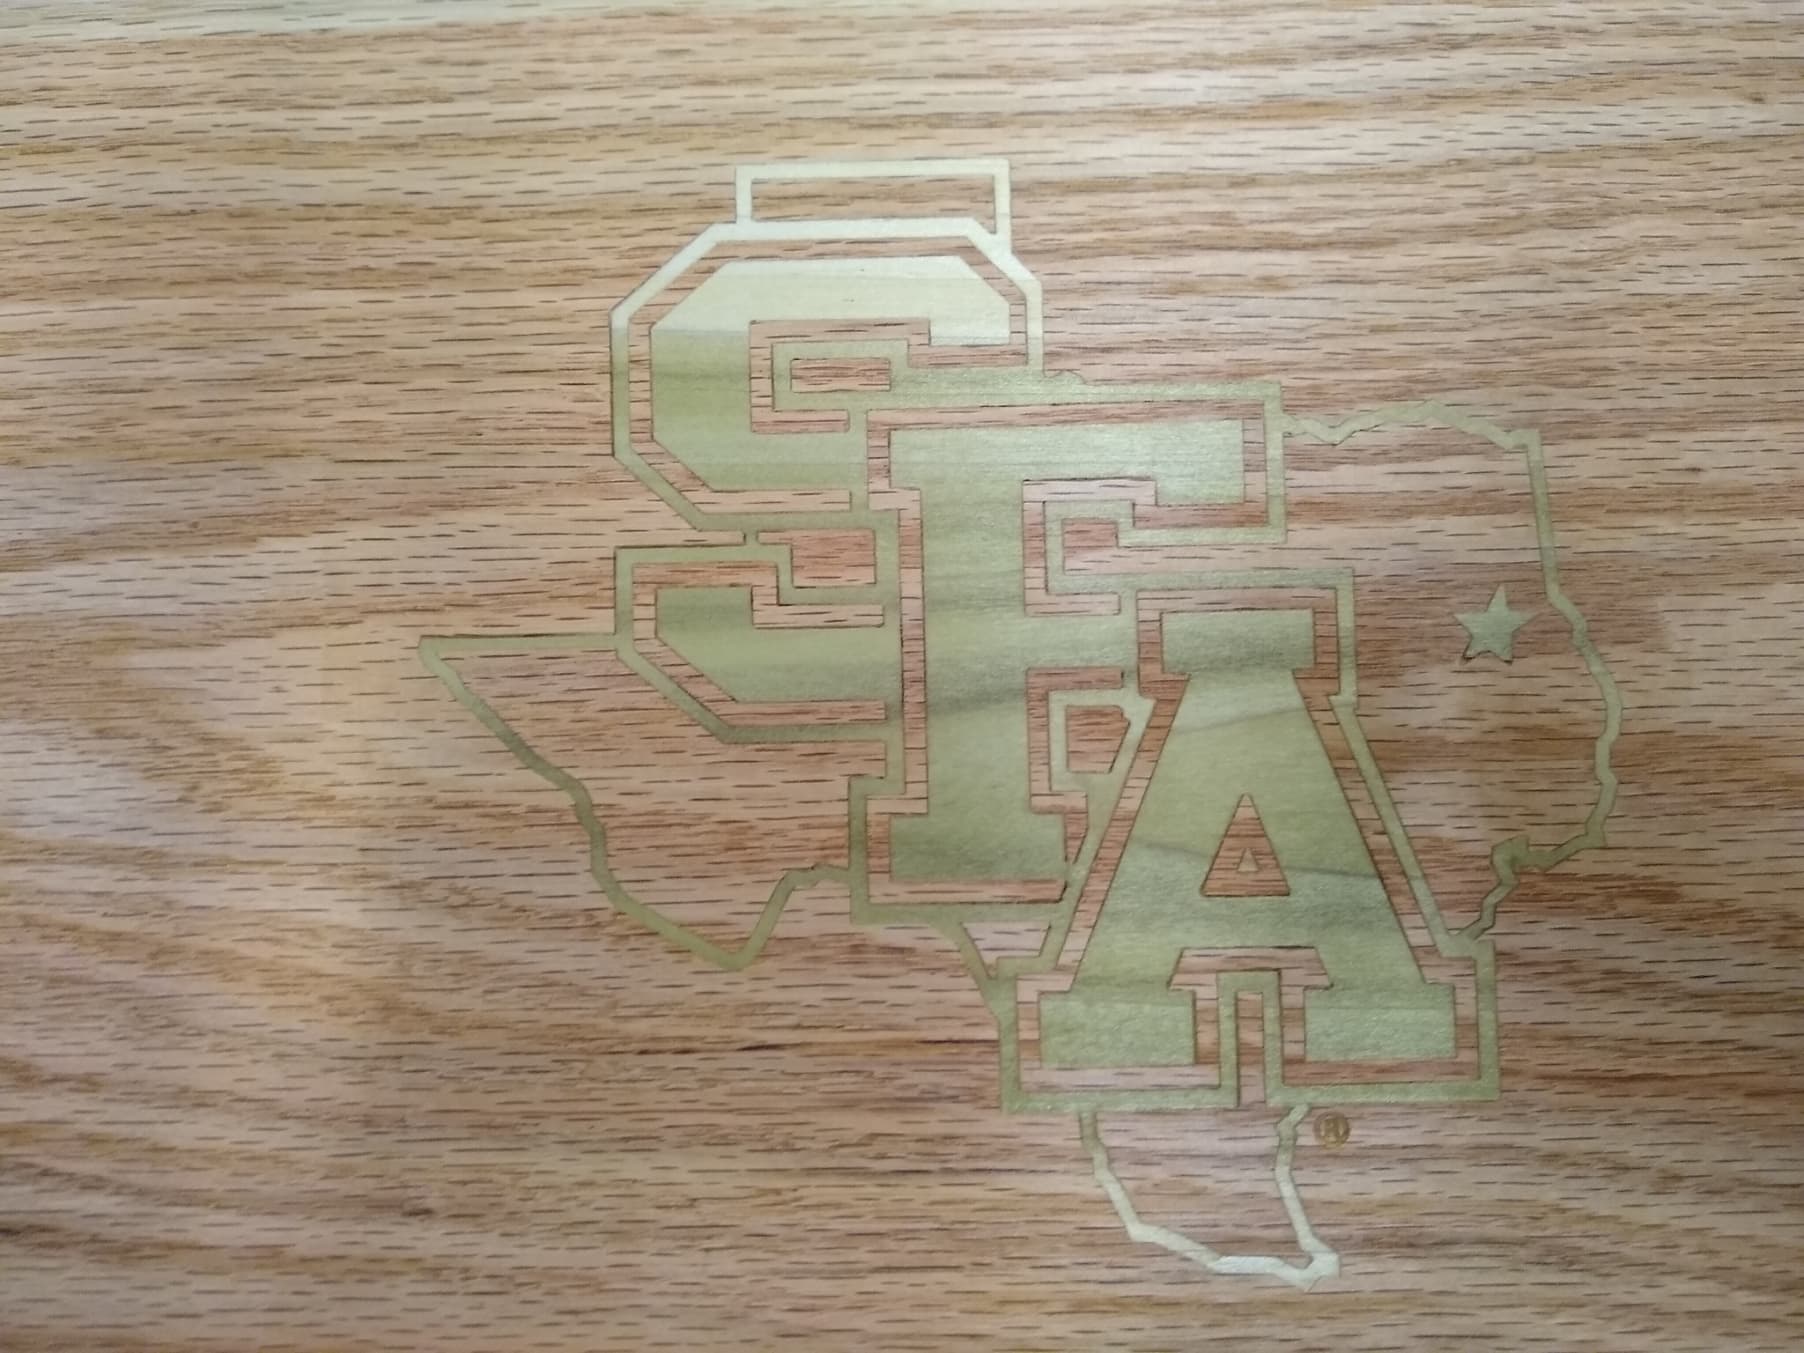
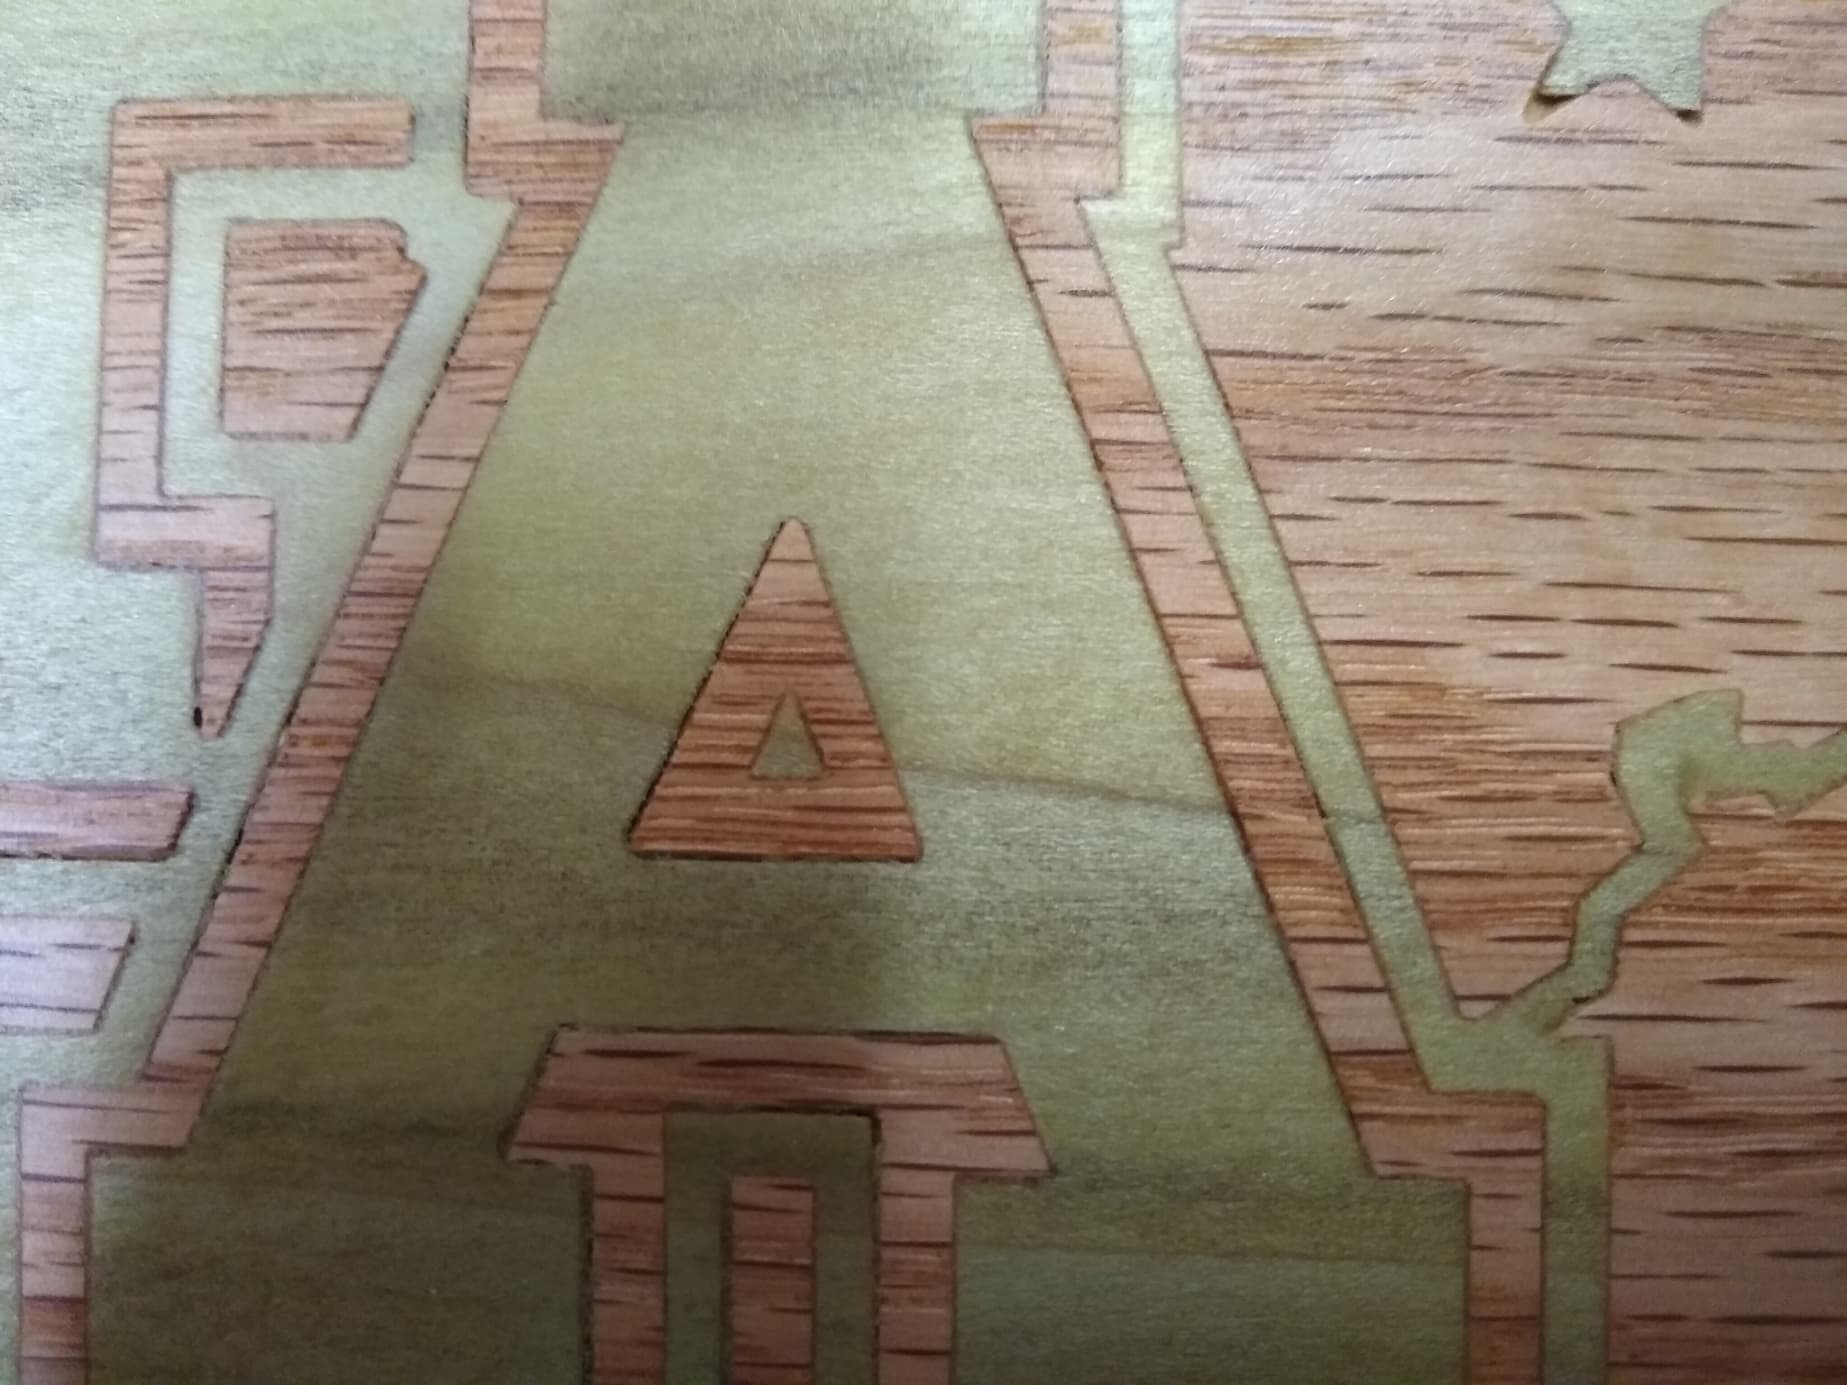
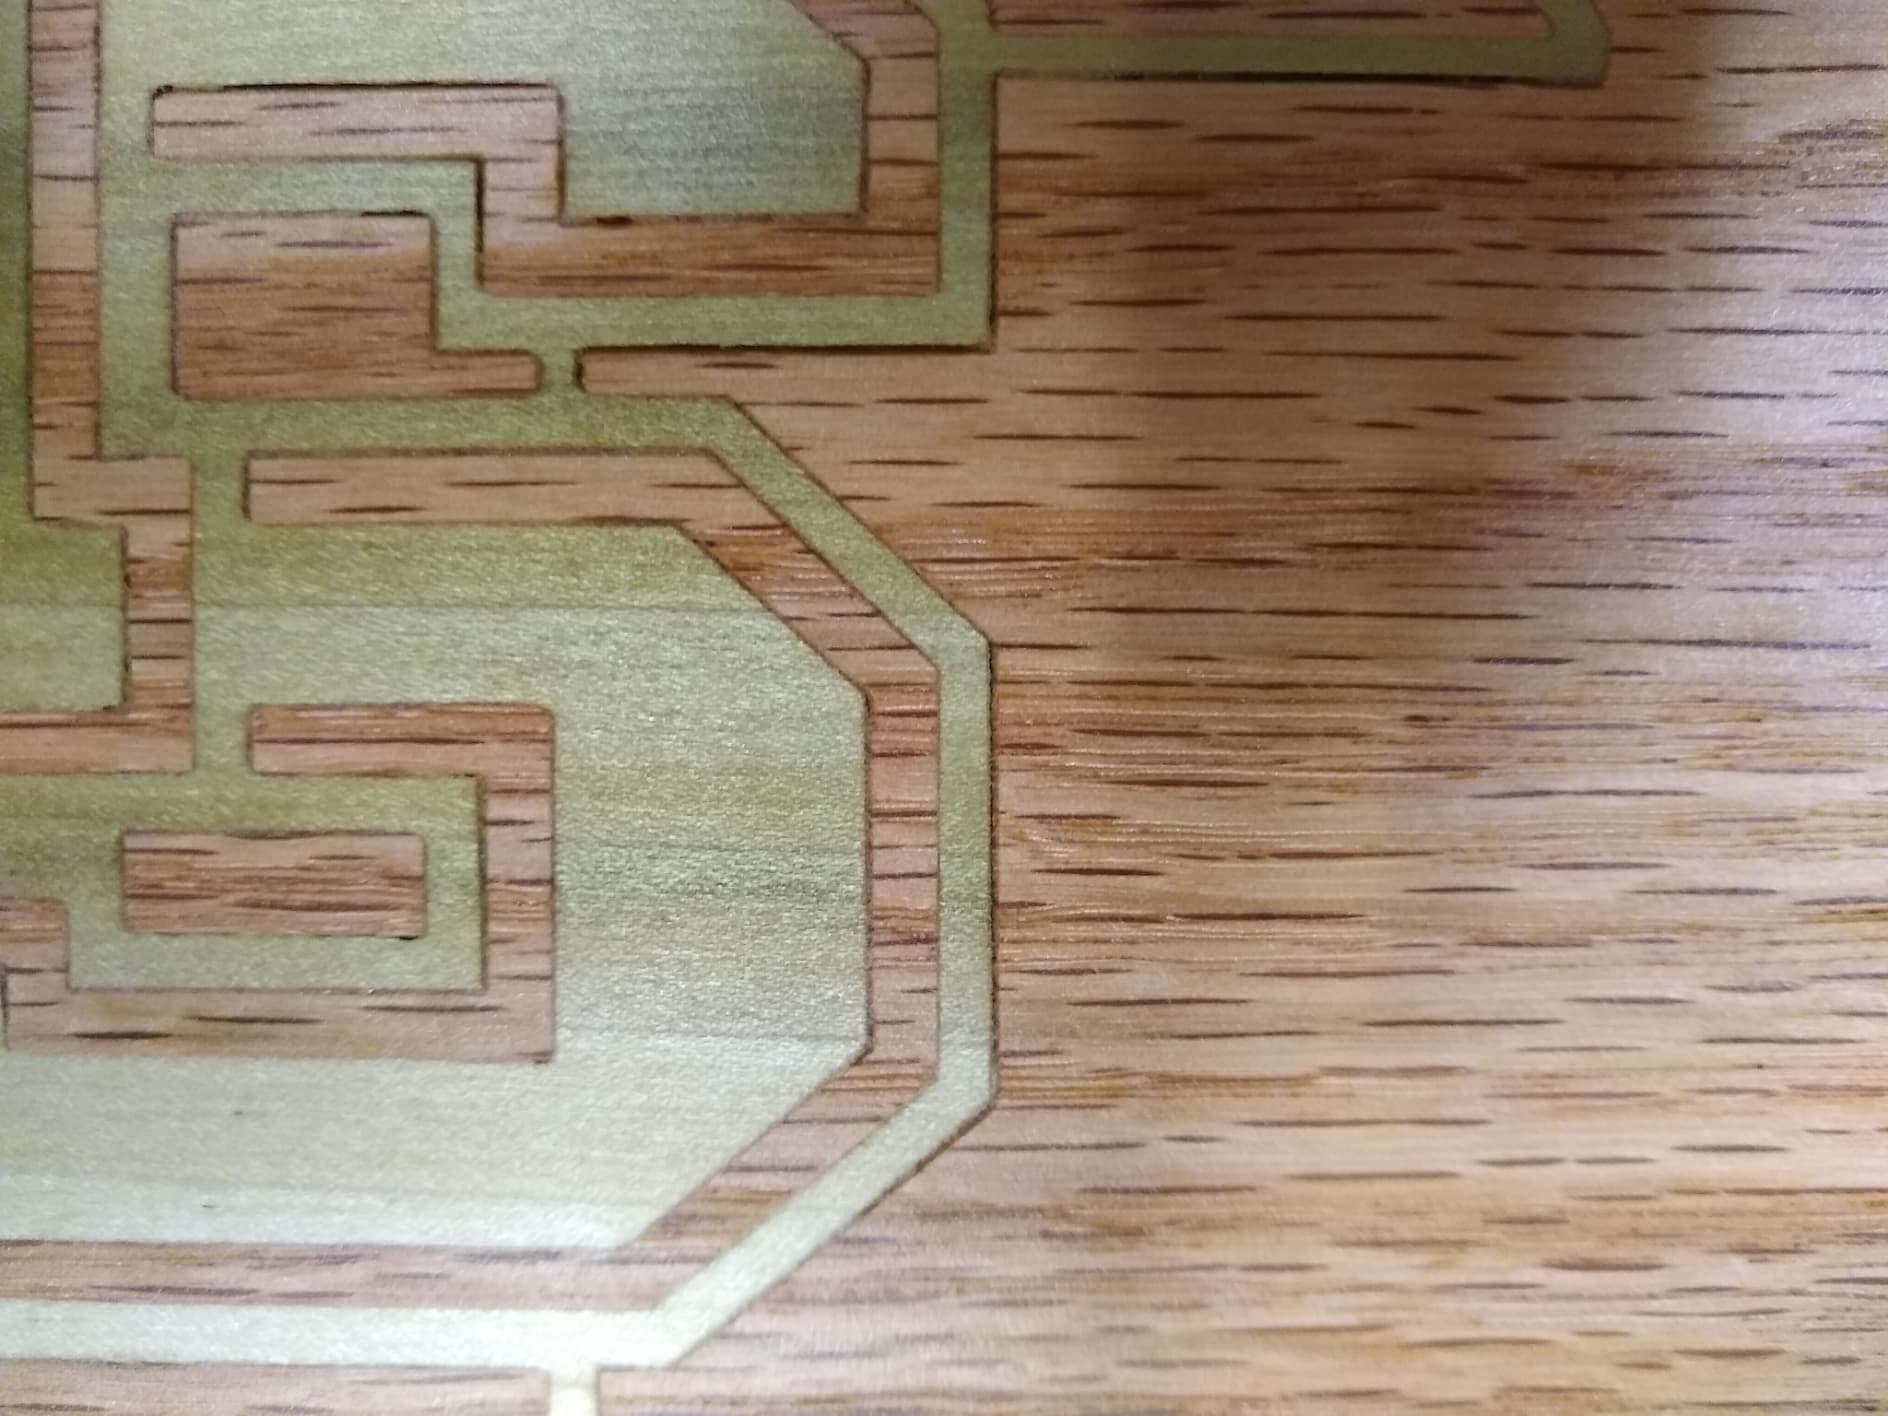
I was impatient and got the project prototype out of the clamps and cut the male plug off with the Shapeoko. The base female pocket material was red oak. The plug was poplar. In the last post I added the c2d files. I am not impressed with the fit of the inlay function. Attached are some pictures and there are some really good spots but also a lot of gaps. The vee bit was a 60 degree Groovee Jenny down cut bit that has performed very well in the past so I dont think it was the bit. There is not a lot of contrast with the oak and poplar so I wiped it down with mineral spirits.
A lot of people are using 30 degree V-Bits for inlays. I don’t know if that would help rectify the situation but thought I would throw it out there as I have had more success with it as well compared to a 60 degree bit. I am still in test mode with inlays as well. Purple heart is a tough one to cut! It’s hard on the bits as I found out. Feeds and speeds will matter when using it as it is a very hard wood.
You probably know, but while using purple heart, initially, really looks good with the color, there is no way to stop it from turning brown before very long at all.
IF, you really want to maintain the purple color for any length of time you may want to consider dyeing the wood you decide to use. The dyed wood will last a long time and leave the customer much more satisfied in the long run.
Yea it does turn brown from uv light. The chunk I got to make this protype was brown and I planned it and the purple came through. The plan is maple base with purpleheart so the contrast will be great. We are also discussing coloring epoxy purple and filling the vcarve. This os a prototype to get approval from the University to use thier trademark logo. The production ones will be sold on the University marketplace and silent auctions to give forestry scolarships. These will be wall hangers.