Very new and learning how to use v carve. Would like to know how and understand how to use Advance V carve and how it differs from V carve. Thanks Gary
A normal V carve goes down the center of the geometry, Advanced V carving cuts along the perimeter and adds the option of pocket clearing.
1 Like
A simple v carve as Will said goes down the center until it touches both sides of a line/lines. You set use stock bottom on simple v carves so you get the maximum depth. Be careful because wide lines can cause the vee cutter to cut through the bottom of your material with thin material and thick lines.
Advanced v carve as Will also stated cuts a flat bottom if the lines or area is wider than the vee cutter can cut. You can set the maximum depth for the flat bottom. The flat bottom is cut first. There may be places that the selected end mill will not fit on some designs and the vee cutter will try to pocket out those areas. The vee cutter is loaded and goes around the edges of the lines to make the vee cut at the angle you selected in the tool (90 degree, 60 degree, 20 degree…)
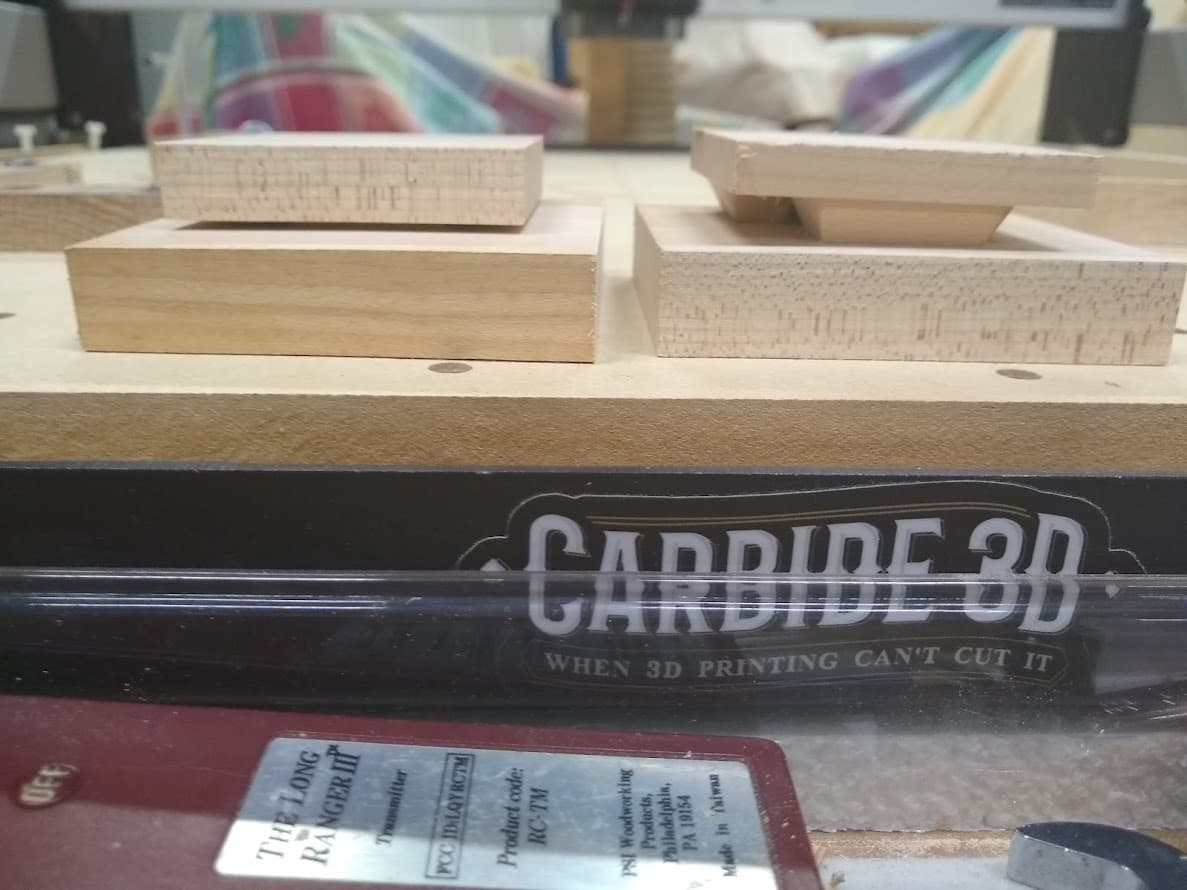
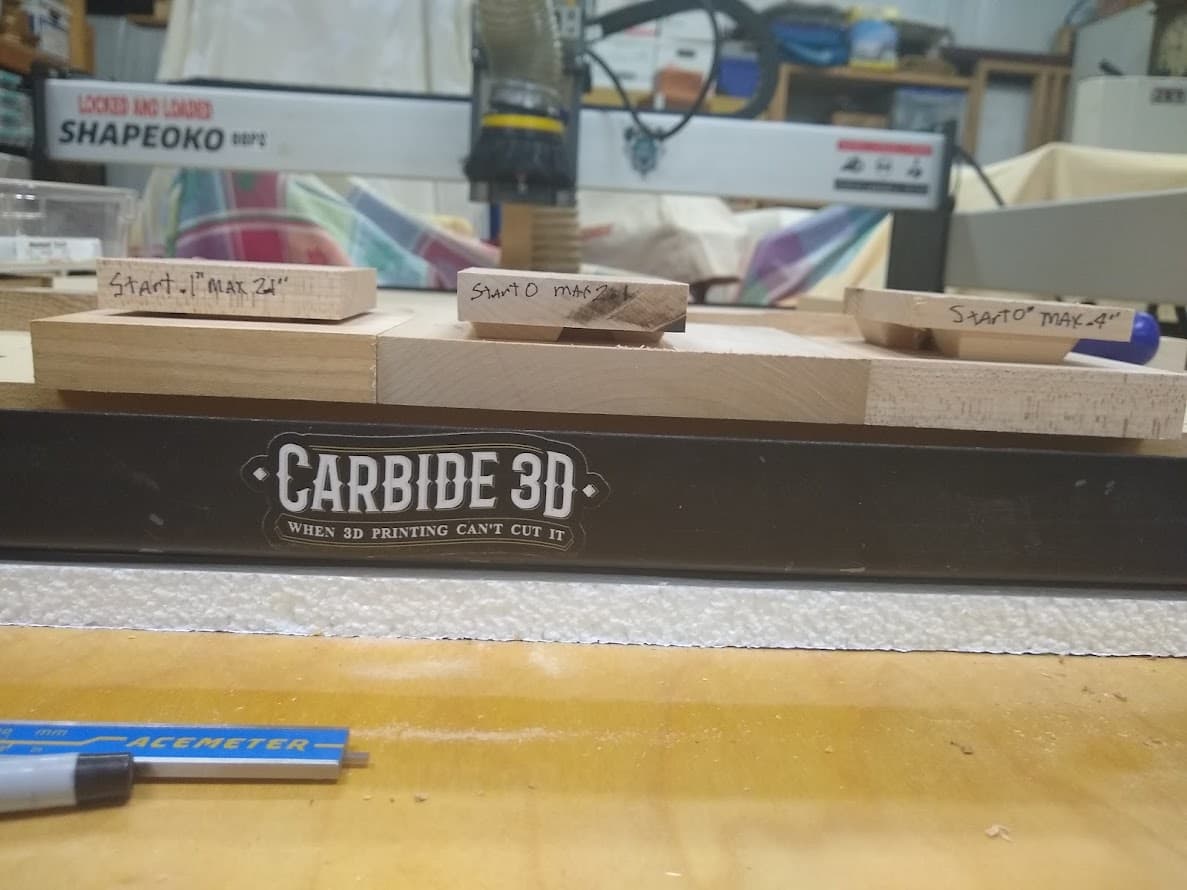
The advanced v carve is useful in making inlays. You carve a female socket for the male plug to fit into. The key to inlay is you limit the female portion to say .2". Then you cut the male pocket to .21" but you set the start depth to .1". This setting the start depth seems counter intuitive but what this does is makes the male plug slightly smaller than the female cutout. If you start both the female and male parts set at the top of the material the male plug is the same size as the female part and it will not go into the female pocket very far. You want the male plug to go almost all the way to the bottom of the female pocket. The part of the male plug that is above the top of the material is surfaced off and you are left with an inlay that fits tightly around the edges. For inlays it is best to use contrasting material for the best look. If you use oak for the material and oak for the inlay the contrast is not very good and the image you are trying to display is lost. There are reasons to make your inlay of the same material but using different species of wood makes a better looking presentation.
Here are two examples of an inlay with both cut at the top of the material and the male cut start depth at .1" with at the top of the material.
3 Likes
thanks for the information
thanks for your help
This topic was automatically closed after 30 days. New replies are no longer allowed.