Is there a setting for the tool change height? I’m using Carbide Motion V5. When the area pocket tool finishes, I get tool change prompt but the Z height remains at .250 above the work piece (safe tool height). I use stop collars on my bits, no probe.
Thanks
Hi @neodirtchief,
Can you detail the specific workflow steps you followed ?
Do you have a BitSetter and put all toolpaths in a single file, or do you do it the old way (no Bitsetter, one separate file per tool) ?
If you do use a BitSetter, a common error when using multi-tool jobs is to change the tool without using the “Change tool” in Carbide Motion, this can result in the Z zero compensation being off.
2 Likes
The advanced vcarve is a single file generated in Carbide Create. I use stop collars on my bits, no tool setter. I have looked at the gcode in notepad and here it is at the tool change part:
X3.729Y-0.034
X3.650
Z0.183
(Advanced …)
M0 ;T301
S18000
G0X-2.356Y1.511
The .183 is the safe Z.
I assume you are intentionally using the GRBL post-processor, not the Shapeoko post-processor.
Since CarbideMotion is primarily targeted at Shapeoko/Nomad users using the Shapeoko/Nomad post-processor, it enforces a workflow that relies on the bitsetter for multi-tool jobs stored in a single file, so there it won’t let you manually jog the Z up during tool change, or adjust the tool change height.
I don’t know that there is a way around that, short of splitting the job into individual files, and launching them one after the other. However CC’s Advanced V-Carve cannot generated two separate files, so you would need to split it manually if you were to go down that route.
If you are positive that you have enough Z travel to retract the Z axis to allow for your tool change without colliding at the top, I guess you may just set retract height to that large value.
2 Likes
Not sure about the post processor stuff. I just set the machine according to the instructions. What I have been doing is adding an inch to the Z value at tool change by opening it in Notepad then saving. It’s an extra step but it’s better than unclamping to slide to material out, tool change, then reclamping. I’ve seen videos for inlays using stop collars and wasn’t sure if I had missed a setting or something.
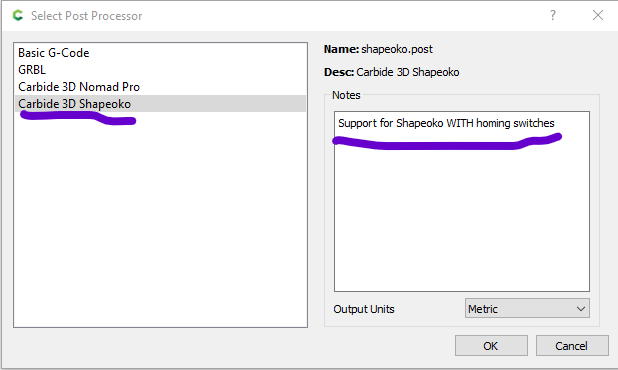
Is there a way to switch to the Shapeoko post processor? I remember one screen during set up but can’t recall the options available.
Thanks
Edit --> Select Post Processor
2 Likes
Might be a noob question but How do I get to that screen?
Nevermind, found it. Thanks for pointing me in the right direction.
This topic was automatically closed after 30 days. New replies are no longer allowed.