Welcome to the community, John. Looks super clean! How did you choose your point of origin, they both look like they are very evenly spaced left-to-right?
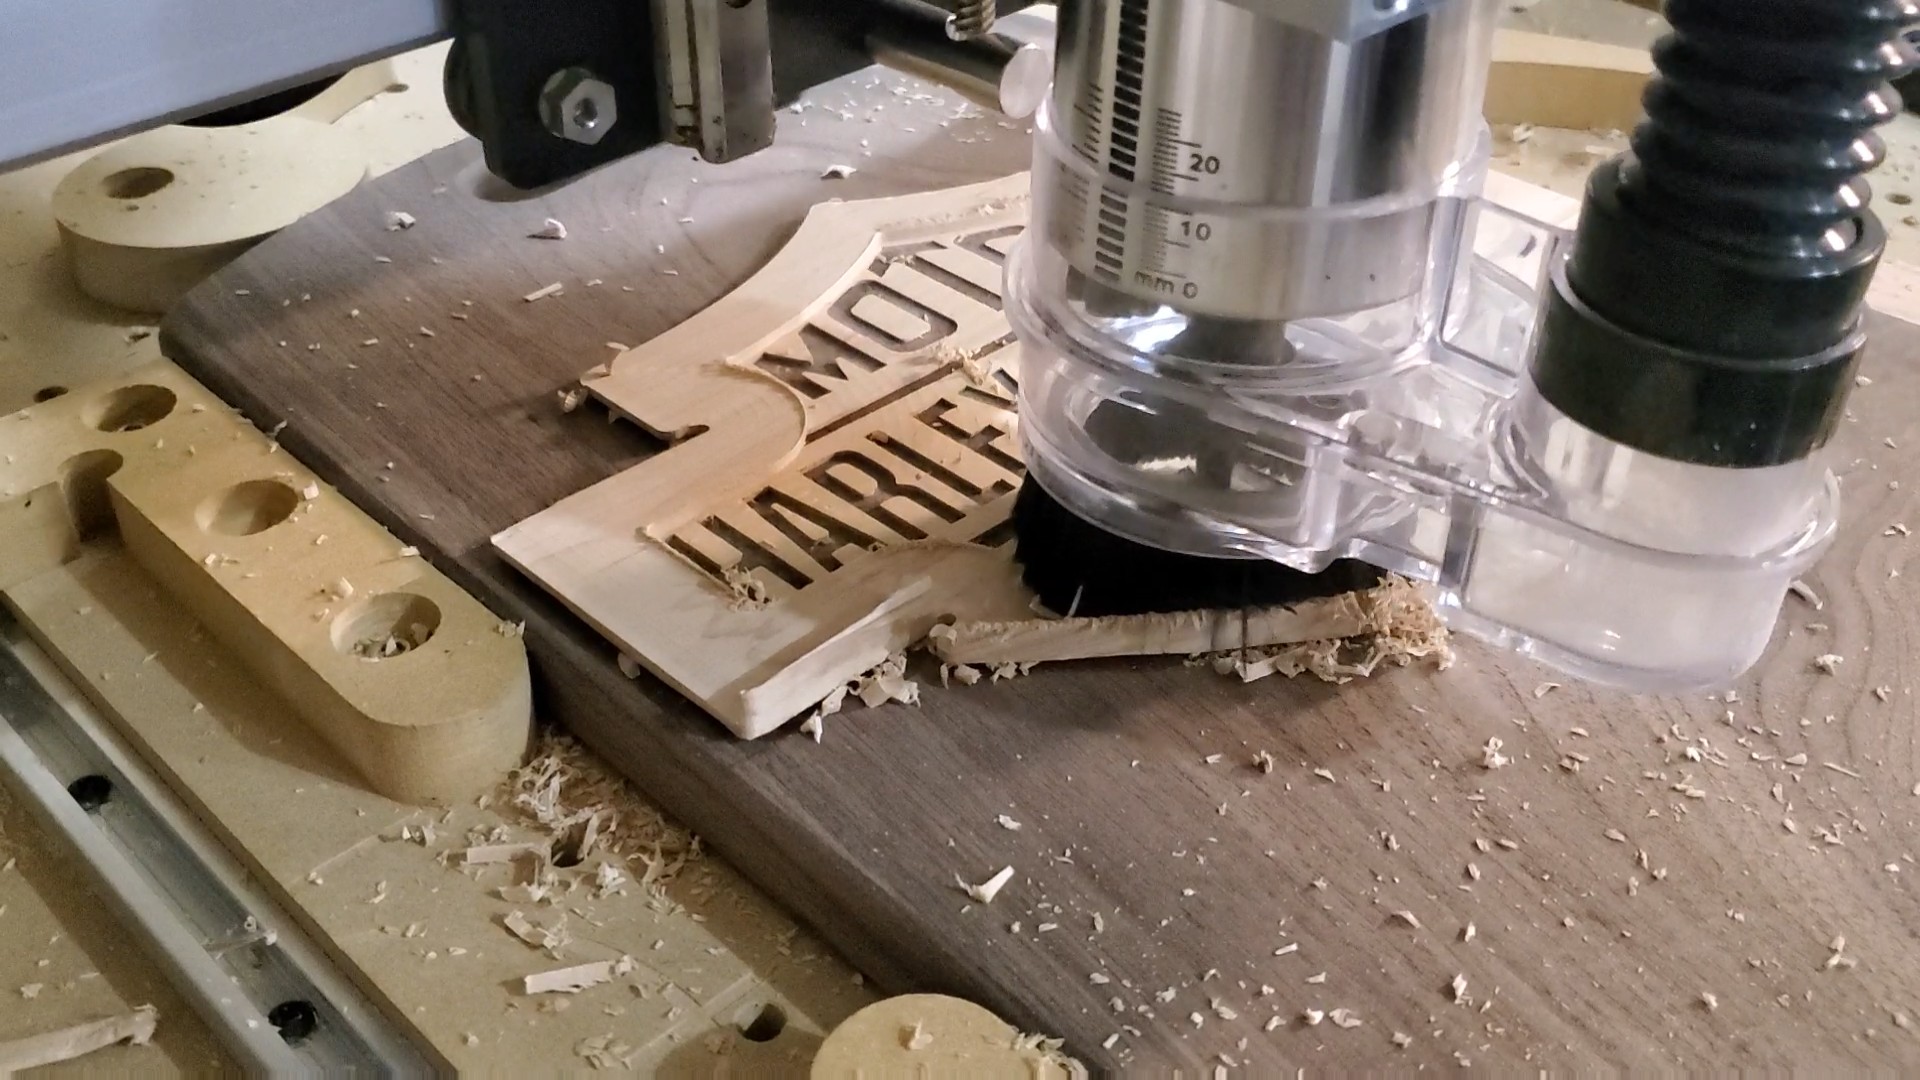
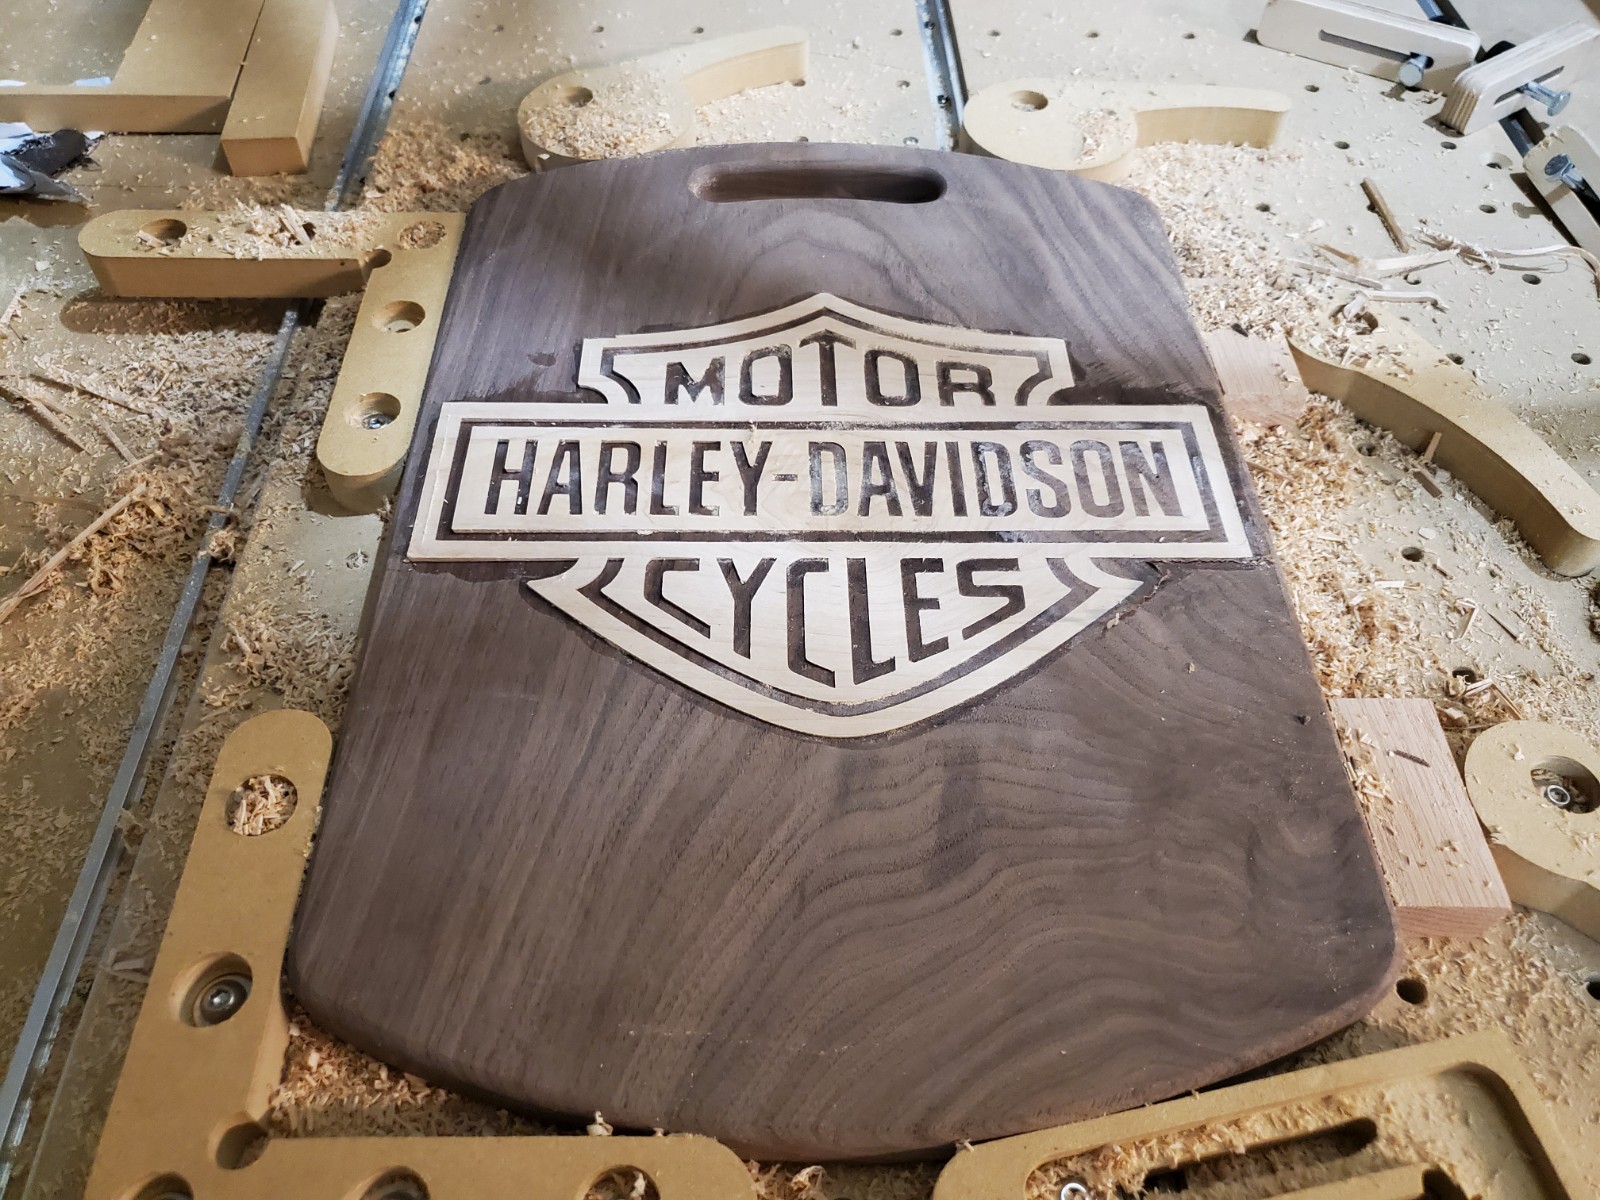
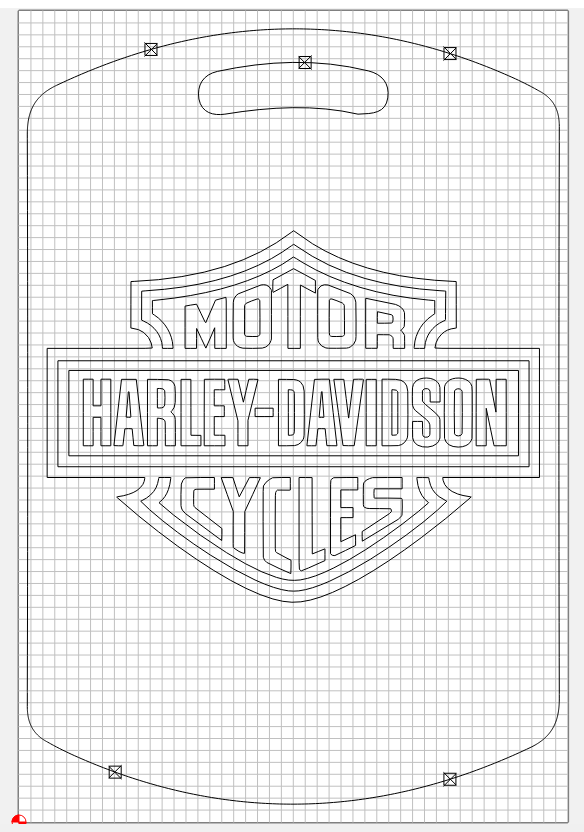
Thanks Brian, what’s not shown, was the board it was cut out of. The walnut pocket carve was also a cut out on a bit bigger board. Make sense? It was centered up in Carbide3d. I don’t think I have pictures of that, but here’s a screen shot of the project in Carbide.
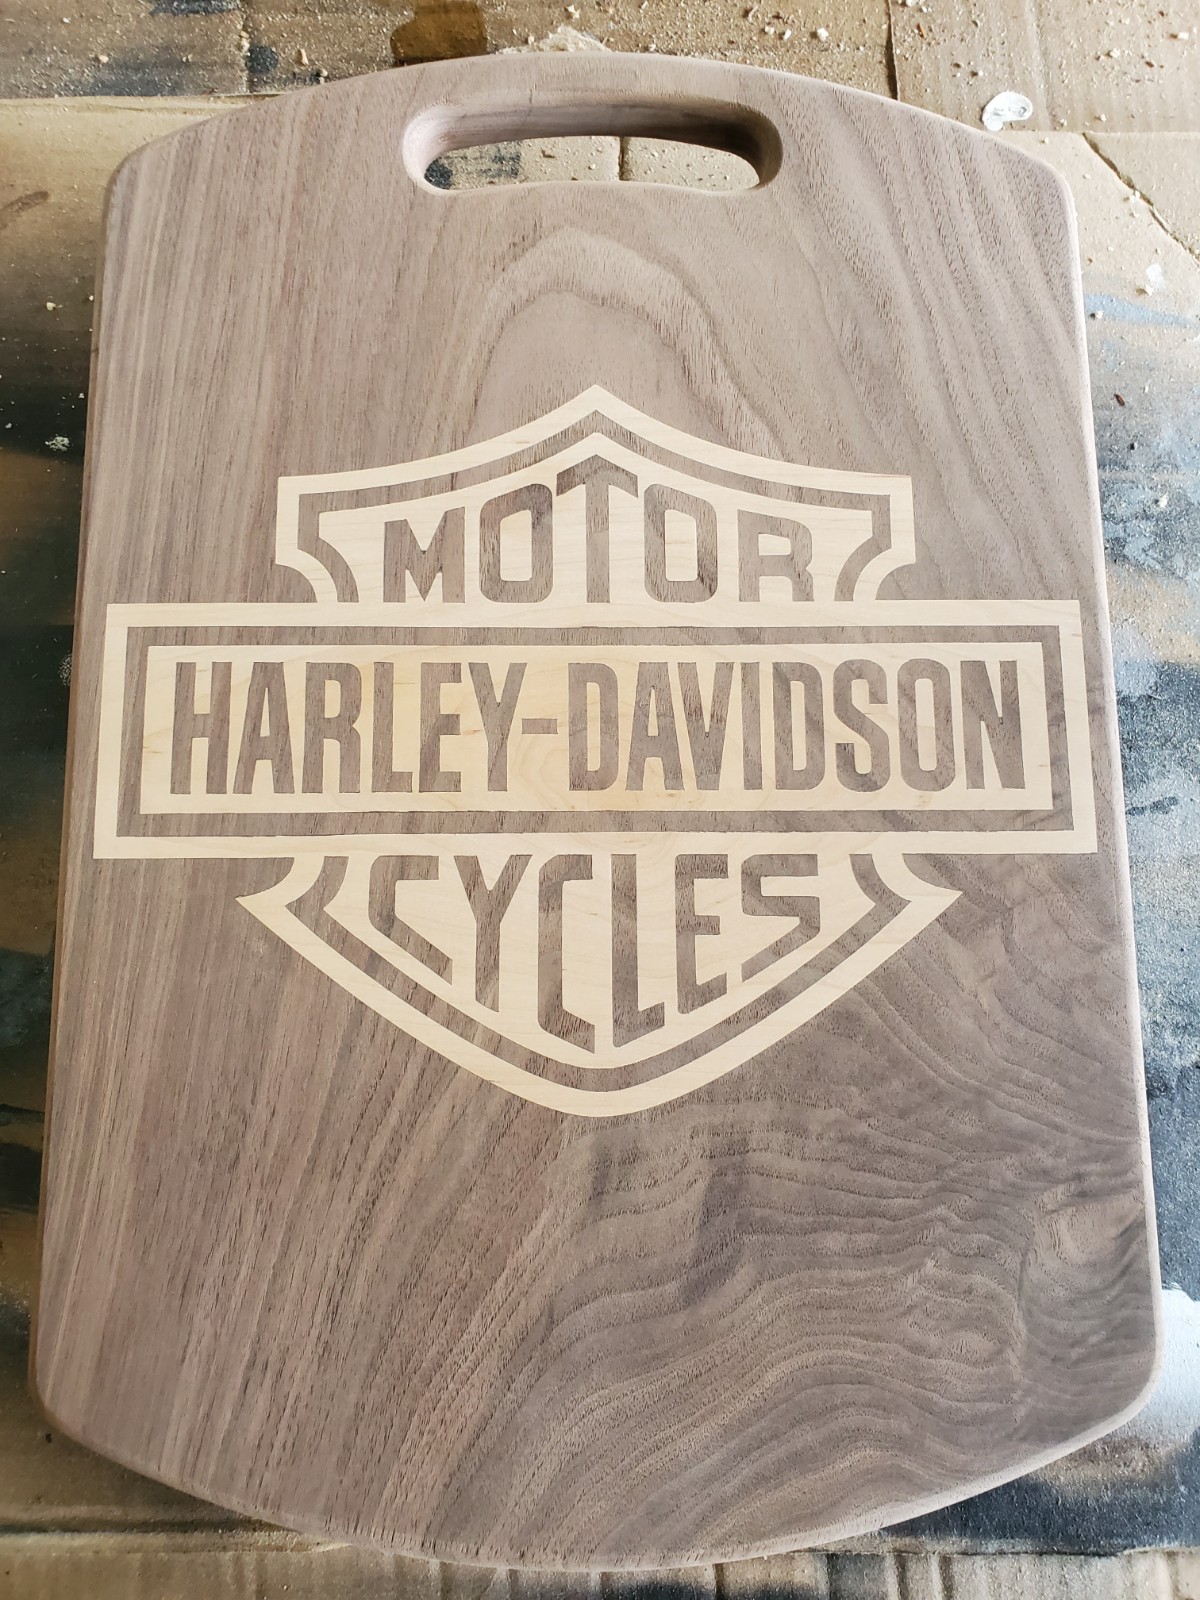
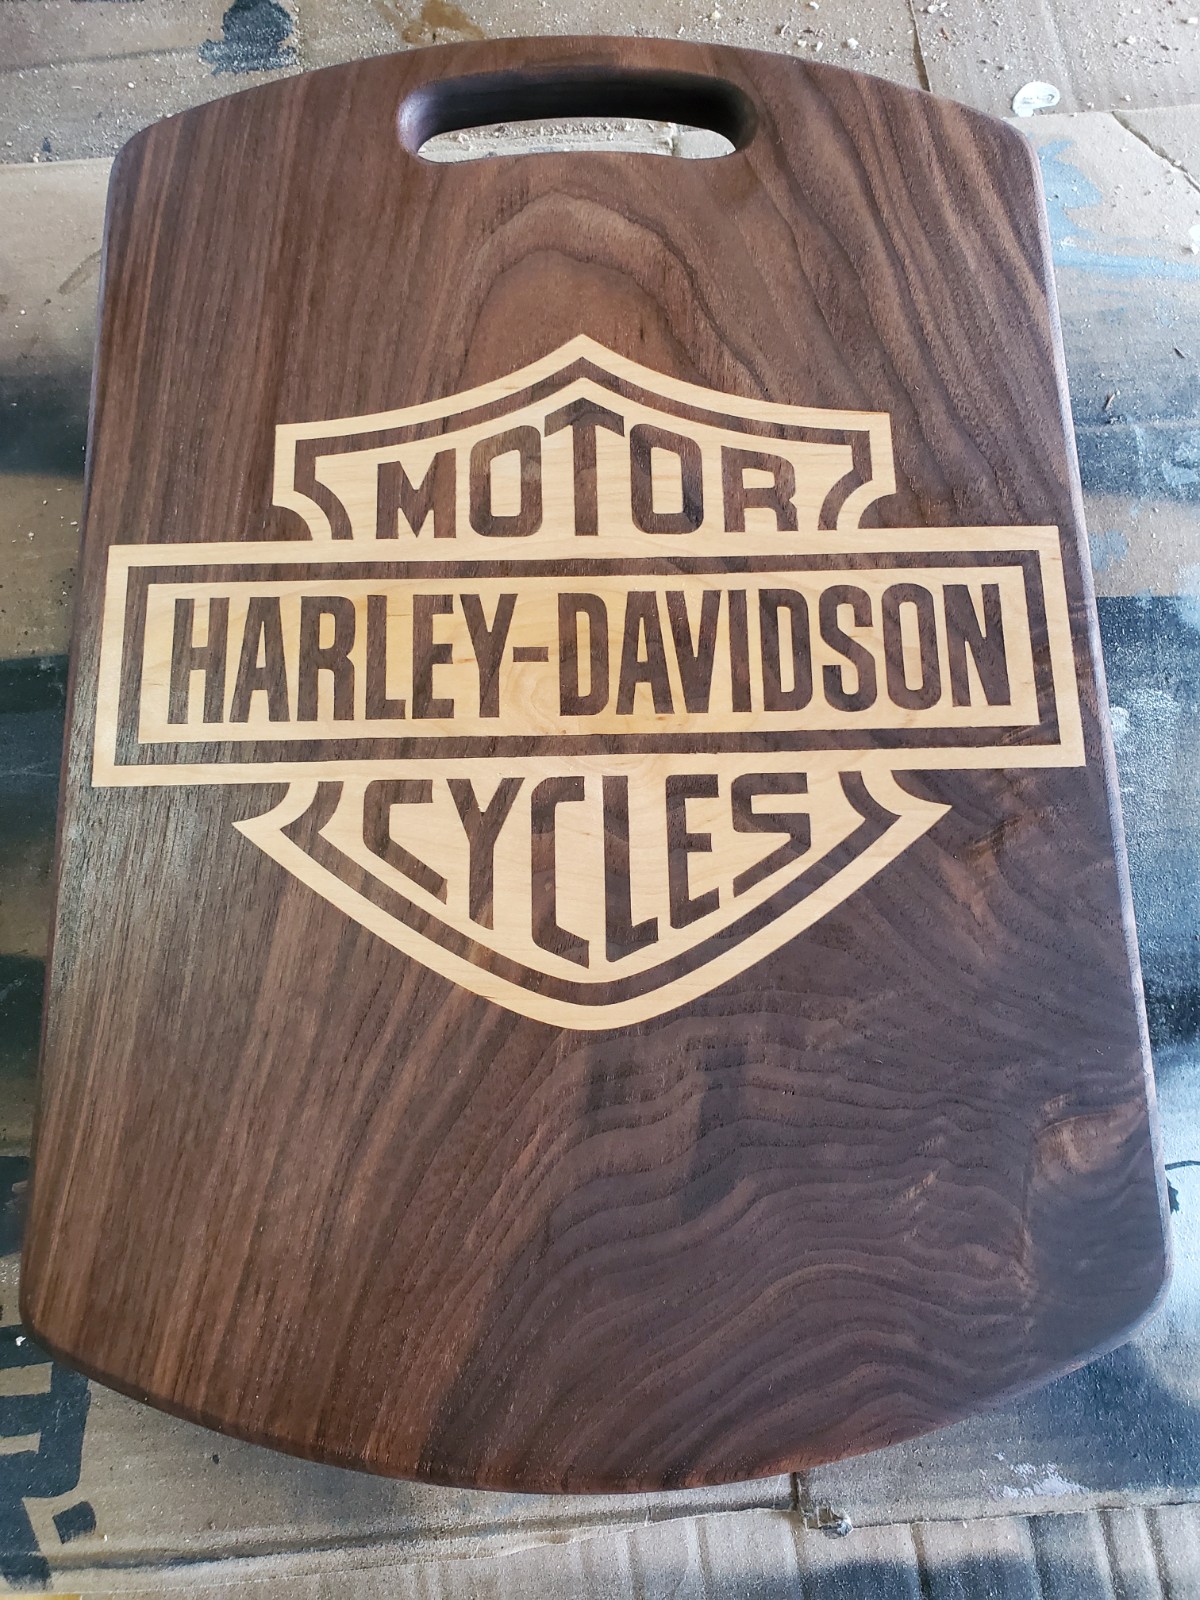
Well not everyone’s first inlay looks as good as this, mine certainly did not
Everytime I see those maple+walnut inlays I get jealous that you guys in the US have easy access to wood with both constrasting colors and tight train.
Over here what I can get is oak, beech, ash (pine is “meh” for carving), and they have similar colors. I have to resort to buying olive wood for contrast, which is expensive and not easy to find.
That must be why I unconsciously migrated to doing more and more epoxy inlays