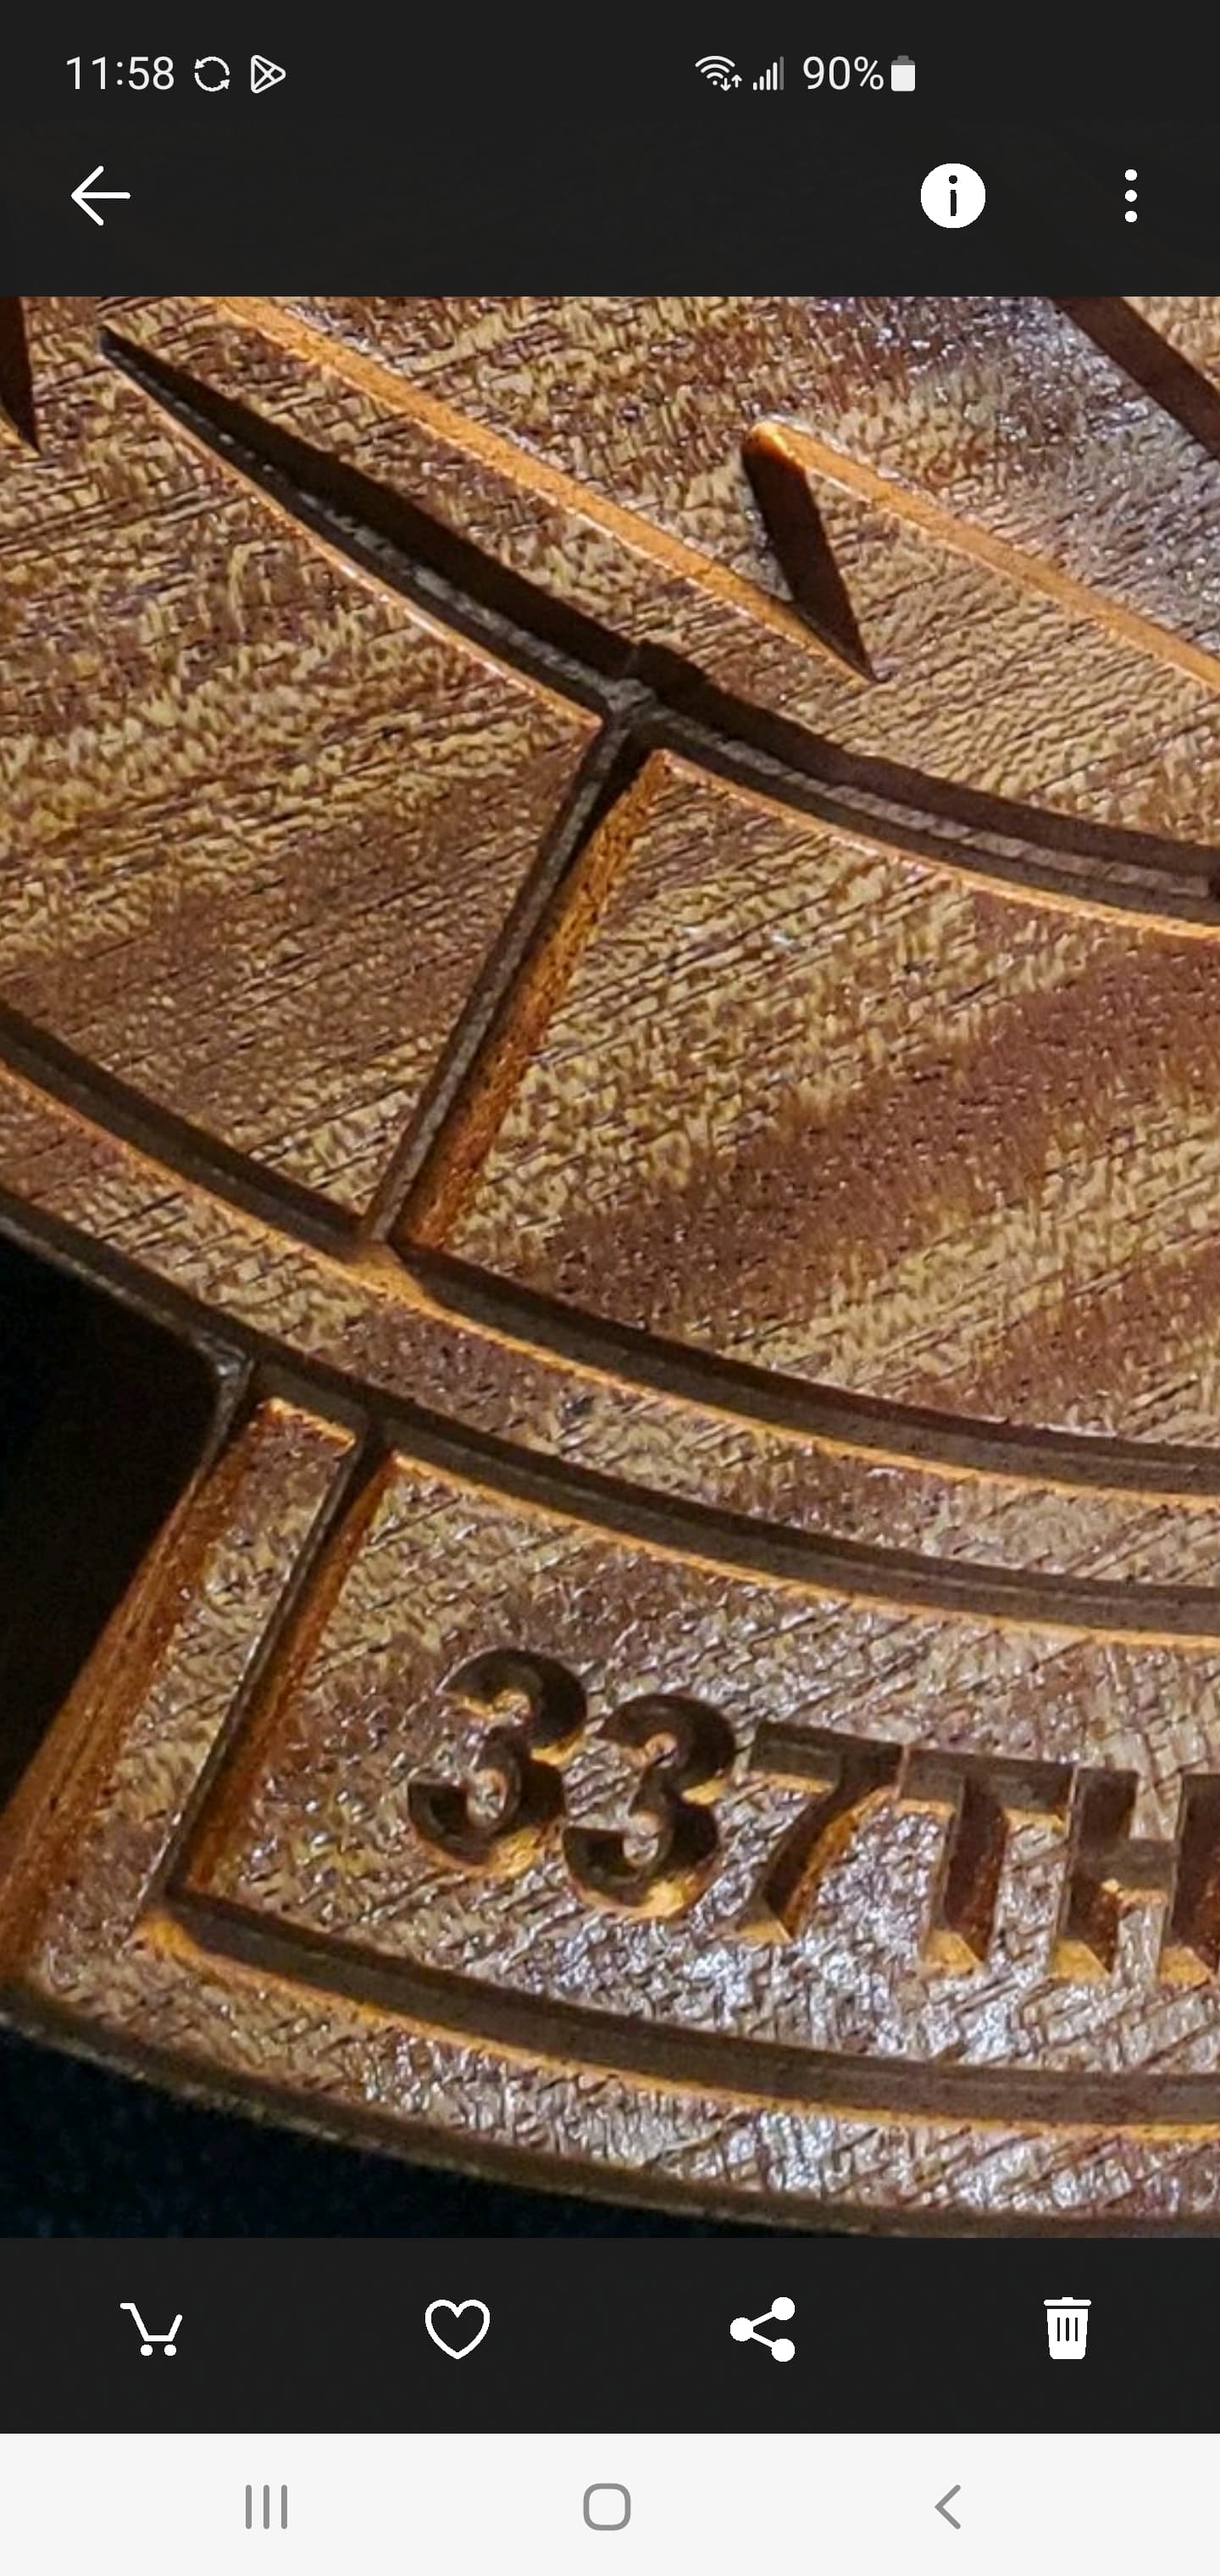
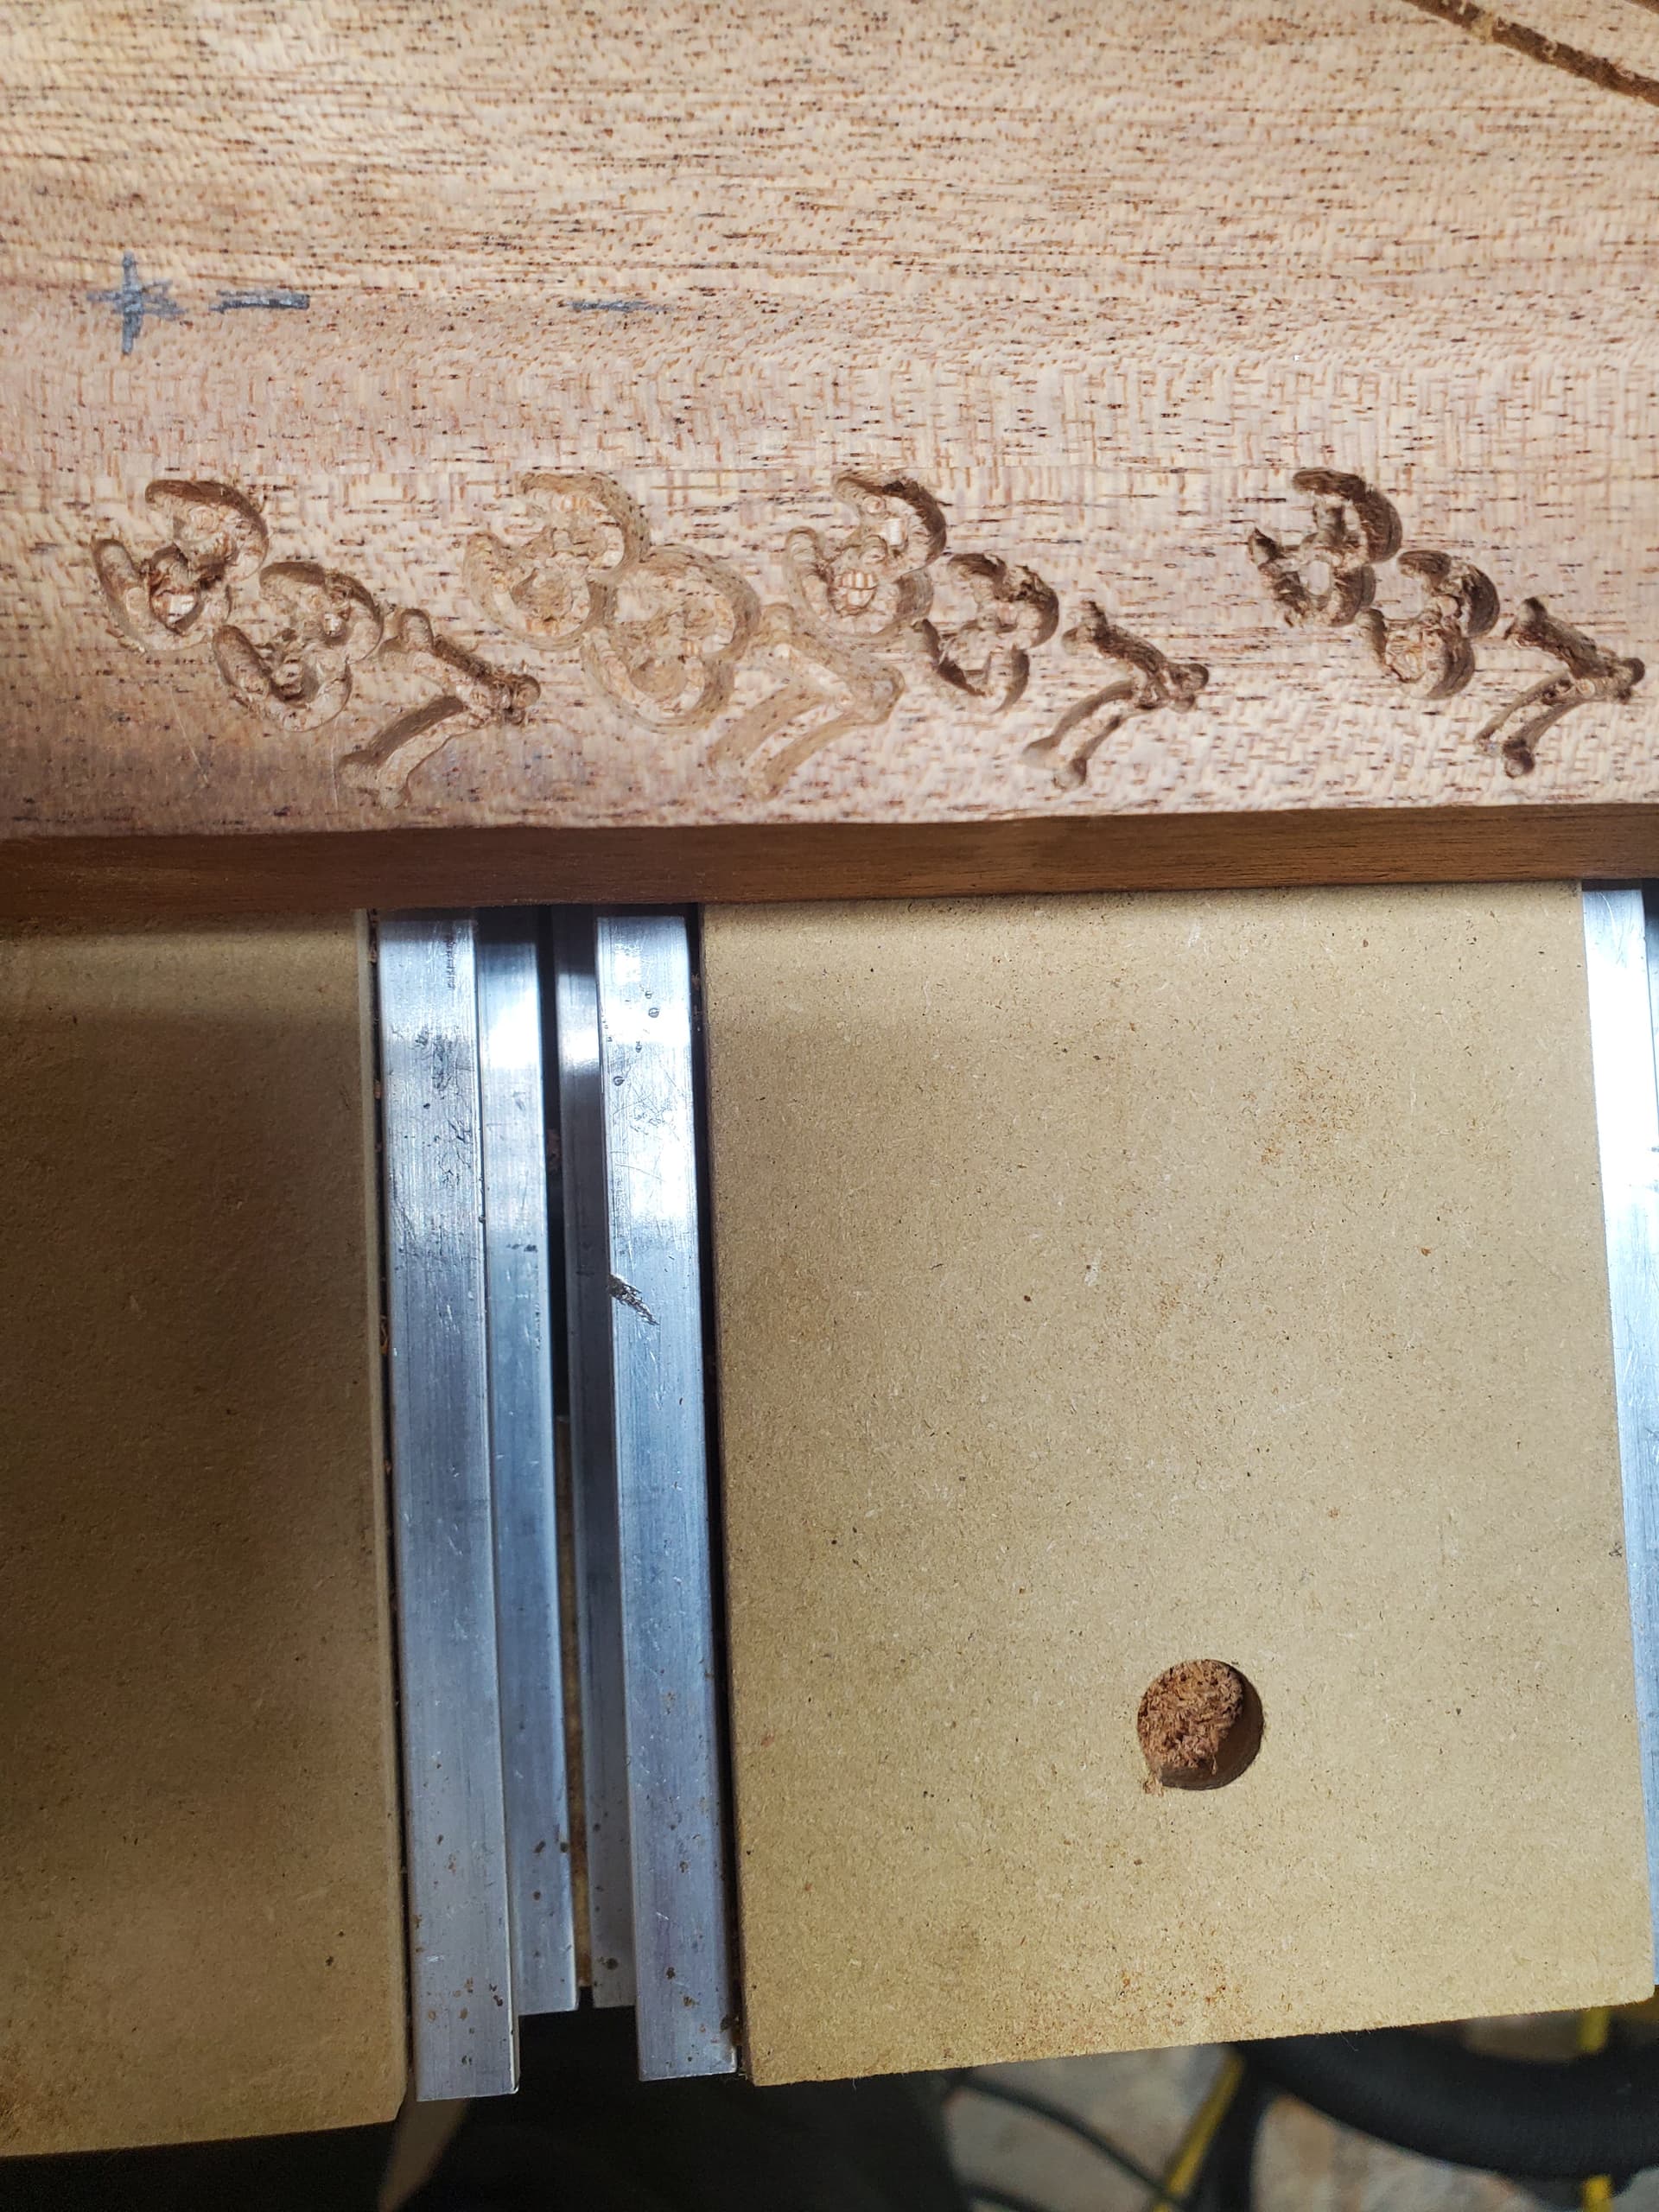
Shapeoko 4XXL, Trying to figure out what’s going on here, most maddening is I just did this exact same carve last week with 0 problems, came out perfectly.
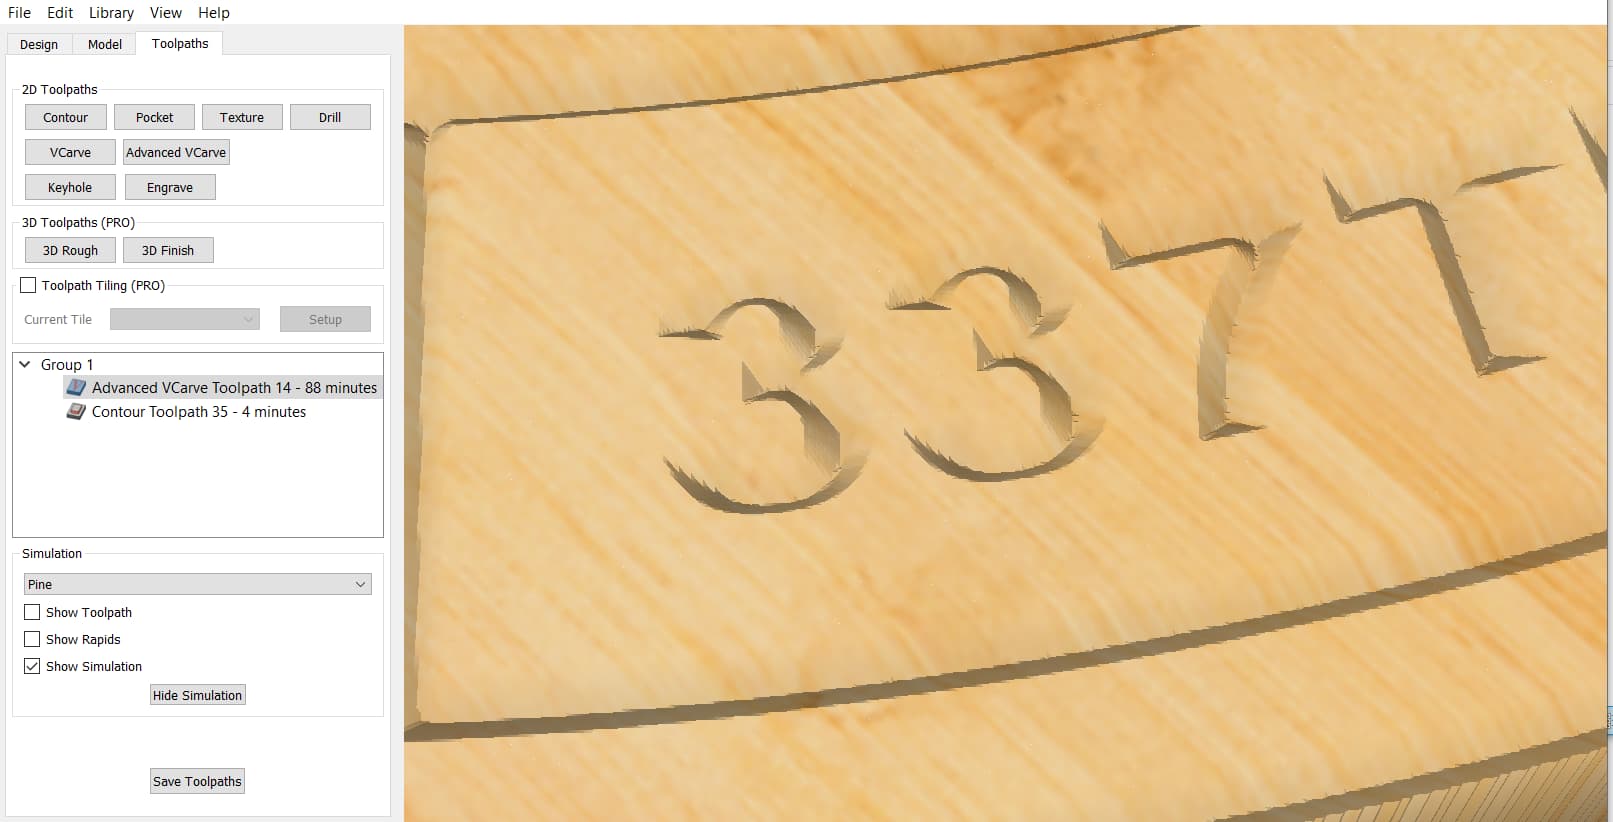
Now the v carve portion of this advanced v carve isn’t going near deep enough and I’m getting these weird dog bone corners.
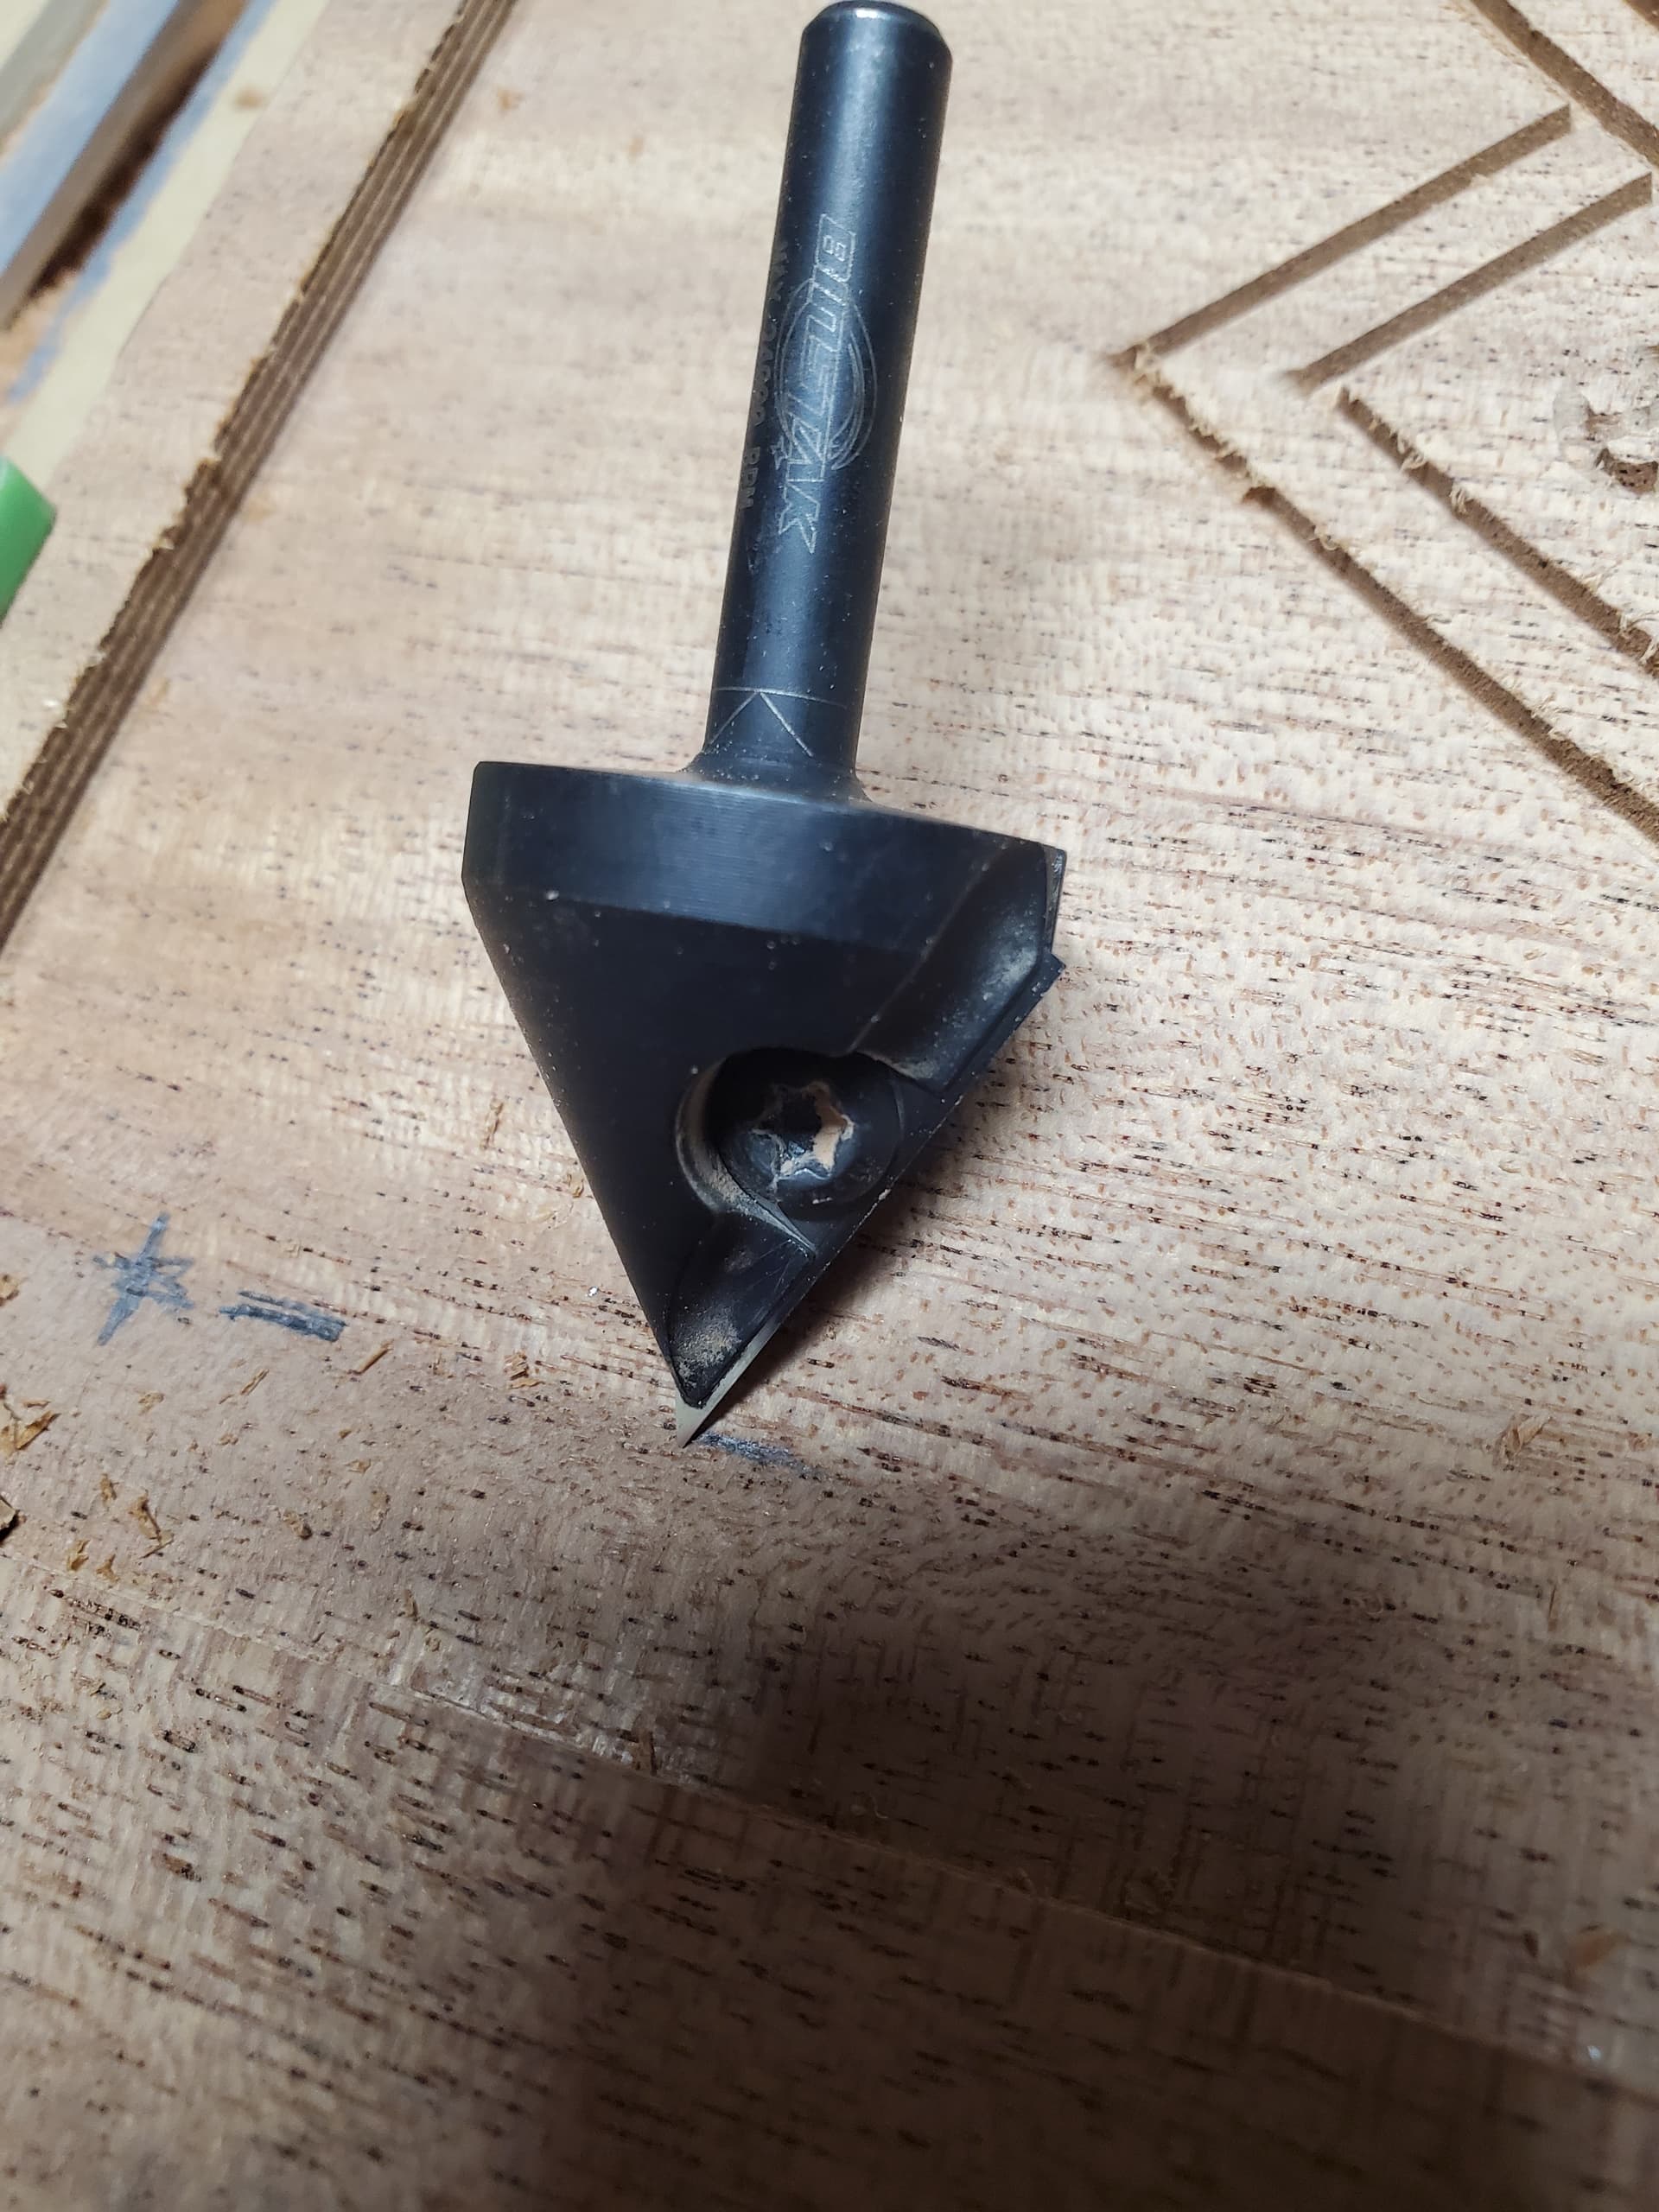
Anyone recognize what’s going on here? I haven’t seen this before with a vcarve. Using a binstack 60 deg vbit. Checked the blade in the bit, it’s tight. Don’t see any obvious movement or looseness in my machine.
Did some more testing today, tried a different v bit (90 deg), similar results. Tried a completely different trim router, since my original has quite a few hours, in case bearings were going or something. Same results.
Yep this is all with 60 deg tool, I just ran the 90 deg tool (and set up the file for 90 deg tool) once to see if it was the bit. I’ll do some more tests, try clearing the offsets and use bitzero to probe z.
I’ve been using a binstack 60 deg v bit, the kind with the replaceable blade. Just tonight I’ve purchased a carbide 3d solid 60 deg vbit, to hopefully rule out any bit geometry issues. I’ve also changed trim routers and tested - same results. So that should rule out the router at least.
Normally this means the Z zero (and therefor, the top of the stock) is not in the correct position. This could be:
The zero got set incorrectly, and now the top of the stock is above the expected position
The stock is not flat.
You set the zero on the bottom of the stock, but the material is thicker than you programmed in Create.
If you can do a facing toolpath at the top of the stock prior to the V-carve, it should work out, even if the zero is wrong.
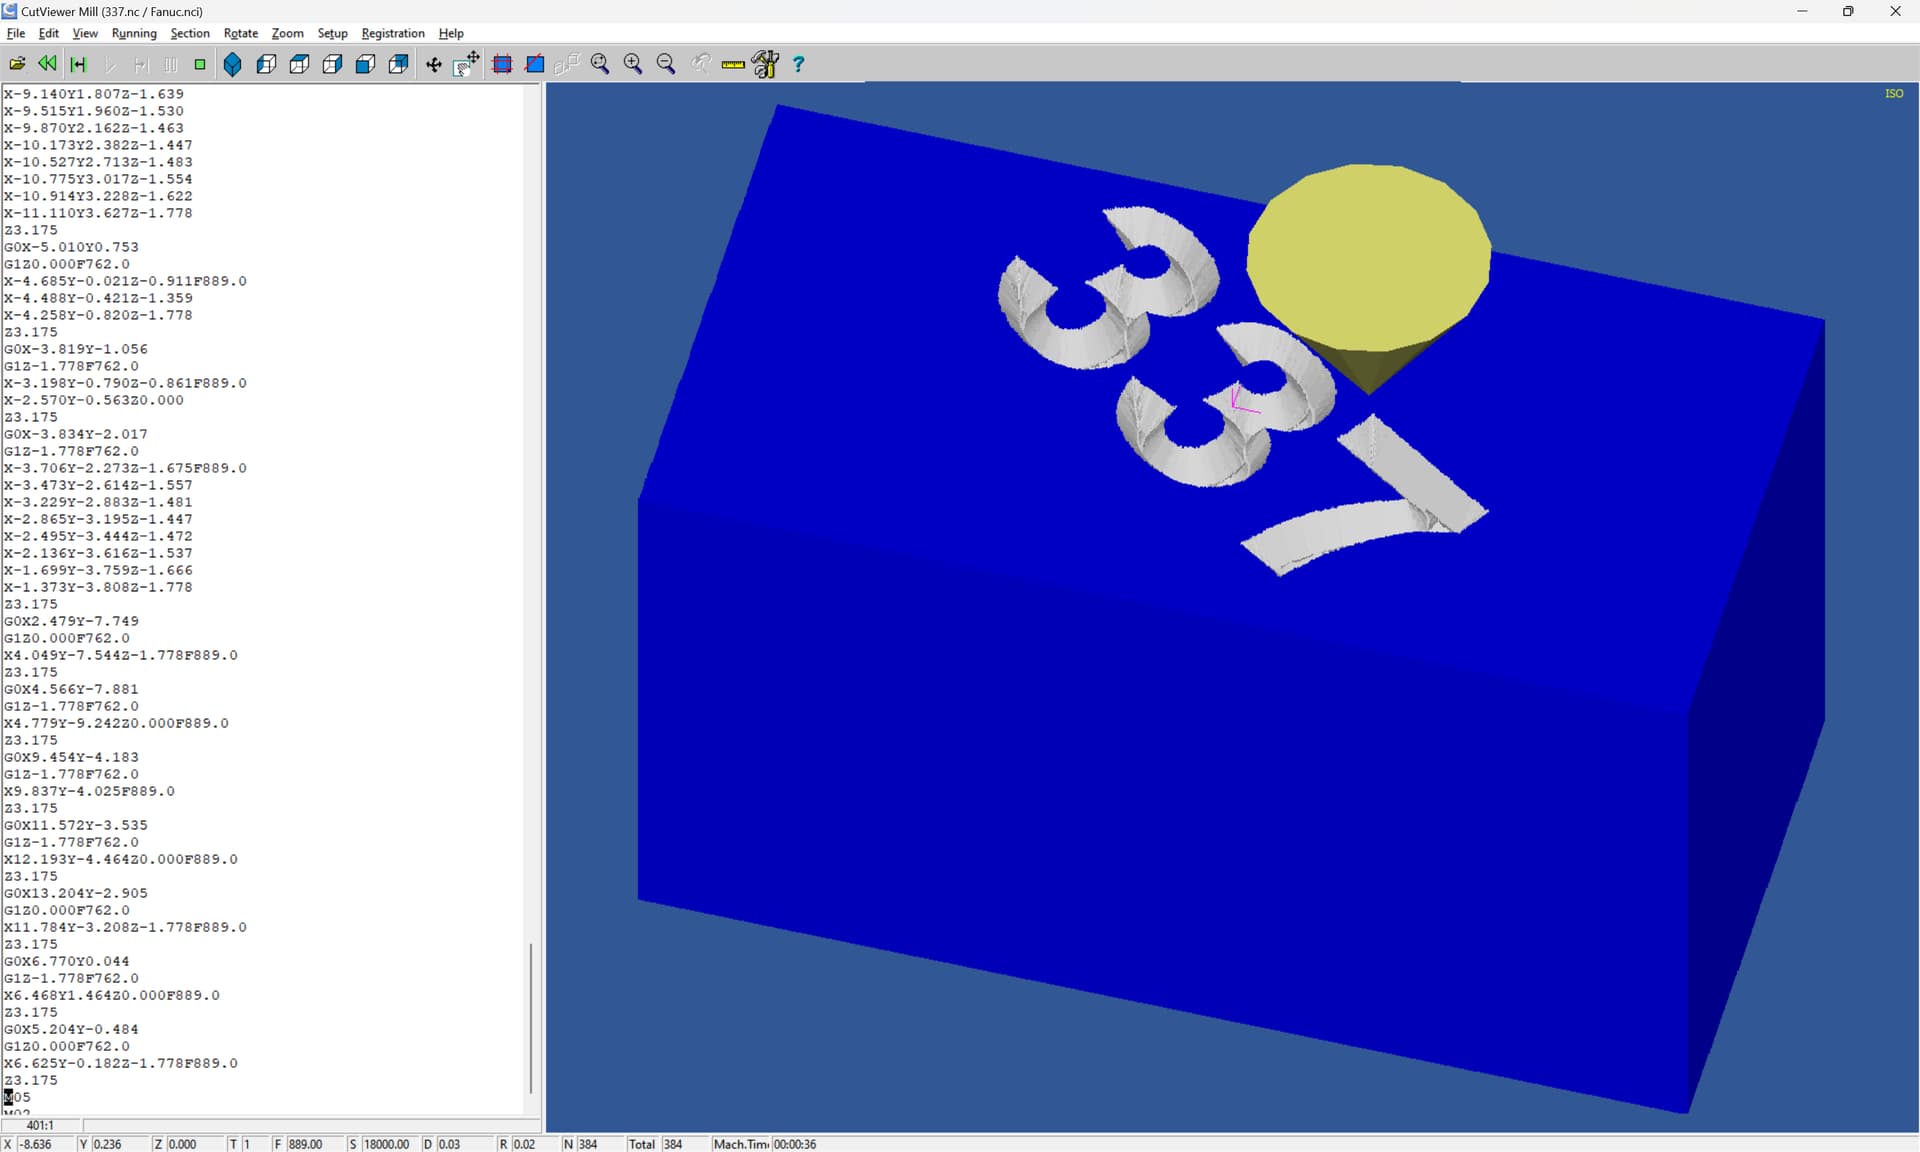
Second, when I look at your file, you set a max depth for your V-carve which appears to be limiting the cutting depth for your design. This can create toolpaths that are unable to fill the vectors fully.
The root problem could be either of the items above, or both.
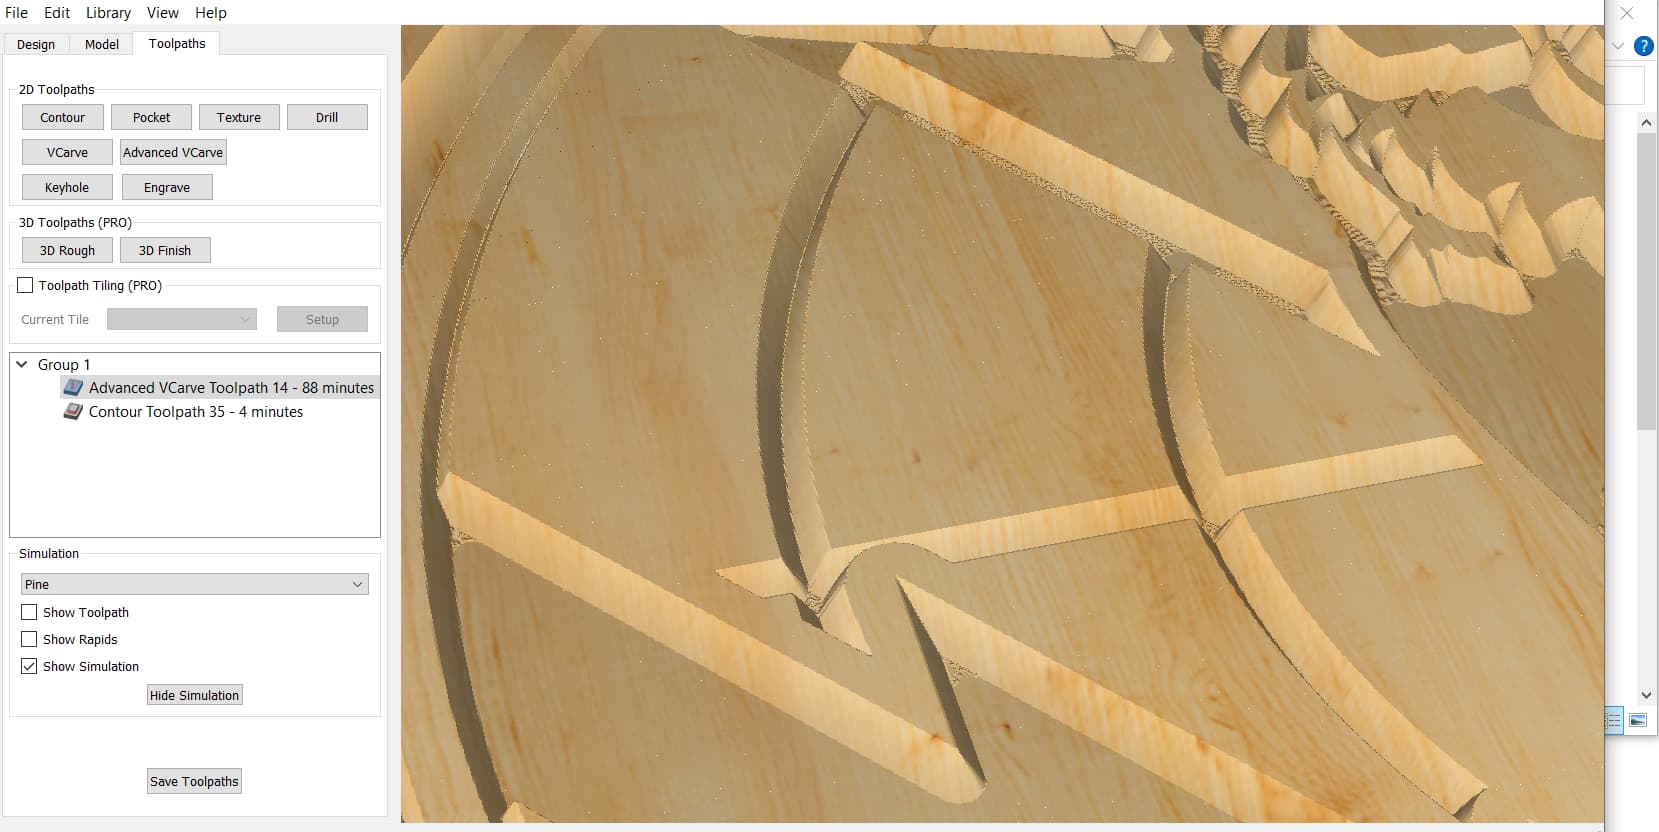
A simple vcarve goes down the center of the line until it touches both sides of the line. If you limit depth on a simple vcarve the results are not optimal. So if you want to use simple vcarve always use bottom of material or “t”. However if you use advanced vcarve any flat portion (maybe not in this case) will be done with a flat end mill. Then the vee bit goes along the perimeter of any lines down to the desired depth.
A simple vcarve with the bottom of material will go as deep as required to touch both sides of the line. That can cause you to go through the bottom of thin material. So if depth limits are required then use advanced vcarve.
Yeah face palm moment here this afternoon for me. I was trying to limit the depth of the vcarve toolpaths. Can’t do that with vcarves. @gdon_2003 in my experience, limiting depth with advanced vcarve didn’t work correctly either.
Thanks all!
When you get rounds where there should be sharp corners, it’s usually an indication of Z-Zero being too deep for the endmill. This happens often with V-bits because a perfect point is assumed by the software, but the reality is that the tip has a radius or flat.