Hi All - I tried to find a similar problem here and didn’t have any luck.
Okay - so I first posted this on Reddit:
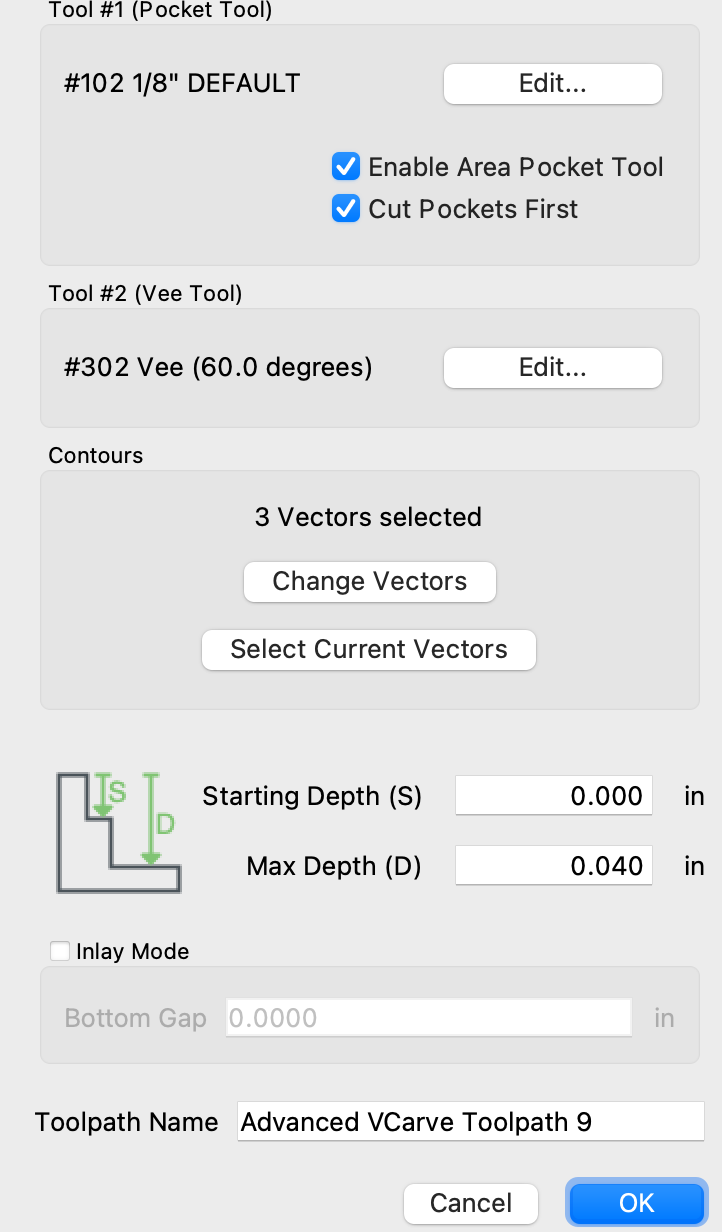
I’m doing some engraving and set up the Advanced V Carve tool path. I set it to pocket with the 1/8" bit and then the 60 degree bit. When I start the job, it directs me to put in the 60 degree v, not the 1/8". It does seem to do two passes…as if the 60 degree v does pocketing first and then another pass. I’m not complaining! It came out amazing! but I was just wondering why it didn’t do the 1/8" pass first.
I have the pocketing box checked, so all should be good. There was a suggestion that maybe the toolpaths weren’t large enough for the 1/8" to do a pass and I thought that as well.
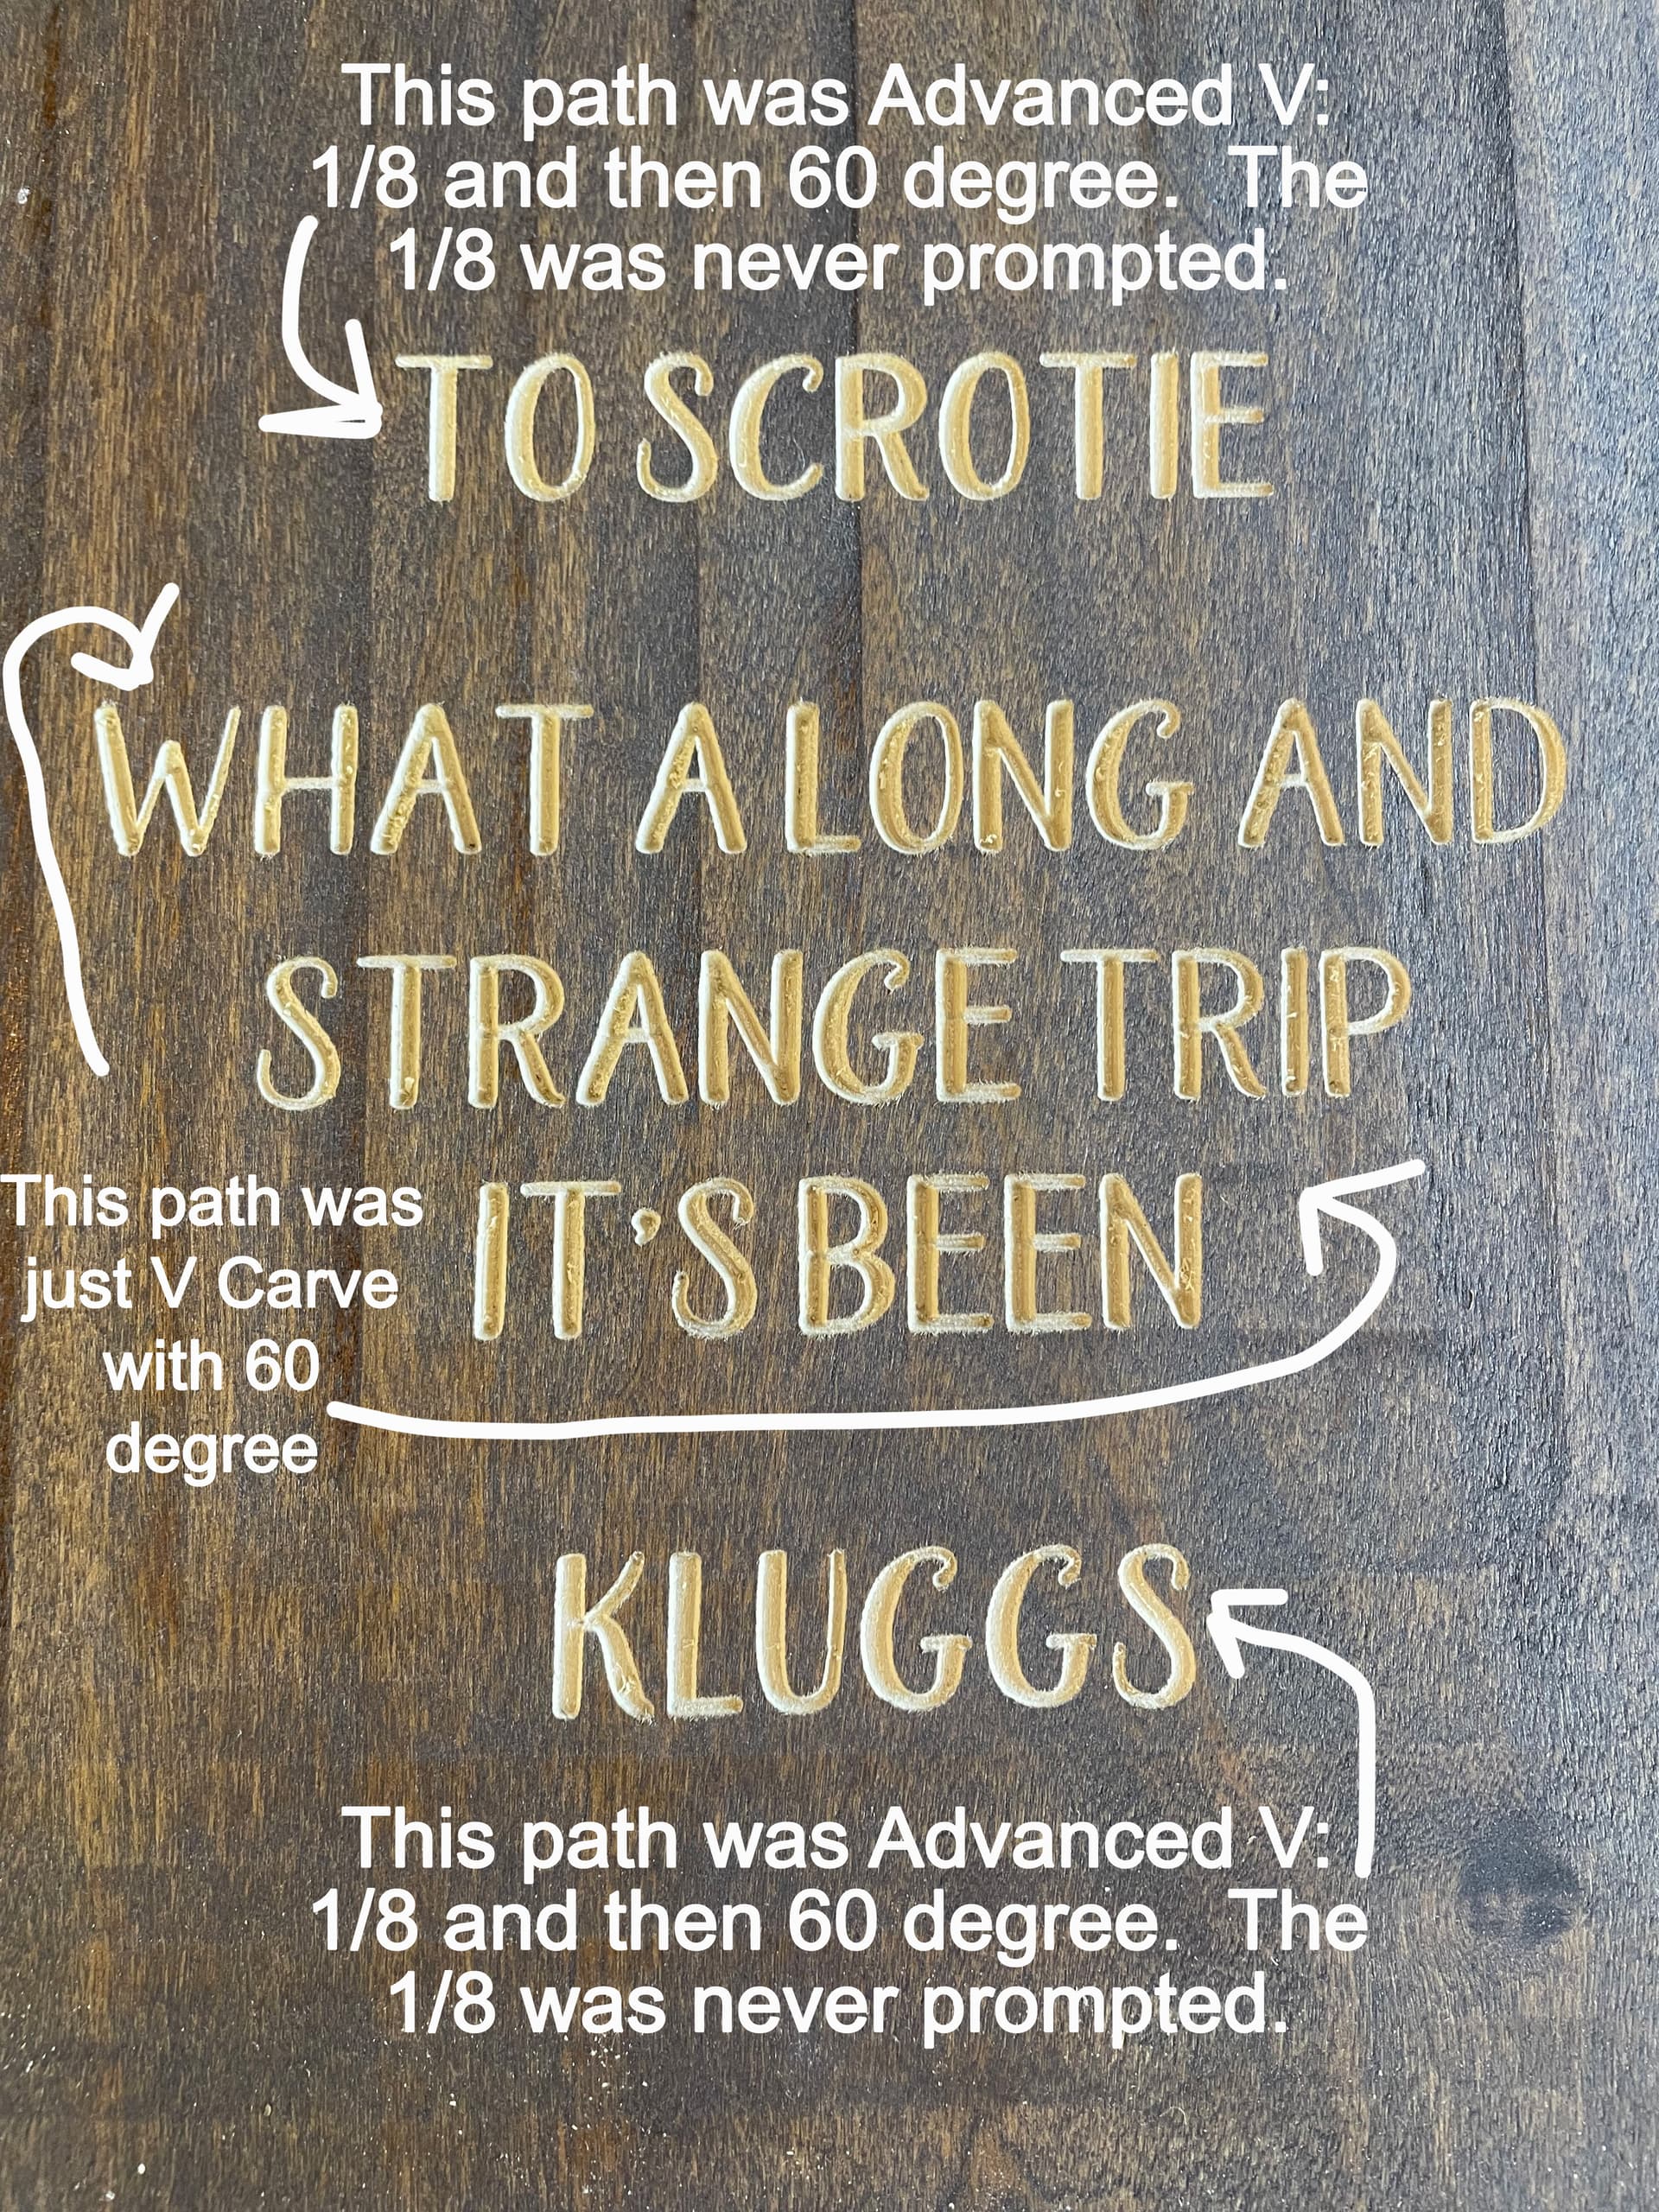
BUT…I did two paths on some text. I’ve attached a picture. The top and bottom were the advanced v path that I attached here as well. The middle is just a vcarve path. You can see the top and bottom are so much cleaner and 100% perfect…even though it didn’t prompt me for an 1/8" bit. The middle is acceptable, but I love the top and bottom cut.
Any ideas? Thanks for any direction to what’s going on.
(PS - ignore the nicknames. LOL! My 60 year old husband and his friend still use their college nicknames!
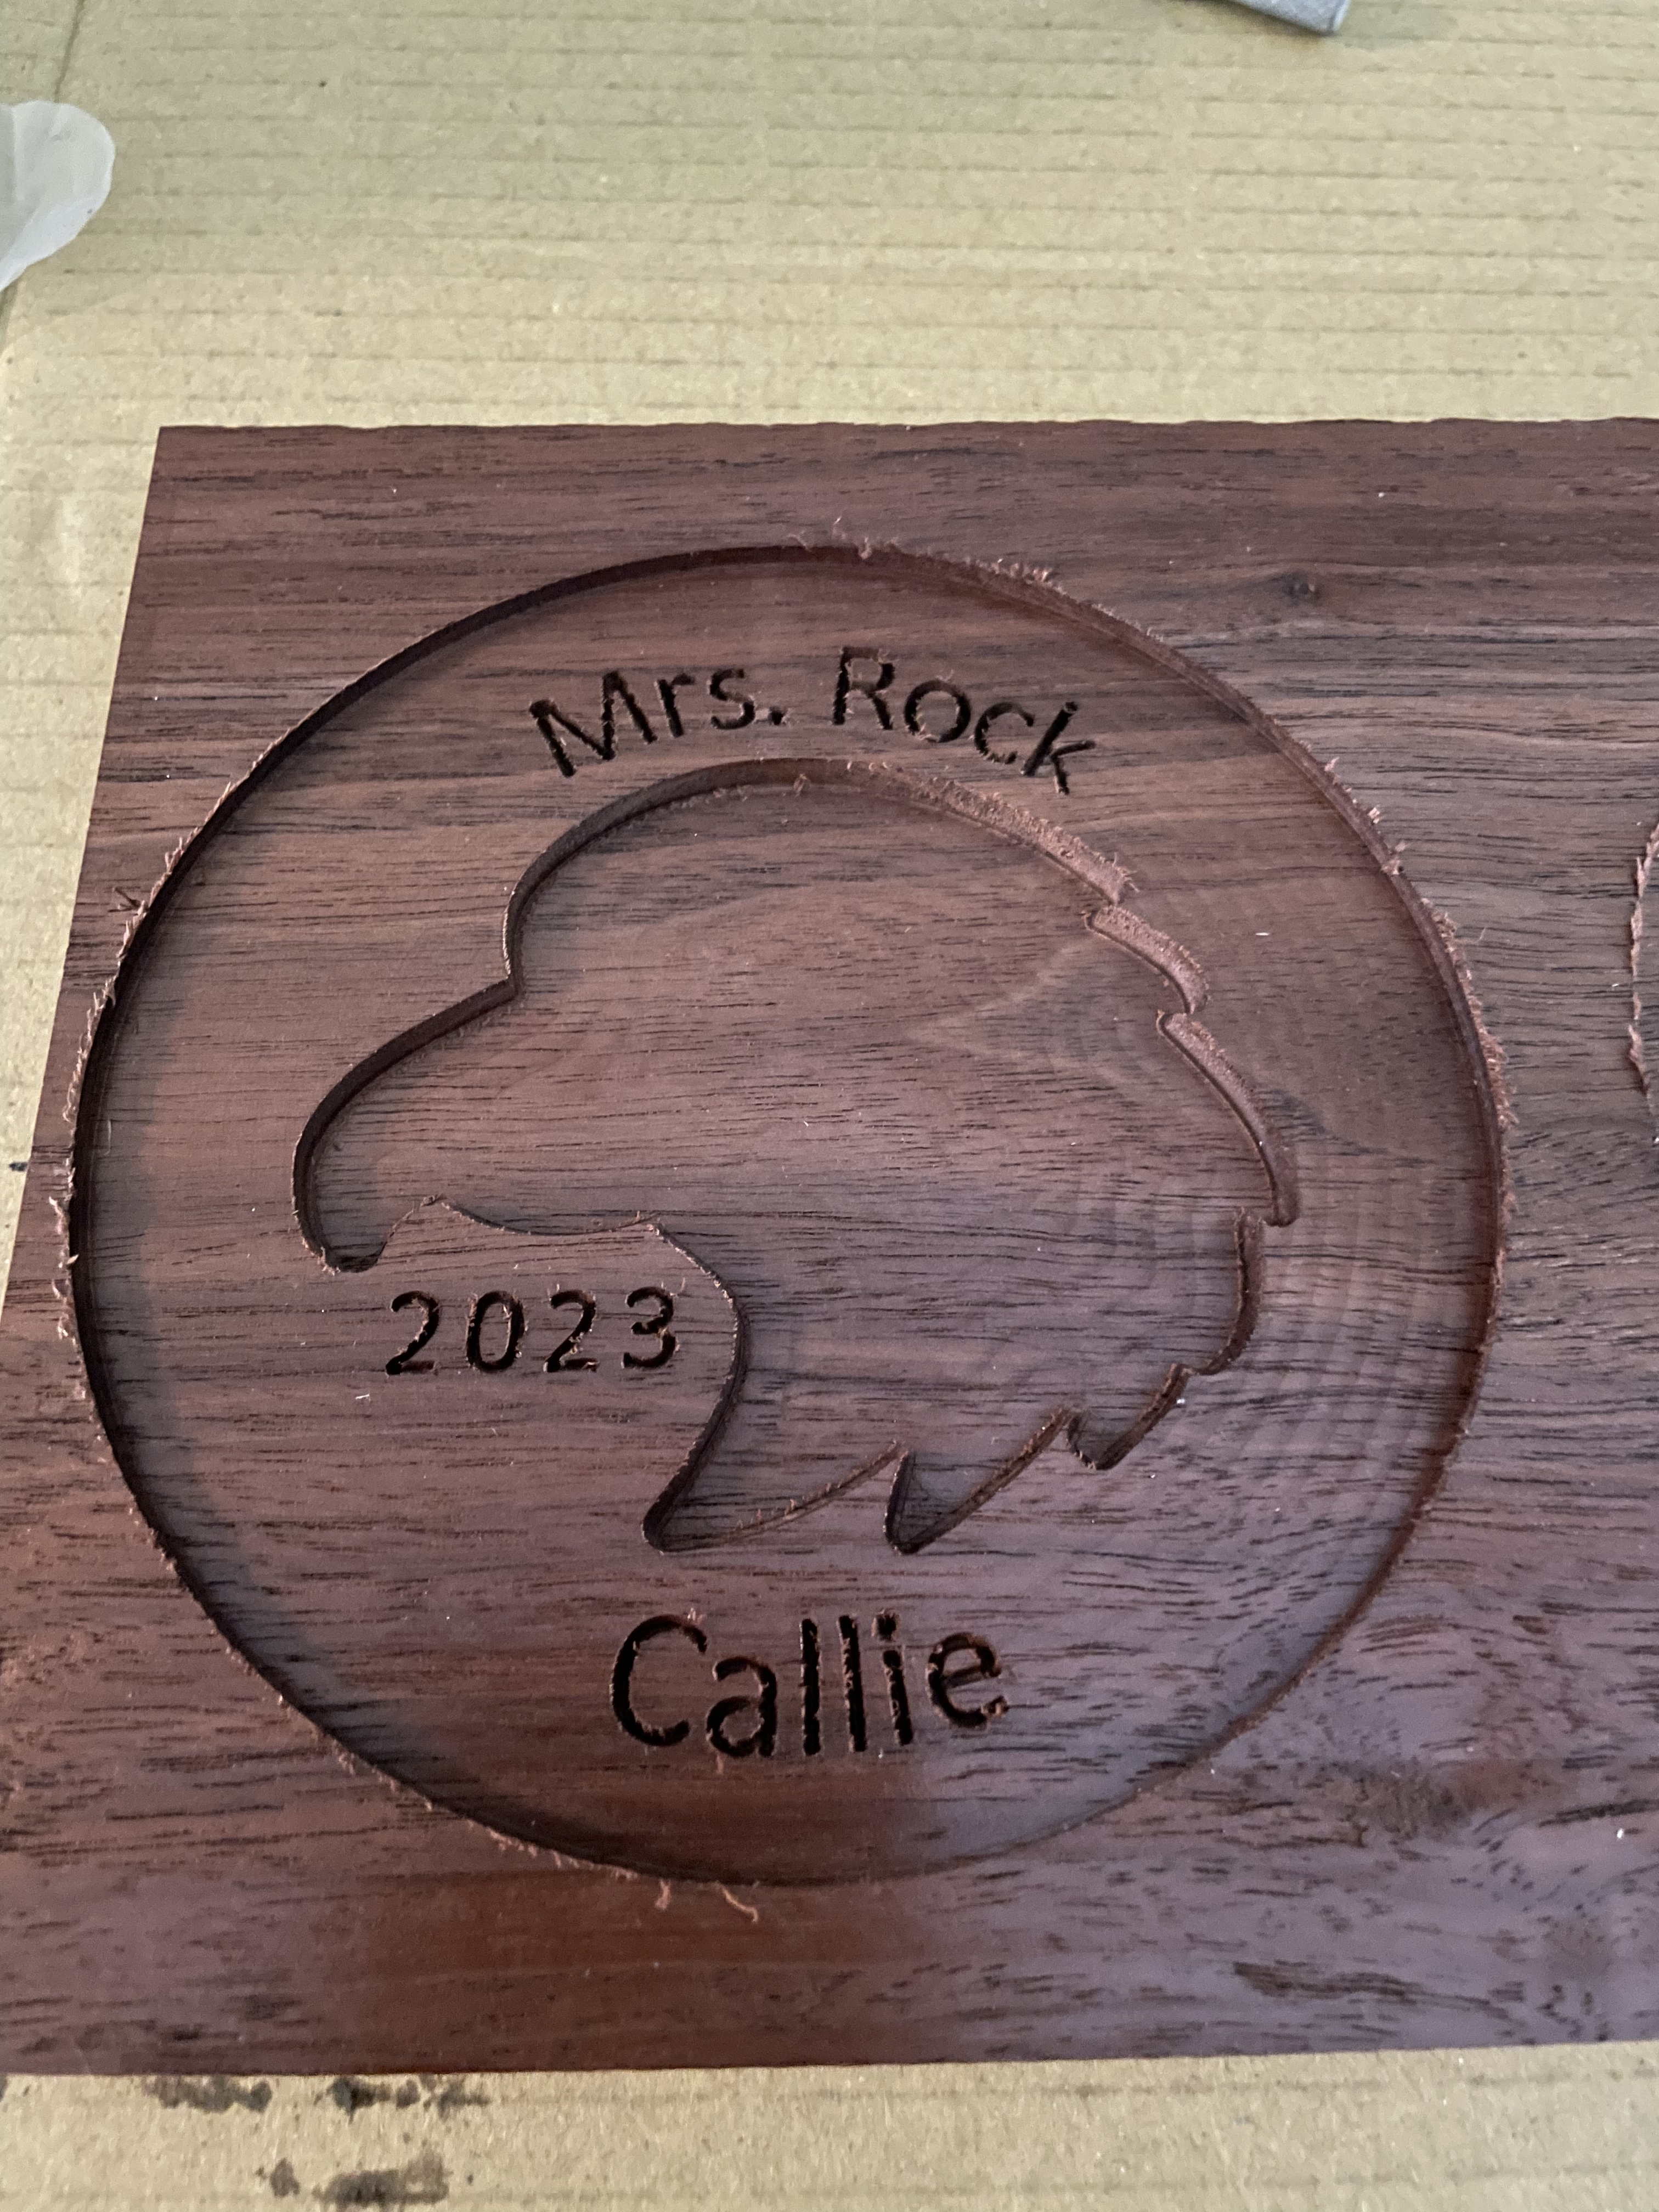
I agree that there is not enough room there. The pocket clearing is really for larger areas like the eagle outline below. That one was adv vcarve for the outline with pocket clearing and then simple vcarve for the small lettering.
But, look at the second pic…two different paths…one advanced (without it prompting the 1/8) and one just vcarve. The one is so much cleaner than the other.
The two paths behave differently.
Simple VCarve traces a line down the middle of the vector and goes as deep as it needs to in order to touch the edges of the vector. Advanced follow as the edges with the bit shifted appropriately such that the edge touches the vector while the tip is at the specified depth.
I am sure @WillAdams can explain it better. As I have heard multiple times, a cleanup pass on a vcarve may really help. Even on the adv carve, just duplicate your path and leave uncheck the clearing option. The first pass does the real cutting and the second cleans up. I used that on the eagle outline and it really made a difference.
A great way to visualize what advanced V carve does is to progressively reduce the max depth, veiwing simulations along the way. I have used advanced V carve with a 90 degree bit at 0.010 inch depth to cut masking (oramask 813) to outline /stencil letters. With some practice and thought in the order of painting/masking/cutting/painting/ unmasking/ painting etc. you can make some very nice multicolor signs entirely painted with spray paint.