“Photogrammetry is the science of making accurate measurements from photographs”
I decided to start experimenting with the 3D aspects of Carbide Create, and decided that rather than using an existing model, I would also experiment with photogrammetry.
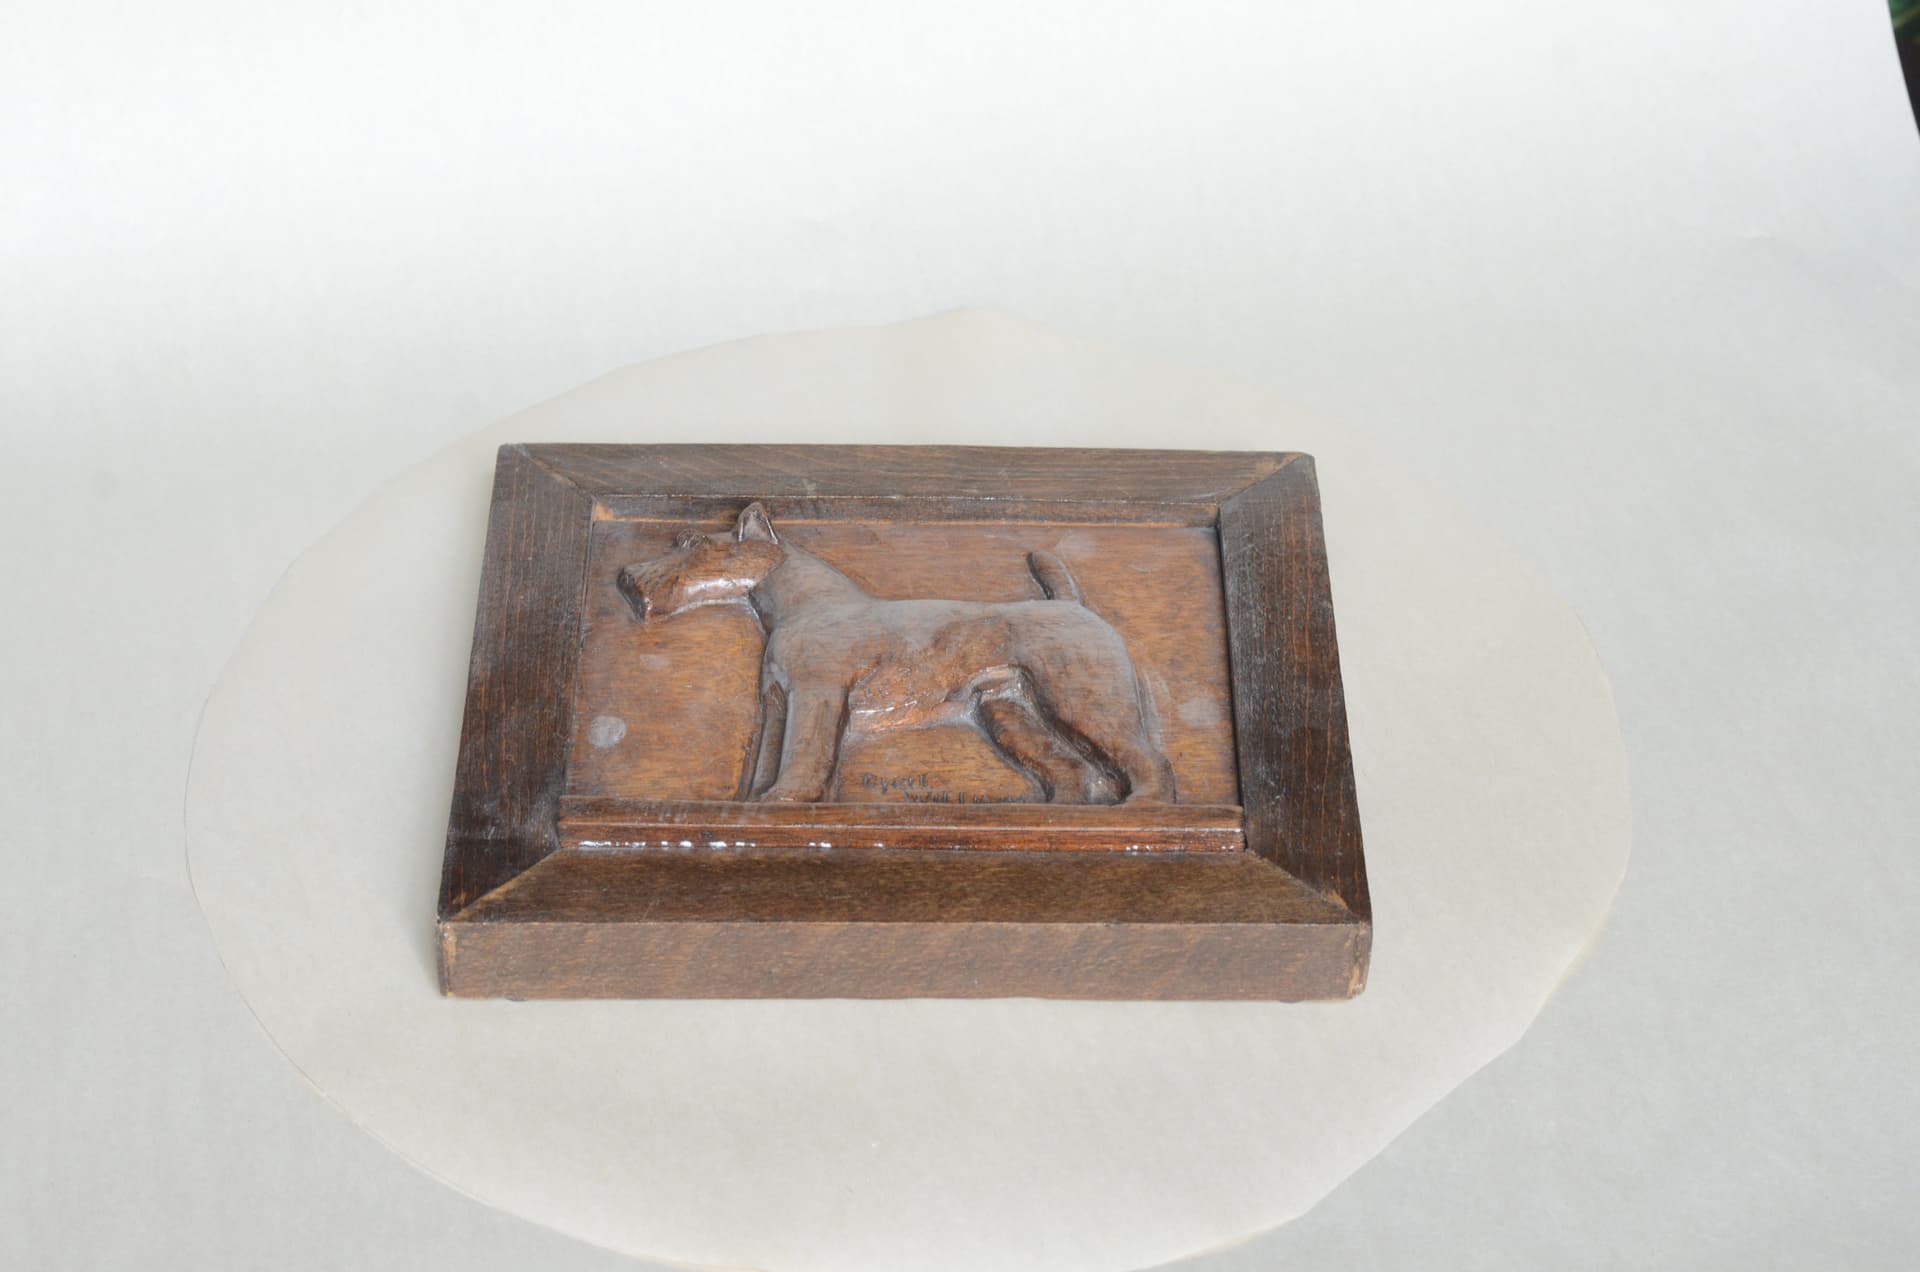
We have a small carving of the dog-breed my wife breeds and shows (the Welsh Terrier), so i thought that would make a good somewhat personal first experiment.
Here’s the carving in question:
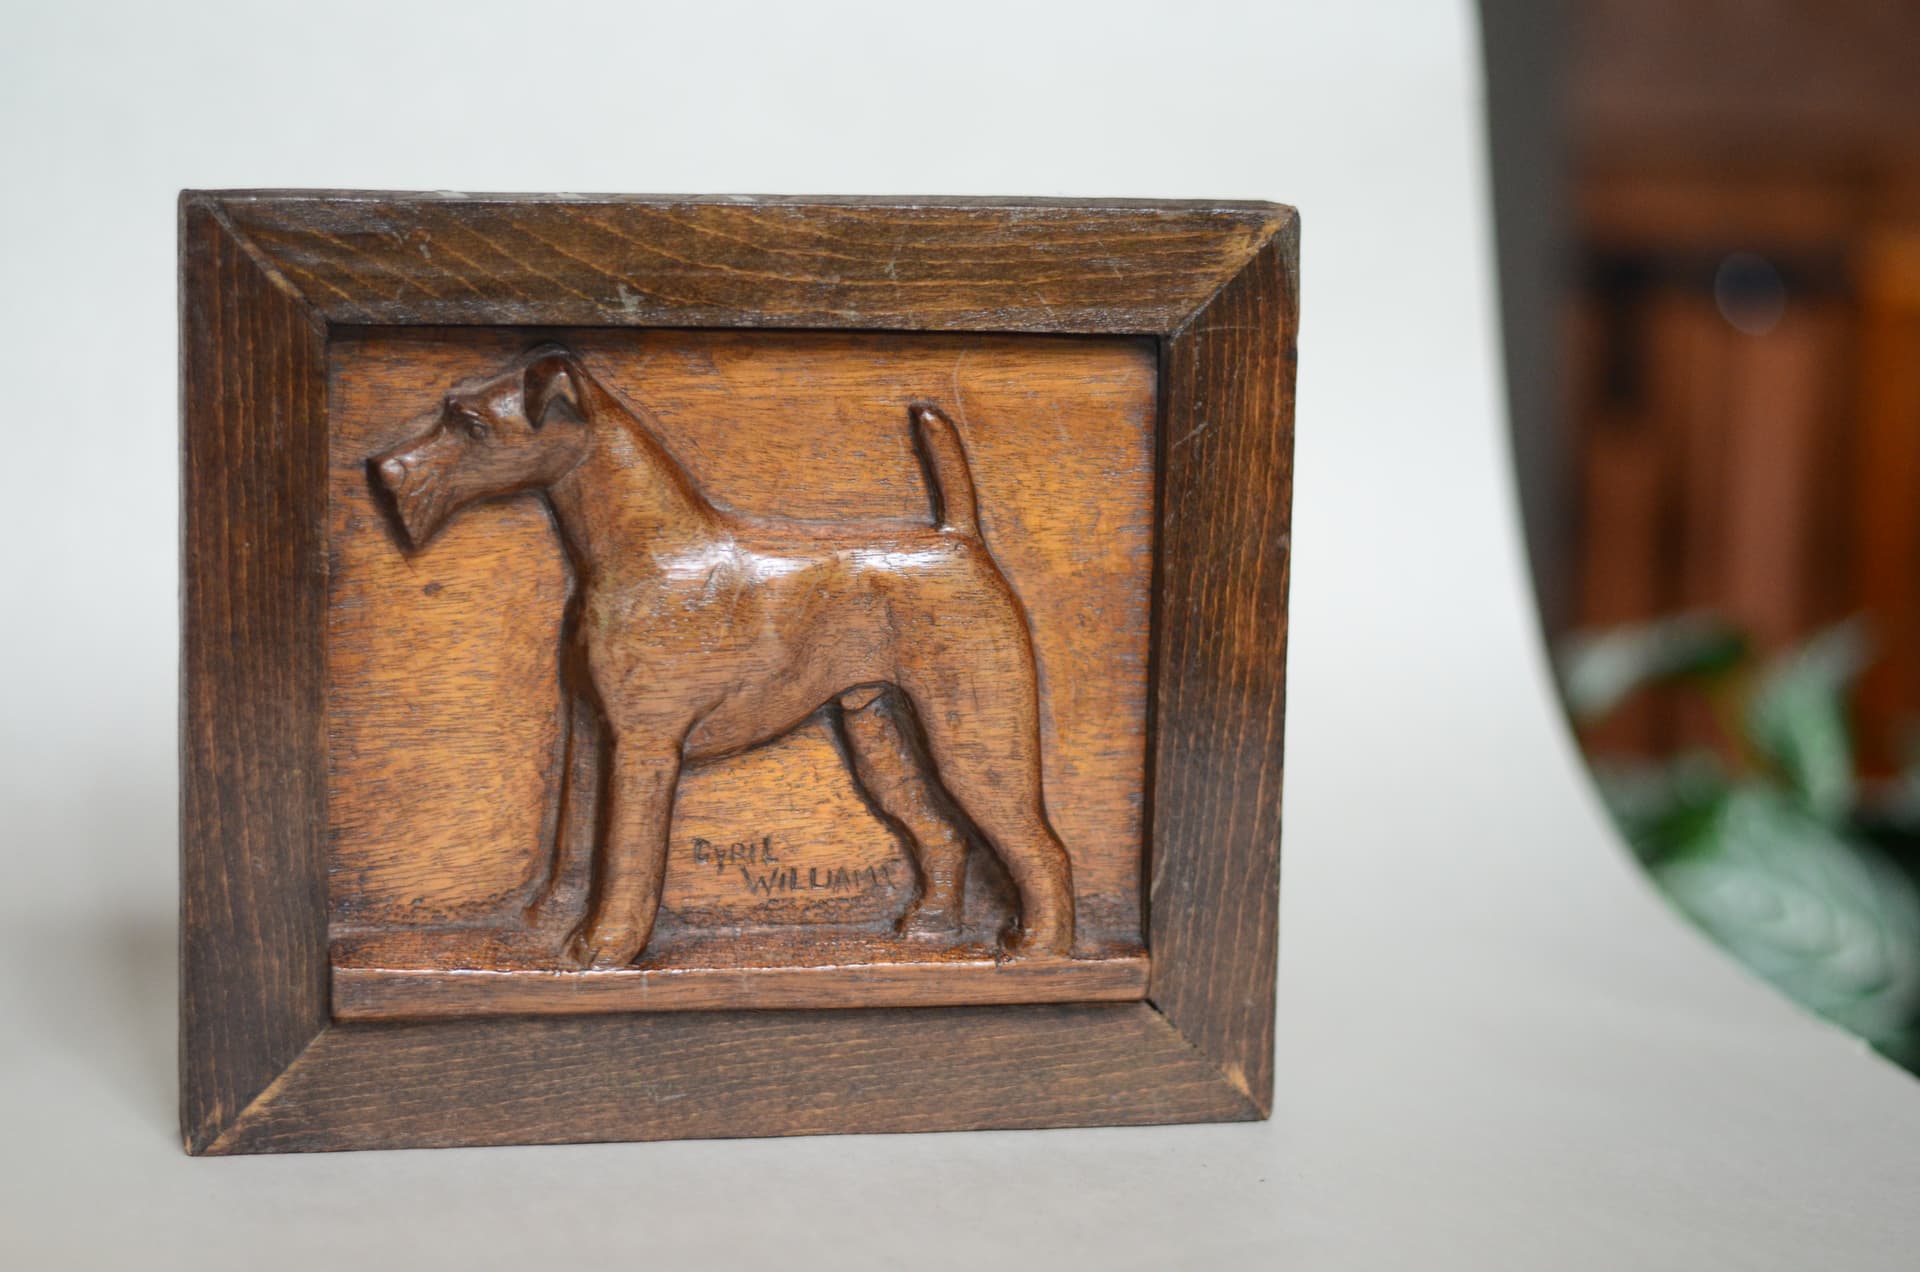
It has an exterior frame as well, so part of the process would be to remove that from the carving to get just the carved art.
The first experiment was a failure, but that was simply because I didn’t have enough photographs of the subject. I tried again, this time taking about 100 photographs as I rotated it on a turntable. There was also some question about how shiny the art was, so I dusted it with some baby powder to give is a matte finish.
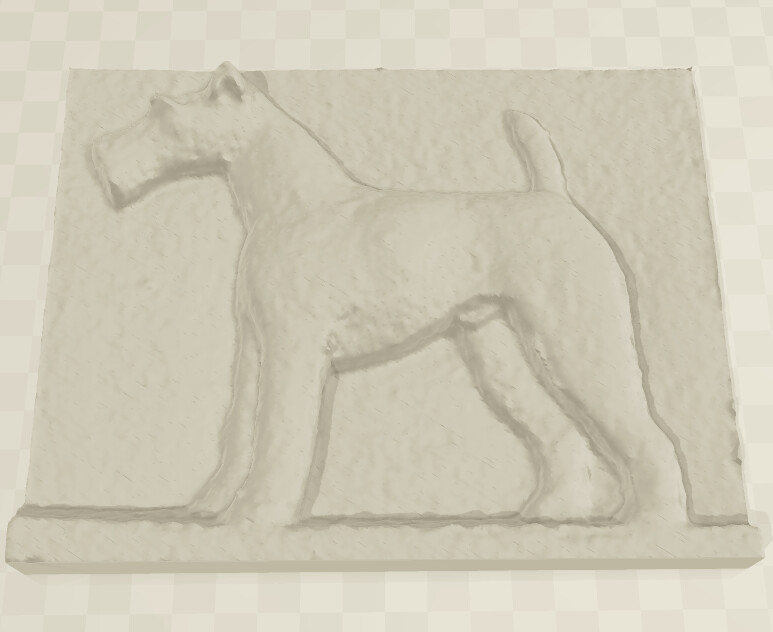
After taking the photos, I used the FREE software Regard3D to build a model. This was never designed to be ‘user friendly’, so I mostly stuck with defaults and let it do it’s thing without trying to second guess it. After some thinking, it was able to create a model of the artwork.
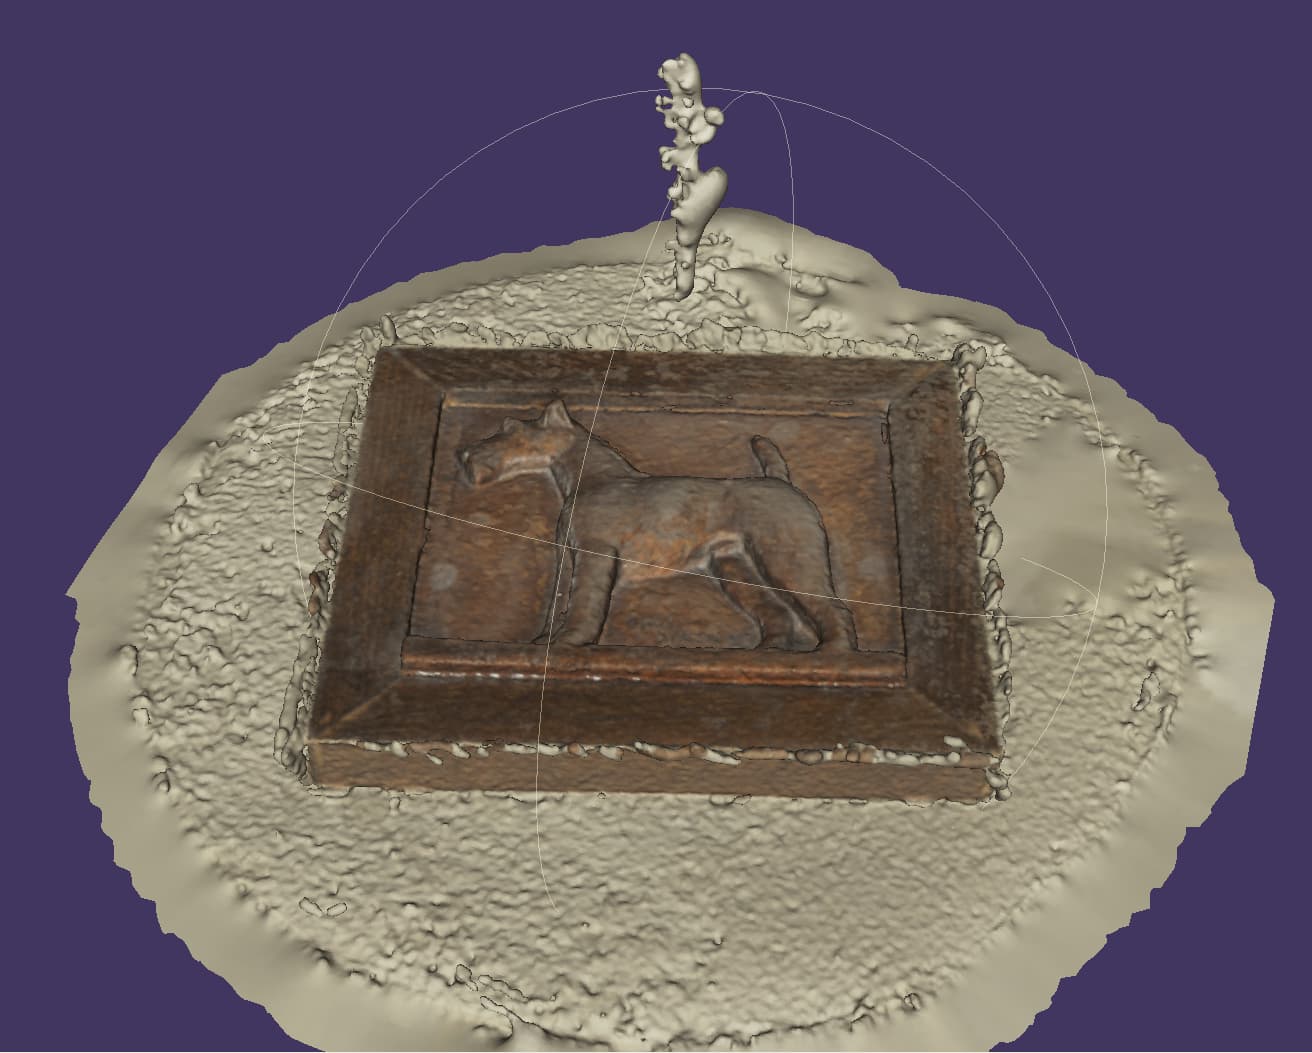
Obviously not usable right off the bat, but something to work from. I imported this object in 3D Builder, a freely available Microsoft program. There, I was able to re-align the object and trim off the portions of the model I didn’t want.
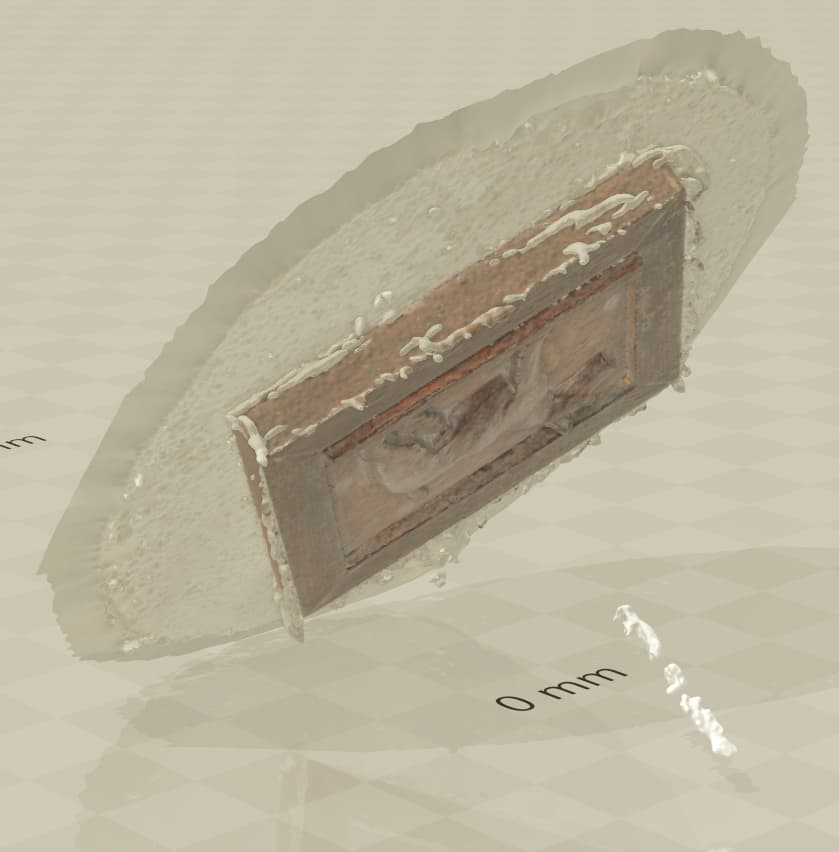
After that, I duplicated part of the background so that there was more ‘background’ above the head.
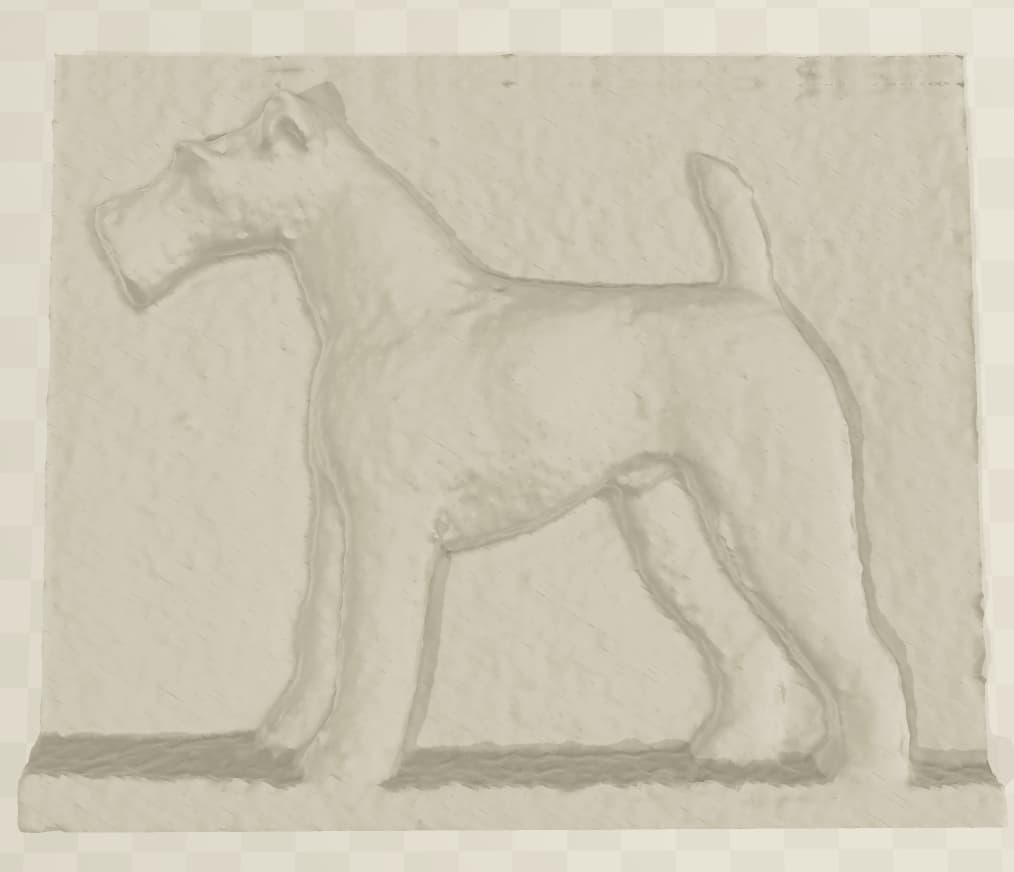
At this point, it’s easy to see that the model is not going to be an exact representation of the original - the surface has much more texture, and many of the very fine details (the artist’s name, for example) have been lost. But, it’s still an interesting model, and the extra texture makes it different, but not worse.
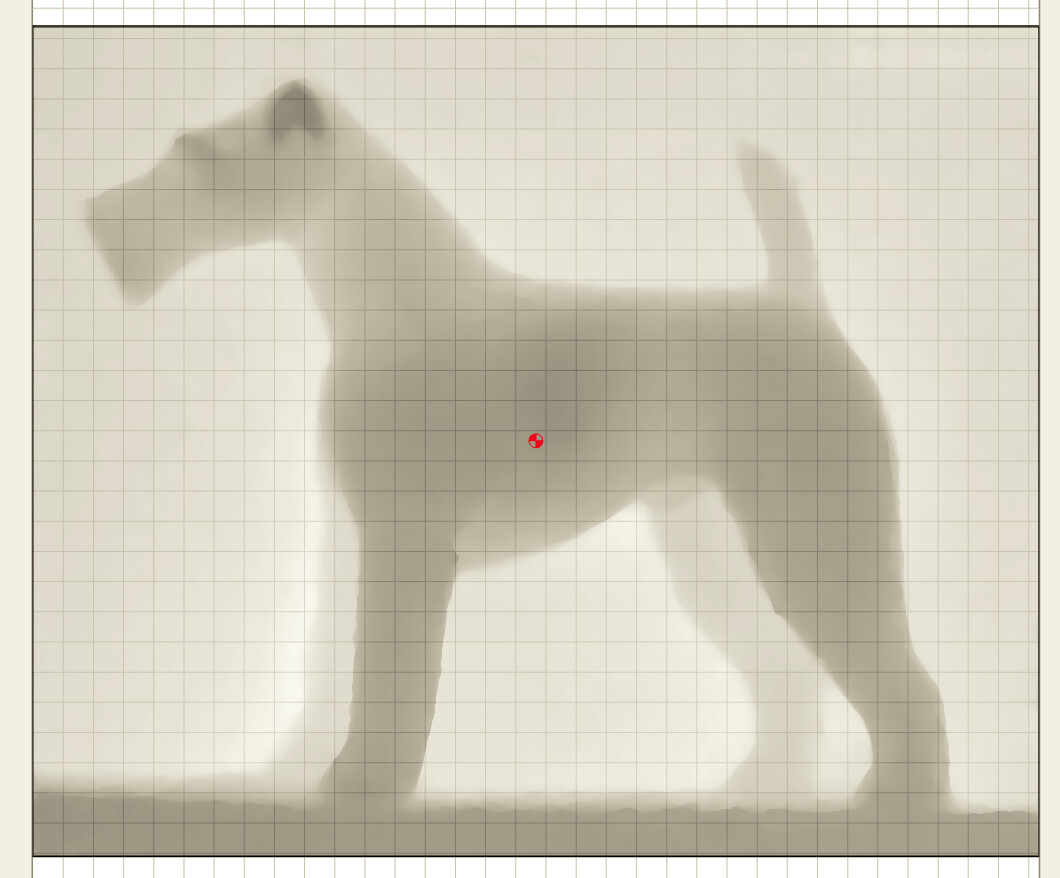
After that, it’s off the CC Pro to generate a model and toolpaths. The model imports just fine as a height map, and then I assigned 1 roughing and 2 finishing passes.
I decided to have the first finishing pass run at a 15 deg angle, so that I wouldn’t get long stringy shavings. After that, I ran another finishing pass at 0 deg (horizontal passes), so that any finishing marks would be parallel to the grain. Based on some past experience, I also lowered my Z Zero by 0.1mm for the final pass - there may be a way to do this all in CC, but lowering the Z Zero was the easiest way for me on this first experiment.
And the result! This is cedar, so hardly the best wood for capturing detail, but I used it because it carves fast and easily. Tools were #201 (1/4" endmill) for roughing, and #101 (1/8" ballnose) for finishing. The caring is 8" wide, and slightly larger than the original. Took about 3 hours of machine time.

Not bad for a first try. There’s a few areas that aren’t great (the knee of the back leg, for example), but all in all it’s infinitely better than anything I could model myself to replicate the carving.
I’m going to try taking another photoset with some changes I’ve read about to improve the model making phase - the artwork doesn’t have a lot of contrast or clear texture on it that can be identified and used to help create the model, so I’m going to experiment with adding small patches of colored tape to the surface to help.
All in all, the experiment definitely worked. The only paid-for software I used was CC Pro - the modelling and editing were both free to use. It would be interesting to try other model generating programs with the same photoset, but I’m not yet willing to plunk down money on those to experiment, particularly when the free program did so well for me.