Advice before purchase!

Yep,

There’s a lot to read and the initial learning curve is pretty steep if you don’t take things a step at a time.

Julien’s e-book is a great introductory map of the terrain which will give you an understanding of what the key topics are and how they’re related, that context makes learning the rest much easier.

When you get your machine you’re likely to want a solid, flat, level surface to install it on, a workbench or torsion box is a common choice here. I suggest you use the machine a few times before deciding if you want an enclosure and if so what sort.

Once you’ve done your initial setup Winston’s video on squaring things up is good;

After that you’ll probably start thinking about workholding and cutters, there’s many threads on here about that, it all depends on what you’re going to be machining.

HTH

4 Likes

I’m starting out with an XXL. Bed size seems OK.
As a Newb to this unit, I am on the learning curve.
Unit goes together pretty easily.
Carbide Motion would not load on my computer. Carbide3d Tech could not find a fix, even after numerous emails and a phone call. I eventually did find the fix with the Microsoft Software it uses. Fairly simple but frustrating. Now, I thought I was ready. Powered it up, went to initialize and it wont Home. Just sits after a bit of moaning. I’m trying to figure this one out. Now I am here on the Forums and reading of a lot of issues I wish I knew before my purchase. I recommend you doing your research. Best of luck.

1 Like

For the machine not homing:

Make sure you’ve sent the machine configuration per the assembly instructions for your machine: https://docs.carbide3d.com/assembly/shapeoko/#assemble-machine and that the configuration matches your machine and its accessories. Configuring a machine using Carbide Motion 5 and for 517 and later: Setting Grbl Configuration in CM 517 and later or see the ~14 min. mark of this video: https://www.youtube.com/watch?v=krwt3C9aSTY — Note that it may help to temporarily disable or disconnect accessories when troubleshooting.

There is a basic page on troubleshooting the homing switches at: https://docs.carbide3d.com/software-faq/home-switch-troubleshooting/

There is also a Carbide 3D Answer video: https://www.youtube.com/watch?v=P7lOLMAcl_0&feature=youtu.be

For the new inductive homing switches:

Troubleshooting: https://www.youtube.com/watch?v=Zf8NPmxrEDs

and Adjusting: https://www.youtube.com/watch?v=EZDBza_B25Q

Thank you very much.
I’ll go through it all.

@Freedom thanks I have been reading forums and watching videos in my spare time for a couple of months now, it seems to me that most problems do eventually get solved.
I have tempered my expectations, I know I will not be 3d carving any time soon. I will be more than happy if I can reliably cut a coaster after the first month. Like a lot of people I have a lot more free time on my hands at the moment so having a project will be very helpful for me.

I ordered the XXL yesterday so now im patiently waiting for delivery! then I am sure that I will be back here with lots of questions!!

3 Likes

I bought my XXL in 2019 and had a few issues getting started. In all cases, they were my fault - either not understanding CNCs (this was my first) or not following my own workflow. It took a while to have confidence. However, the machine works; it works well; and it’s pretty predictable and repeatable. That’s the big thing you ask for. Installation is something you need to go slowly and follow, step by step. There are lots of videos on YouTube to watch AFTER you watch the Carbide ones. I love my SO…but it’s not always a smooth experience…

The biggest knock on the product for me is probably the biggest strength of the product for others. I’m sure it causes a problem for Carbide as well: There are two types of clients for this product - Those who want to tinker and modify and DIY - and those who are looking for a low-cost alternative for a complete CNC solution - I fall in the latter category, and the company seems to think of itself more in the former; it caters to - and supports well - the tinkerer. Don’t get me wrong, support is great and helpful - but, unless you’re really familiar with these types of machines, you’re going to need to call support a few times. I’ve never had to call support for my SawStop tablesaw, my Powermatic Jointer, my JTech laser, or even my Leigh Jigs (to be closer to routers) — but the Shapeoko has me visiting this community every day, and support multiple times in the past year.

As a consequence of the DIY-mentality, you see things like the documentation not being good and tending to lag behind the products. Even the videos will fall short - or be on back-leveled products that don’t look like what you have in front of you. @Julien 's gitbook is a bible…but unofficial and lagging product releases (naturally). Products come out without any real cycle, kind of out of nowhere and without a published road-map. There are almost too many options to do the same thing (Z’s, belts, rollers, switches - for example). The software is free (which is great), but then its largely undocumented and updates are unstructured. It’s a normal occurrence for Carbide themselves to send you to Fusion, Inkscape or some other software to accomplish tasks. Contrast this with Lightburn. Functional upgrades are often not purchased, but rather treated as DIY projects - wire this, swap out that, build a support, print a part, etc… This flexibility makes the product a gem for engineers - but for those who would rather not tinker, but are looking for low-cost function, there’s often a learning curve and you find yourself holding a soldering iron more than you might expect to!

I now feel comfortable with my Shapeoko. I’m still struggling with the 3D Modeling features of CC pro - and I wish there was actual documentation of the parameters…but there isn’t. You can view some videos, and draw your own conclusions as to how things are intended to work (DIY again). That’s been the basic theme - and frankly, this community is essential to anyone using the products. Thank goodness for the friends here.

For me, I could have used a bit of expectation setting before diving in - that would have reduced my anxiety and frustration up front. As I say, I’m comfortable now and can rely on my Shapeoko as a tool in my shop for my professional pieces…but it’s a process - which you ought to know up front.

8 Likes

The big thing which I think folks should do is go through the process of:

  • coming up with a design
  • drawing it up in Carbide Create
  • researching tooling and feeds and speeds so as to make toolpaths
  • preview the design in 3D

If you can work through that, and you’re able to work through instructions logically it all should work out well.

That said, I think the variety of documentation options works out well, since it allows folks to find something which works for them. Naturally, any feedback or suggestions would be welcome.

2 Likes

Will:

The variety of documentation can be a plus but also incredibly frustrating.

Just learning to know what to look for is daunting. A CNC is not a plug 'n play device. Troubleshooting failures is part of the learning curve. Understanding workflow is critical because any one of the myriad of settings (both software & hardware) can be the culprit.

So they are DIY machines because there are so many variables.

Patience, persistence and reasonable expectations have been my guide. And sometimes just being able to walk away from the whole thing.

If you are in a production environment that last option is not viable.

Thoughts from a tinkerer. YMMV

4 Likes

I agree for the most part. But let’s just pick a VERY basic thing (which I now understand, but had to teach myself)…The difference between the Limit Height and Scale Height parameter - Where do you go, if you’re a first time user of CC Pro, to find out what the difference is between those selections - and how tall / deep it actually goes relative to your piece. I even had to guess at what the red coloring meant - and then confirmed it here? Unless I missed it (which is possible), there are no pro features in the online help, and no manual. So you need to ask. BTW: if there is a help file online somewhere (github, or other) - the link to it would be helpful - preferably within the HELP menu of the product…visible, perhaps, only if you have the pro license enabled?

1 Like

Absolutely! Of course, there are CNC machines that come already set up, tuned, and trued - they are rigid and provide fewer options and flexibility, and are push button production-quality ready. They also cost a lot. But the learning curve is simpler. They are, fundamentally, plug 'n play.

Much of woodworking is troubleshooting failures…fixing / coping with defects… no tool is perfect - no operator, either! But, flexibility often results in complexity - unless the options are defined, documented, and proceduralized…then flexibility becomes part of the tool without the learning curve. My point on the focus of DIY and ‘tinkerers’, such as yourself :slight_smile: is one of expectations setting. Recognizing that the lower price point will draw the interest of non-DIY’ers is something Carbide can either cater to, or communicate for expectation.
I agree with this. There’s a lot of stuff loosely distributed, or in the wiki which can get stale…

The response to most questions on this forum from folks associated with Carbide3D are links to other posts on this forum. Which is great and dandy, and shows the value of the forum, but I feel that a few more of those posts could be posts to some official documentation.

Perhaps updating https://carbide3d.com/ to reflect the shop and the current state of hardware and software would be a good thing too.

1 Like

So far it is going well. I managed the set up on my own and it seems pretty square!
It was a bit cold in the workshop this morning so the masking tape didnt stick very well and the paper warped which messed up my first 2 attempts at the hello world, then I got over zealous and pushed the pen down a bit far.

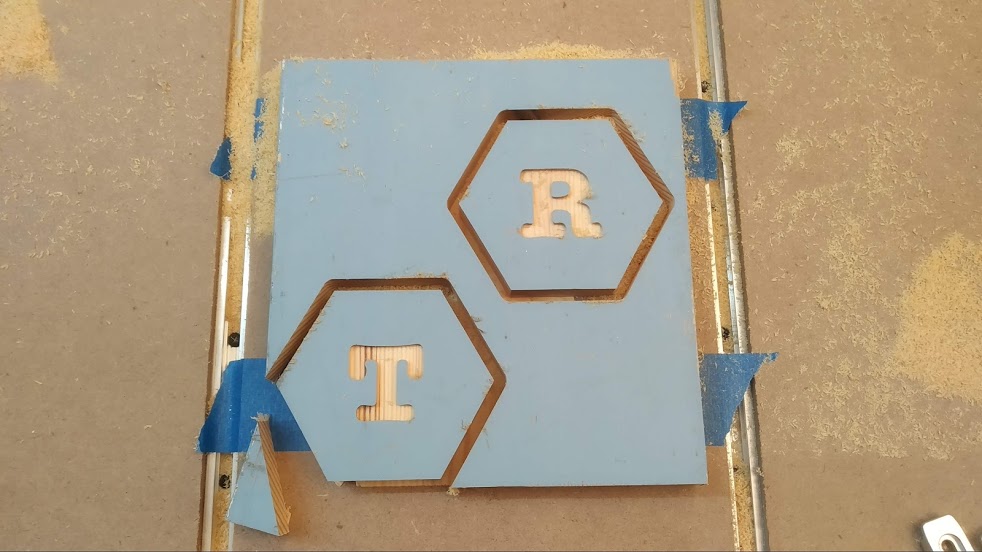
But I pushed on and cut 2 quick coasters out as well. Now to get more adventurous. (unfortunately the t track turned up without the retaining nuts for the clamps so just using the superglue method for now!

7 Likes

This topic was automatically closed 30 days after the last reply. New replies are no longer allowed.