Been thinking about playing around with some epoxy and I’m wondering about depth of cut. I’ve seen videos with a very deep cut and some with a very shallow cut…they seem to all work…Are there any factors I need to consider when selecting depth? Does it affect hold? Stuff like that.
I should make myself more clear—When I refer to depth of cut it is the depth of cut to pour the epoxy into. Does deeper channel = better hold?
From the limited sections of Epoxy I’ve cut, routed or sanded through the key problem is heat, it goes sticky and unpleasant when hot so treat it like Acrylic, keep the bit moving fast and try to arrange your cuts for good chip evacuation.
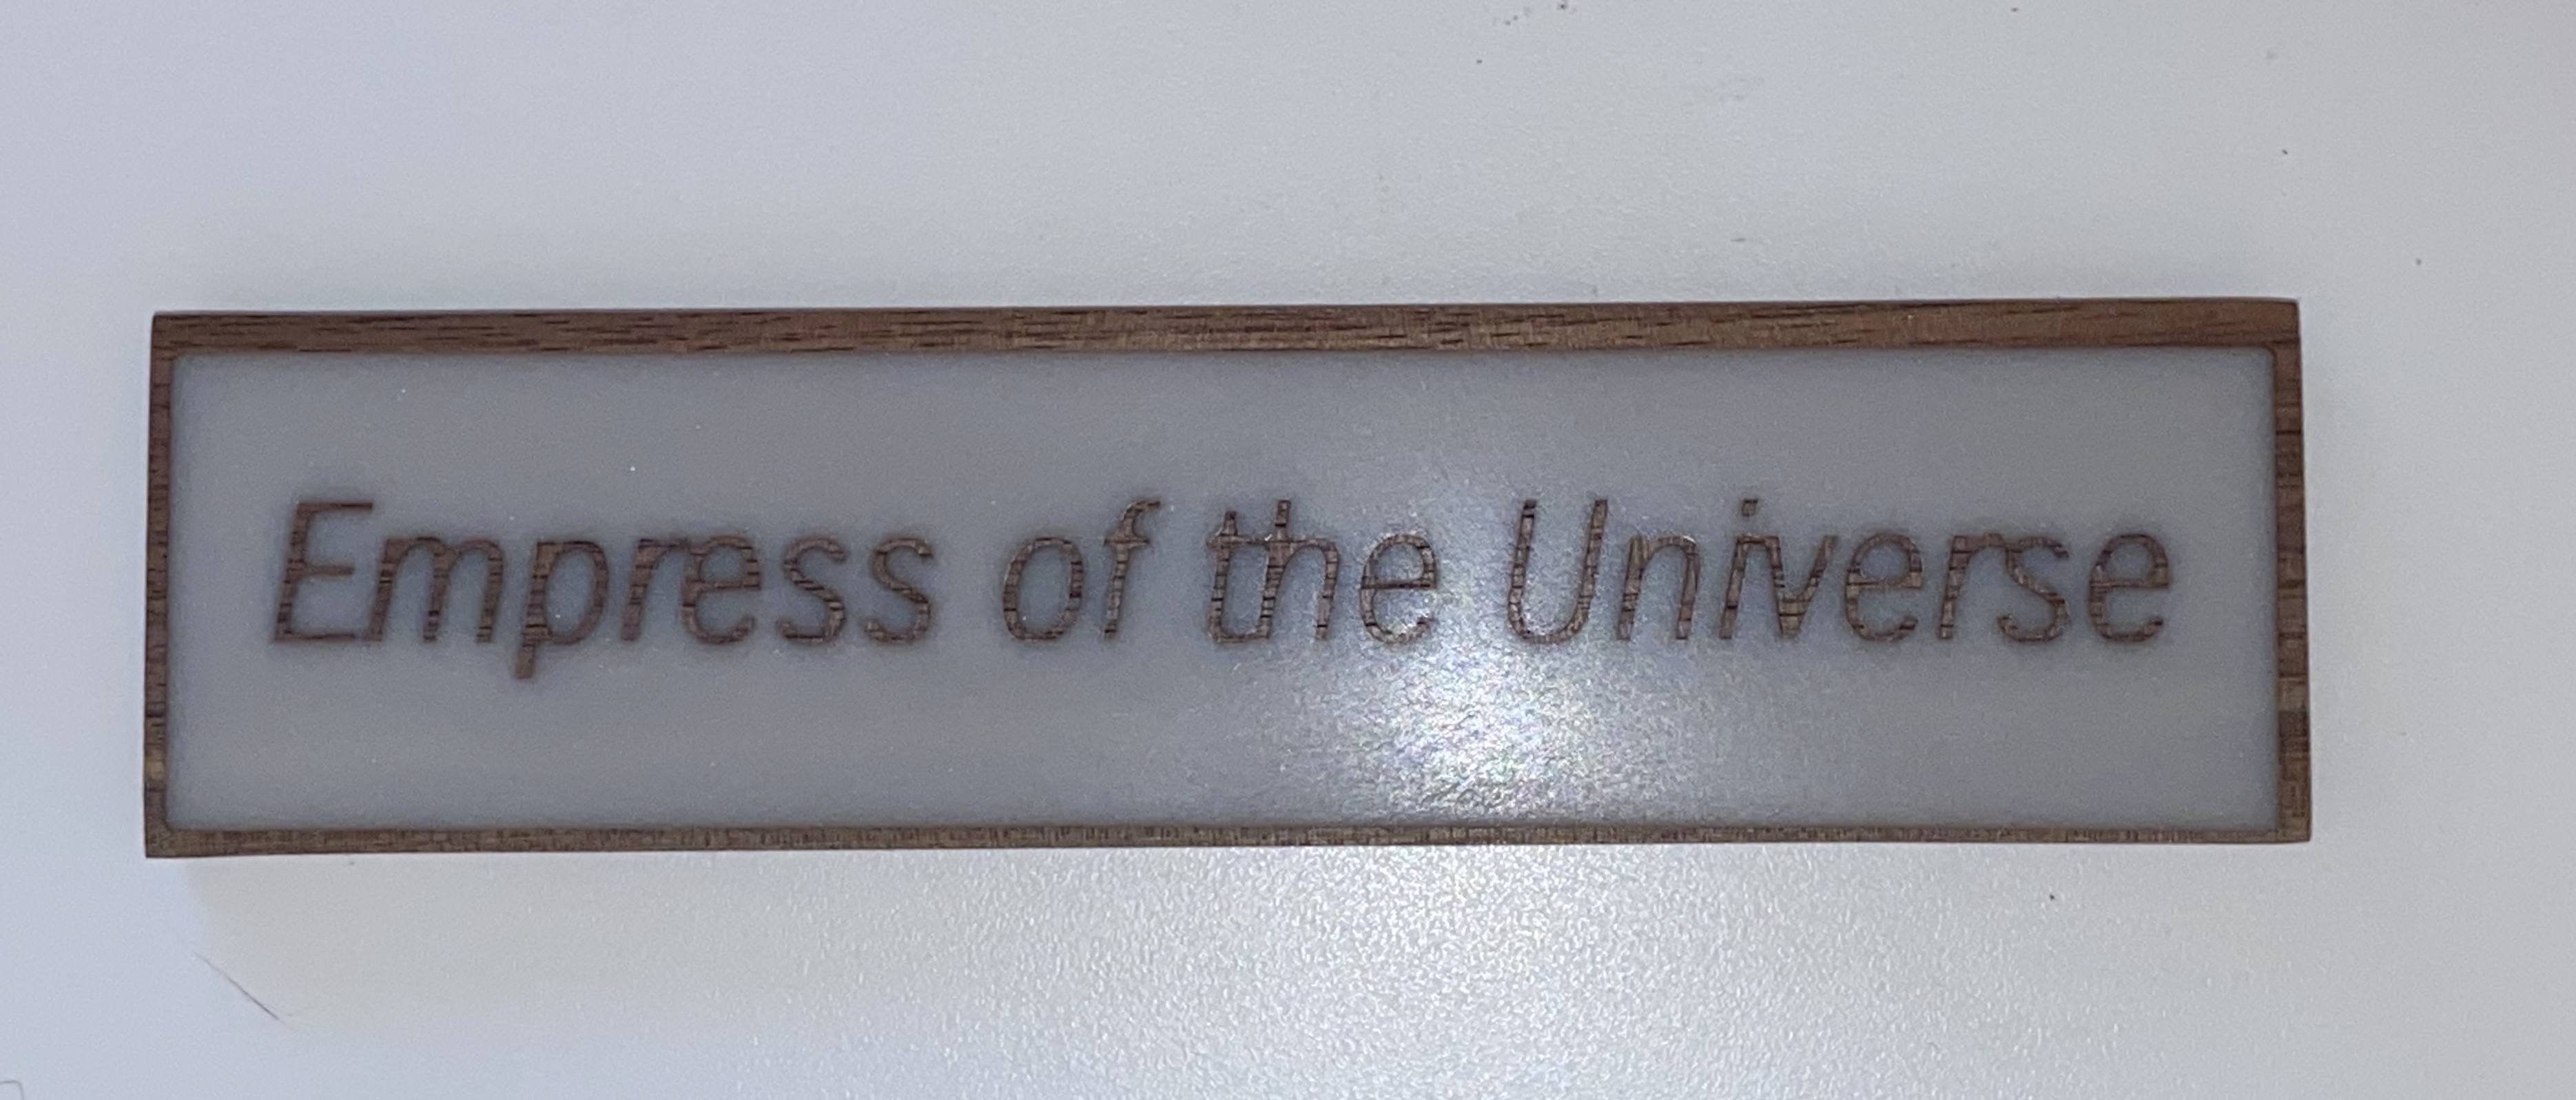
I’ve done a few Thin blue Line flags for our local police and my DOC is only 2mm / 0.08" and I haven’t had any issues with epoxy adhesion. I do shellac the flag first, but tape off the strip that gets the epoxy so it is being poured onto raw wood.
From what I understand of epoxy, if you want a deep pour, you have to be sure the epoxy you’re using is good for that depth in one pour. Some epoxies only like a 1/4" or so, so you’d have to do 2 pours if you wanted 1/2" depth. My 2mm isn’t even close to that so it’s one pour for me
Different epoxies have different cure times. Some epoxies need to be put in a pressure pot. For shallow pours, 1/8 in or less Alumalite bar top works good. Read the formulation and instructions to get the suitable epoxy for the depth you are working with. Epoxy cures by exothermo curing. Seal your wood before applying epoxy so no moisture from the wood gets into the epoxy and chases discoloration or failure.
I would not be concerned about the hold - expoy is strong stuff and should adhere well to just about any depth.
The biggest factor I would say comes to the look you are going for. If you are tinting the epoxy I would say you would want about 1/4in to get full color unless you really heavily tint the resin. If you are going for more of a transulcent approach you may want to go with less tint and 1/8 to 1/4.
You will soon find that V-Carving will open up the most opportunities to get more detail for images and depth will vary. Just keep in mind the less the depth the more tint you would need to make a color opaque.
I think a lot of the answers above are about cutting into Epoxy and I think you’re asking about cutting a form into which to pour the epoxy.
Depth isn’t going to impact holding power all that much. Epoxy is going to stick. You should think about a few things during the pour though. If the edges of your pocket are made of a porous wood, coat them in a thin coat of epoxy before doing your pour. That will seal the pores and make your full pour better.
Follow the label for the depth of the pour. If you’re thinking of pouring an inch or more at a time, make sure you use a deep pour epoxy. Epoxy generates heat as it cures - a lot of it. If the top of the pour starts to set up before the bottom has cured, the pressure gets trapped under the surface and eventually will break through - leaving deep fissures in your epoxy. Not nice. I’ve lost $200 worth of pour because no one told me that before I did my first one. Deep pour epoxies are formulated to harden more evenly, so you can get away with pouring more at a time. Regardless, consider doing your pour in several smaller pours, allowing for the set up time on the label (when you can pour again).
So it’s not about the depth of your pocket - it’s about the pour.