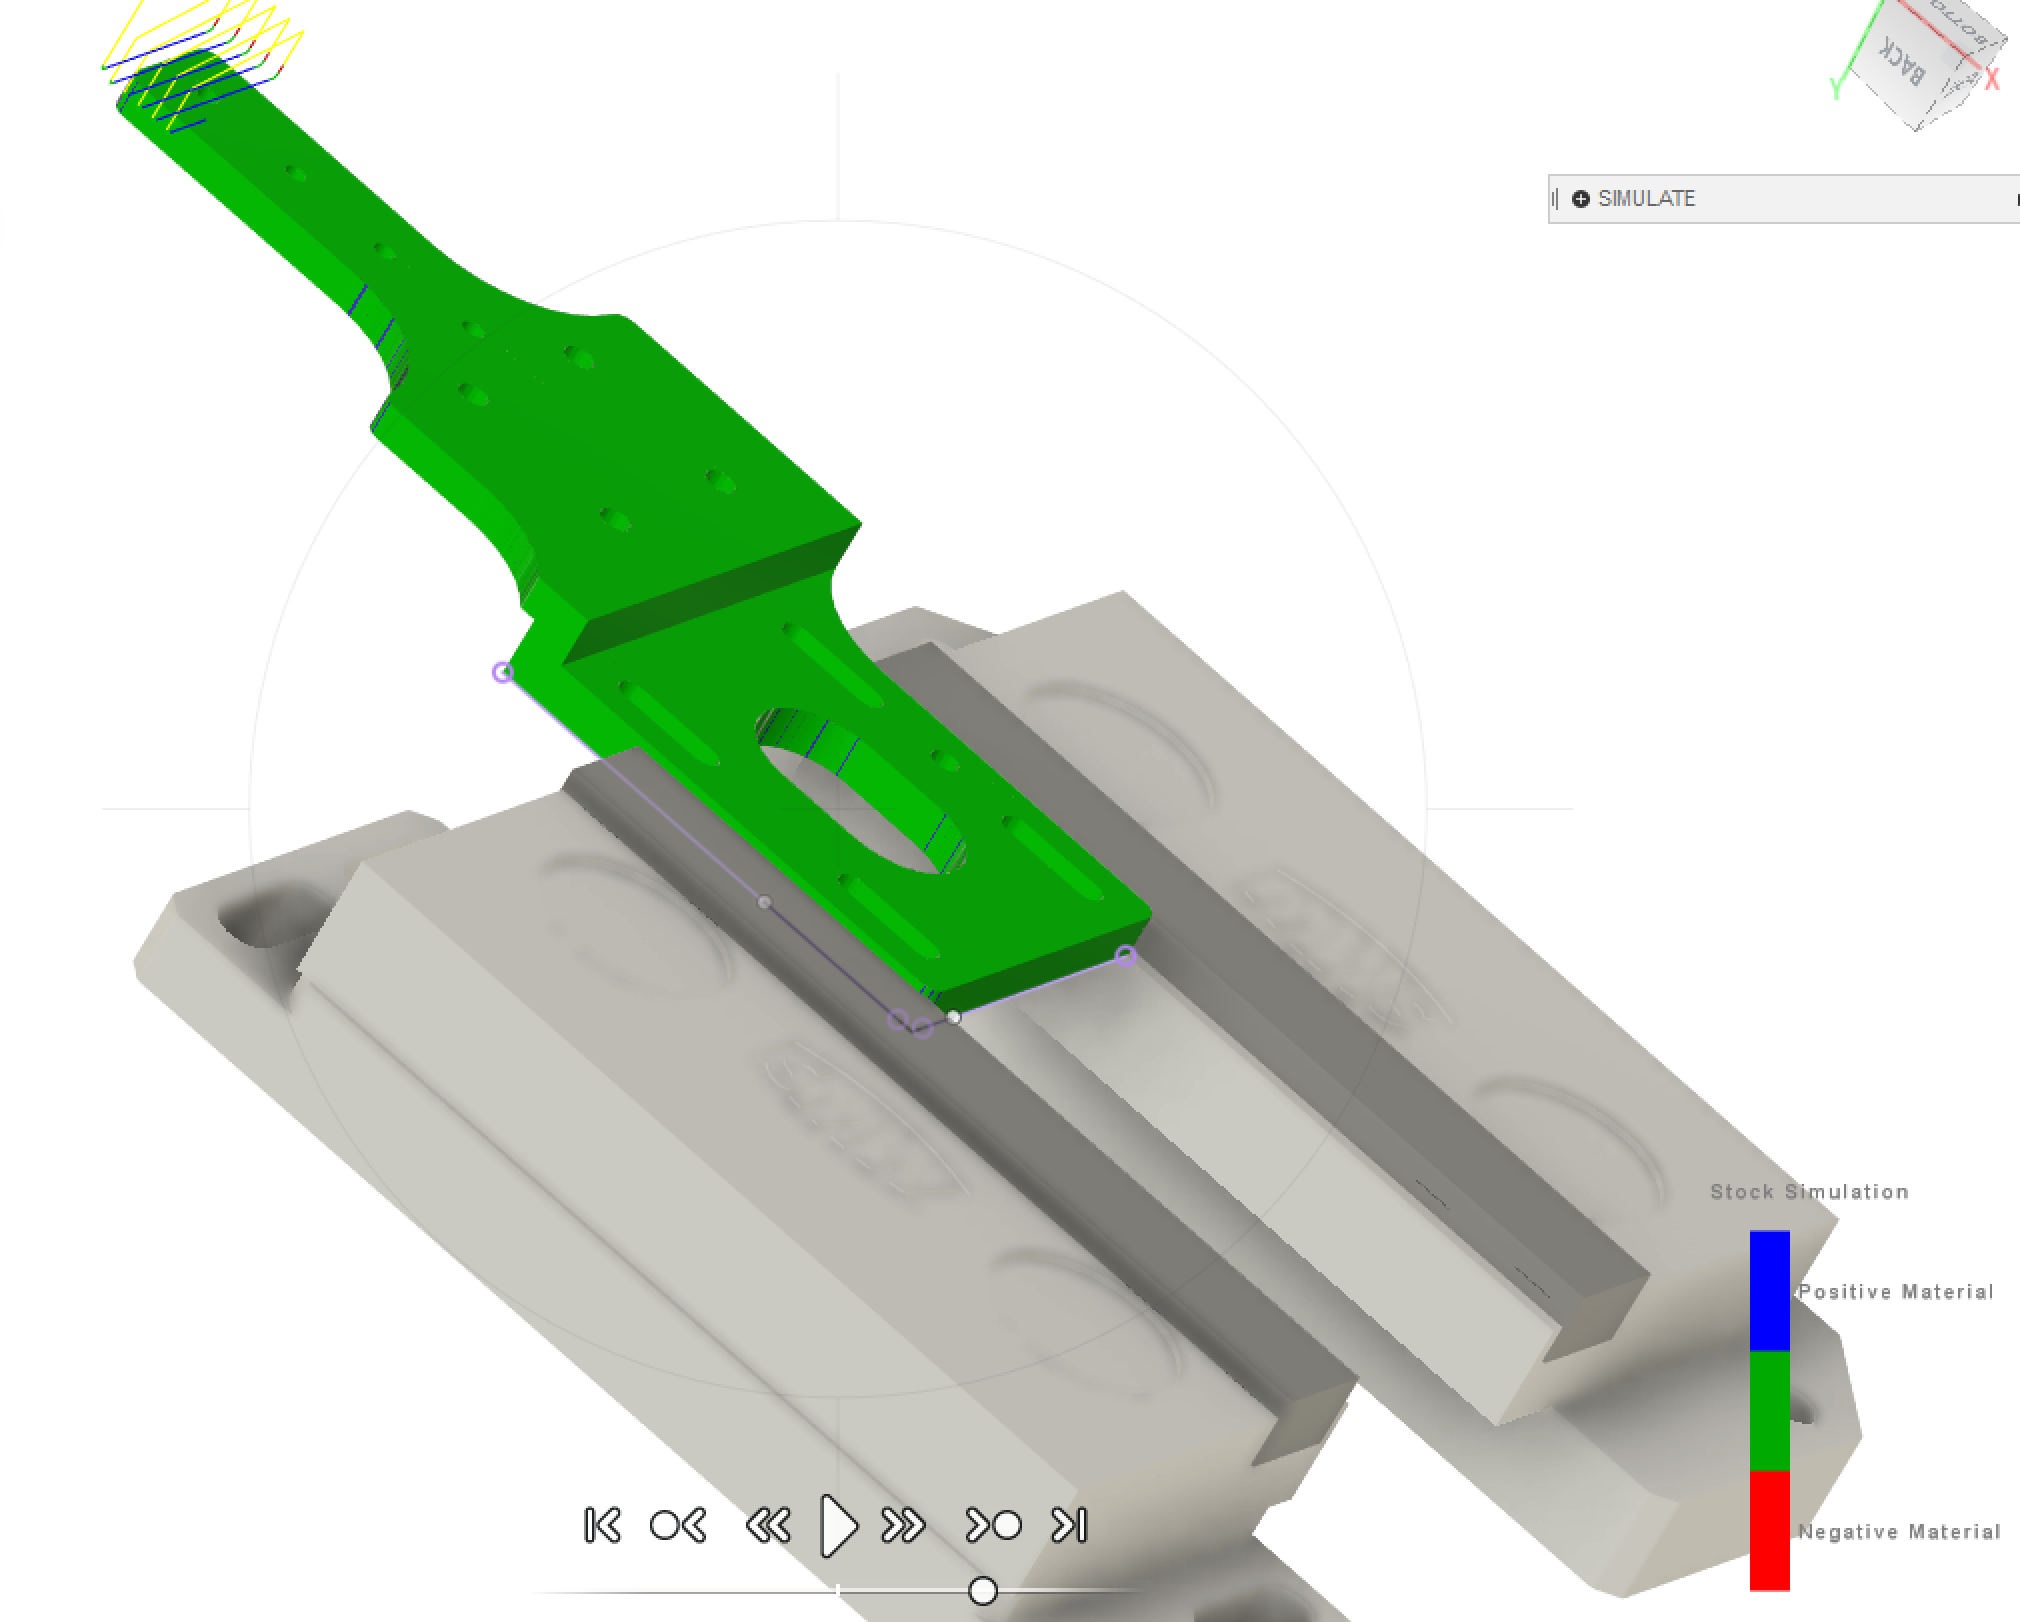
I am quite new at using a CNC but I’m learning and having successes with my Pro XL. Currently, I’m trying to figure out how to cut a specific part out of aluminum using a vise (hopefully to eventually splurge on a SMW fixture plate / vise as used in the simulation). The part I am trying to cut is 52mmx134mmx11mm and has two “elevations” with various holes, slots and recesses. As such, I need to run this as two different setups, one for each side.
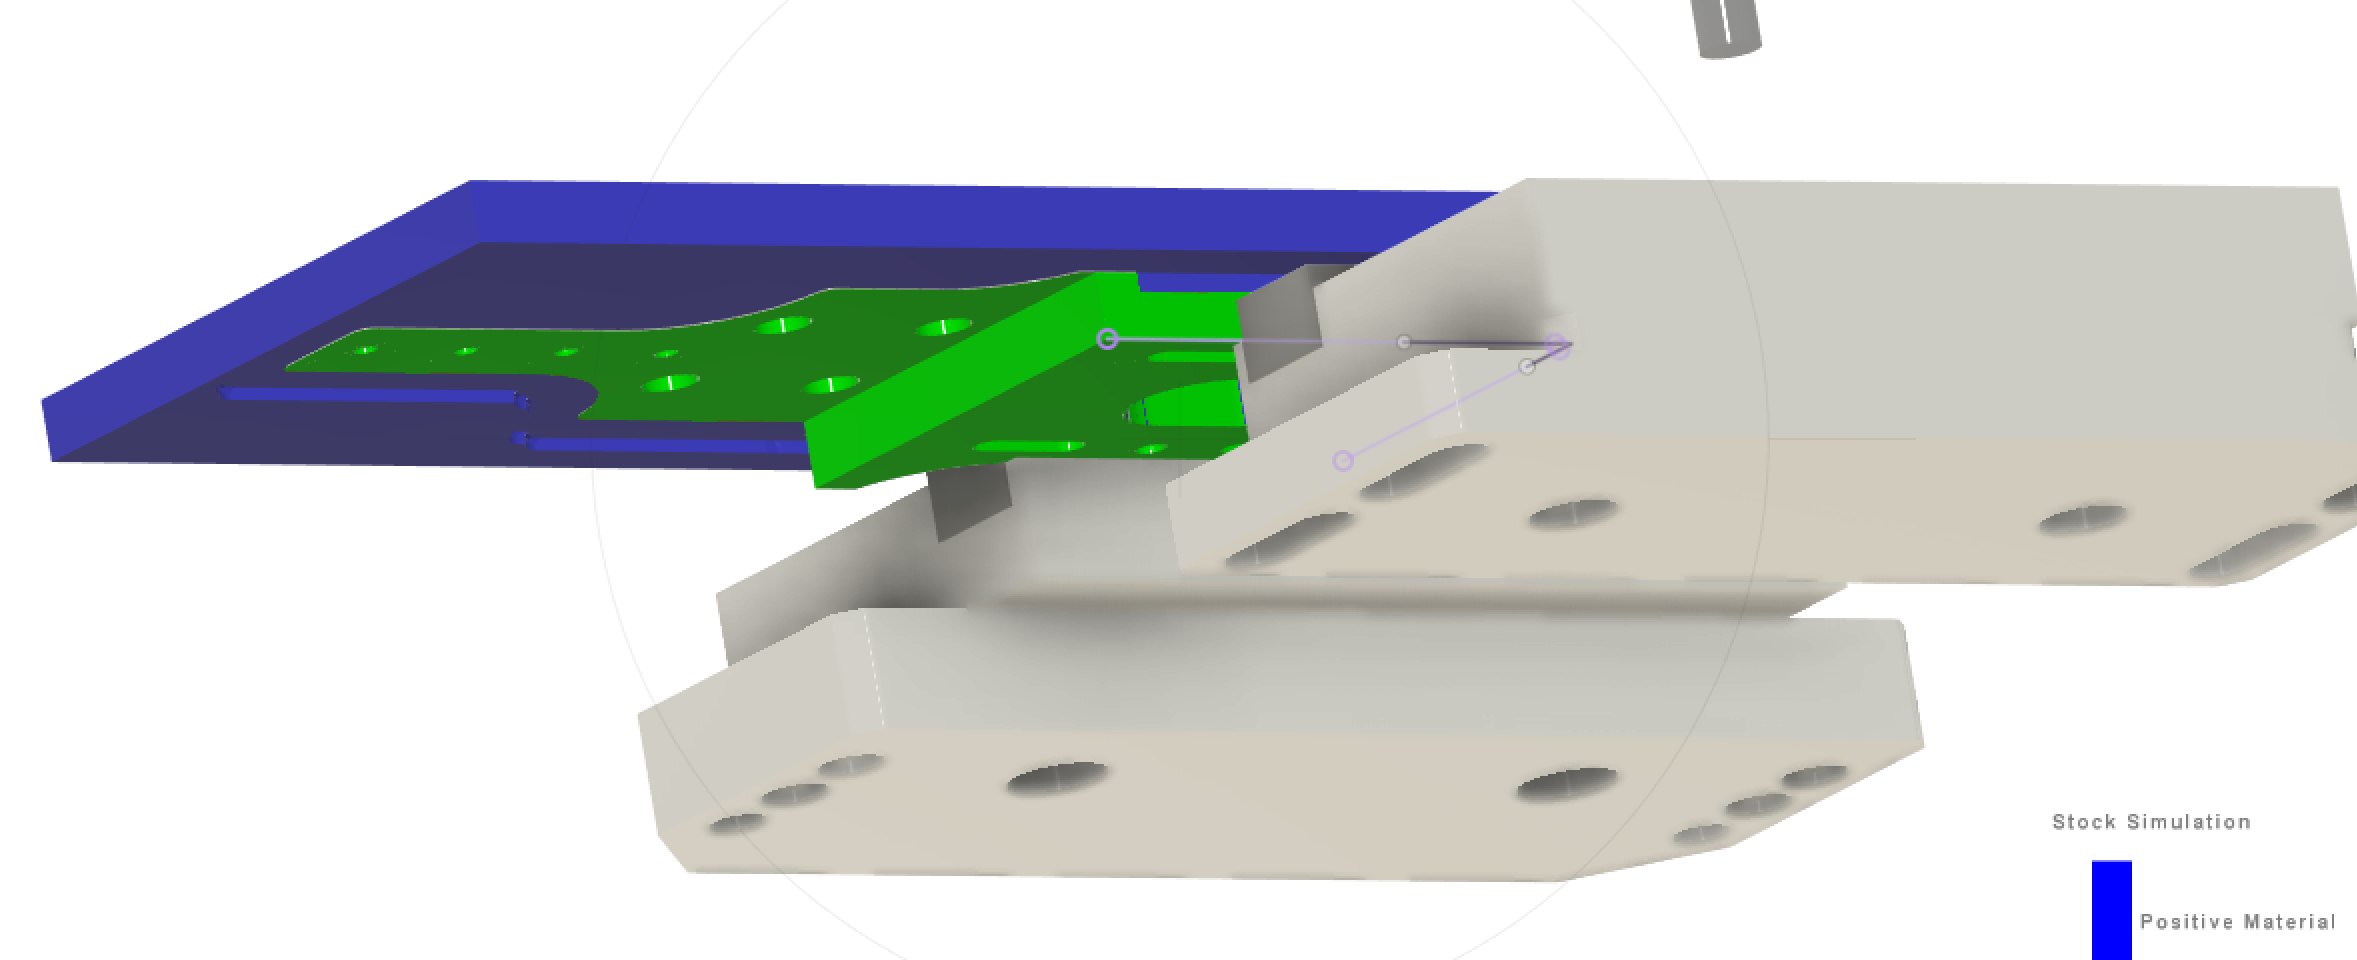
The best I’ve come up with to cut one side and then end up with this setup for the second side:
I am assuming that having so much overhanging stock is just plain stupid. Is that true?
Assuming my intuition is right, does anyone have any suggestions for how I could cut this part?
Alternatively, suggestions on redesigning the part to make it easier to cut on the shapeoko? I’m trying to keep the weight as low as possible which is why it isn’t just a bigger rectangle. Aside from that constraint, other suggestions would be gladly investigated!
That overhang is too much without support. I expect that it will vibrate and chatter a bunch. I would consider doing this with vise soft jaws or a fixture that fully supports the whole part. If you aren’t doing to many MDF works well for a fixture. You can always laminate a couple pieces together if you need the thickness. You can put threaded inserts into it and use a mixture of superglue + tape and fasteners to hold it down. You may need to do 3 setups instead of 2 in order to do the areas around your fasteners first and then everything else once they are in.
Im looking at your second picture. Can you cut the outer profile for the part, holes, and recess the one area that you have clamped as the first operation. Then make a negative blank from like wood for the part that overhangs the depth of the recess. Since you have holes in that recessed part you could screw that side down to the wood using those and then tape and glue the overhang part of it. Then recess that area for the second operation.
Thanks @nwallace and @hkyswim, that helps me a lot (both with this part and in general to in how to think about how to create these setups).
I think I can do something more reasonable using 3 setups with a fixture for the 3rd setup. I have m3 tapping holes in the thin protrusion so I think I can cut the first side, tap those holes, flip it and cut the well clamped part and then use those M3 holes to secure the last portion into a fixture for the last setup.