I’m trying to cut a small slot in anodized 5005 AQ aluminum.
The slot is to be 1/32" wide and 0.010" deep using a Shapeko 5 Pro.
No matter what speed, feed and depth of cut I try, I end up with a burr along the leading side. With some settings it’s soft and can be bent off by hand, other settings it’s hard and doesn’t easily bend off, but it’s always there.
I’m using a Harvey 733431 2-flute cutter.
The best (easily burr to remove) settings seems to be 12 IPM 10K RPM cutting 0.004" per pass.
People seem to recommend much faster, so I’ve tried faster (up to 25 IPM 20k RPM) without success. Should I try even faster? Or is there something else I can do?
When you say, “leading side” do you mean the left side of the cutter as it moves forward through the material? Wondering if a smaller cutter cutting a pocket cut & only climb cutting would help??
Best bet I can think of is to mask it with a harder material
Thanks for the idea. I’ll see if I can figure out a way to do that. The part is a little complicated near these slots, so I may have to create a custom mask.
When you say, “leading side” do you mean the left side of the cutter as it moves forward through the material?
It’s on the right side as the cutter moves forward. Isn’t that the side where the cutter is moving forward? The left side is generally quite clean.
Wondering if a smaller cutter cutting a pocket cut & only climb cutting would help??
I’ve broken a couple of 1/64" bits trying to make this a pocket cut. They’re really small and fragile!
Is there a way to try climb cutting with Carbide Create Pro and Carbide Motion?
Interesting, so the conventional cut side is cleaner.
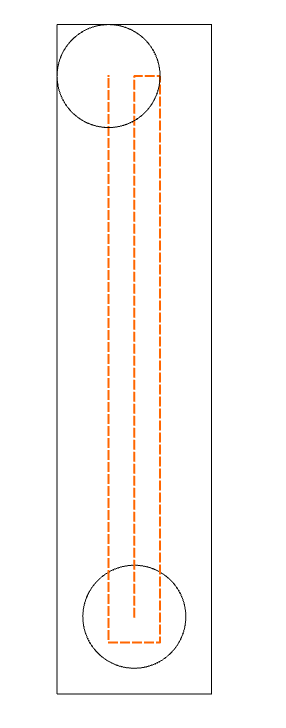
If you have a smaller cutter, or you can make the slot just a bit bigger, you can create your own toolpath & follow it. I would clear out the middle, then contour both sides conventional cutting.
This is exaggerated… The lines will be much closer together. And you’ll want to simulate it at the slowest speed to see which direction it’s going. (The tool will display at the end of the path when it’s done)
I thought about this a bit more and have some things that might be interesting:
Using a 1/32 cutter for a 1/32 slot will almost certainly leave your slots slightly oversized (because of runout and such). Not sure if that matters but it’s a thing to keep in mind.
The surface speed at 10,000rpm is only 81sfm. Ideally (according to Harvey) this should be 750sfm. That’s obviously not feasible since we’d need like 100,000rpm…but closer is generally better. So running at max spindle speeds seems appropriate (and matches what I’ve also been told regarding small tooling. They like to go fast)
Your chip load at 10,000rpm 12ipm is closer to .0006 but Harvey recommends .00047. They tend to be conservative but it might be worth trying.
In theory you can be cutting about twice as deep on your axial. Not sure if that makes a difference in burr formation
At this size, runout tends to matter. The smaller you go in tooling, the larger the ratio of runout to tool diameter. This directly impacts your chip load, maybe another good reason to back off that chip load a bit.
You can measure runout and take it into account when calculating optimal chip load.
Maybe trying something closer to Harvey’s recommendations is worth a shot. More experienced folks can correct me but I’d try:
24,000rpm
19.2ipm
Which gets you a .0004in/tooth chip load
at ~195 feet/minute surface speed.
Maybe also worth getting an appropriate drill to pre drill the entrance of the tool so you don’t need to plunge with the tiny Endmill.
(Disclaimer: I’m not liable if your tool explodes upon touching the workpiece )
Update on this: The suggested 24k RPRM, 19.2 IPM helped a little, but didn’t resolve the problem.
But there may have been something wrong with the alloy in the sheet I was testing with. When I moved to another sheet for more testing, all of a sudden the cuts were really good. From the same vendor, supposed to be the same alloy, but very different behavior. This is a bit nerve-wracking, as I don’t know whether the material for the final parts will be the good stuff or the bad stuff…
Awesome to hear that things are going better. Off the feeds and speeds improved things at all that seems like a win. You should end up with improved tool life and a modest lowering of your cycle times
If you’re not sure about your vendor, I might recommend either trying another source or reaching out to them to see if they’ve got any ideas…maybe they got a bad batch or maybe they’ll take a piece back for testing
(Worst case, they do nothing and you’re out the time it took to craft an email. Not all that terrible)