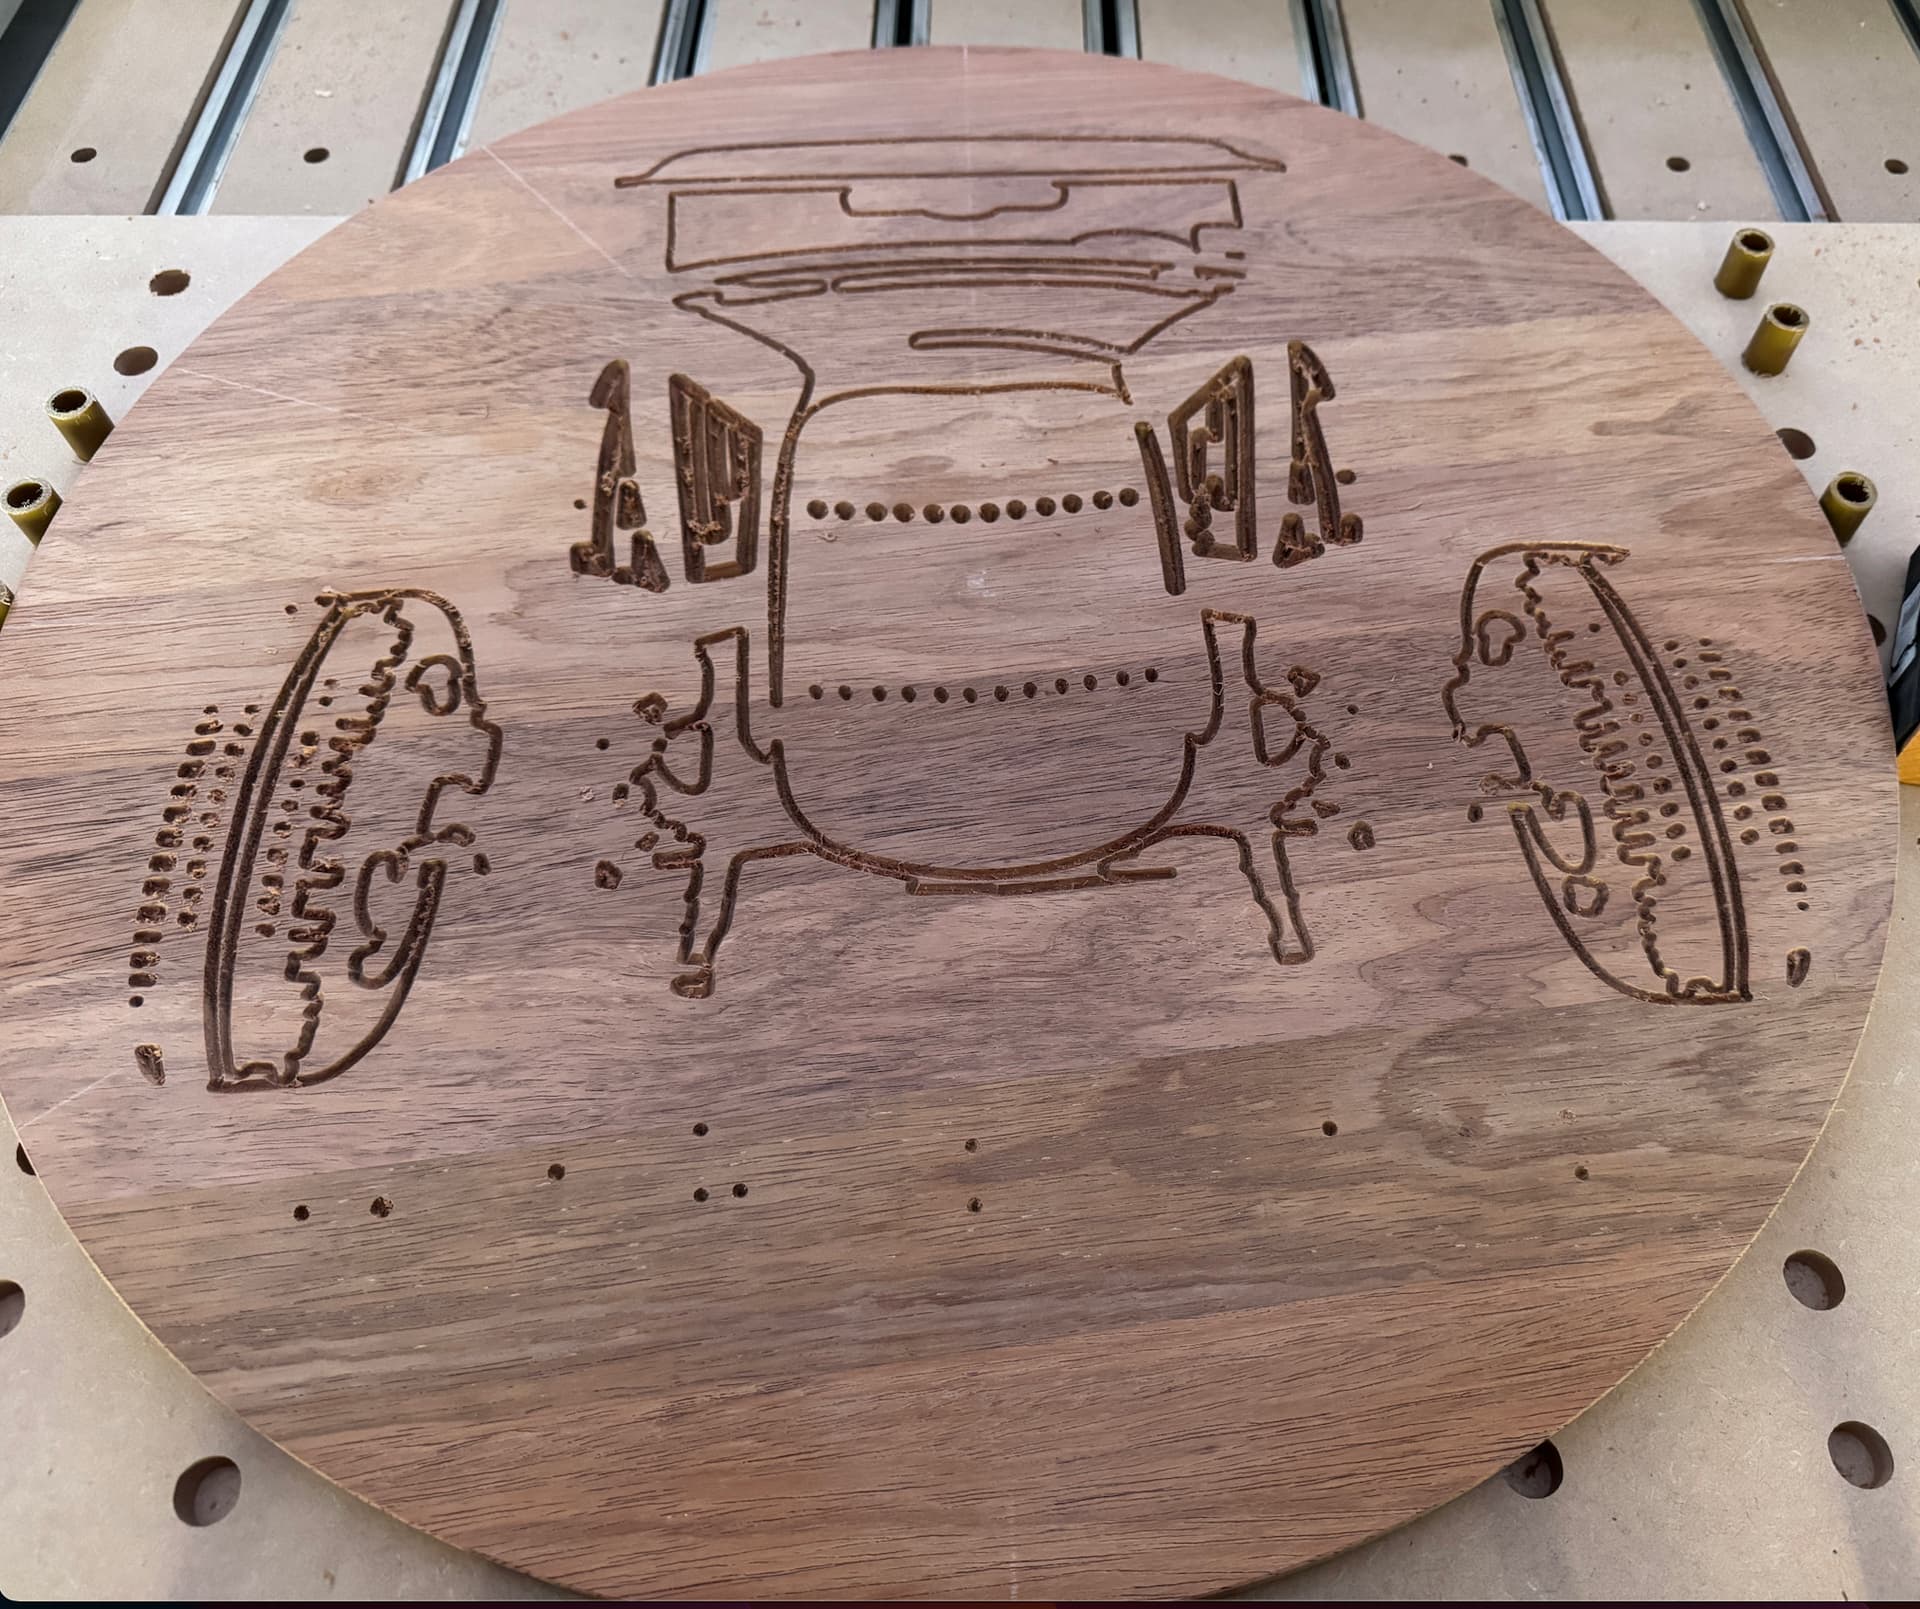
I have a piece of round Merbau (Hardwood - 600mm wide x 18mm thick).
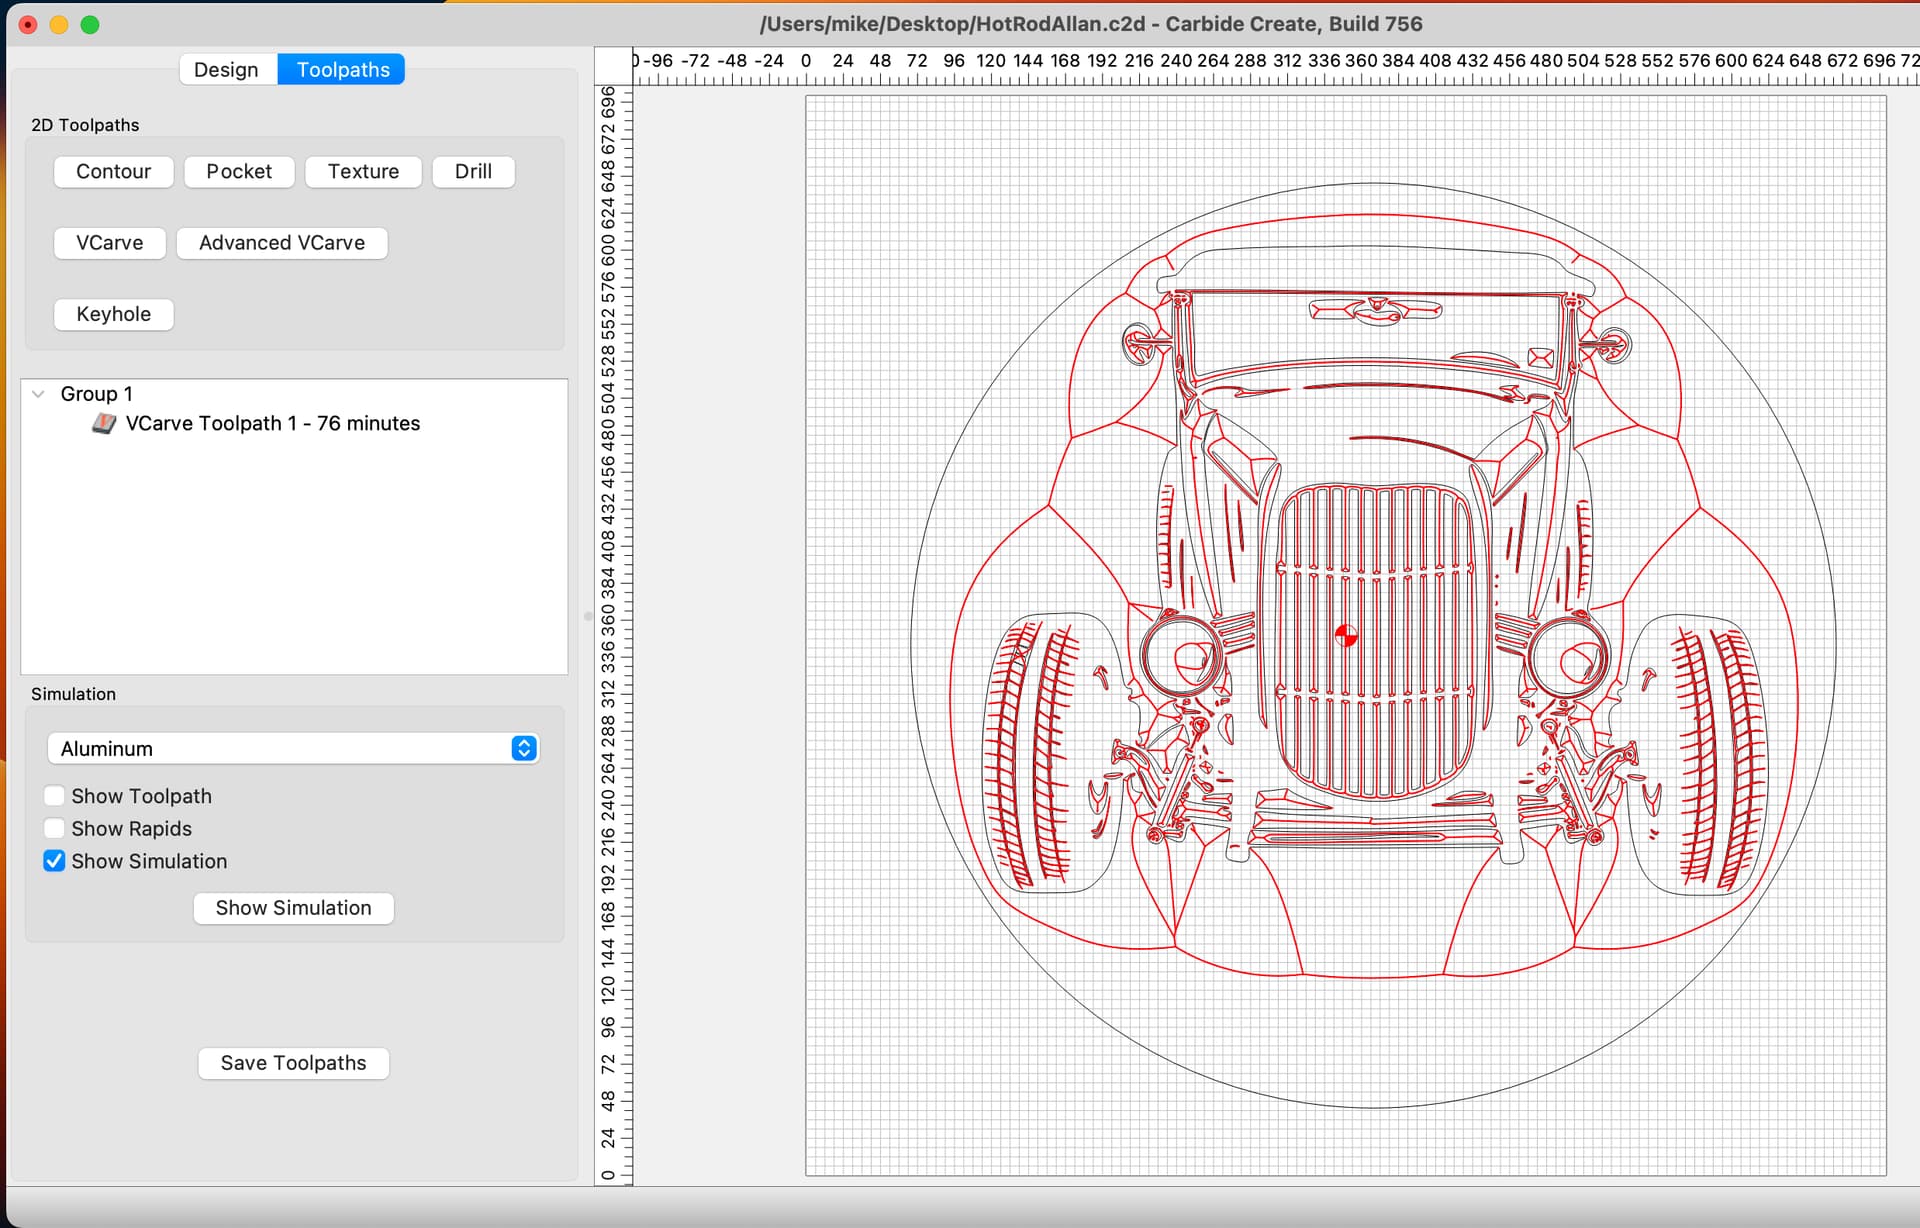
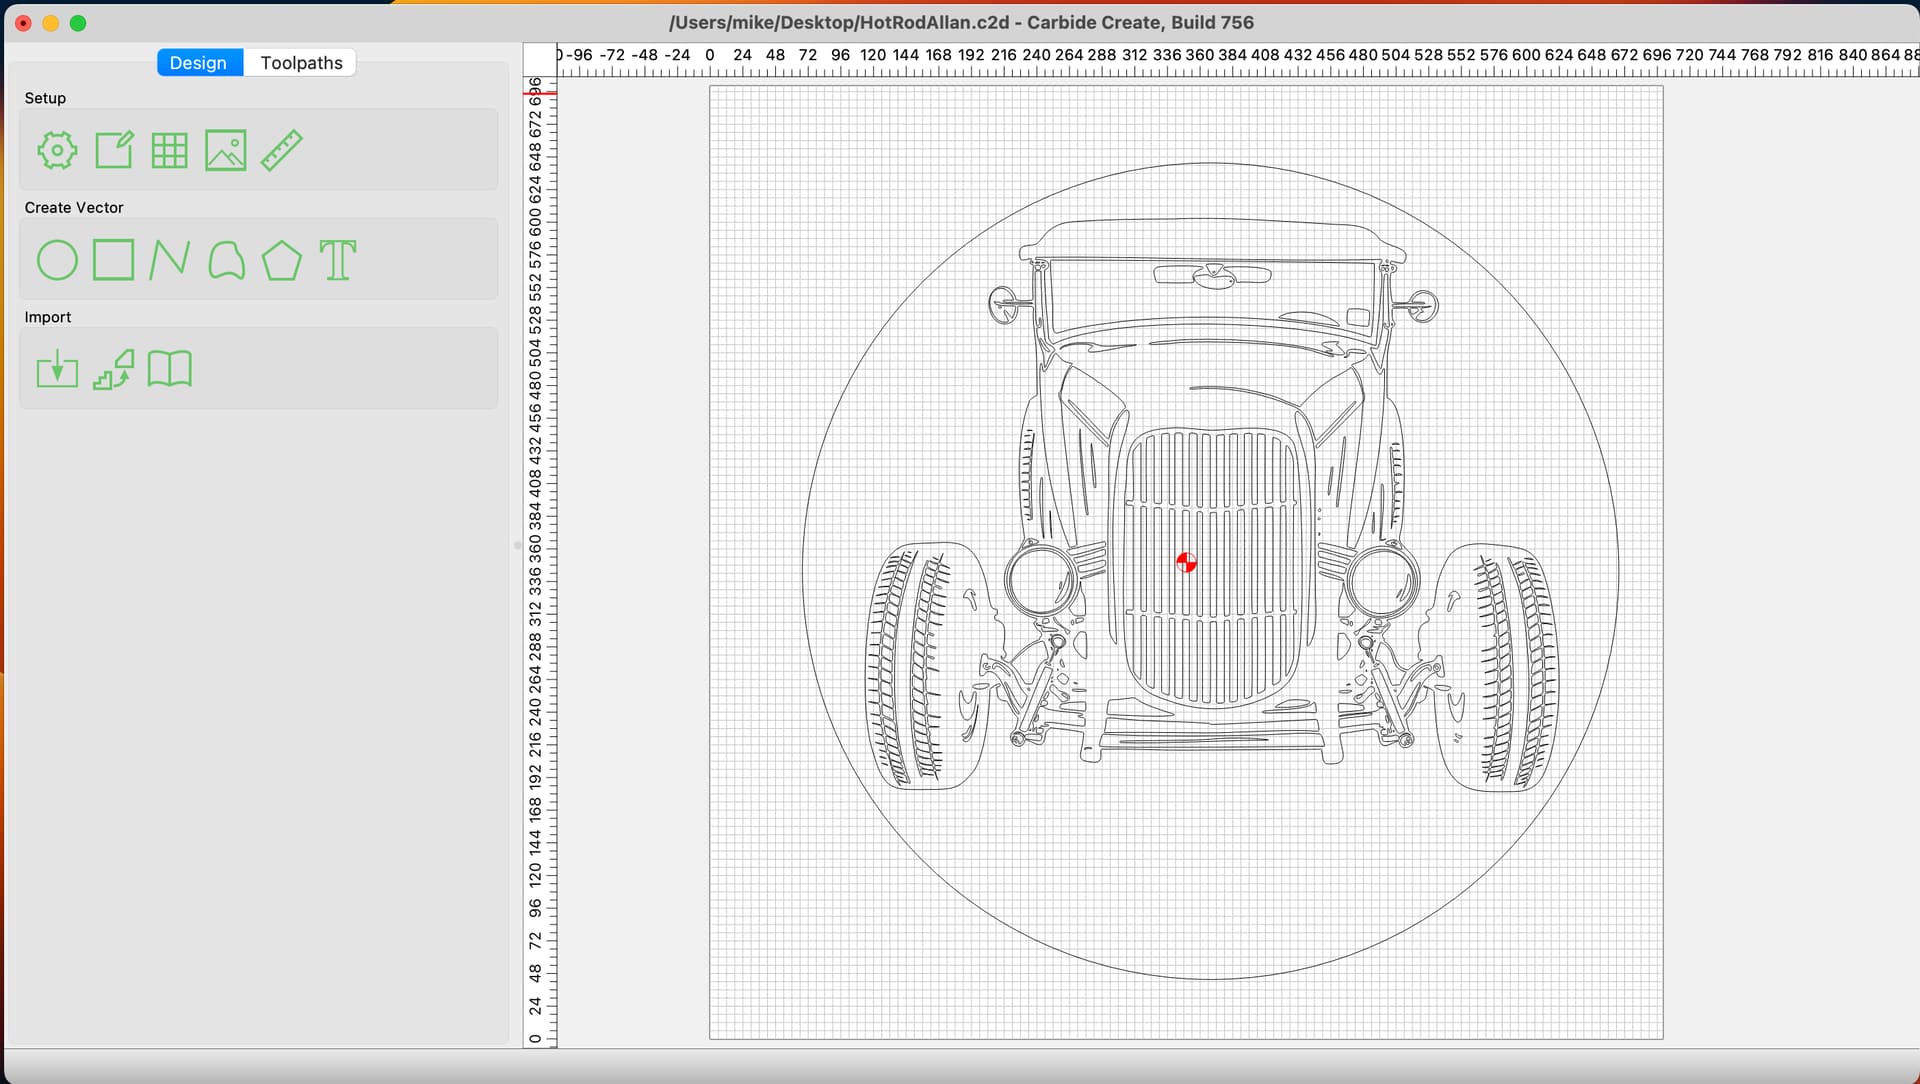
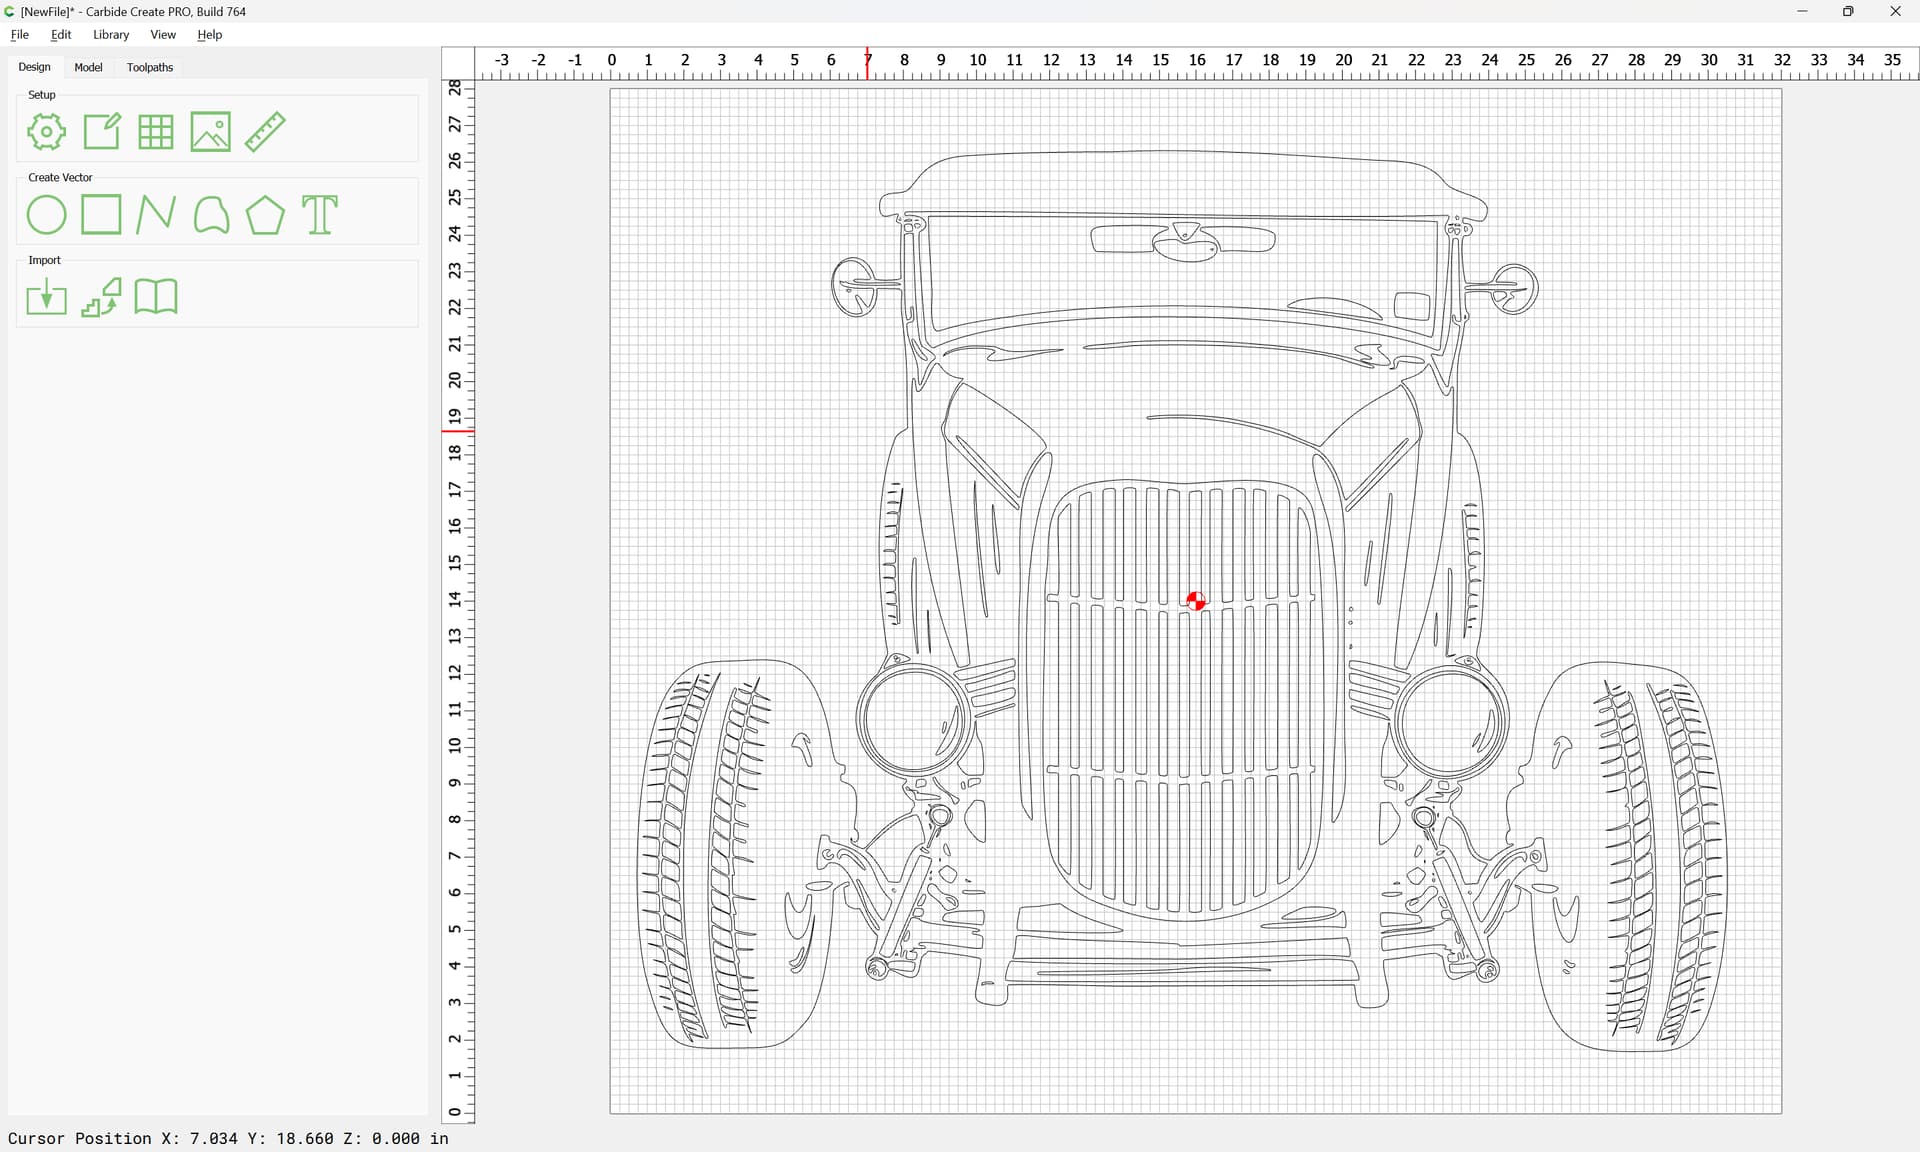
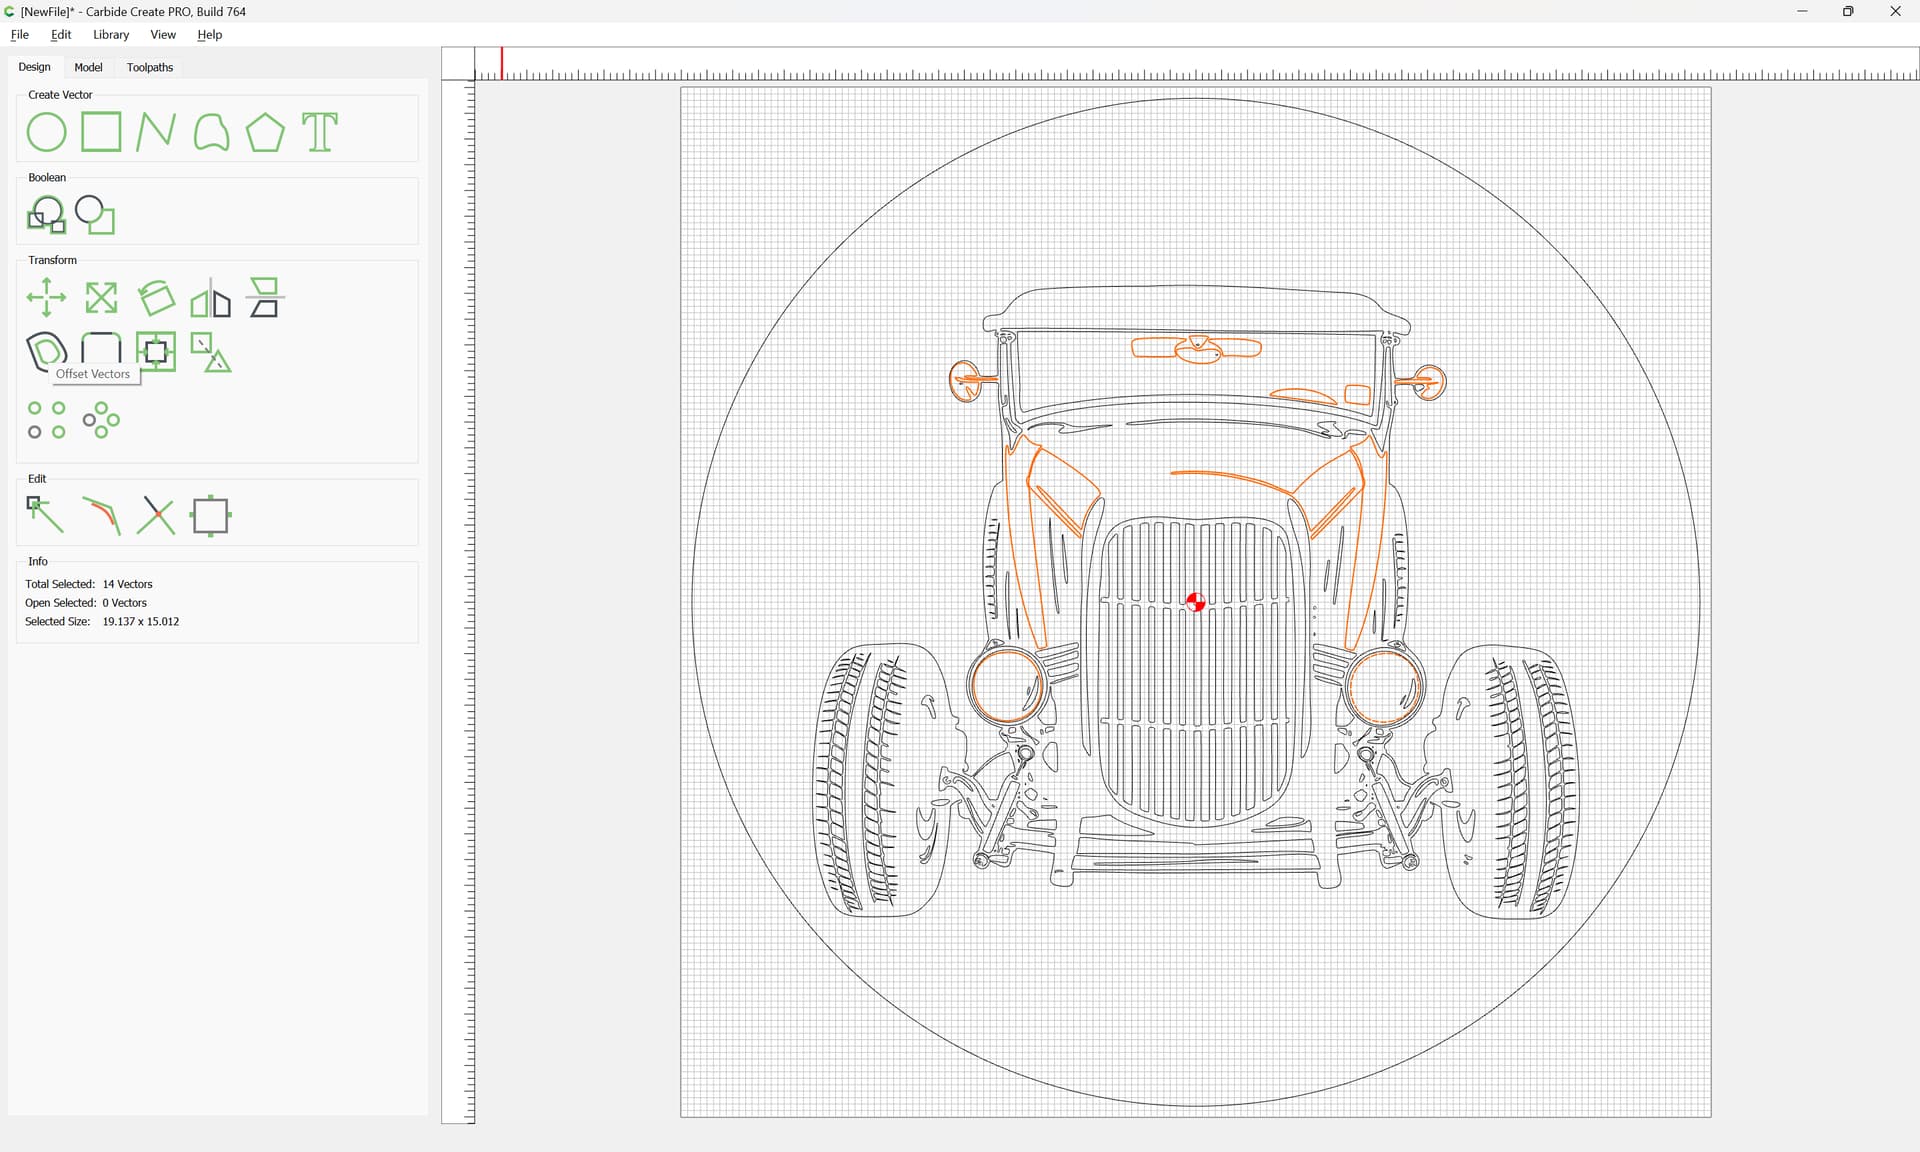
Design in Carbide Create as the spec and I imported an SVG file.
Aimed for a 5mm depth so I could black epoxy and sand it back a little.
The cutter is a 302 60 degree Vbit.
I am experiencing a fair bit of tear out on the finer details of the wood (see photos).
Initially I looked at an engraver 30 degree Vbit - Amana 45771-K but the timing went from 76Mins to 1133 mins !
Kicked off with the V60 bit but had to stop it due to tear out. (speeds and feeds per the recommendations of carbide create). Router is a Makita RT0700C
Can you post the file?
It’s hard to say why you got tear-out. I have had luck putting a thin coat of Shellac on the piece to help prevent tear-out.
It looks like your Z Zero is off (too Low). Did you surface the wood before you started the project?
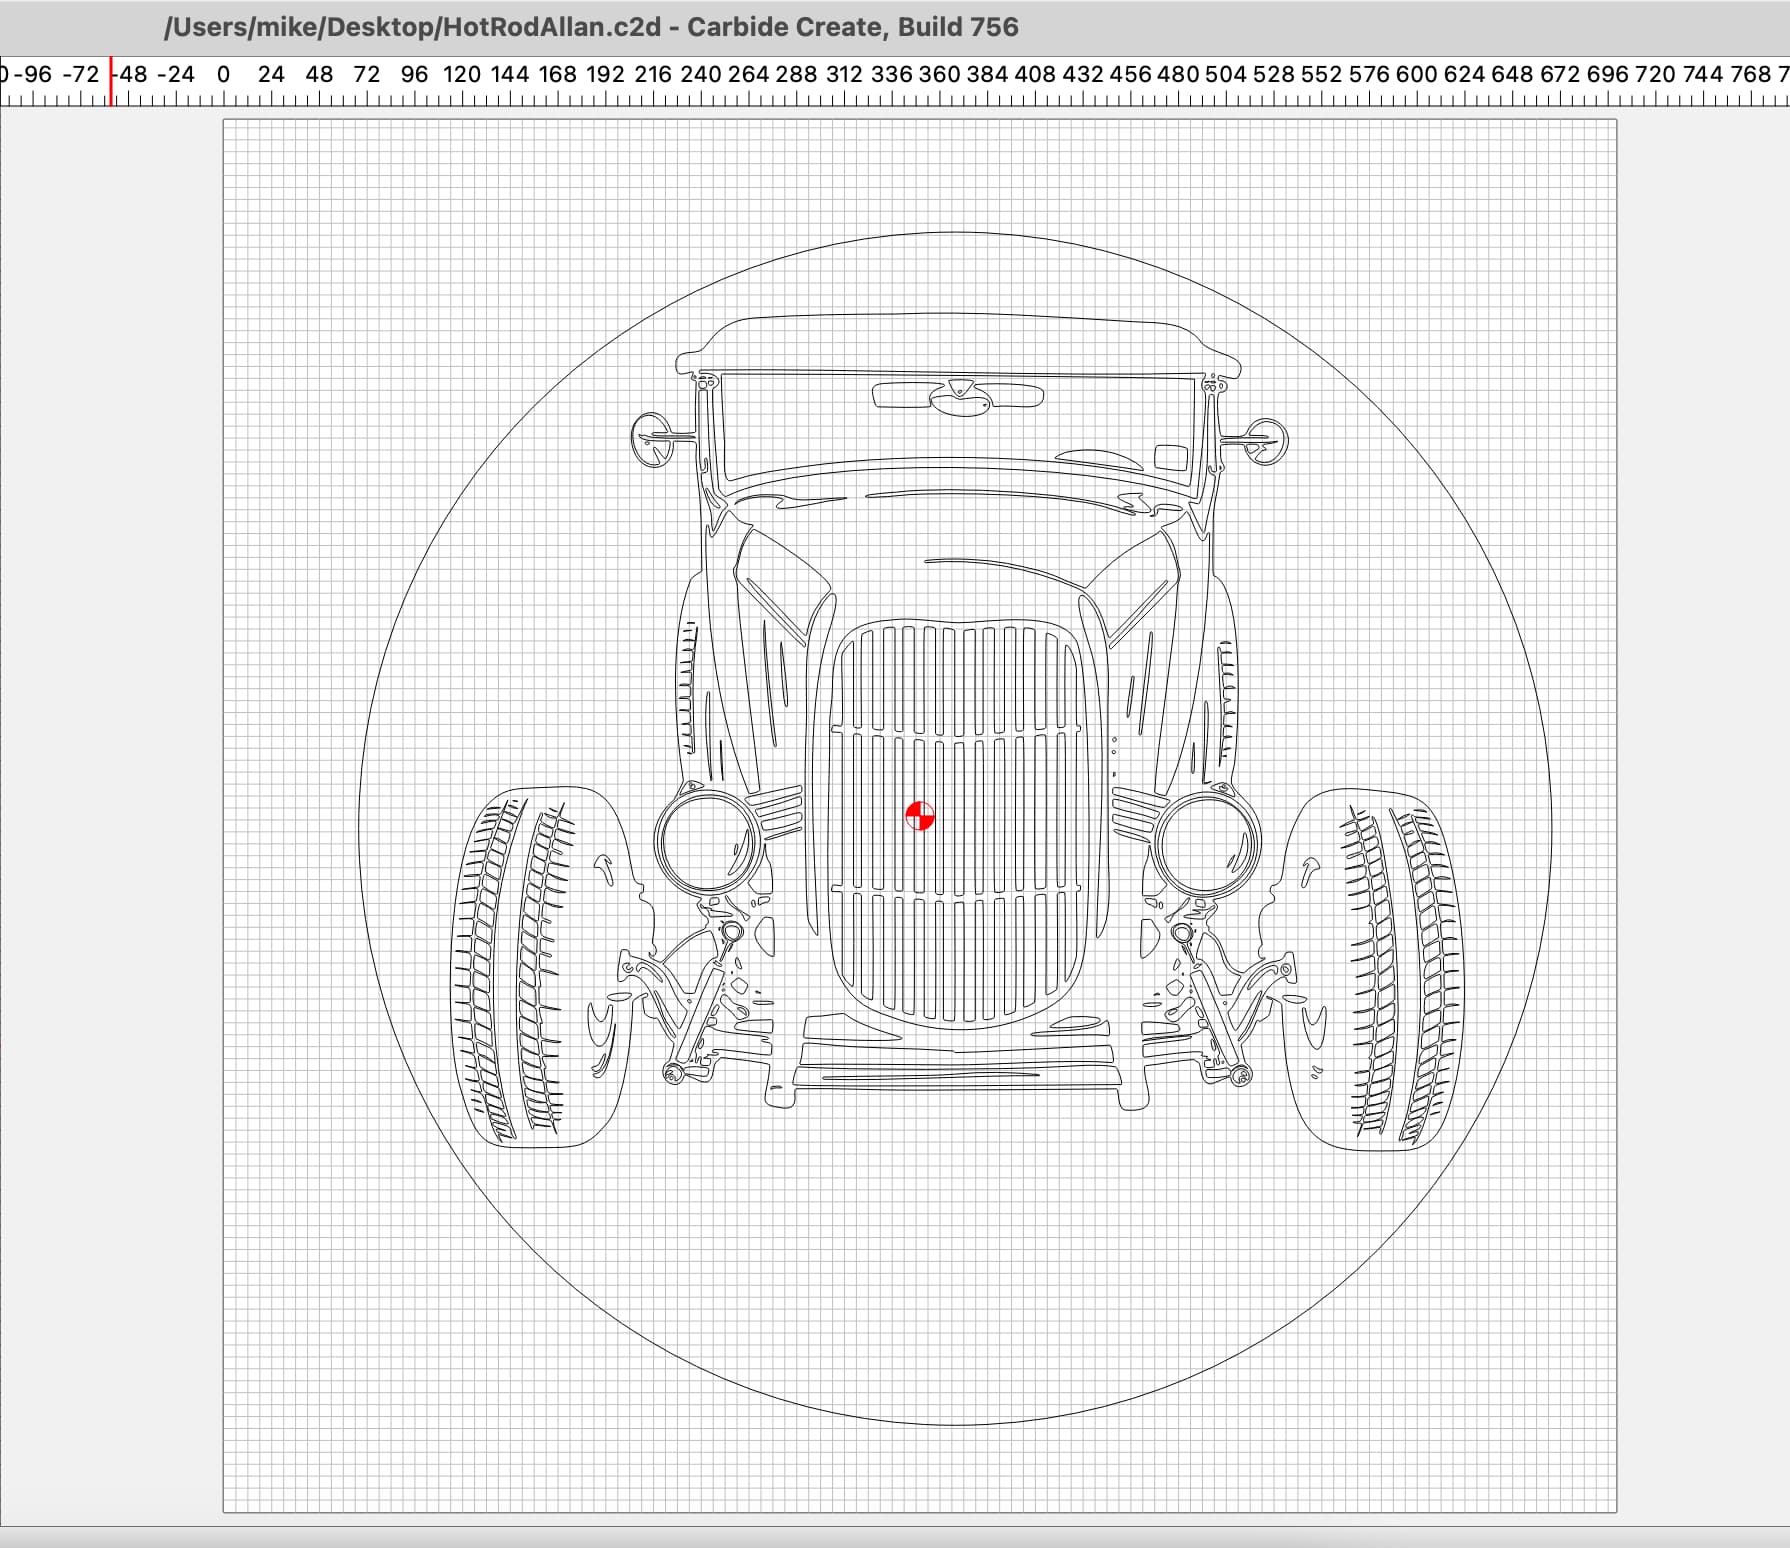
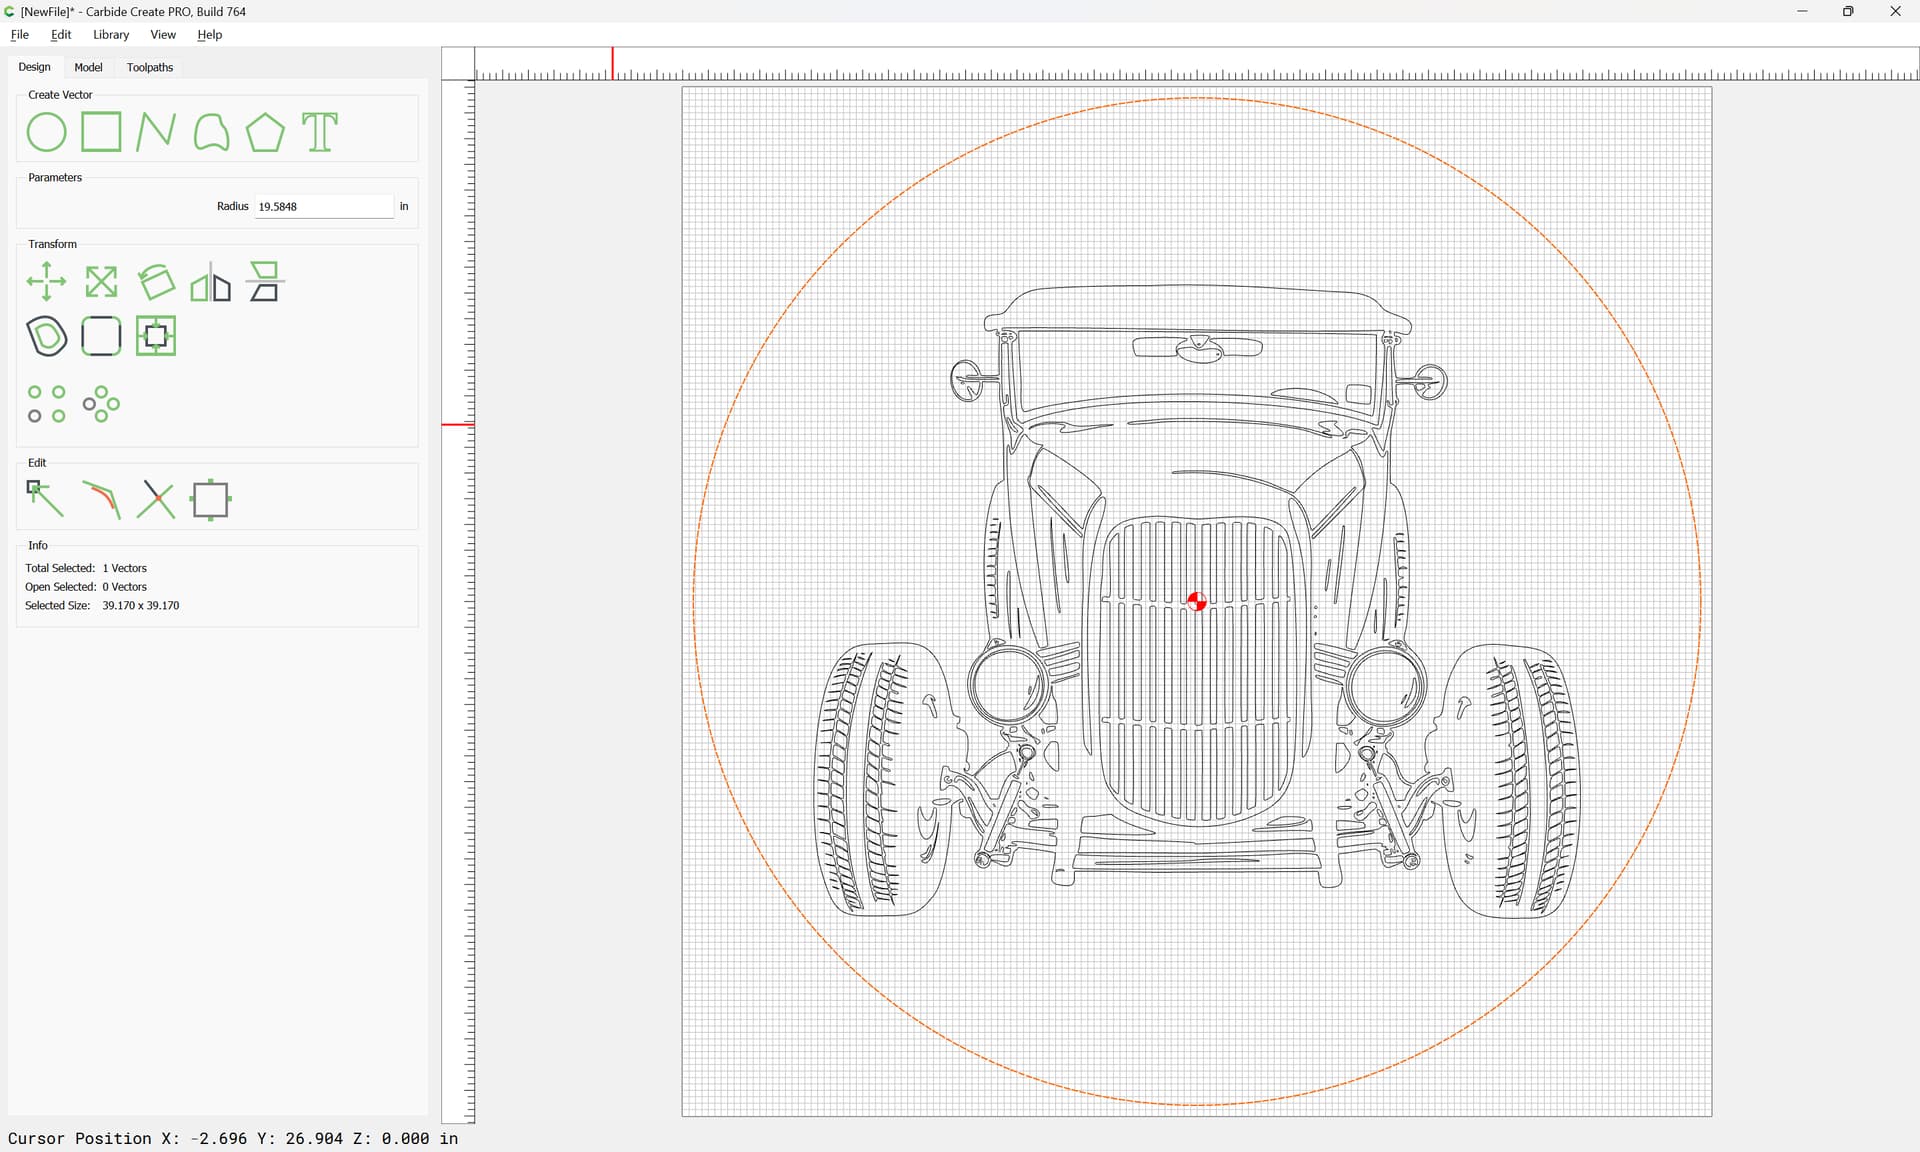
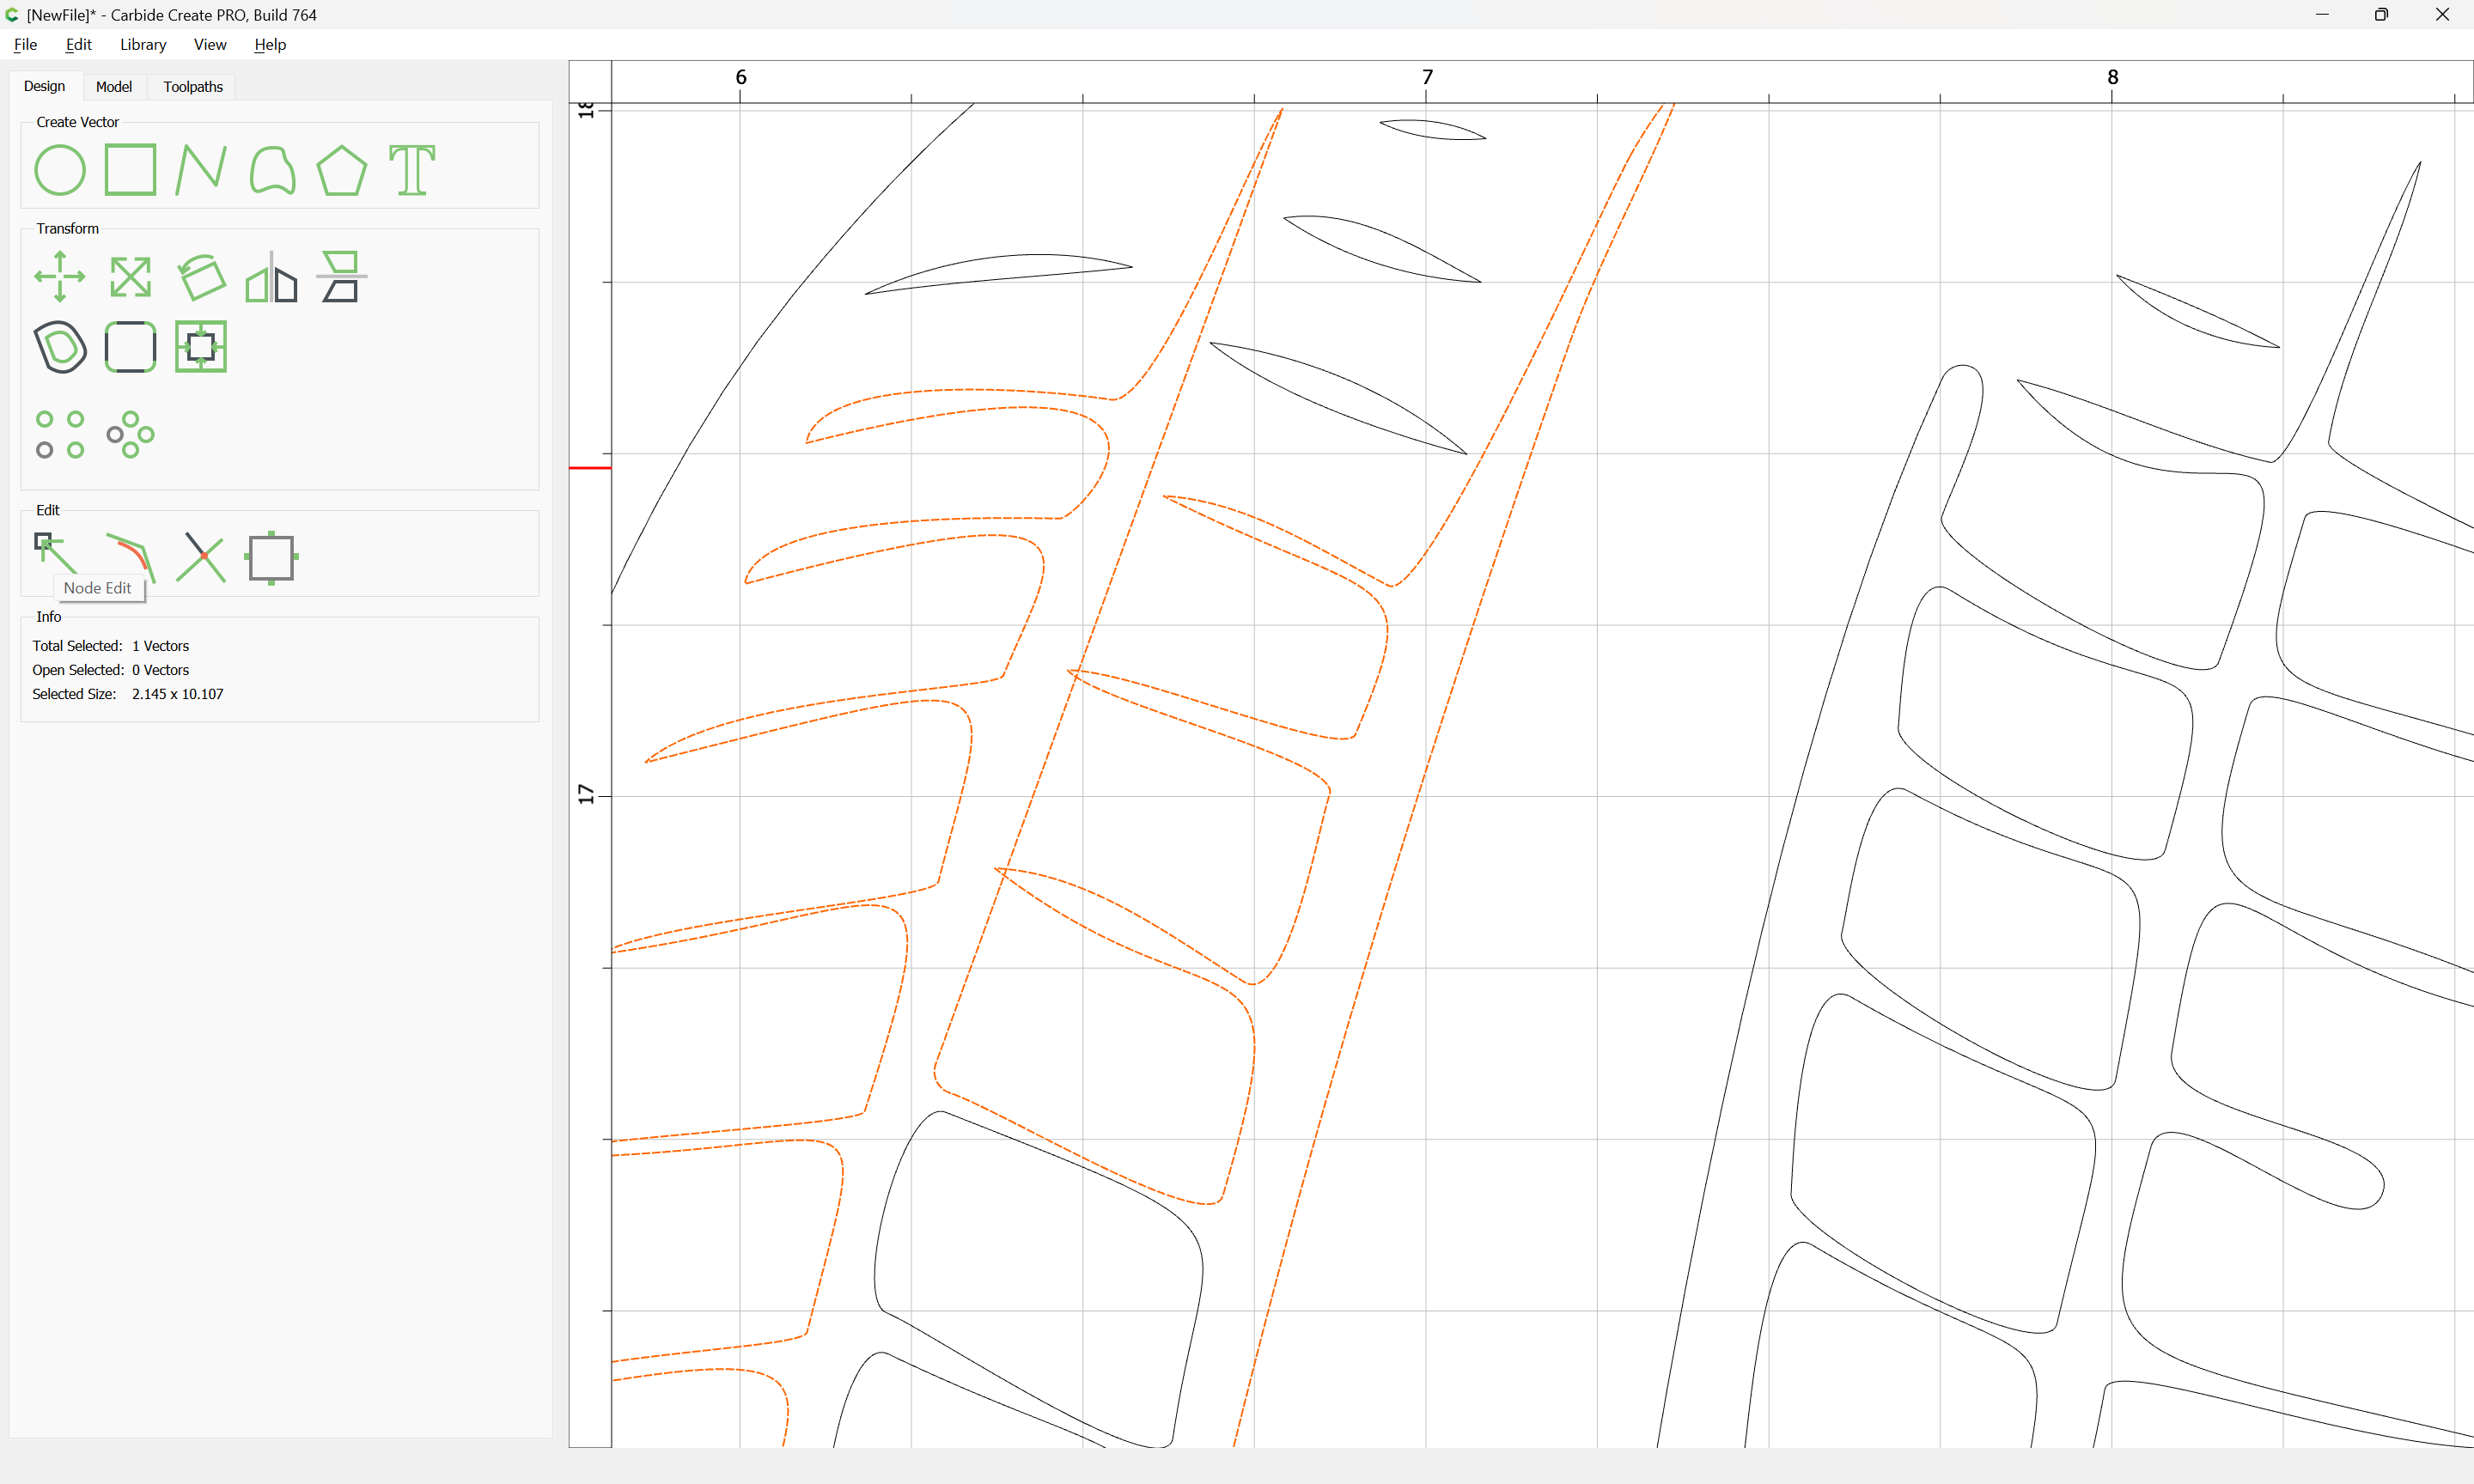
Also, the V-Carve toolpath looks off. You are going to have some funny lines in the piece.
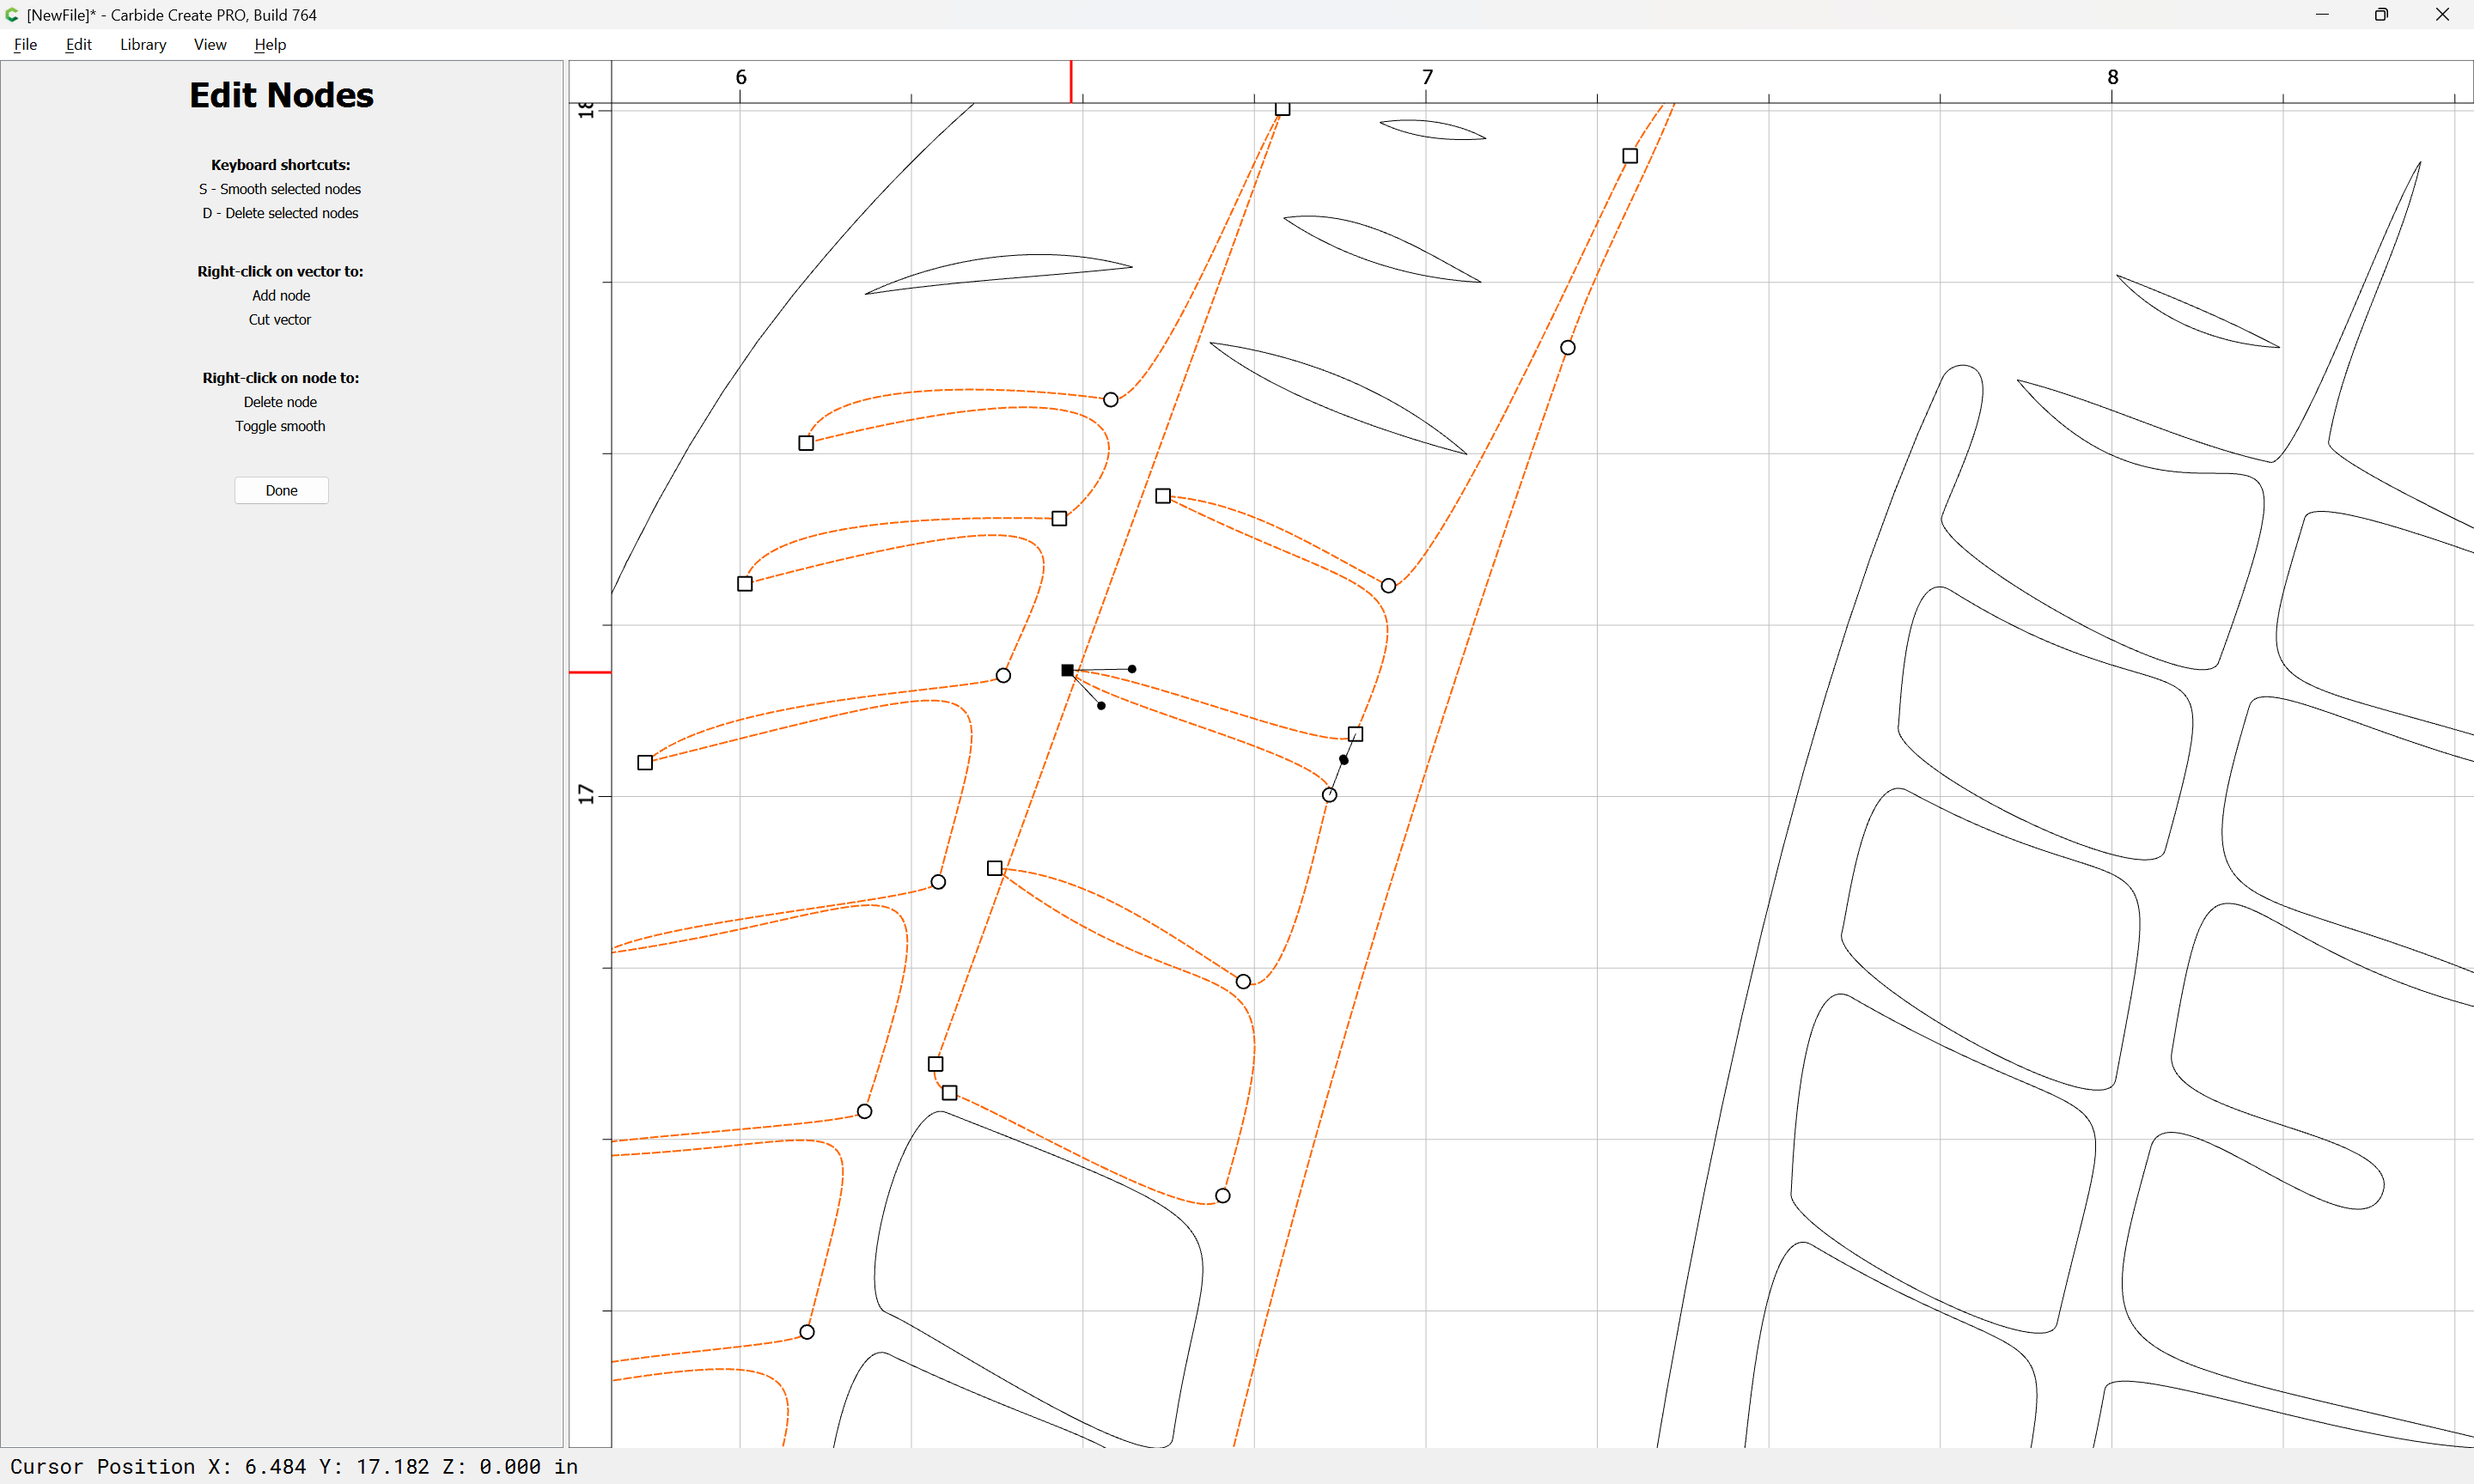
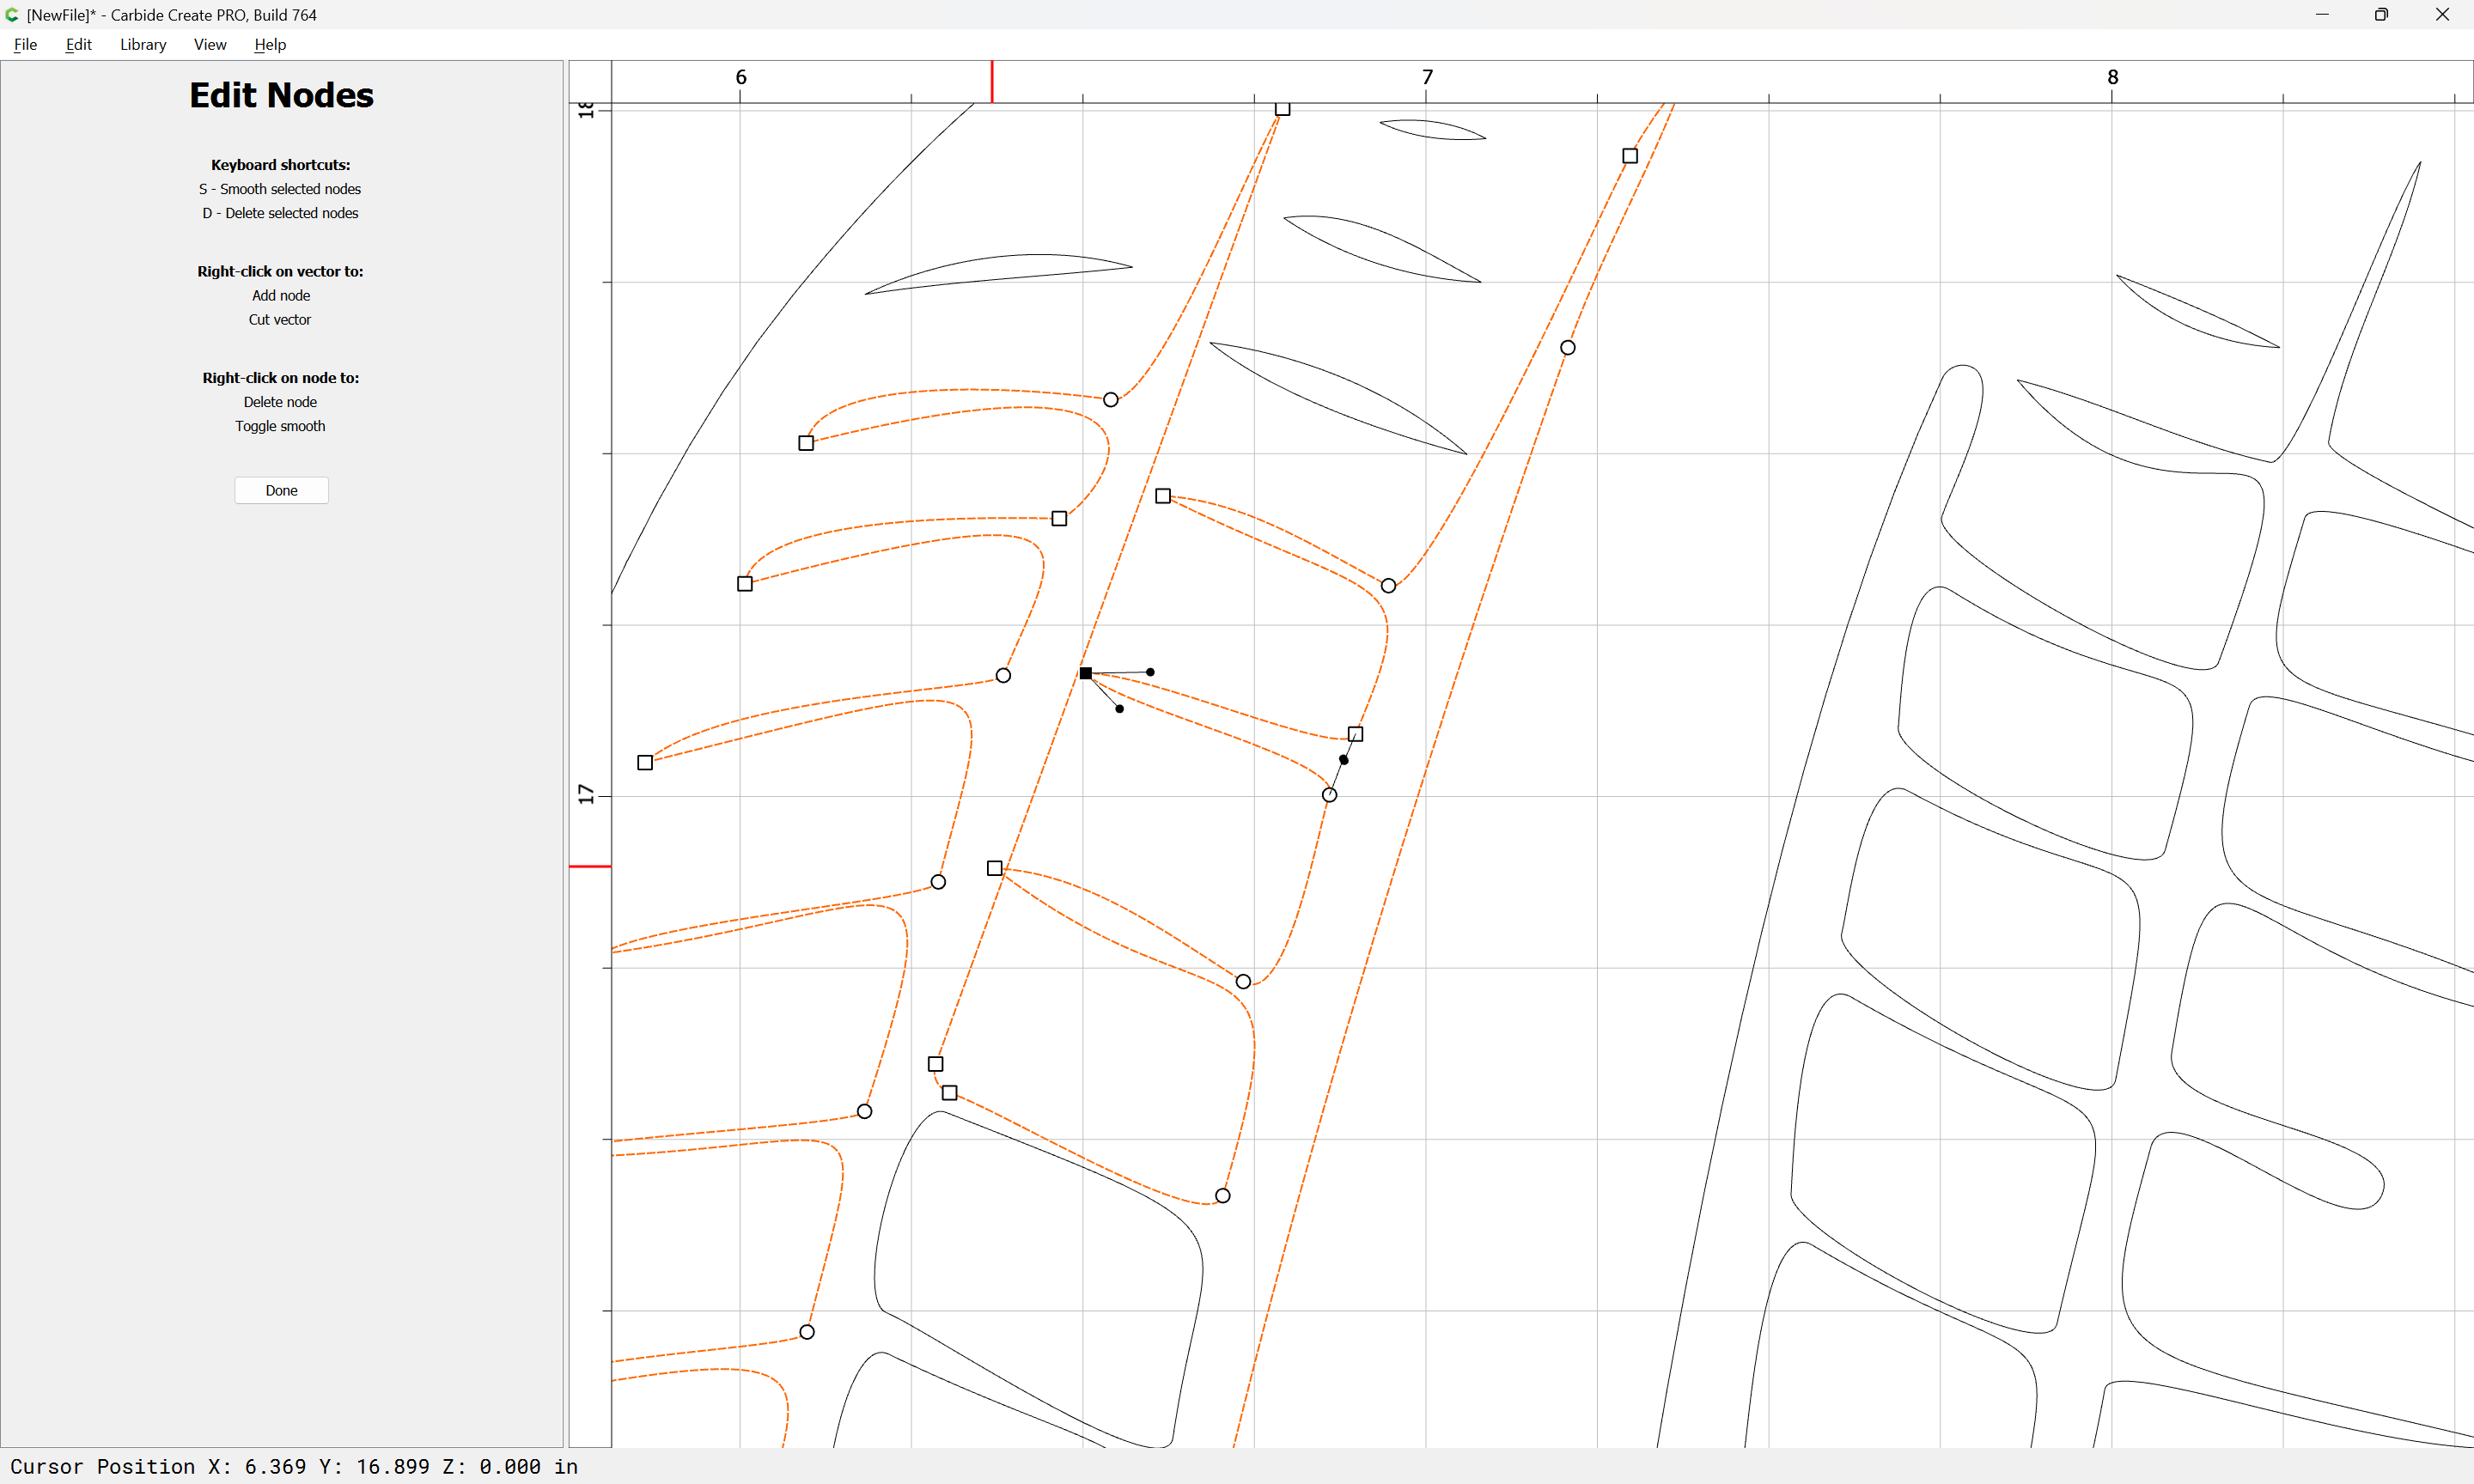
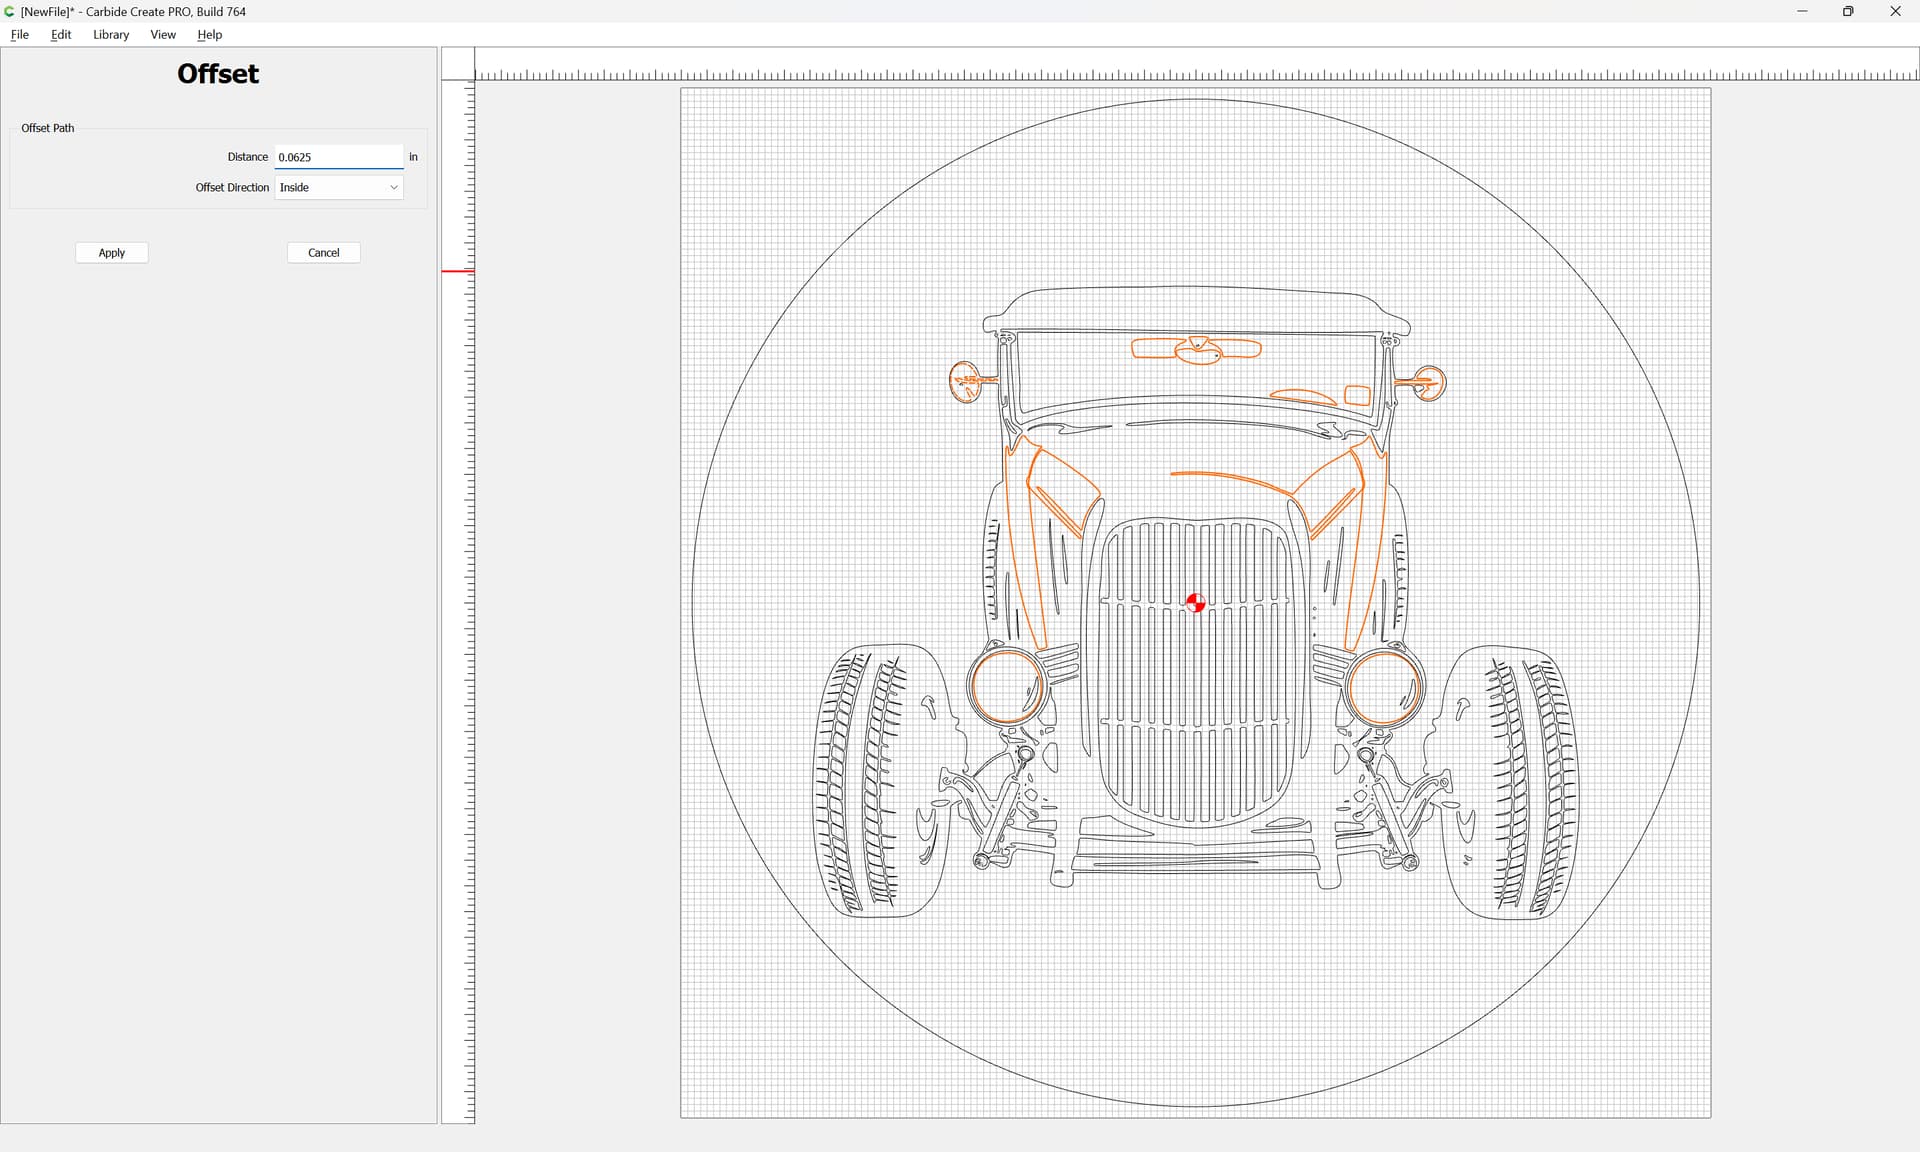
I suggest unselecting the circular Vector and recalculating the toolpaths.
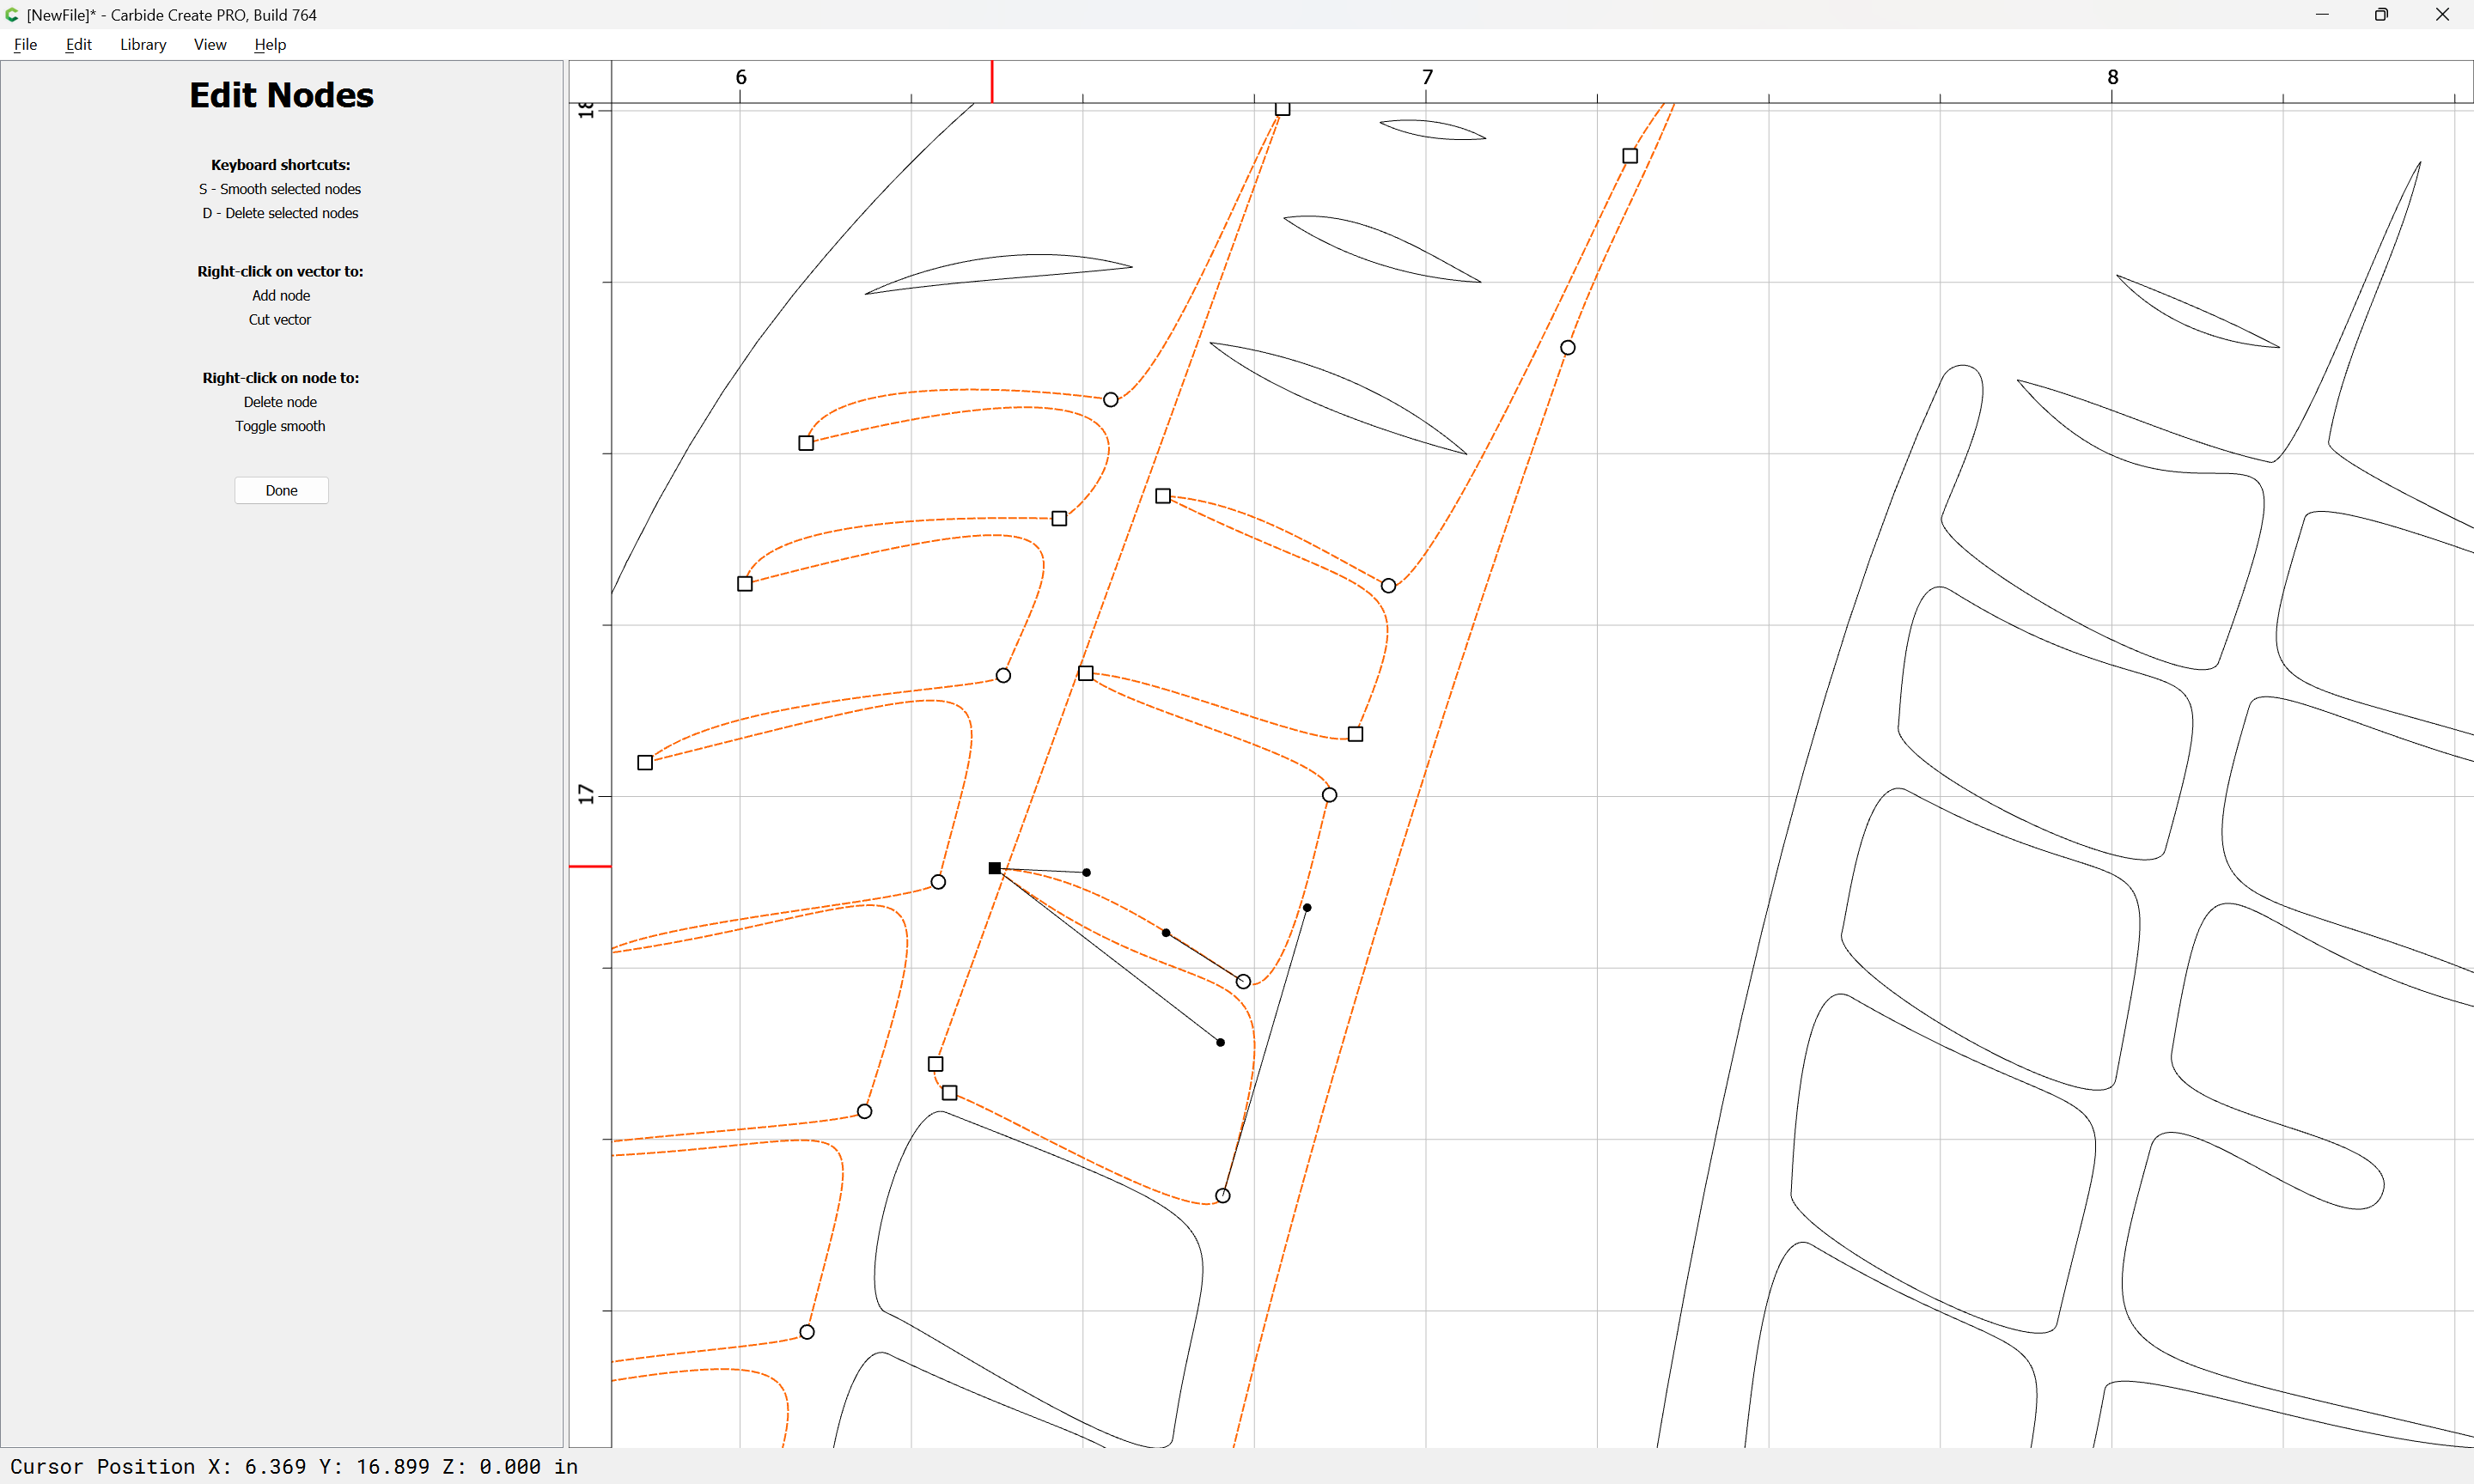
Not sure what to make of the tearout but V carve will not be your friend with this picture. Dont select the circle perimeter and you might get closer using an advanced v carve toolpath and limiting the max depth. Or a contour toolpath with no offset. Realistically, I would try to find a better image to cut. There is just too much cleaning needed to get this picture where I would want it before cutting with any toolpath.
To me, your cut above does not look like it used either of the v carve toolpaths pictured. The cut around the windshield does not match the toolpaths.
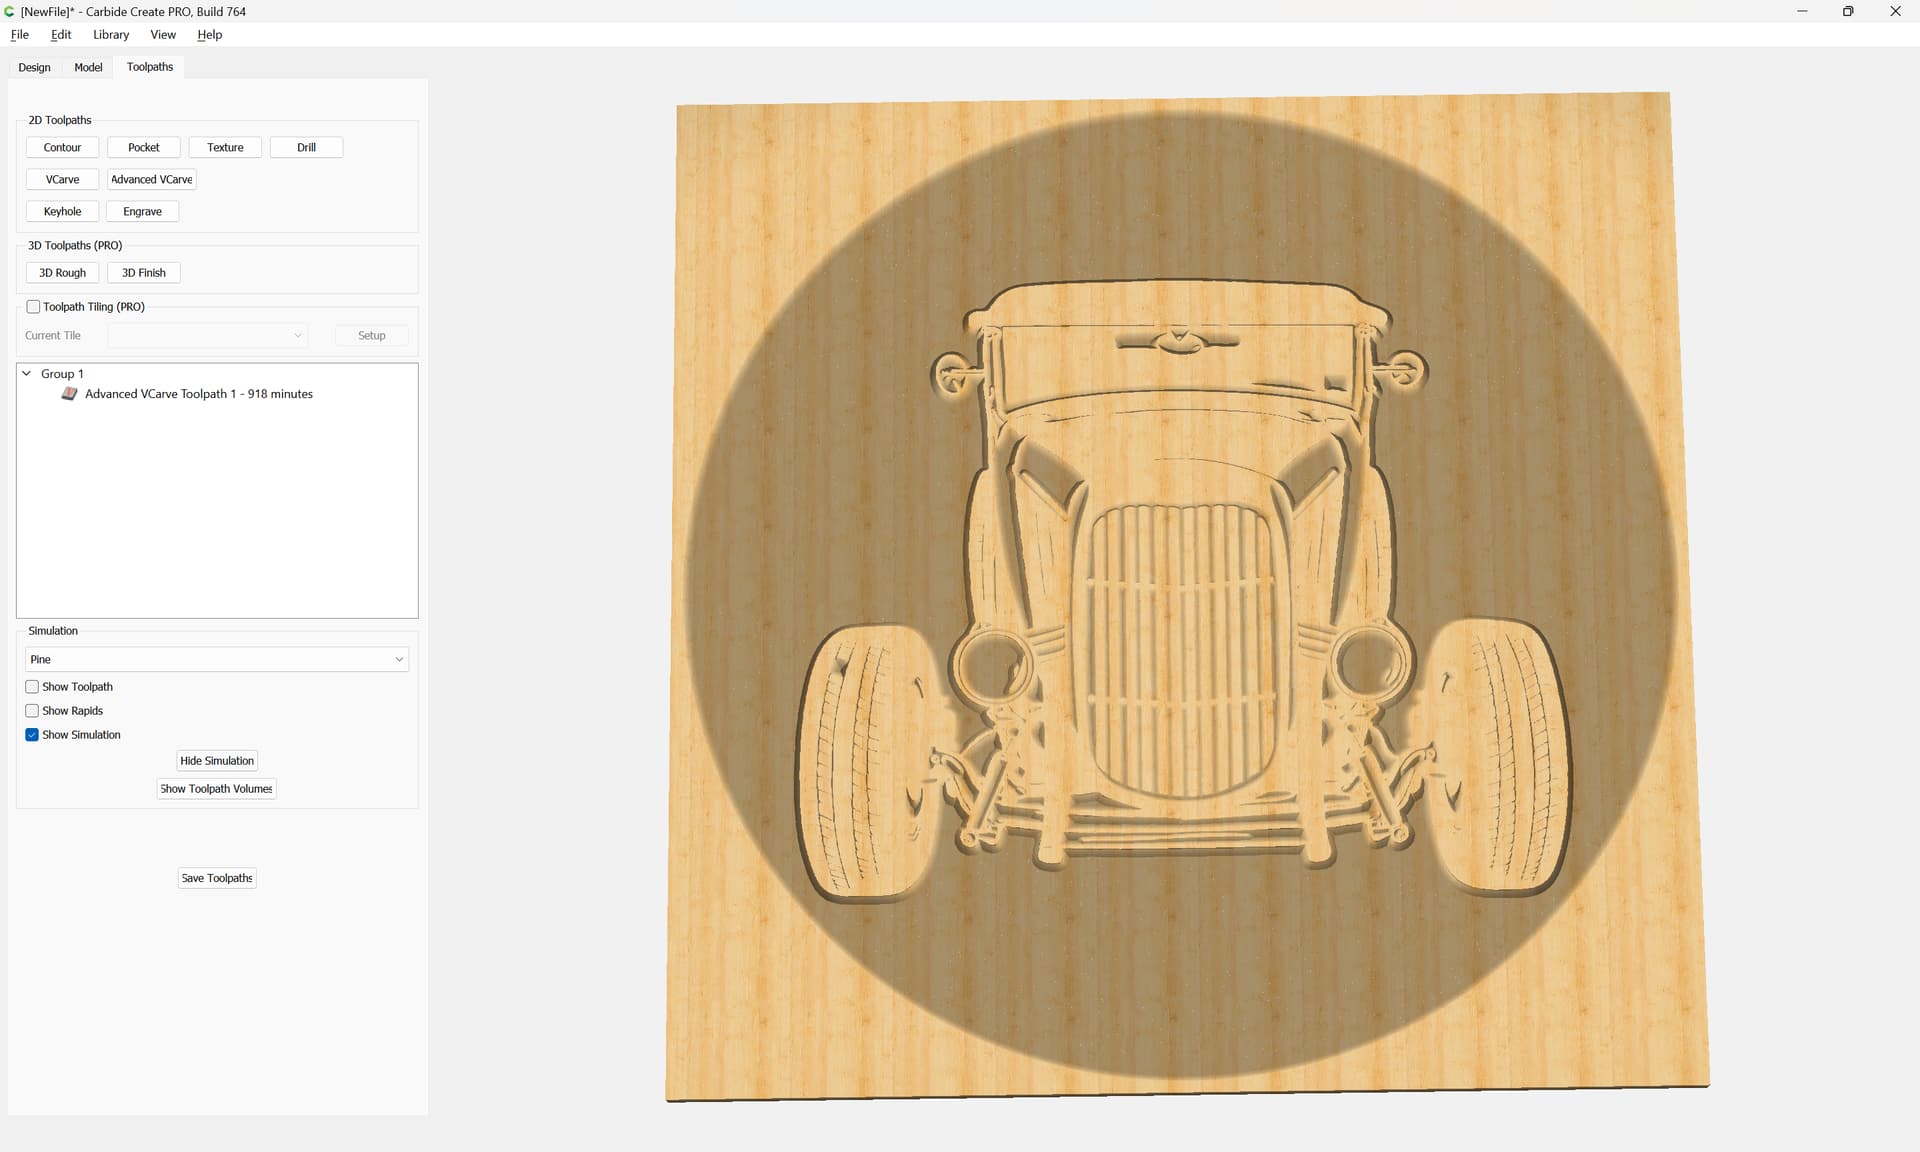
Attached as a v7 file — please check and adjust the size and depth and stock setup and so forth and feeds and speeds — note that with a pocket clearing Advanced V carving toolpath a BitSetter will be needed.
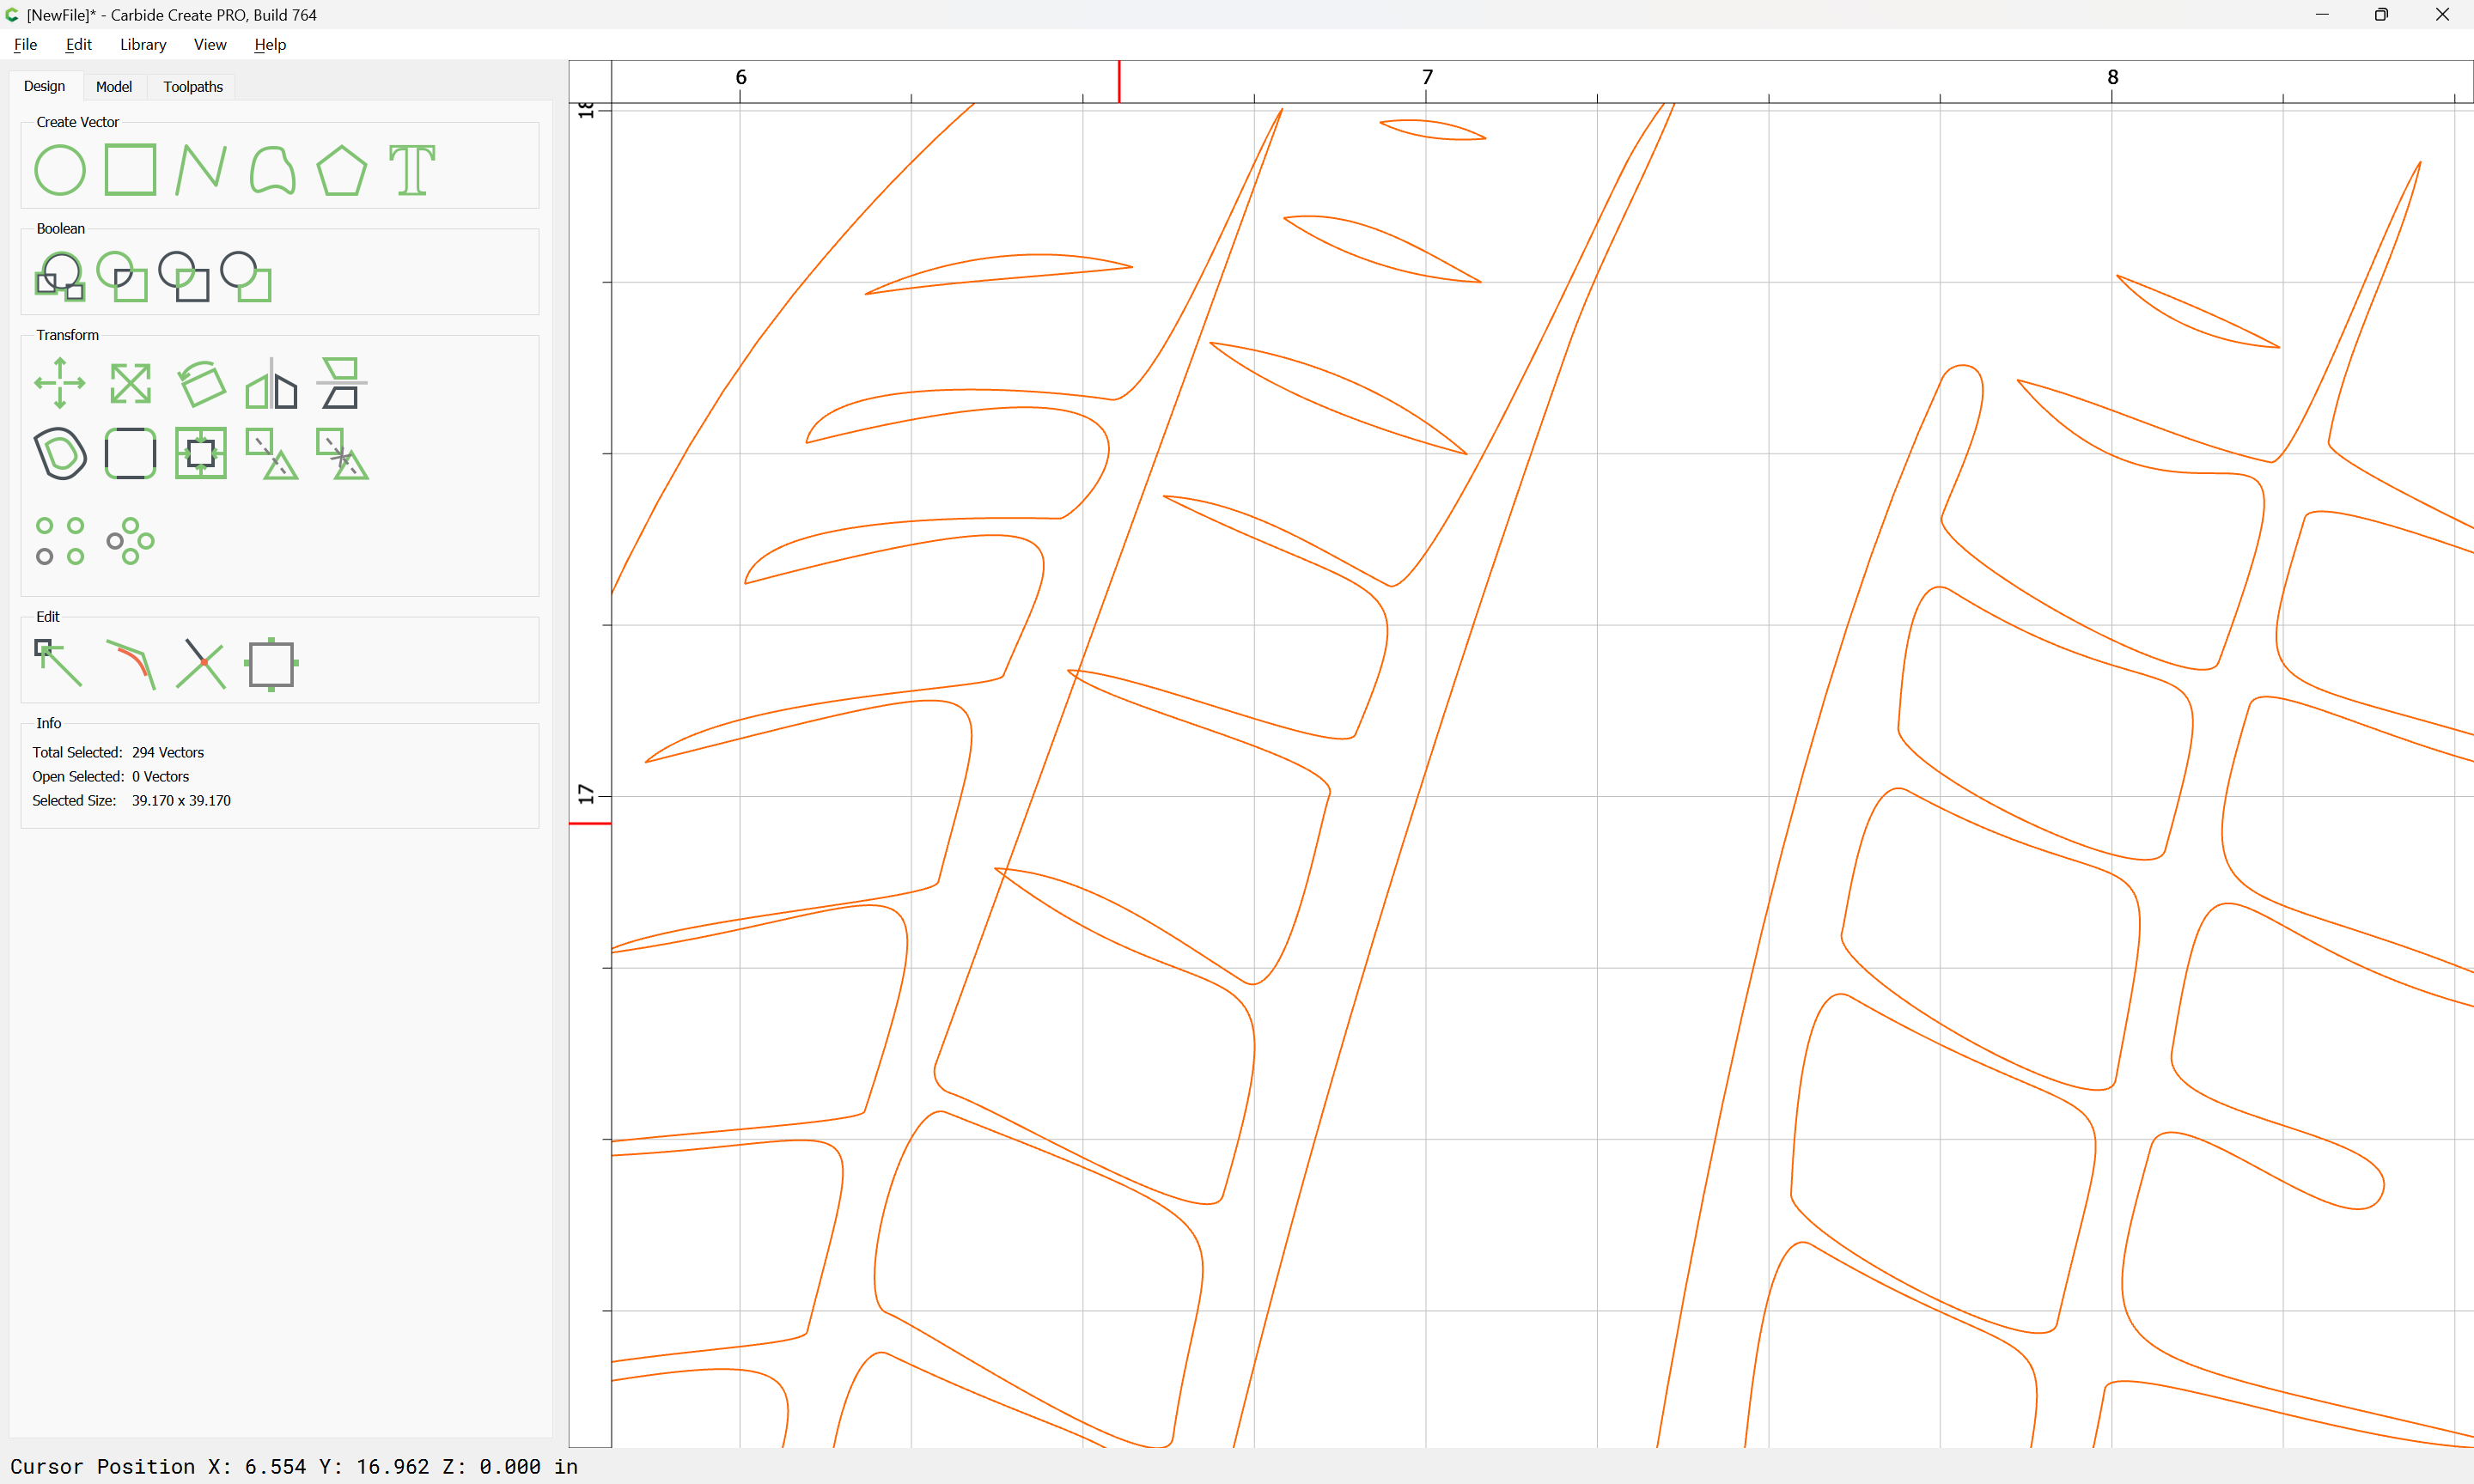
I’ve had a couple of similar car carve projects and found myself deleting a lot of the tiny repetitive details to speed things along and highlight the key points. For instance, your vertical tire lines may be sufficient for the effect. Eliminating the tread might prove helpful.
A lot depends on your final size, too. Smaller and your detail will be lost in a jumble. Larger leaves the detail but takes a long time. 846 minutes on the machine would make me crazy.