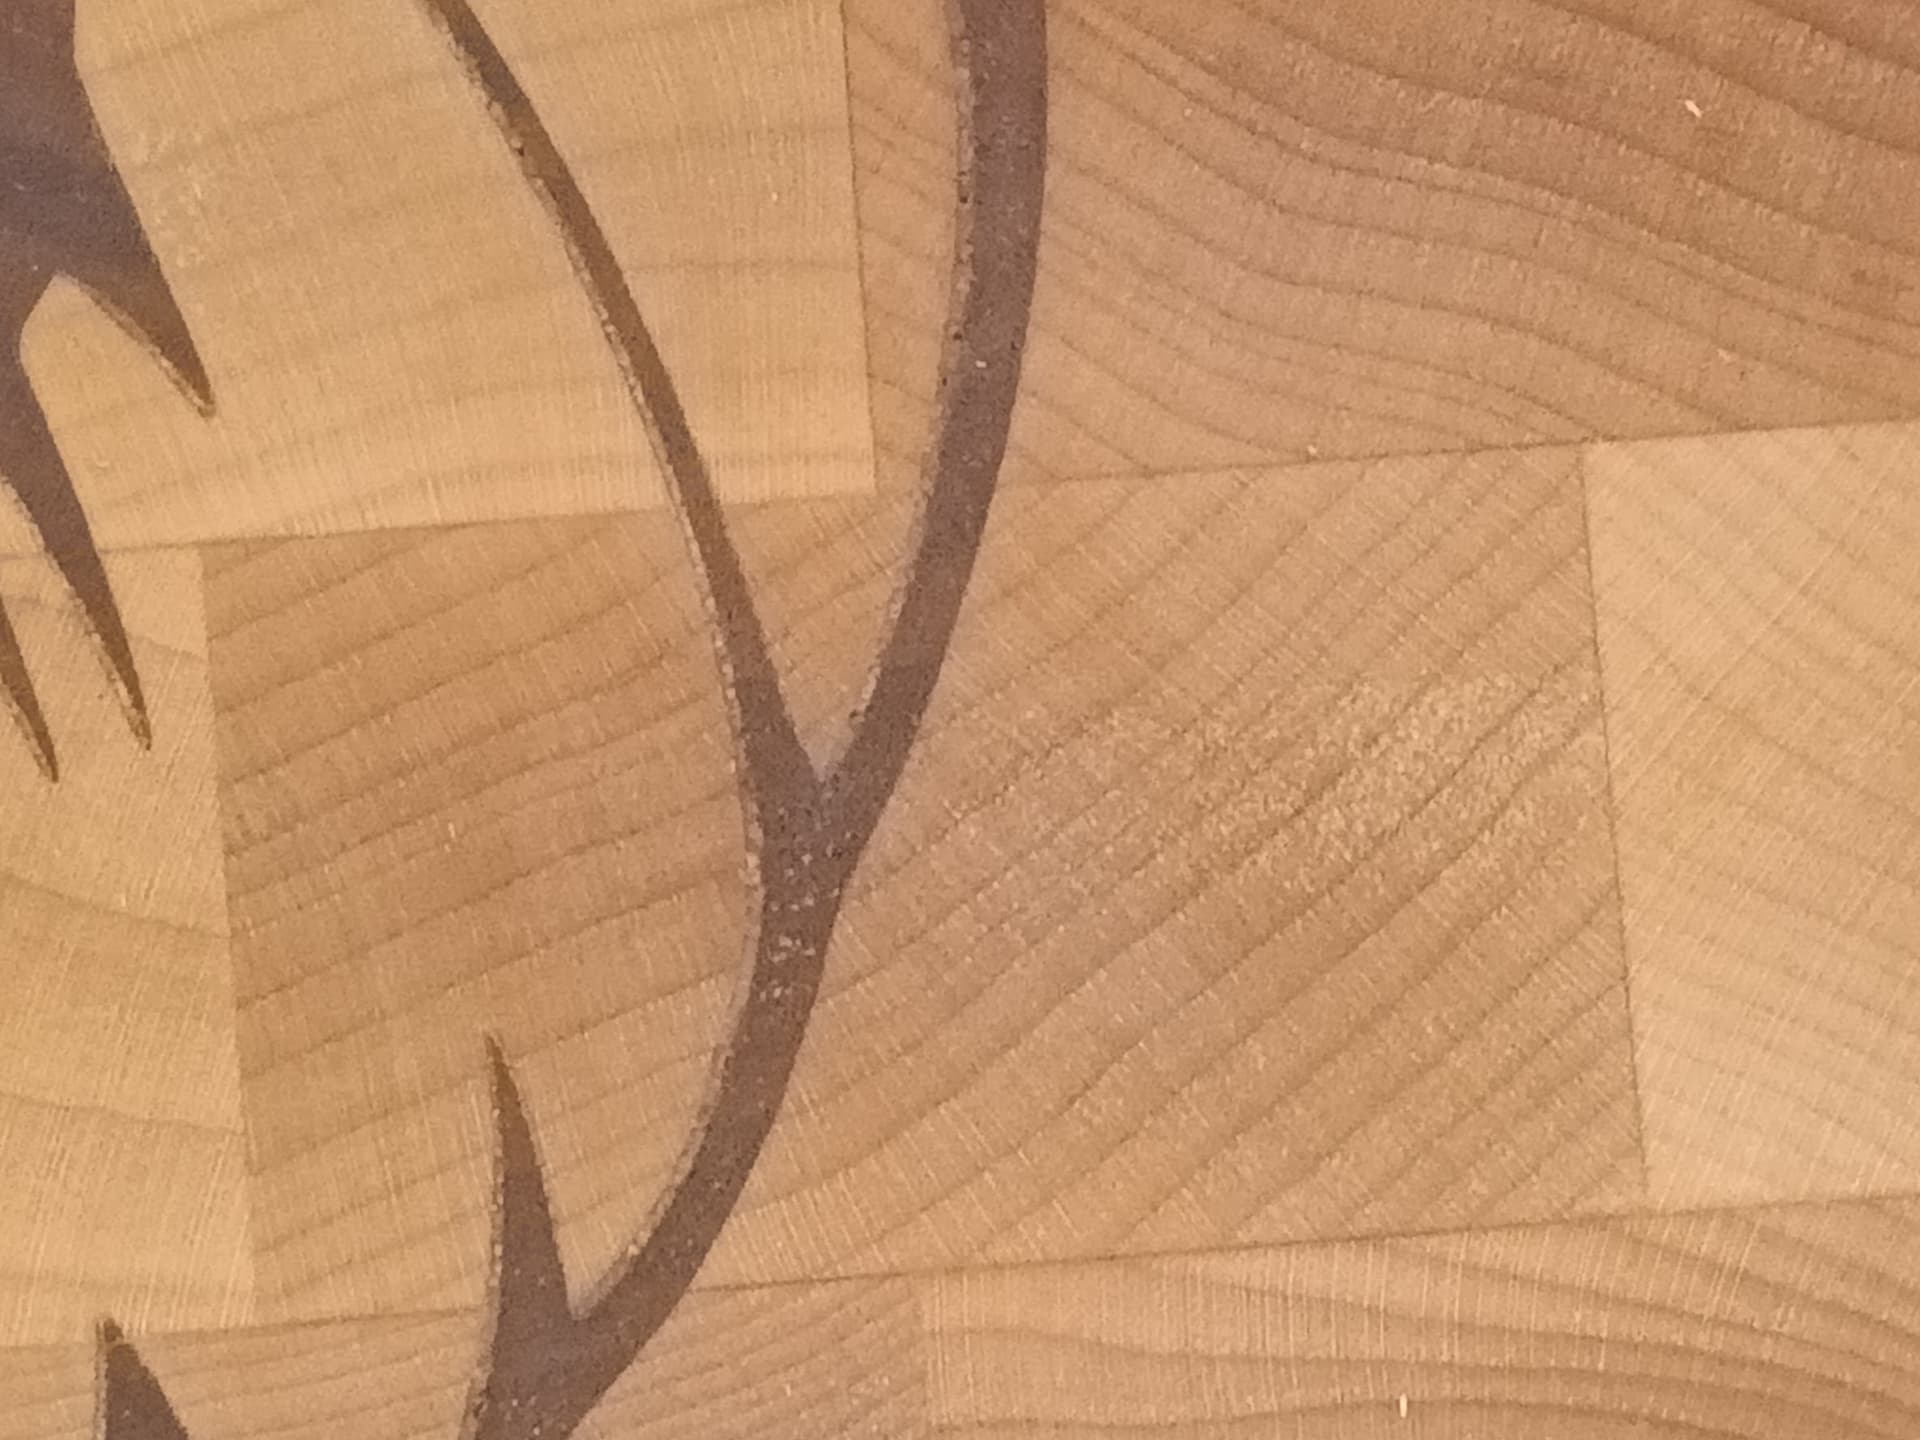
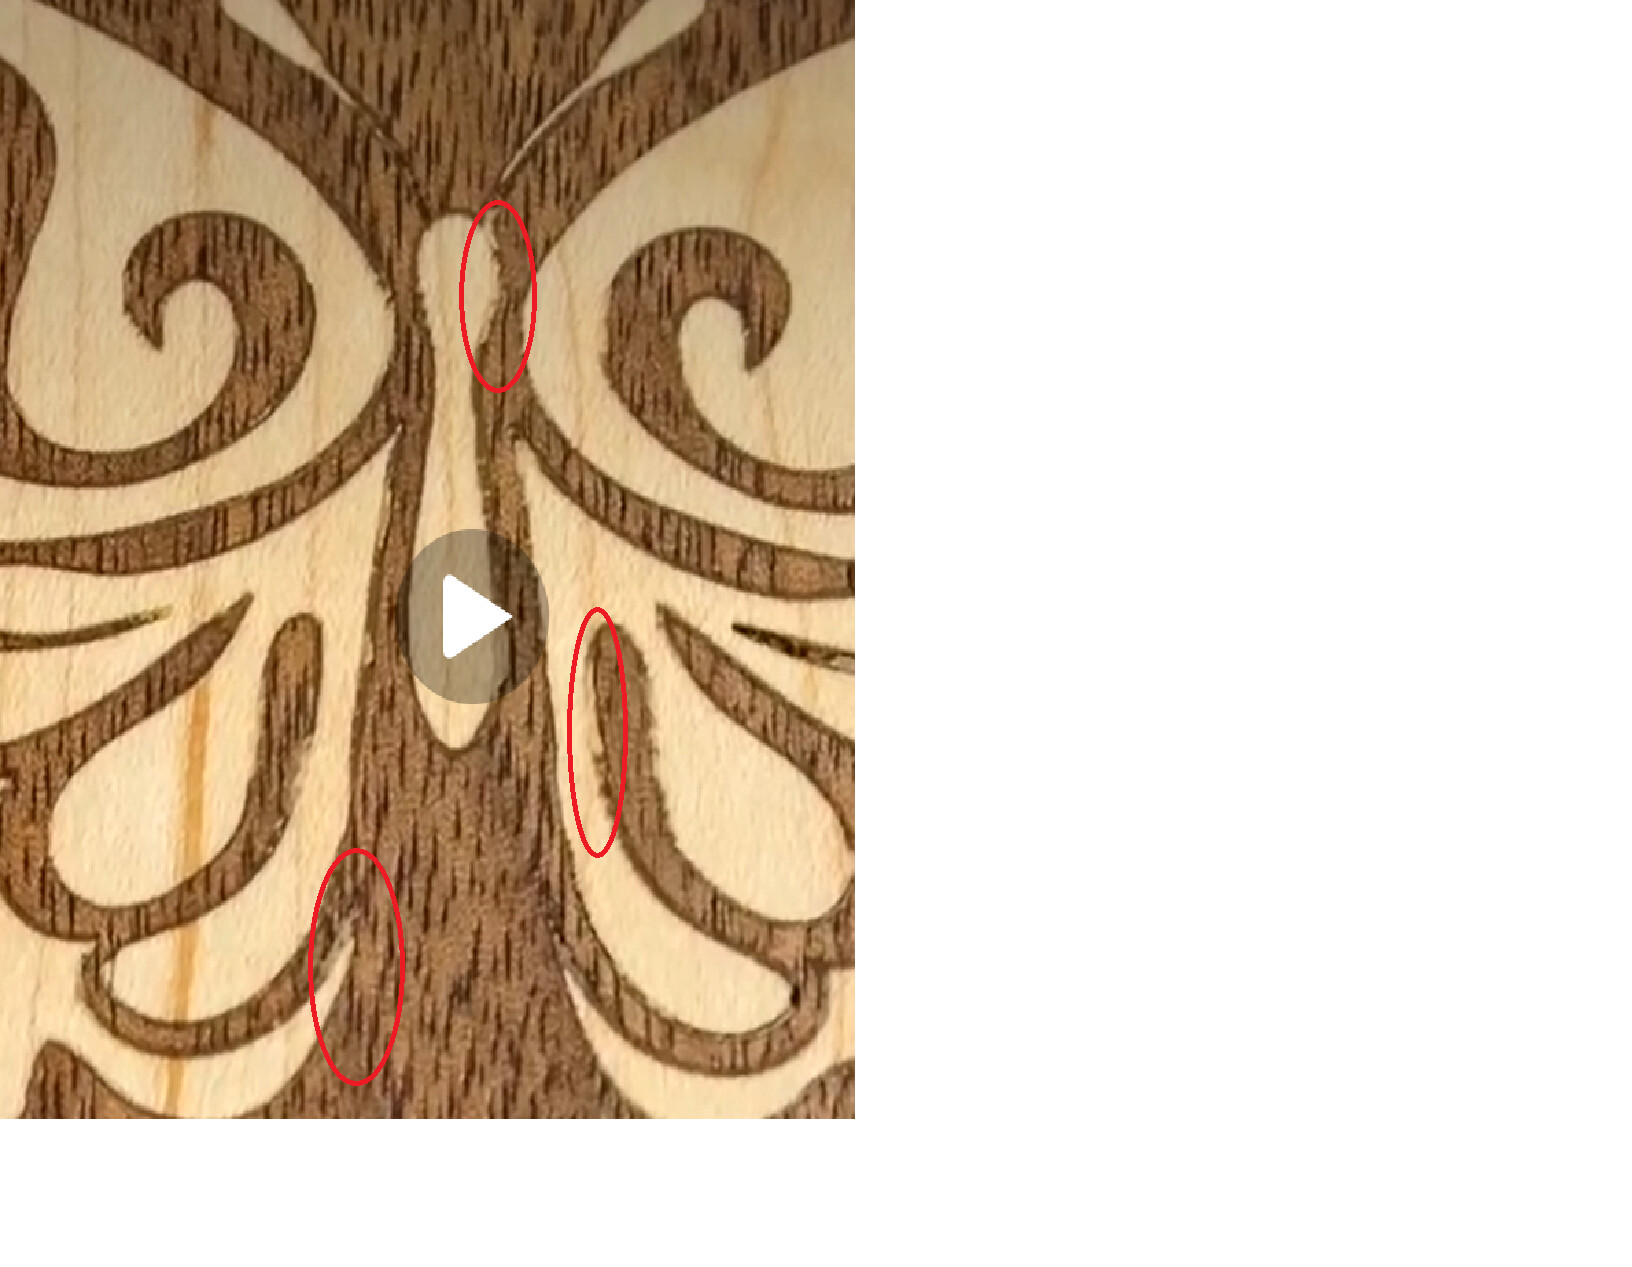
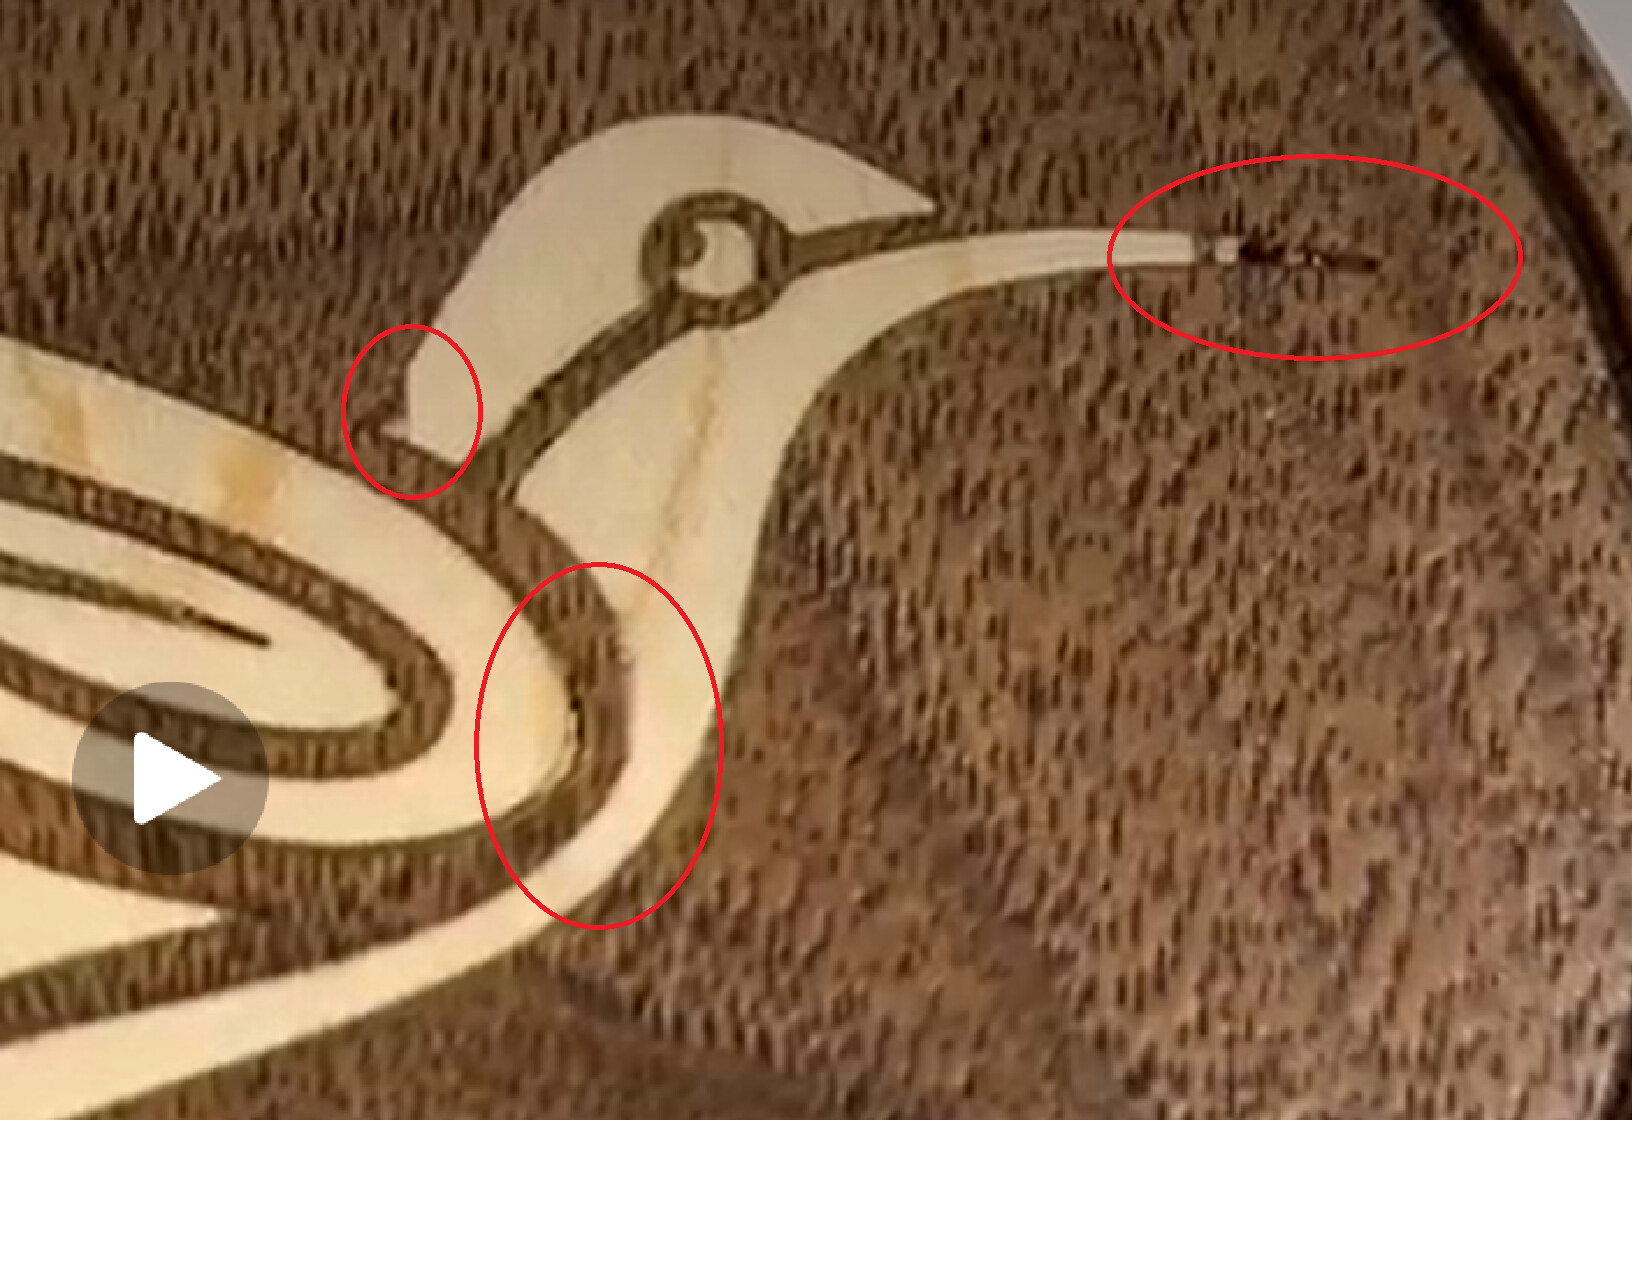
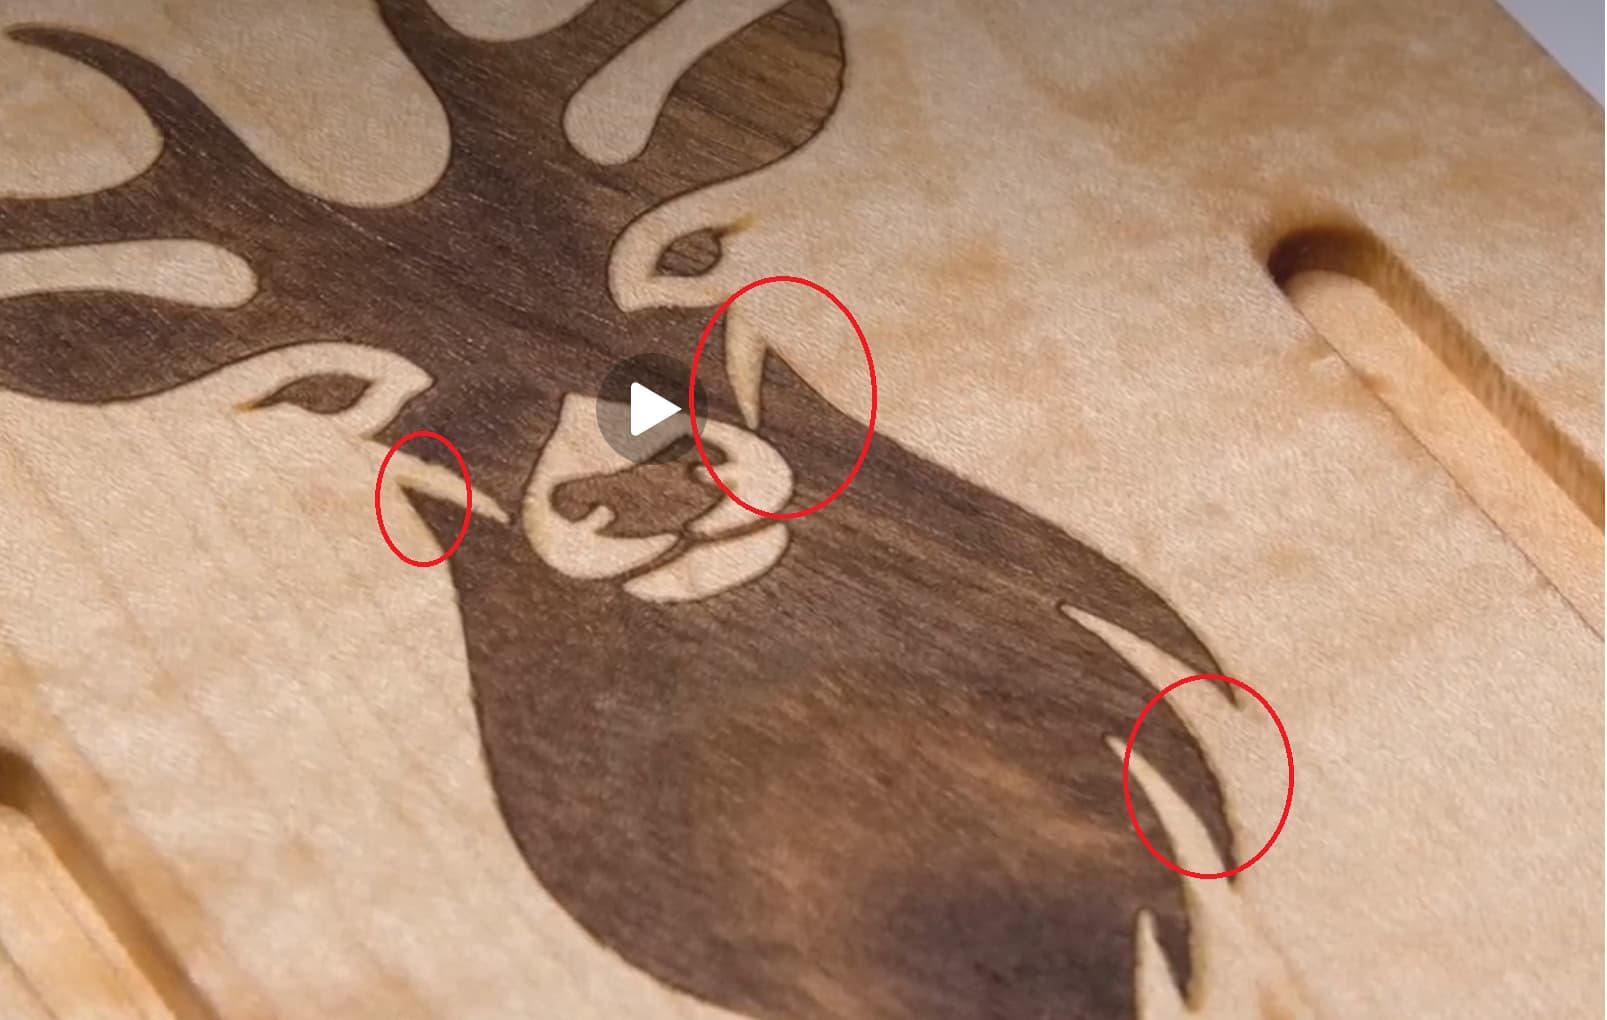
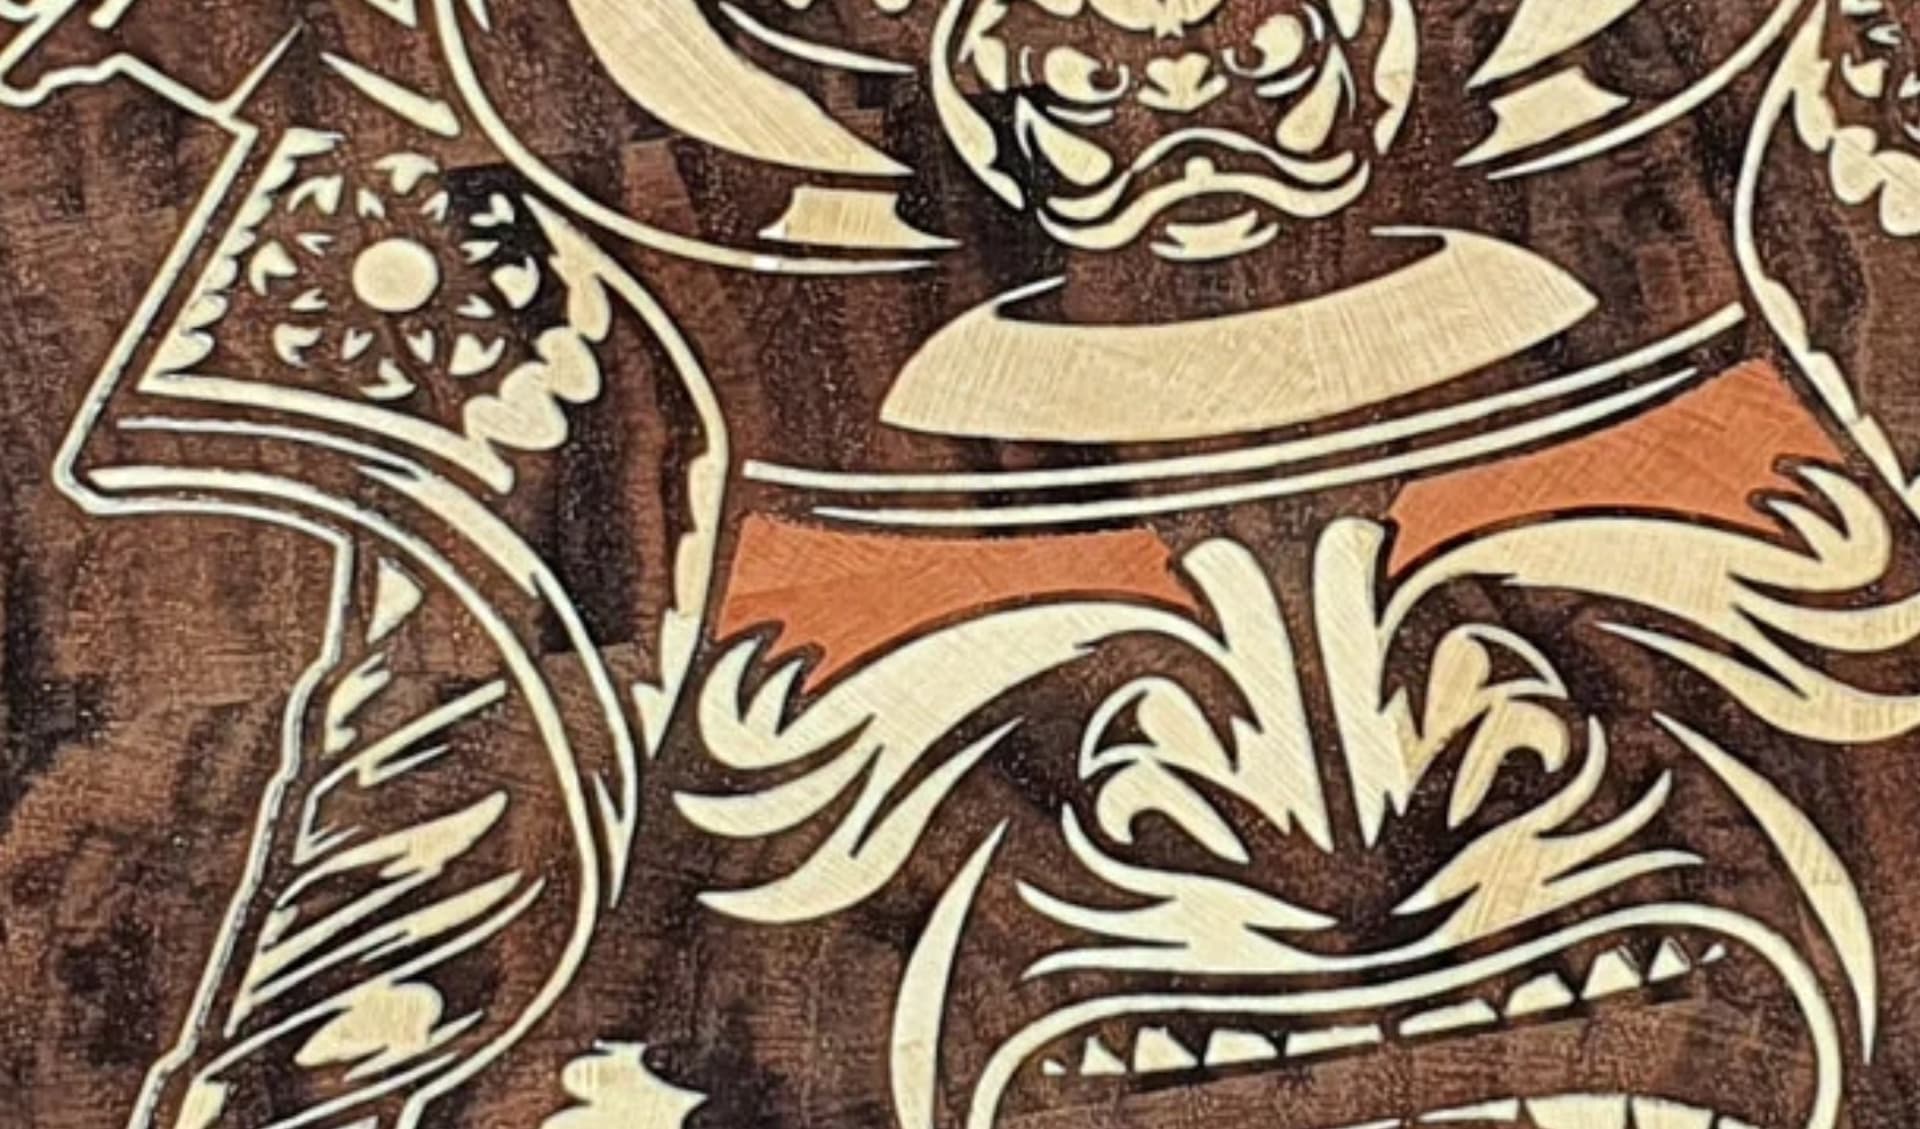
When I put them together it appeared mechanically fitting in nicely, without any wobble.
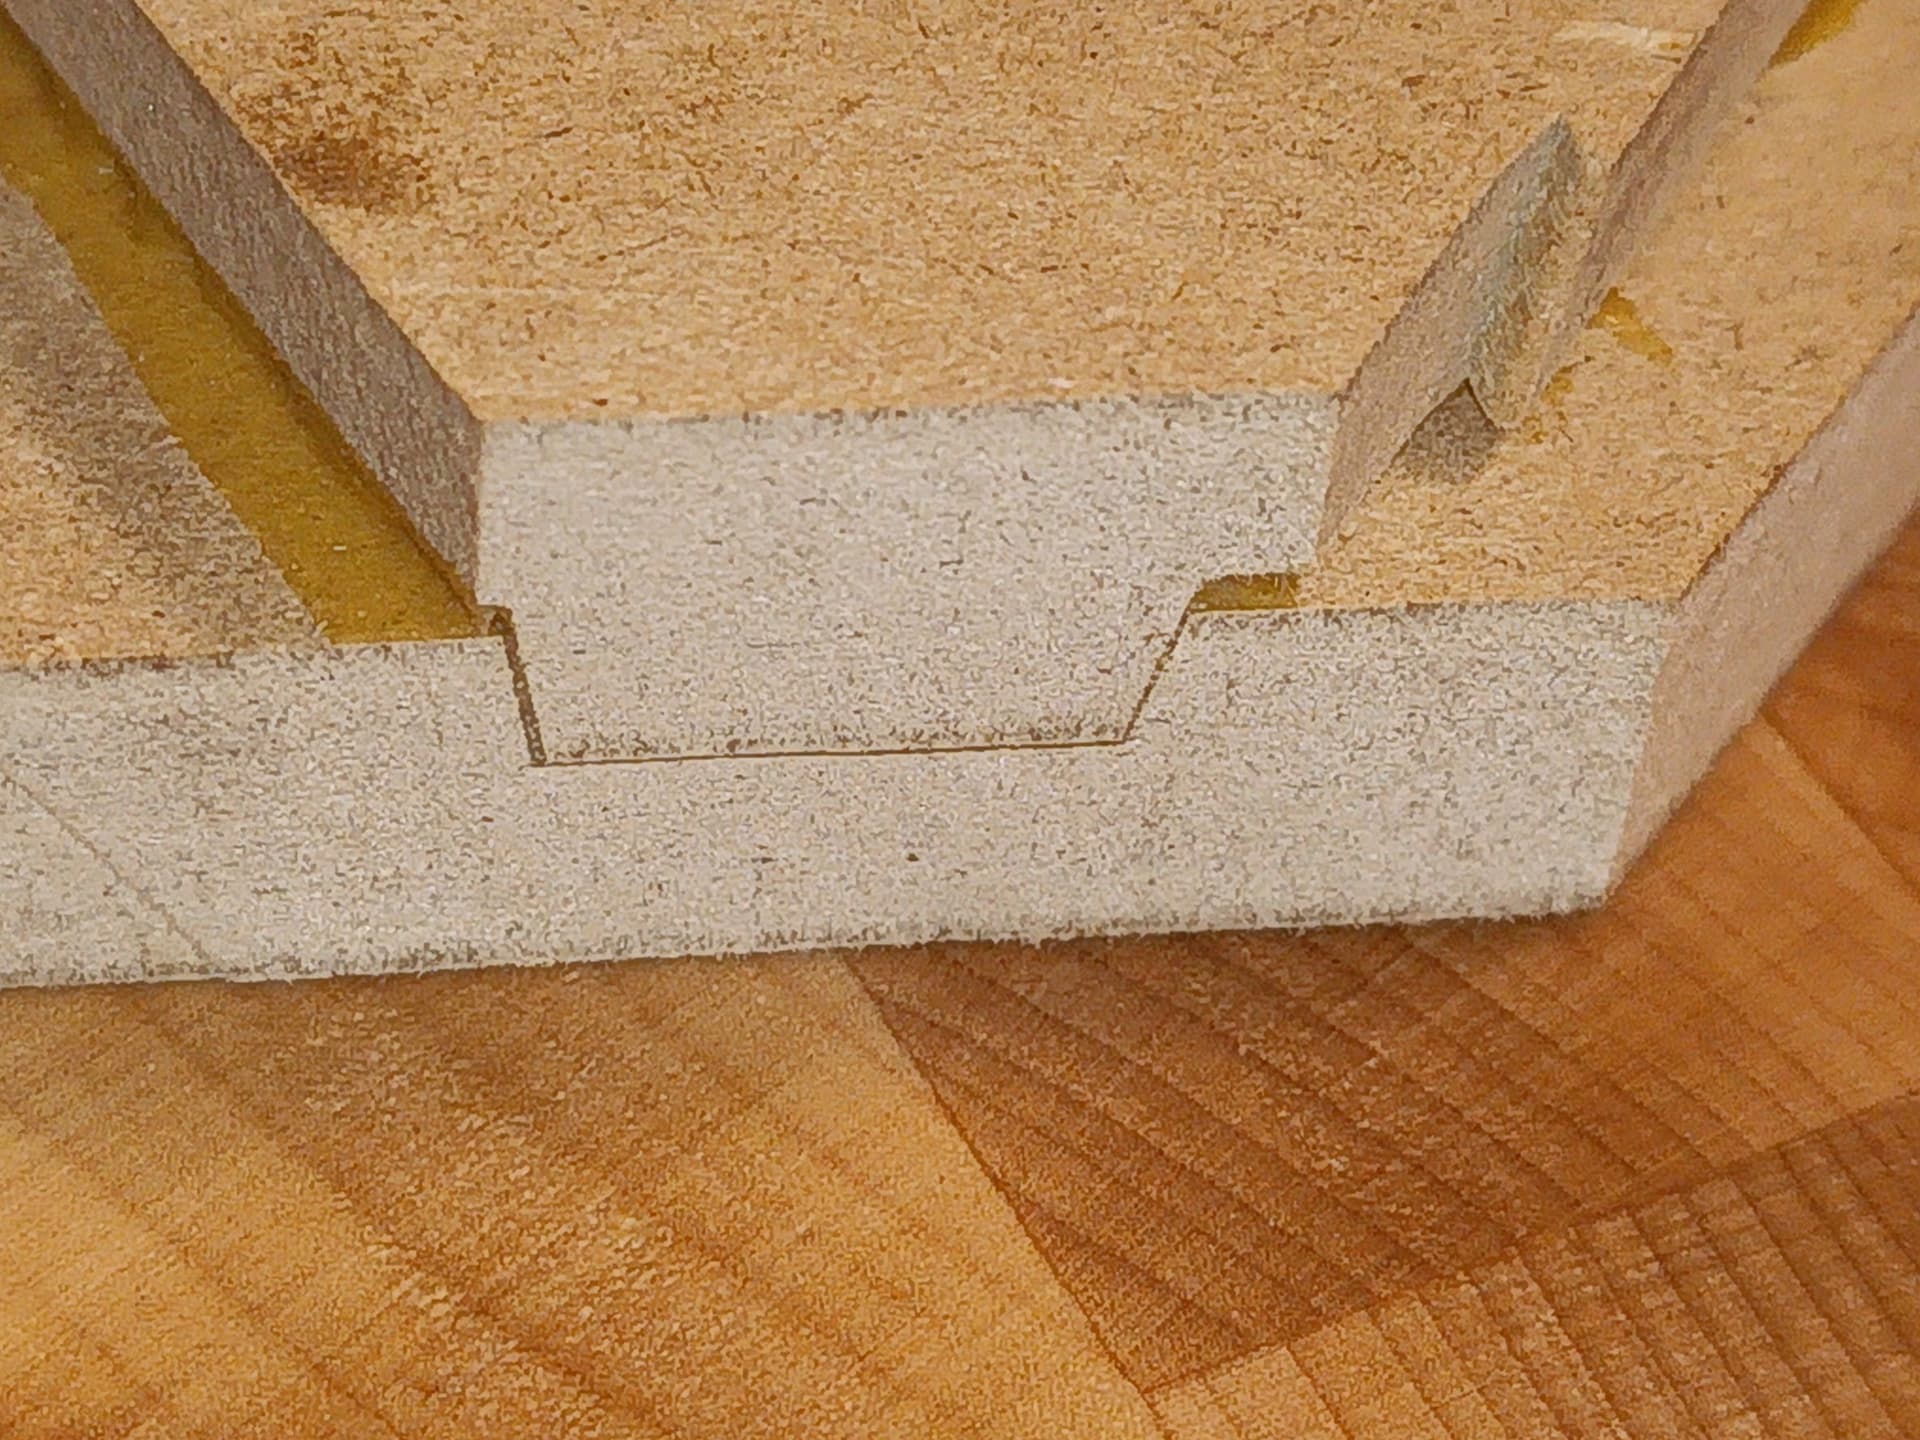
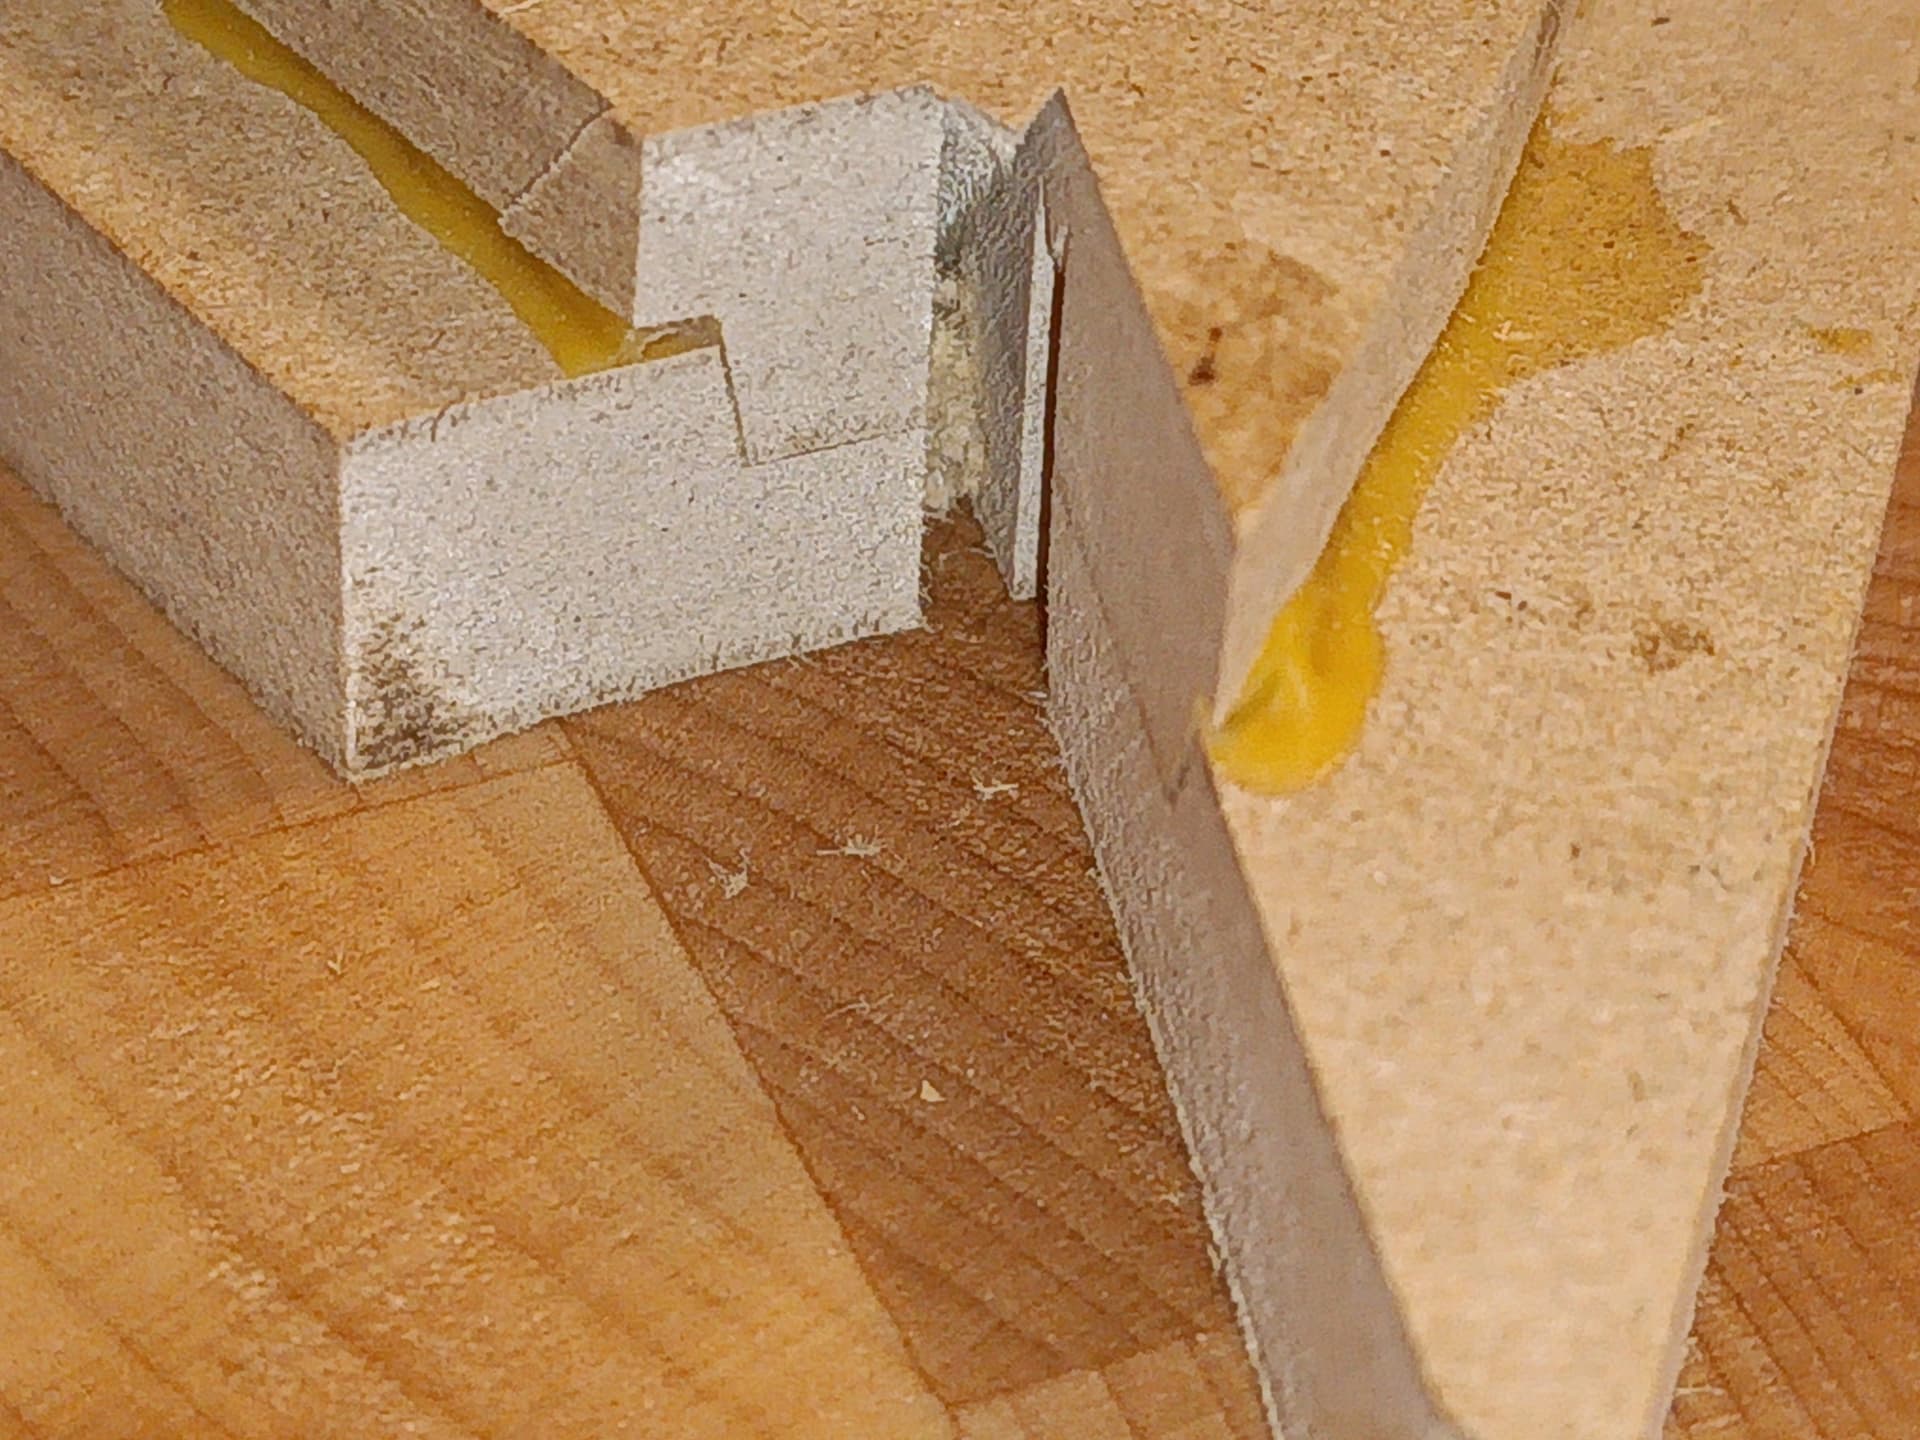
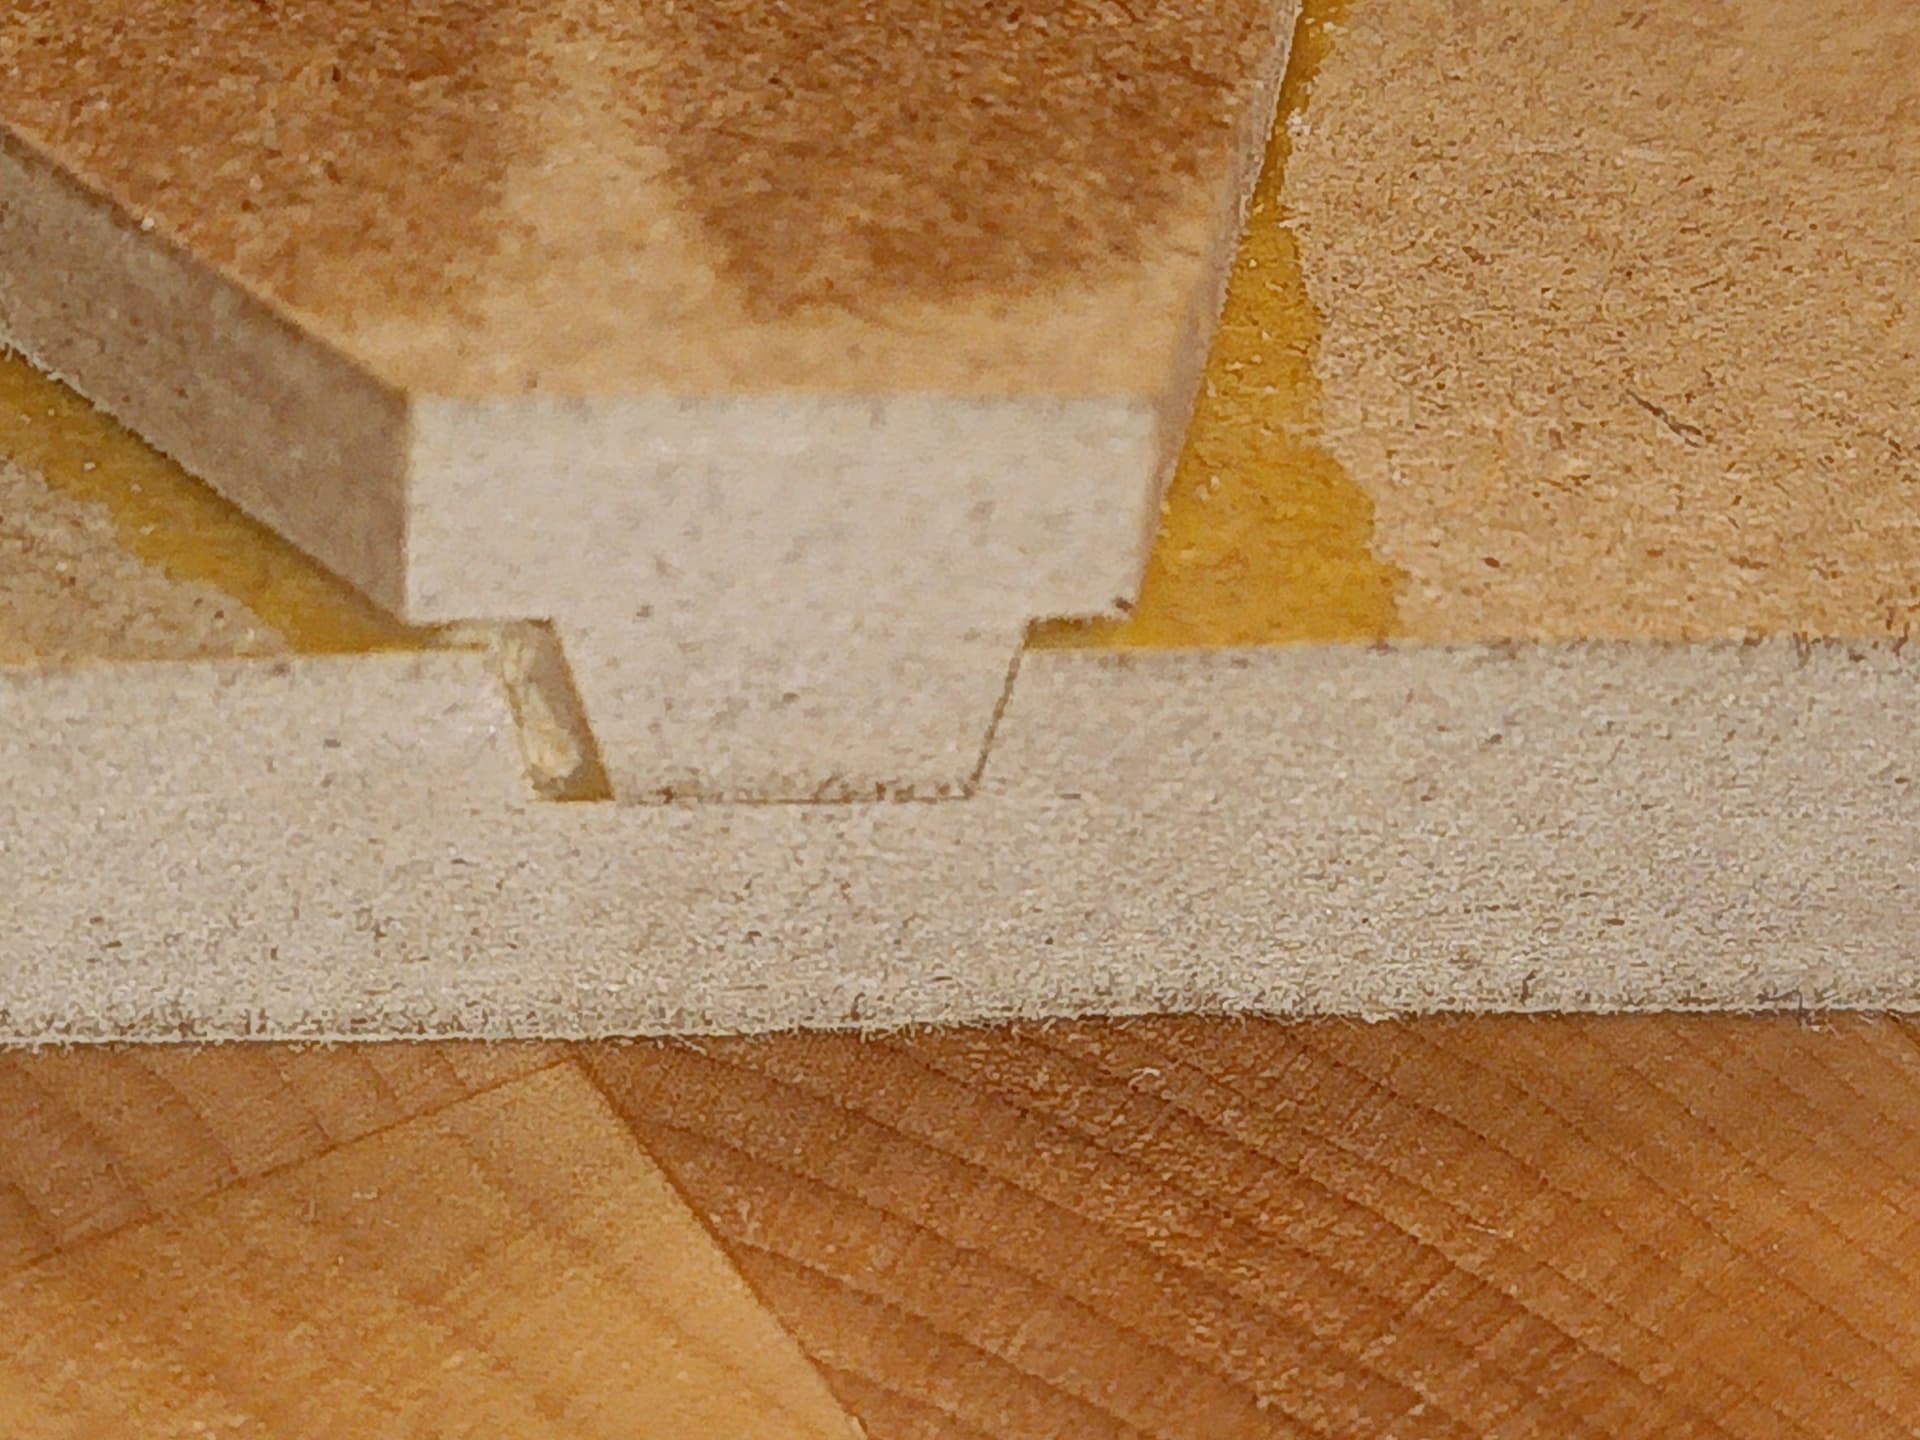
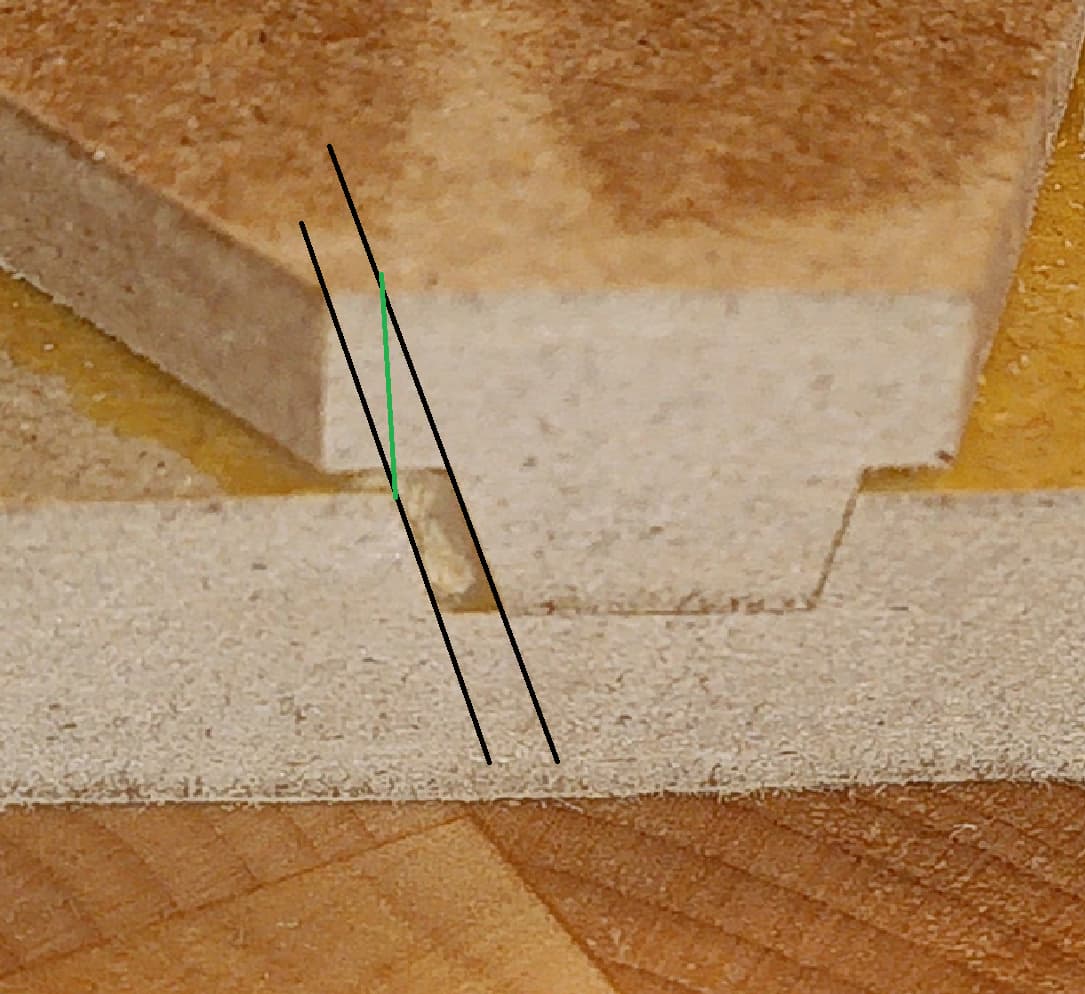
When I cut it open it does not fit so much:
this one appears acceptable
you should end up with a slight glue gap at the bottom. you want the sides to be the limiting factor during clampup not the plug to be bottomed out. @Tod1d has provided good advice over the years in a variety of inlay threads if you search for their posts to compare some numbers
I found this video useful with respect to understanding how V Carve inlays work. Watch the first five minutes, it gives a good description of how the geometry works.
If these minimal issues are ok for inlay artists: I will never ask such a question, lick my wounds and accept the limits.
However I would be happy to be better. I would like to avoid those gaps. I see sometimes images of complex multilayer inlays without any minimal flaws. Q is:are they real, or photoshopped? (even this one has minimal issues, but mostly very cleanly done, or perfectly digitally improved?)
I don’t make such big inlays. But I find using end grain for the male gives me nice sharp corners without break out.
I’ve not noticed gaps in my inlays, but my scale is about quarter of yours. And at this scale I have used 20 degree v bits. And also creep up on the male carve with the v bit rather than rough out up to the line
Agree: I would not make inlays, at least with sharp corners, on edge grain wood. However the gaps are the thing I would like to avoid, happens with end grain too. Will cont work on that issue. Just now I tried to cut another trial piece: the X-proximity switch gave up, has to be replaced, just ordered, so for some days I am banned from the machine… Maybe time to get it thoroughly cleaned and greased.