So,
Here’s what I ended up doing to my XXL.
Beware - warranty voiding drilling involved…
Carbide3D has a compromise to make between weight, manufacturing cost, shipping cost, difficulty of assembly etc. and outright rigidity. They also need to ship something that is maximally tolerant of being installed in unpredictable conditions. In the case of the XXL and me having a flat surface for installation, I think the compromise is large enough that it’s worth doing something extra as a user, but that’s my personal preference, first, here’s the basic steel and MDF structure of the XXL;
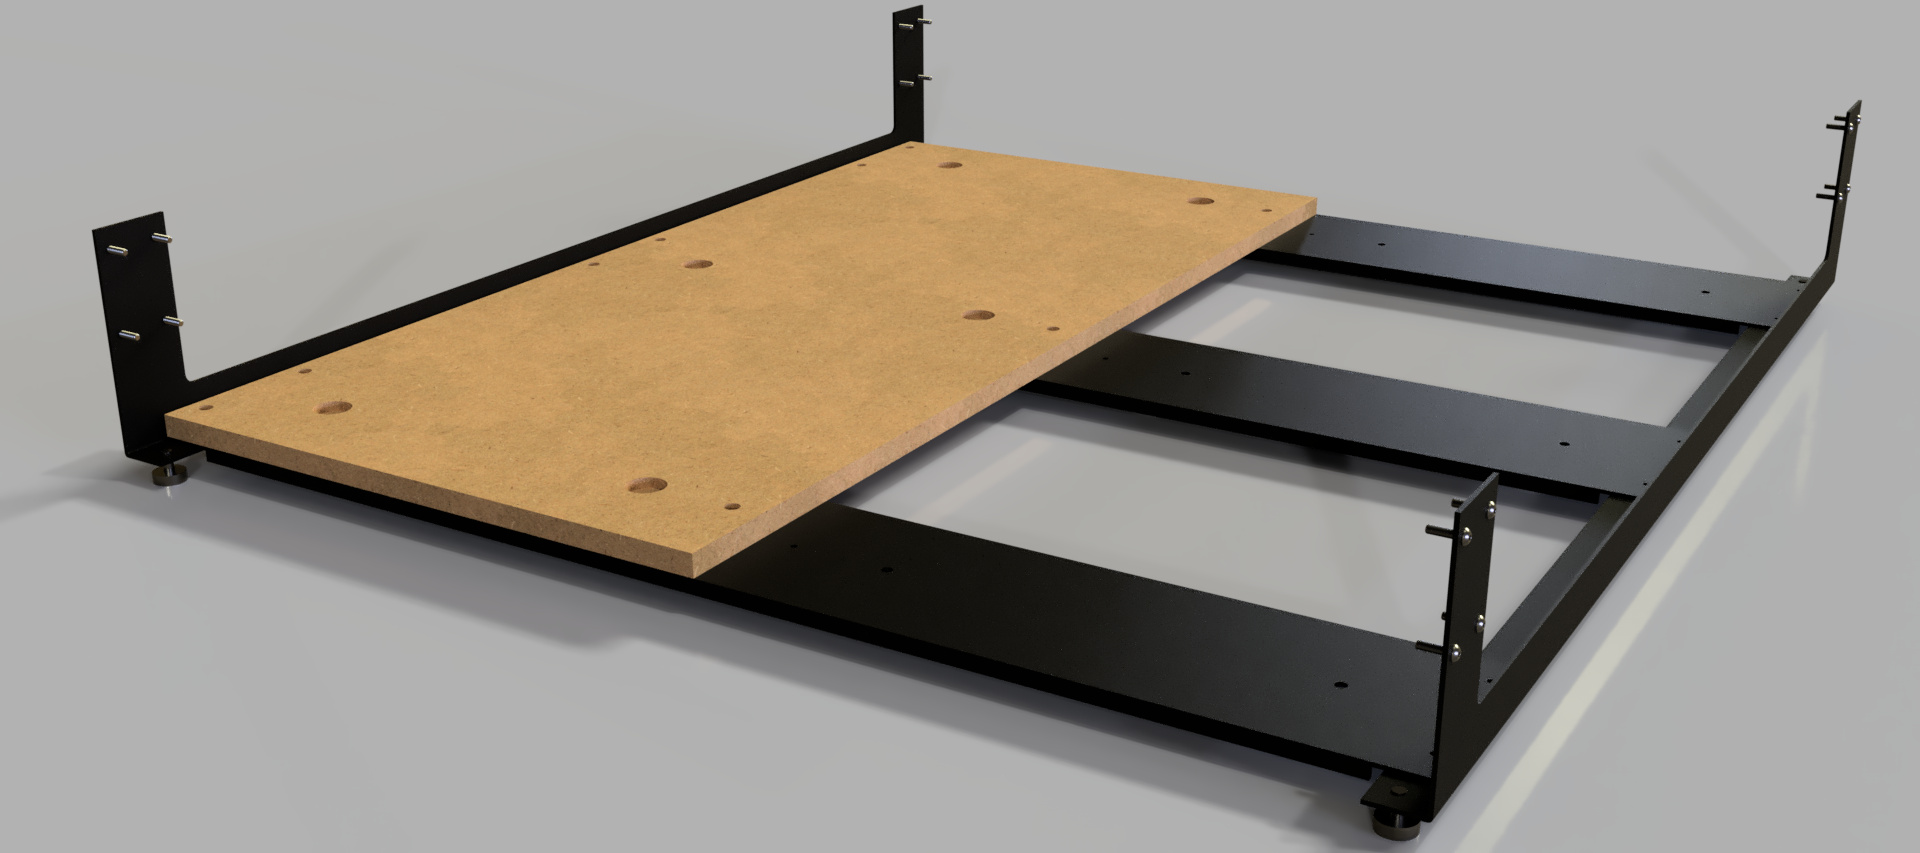
I’m choosing to name the various main parts here;
- Front and Rear Steel Support - hold the Aluminium rails
- Steel Straps - between the front & rear supports
- MDF Baseboard - the supplied MDF base that bolts to the steel
- Spoilboard - the extra MDF the customer adds on top of the baseboard
The steel is pretty thick and is folded to give some rigidity, the front and rear steel supports which hold the very stiff aluminium rails have a large fold which goes underneath the base, there are then tied together by a set of steel braces and the supplied MDF baseboard is bolted down to this assembly.
As Carbide has no idea what a customer is going to sit their machine on, they have quite sensibly provided four adjustable feet, one in each corner to allow the frame to be aligned with the rails parallel, and optionally level.
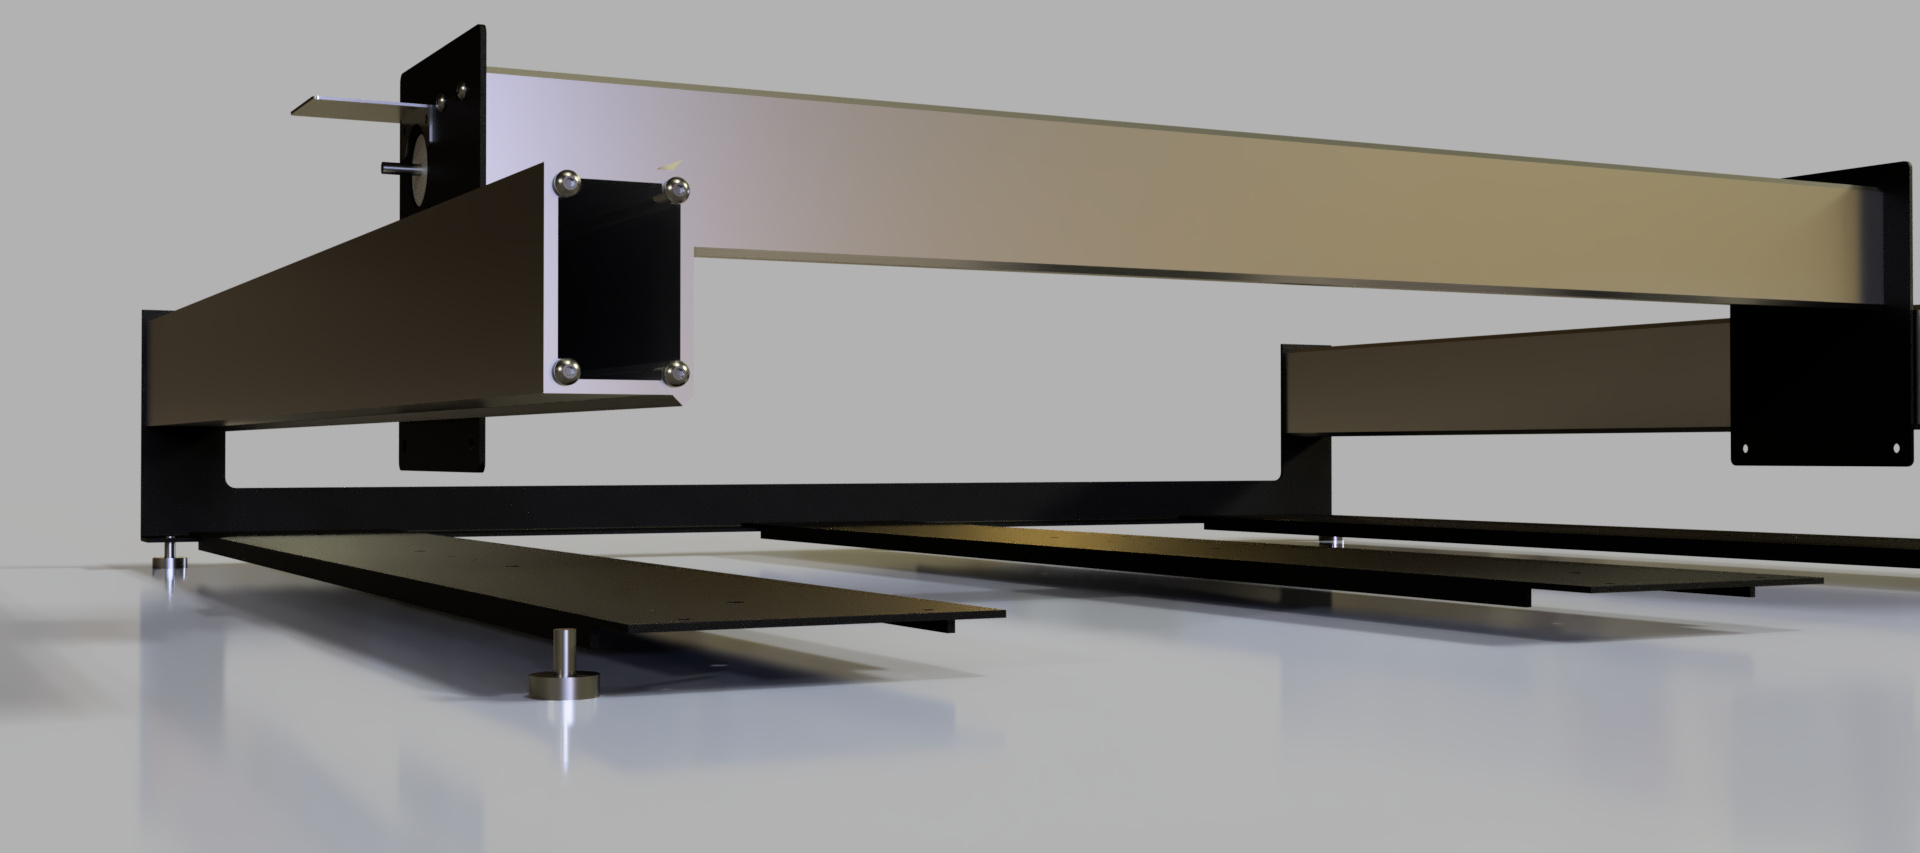
The problem on the XXL is that the sandwich of steel straps and MDF is simply not a very rigid beam, the folds at the edges of the steel straps are quite small and don’t provide much extra support, here’s the horizontal sandwich you end up with, steel strap, baseboard MDF and user spoilboard MDF. It seems OK until you start to notice flex and sag in the middle, the two parts the MDF baseboard is shipped in don’t help here;

There is visible and very measurable flex in the baseboard and therefore your working surface, it’s easy to distort it even if it is level by clamping workpieces to it and it sags over time too. Worse, it can vibrate and move during cutting.
As the underside of the steel straps is folded edges and crinkly powder coat it’s not really a smooth surface to reference the machine from, so I decided to make simple plywood support shims to go the full length of the flat faces of the steel straps, with thin strips of rubber to provide compliance against the rough surface and absorb some vibration energy. To fix this in place I drilled through the MDF baseboard and the steel straps and put threaded inserts in my support table to make a rigid assembly;
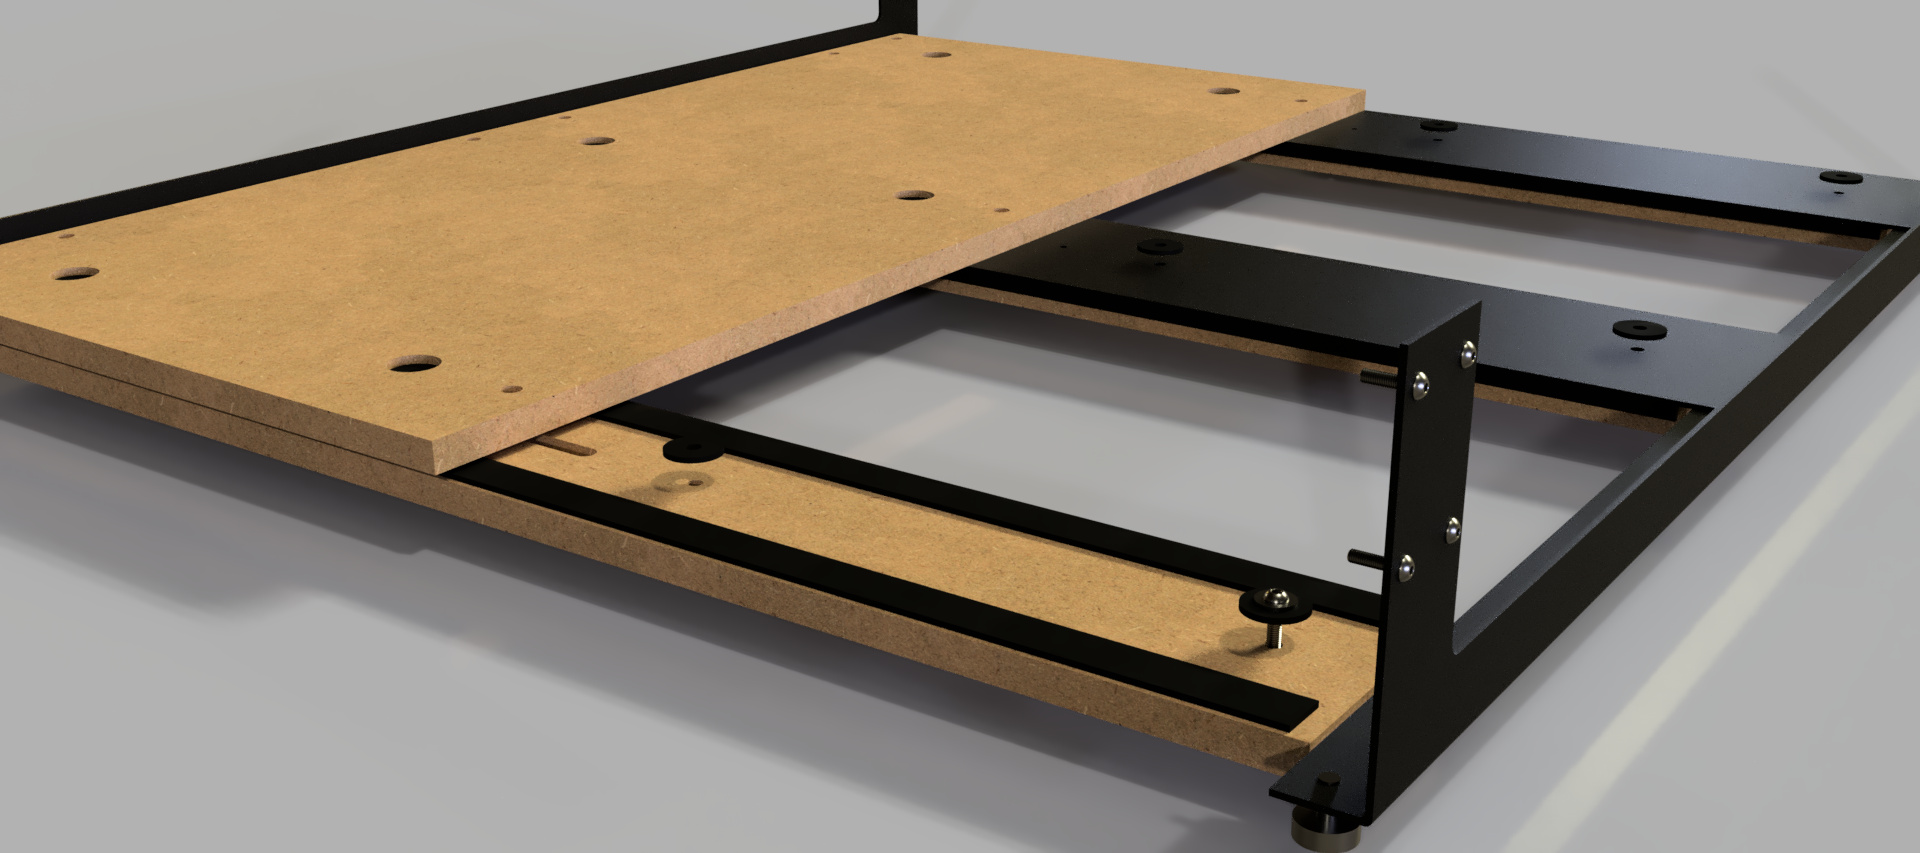
It’s worth noting, I already had my machine well squared before committing to where the holes went and bolting things down.
All this got bolted down to the torsion box table I already had, which was sufficiently flat for my purposes to not need any significant adjustment of the machine;
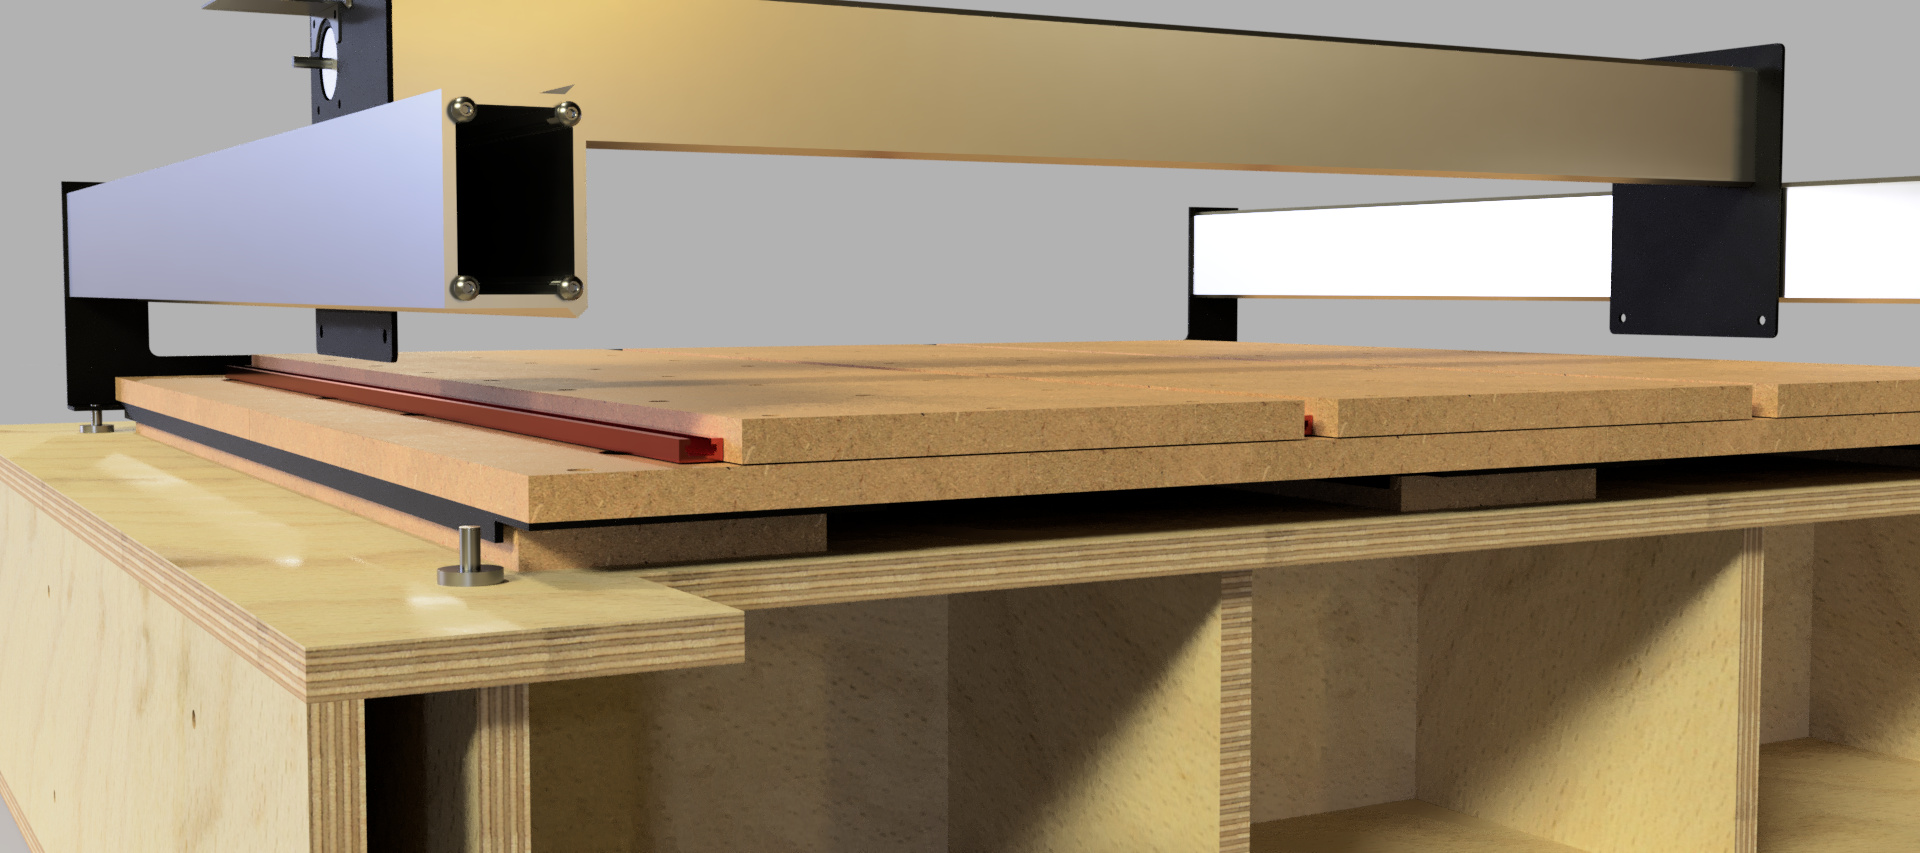
Now that the machine forms it’s own torsion box assembly with the top plate of my table box, it is apparent that I massively over-built the table box and could have got away with something much thinner if I’d realised that I was joining the Shapeoko and the table into a single assembly earlier on.
Certainly for people who want their XXL to be portable, fold up to the wall etc. I’d consider the bolt it down approach.