I did similar to this with the cart I made for my XL (I don’t have room to keep it set up all the time, so it needs to be stored vertically and moved around easily). I routed out grooves in my plywood top for the strap edges and countersinks for the nubs on the screw threads (so everything sits flat against the plywood), bought longer M5 screws for the wasteboard hold-downs (attached from below with nuts/washers) and M8 screws for the feet (screwed in from the bottom). Other than using different screws, no changes were needed to the Shapeoko itself. If I were to do it again, or with an XXL (since I didn’t actually learn about the sag issues until after everything was put together), I’d add additional “padding” below. It’s still a nice setup and extremely rigid.
Thank you @LiamN for taking the time to show me your solution.
I now see that I will need to build my Shapeoko, in order to make the perfect base components so I can then re-build my Shapeoko… which actually sounds fun to me.
Now that your Shapeoko is bolted to the box (via nine bolts through the straps) are the stock Shapeoko feet still installed and just adjusted to the new height, or did you remove those? I see them in your renderings, but wasn’t sure if they remained in reality.
Side Thought: I’ve owned my Nomad 883 for over 5 years now, and the process of researching the “perfect home” for my Shapeoko XL has made me realize just how great a product the Nomad was right out of the box. I enjoy modifying things, but there is something to be said about the fact that an hour after opening the Nomad box my kid and I were watching it make something.
Happy to help, and as usual there’s been more ideas about how to do similar things different ways too, some involving less warranty voiding vandalism.
A major attraction for me about the Shapeoko and Carbide was the open approach to things, the controllers are based on an open firmware, you can use other gcode sender apps if you want and the forums here openly discuss all sorts of violent surgery, upgrades and replacements that would have most vendors running and hiding under a rock.
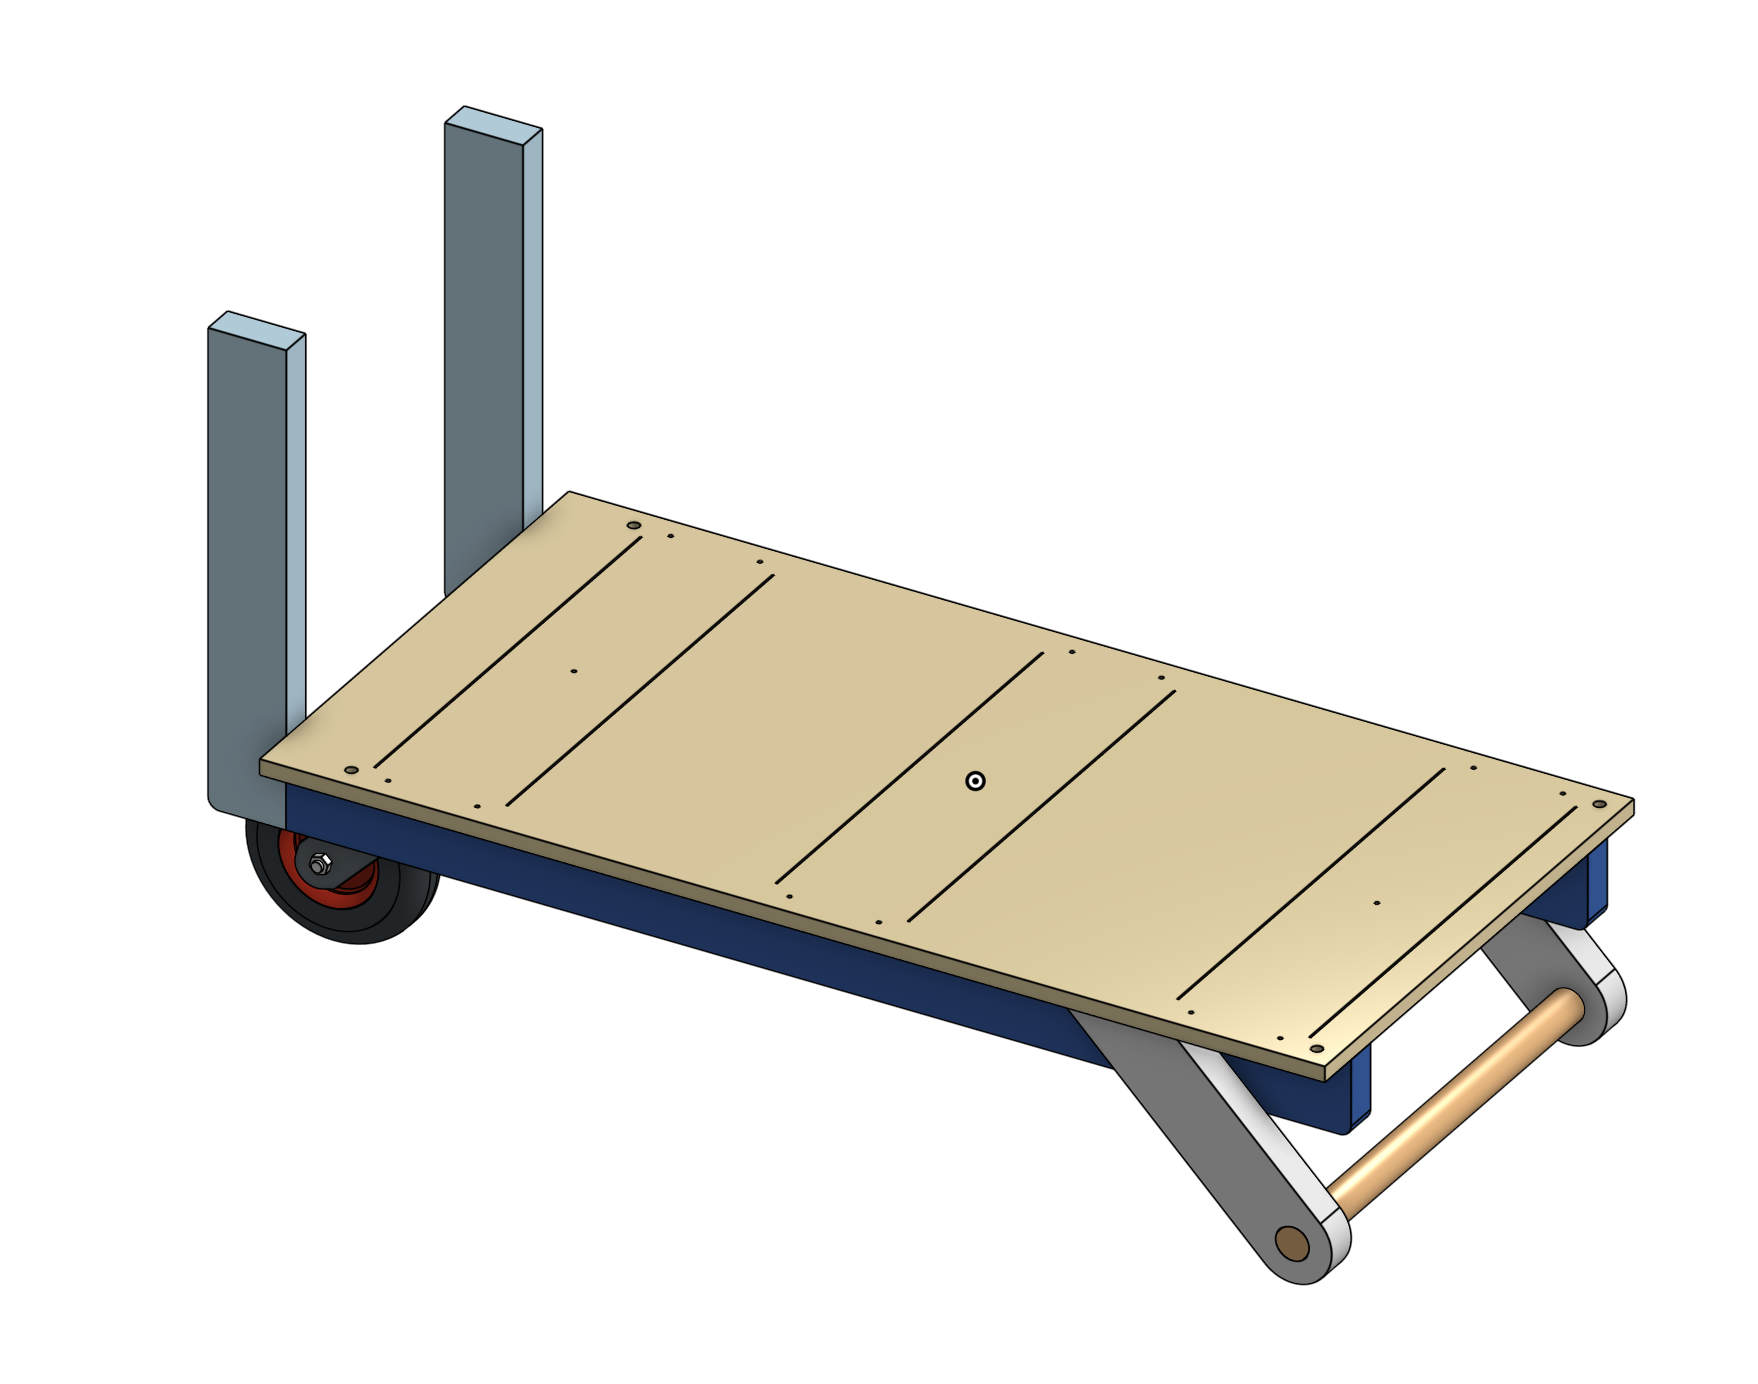
Ah, CAD vs. reality
The feet are still on the base so I don’t lose them, but they’re wound all the way up so they don’t quite touch the table, they’ve not really got much to add now.
You can’t see it very well in the CAD renders but there’s 12 bolts, I used pairs either side of the split between the two MDF baseboards that form the XXL baseboard.
My models are all in Fusion 360, let me know if you want them, I won’t guarantee accuracy but they’re a start.
You don’t need to modify the Shapeoko to get good stuff out of it, I made some pretty big chunks of desk and hundreds of litres of sawdust out of birch ply with only a bodge to make my poor selection of router spindle fit (AMB Kress).
It’s just that if you hang around here for any time you’ll find staff and customers inciting you to ‘upgrade’ your machine, feed rates, parts you make etc.
Still needs to be milled square. The whole thing is glued down through a set of spacers to the top of a tool cabinet that weighs a few hundred points. It’s pretty solid, but still needed a little twist taken out.