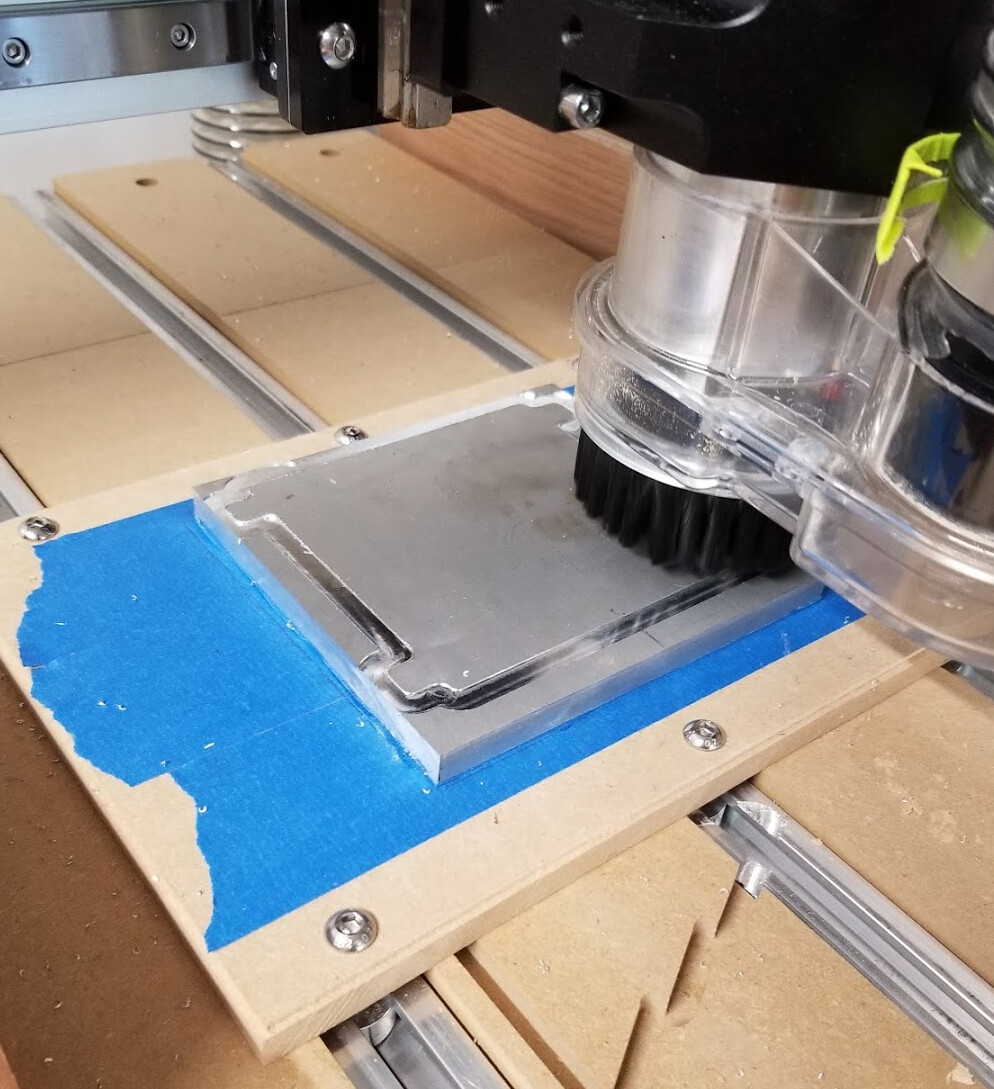
Is that toolpath running side to side and doing slot clearing? Specifically, is it doing the constant engagement 0.6mm or slotting that aluminium plate? Are the chips coming out of the slot fast enough or getting jammed up and re-cut?
On my SO3 with linear rails on the X and a 2,2kW spindle I’ve been running single flute 4mm cutters in 3D adaptive on superglue and tape mounted 10mm thick 6083 T6 at
15,000RPM
2mm optimal load
1.5mm Depth
800mm/min feedrate
The machine was happy and kept being happy as I pushed up to over 1,200mm/min in feed override. I stopped there as the workpieces were quite small and I didn’t want to break them loose of the MDF board they were stuck to.
Just to be sure, have you checked the mechanical aspects of the machine? Is the router clamp tight? Are the belts properly tensioned?
And since you’re doing a spirally path, did you notice the chatter sound varying in intensity as the cut changed direction or was it pretty constant the whole time?
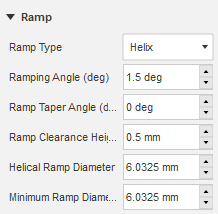
Okay I’ll make those changes and give it a shot. The ramp diameter might help a lot as this means half the diameter is basically not cutting as it ramps down.
@Moded1952 , belts yes. Router clamp is quite tight, although I did notice that I had to really go to town on the 2 clamping bolts. The grub screws was miles away from being needed, putting the makita in the bracket there was a ton of slop. I don’t know how deep the blind holes go but I can’t help but wonder if I’m bottoming out, but surely C3D left a ton of space.
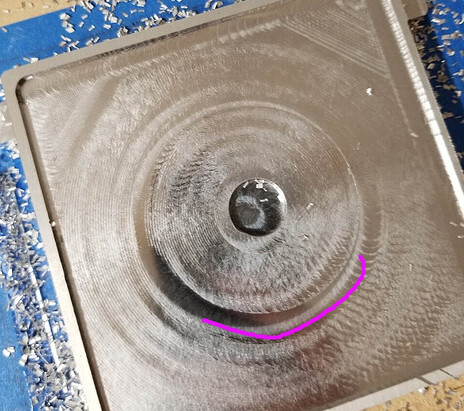
Now that you mention it, the chatter was only the front side. Higlighted is where the chatter would thrum, then stop
Basically 4oclock to 8oclock. The cut direction is climb.
The floor finish indicates something is moving, I would check every bolt on the machine and start sweeping everything with an indicator under no load. Then apply force by hand to your router mount and test deflection.
Ive had my X extrusion linear rail bolt loosen up, appears that loctite was not used on install. However, with this still being a “kit” cnc, IMO you should put a wrench on everything just to make sure.
Those of up with Pros that machine aluminum could come up with a test part to check the mechanicals and cut accuracy. Also, please keep in mind that an adaptive pass IS NOT A FINISHING STRATEGY. Due to the high load and high deflection, you should always run a separate low axial/high radial finishing toolpath.
Yes, this leaves 0.3mm radial and axial to finish up :slight_smile
The next op’s, in order I kind of guessed at but maybe this came from one of Winston’s video’s
Contour on the wall with finishing pass ticked, full DOC, 0 radial 0 axial stock to leave. This blew up as somehow my feeds were ~95ipm/2400mm/min Oops! Next test piece should go better.
Pocket on the floor, 0.1 radial to leave to avoid touching walls, 0 axial.
What sort of deflection would you expect strong-arming the router around by hand? 1-2 thou? I imagine front-to-back nod would be more severe then side to side.
I have recently tensioned and calibrate belt tension to be even. Can barely fit a finger under the belt unless I really try. I’ll post a video tonight of tension.
Also mine is only at the bottom positions indicated, not the top… if it was loose belts it should be mirror’d movements?
Update - tightened quite a few linear rail bolts at lunch on the X. Y was not as bad. Using a regular hex driver, not a T or ratchet. Erred on the side of not stripping out my aluminum crossbar. The Z seemed fine as well.


 Oops! Next test piece should go better.