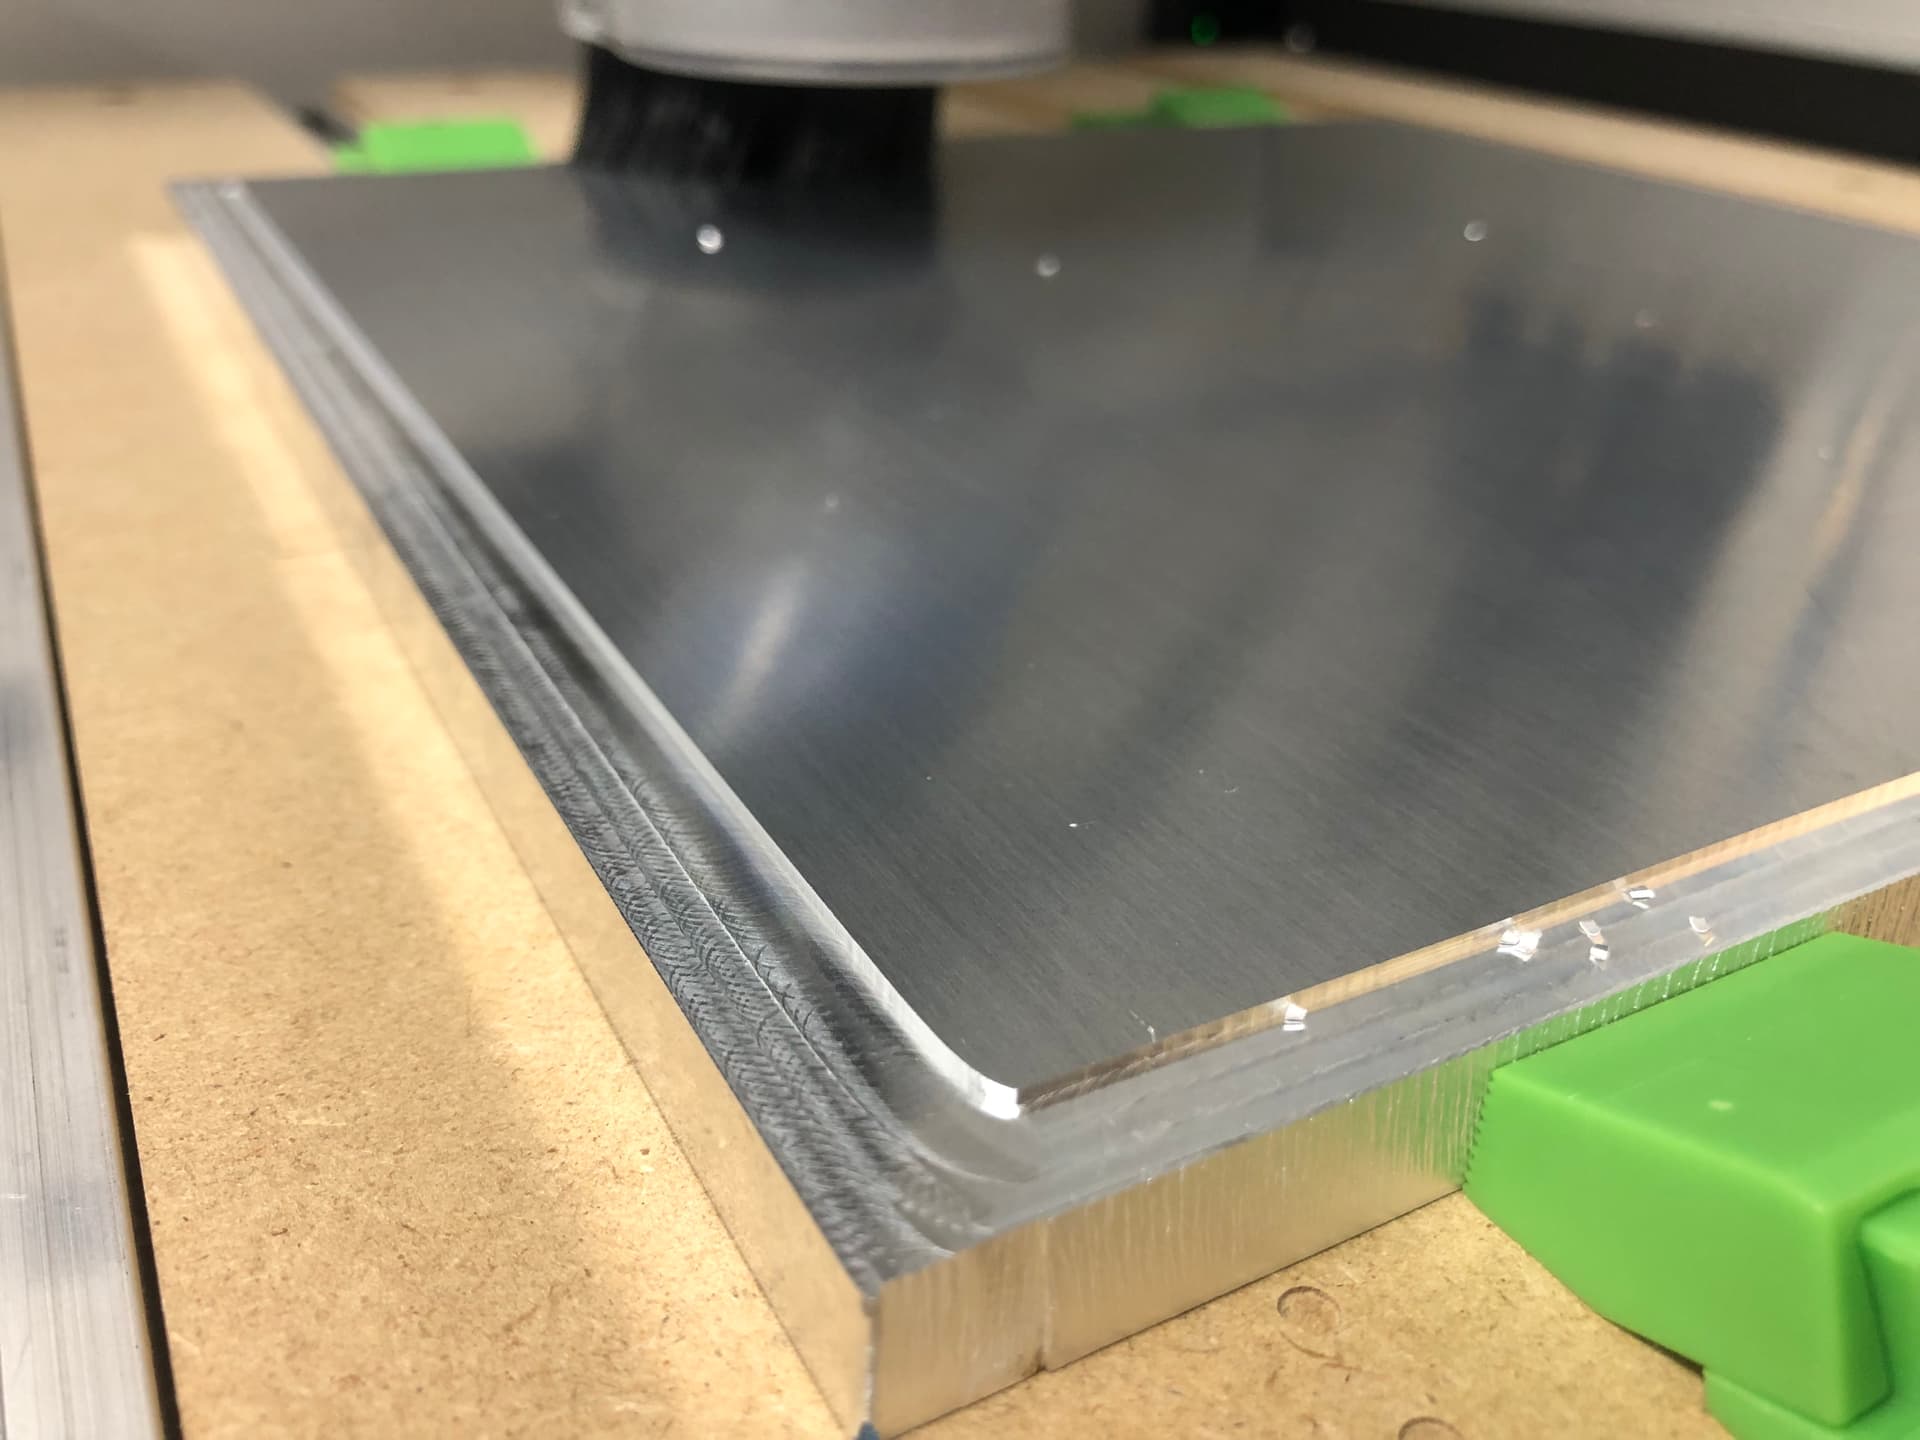
I’ve got a Shapeoko 4 and very limited experience with machining. I am trying to take 1mm off of the surface of a thick 300x300mm aluminium plate. It is a necessary requirement for it to ‘look nice’, as this part is going to space next year on a SpaceX Falcon 9!
I haven’t been able to find much detailed information around surfacing aluminium. I would really appreciate any advice or suggestions on tool paths, depth of cut, feeds and speeds, etc.
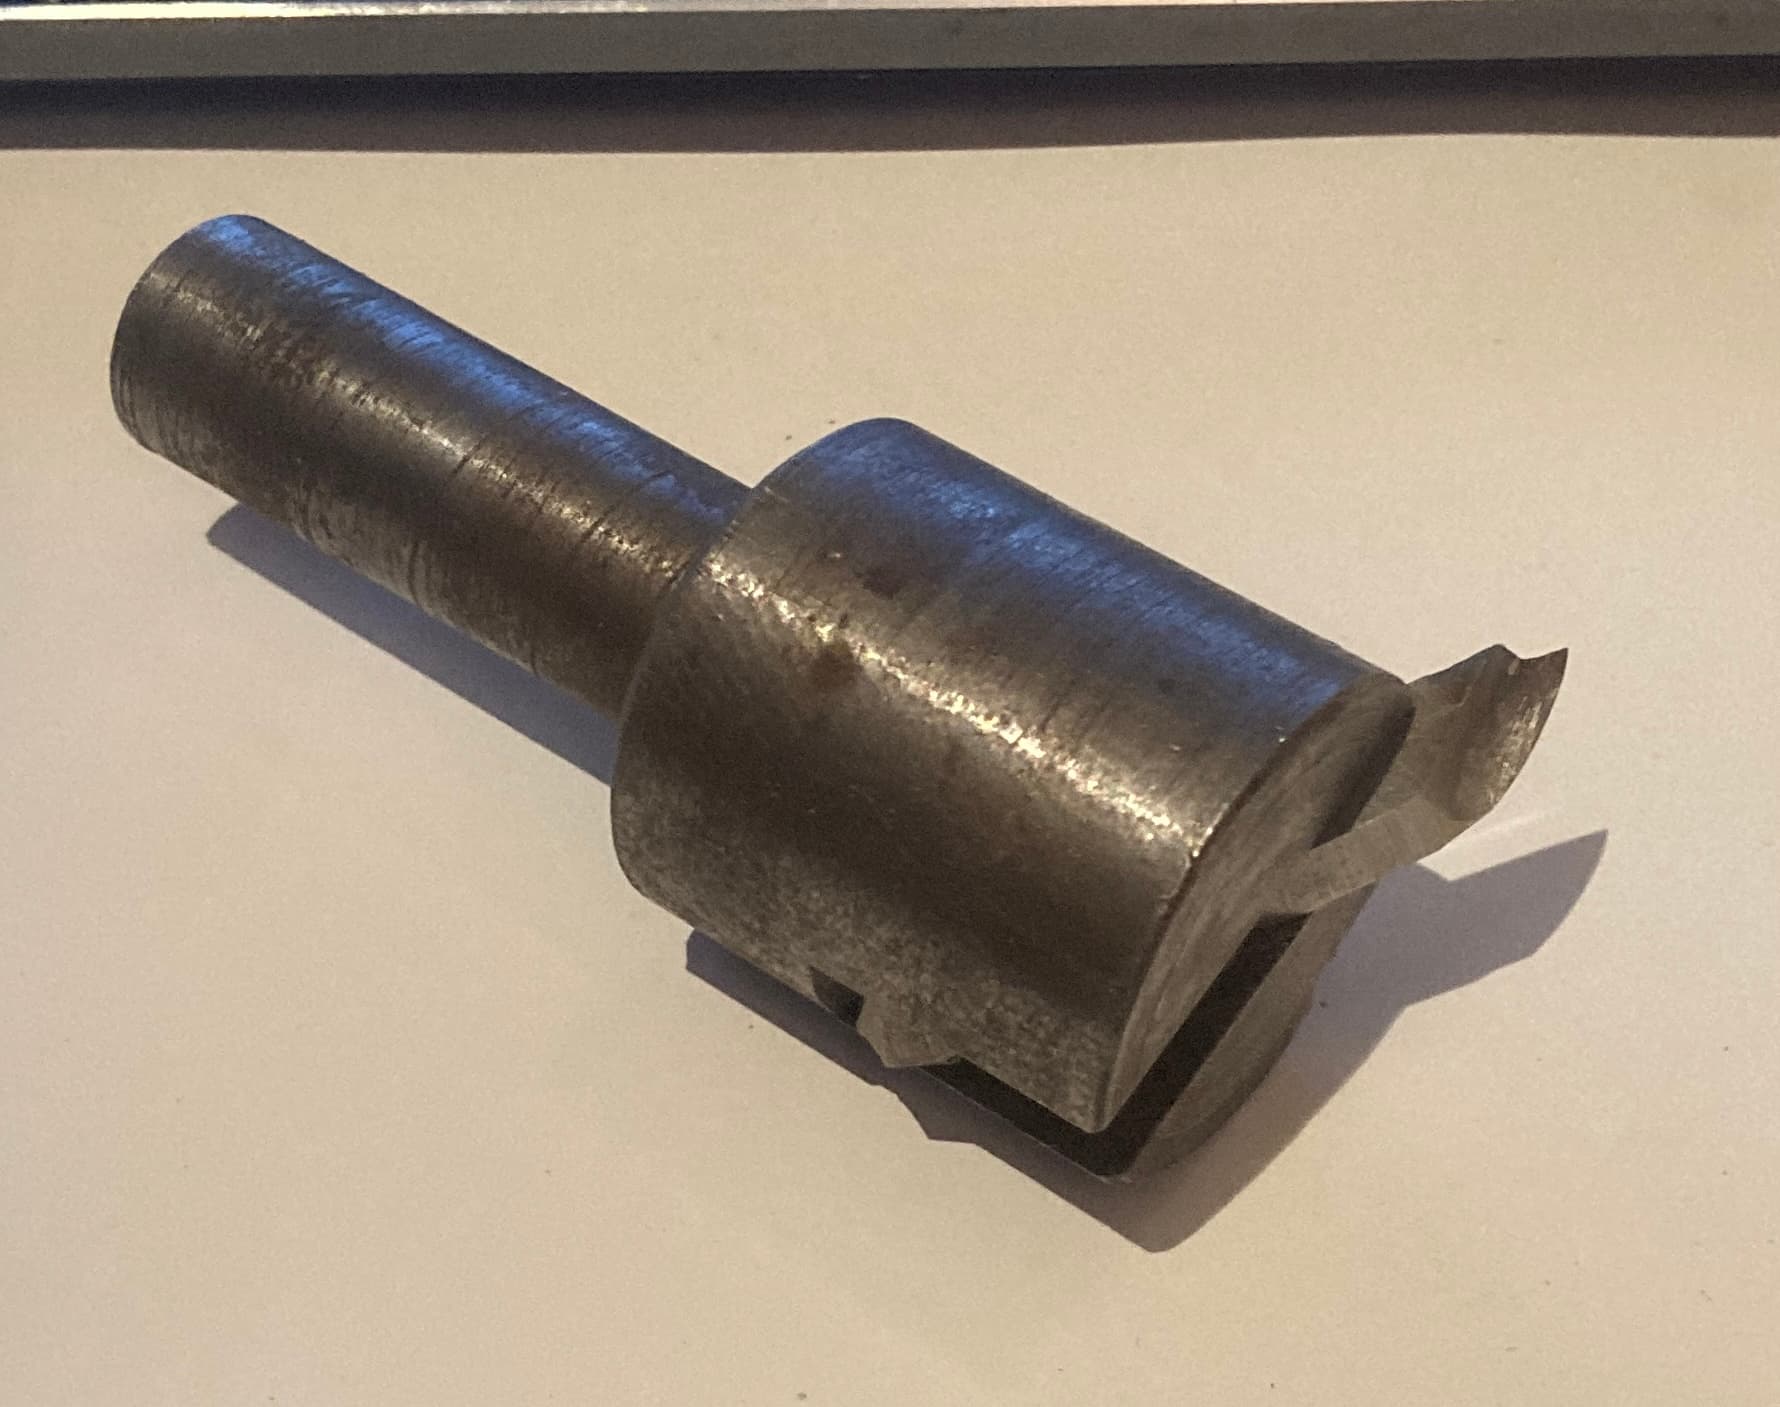
However, that’s a 3/4" shank & wouldn’t turn anywhere near 9000 rpms.
Although I gotta believe there is a smaller high-speed fly-cutter available.
But even with these cutters, if you had stepovers you had tool marks.
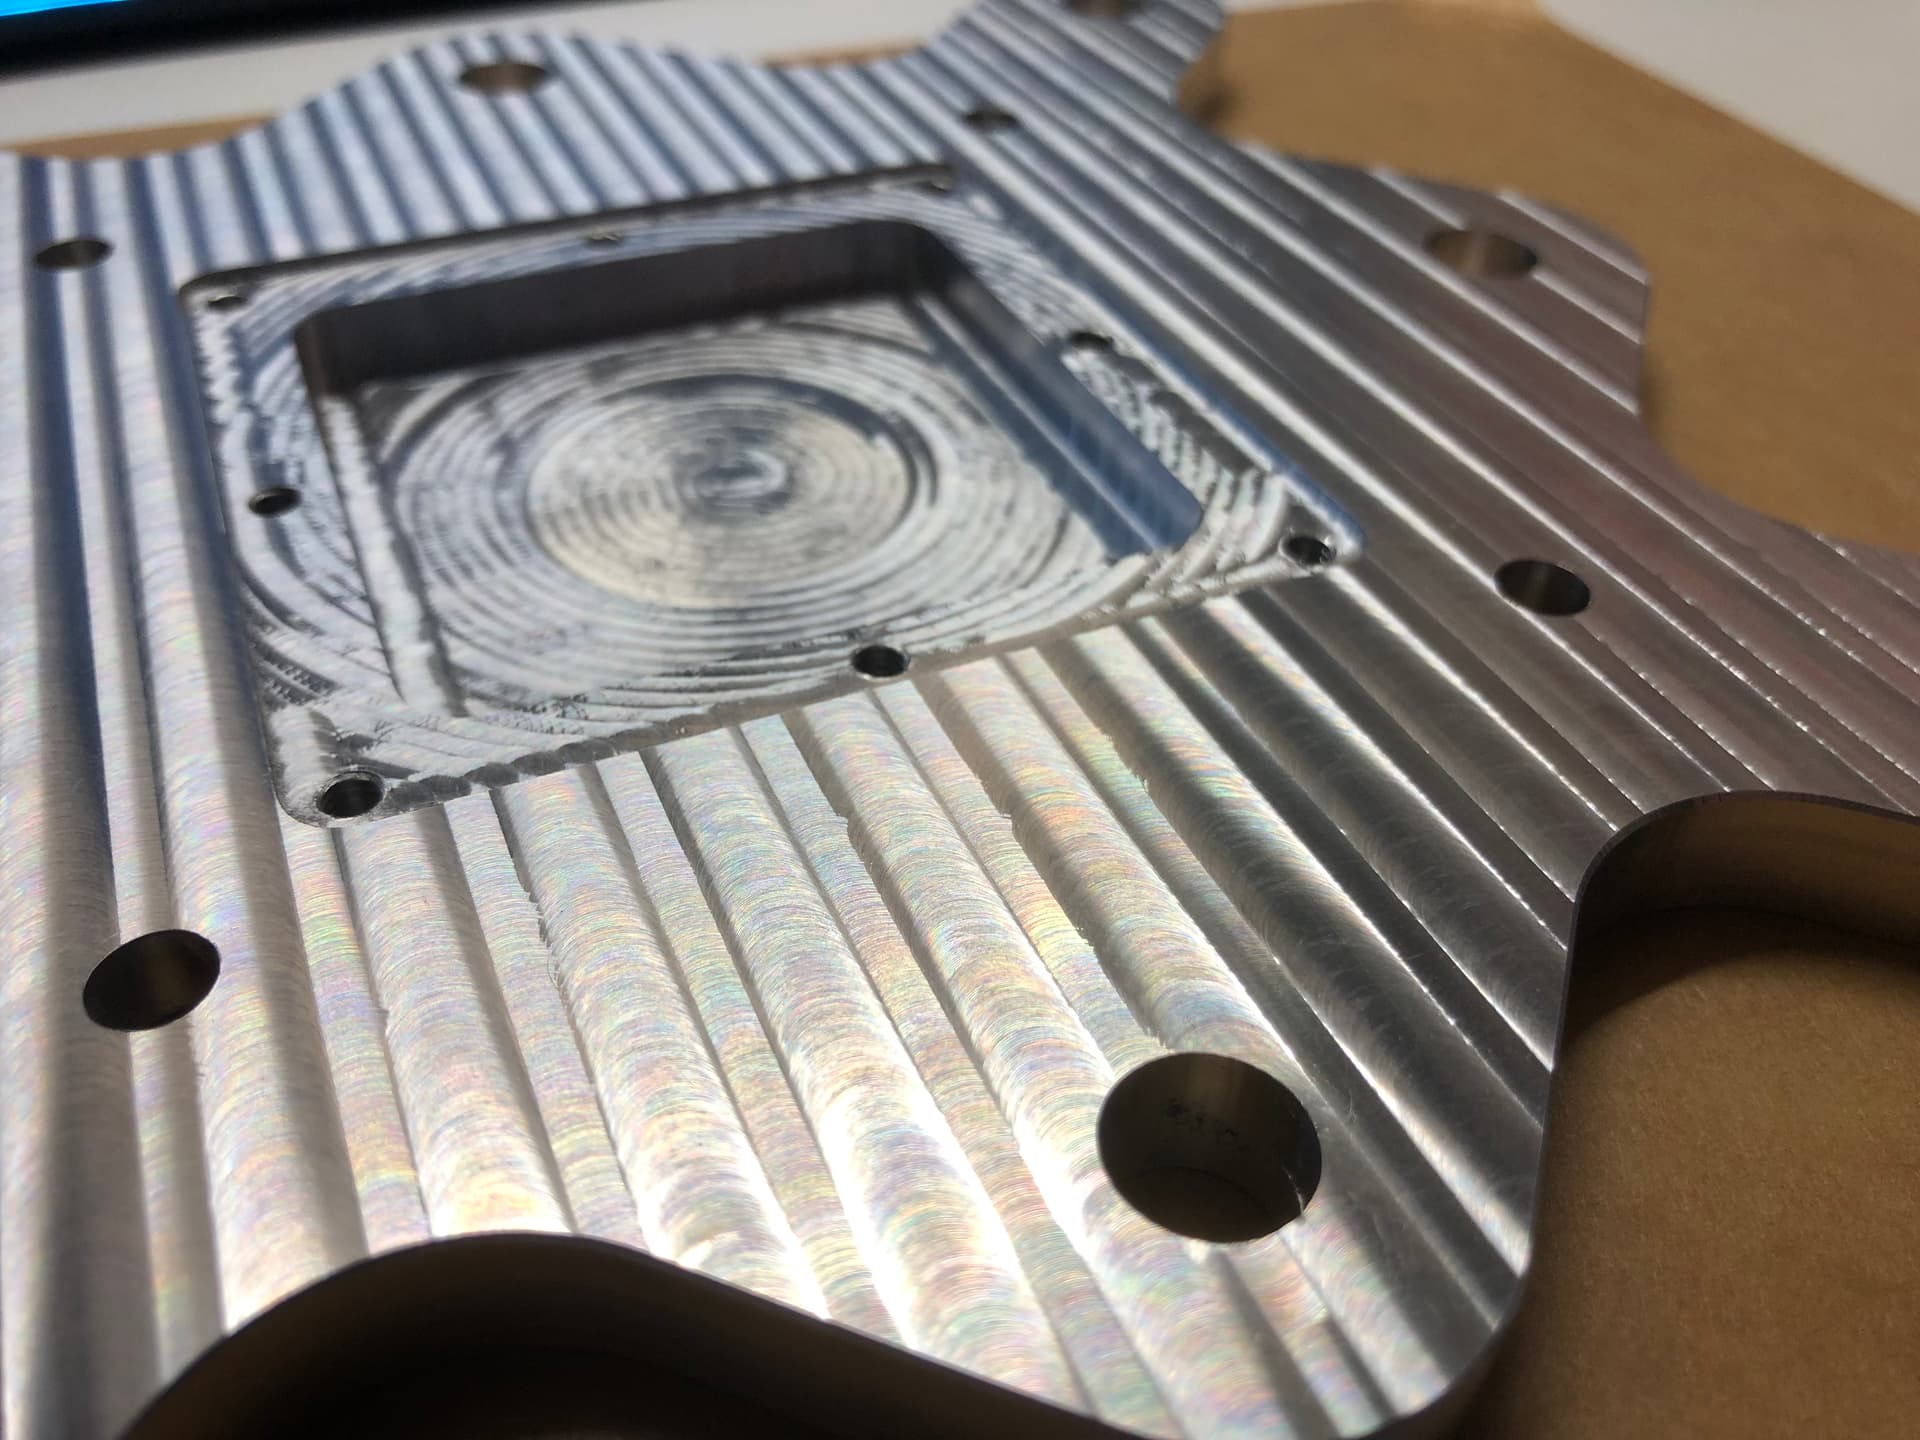
You’re going to have tool marks. The trick is getting them to look consistent.
Tram the machine. Get it as perfect as you can.
Constant feedrate when cutting. No changes, or smooth changes in direction on the part.
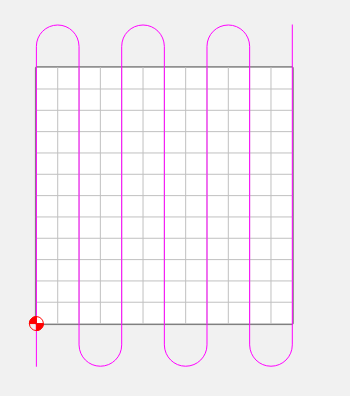
I like to create my own cut pattern & use a contour with no offset to get the cutter off the part when it changes direction
For a 1/4 O-flute tool in aluminum, I use 12000 rpm @ 60ipm, 0.010" depth of cut.
For this you’re taking of about 0.040" so I might set the depth to 0.0095" so the last pass is taking only 0.002". With the 3-flute you can probably crank up the feedrate to pretty much as fast as you can stand. Math would suggest 180 ipm. Although slower means finer cut lines.
You may have to experiment on a test piece to get the best formula.
Mist coolant will help. Getting the chips out of the way is a MUST!
If you’re shooting for a mirror finish, you will be polishing after cutting.
Personally, unless it’s a decorative part and the customer wants mirror finish, I focus a lot more on precision than appearance. I like the cut patterns.
I recently did some brackets and thought the finish was too shiny. I didn’t like the glare so I put some wet/dry 400 grit sandpaper on the orbital sander and give it a ‘matte’ finish.
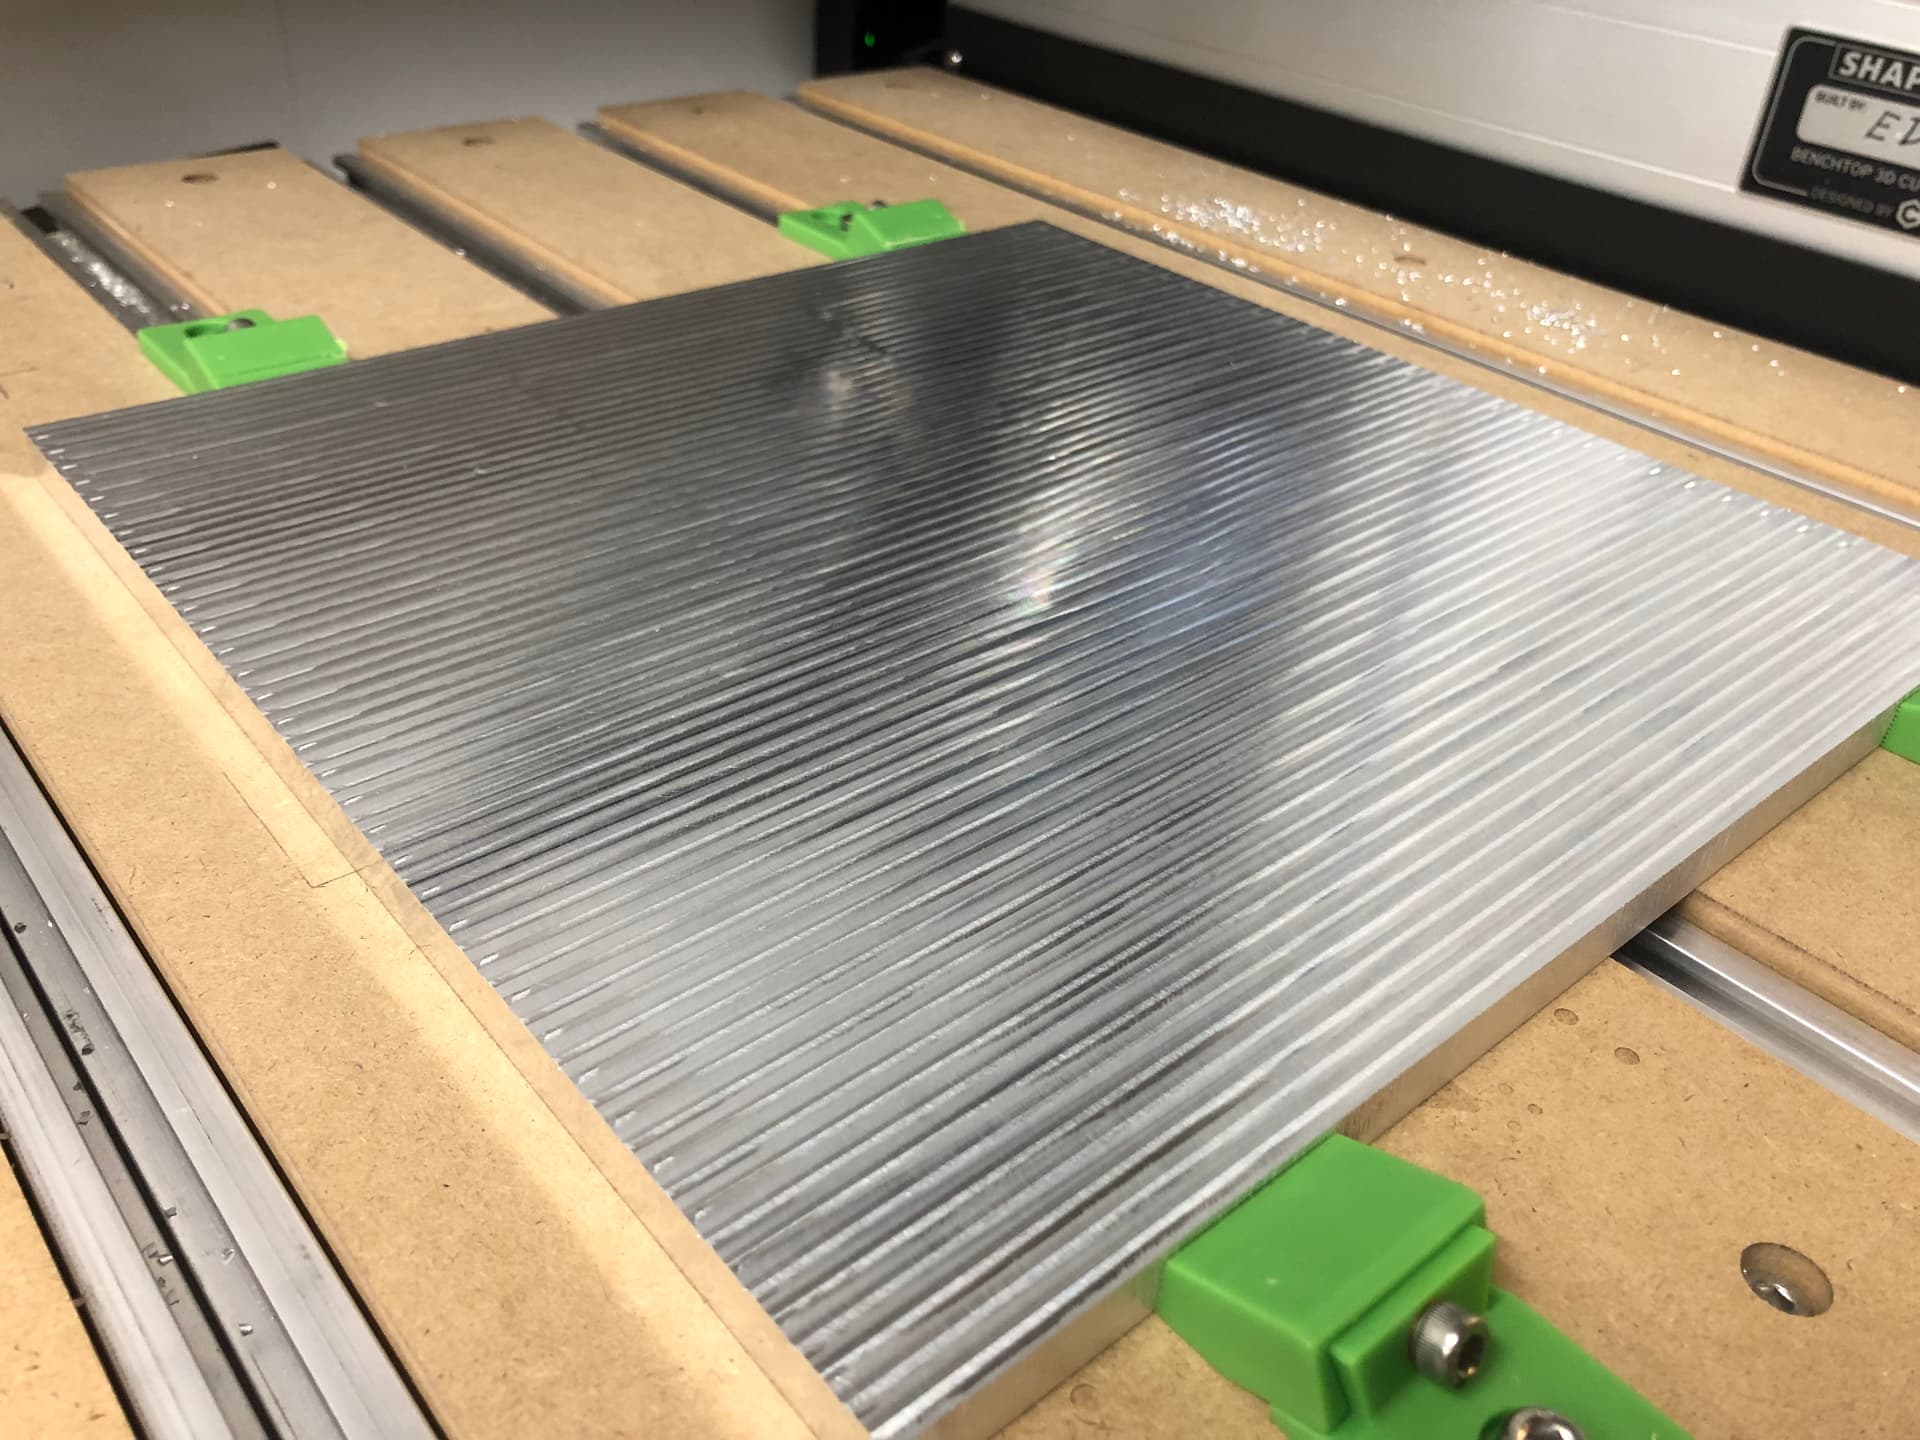
Thanks @Tod1d! When I say ‘look good’, I mean ‘nice cut patterns’.
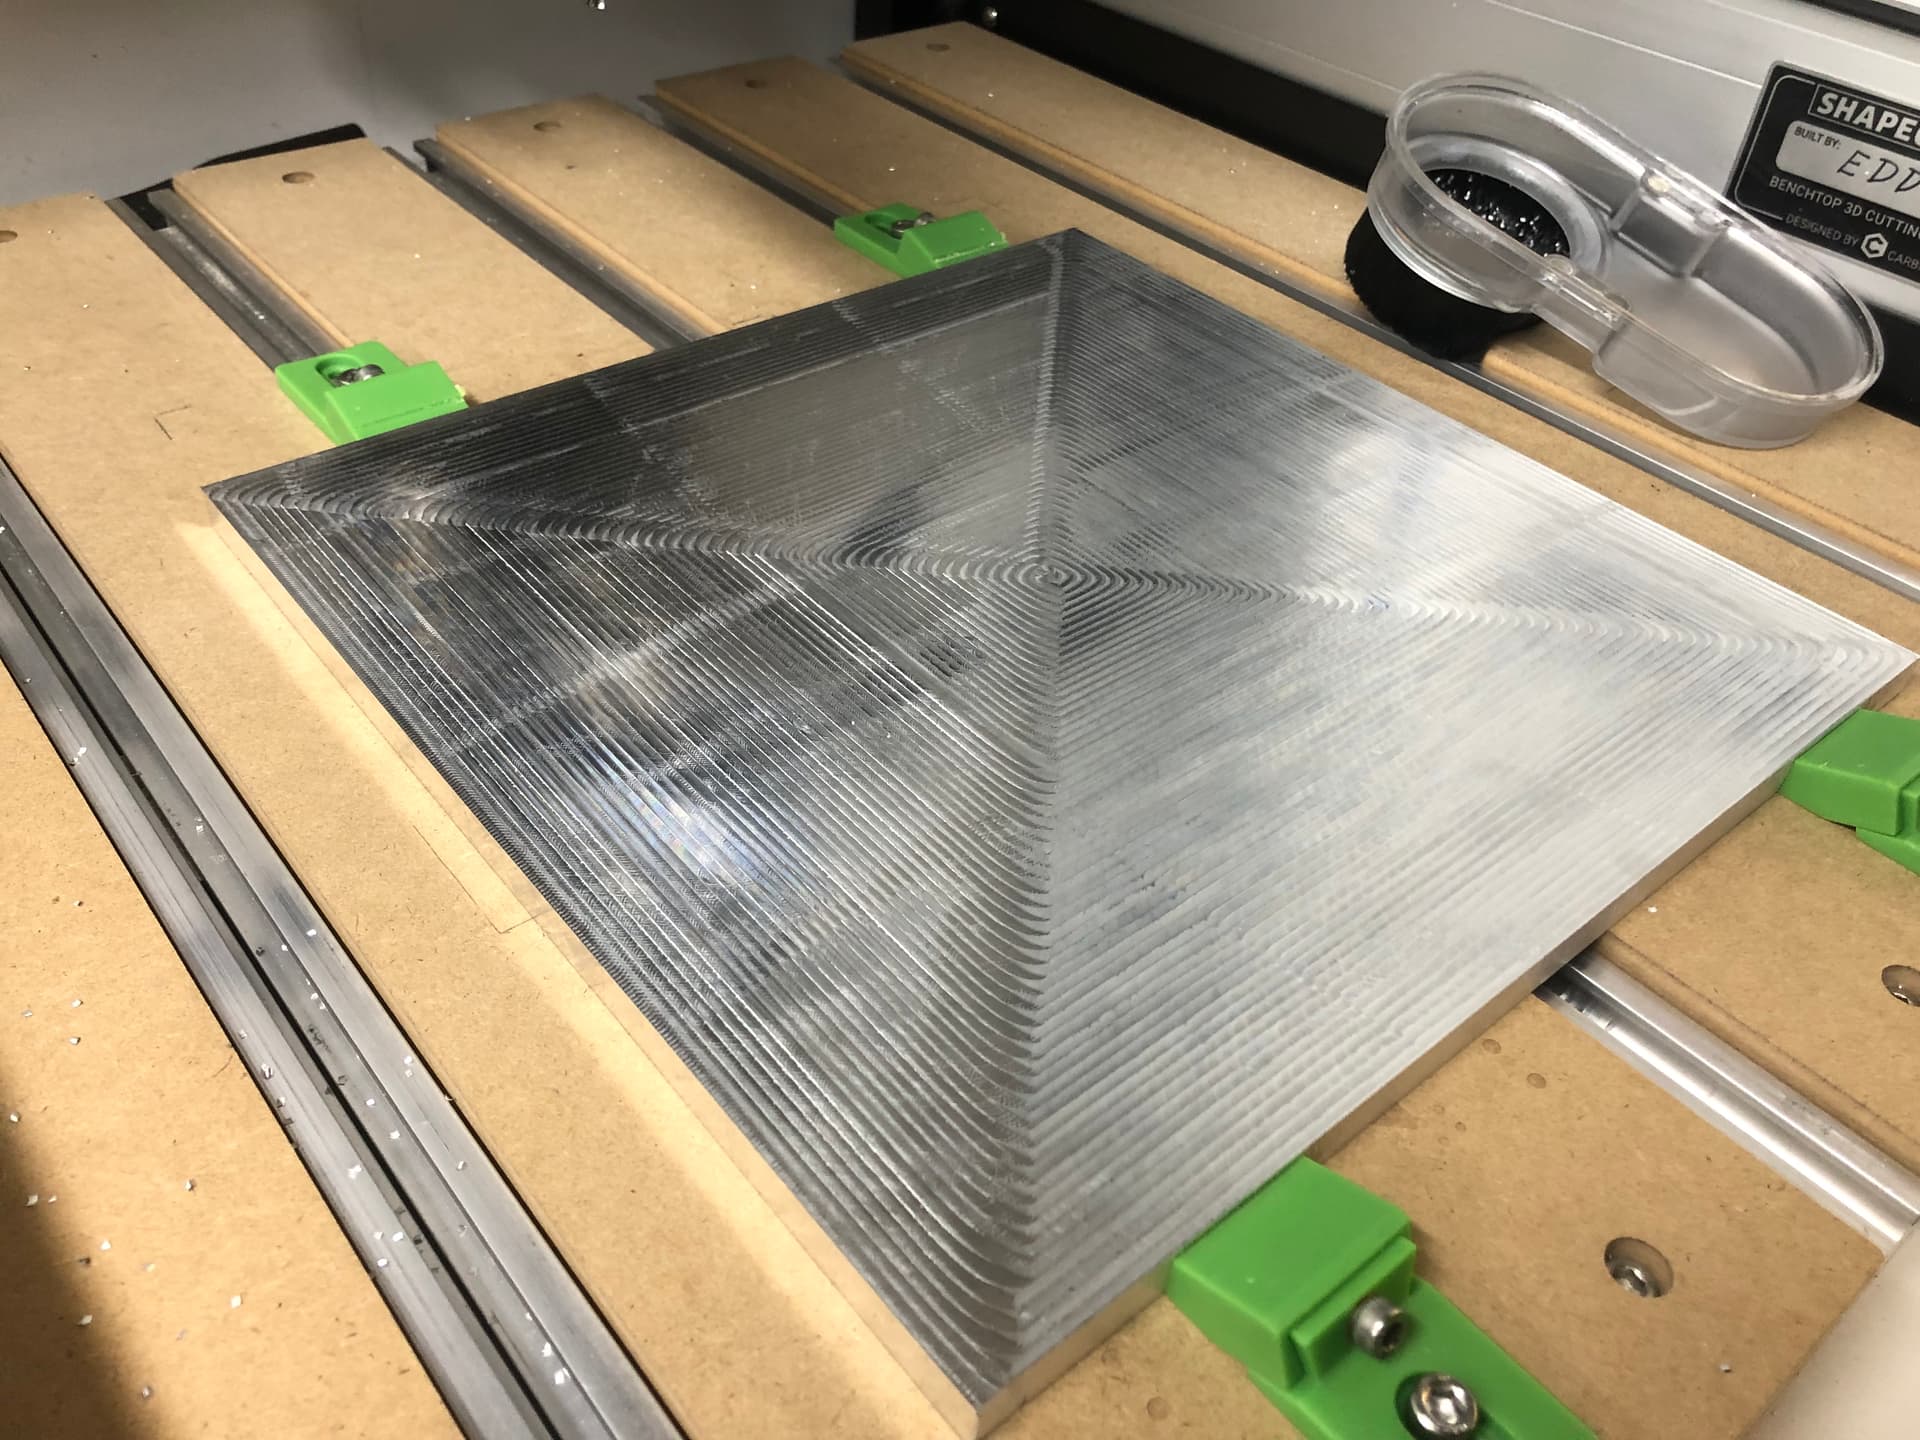
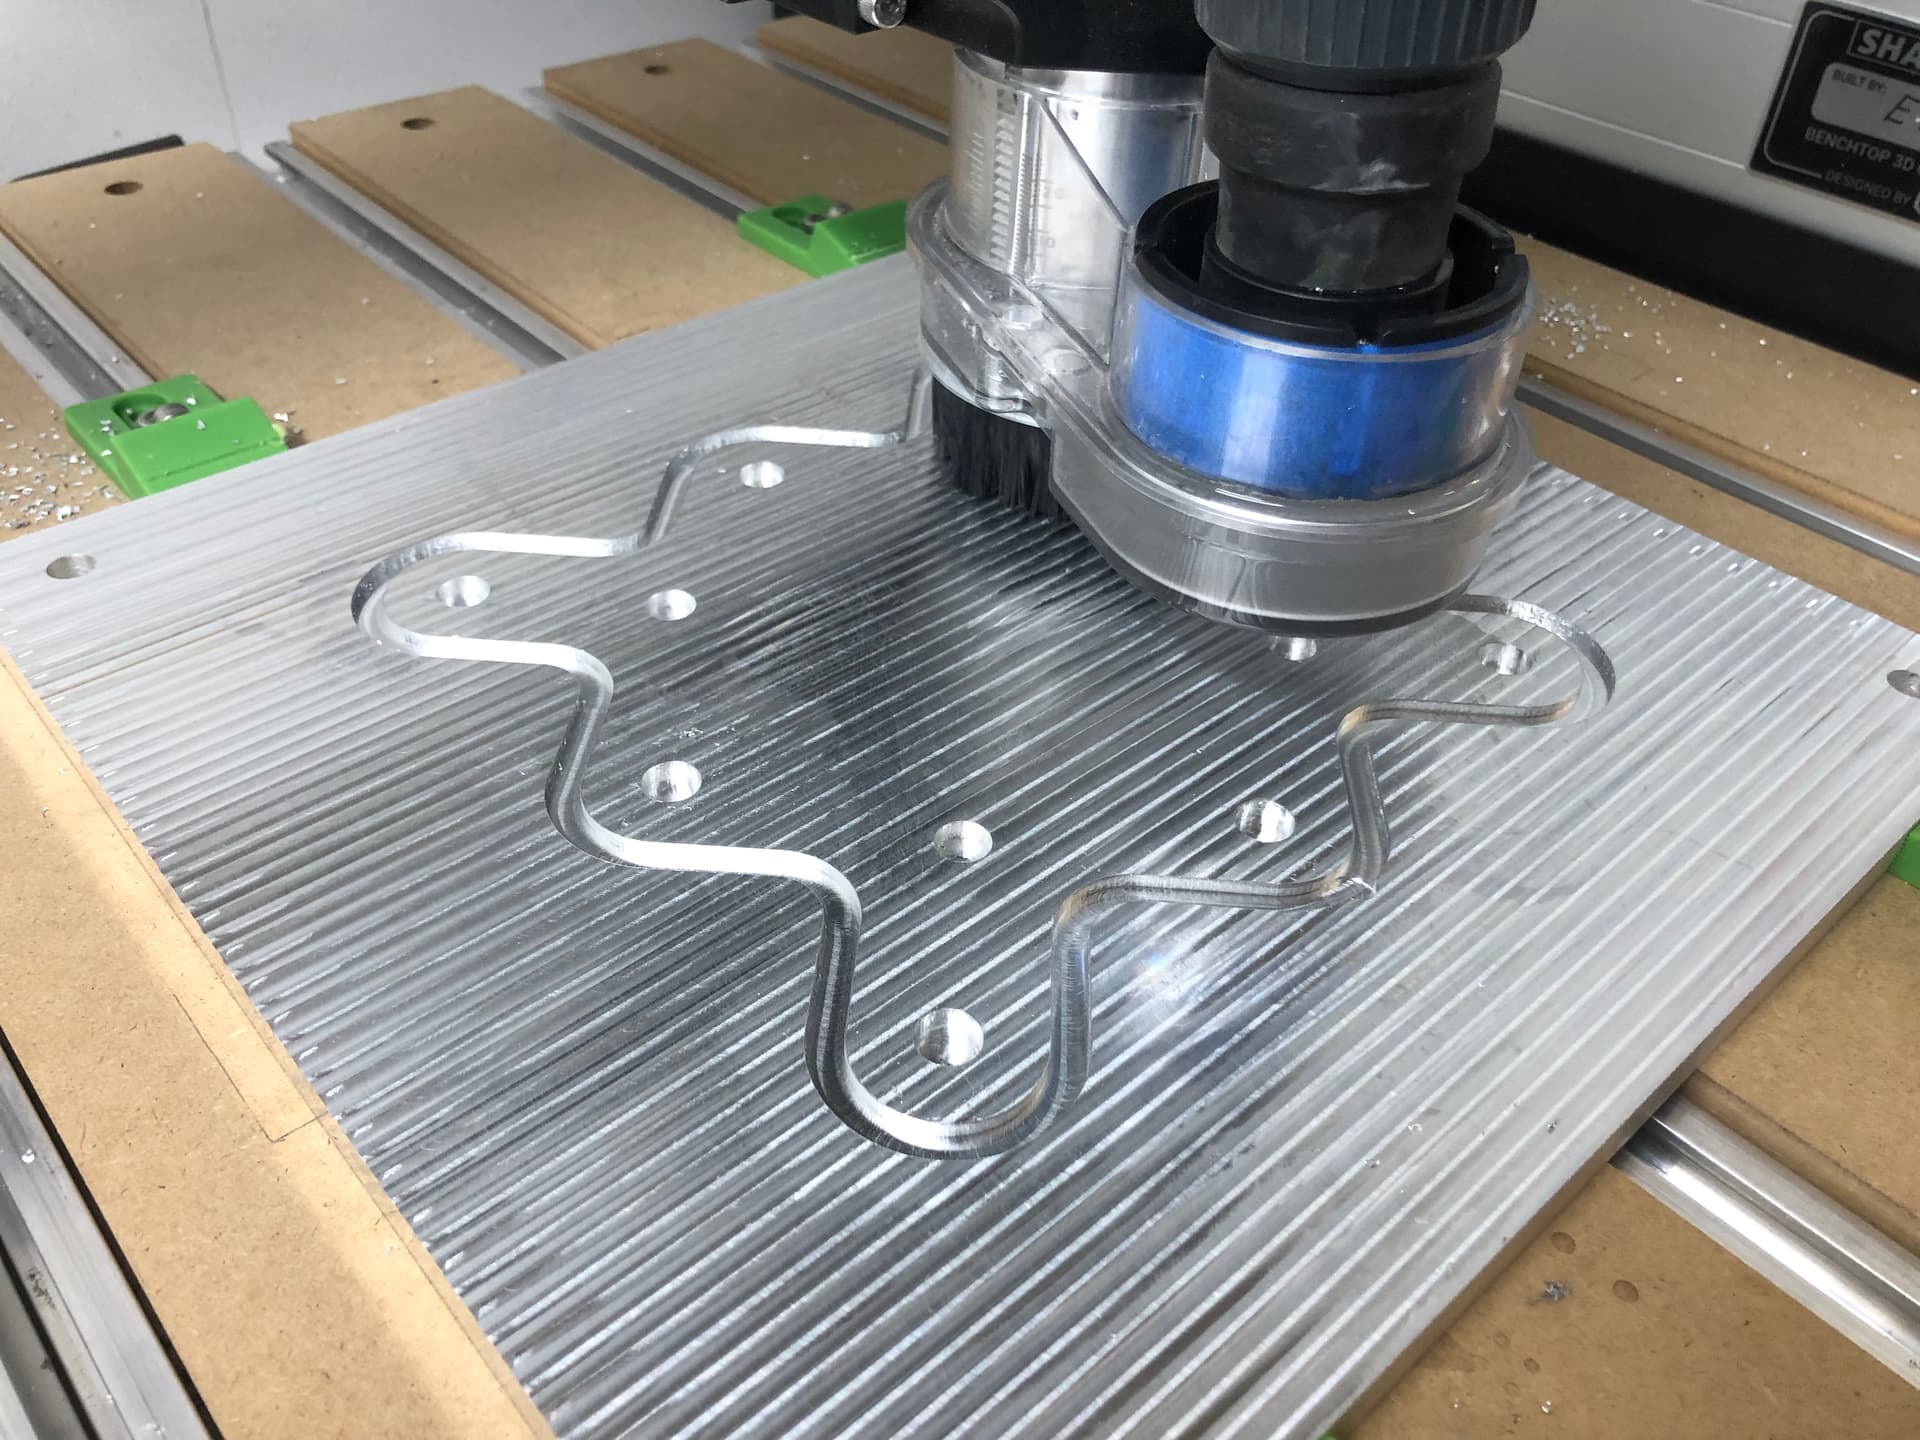
I just did a rough facing with an adaptive path based on a video from Winston. My DOC was 0.9mm, so now time for a finishing DOC of 0.1mm. I think I will try the three flute for this. I’ll keep you updated with how I go!
I am just worried about the small DOC burning out the 3 flute? I might be worried about nothing though.
This was a lot of fun doing some more serious machining with the shiny stuff.
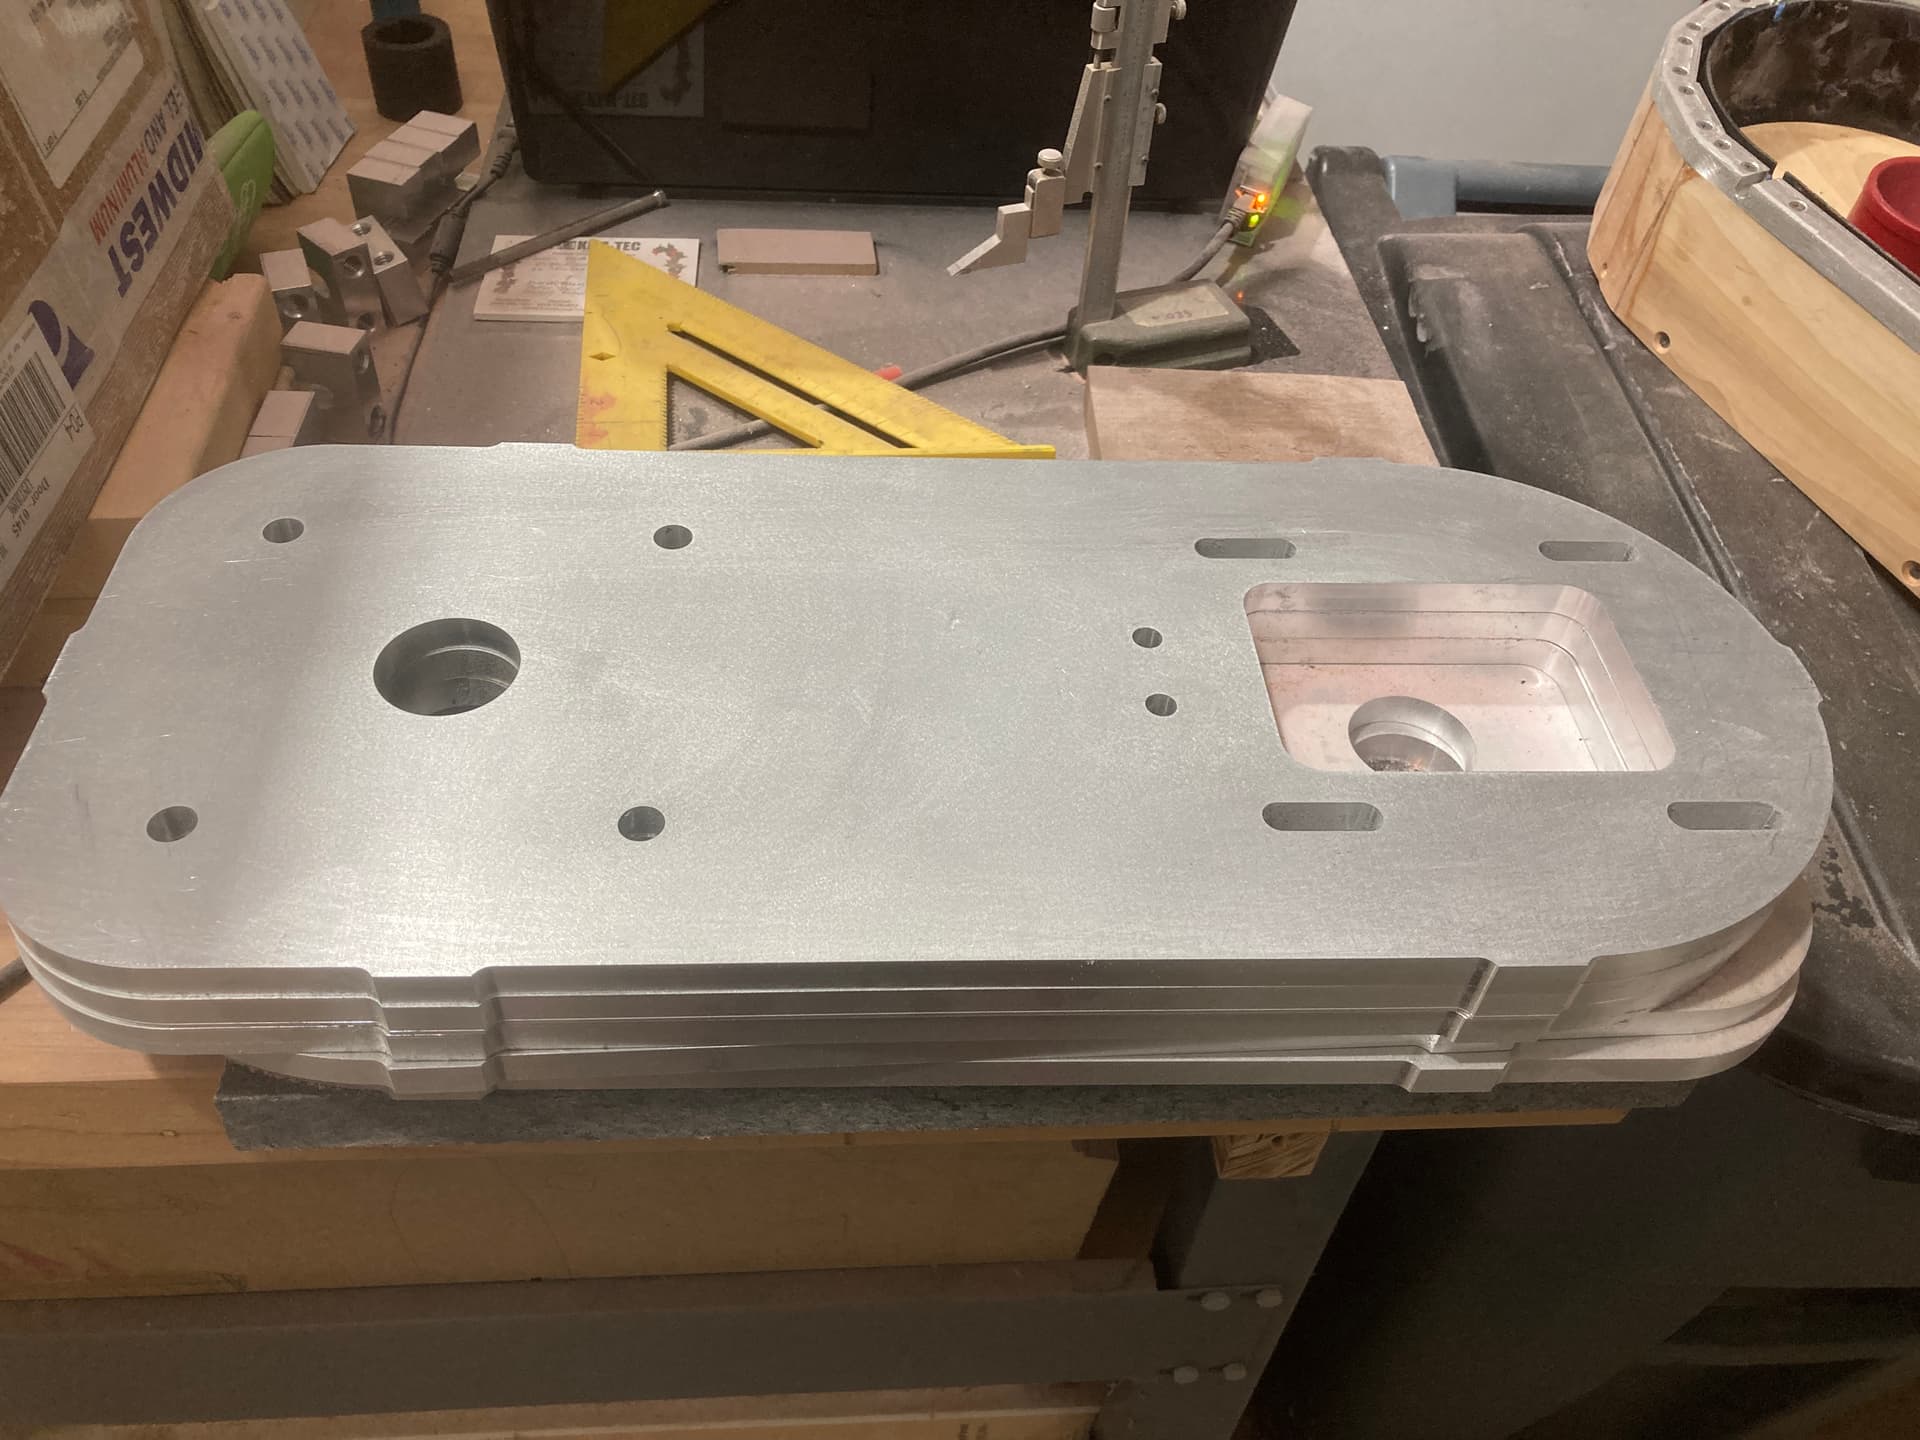
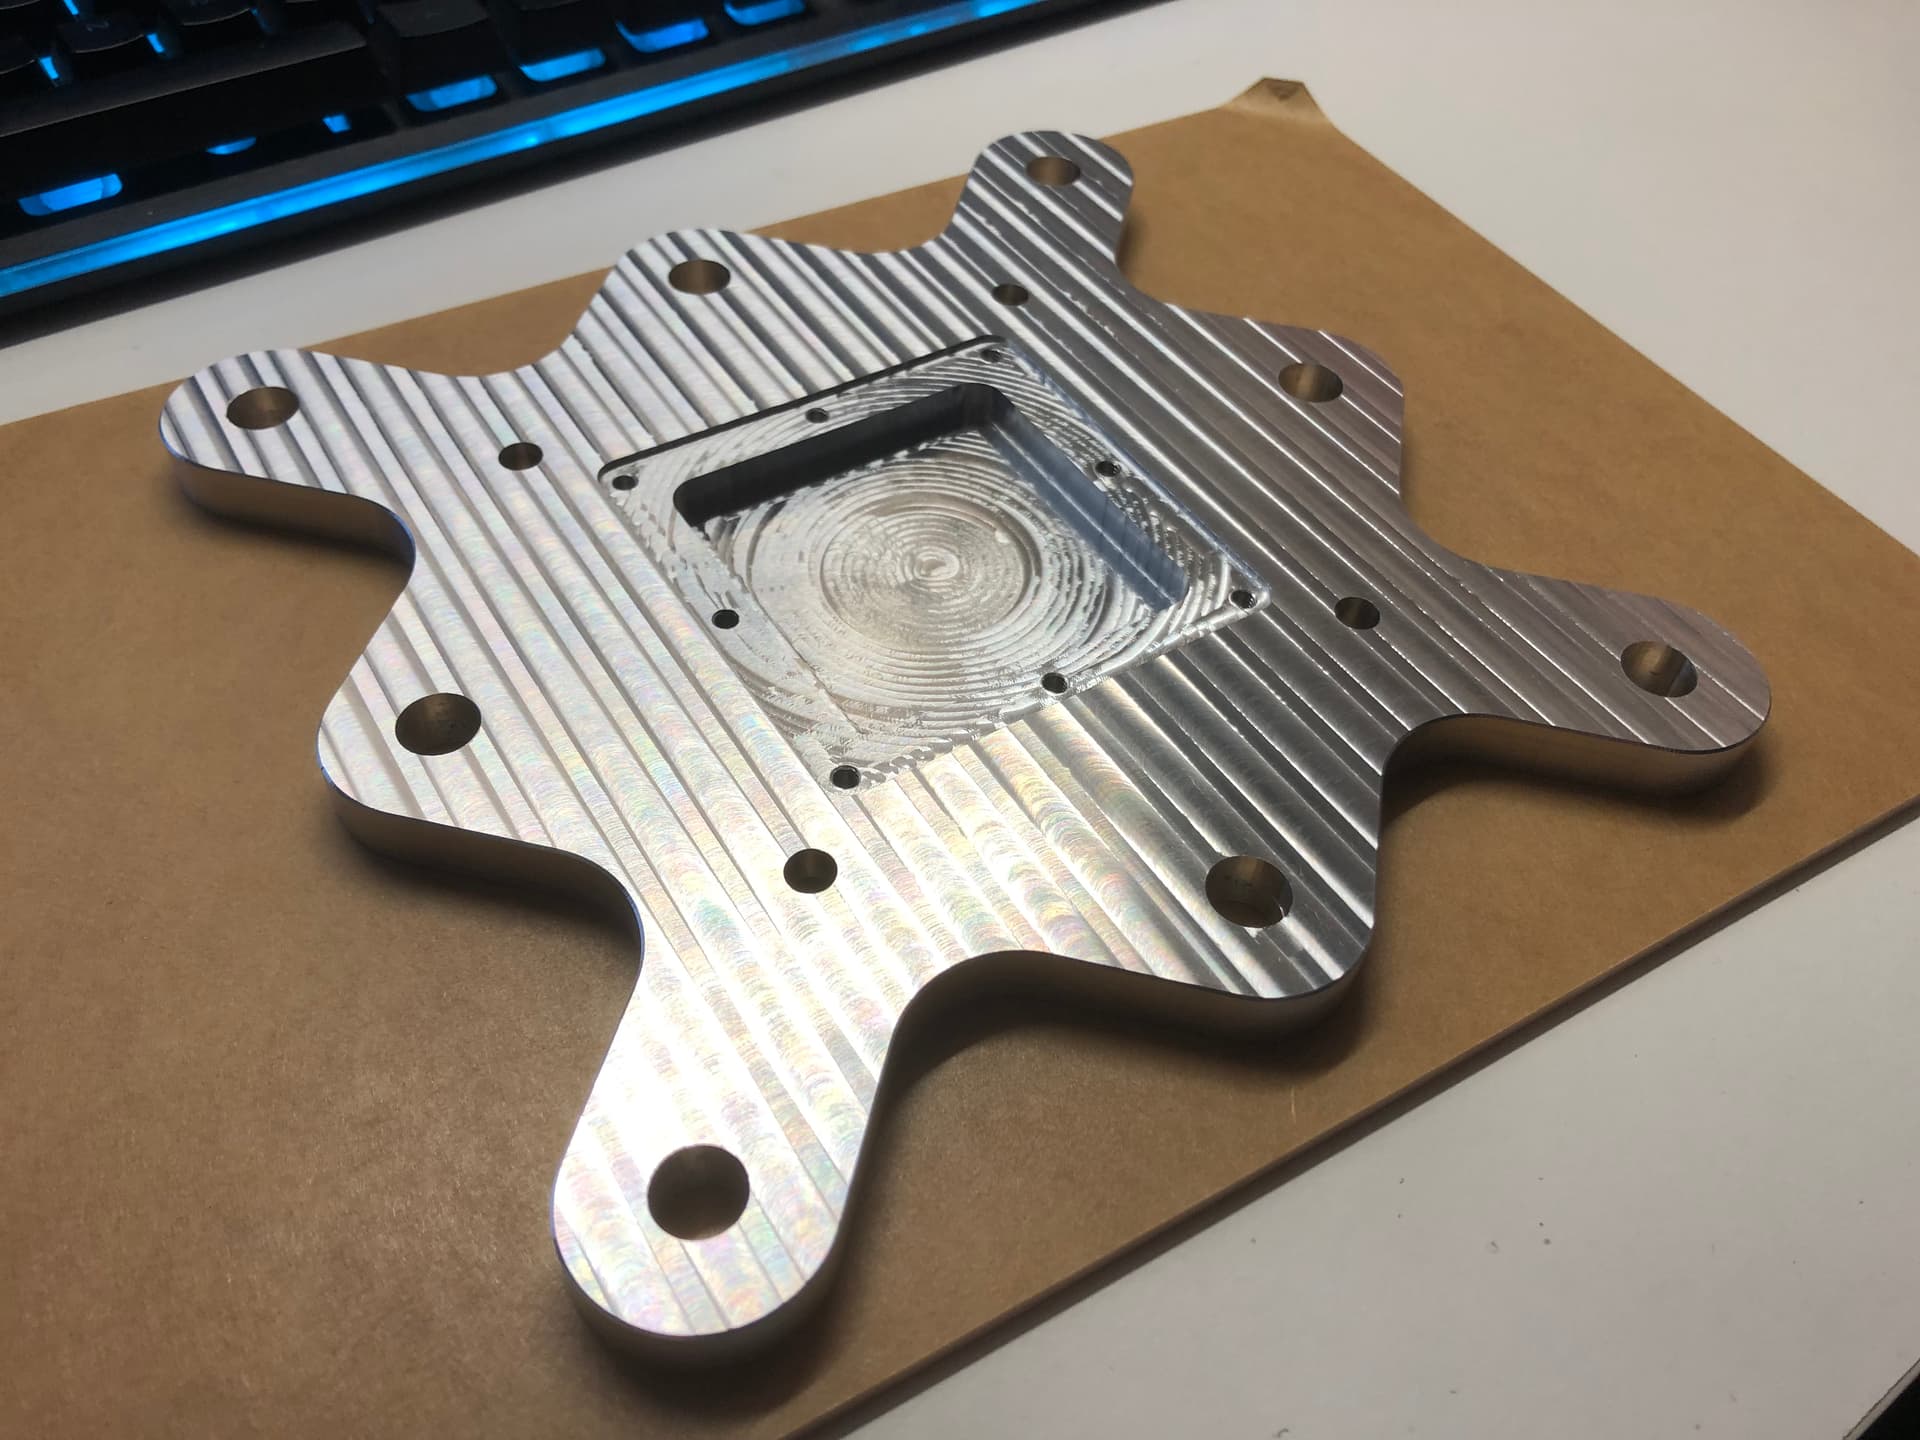
All done! This adaptor plate is designed to mount a space payload inside of a space capsule. The cut out in the centre will hold jewellery and other small items, which we will get back when the capsule returns on Earth. Our space payload has 100mm hole spacings, while the capsule has 75mm spacings, hence we need an adaptor plate.
Always room for improvement, but I am very happy with how it turned out.