Aluminium Threaded Table - Design for the UK & EU

Hi guys

Ages back I upgraded my S3 to an aluminium base board - I did this on a DIY approach as I’m based in the UK. To get the genuine Carbide 3d Unit shipped to the UK was seriously expensive, almost £600 most of which was shipping and taxes…

Whilst I did this I designed a baseboard layout that I think a few people used to make their own.

Anyway moving forward I now have a bigger machine and another member asked me to make them one. Thus I went about doing so and revised the design to suit with a bunch of M5 holes. The design can be downloaded from here, works with any S3 and has extra wide mounting holes to use as much space as possible for clamping.

https://a360.co/2R9cg0p

However if you are in the UK or EU and would like to order one custom made, I’m also happy to offer this service.

As usual you can find these on the site www.beavercnc.co.uk

4 Likes

Good price…wish I could get in the US for that…

Just picked up this 35-pounds beauty…now to assemble it, should be a fun week end !

1 Like

The is pretty nifty looking.

One of the things I like about the XL and XXL is that the fasteners for the base aren’t under the Y-axis rails.

I started assembling the bed onto the end plates, and I was sitting on the fence about whether or not to get rid of the leveling feet (there seems to be two schools of thought in this community from the threads I read, some have removed them and seem to be happy with the result, while others seem to think that the leveling capability is paramount…). Removing the feet leaves protuding welded nuts in contact with the underlying surface though. Then I looked at the MDF bed I had just removed and thought, it has holes in just the right places to sink these welded nuts, why not reuse it as my base surface?

I was left with the aluminium plate resting on the two steel end plates, themselves resting on the MDF board, which left a ~3.5mm gap under the aluminium between the end plates (i.e. corresponding to their thickness). I have read about sag in the center of the bed, and while this is mostly a problem for XL/XXL and not for the SO3, by just pushing in the middle of the edge of the aluminium, I could see/feel the bed flexing very slightly.

So I added a 2.85mm MDF sheet cut to size to leave room for the end plates on each side, and I covered each side with roofing felt paper, because…this is what I had laying around, it’s 0.75mm thickness and is soft/slighty compressible so I figured two layers of this would hopefully provide a little damping effect between the aluminium bed and the MDF on the sides:

Here’s a view of the “19mm MDF/roofing felt/2.85mm MDF/roofing felt/12mm Aluminium bed” stackup, with the end plates sandwiched between the 19mm MDF and the bed :

*

Future will tell if this makes sense or not, but it feels super rigid when pushing on it.

2 Likes

This is how I rum my S3 although I just have a single sheet of mdf under it.

The thin MDF is actually from the package the bed came protected in, so full reuse strategy :slight_smile:

2 Likes

Allright, my shapeoko now officially has 50% BeaverCNC DNA

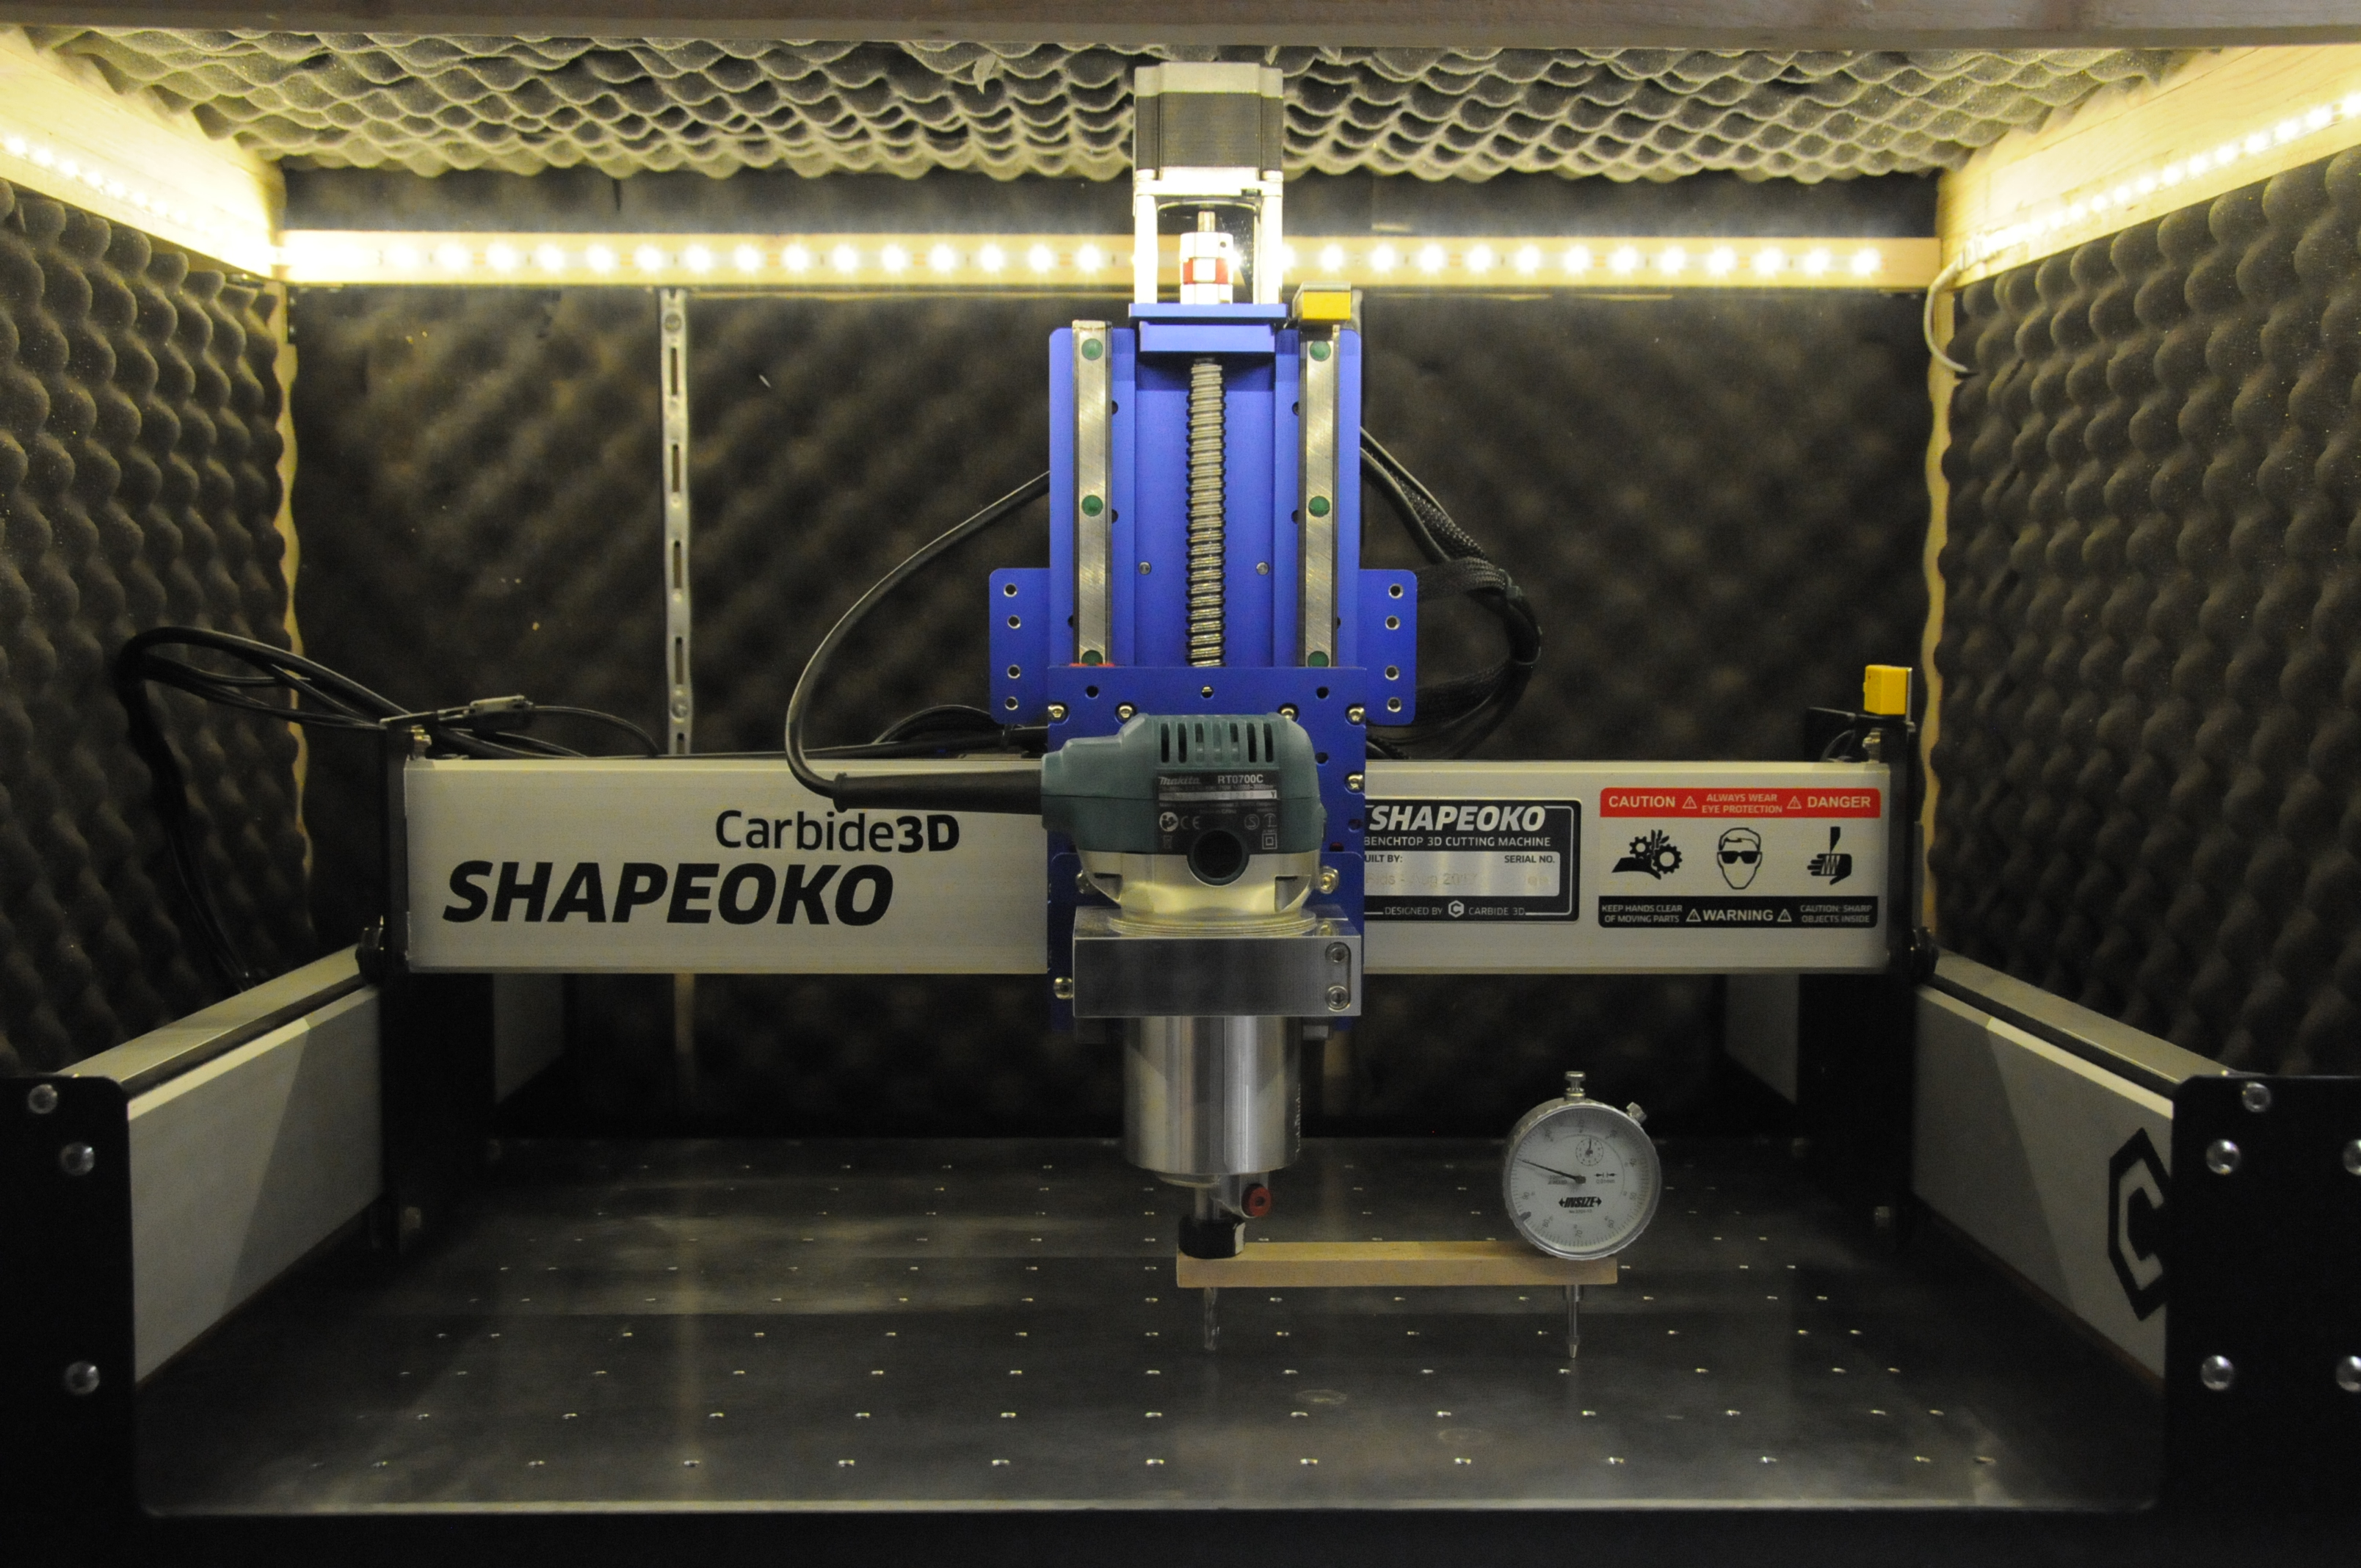
Next step, tramming using the cheap-o-tram arm idea from @wmoy, and the BeaverCNC easyTram plate.
And after that, designing custom parts to fit the suckit dust boot.

4 Likes

This topic was automatically closed 30 days after the last reply. New replies are no longer allowed.