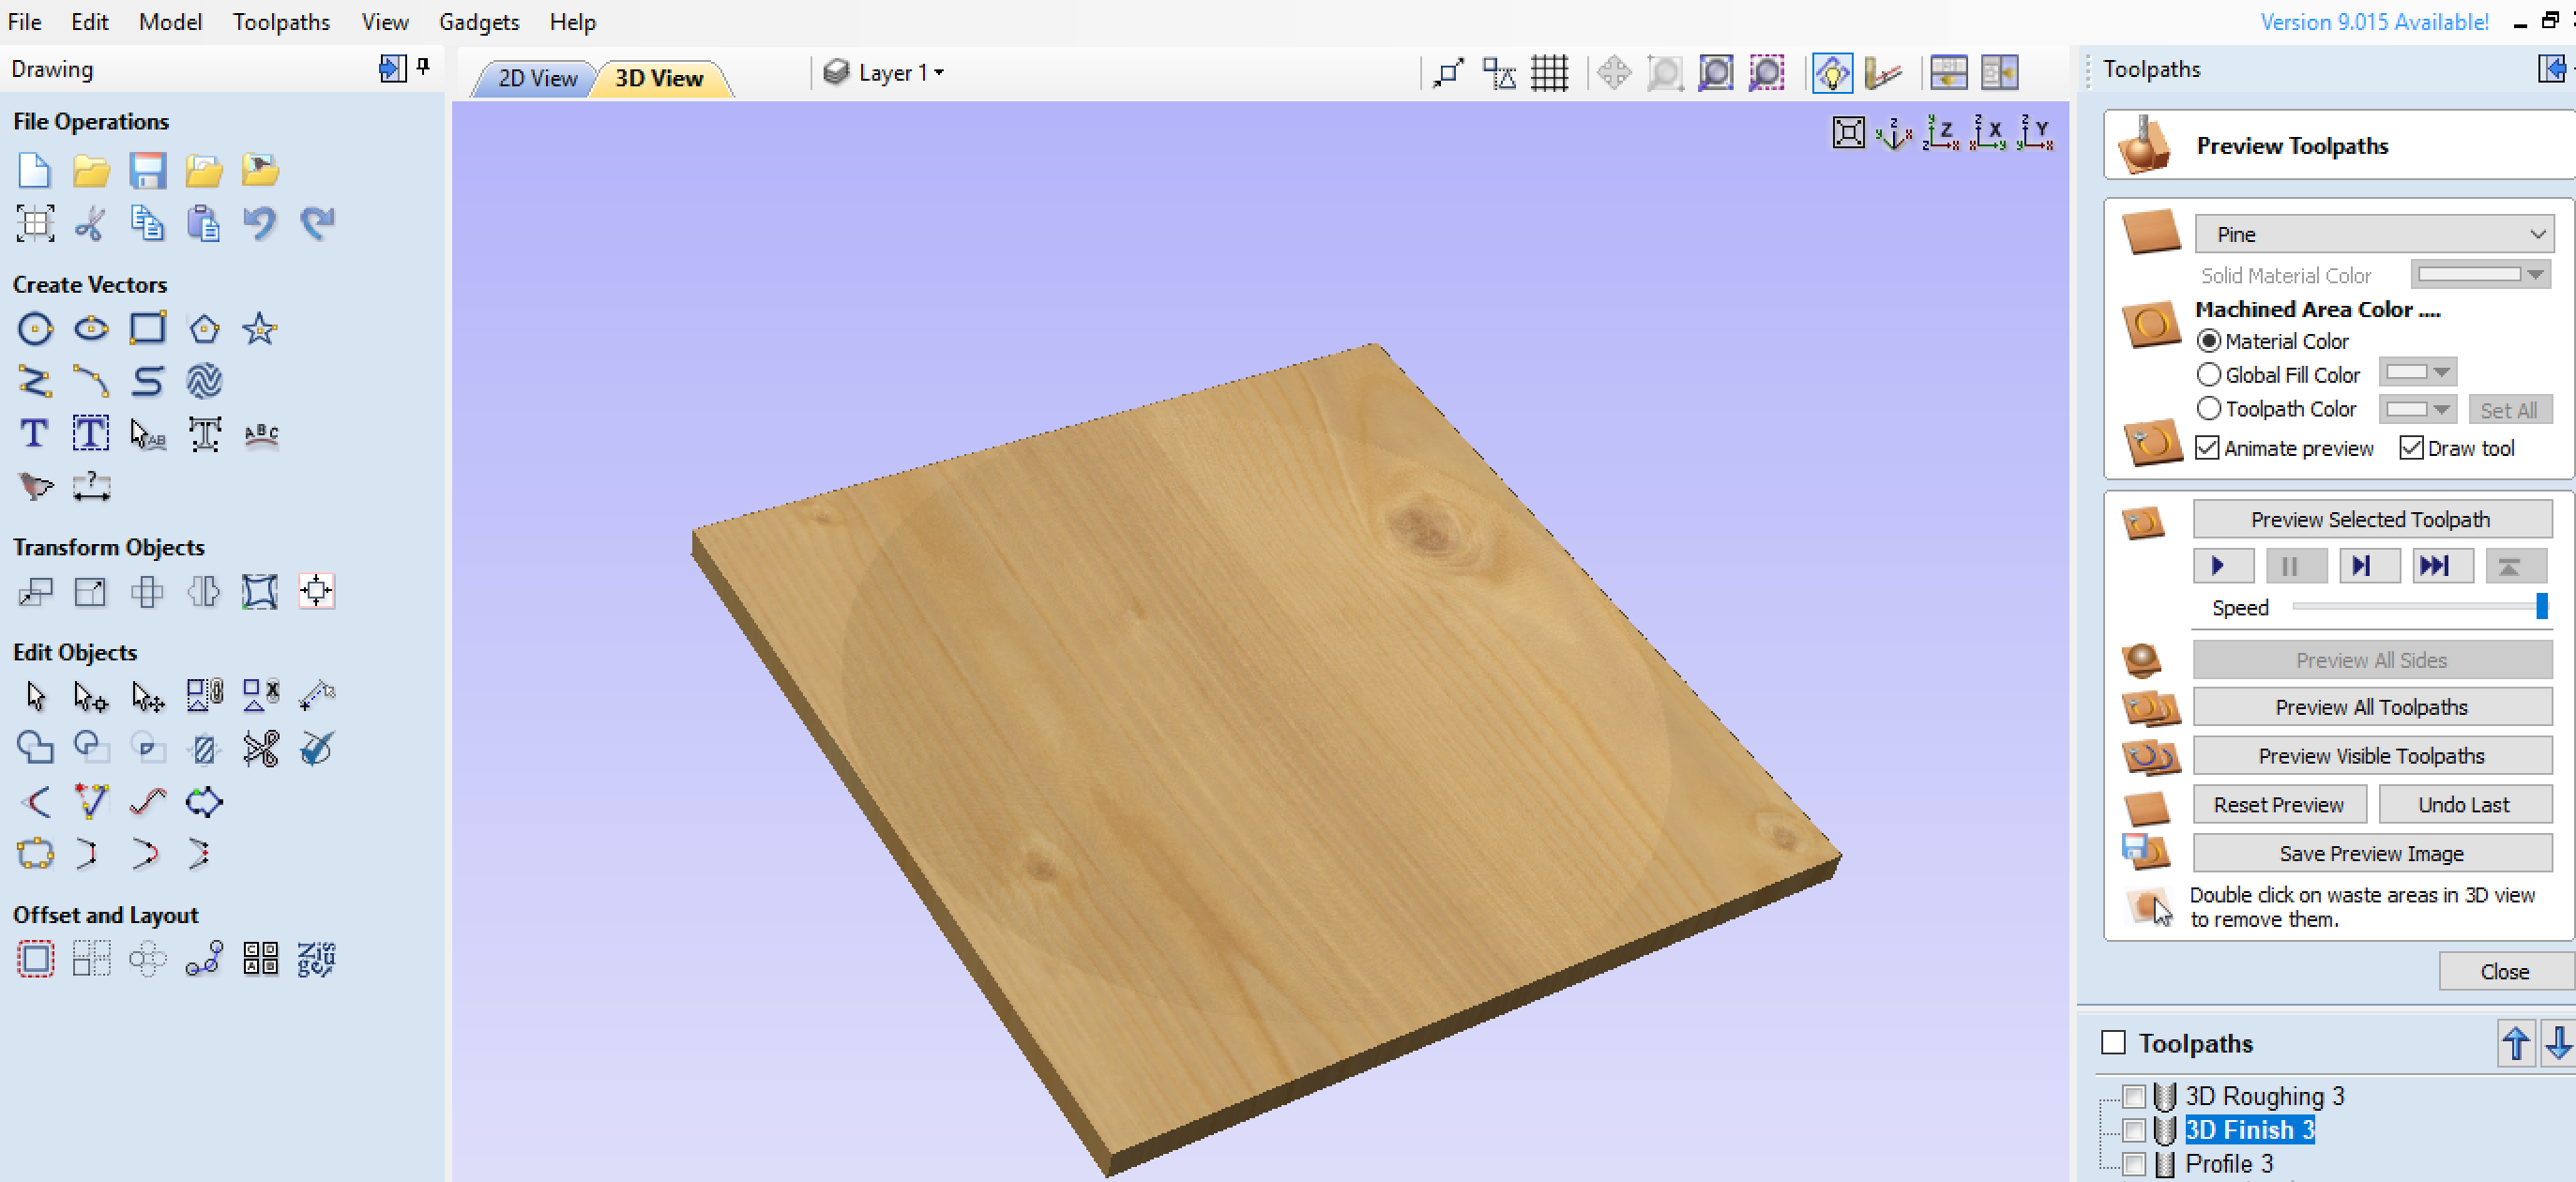
I created a 15’ radius dish in Rhino, 24" x 24" x 1" thick to be carved out of MDF. I’ve imported the model into Aspire and created a roughing and finishing pass but cannot get a perimeter cut using the imported model.
Is there a way to select the outer edge of the model and then create a tool-path to cut the outside the perimeter?
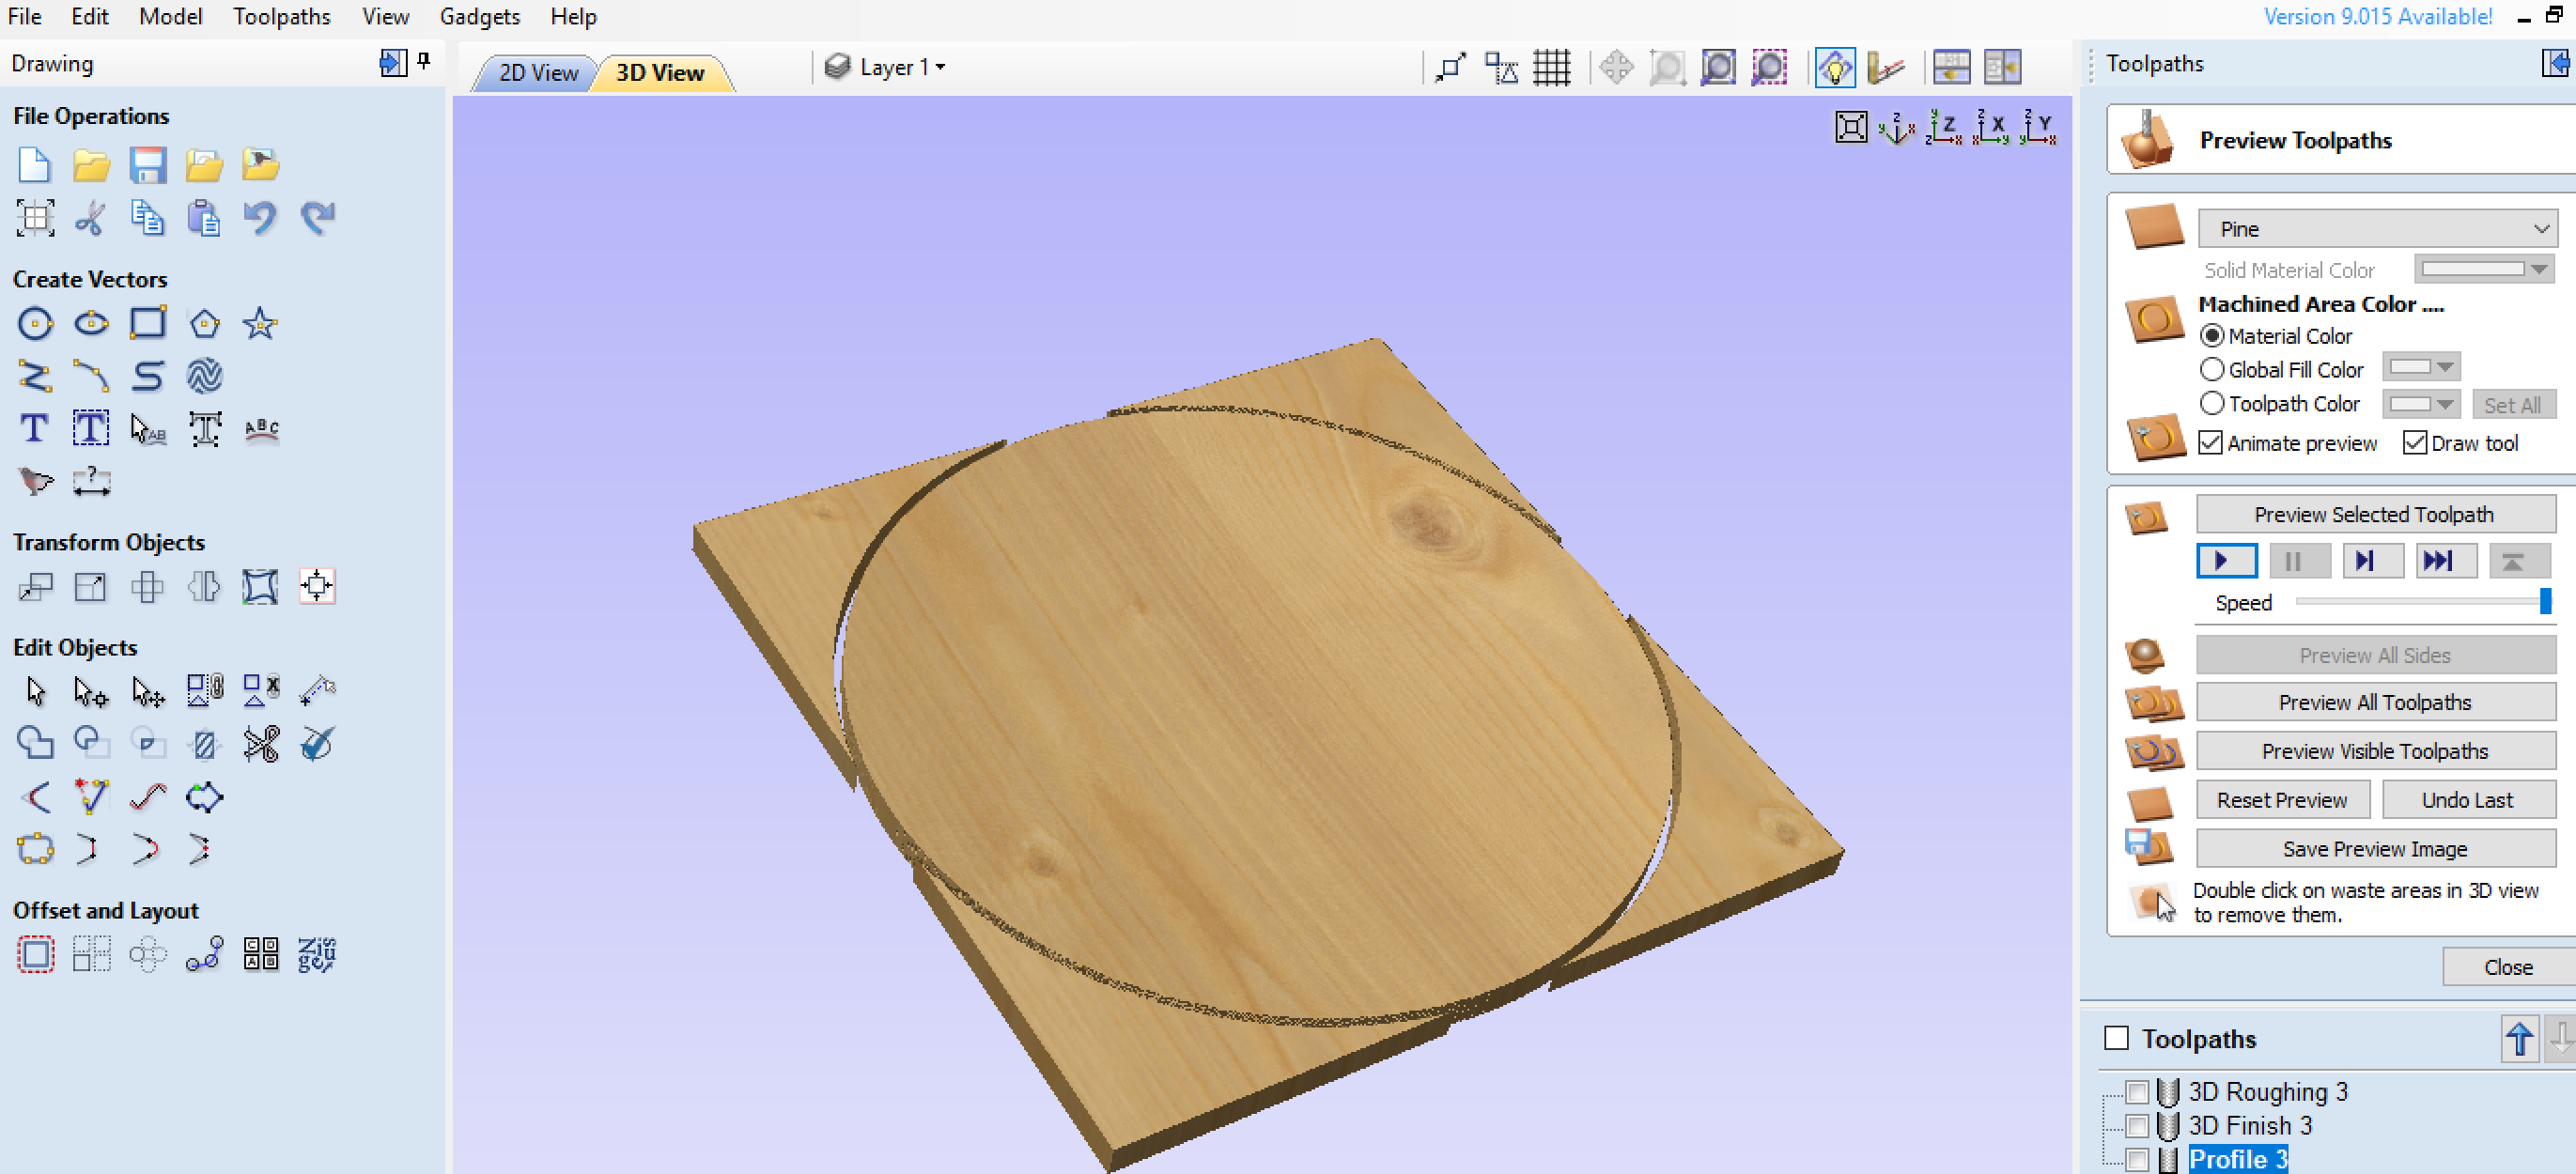
As a ‘workaround’, I’ve created a vector at the same dimensions as my imported STL ‘15DISH’ file (scaling down the 3D model to 23.8" so I can use 24" square pieces of MDF to maximize materials) and created a perimeter cut on the outside of that vector. I’m wondering if there’s another way to approach / streamline this.
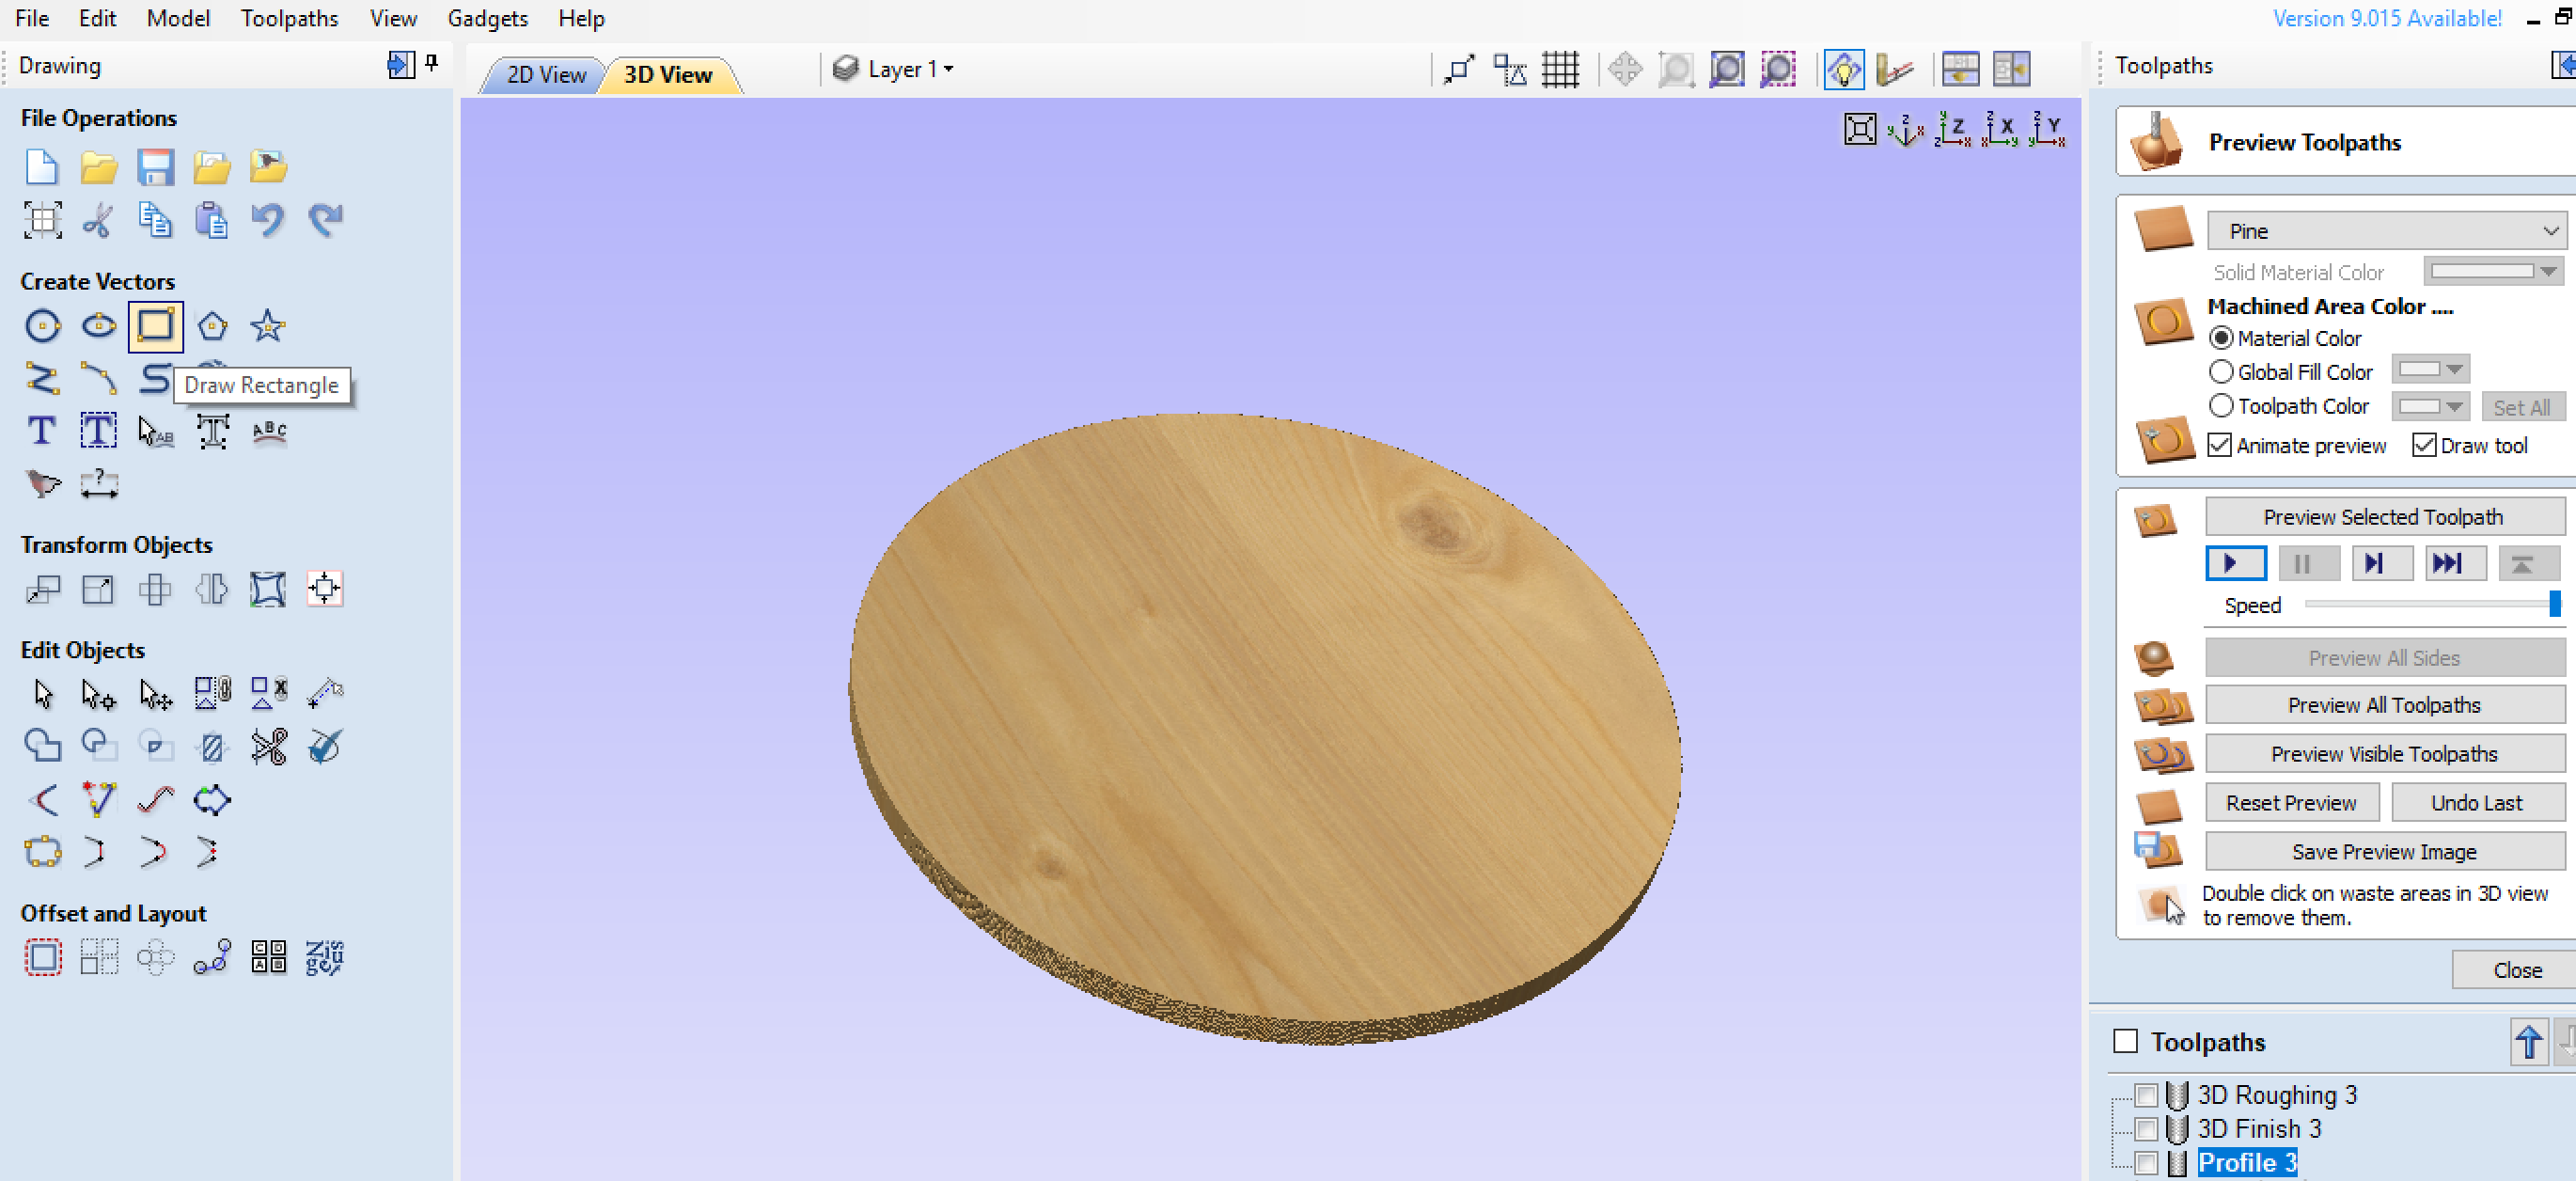
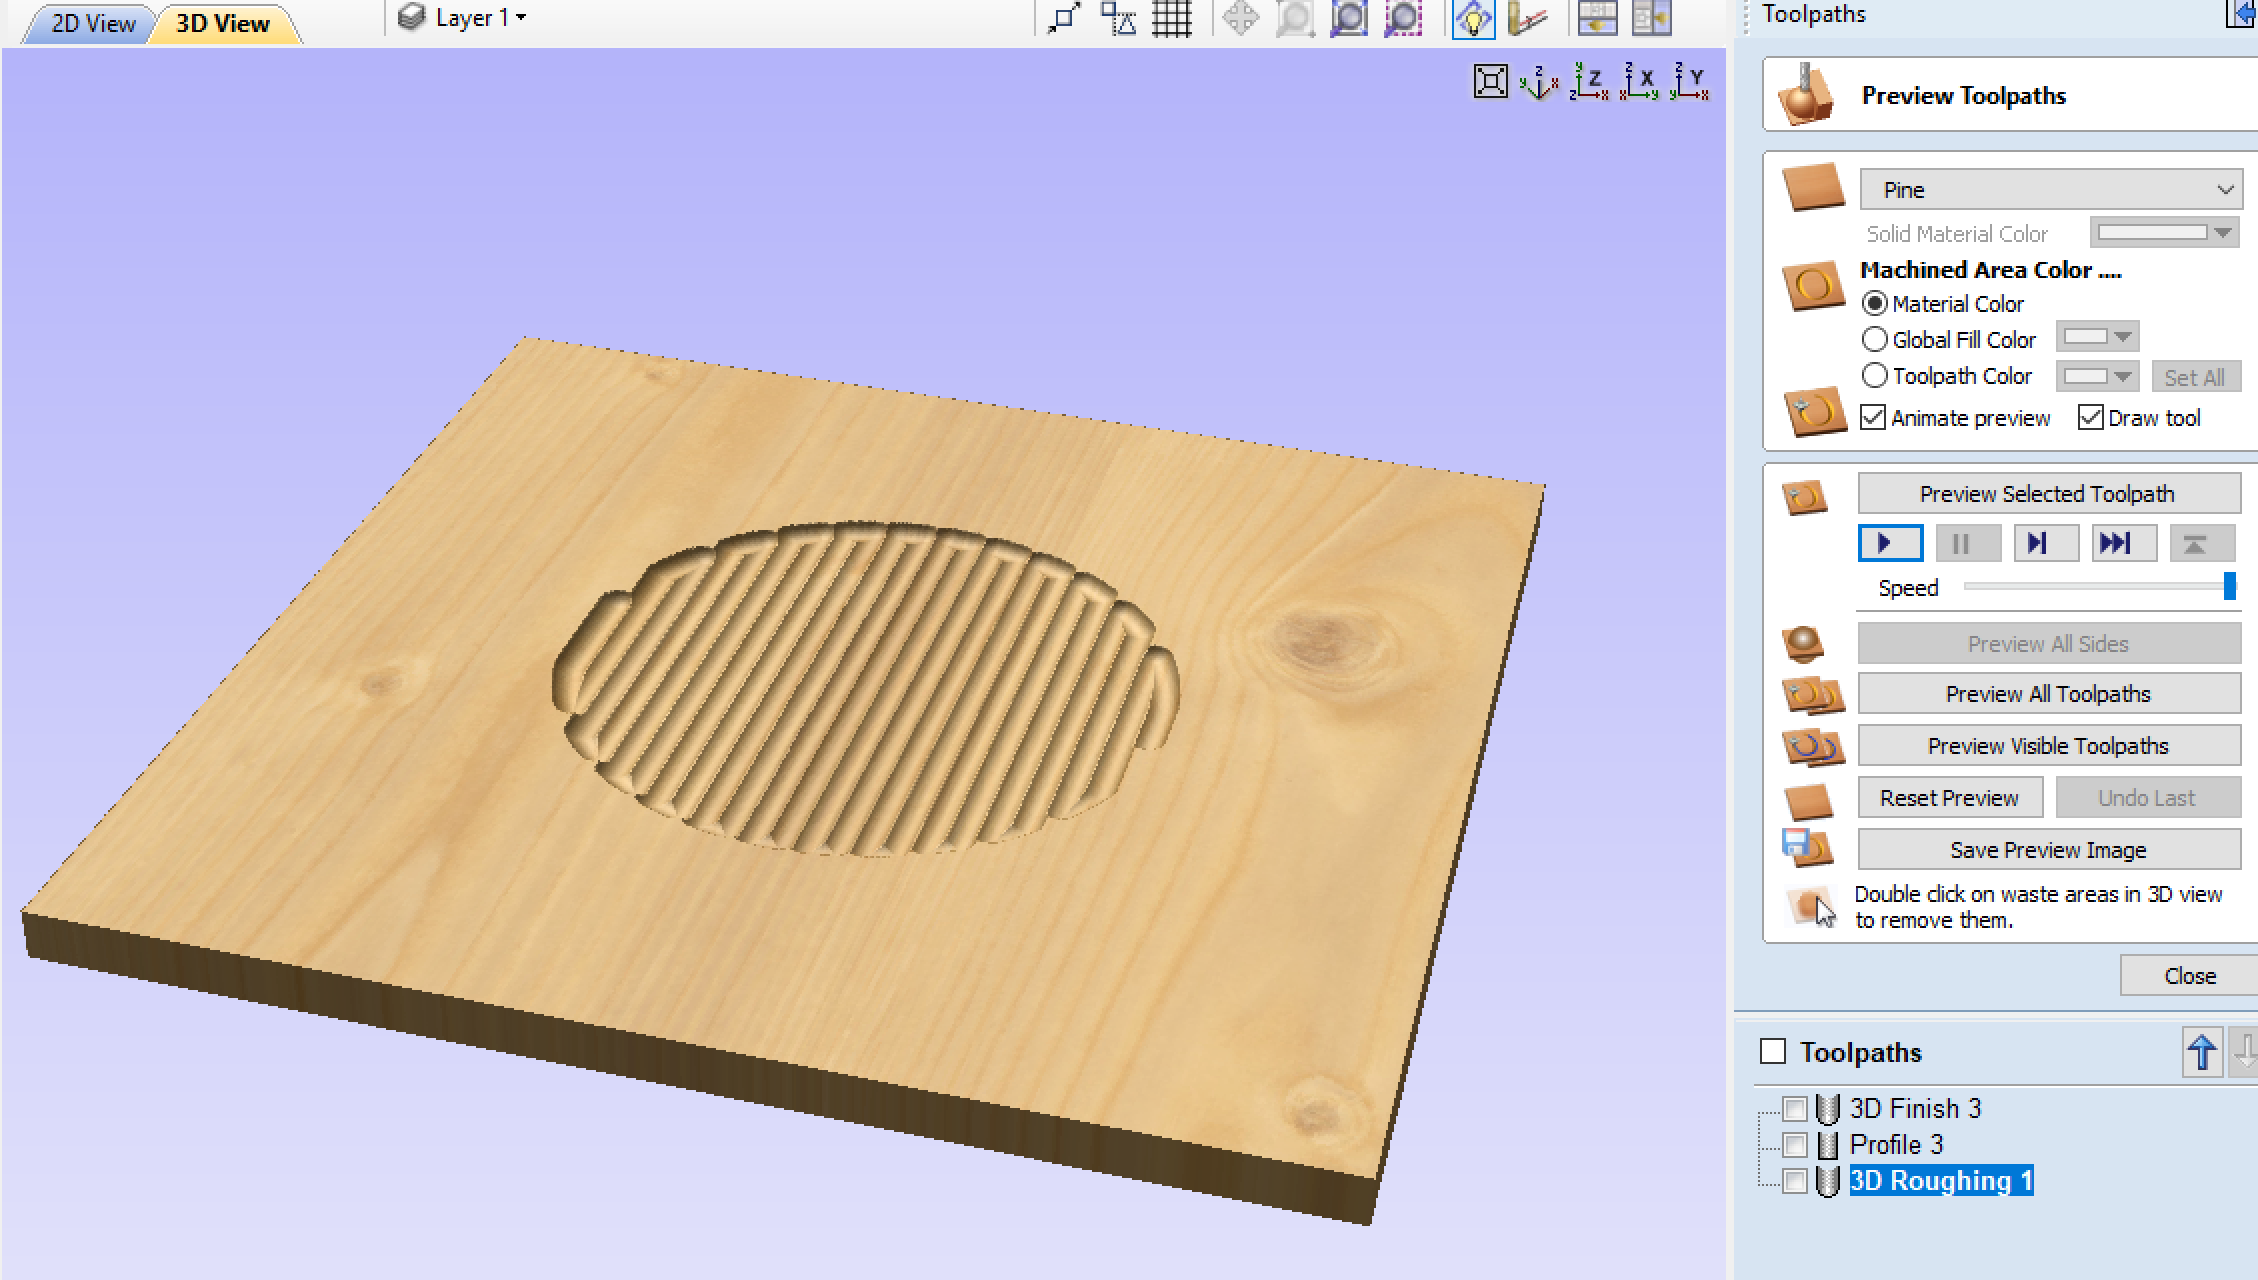
I’ve attached some screenshots of the rough / finishing pass (can’t upload the aspire file here).
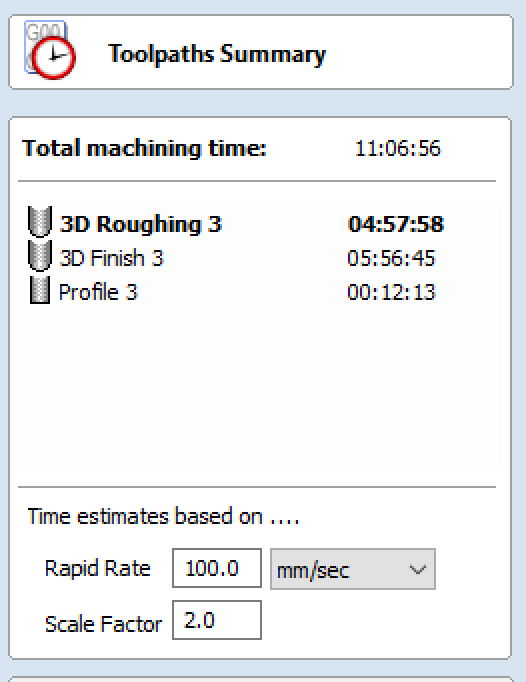
Also, machining time is just over 11 hours! I’m using the dealt settings for the 1/4" ball and EM… is there anything I can do to improve carve times?
You can use a larger endmill for roughing passes, increase your speed and feed numbers, you may be using defaults. Check these numbers with the recommendations in @julien F&S calculator (check Shapeoko e-book thread).
Go to the modeling tab, select your model, then click “Create Boundary around Model” button. It draws a vector around your model you can use to cut it out or use it to limit your tool paths.
Definitely using defaults, Luc. To date, it’s worked but this project is a bit more of a beast. Maybe this is obvious, but would, say, a 1" Freud ball-nose bit make quicker work and produce as good a result if used for both roughing and finishing passes?
I just tried this and it worked perfectly. Basically, it recreated the circle vector I created by hand in one click. I could definitely see this being especially useful for more complex shapes. Thanks Gary.
OK, what are your current default F&S and endmill detail (number of flutes), we can use the calculator to see how you can increase your F&S without affecting the quality. Normally, you would use a large bit for roughing and a smaller bit for the detailed pass. Since this is a bowl, you may get away with a larger bit compared to an intricate 3D model. Would a 1in router bit be a good choice, I don’t know, maybe for roughing but it may not work well for the final pass because it may not be fine enough to follow the curve of the bowl without leaving unwanted marks.
Hi Luc -
I’m just using the #201 EM for the perimeter cut and the 1/4" ball-end from Carbide for the roughing finishing passes.
This said, I checked my bone-yard of ‘bulk bits’ I purchased from Canadian Tire (big box store here) and found a 3/4" ball-nose bit w/ a 1/4" shank that’s never been used (I also found a similar 1/2" bit). Can you see any reason why this wouldn’t work for the rough pass (or maybe both) in view of speeding things up?
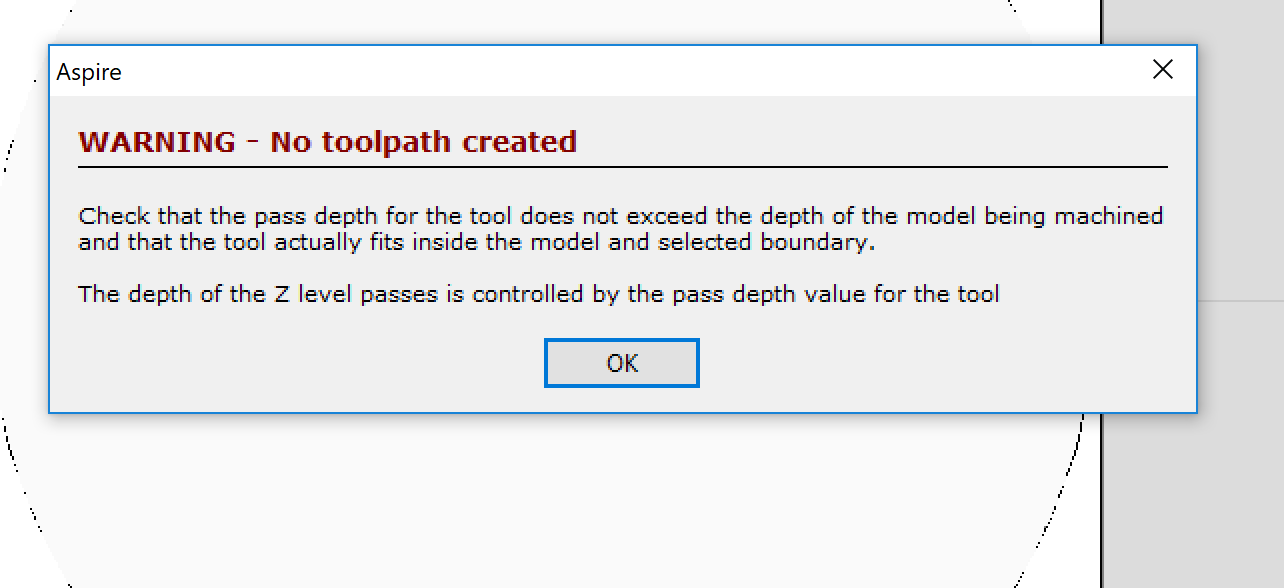
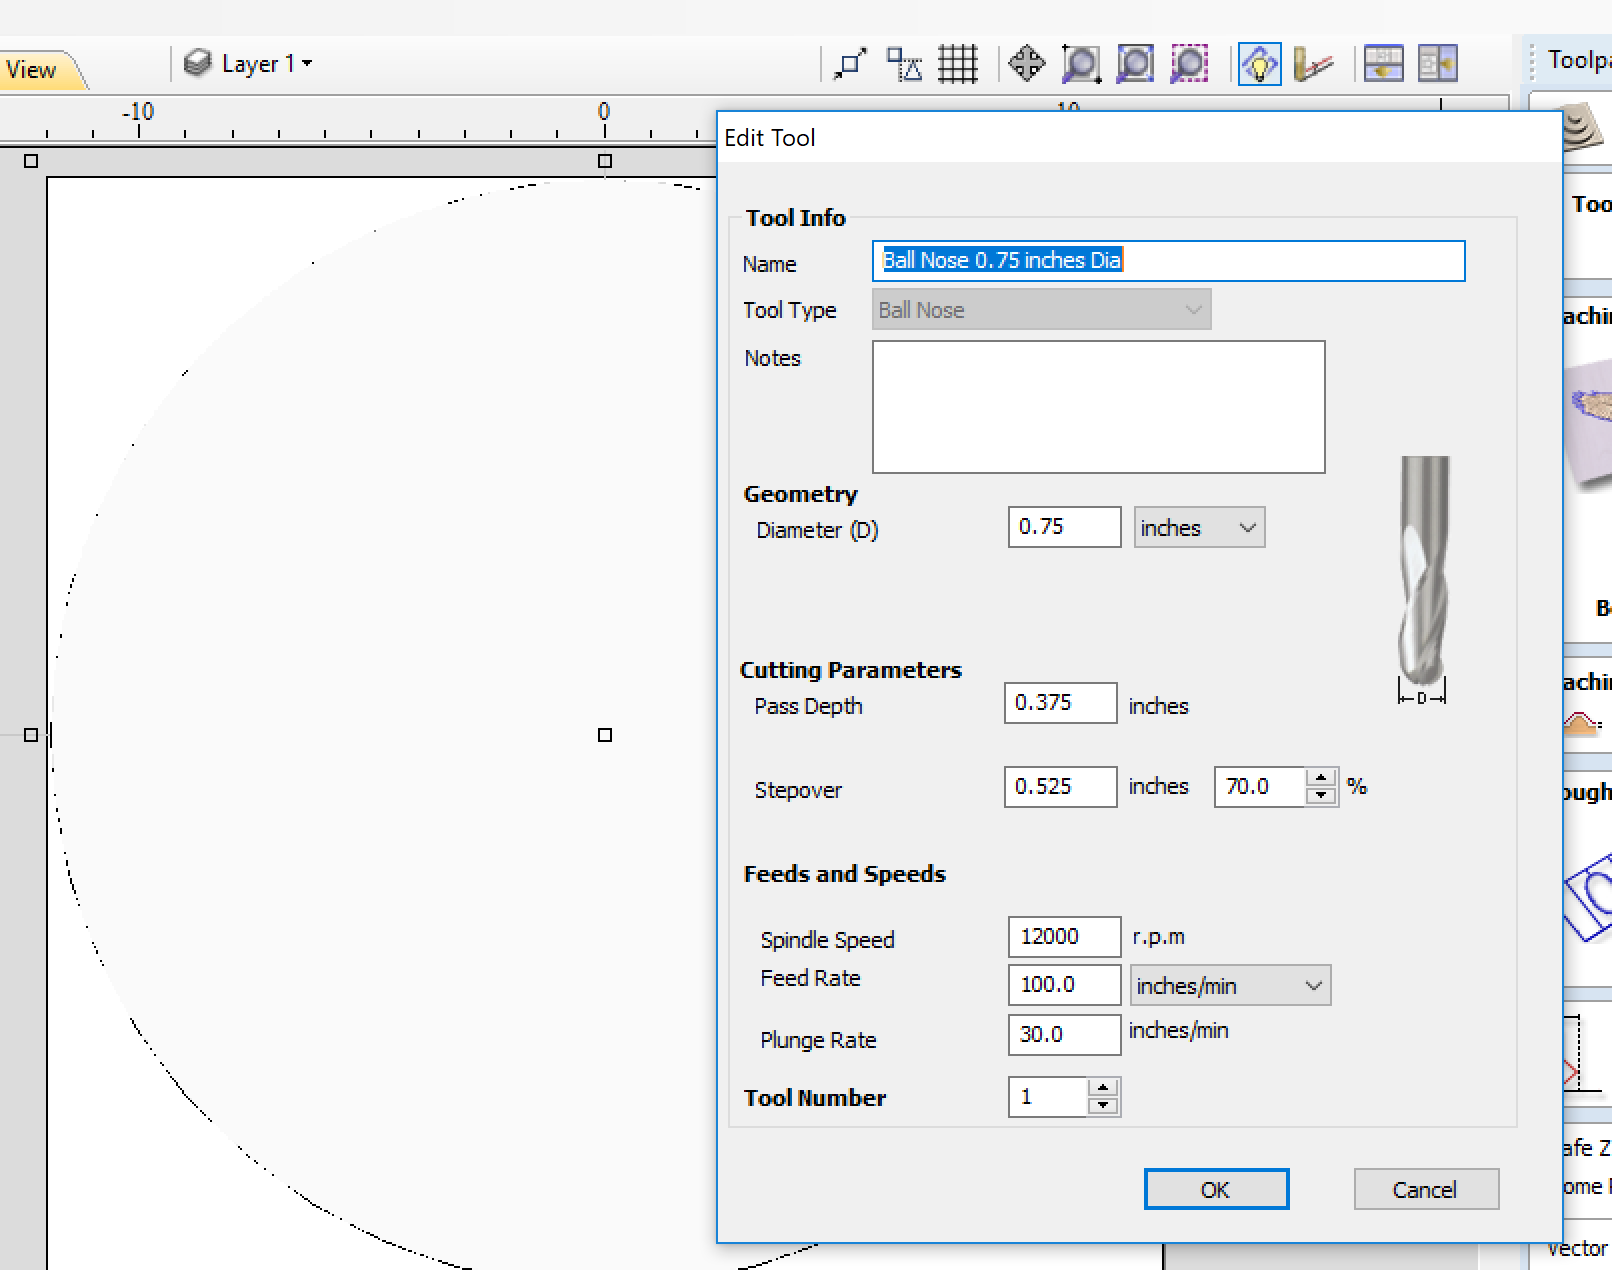
I’m trying to set up the 3/4" bit for the roughing pass but Aspire is throwing an error. Initially I had the pass depth set to 1.1" (default) and thought this was the issue because my material is only 1". I changed this to half the diameter of the bit (.375") but it’s still throwing the error. Any ideas what I’m overlooking?
Update - changed ‘Pass Depth’ to .25 and this seems to have remedied the issue. Not sure if any other settings should be changed w/ the 3/4" bit but just changing my roughing pass to this bit brought machining time down to 6 hrs.
OK lets talk about the 201 endmill you say MDF as a material which is a softwood. I’m currently roughing some cedar and these are my F&S.
Feed rate, 188in/min
Plunge 75 in/min
RPM 20000
Stepover (WOC) 0.025
DOC .25
Ramp: 0.75
Climb
Check this to see if your roughing times improves.
Regarding your other 3/4in router bit, I guess that it does not fit the geometry of your project, it is too large.
BTW, I’m north of the border so I know Crappy Tire.
Thanks Luc -
I changed the settings as per and milling time changed to 50 min for the roughing pass as per your detail. I set it up with the .25 square endmill and hadn’t considered not using a ball EM for the roughing pass.
For the roughing pass, your stepover can be more like 40% of the Pass Depth, which would be 0.1" in the example above. This should shorten the machining time further.
On your perimeter path, in Aspire, ALWAYS double check, or even triple check WHERE you are going to be milling - inside the line, outside the line OR on the line. Each setting make a huge difference in the output you want.