Inspiration struck today and I thought I would try making a light switch cover plate out of solid wood. The one thing i’ve gotten a little hung up on is i’m note quite sure of the best way to add the 2 socket mounting holes using CC so everything lines up correctly. I’ve seen a few videos of people doing this with other software, but not CC. Just curious if anyone has done this before and knows the best way to put something like this together. I suppose i could just drill the holes after but that seems a little silly with a cnc at my disposal ![]()
1 Like
There’s a lot of files for socket and light switch plates out there. I’m remodeling my second home and will be making my own plates. I don’t have access to the files right now as they are on my computer about 500 miles away. ![]()
I’ll post them when I get back next week if you want.
3 Likes
That’s a great idea. I have one set of switches in my house with 6 and another with 7. It’s very hard to find plates for them.
Not only hard to find those (i a a couple of 4 and one with 6) but when you do they are way over priced.
Web page with a file with dimensions:
https://www.doorware.com/site/product.cfm?id=421631

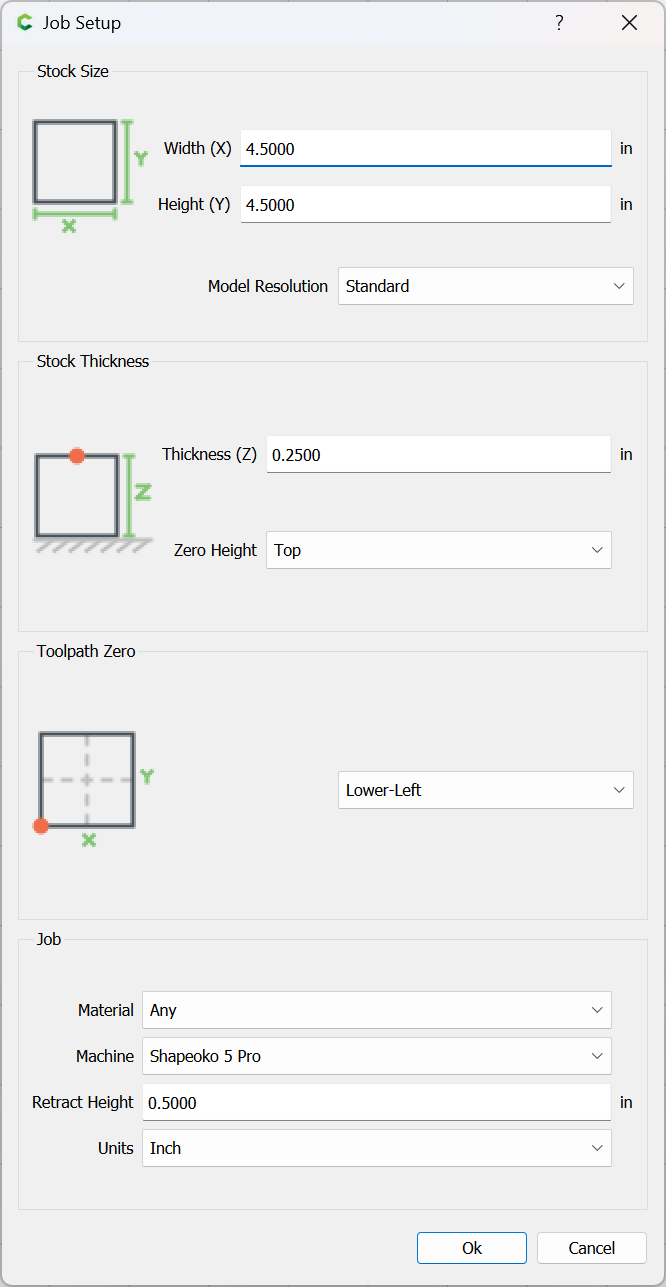
Start with a Job Setup for the size:
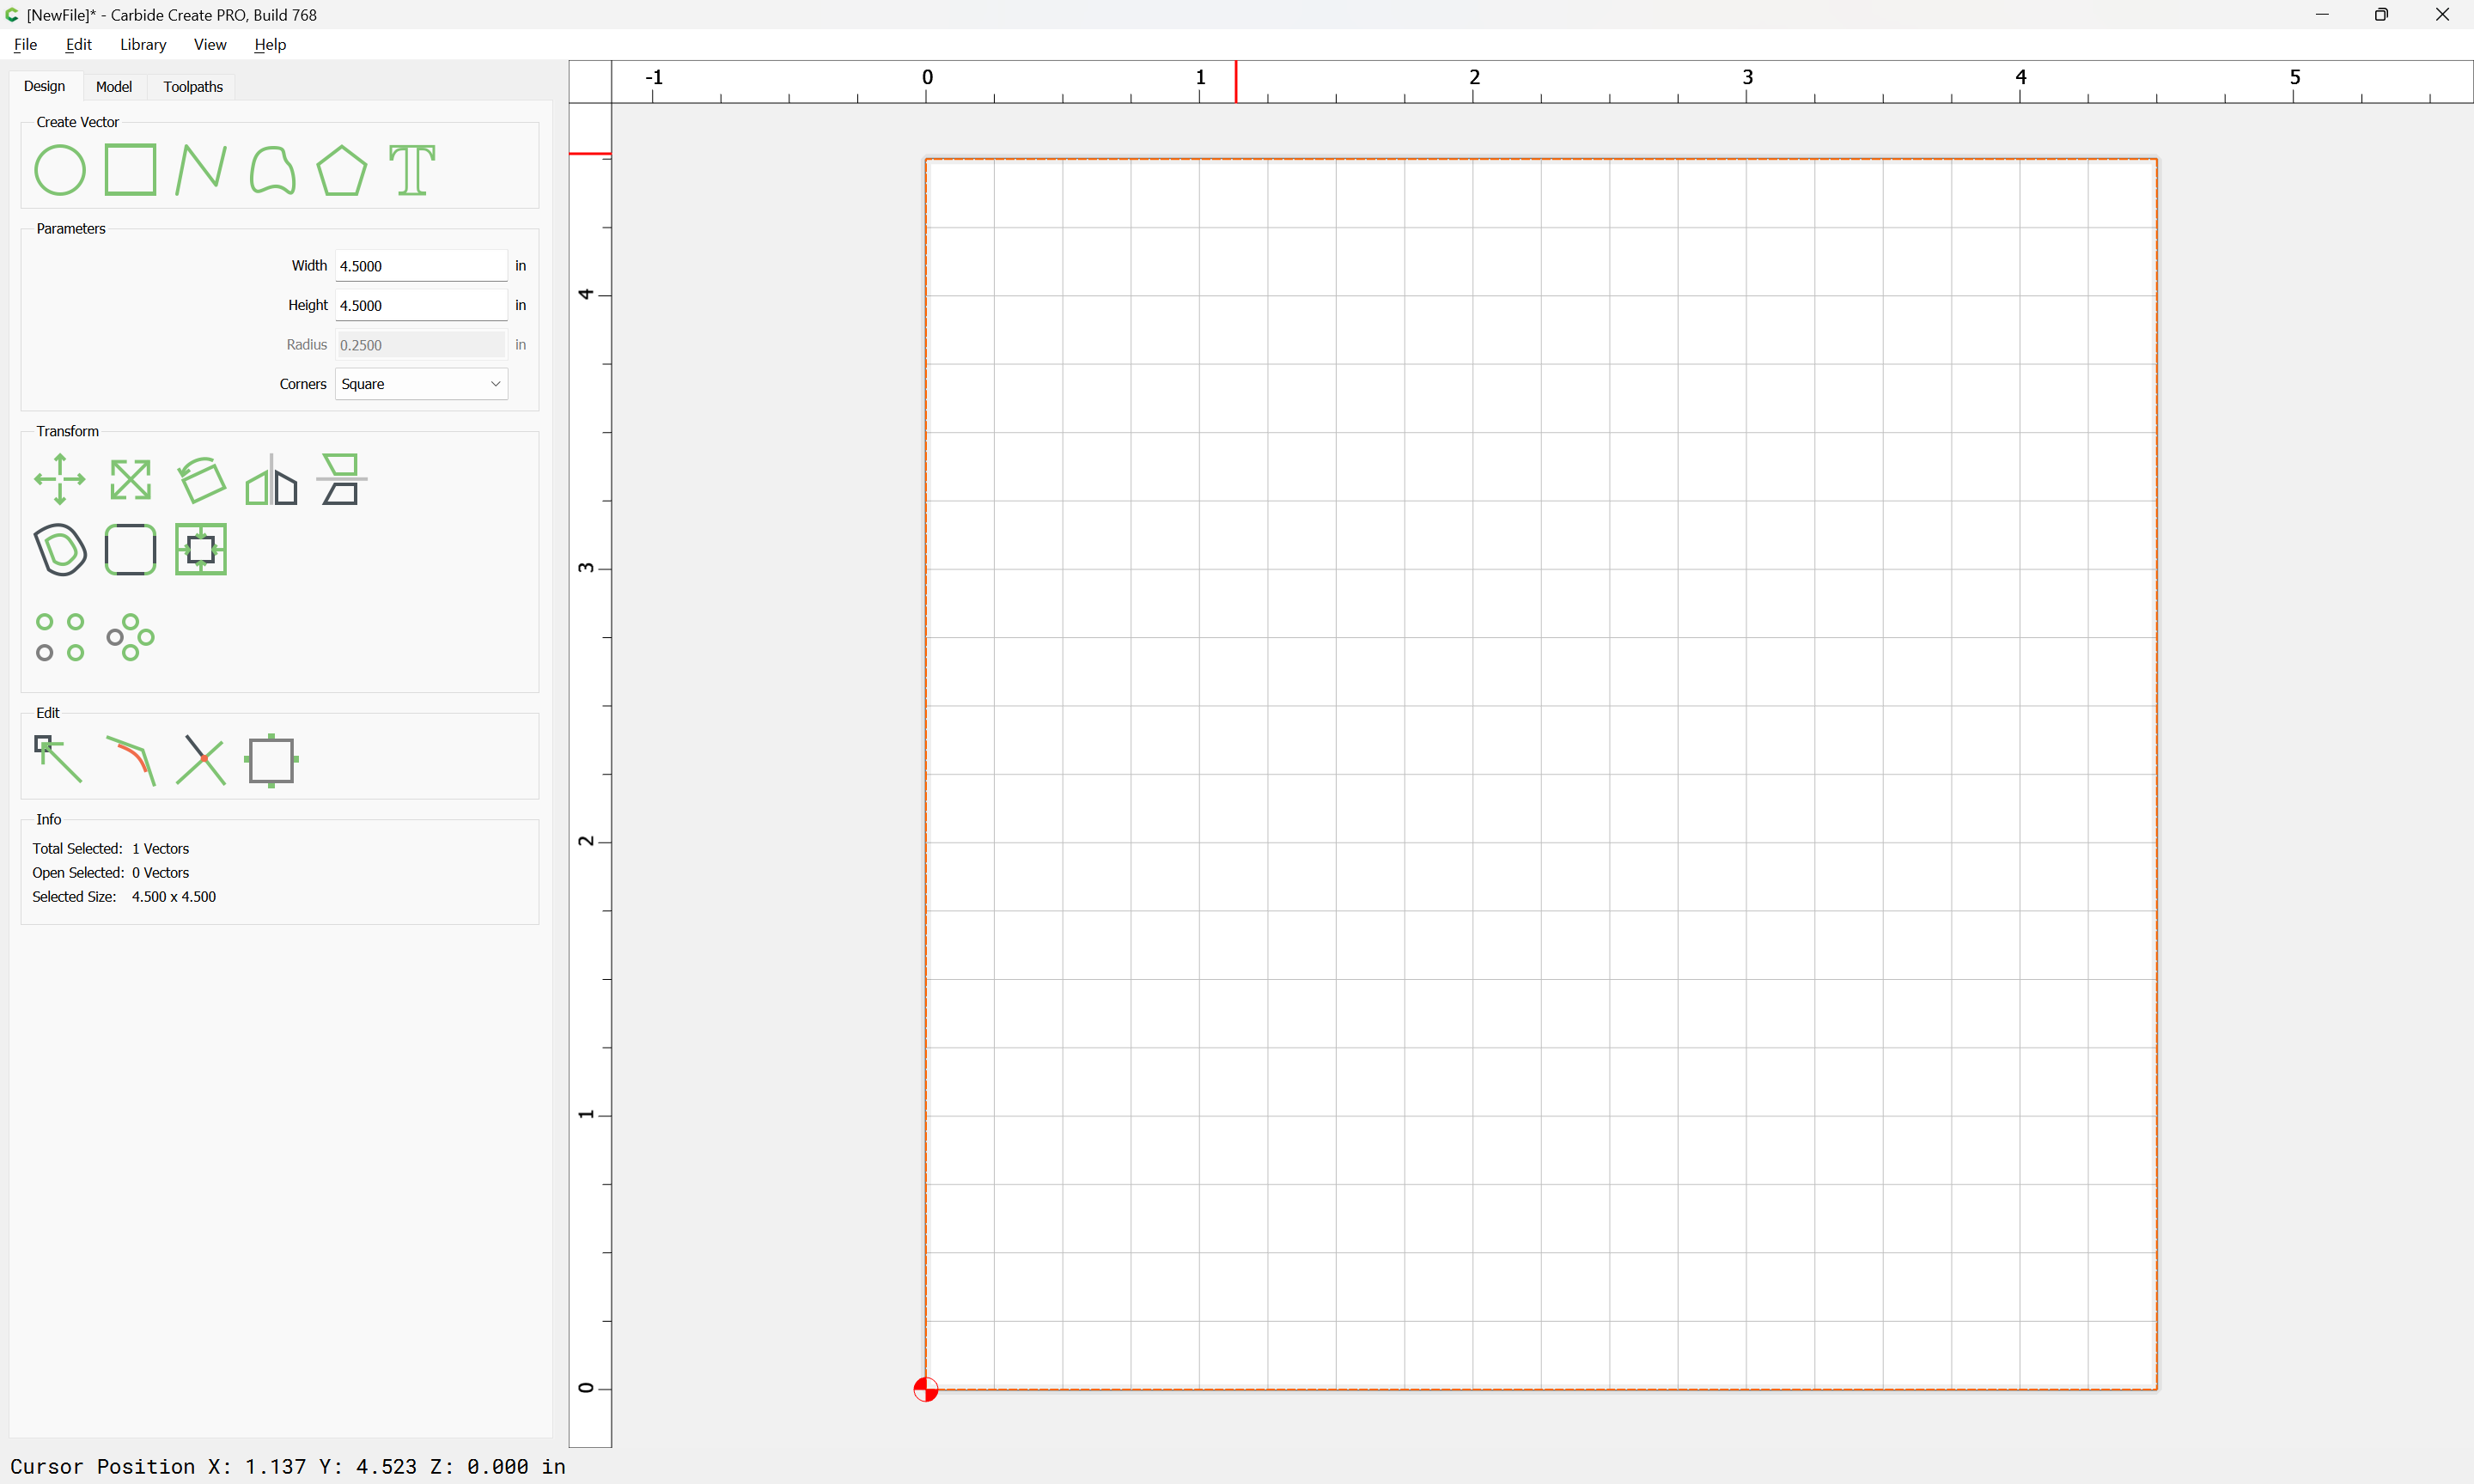
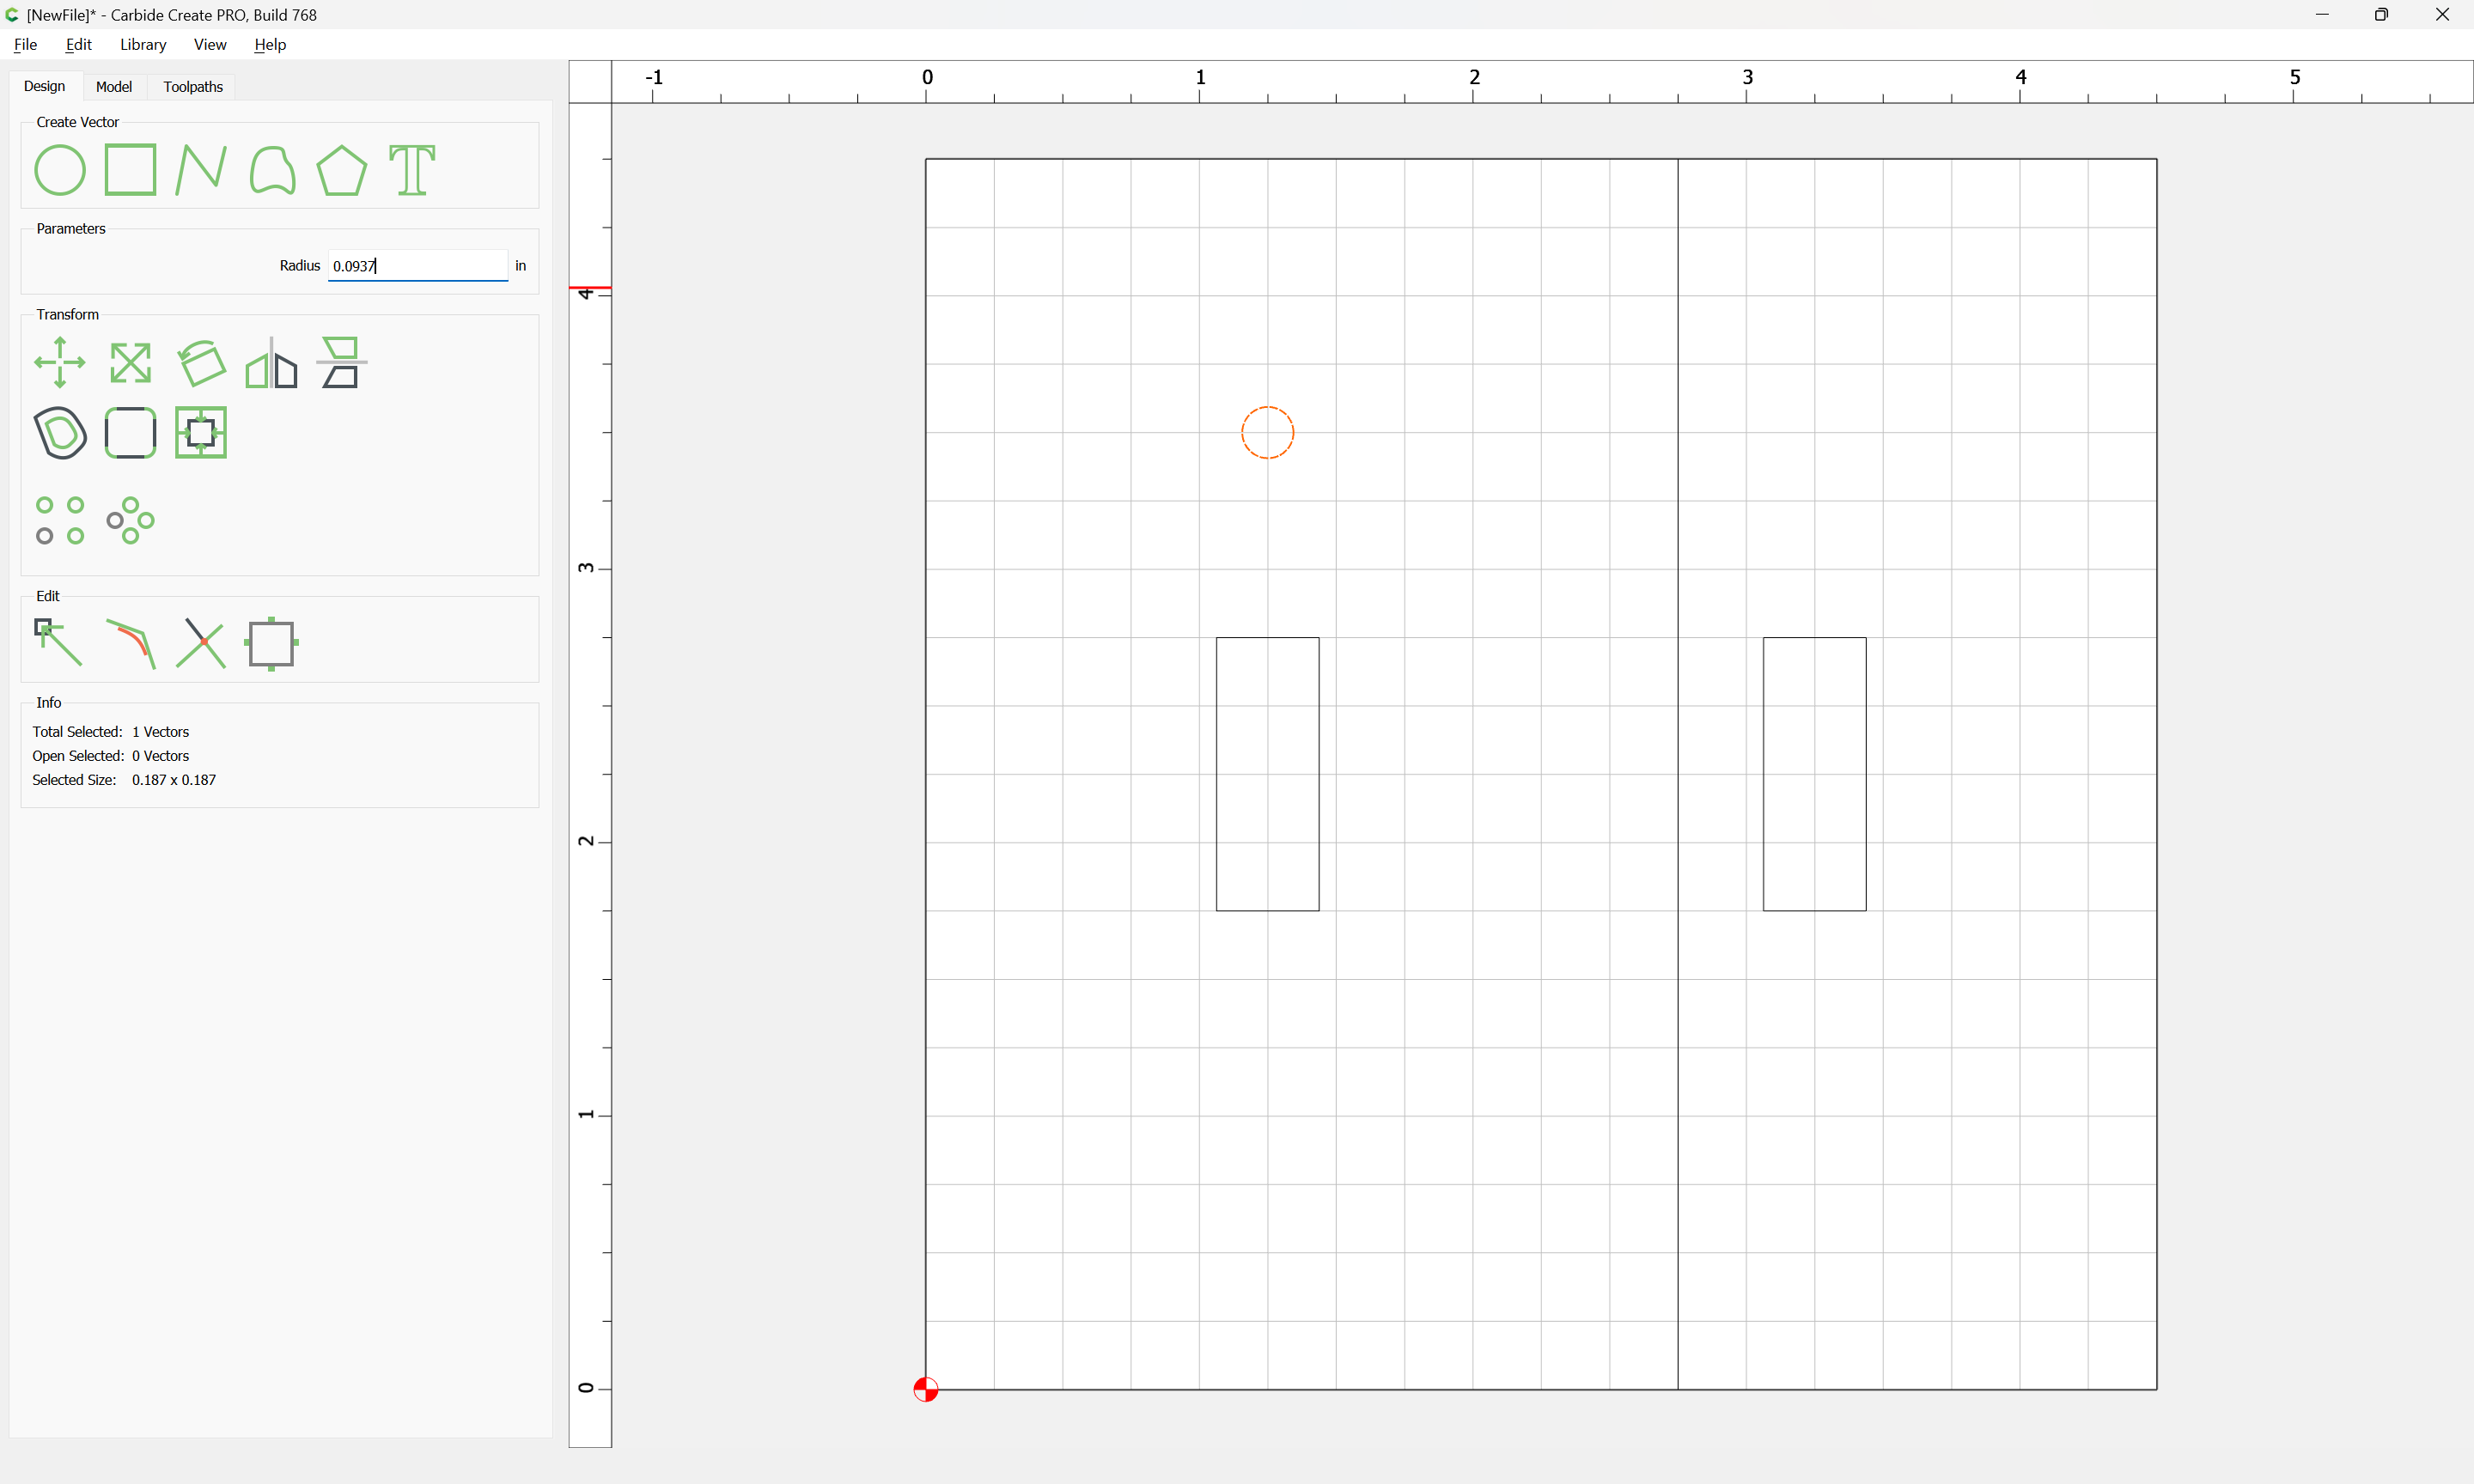
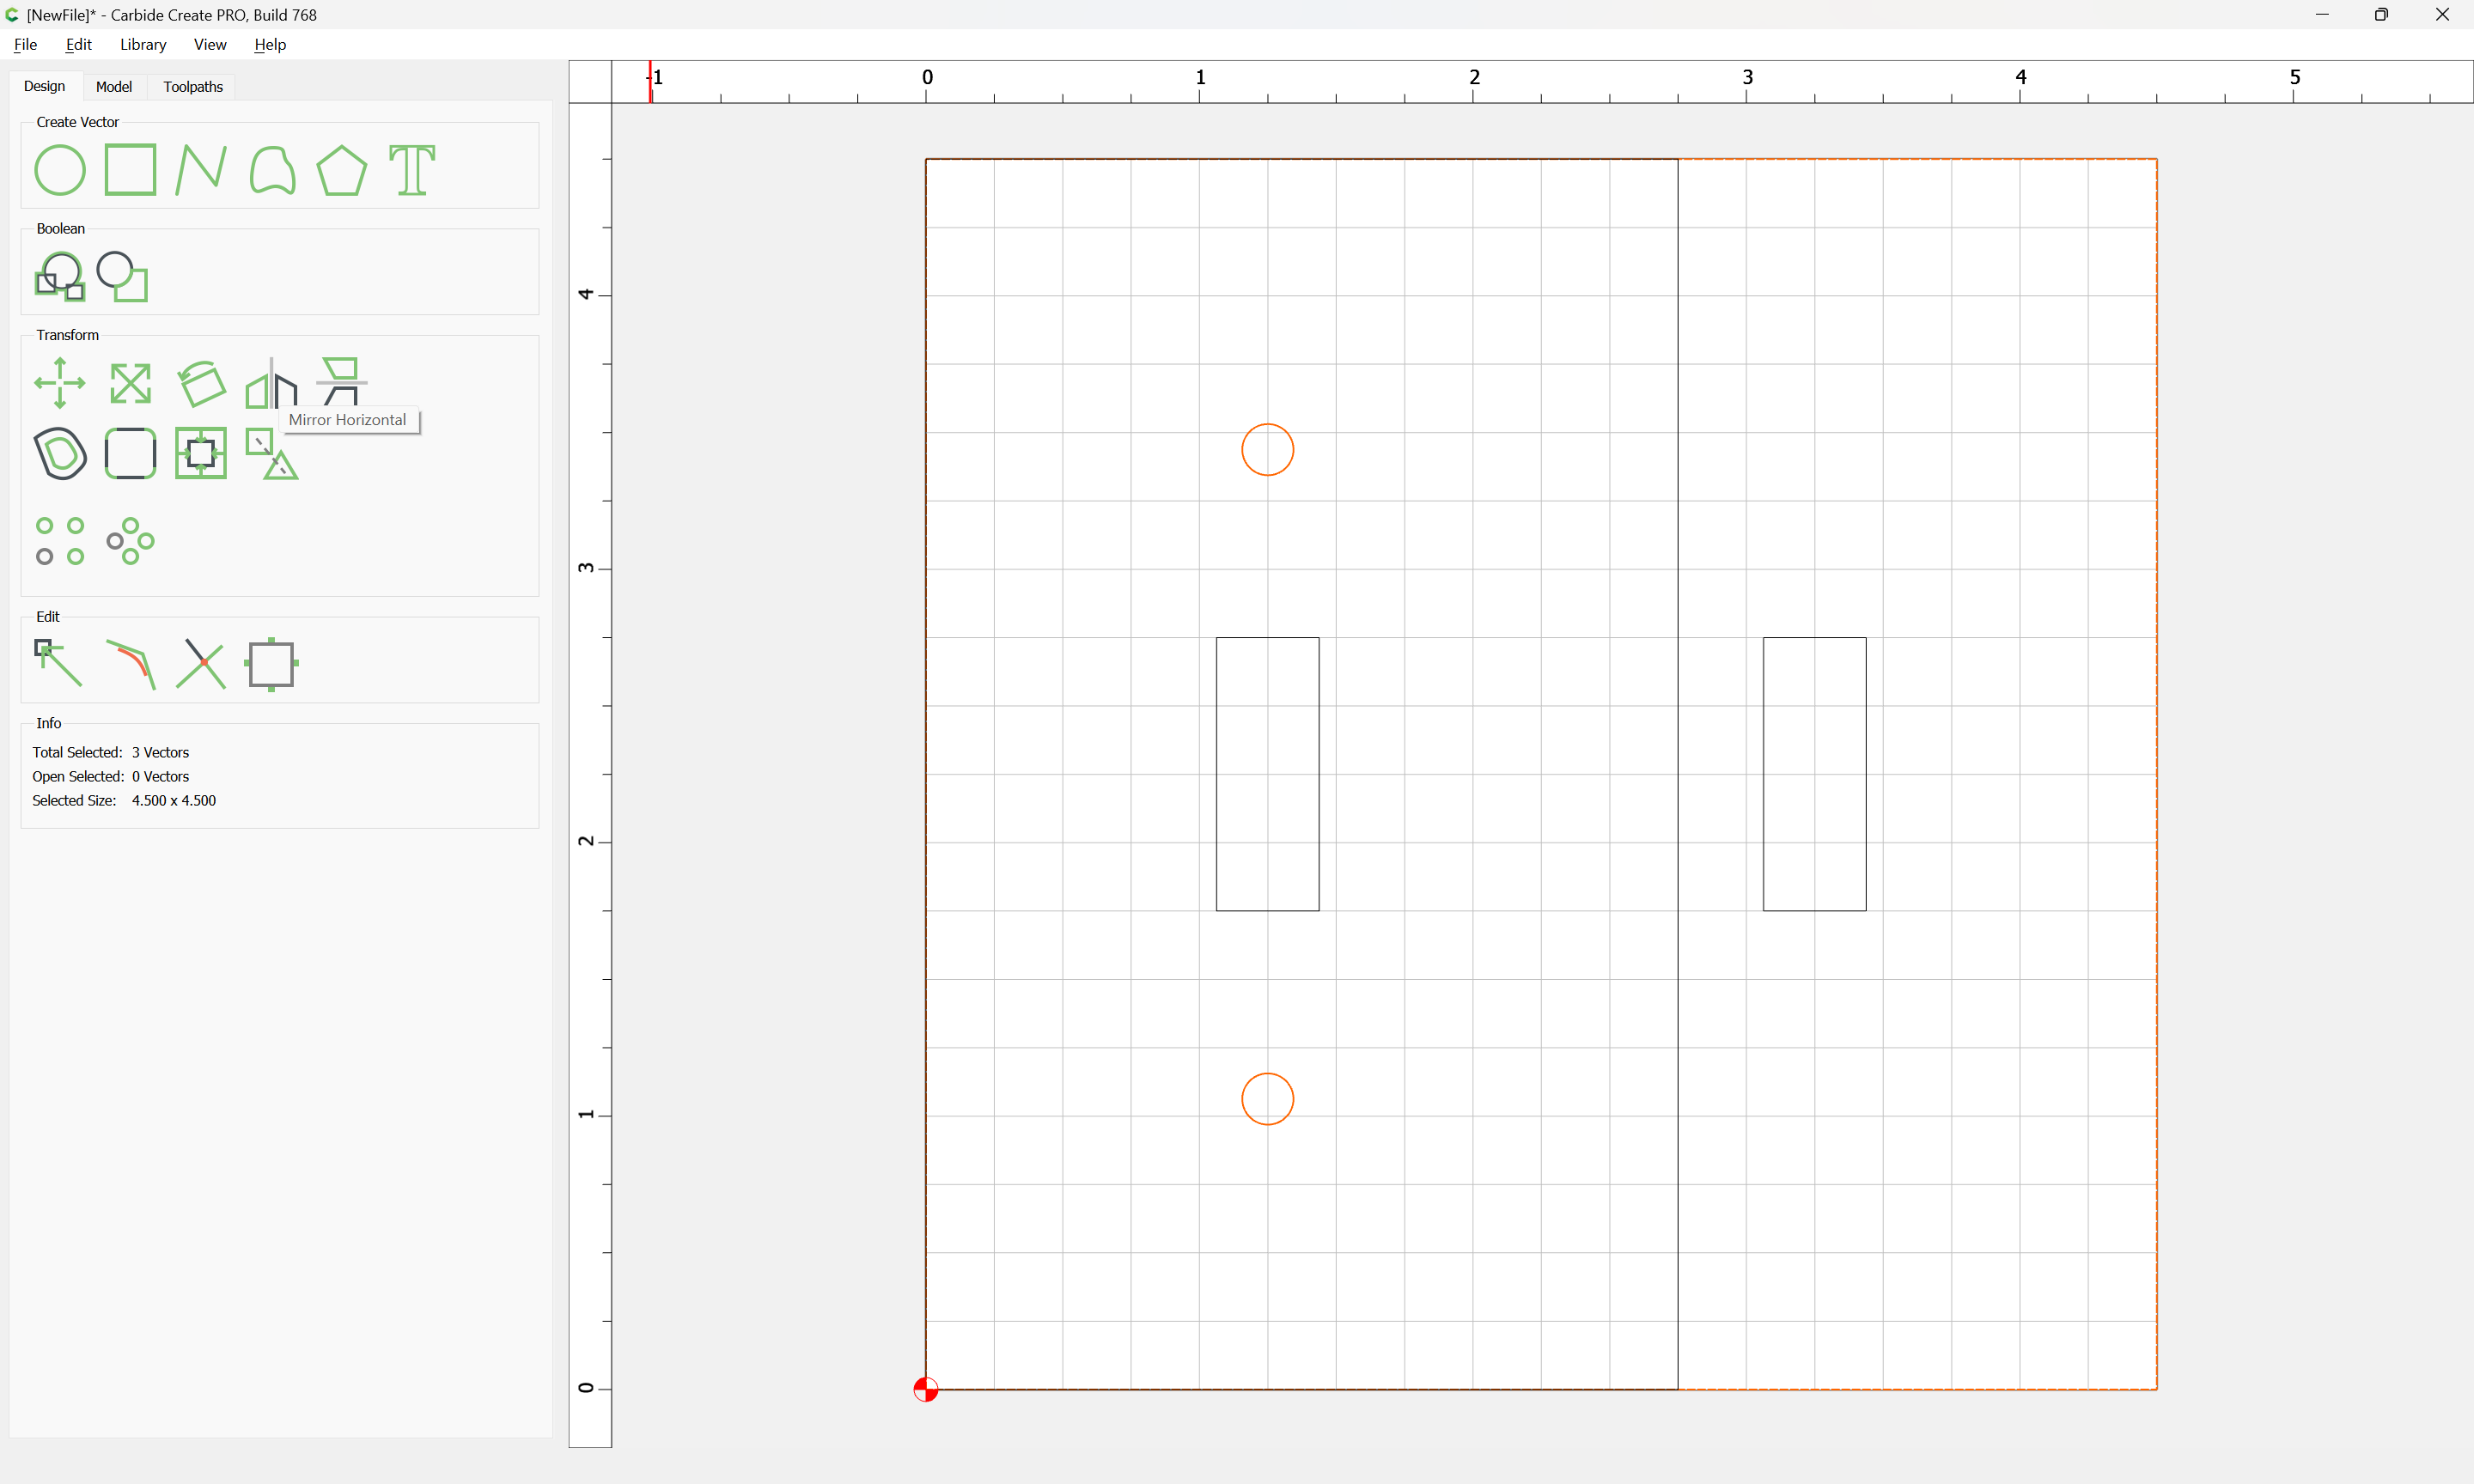
Draw in a single:
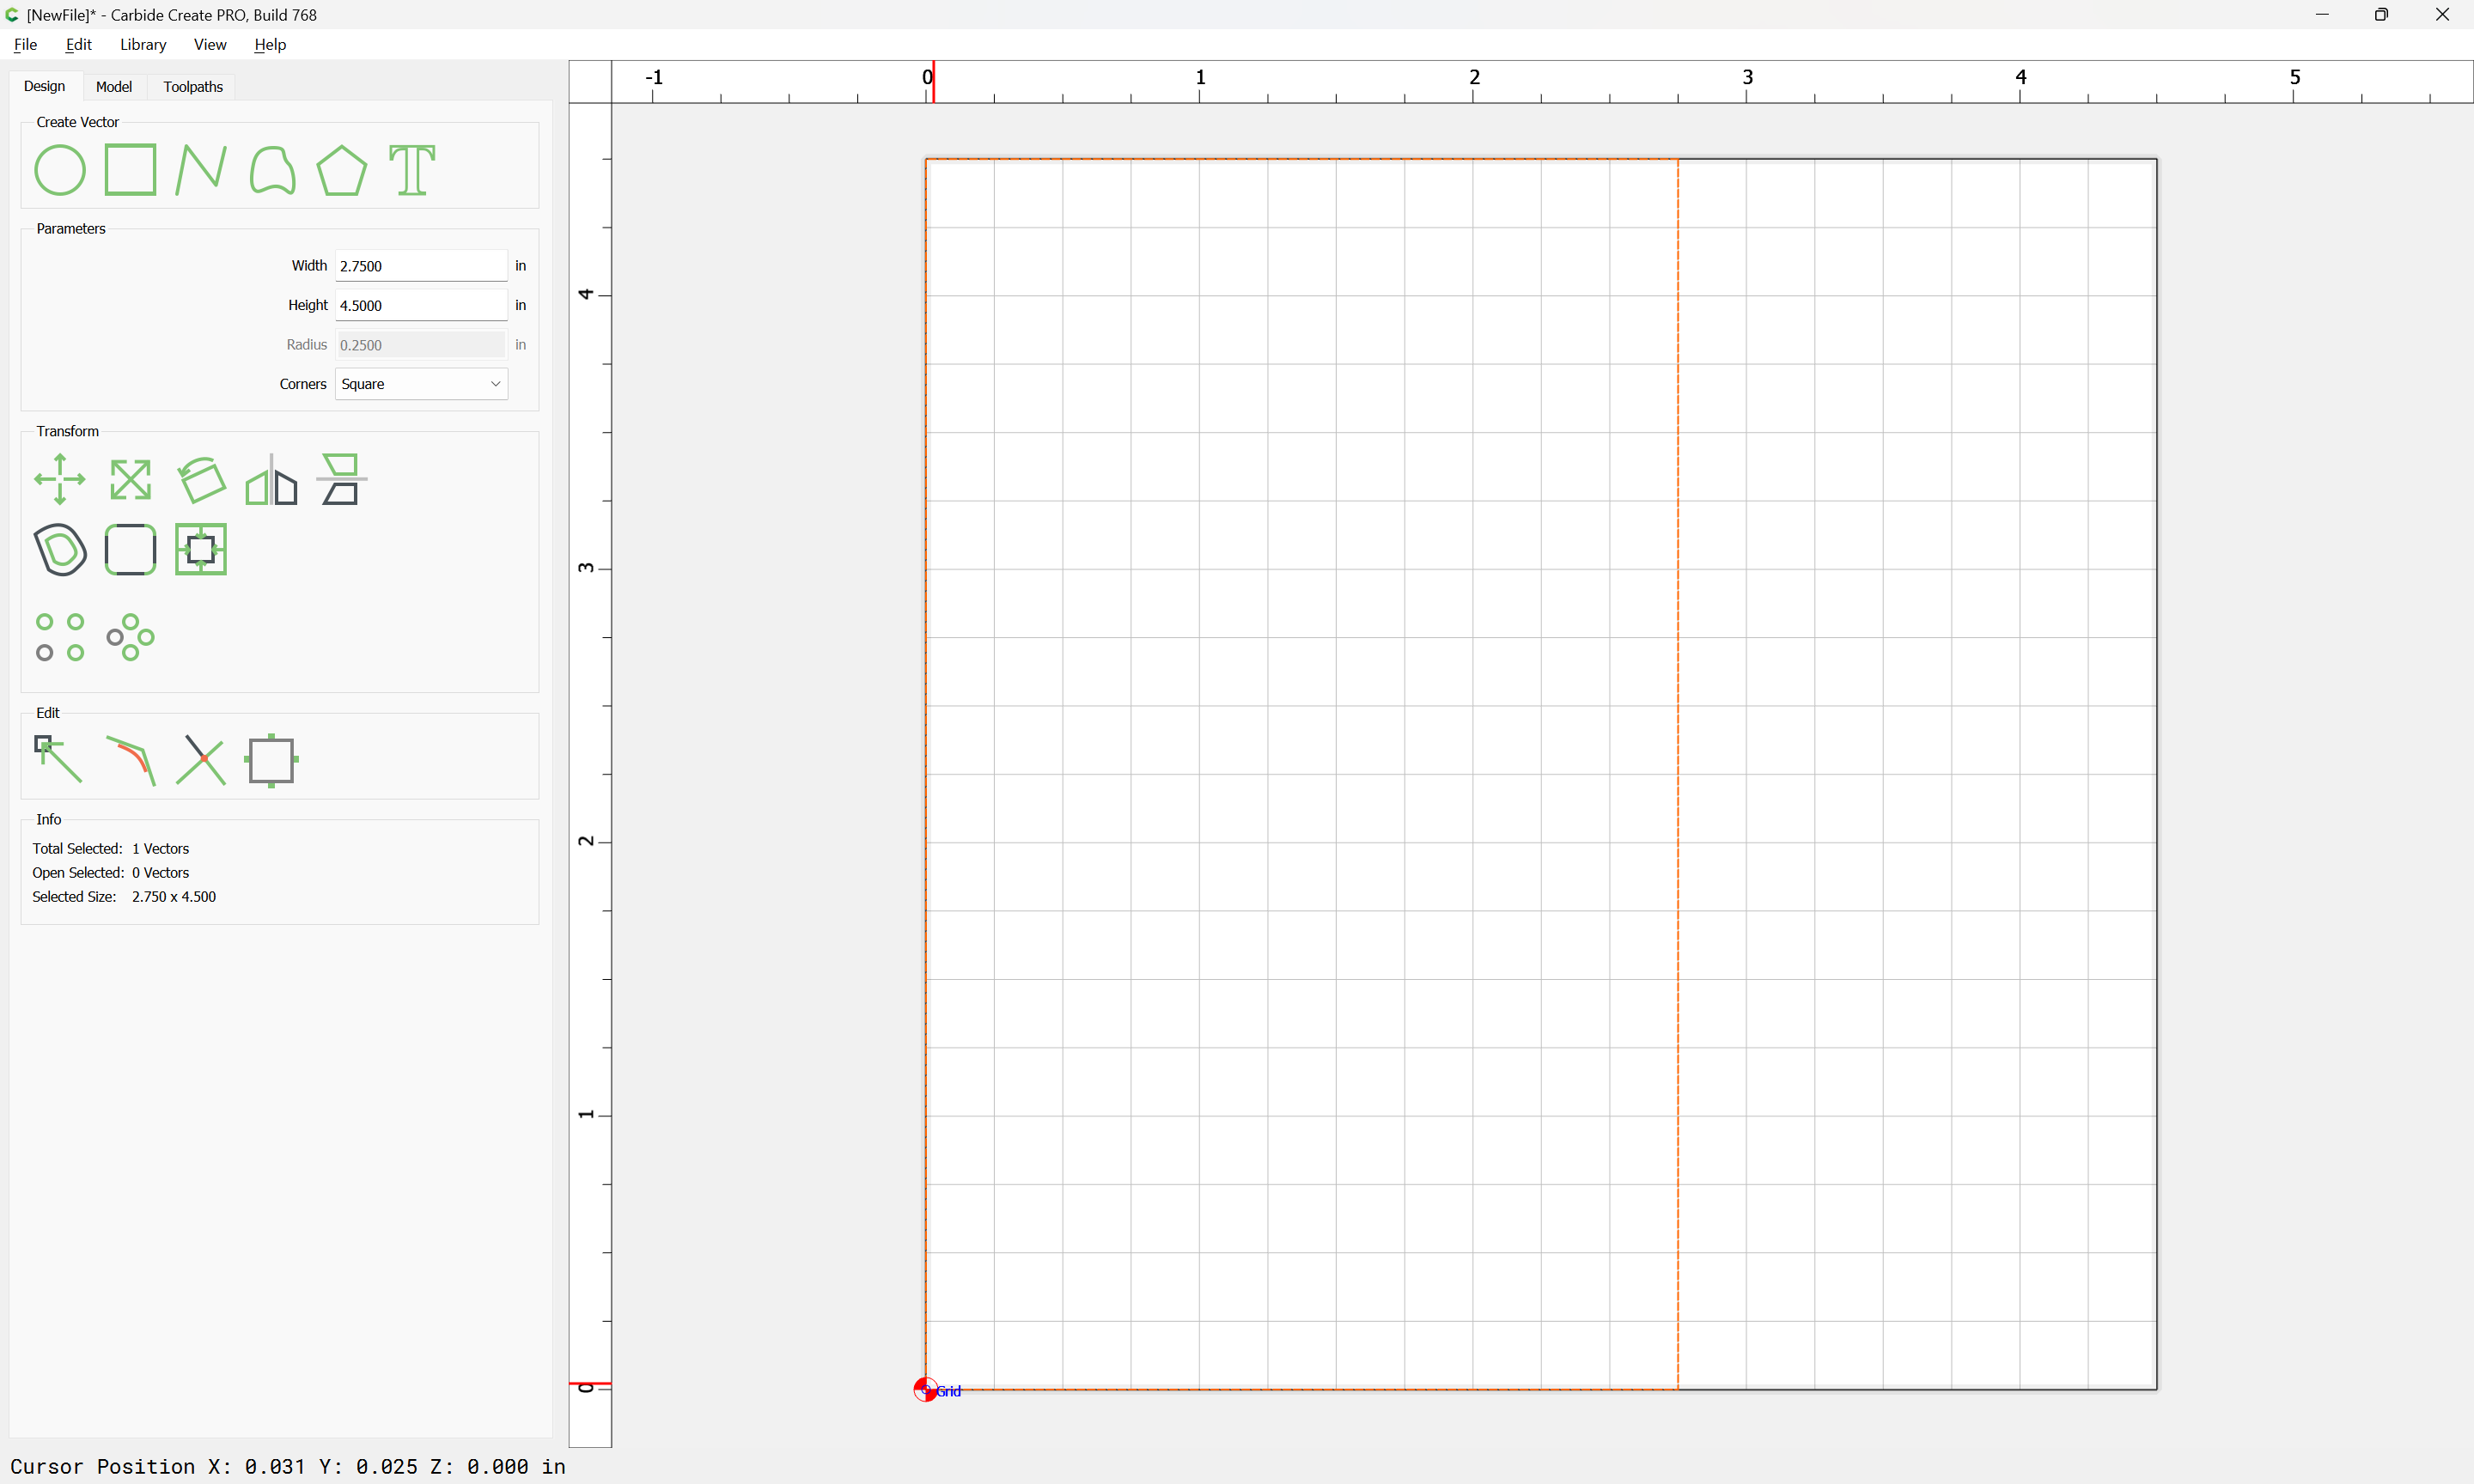
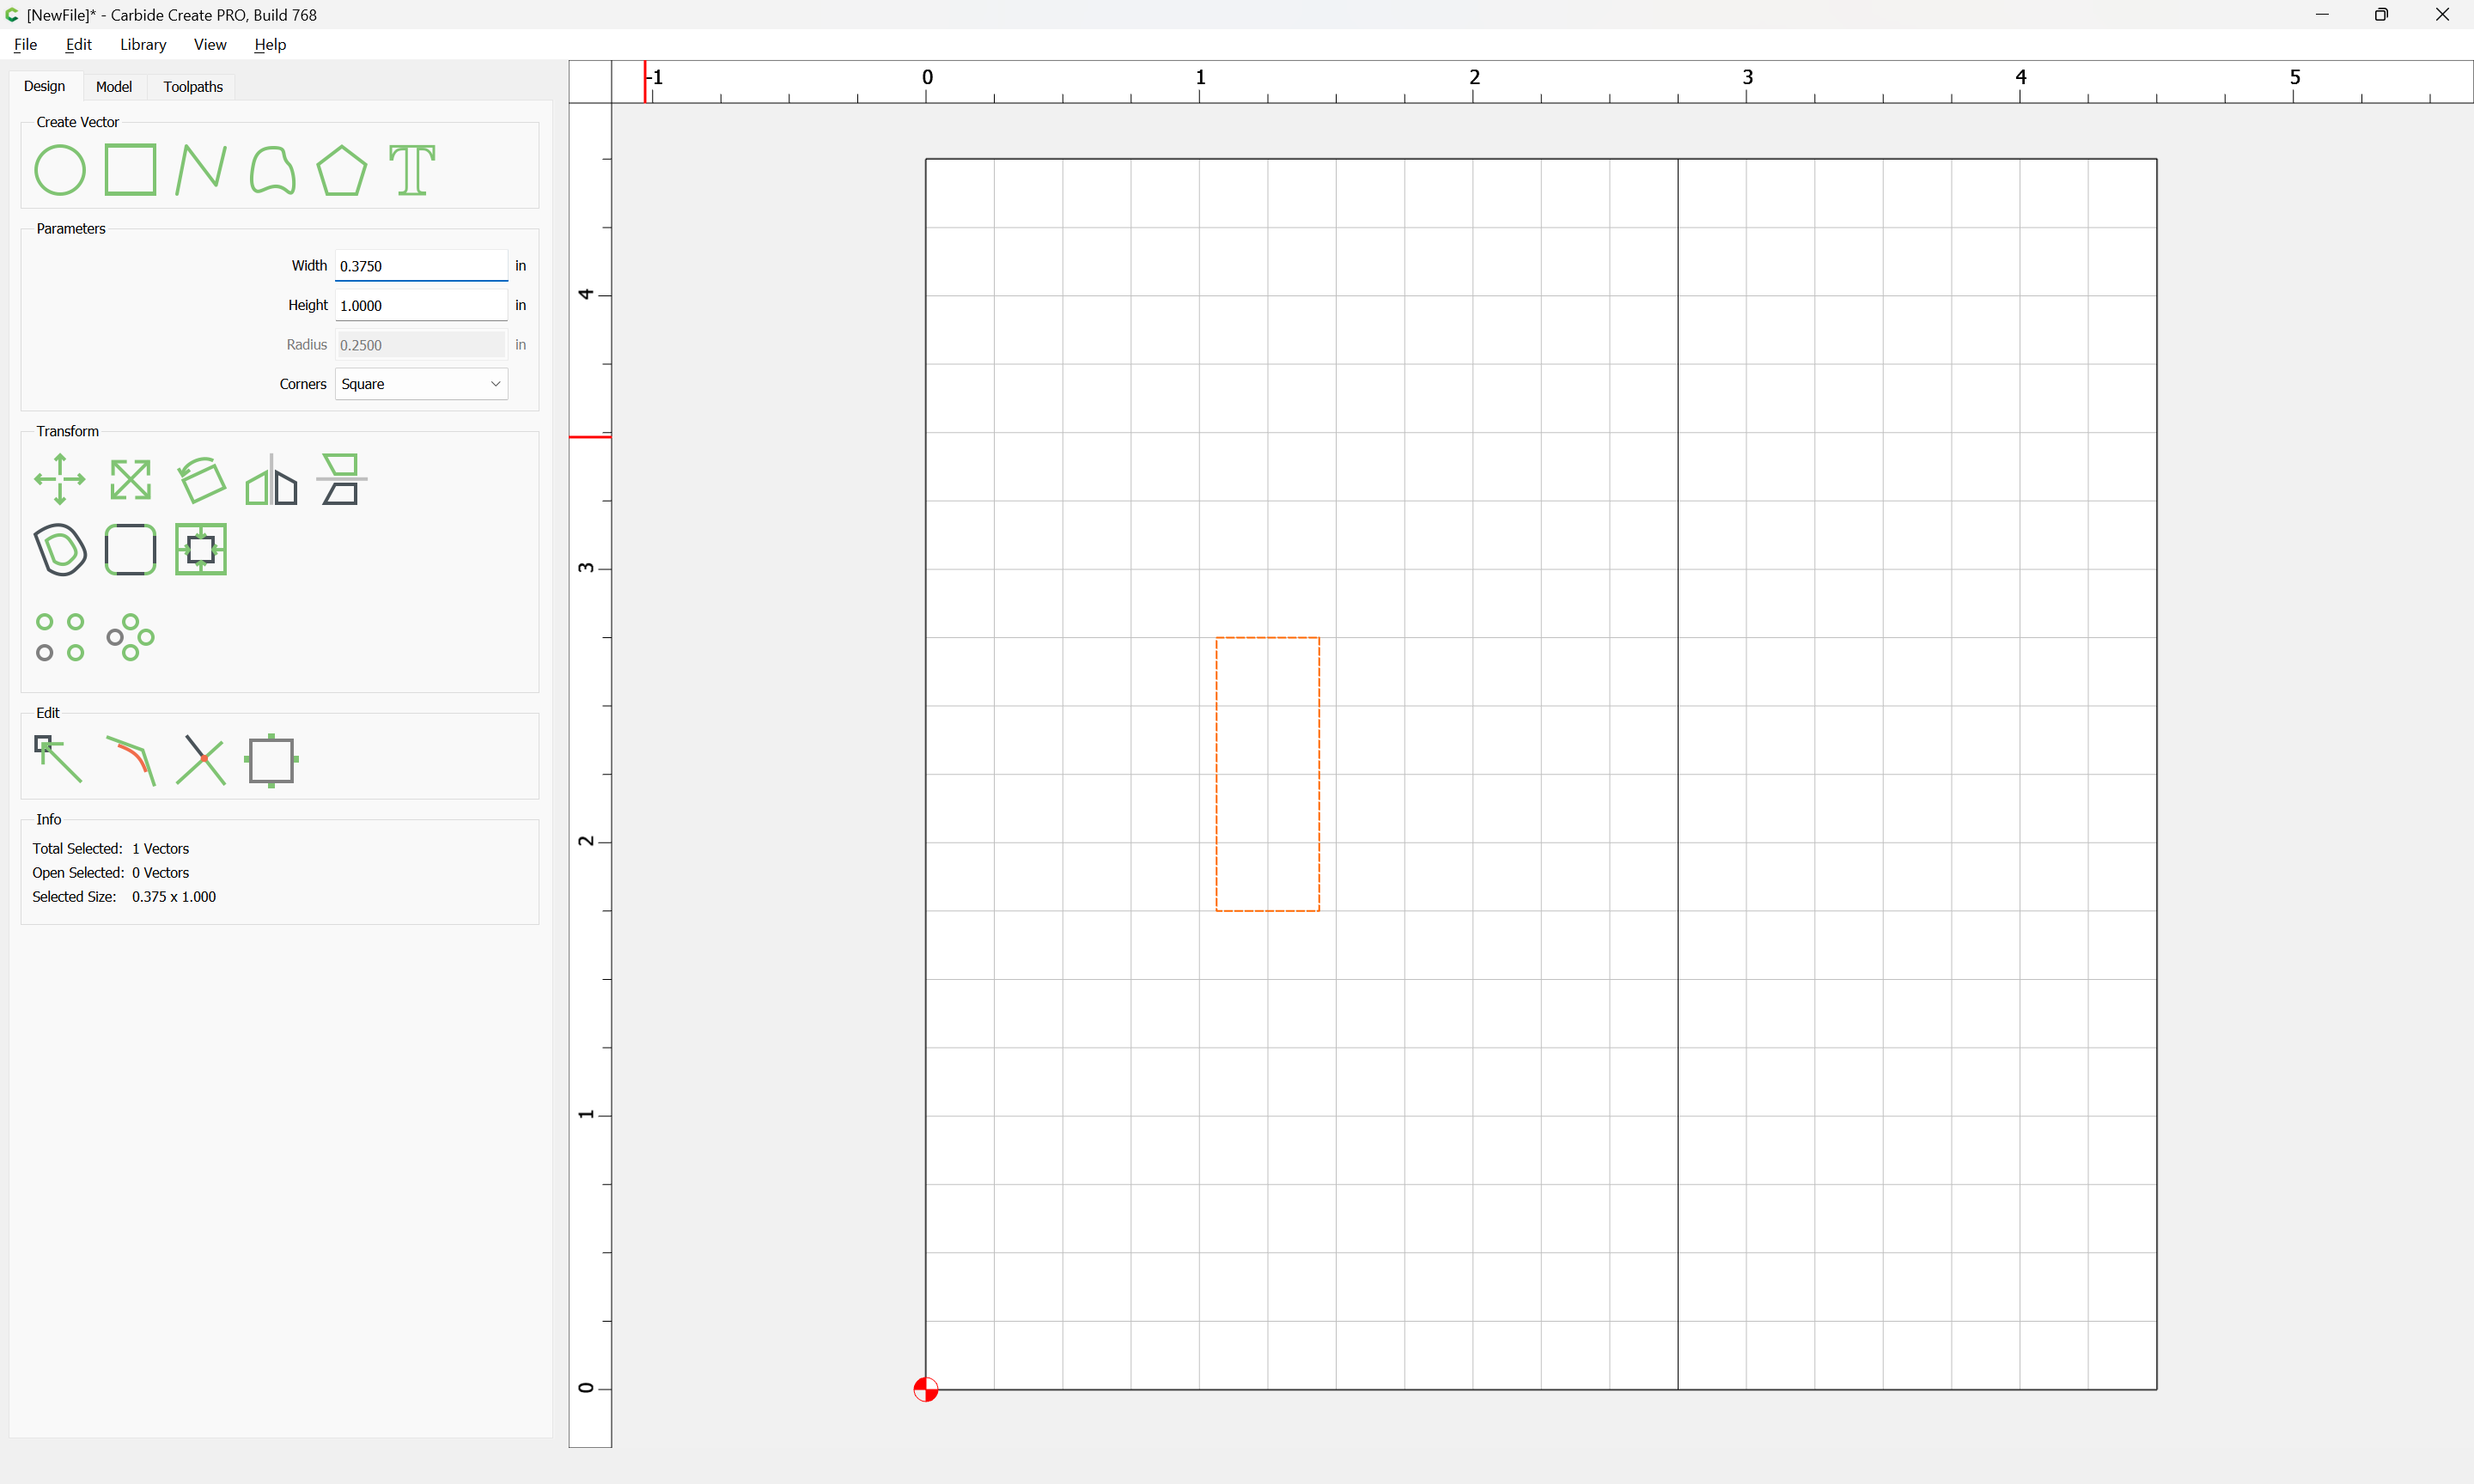
Draw in the parts:
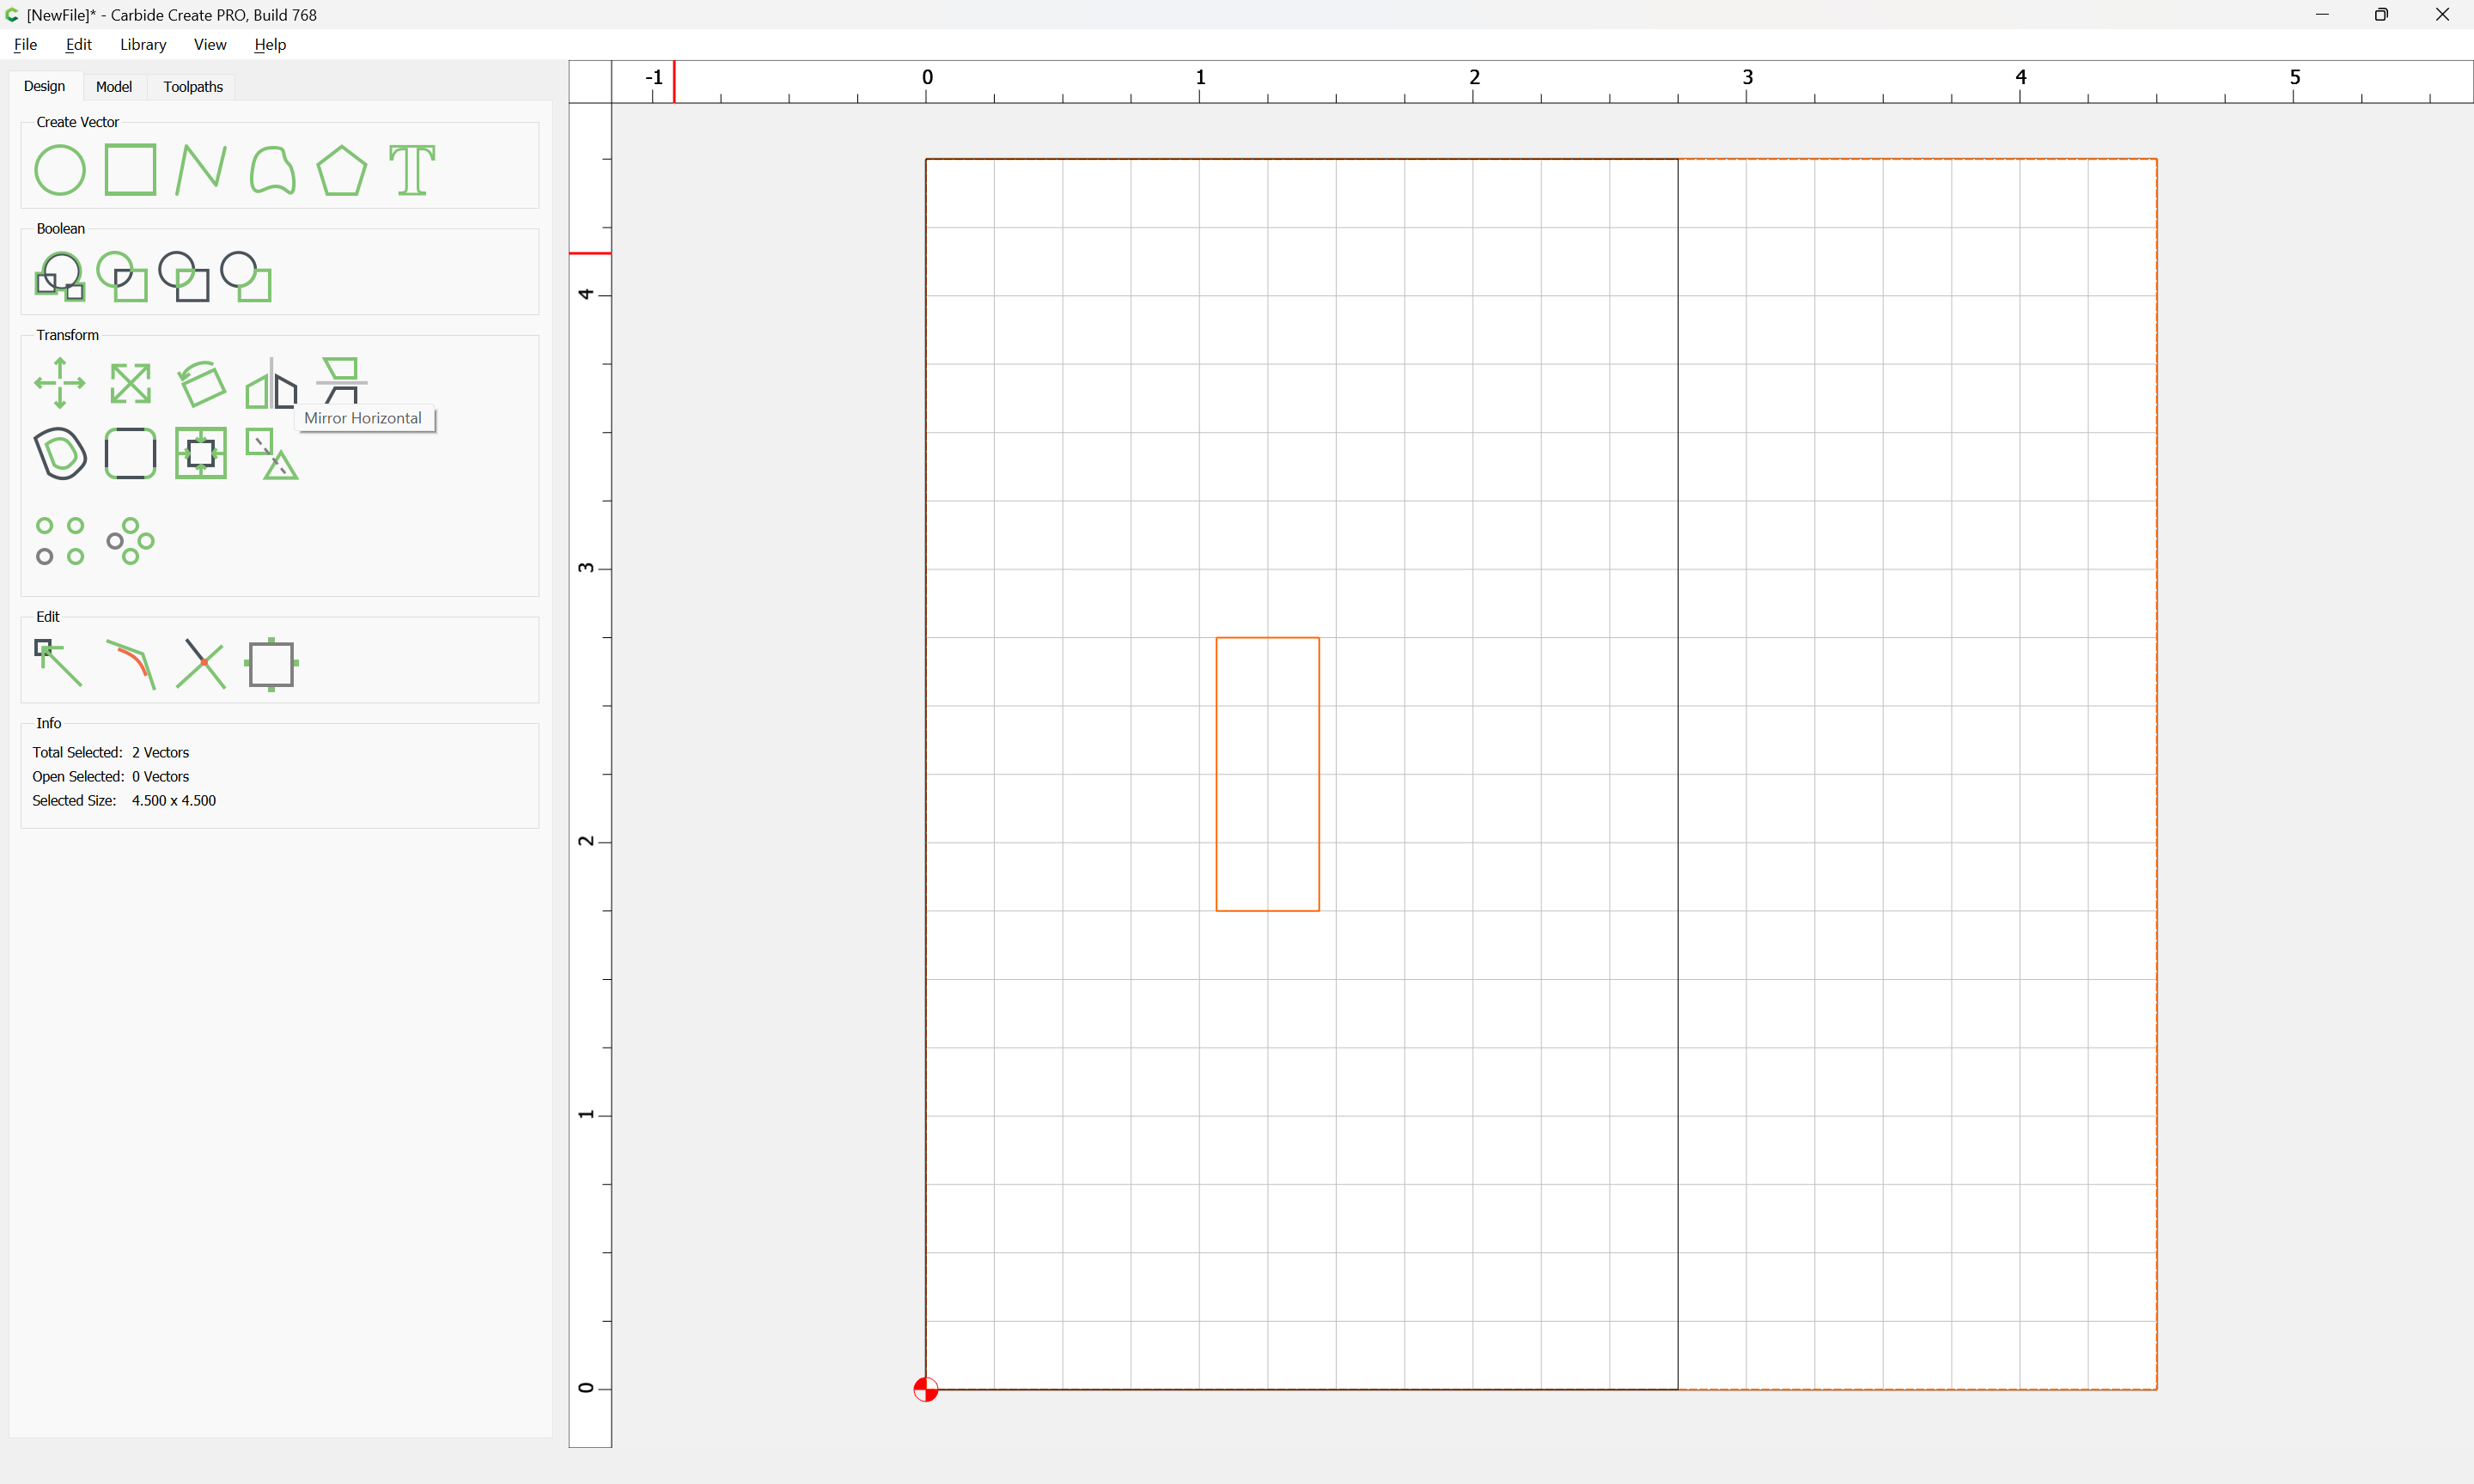
copy-paste, then mirror-horizontal with the outer geometry:
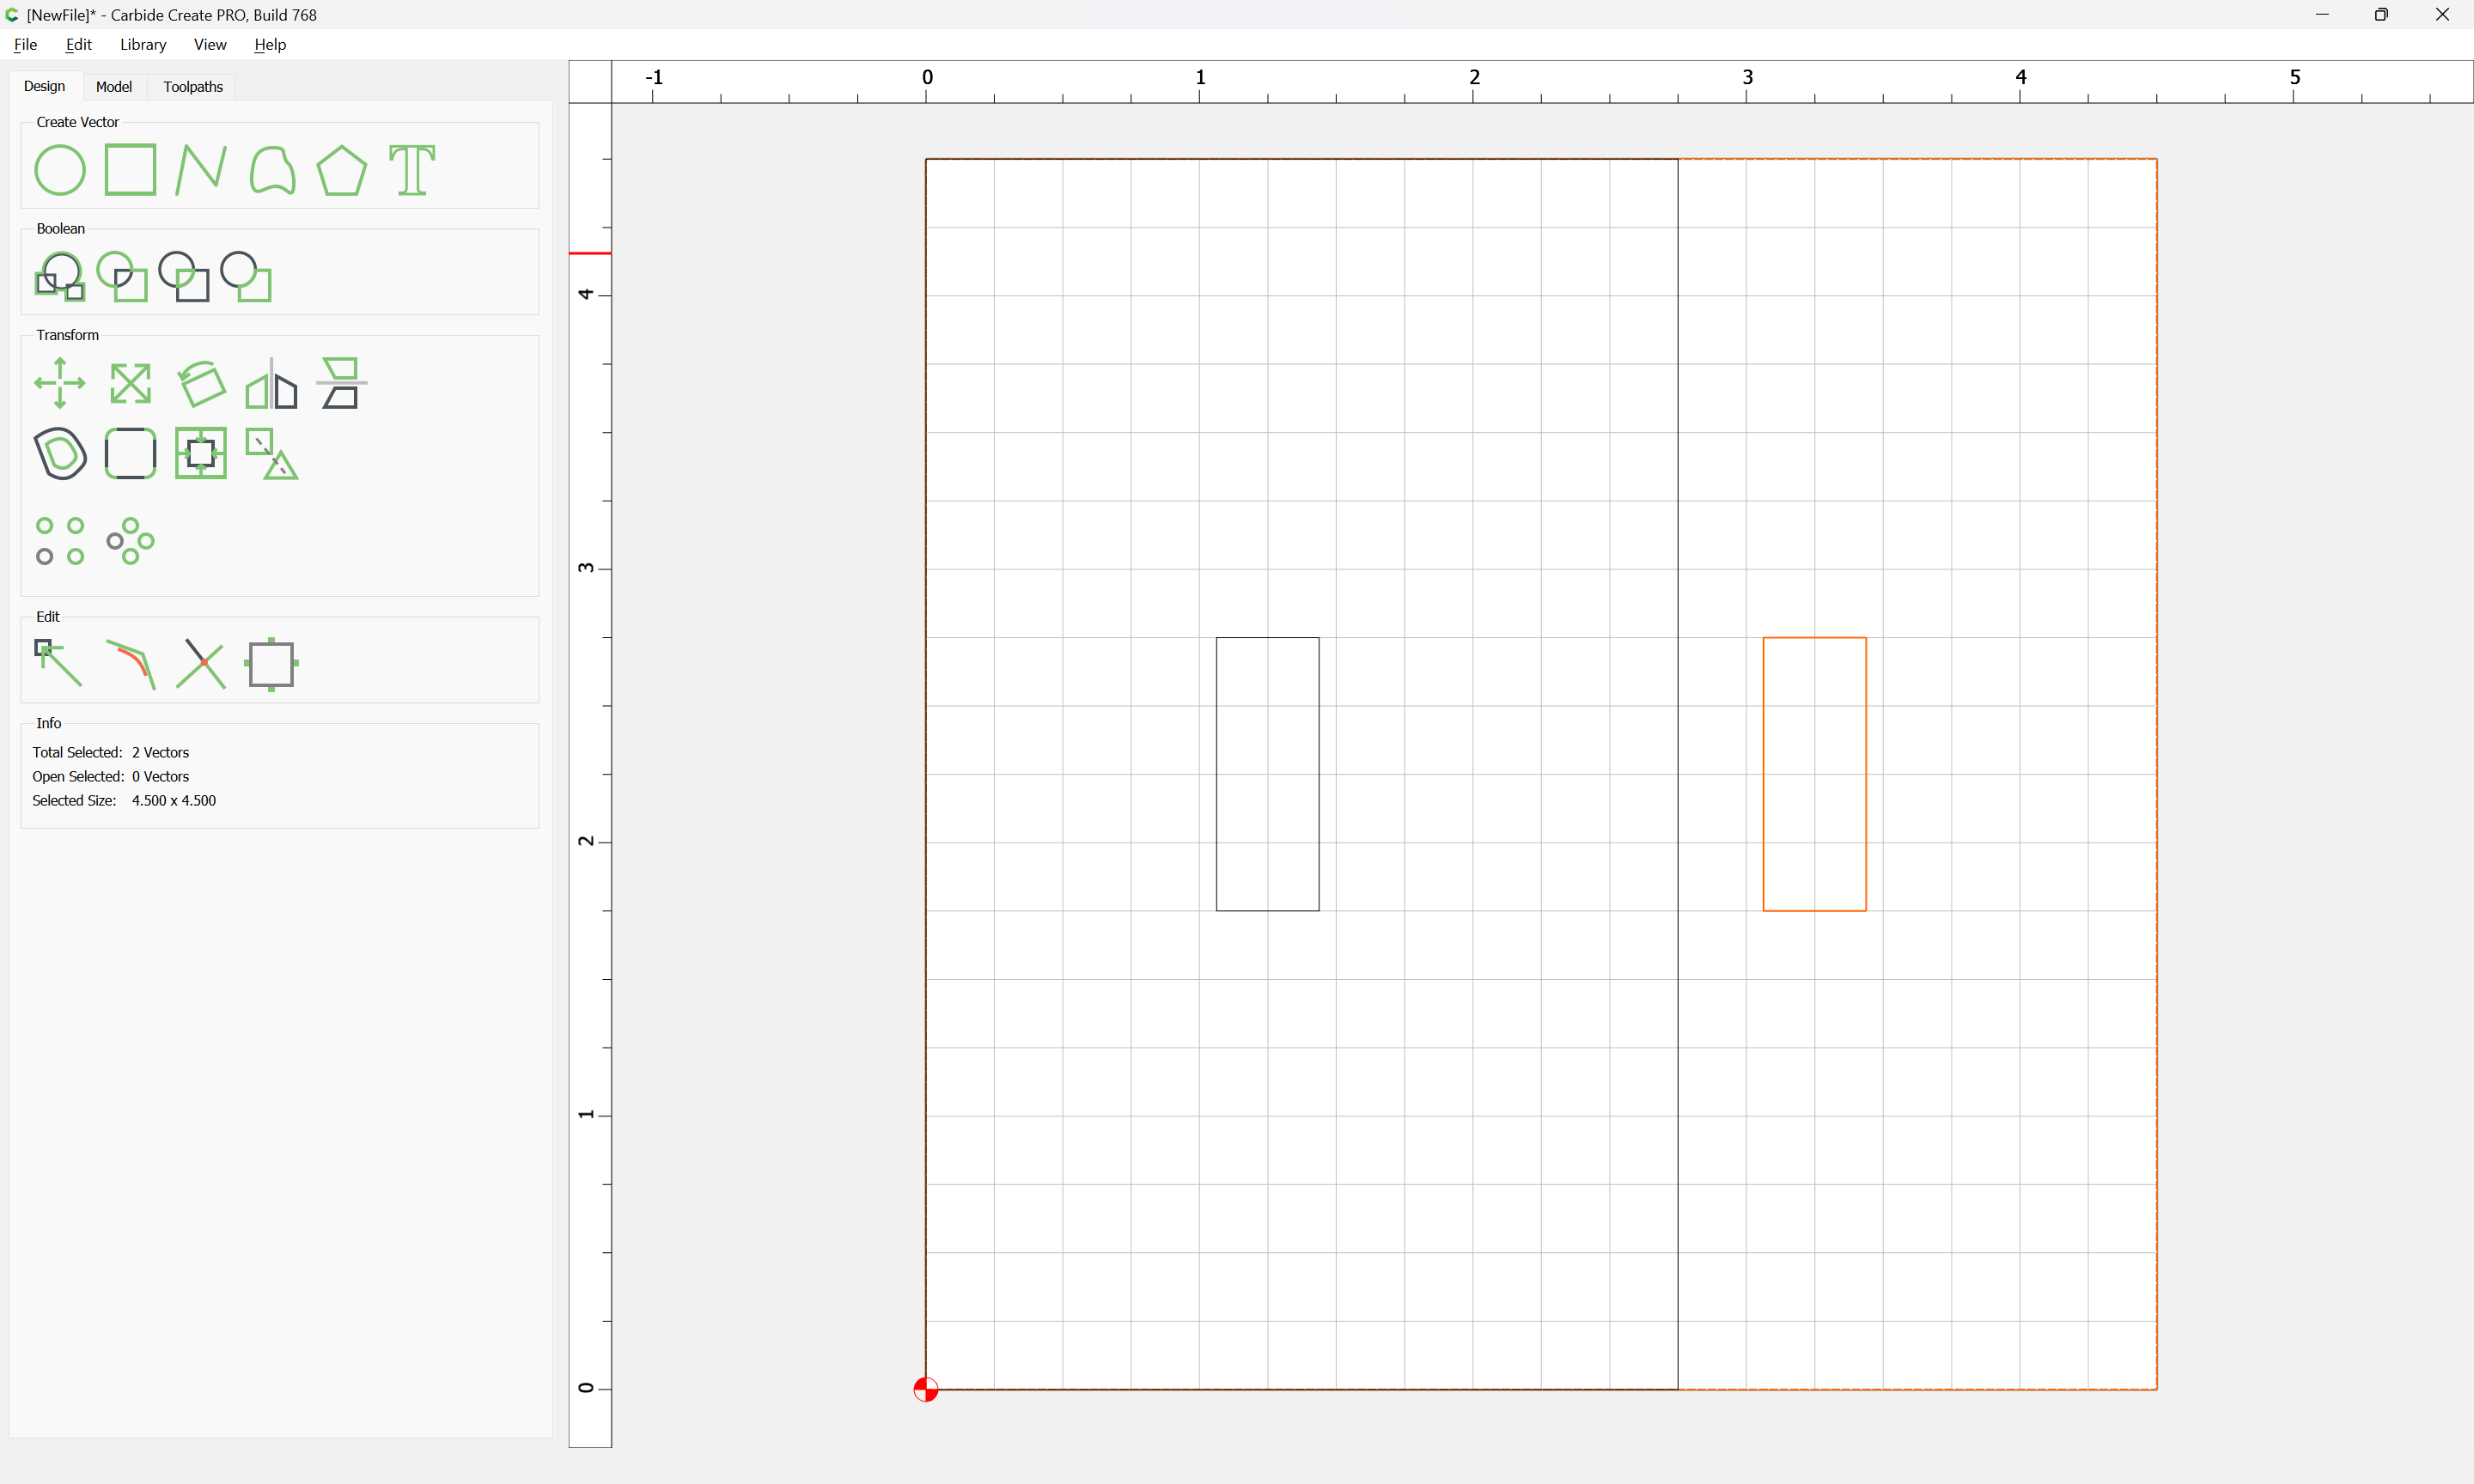
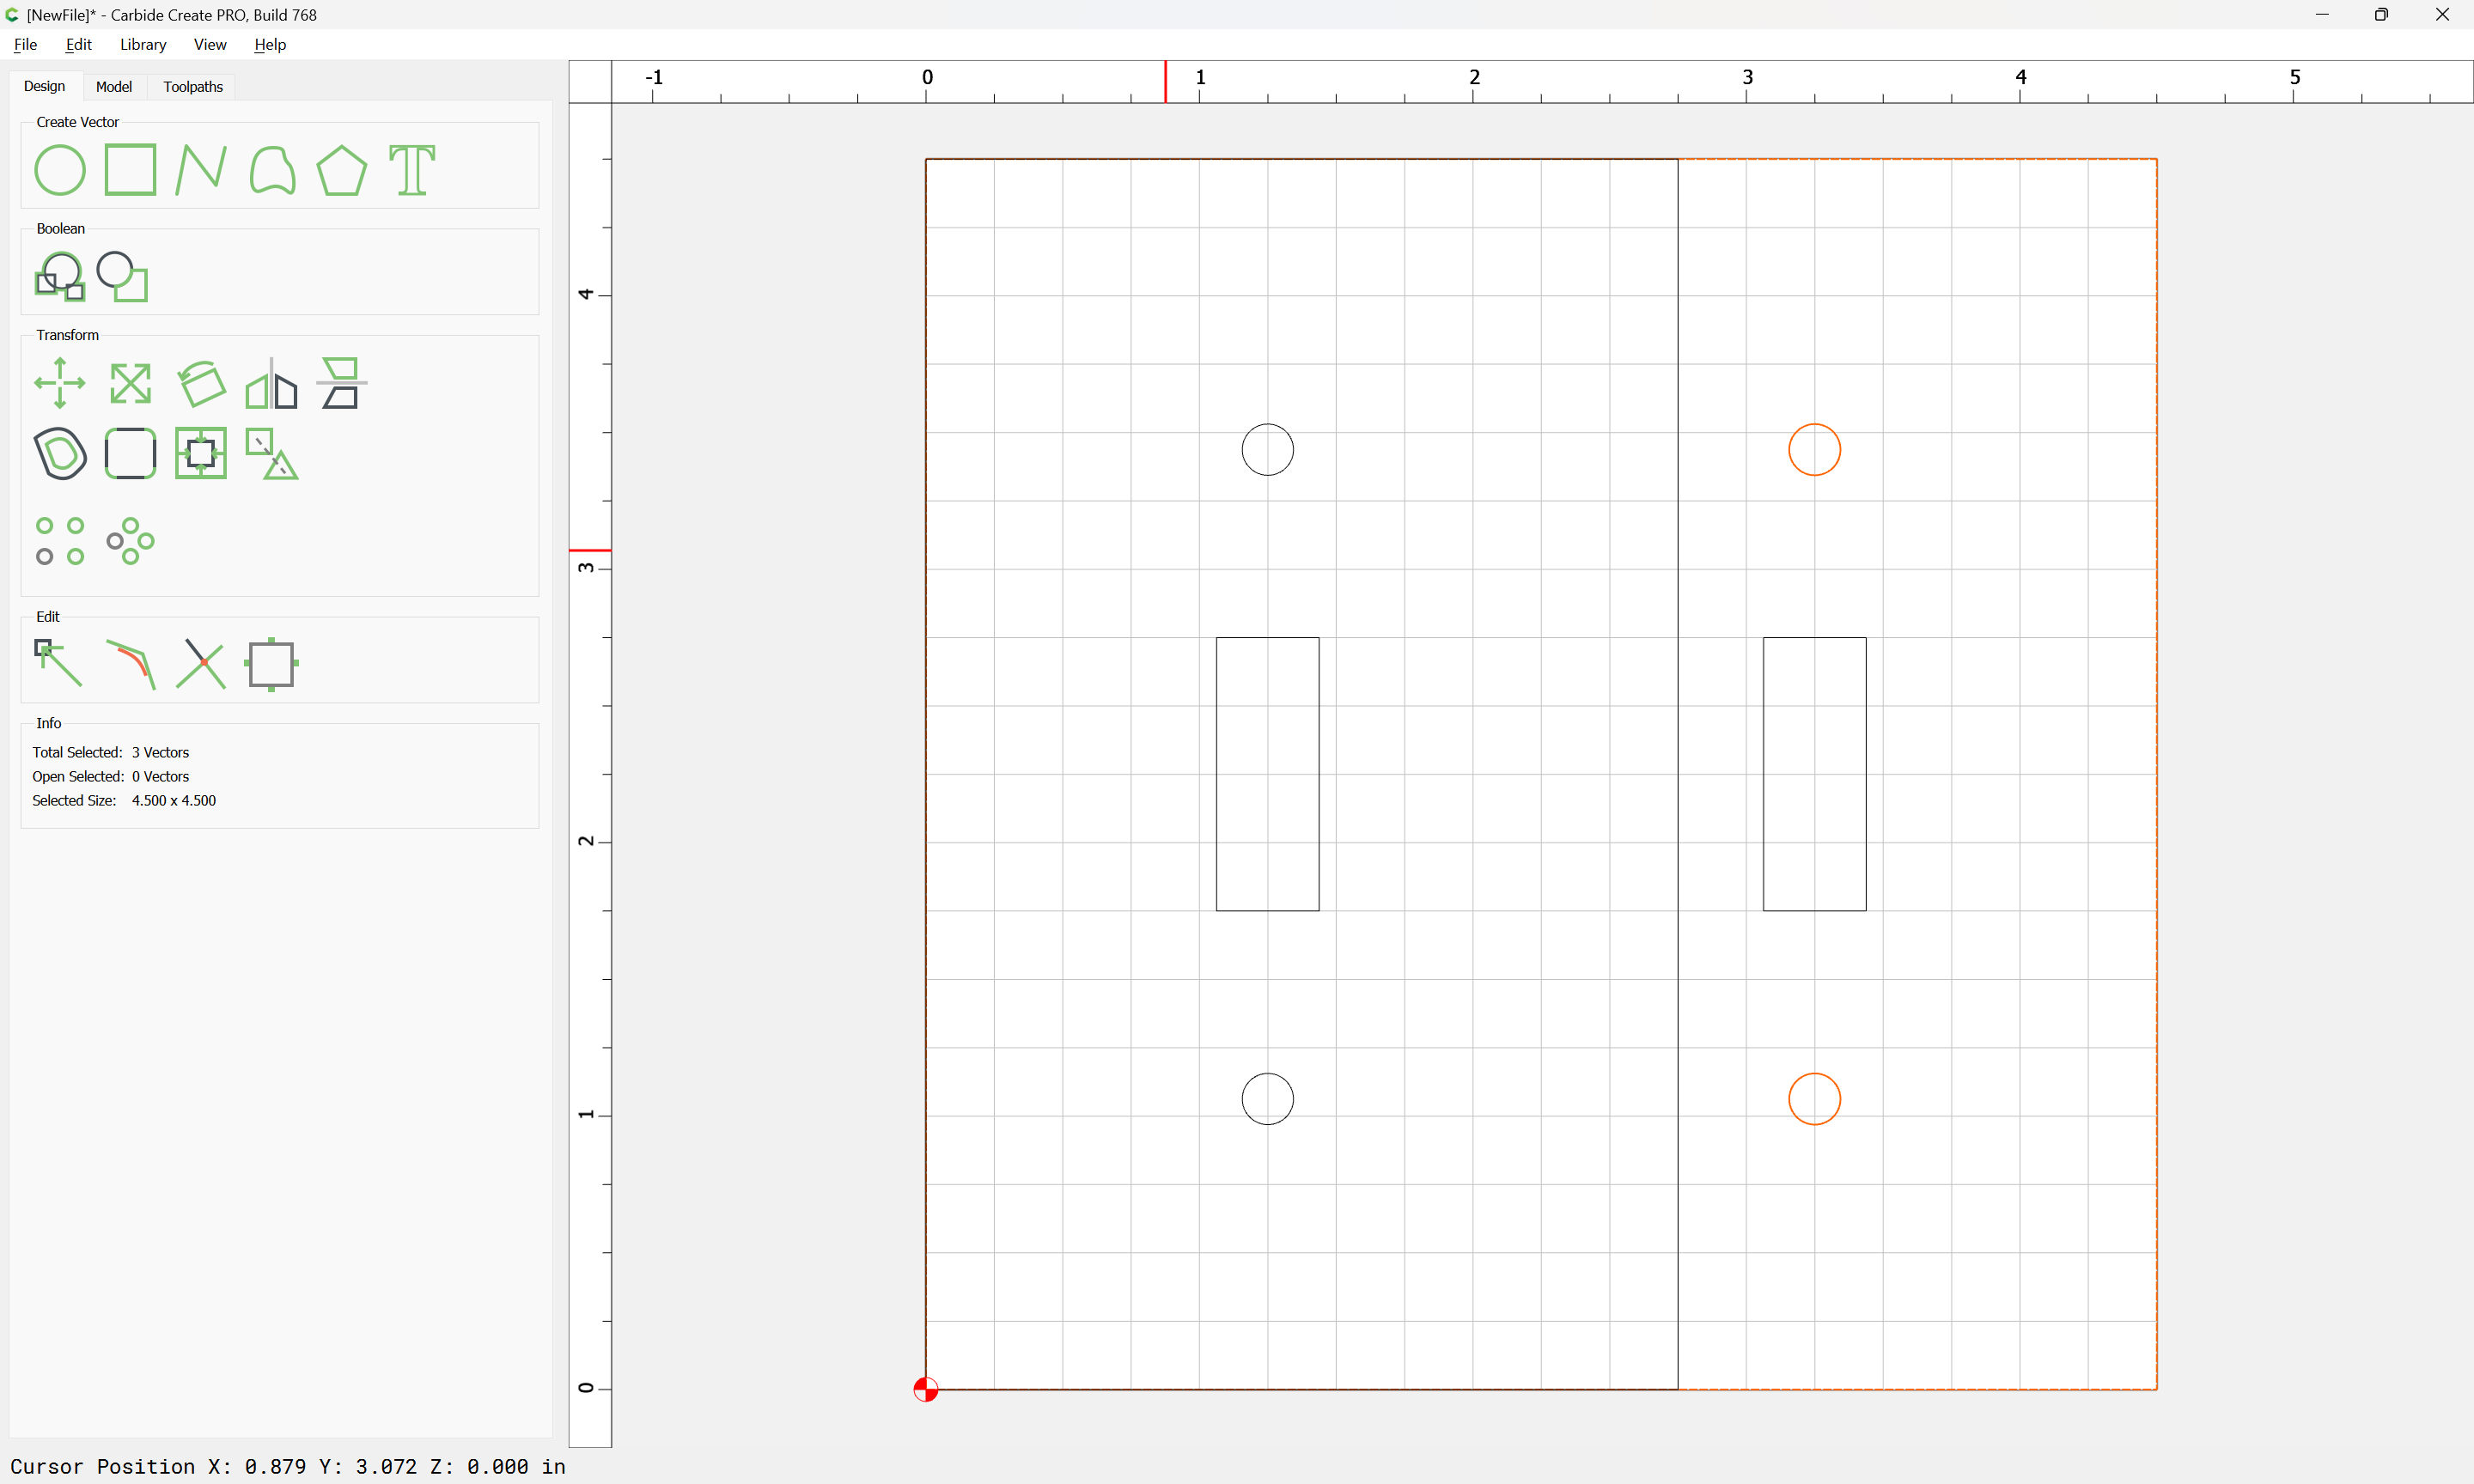
Duplicate and size a part to get the position:
and repeat the mirroring:
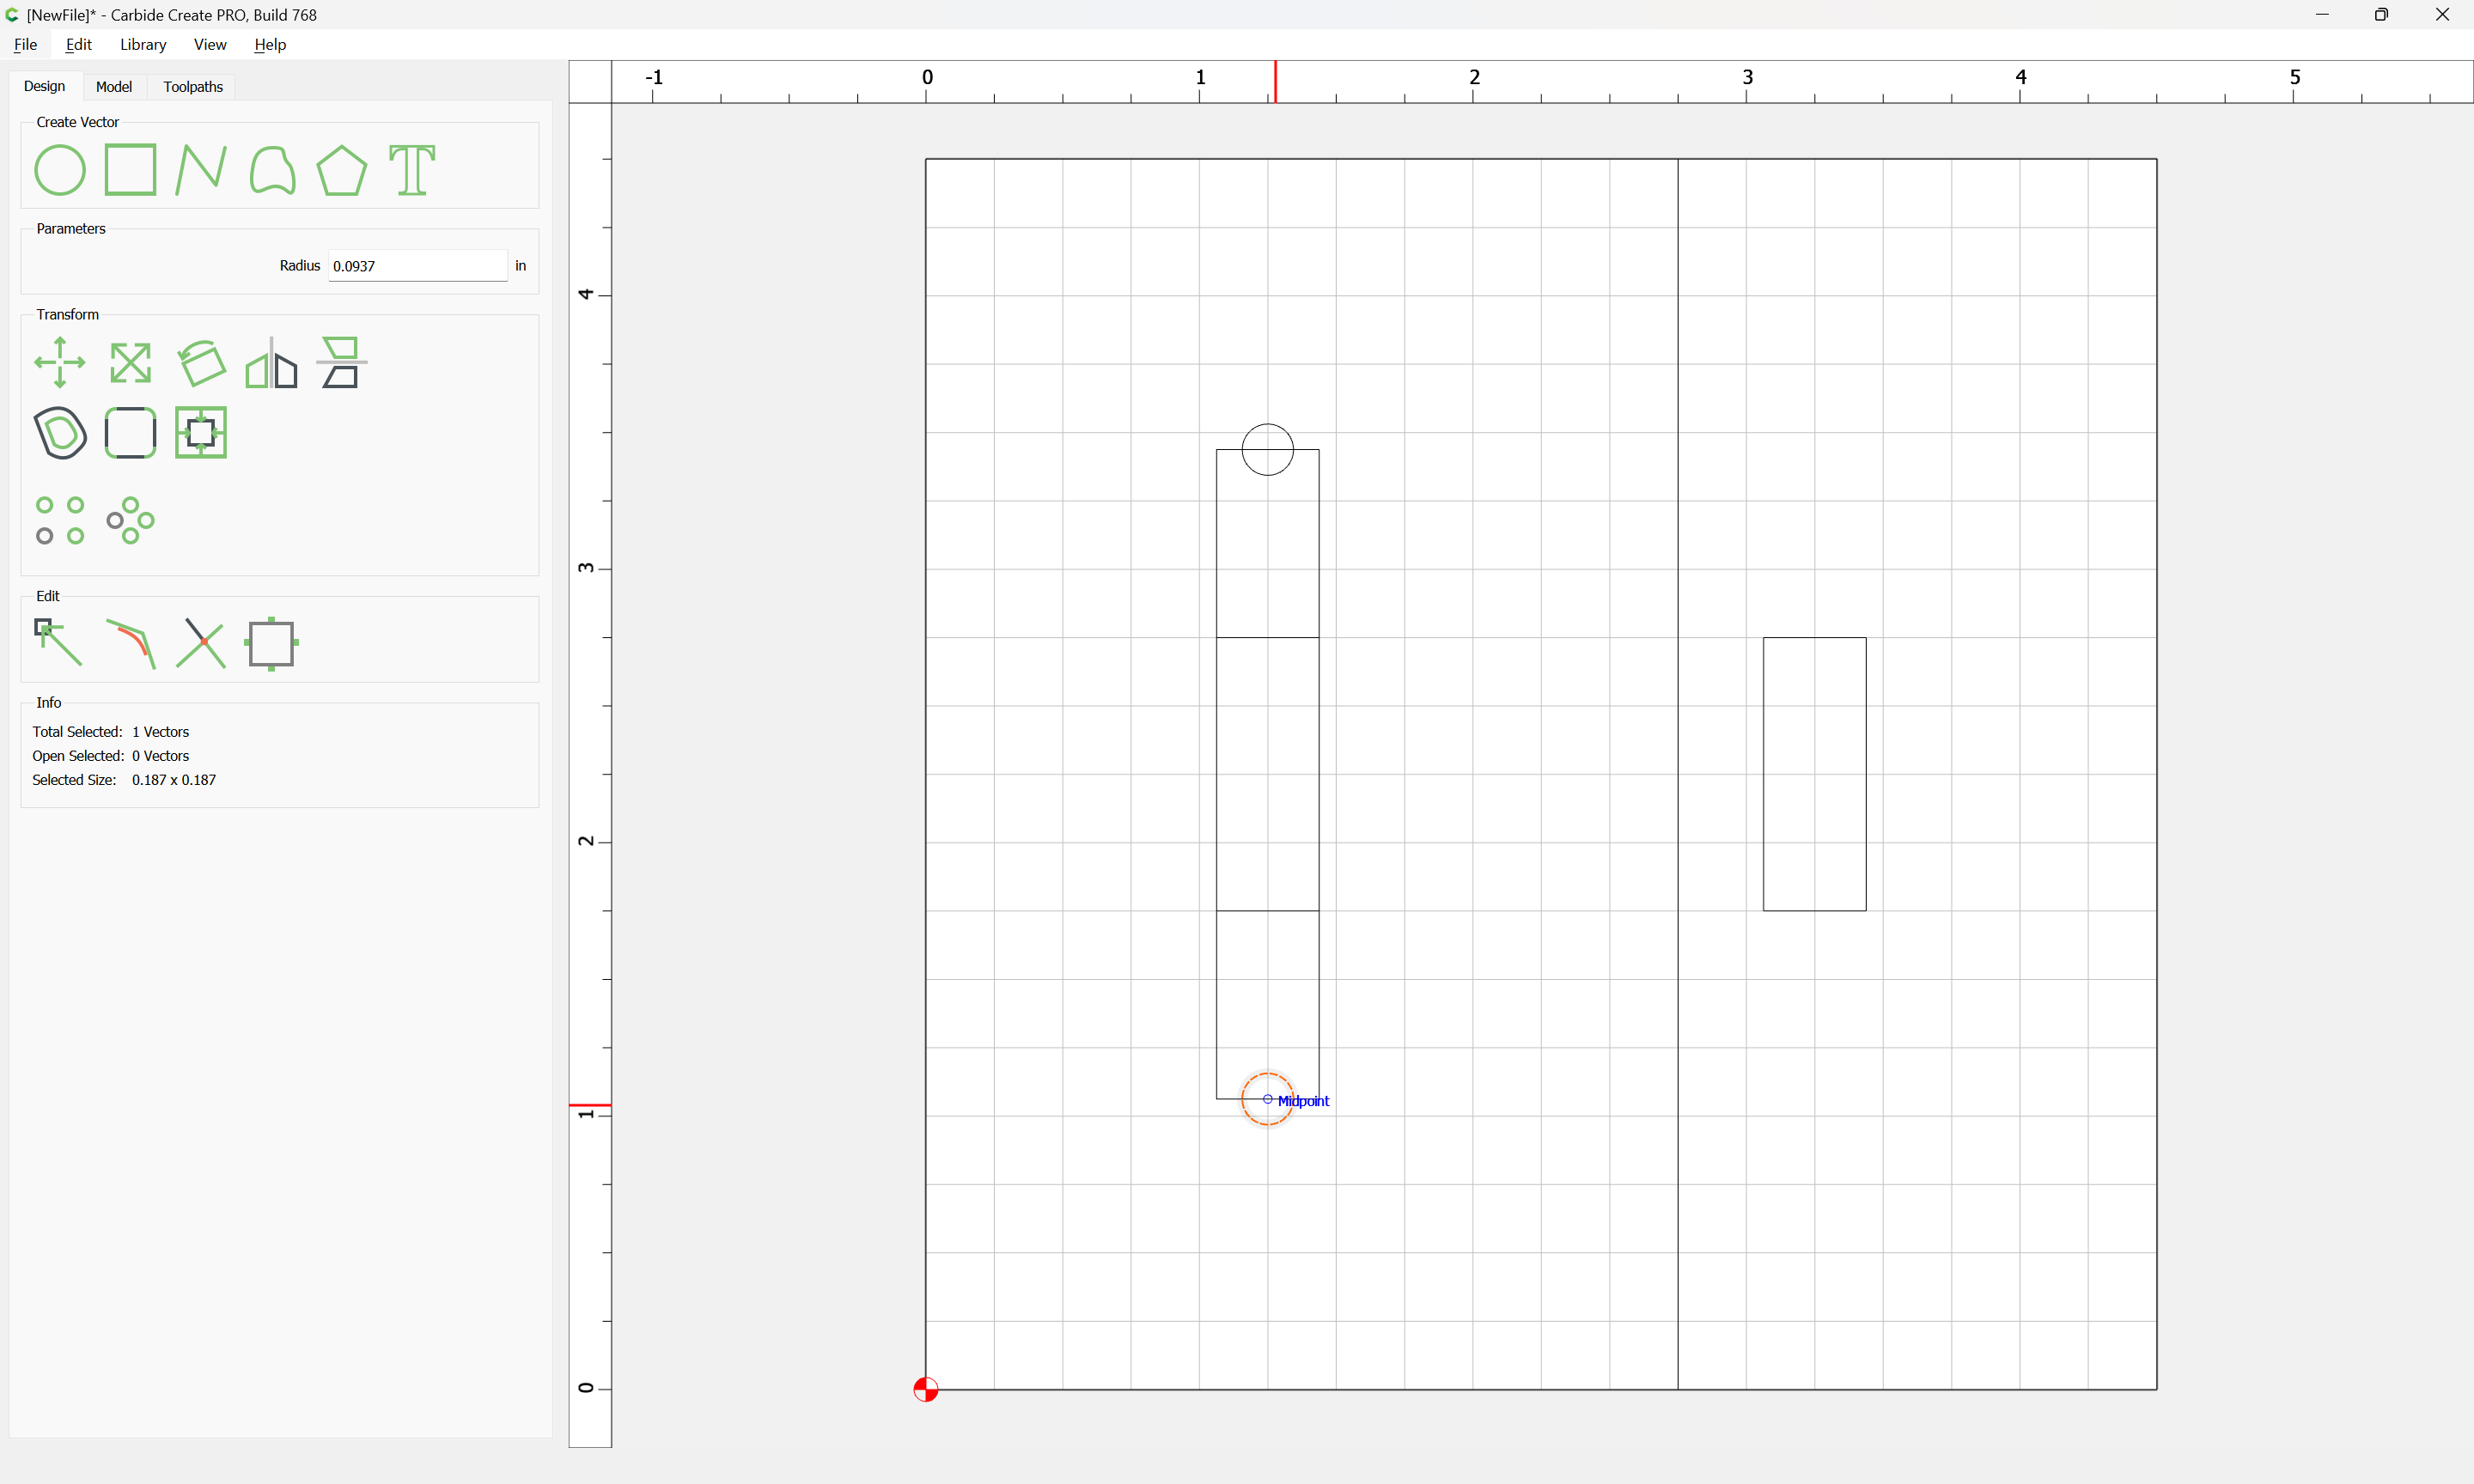
Group:
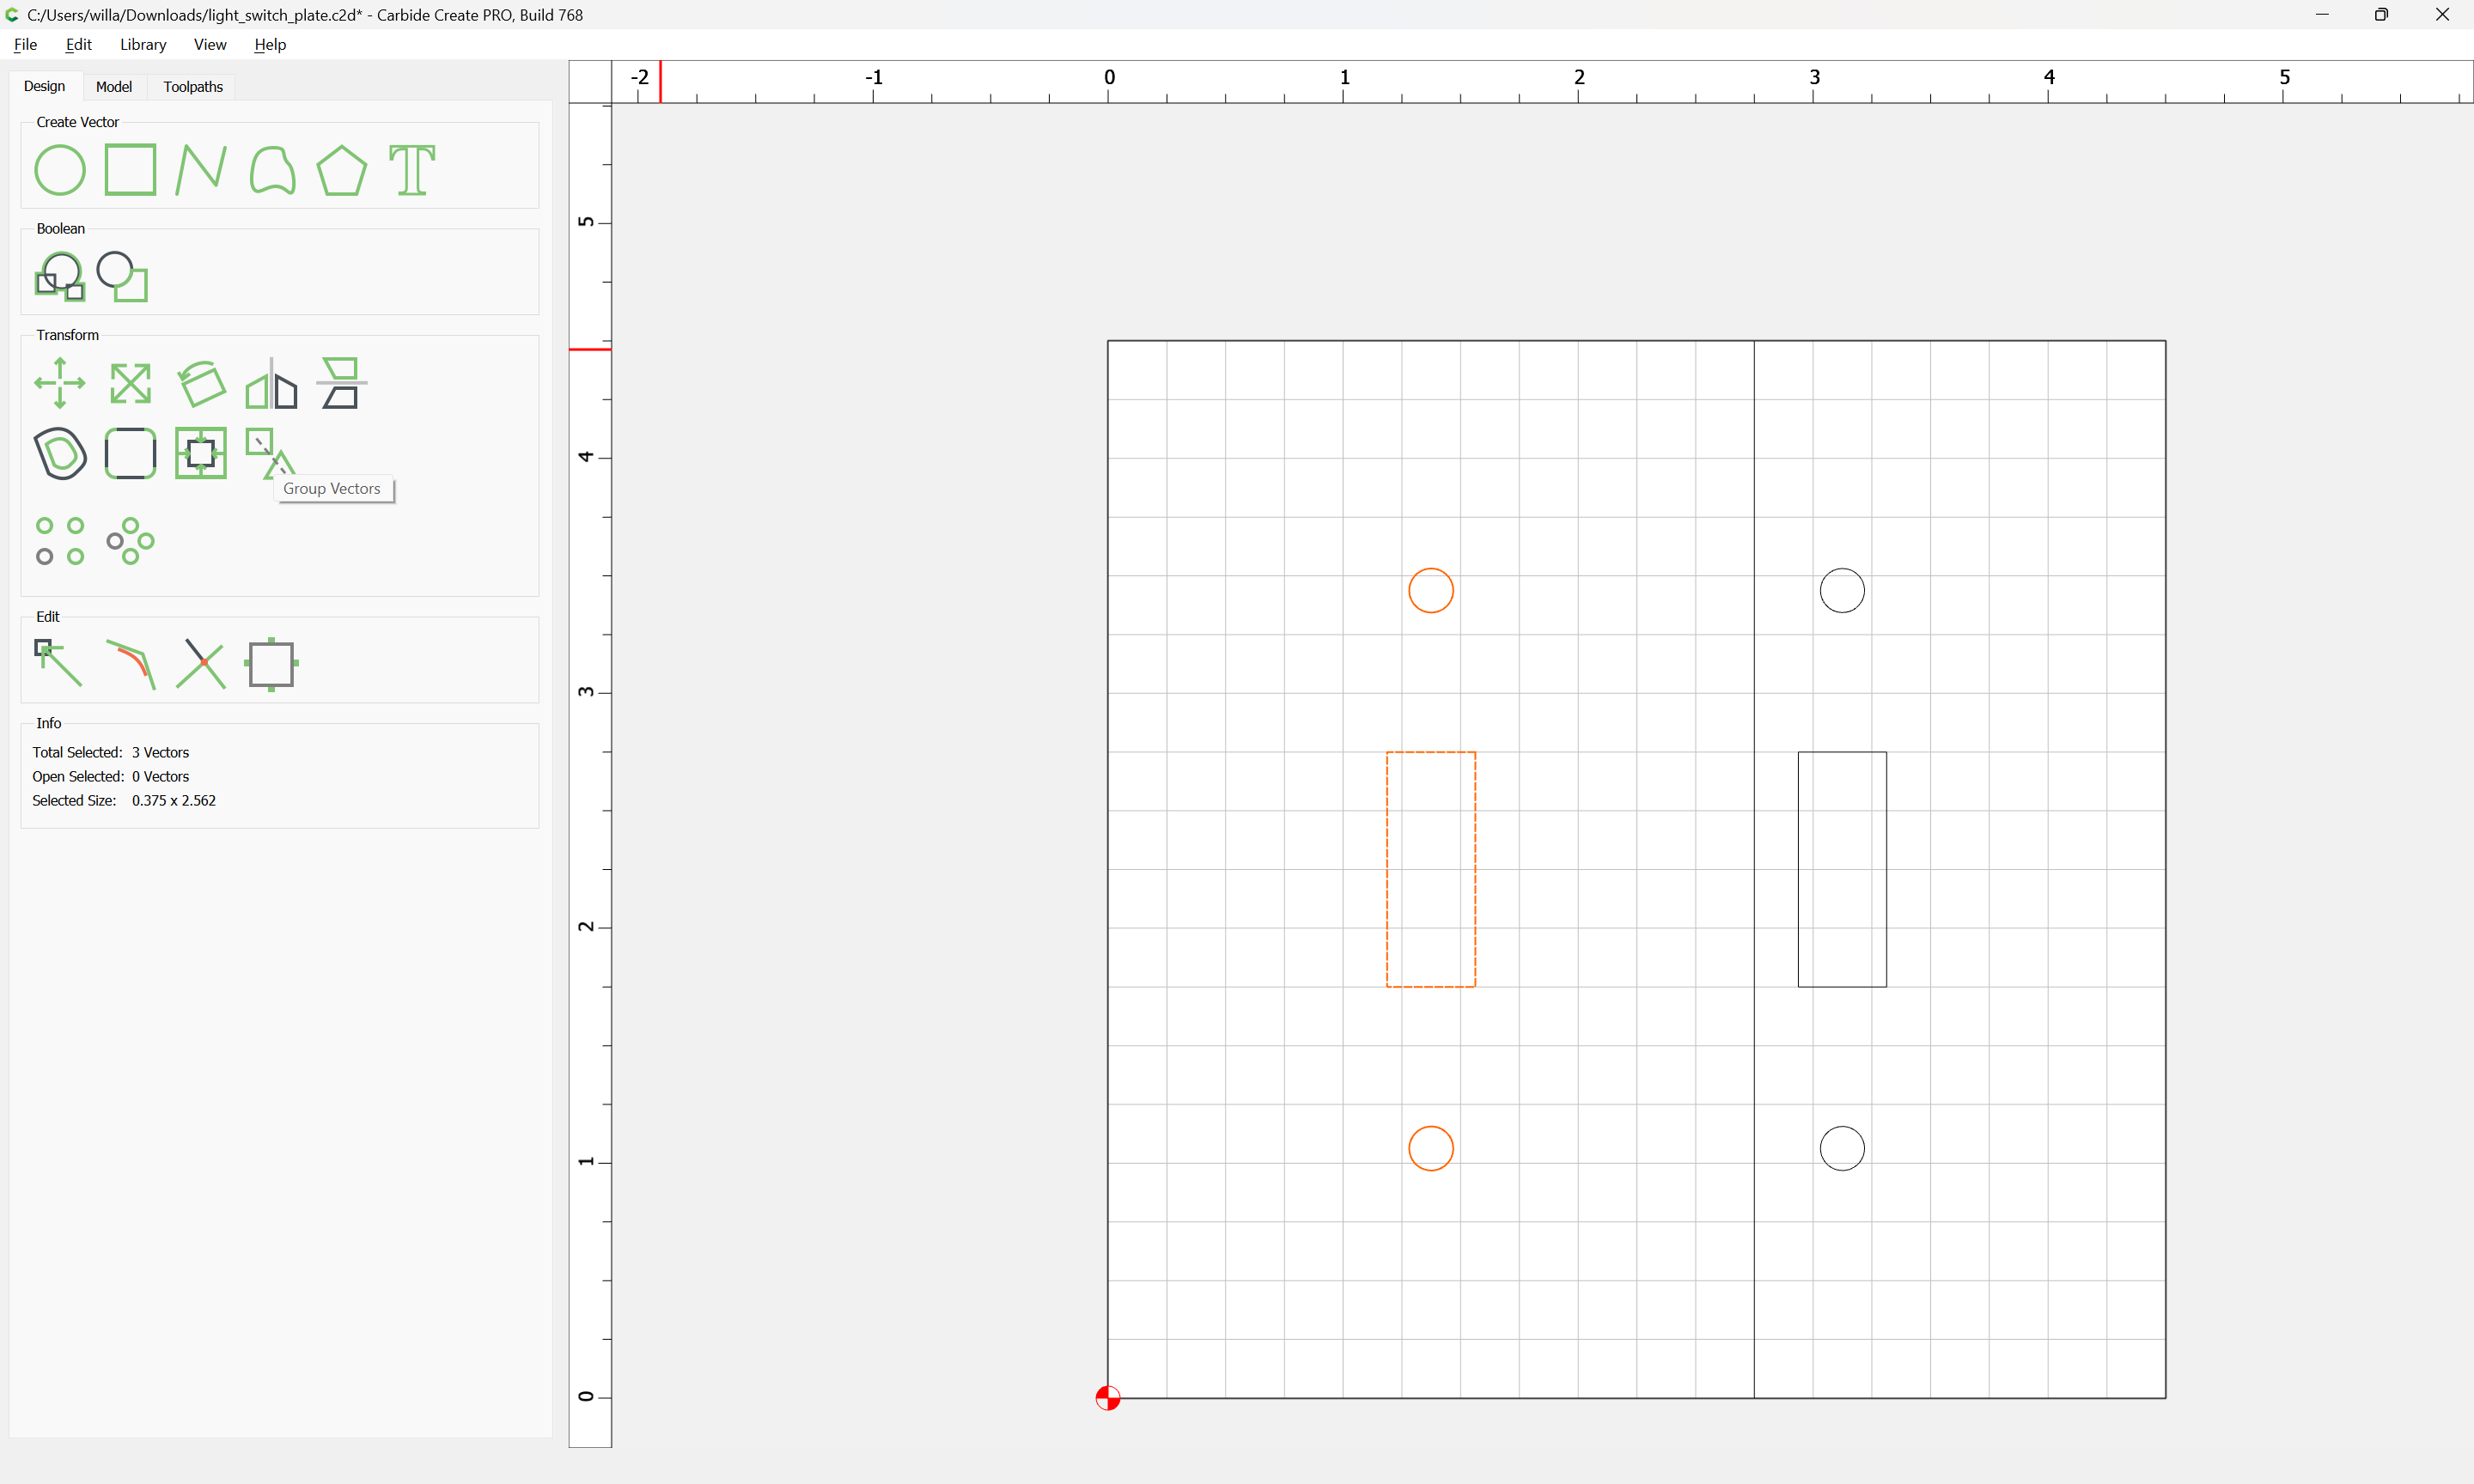
and adjust to center:
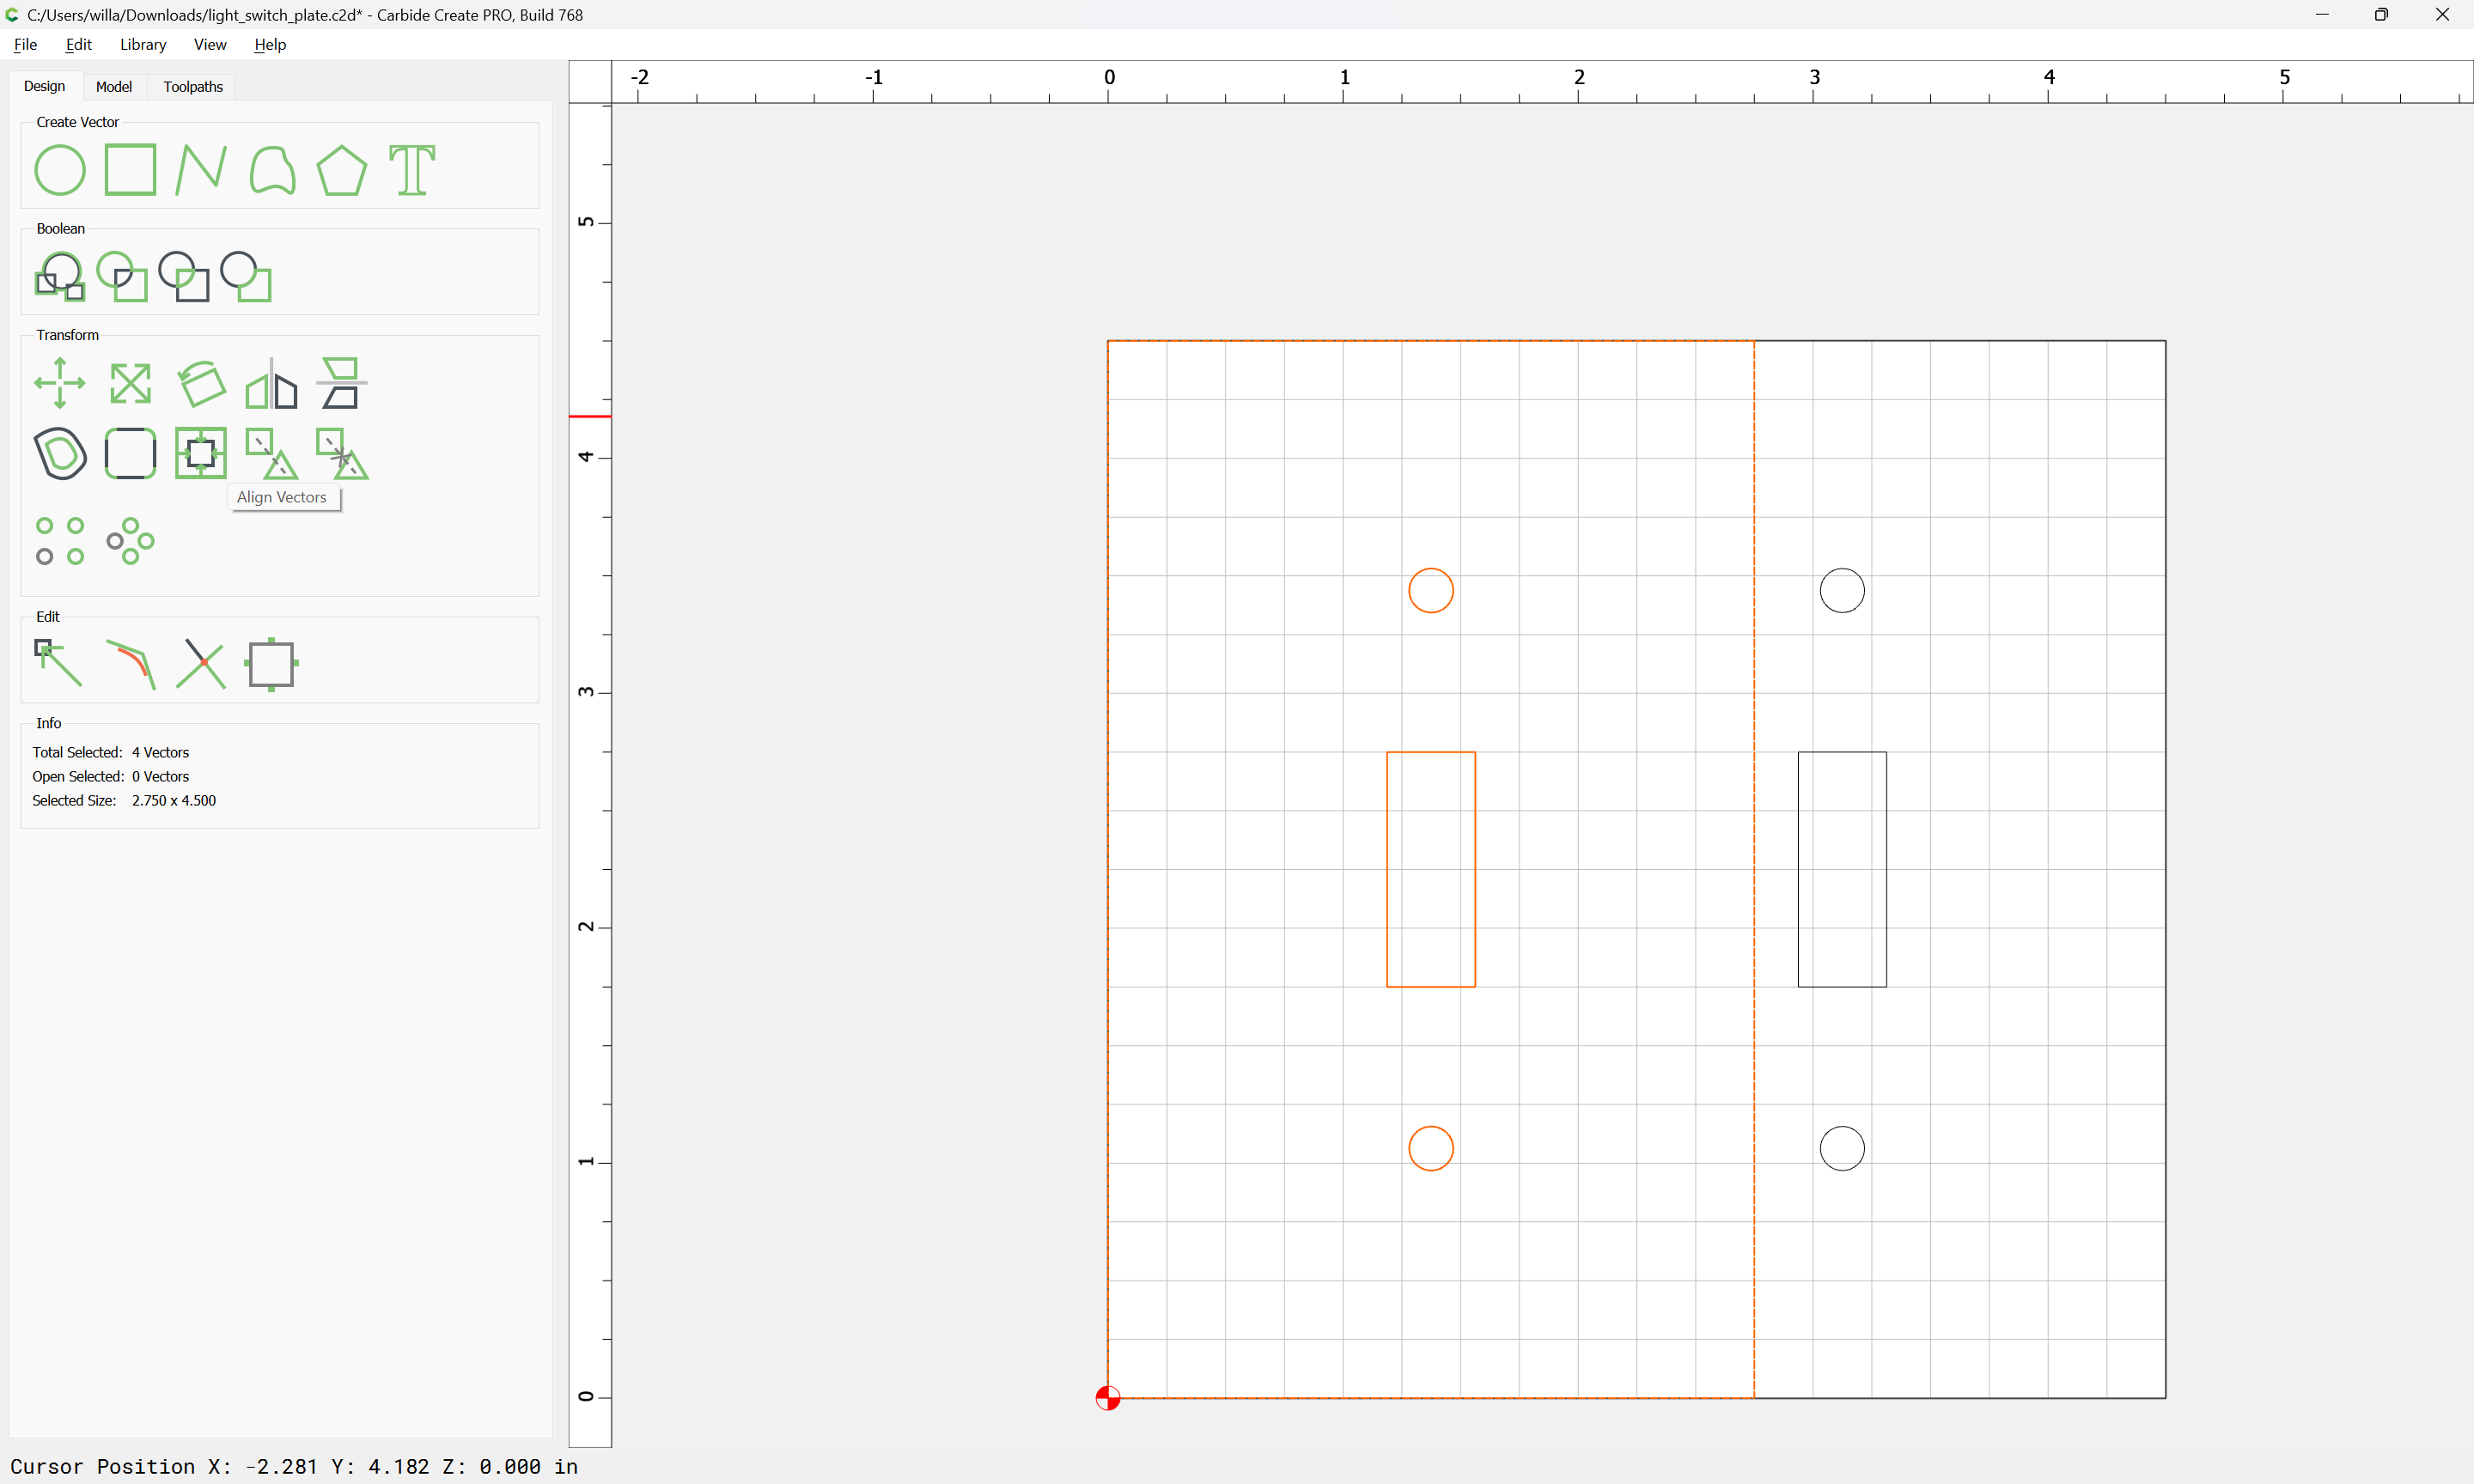
Attached as a .c2d file — please verify all the positions and dimensioning:
light_switch_plate.c2d (44 KB)
11 Likes
Nice. Maybe I will add engraving for what each one is for.
That bank of 7 switches I have has 1 or 2 that I am not really sure what they do and I have lived here for 15 years ![]()
5 Likes
Thanks for taking the time to make that up Will, I really appreciate it. I look forward to messing around with this tomorrow.
Nice work @WillAdams, but the back side needs to be add as light switch plates have a pocketed area as well to accommodate the box and light switch as they extend out from the wall.
Been in my house 25 years and just figured out 1 of mine. It goes to one of the outlets on a 2 outlet receptacle. I have a few that only 1 of 2 are on the switch the other is live.
2 Likes
Interestingly because of the potential for this confusion a de facto standard is to install such switched outlets upside down so that they can be differentiated.
That is left as an exercise for the reader, or for someone to post a link to a standard for light box size.
1 Like
A lot of the outlets in my house are horizontal and some of the rooms have one side switched which I generally hate.
Interesting choice on the part of the contractor — any idea why?
Not really and it’s only done that way in a few rooms. We have really tall baseboards in the house, maybe 8-10 inches and in the rooms they put them horizontally the outlets are actually in the baseboard rather than the drywall.
That puts the outlets probably lower than what is code now. The horizontal nature doesn’t bother me as much as the switching. I know that I can resolve that at the outlet but then I would have another switch that apparently does nothing.
I think several of the switches I can’t identify are for ceiling fan lights where there is actually no light kit. I think they provisioned for them in every location. I guess if I was curious enough I could get a ladder and a meter. Some of those fans are outside on the porch and likely to fall apart if I look at them wrong now.
2 Likes
Sympathies. I’m replacing a rusty old outside light and need to find time to cut a gasket on my machine to make everything work.
2 Likes
Had a lot of fun making this. Ran into a few issues but lessons learned for next time. Took it over to my laser engraver for some extra flourish and finished with a few coats of shellac. I tnink every room in the house will be getting one ![]()
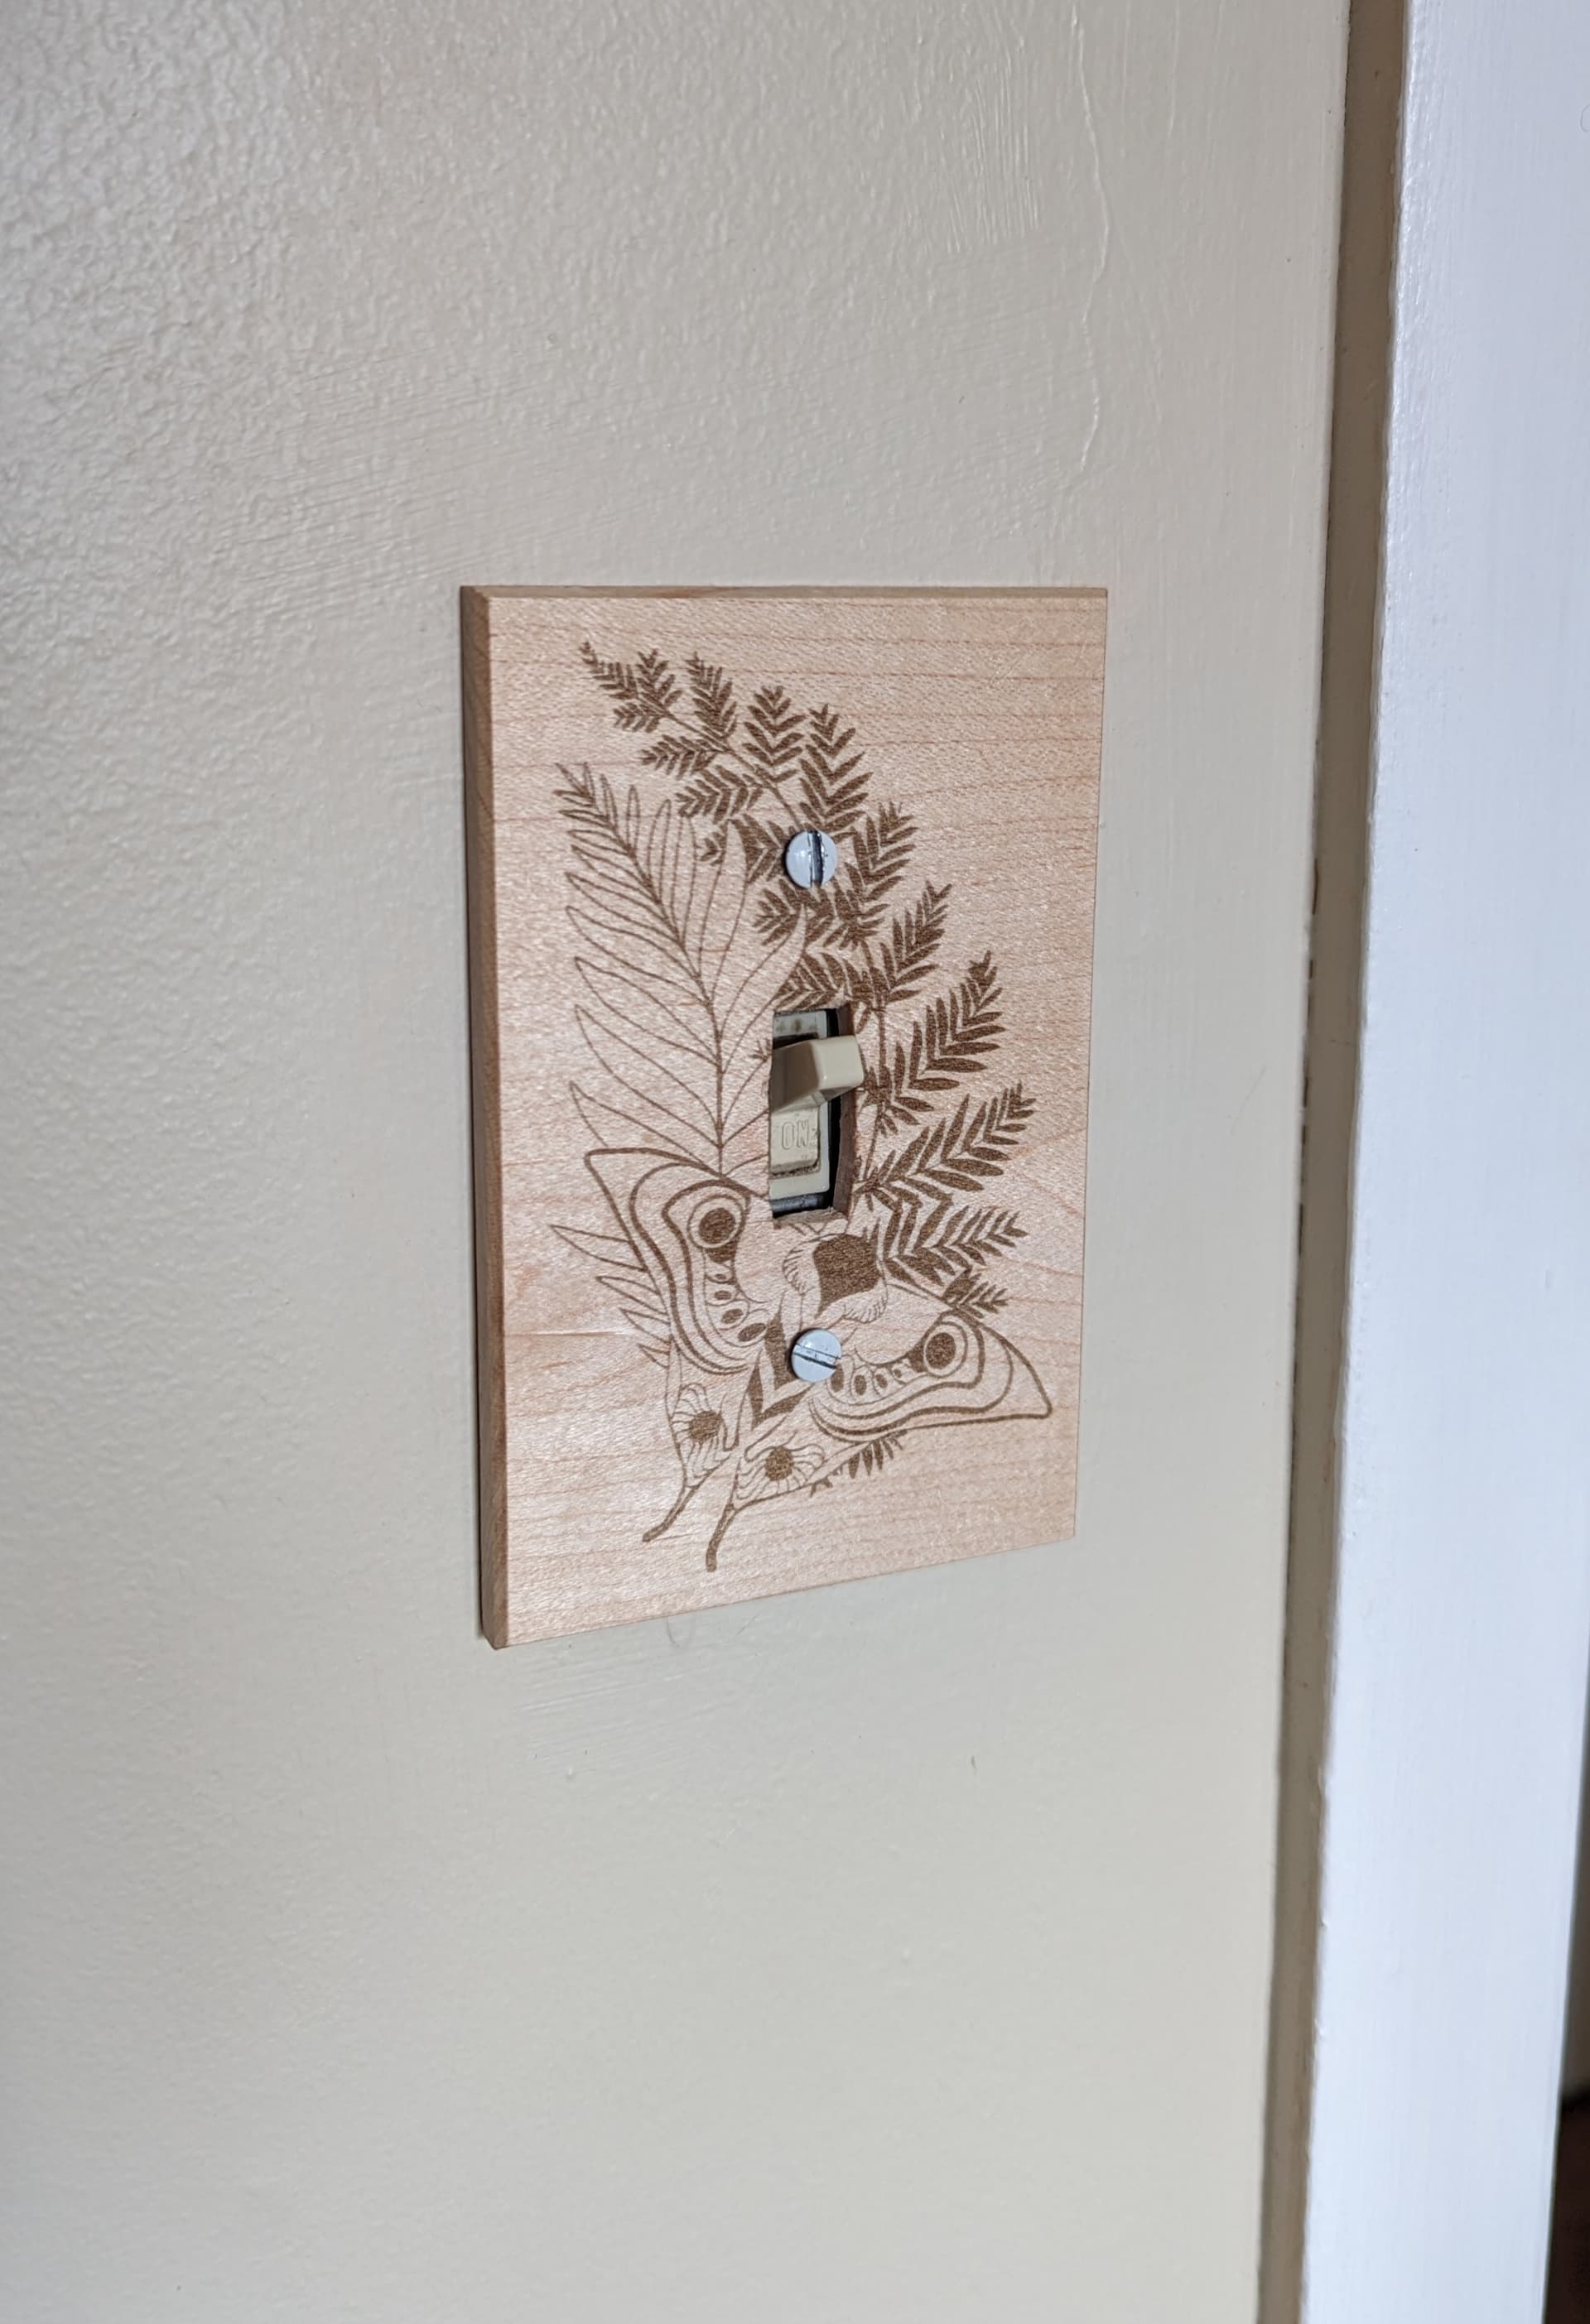
13 Likes
That’s pretty cool.
I was thinking if there were multiple switches you could add a label for what/where it turned on/off, but a design is much nicer.
One-ish suggestion would be to pocket the screw holes slightly to create a countersink and maybe chamfer the switch hole.
2 Likes
Nice!
My house has some really charming art deco switch and outlet plates — I’ll have to make up a set of files for cutting them and then make a complete set so as to make all the outlets in the house consistent.
Maybe overcomplicate it and use a
2 piece design so that the screws don’t show. I bought a couple of plates like that recently. The top presses onto the base which has the screws in it.
1 Like
Looking for ideas…?? https://www.wallplates.com/ Even some of the metal plates you could do in wood.
3 Likes