Anyone got any tips on applying Oramask by yourself? I tried my best by myself. Oramask was curled because it came off of the roll.
I started on the top (long) side and pressed with my finger the best I could and also used a roller. But I still ended up with a lot of air bubbles.
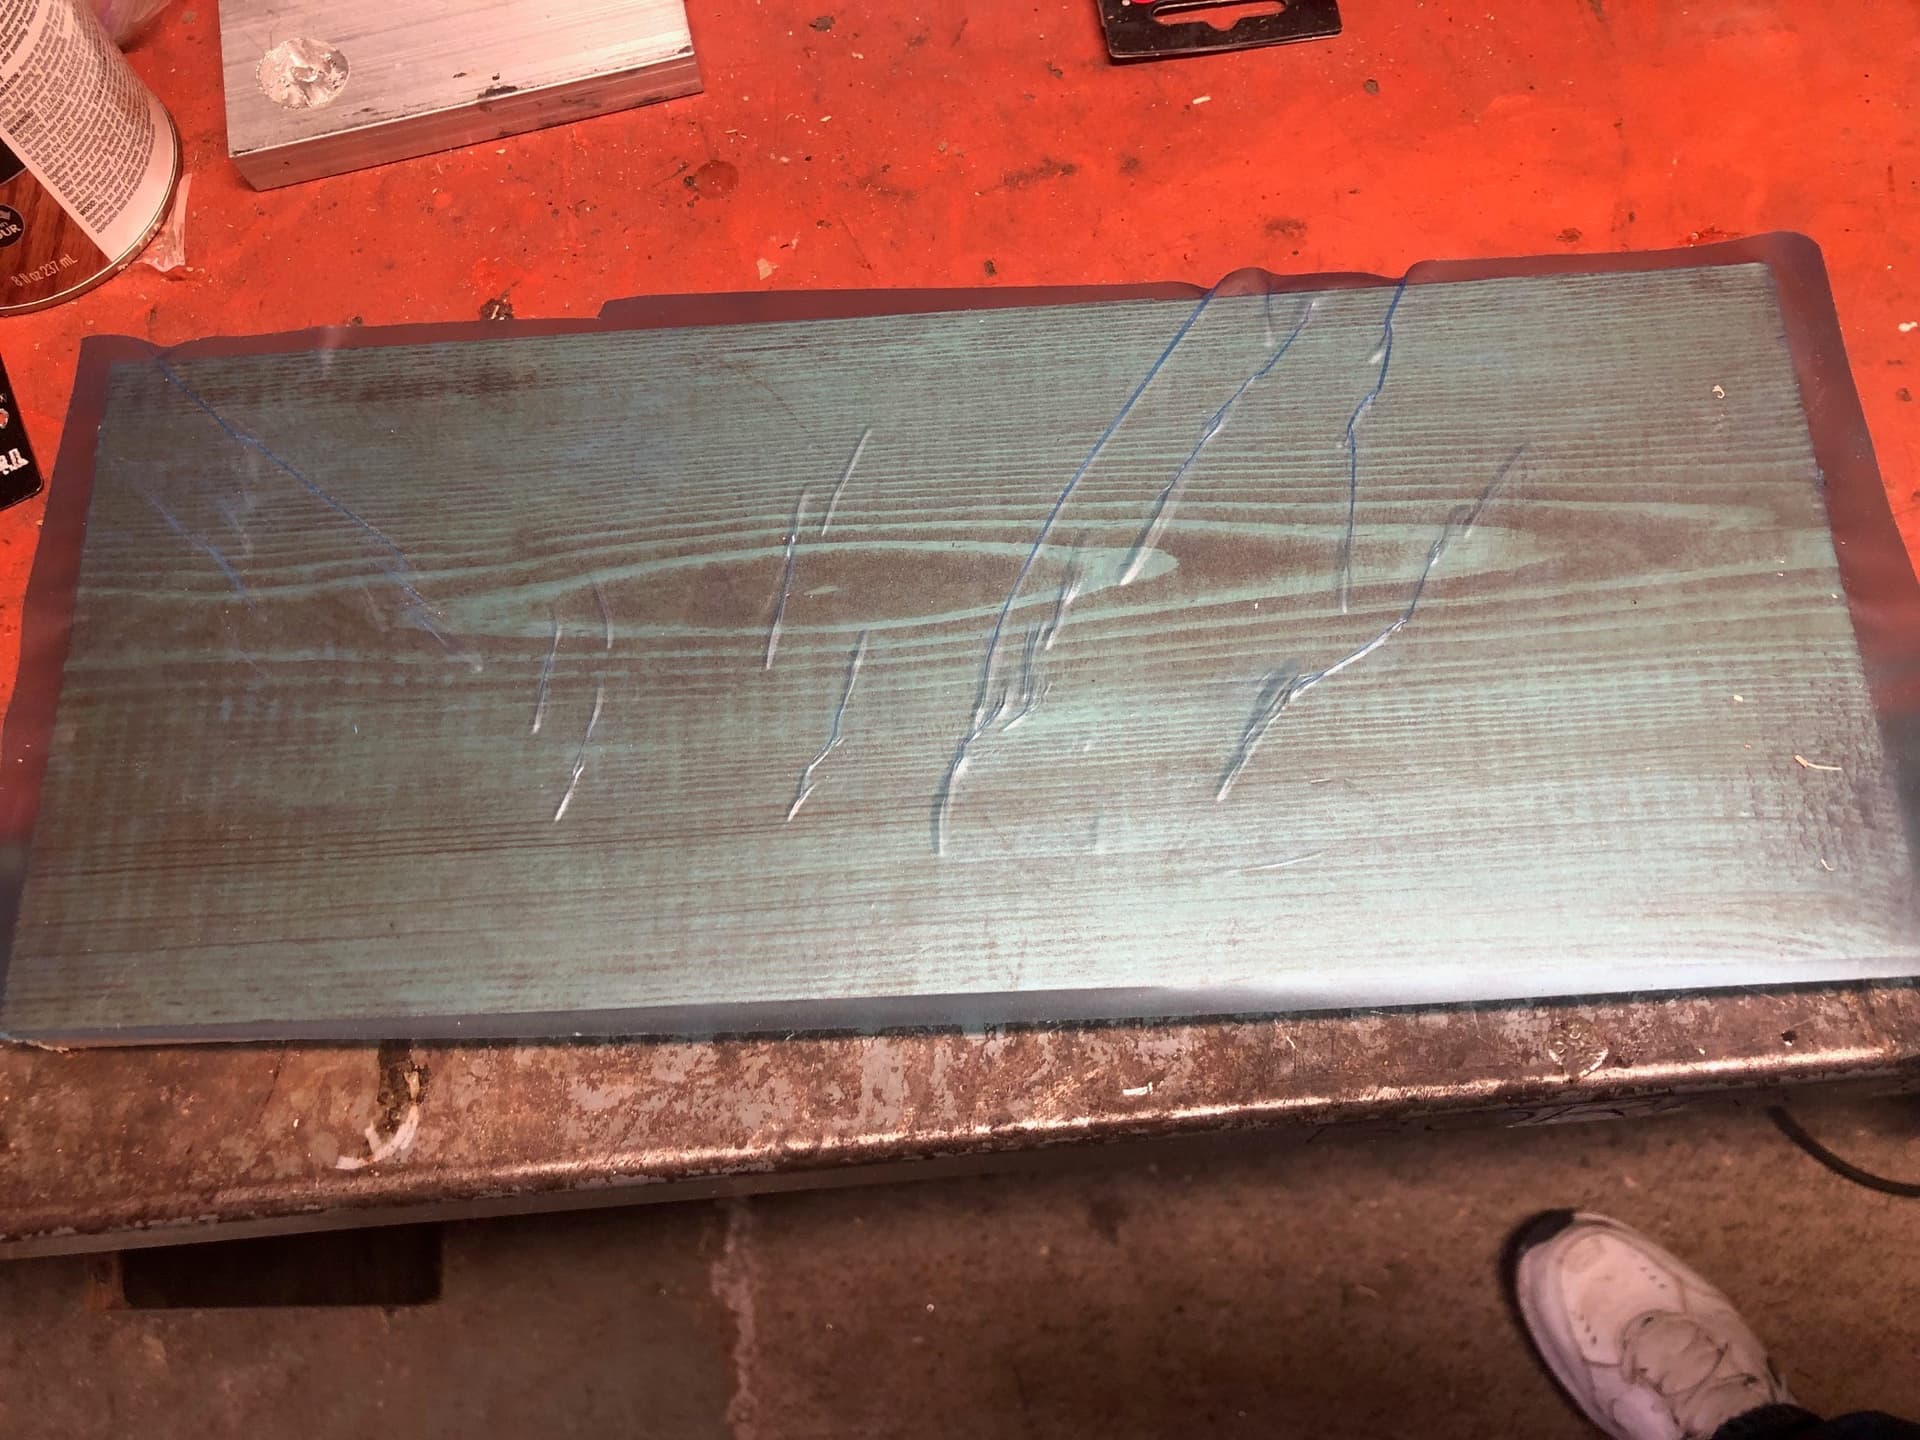
See attached photo.
I thought someone might have some tips.
OH, on the same kind of subject, how about any tips removing the backing from double faced carpet tape? I do not have much for fingernails so I use a razor blade to start removing the backing but that proves difficult at times. Thought someone might have a tip on that one.
Go to the auto store and buy the squeegee kit for applying bondo. You just need the hard plastic squeegees. Cut your mask to the size you want and apply it by holding both sides and attaching to the center. Slowly lower the sides to lay down to the ends. Use the squeegee to smooth out air bubbles from the center to the perimeter.
I use a plastic putty knife and start at one end stuck to the material then slowly pull off the backing working across ensuring not to have bubbles. I then go over the whole piece ensuring proper adhering.
I have seen others use a credit card or even an autobody Bondo applicator.
When I apply oramask and/or Easy Liner Adhesive Shelf Paper (Walmart) I use a J roller to adhere it down. The wrinkling is not a problem but start the oramask at one end and smooth it down across the project. Do not drop the sheet all at once on the project. You can use your hand to hold up one end and the other to smooth the oramask. Then use the J roller or as others suggested a plastic scraper. The key is to press down the oramask to get a good adhesion.
The curvature on the mask material gets to be a pain especially on larger projects when you are near the end of the roll. I wonder if rolling out the approximate size first and letting it overnight weighted down would help. Or maybe hit is with a hair dryer.
Cut your oramask to size (usually a bit bigger than what you need). Flip it over & peel the backing from one of the short ends about 1" & fold the backing over. Now position the mask over your job. The folded backing will hold the exposed end up in the air a bit so it won’t stick yet. Once positioned properly, carefully adhere the exposed 1". I just use my thumb to press it down.
Now lift the other end up, grab the backing underneath & pull off about 1" at a time, continuing to smooth out & press down the mask as you go. It should be all down with no bubbles. Now roll it good & proceed…
For the tape, roll out a section on your part and press it down. Similar process to the Oramask. Start at the end & work your way across to avoid bubbles/wrinkles. The roll is still attached at this point. Peel up the backing and hold it with your off hand by the roll. Use a knife to cut the tape on the part. Now the backing on the free roll is longer than the tape. Rip the backing but leave it an inch or two longer than the tape. Now each time you use it you have a piece of backing to grab after you stick the tape down. You only have to wrestle with that first piece.