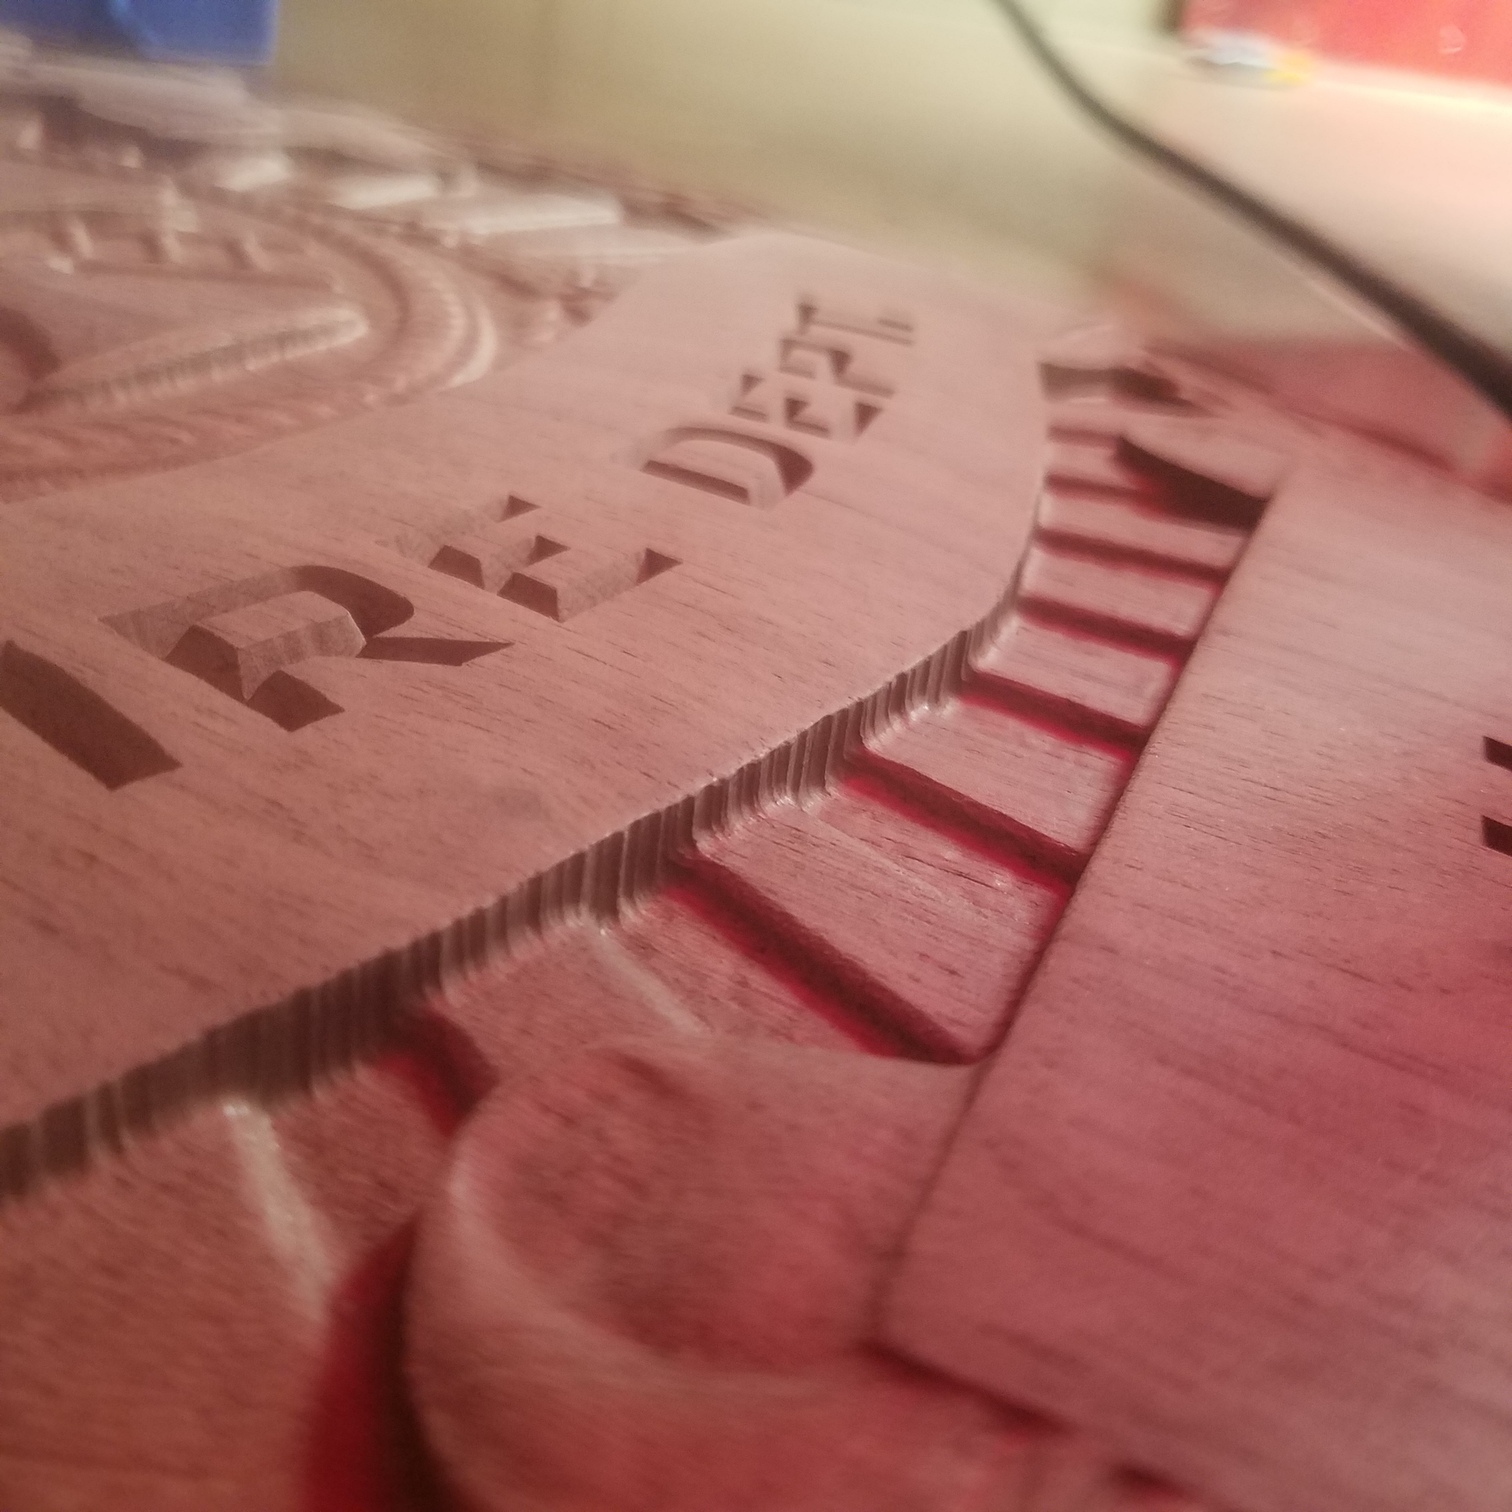
While cutting 3d models on my s3xxl I often get these grooves throughout the workpiece. Many times they show up in my toolpath preview on aspire. So I think that tells me they aren’t from mechanical problems.
I see these created while my 1/8" ballnose continually climbs next to each pass. Running a 10% stepover at something like 160ipm 40 plunge, after running a clearing pass and a .25 ballnose. So the 1/8 ballnose isn’t really clearing that much material. It makes me think this has to do with the direction the cutter is contacting the wood, not deflection.
I would think cutting profiles around individual components may help? I’ve done this on some projects with a slight offset in, with some success. I’ve had to deselect some 3d components and set the depth of pass to 0" prior to calculating each profile toolpath.
Problem is I don’t have individual components broken down on many STL files. They are all combined into one file.
Any ideas? Thank you in advance! Here’s some pics:
these are vertices and faces in the model mesh. short, and i am sorry to say this, ugly, answer is to either remodel that portion of the mesh to smooth it out. long answer you could try adding additional boss material (think very thin layer of frosting on the cake using smooth geometry that you create from scratch using as few nodes as possible) in aspire to the model in way of the ribbon and then try a very very thin extrusion along the bottom border of the wings to make them smooth as well then bake the whole thing before adding text… that is to say of course, unless later versions of aspire have a magic fix mesh tool, i think there is a smoothing tool but i never had much luck with it and to be honest i would not be sure how to describe it or if it would help you here
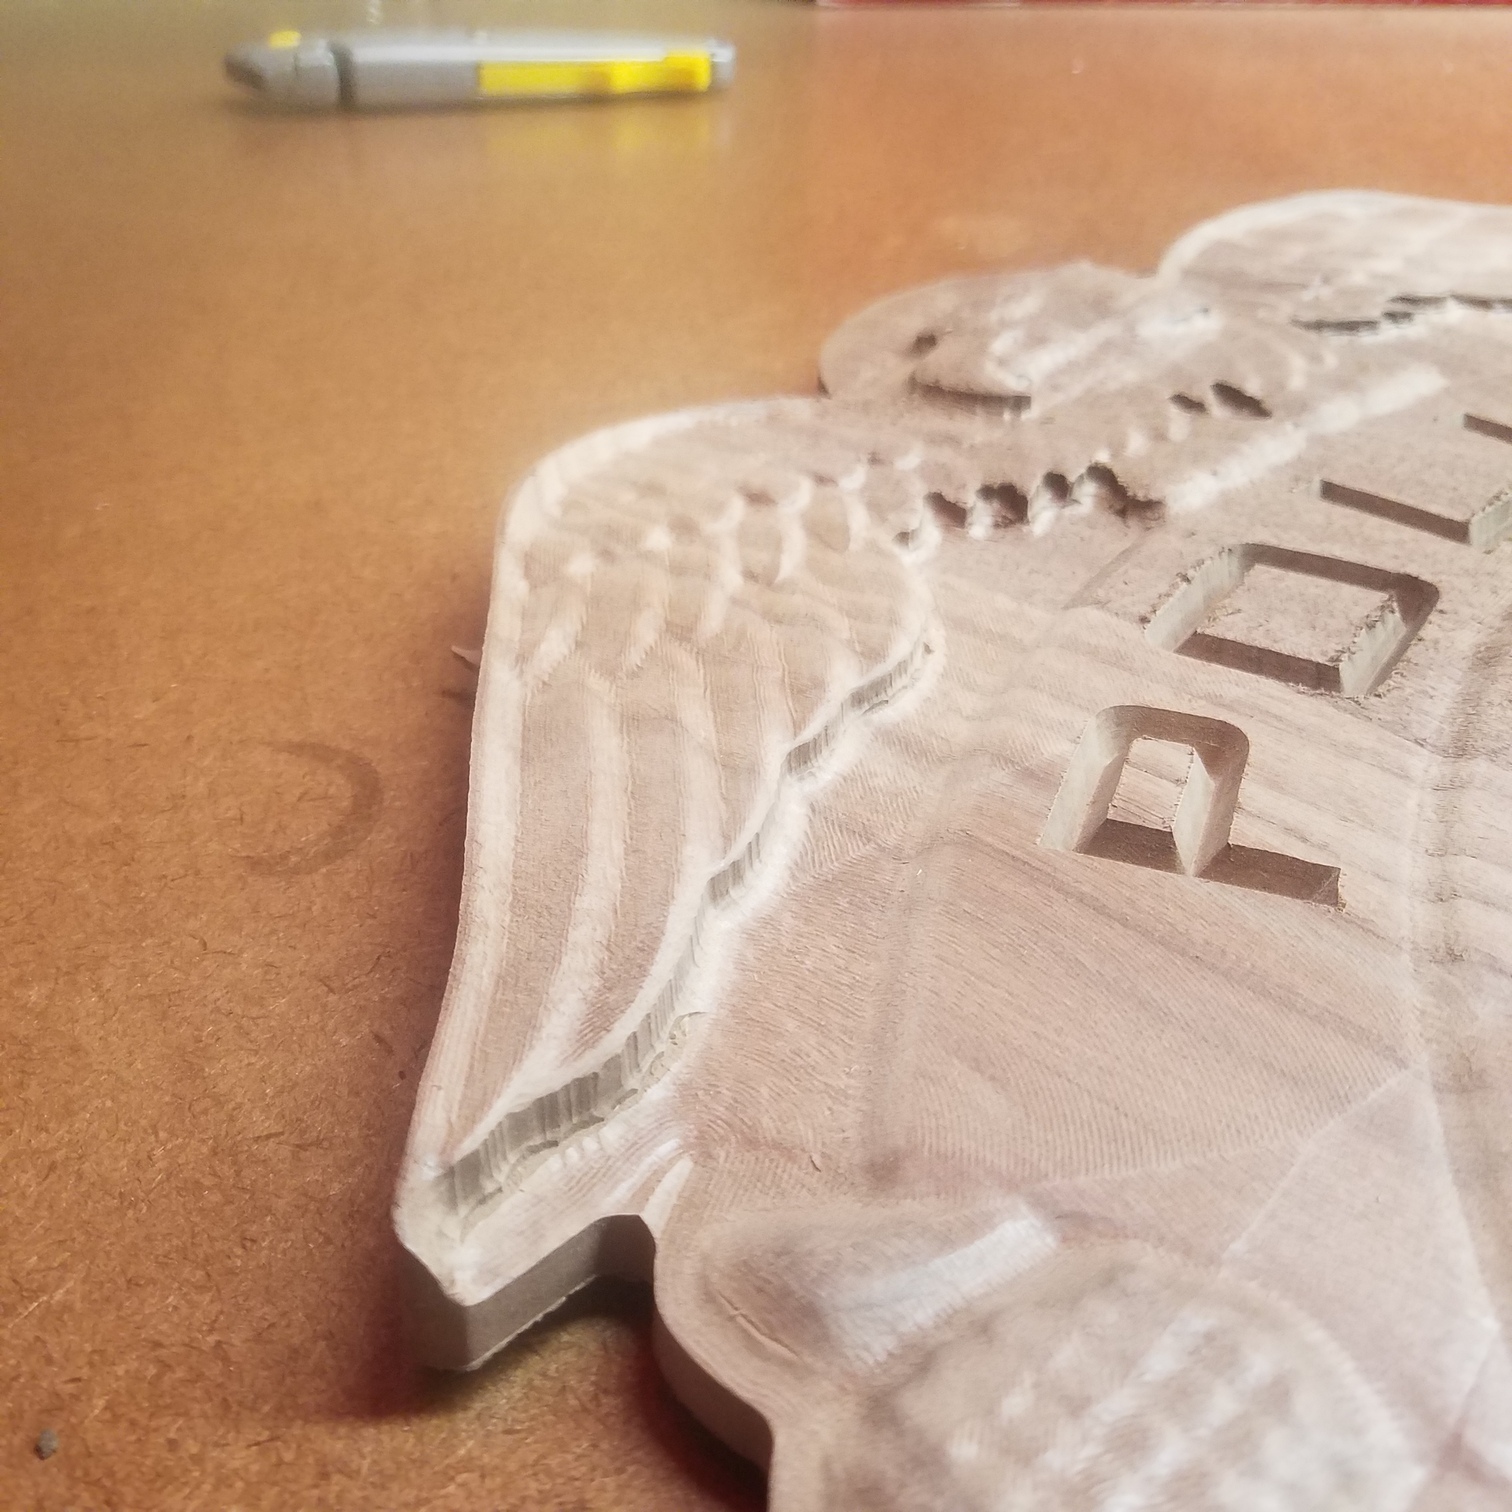
I concur with Clifford. I have not had great results using the smoothing tool. Another idea that doesnt involve baking and would be quick and dirty would be to simply make a spline around the main banners e.g. trace the outline of the main objects and just make a one small pass with an offset slightly smaller than the diameter of your end mill. It would get all the groove marks where the DOC can reach the bottom (as in the second picture), but the areas with the flat valley/and flat tops, this would only reach to the height of the flat top (from first image) Hope that makes sense.
Honestly I dont think any one who is not a CNC enthusiast would notice or much care. Looking at it straight on it is hardly visible. Your end results looks great and it will bother you more than your recipients I presume.
Those are produced by the bit as it rasters across the material. You could create another tool path with the pattern set to 90 degrees and rerun the entire carving. Better would be to create some vectors and use it as a boundary to only carve that area.
A couple of tips.
Make sure the material isn’t much bigger than the model, because resolution is based on the entire material size.
You can hold SHIFT on the KB when “Create a new file”, and you will see the option for Ultra High Resolution. Best for importing 3D models.
Finally you may need to zoom into the model, and use the sculpting tool to smooth all those edges.