Assembling Belts on Y axis

A quick check on my XXL here for comparison;

I have about 75mm worth of doubled over belt from each end plate, measuring mine it’s about 2.7mm thick.

That doesn’t cause a problem to the bearings on my machine, there’s a belt width between the rail and the bottom of the drive belt on both Y drive sets, there is, however, no such clearance under the washers at the side, if the belt is getting under those, or if they foul the clip then bets are off.

3 Likes

Thanks Liam,I slackened off the pulley and tried to get the doubled up belt underneath but still got resistance,I think the only way is to have the half inch or five eight tuck in at the buckle.I doubled up the belt and tried under the x axis and it moves over it no problems??It has another 1 mm gap between the pulley and rail compared to the y axis.

As Will mentioned above the belt tensioner sometimes gets twisted when tightening. When tightening the bolt holding the tensioner use a pair of pliers to hold the tensioner while tightening. If you dont hold the tensioner it will twist and cause the machine to not home in home position or go all the way at the other extreme.

2 Likes

Hey Graham,

Would you mind sharing a picture? I’m just curious if it blatantly looks off or it looks close.

2 Likes

Hi Brian,I have the mechanics all pulled to pieces at the moment,here is a photo which really does not show the issue but the y axis on both sides will not ride up and over the doubled up belt towards the buckle,I think I have to shorten the belt to only have half an inch coming out from the buckle so as to get the homing switches to work.Here is the photo of the y axis stopped at the double up.
I am struggling to add a photo so will send this and work out how to attach!!!

here is the photo

I see the top and bottom teeth do not engage completely, is that just on that specific picture or do they look like that when the gantry is far from the plates too ?
What I do when installing belts is going through the belt clip, doubling-up over one to two inches, making sure the teeth lock, and then using a small piece of blue tape and wrap that around the doubled-up part so that it won’t move/slip during tightening. It should also help keeping the thickness of that doubled-up section to the minimum (the tape thickness is negligible)

2 Likes

Hi Julien,that photo is me trying to get the idler over the belts which were just free standing after I pulled the machine to bits again,I think forcing the idler at the doubled up belt has pushed the top belt out a little.Looks like Scott has the solution I need to go.The half inch from the buckle looks like it should hold.I will use the tape for all the other ends as I noticed when I did them It spread out.

3 Likes

Thanks for posting the picture, Graham. I wanted to see what Julien had commented on, how the folded over belts were in mesh. Also, how the tension brackets looked. Anyways…

  • You tightened the top v-wheels,
  • Adjusted the idler bearings to their upper most position,
  • and now, you’re going to shorten the belt.

Sounds like you have your next move planned out, let us know if that solves your issue. Just curious, you don’t have issues at the fronts of the Y-axis, just the rears?

2 Likes

Hi Brian,just at the rear as it is a confined area,with the belt at a 2 inch overlap,the pulley as I call it has to ride over it to get to the back homing switch.The front has a lot more area.An interesting point I doubled up the belt and put it on the X axis and the carriage goes over it no problems,just an extra 1 mm gap difference in idler to rail difference.

Hmm… that is certainly noteworthy. Keeping the folded, meshed belt within half inch of the tension bracket does the trick? I apologize in advance, I’m the cat that got killed from curiosity. Does making the 2” fold over at the front of the Y-rail cause the same issue, or what about equal fold over on the front and back?

If the doubled up length is long enough it will do the same at the front,it is more than the 2 inches.I think if the half inch at the back end is fully secured,I can not see it moving and adjustments made at the front,we will see.

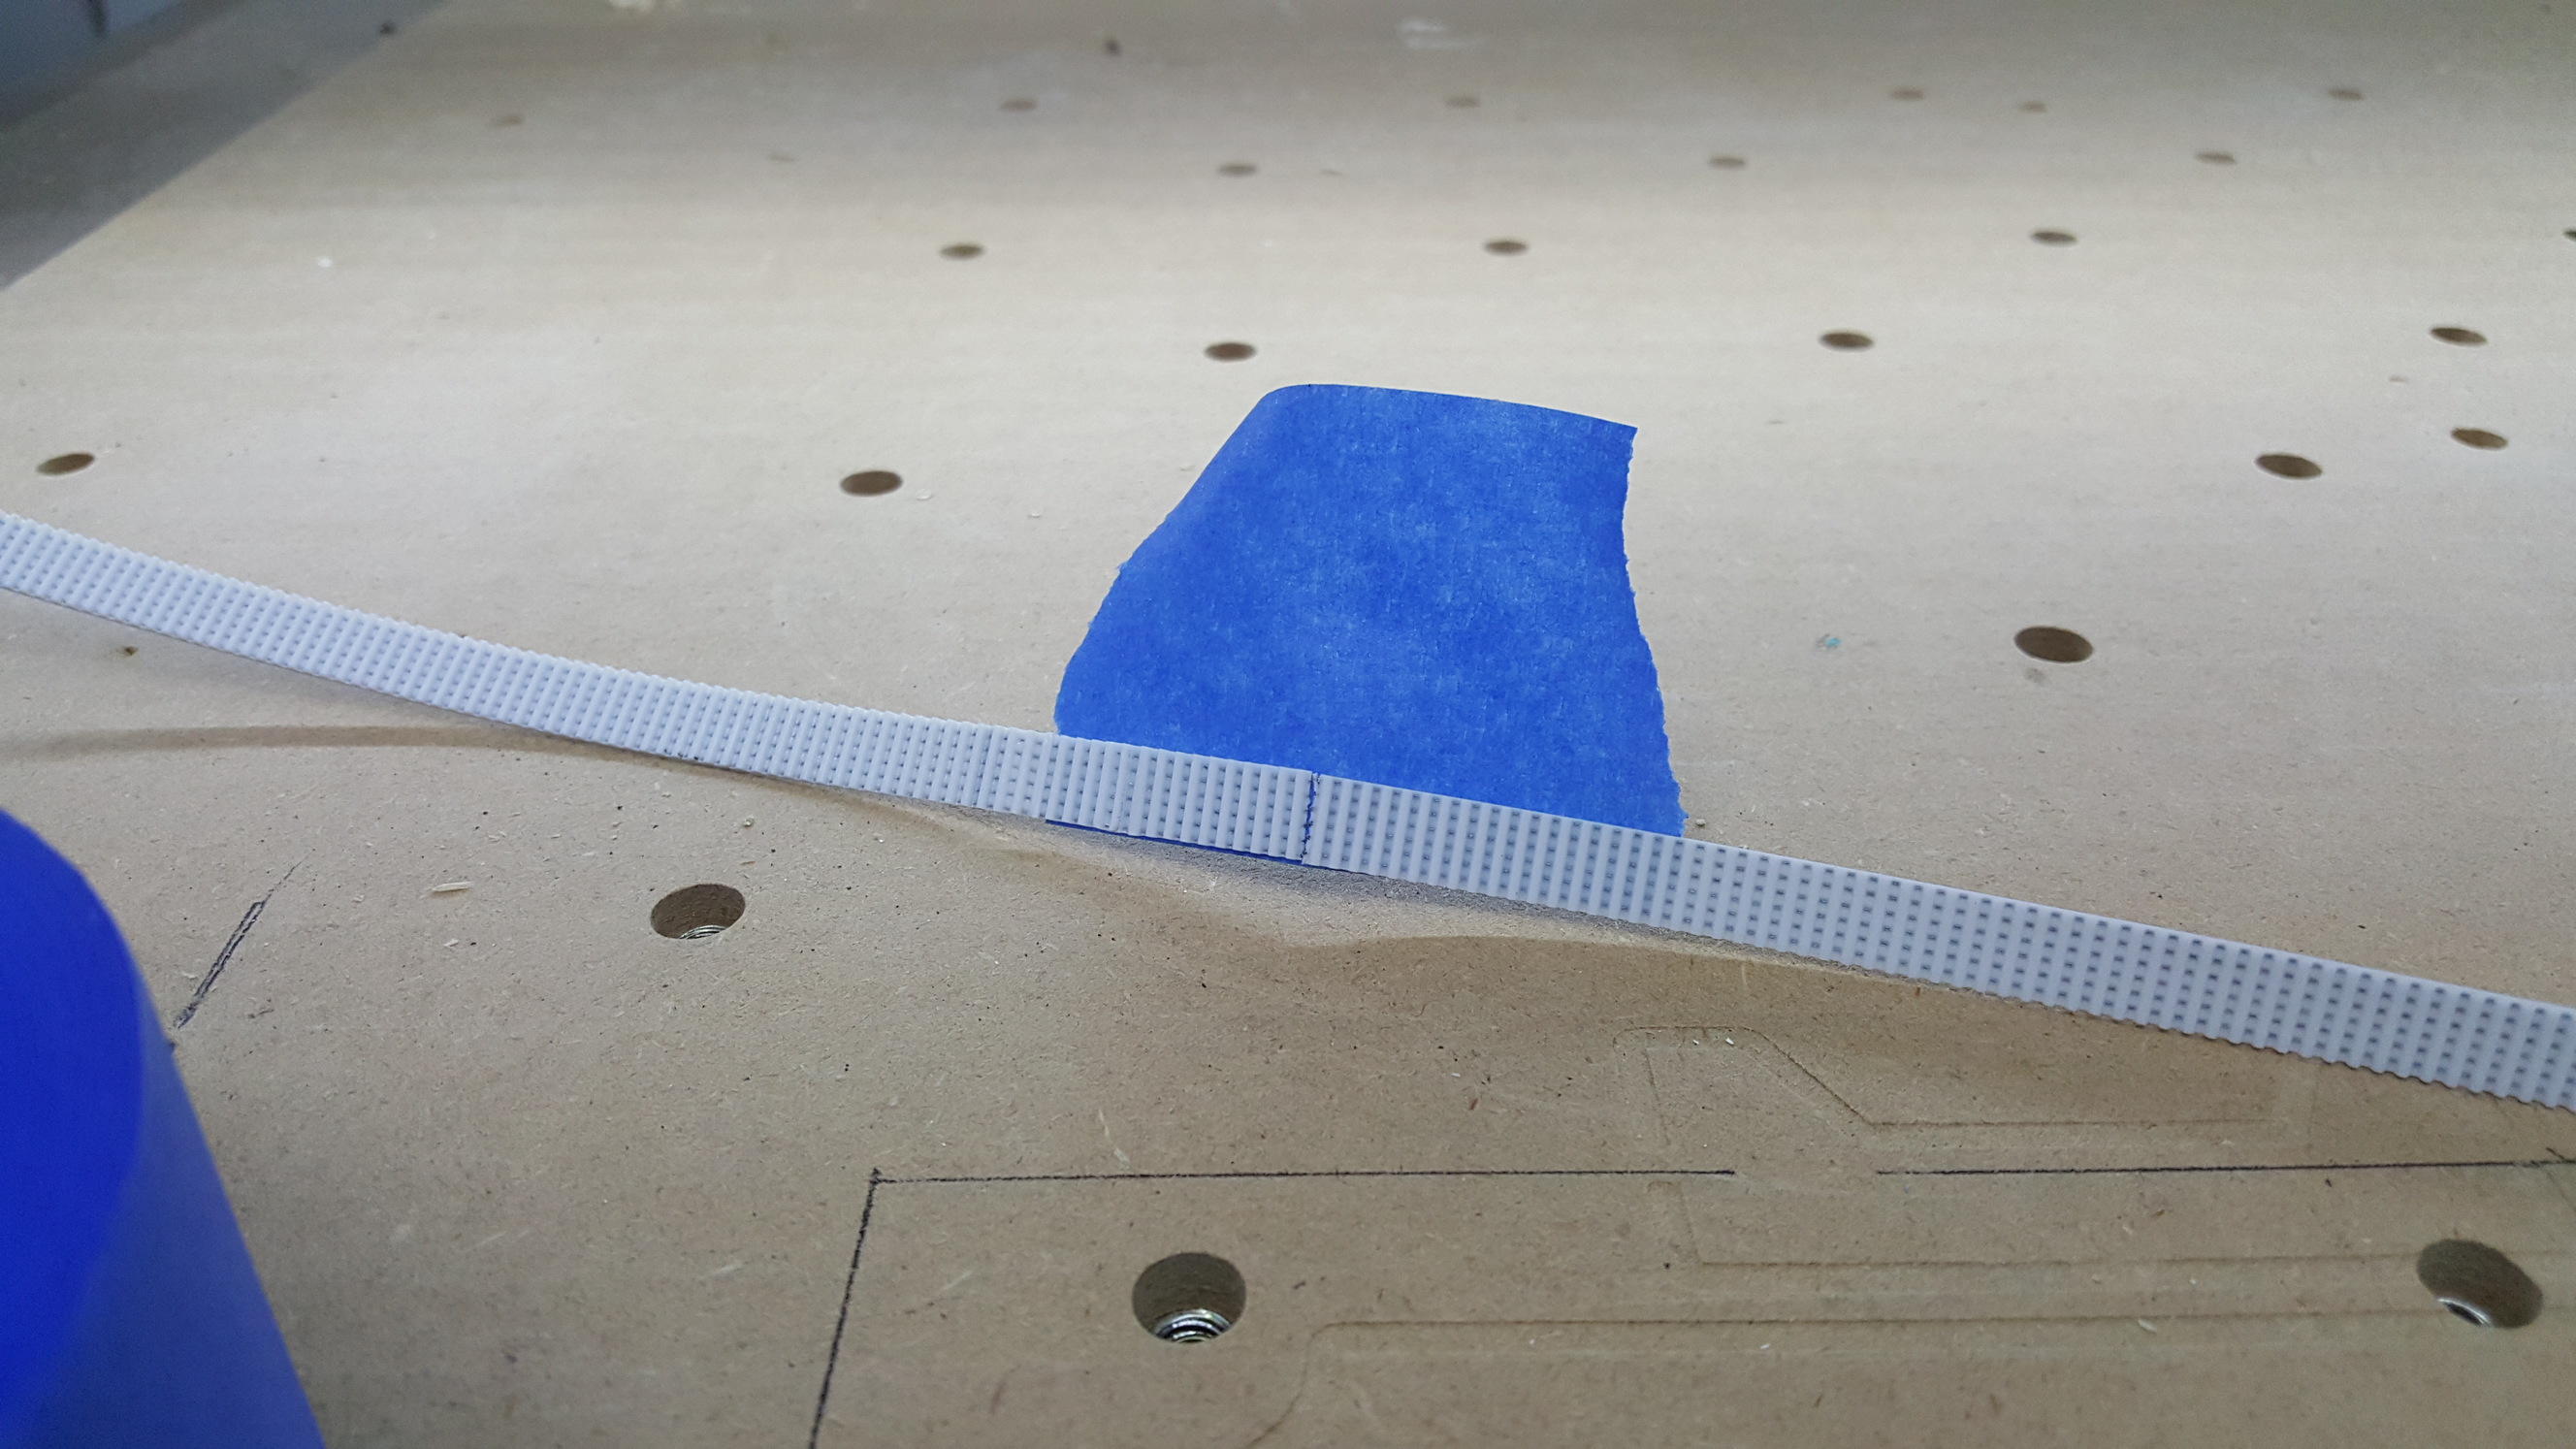
Little tip for easy belt replacement when the time comes: undo one end clamp and loop the new belt through and reinstall the clamp. Take the end of the old belt and secure it to the end of the new belt with some painters tape like so:


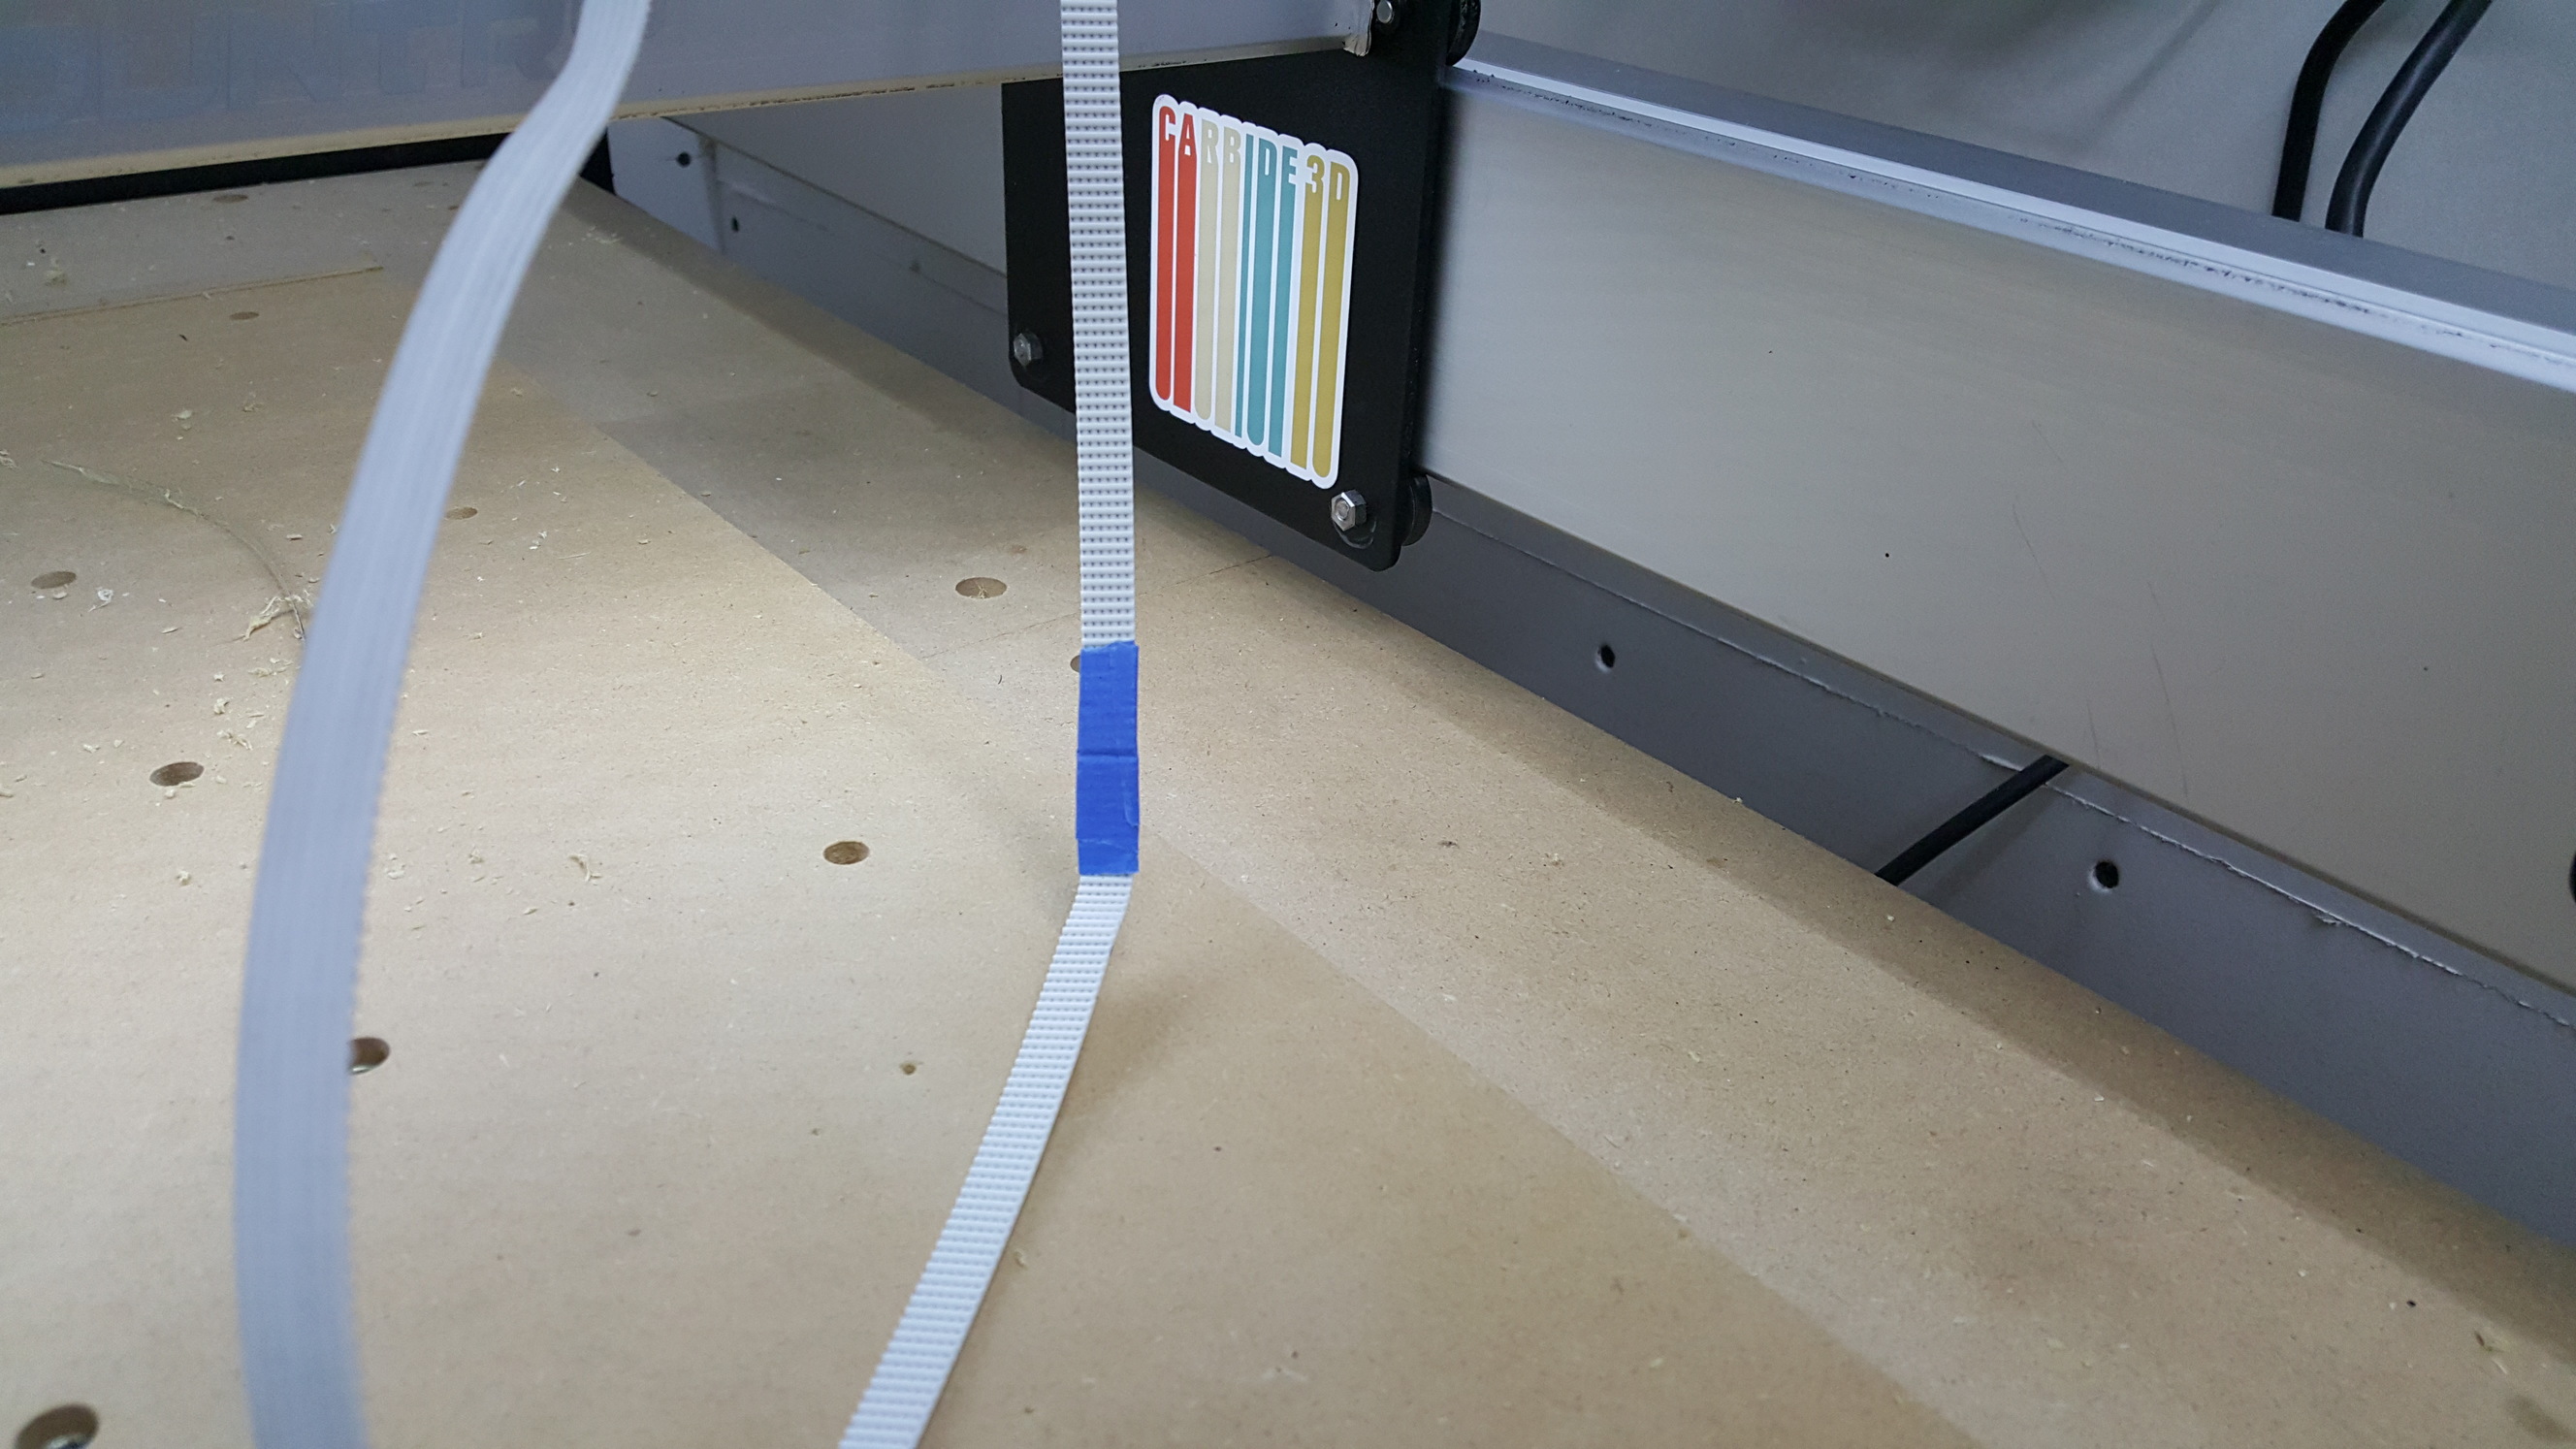
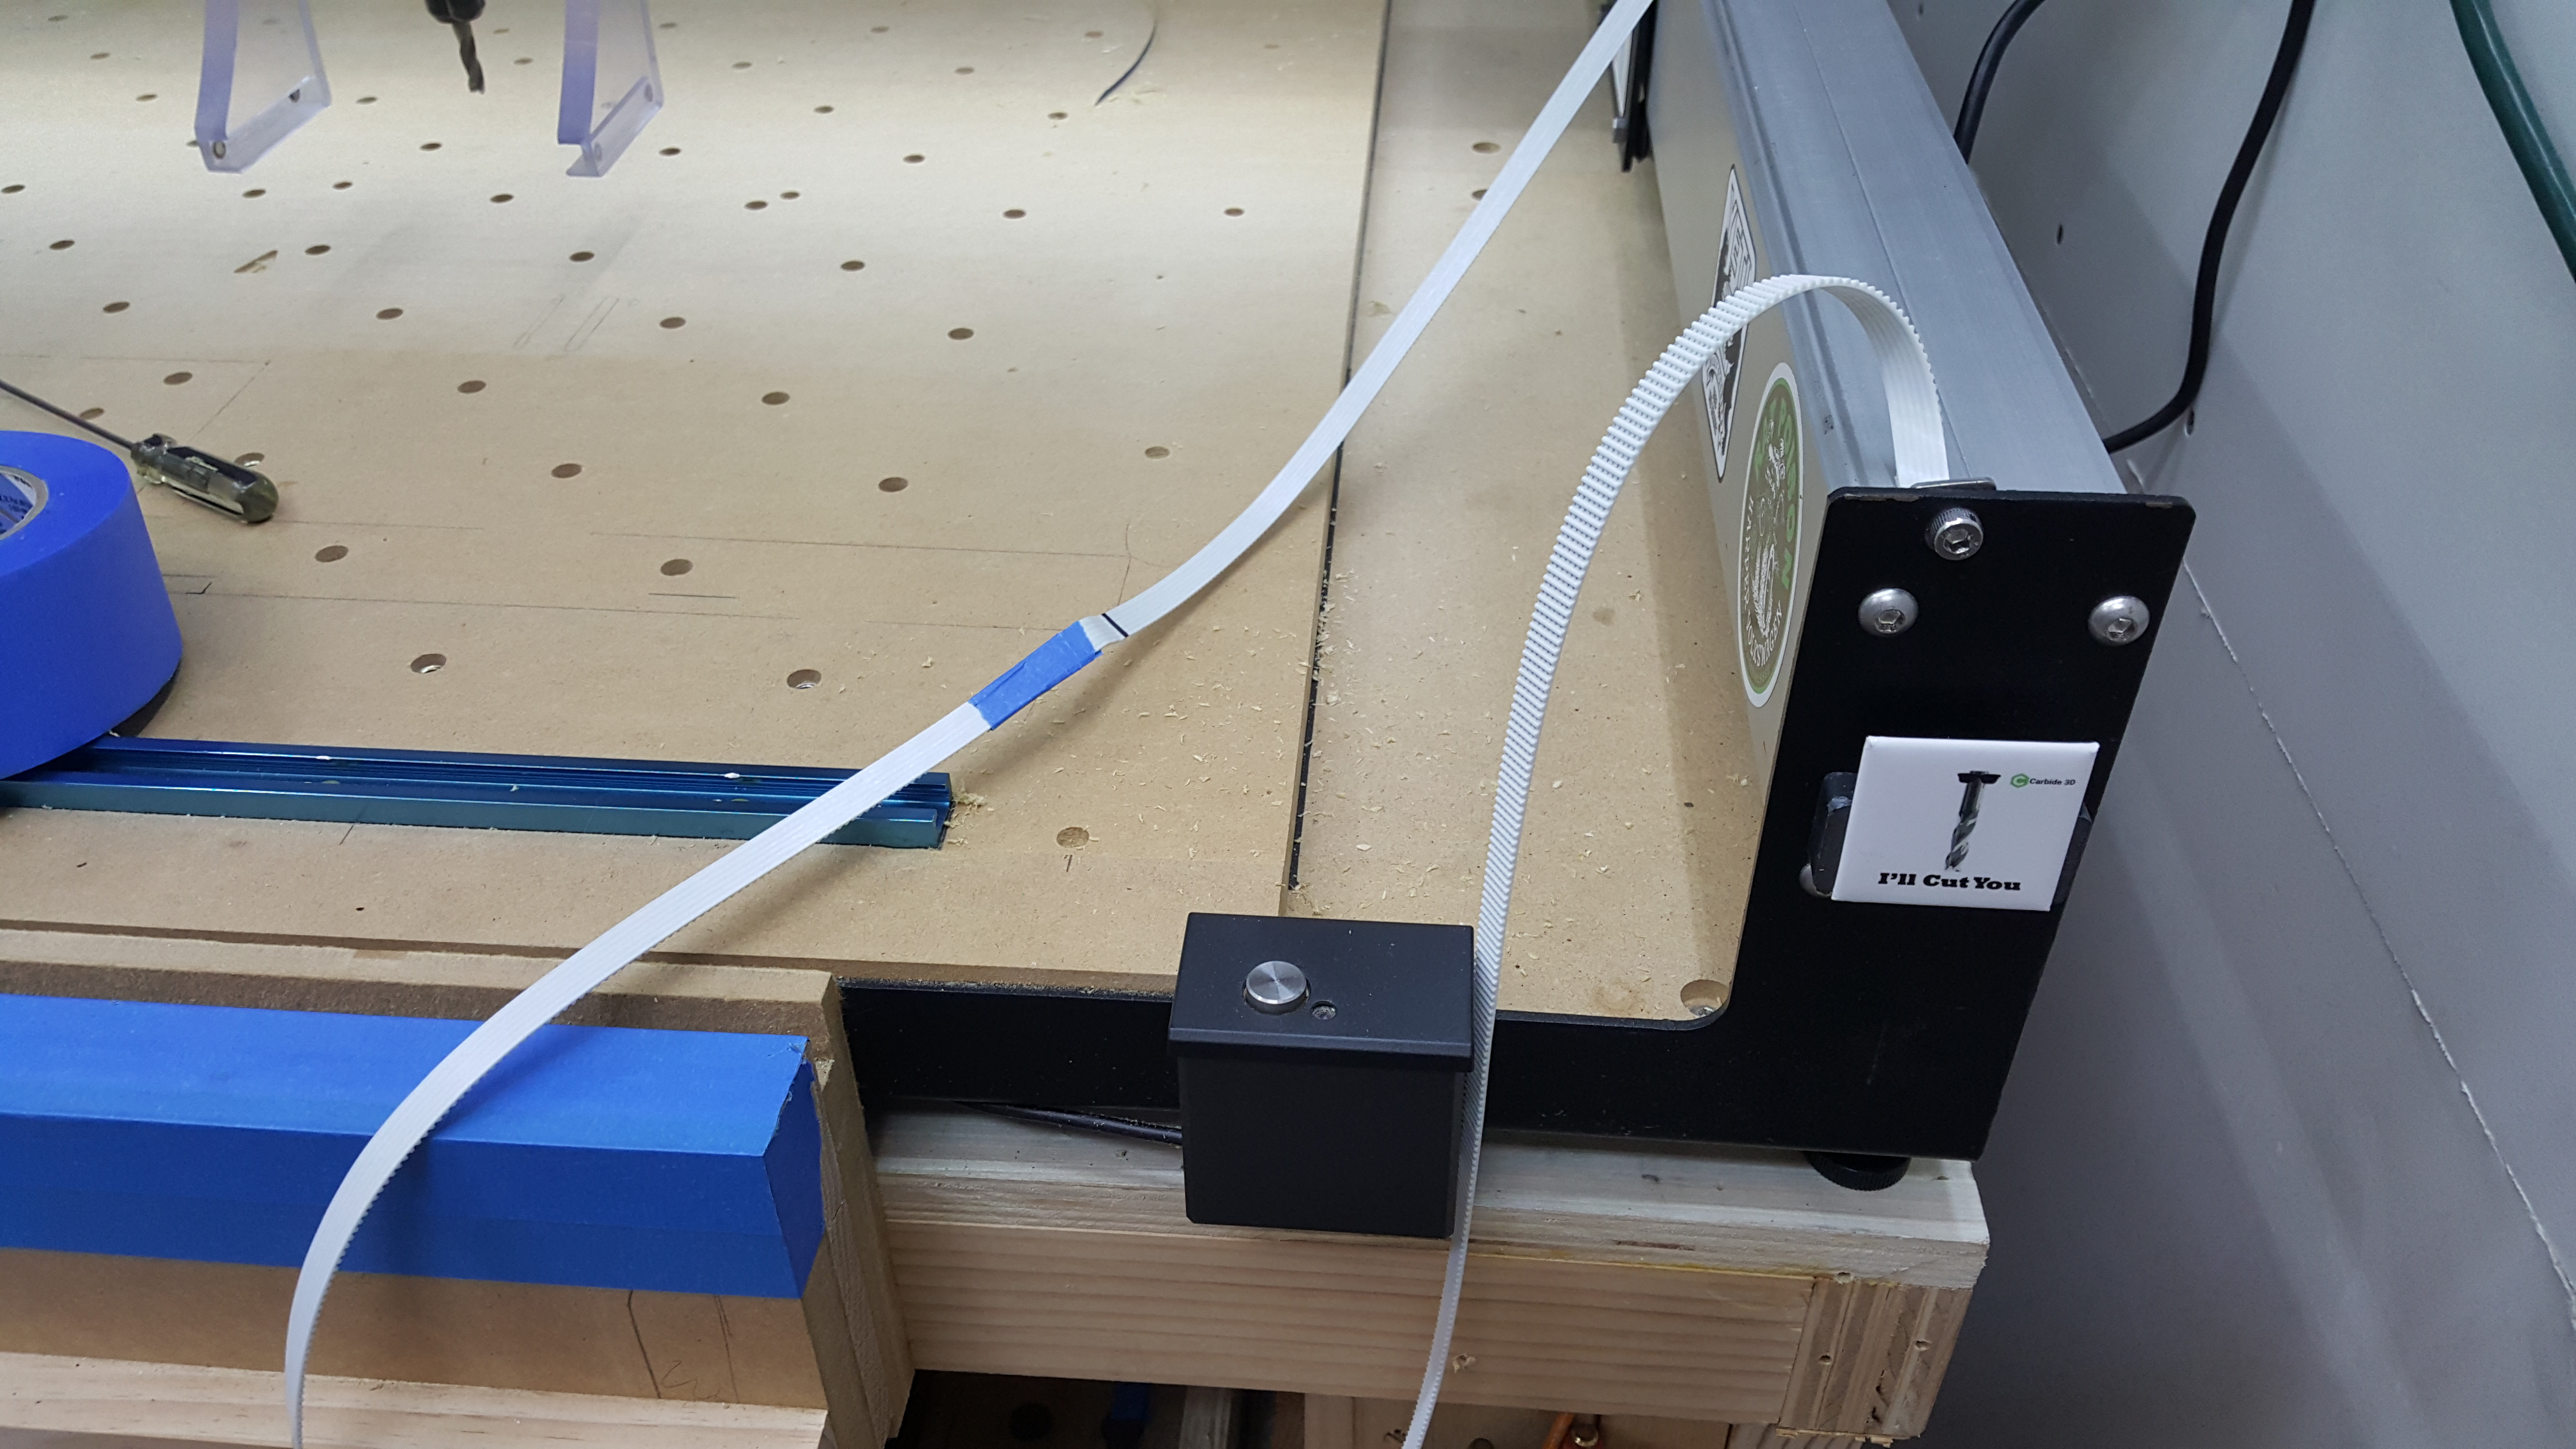
Now it is easy to gently pull the new belt through the pulleys and such with the old belt. No fiddling around trying to coax the new belt around all of them. Maybe some of you do this already, but I thought it wouldn’t hurt to share it with anyone new to the community. I can swap a belt now in just a minute or two without having to pull my machine out of its “room.”

6 Likes

A prime example of “There is nothing blue tape can’t do” :slight_smile:
We should start a Blue Tape Club or something.

4 Likes

I’m in! I don’t use it much for work holding, but I have a sick obsession with using it for just about everything else around the shop.

1 Like

I too would like to apply for membership!

Thanks everyone,I will reassemble today as Scot mentioned with the short tuck and Blue tape, well here it is green.
Scot what are you making at the front machine with that blue board and attachment??

It’s part of the “vise” I have mounted to the front of the table my Shapeoko sits on. Its for holding stock on edge or vertically at the front of the machine. There is a much better design on cutrocket.com. I was just using what I had laying around.

2 Likes

Mine does the same at front and rear, binds when the steppers try and run the wheel onto the folded belt. But it does not stop the gantry, just a bit of a bind.

This topic was automatically closed after 30 days. New replies are no longer allowed.