After a bit over a month of anxiously checking for shipping notifications, waiting for forum and blog updates, watching and rewatching Winston’s assembly video, and gathering equipment and organizing my shop, I finally received my Pro yesterday! This afternoon after some final touches I was able to put it into commission; I just made chips for the first time on my new Shapeoko Pro!
Dear reader, I am pumped.
I’ve spent a fair bit of time on different-sized ShopBots and one huge AXYZ CNC machine (vacuum hold-down, ATC, dual head with oscillating knife and spindle, the works), but this Shapeoko Pro (SoPro? Are we doing that?) is my first personal CNC machine, and the first benchtop machine I’ve used. I don’t know how the rigidity or robustness of it compares to previous iterations of Shapeoko or other brands of hobbyist CNC machines, only how it compares to professional ones. And in that regard I am impressed! And the use of Illustrator>CC>CM as a workflow (having been raised on VCarve Pro) was easy enough that I was able to get going and making chips on my first try without ravaging my spoilboard or crashing the machine or engraving the bitsetter or otherwise being a noob.
First, the unboxing and assembly experience was very straightforward. If you’ve watched Winston’s excellent assembly video, you sort of know what to expect. I do however have one tip for people before they assemble their machines: If you can, move your workbench out to the middle of the room so you have access to all sides of the machine during assembly. I used retractable casters on the legs of my bench and I’m so glad I did! You really will end up circling around the machine more than you might imagine.
My machine arrived mostly intact, suffering only one shipping-related bit of damage; either the box was dropped or otherwise mishandled by FedEx, but I could see one end of the first box was crushed and the other was starting to come open (the corners of the box were failing & splitting open). Turns out the only damage to any of the components was the bolt holding the y-axis carriage in place to the left y rail had been bent and twisted, and in this process had chipped the hole of the carriage when it popped free. Luckily, it didn’t bend the extrusion out of true. Still, it was scary to see and my heart sank when I first saw it.
Otherwise, the only other minor issue I had around the included parts (which was shared by at least one other new Pro owner who is also a member of this forum) was that the Drag Chain Transition Bracket for the right side was backwards/identical to the one on the left side of the machine. No matter, I emailed support and the correct component should be here tomorrow. For now, I just installed it as is, and used one threaded hole to secure the X-axis drag chain.
Upon powering the machine on with the X & Y carriages moved all the way to the limit switches, I could see the x-axis limit switch wasn’t lighting up, and I knew based on the experiences of other Pro owners is that the switch is too low from the x-axis carriage to be triggered by it. The solution is a shim. I started with some small washers, but ended up 3D printing the a set of the ones @SLCJedi designed for us, and the 4mm shim from that set did the trick, but did require me to scrounge up M3 screws longer than the originals.
Once I hit the “initialize” button in CM after getting the machine set up per the video, the y-axis moved forward, not back, so I knew mine was one of the machines that needed to have the Y1/Y2 wires swapped at the control board. Thank god I knew to look for this from the video! Once the y motors were switched around on the control board, the machine behaved normally and that problem was solved.
After finishing setup and setting up the bitsetter, I did the hello world file with the included marker, and that process went smoothly. (I found I had to uncheck the bitsetter option for this process, but after I was done simply checking the option again loaded it with the previous location.)
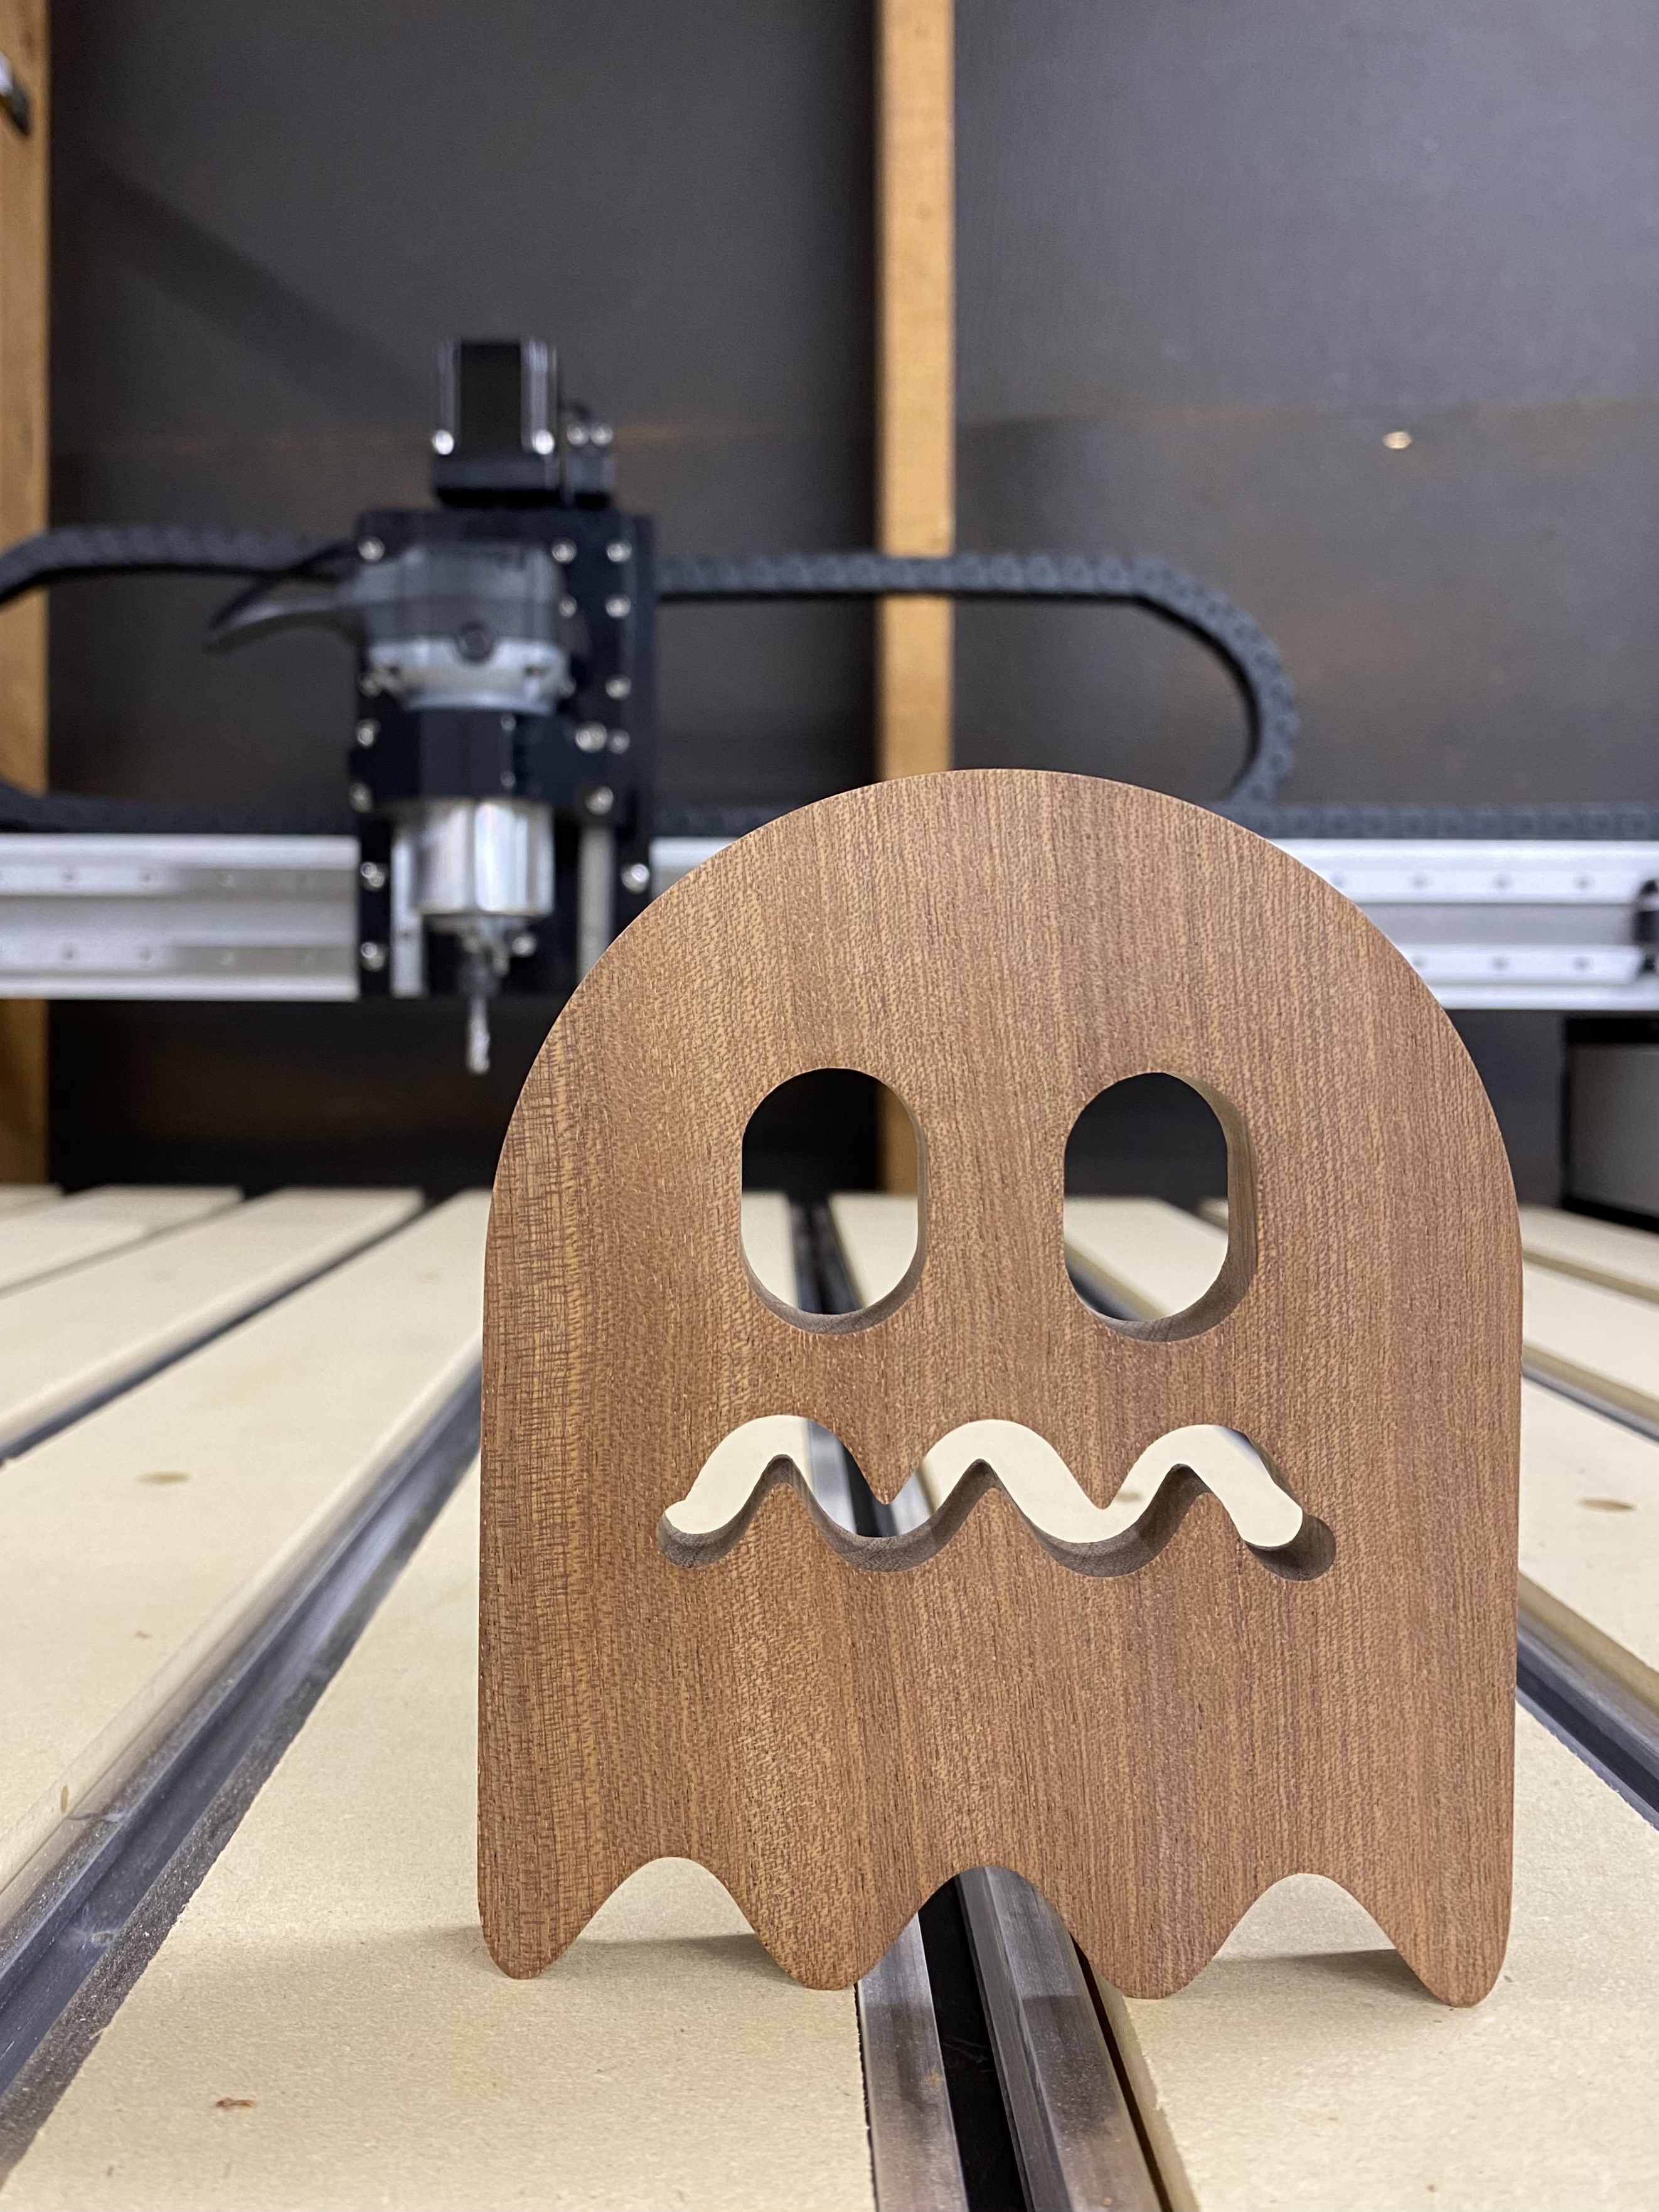
Next step, obviously, was to make chips! I understand the tool defaults in CC are pretty mild, so I look forward to finding out how much further the Pro can be pushed, but using CC with the defaults and getting the end result was way better than I expected it to be! In all my years, nothing has ever turned out like this on the first try and I had no expectation I’d be this impressed from a little trim router instead of a huge spindle. Just as amazing to me is how easy it was to set up pockets and profile cuts with the included 1/4" endmill and tool defaults. I am sure I will eventually get VCarve Pro, but for now, this has what I need to get started.
I thought I was forever spoiled by my professional experience with big, pro-grade and industrial CNCs and expensive software, but so far I am overjoyed with the ease of use and results from my first little test. Also, having this community as a resource is huge! I am looking forward to working with everyone here just as much as I am looking forward to seeing how far this machine can be pushed.
 I was really impressed on how well everything was over packed in the boxes. For all the damage and marks on the outside, everything was perfect inside.