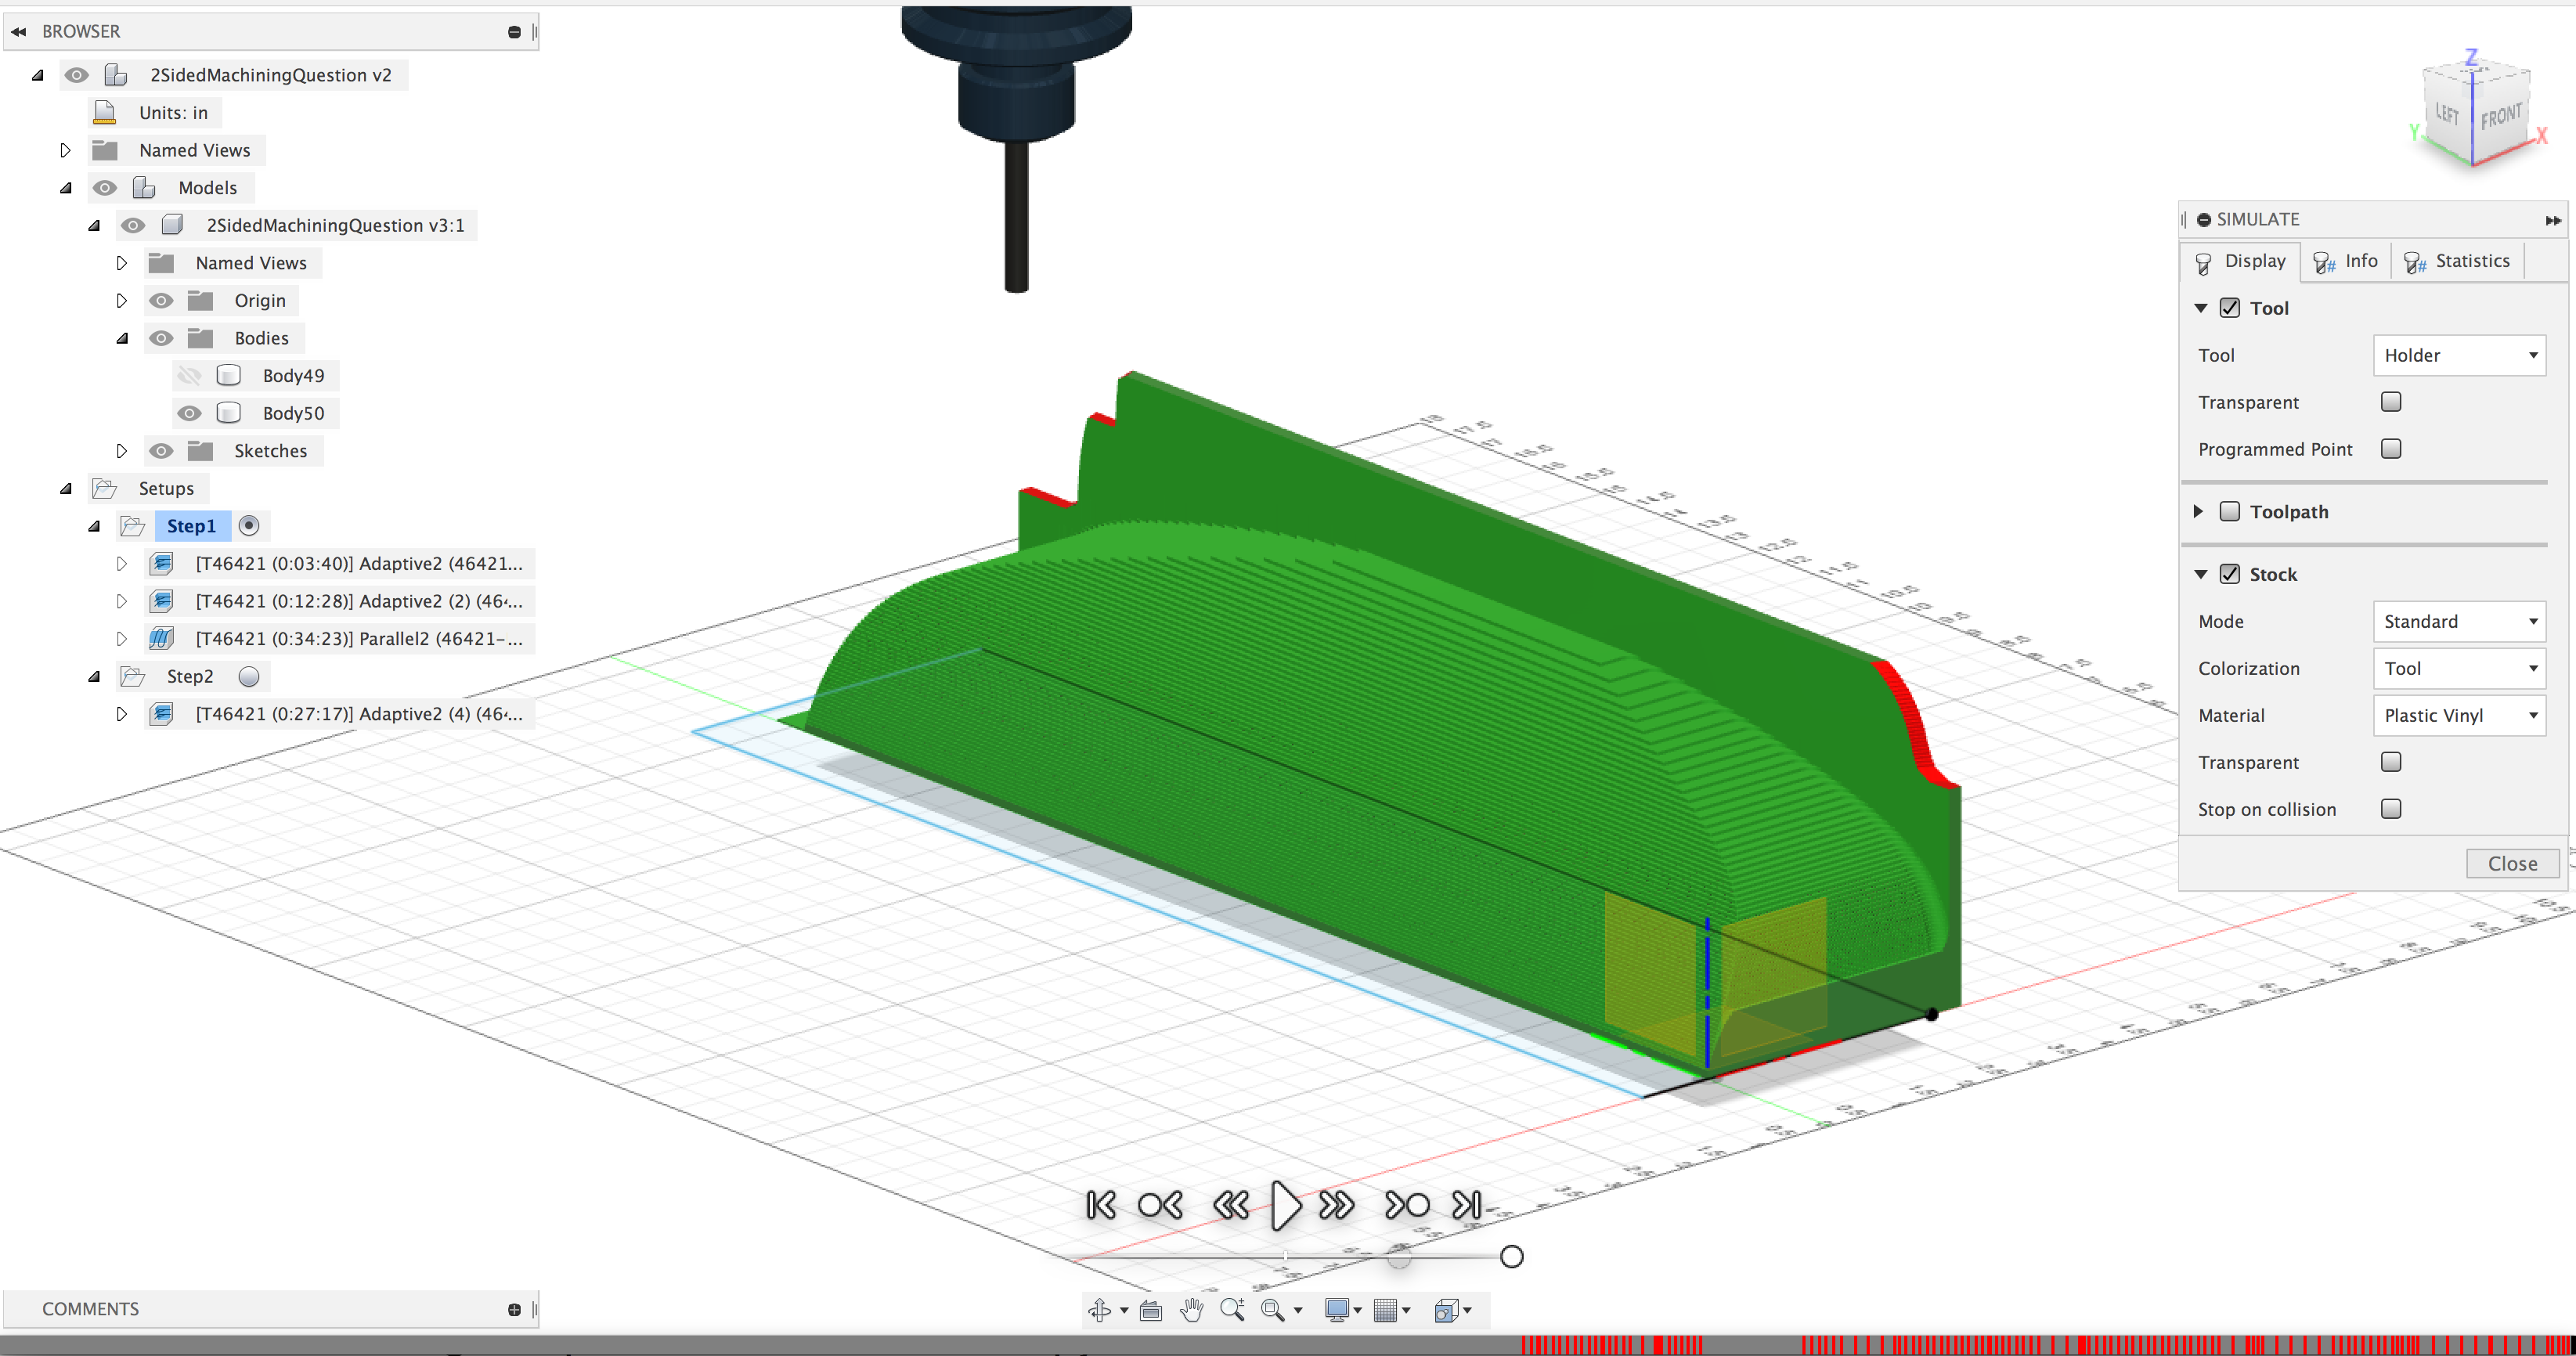
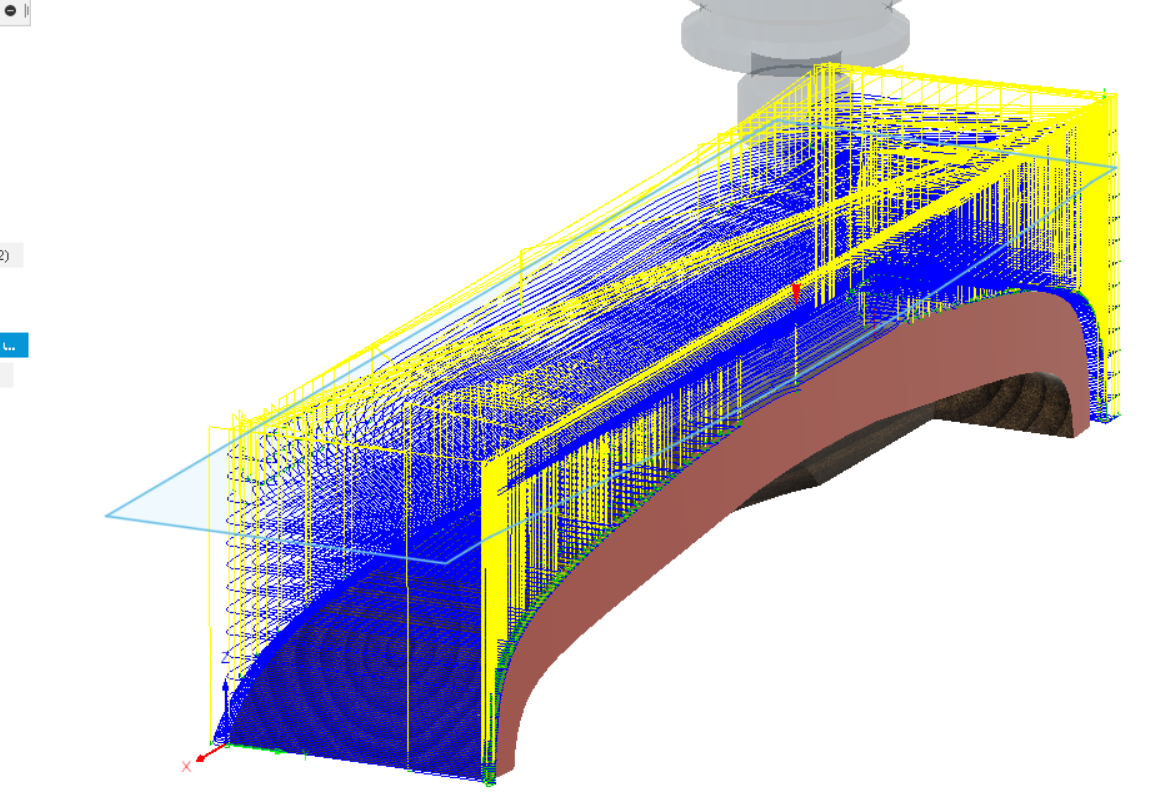
I’m having an annoying issue within F360 that I don’t think I’ve run into yet. The below is the 2nd step in a 2-sided job where I’m attempting to have a 3D adaptive clear not touch the area in red (as that was machined during the pervious step/setup). After playing with bounding boxes, silhouettes, drawing sketches to define the machinable area, and trying to machine this side in various heighted-steps I’m getting a little annoyed. Basically, I can’t seem to find a way that will allow for it to remove all of the setup stock on every side except the red side without causing a holder collision later in the operation. I’m basically looking for the “Avoid/Touch Surfaces” option on a 3D adaptive path.

To be clear, by “area in red”, you mean the red face of the workpiece in the first picture, that starts at the far end of the X-axis and runs parallel to the Y axis?
When you configure the stock in the setup panel, use “relative size box” and use a zero or negative offset for that side. There’ll be no material there so Fusion won’t try to remove it and won’t think it’s crashing into stuff.
Had to Read this a couple of times so apologies if I have misunderstood the problem
The problem is the simulation the holder is hitting areas of material that have already been machined away in a previous operation, creating false warnings.
There are a few ways of attacking this, but in
Multiple side machining the one that will work in near 100% of situations for excluding stock that has already been machined away in a previous setup is exporting the model from Fusion 360 CAM simulation at the end of the last setup and then bringing the exported model back in as stock for the next setup
Edit: After looking at the file even more not sure what the problem is. In my world I would do a facing operation in ‘step 1’ down to the model top, followed by an adaptive clear for the ‘underside’ pocket. Step 2 would be the adaptive clear with the stock size set to the new stock dimensions created by the facing operation In step 1.
I think the “avoid an area” function was removed from the “personal” license when they reswizzled all the licenses…again.
If what you’re really looking for is to not mill something that has already been milled, that’s the “rest machining” option…check it and that toolpath will skip what’s already been milled by previous toolpaths.
@mikep - seem to recall rest machining does not work between setups - if it does now that would be exciting!
I don’t believe this works between setups?
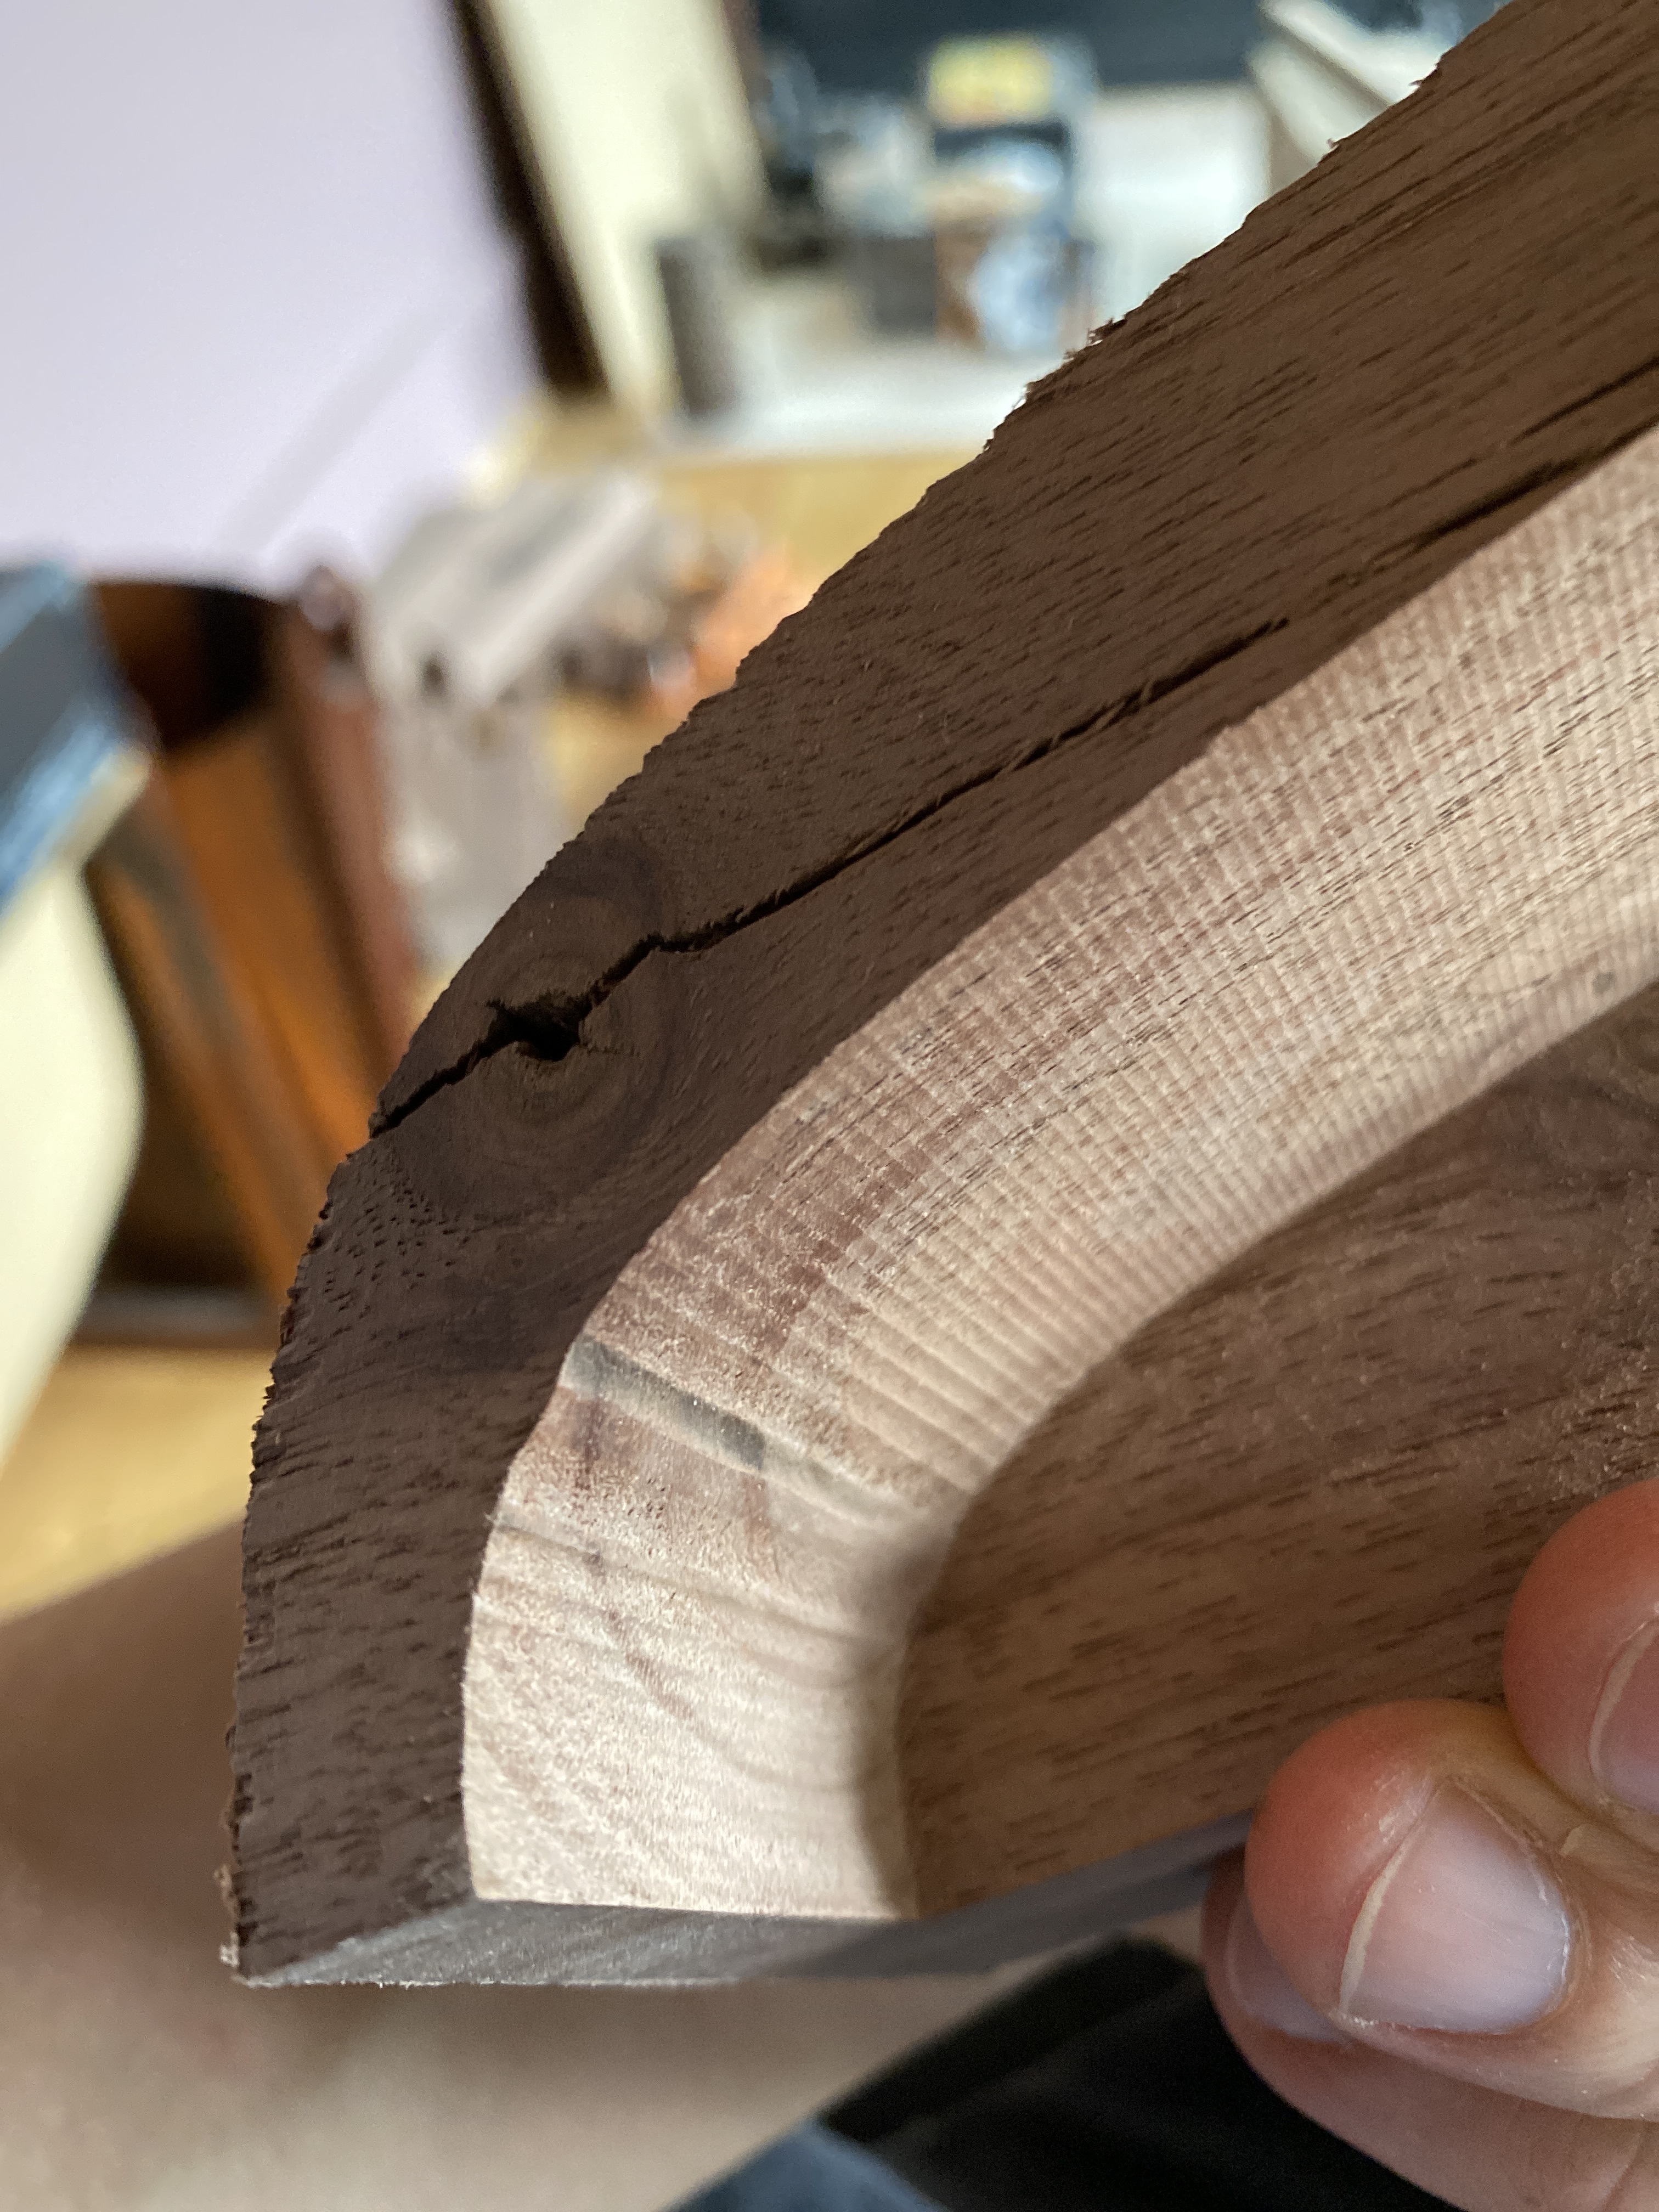
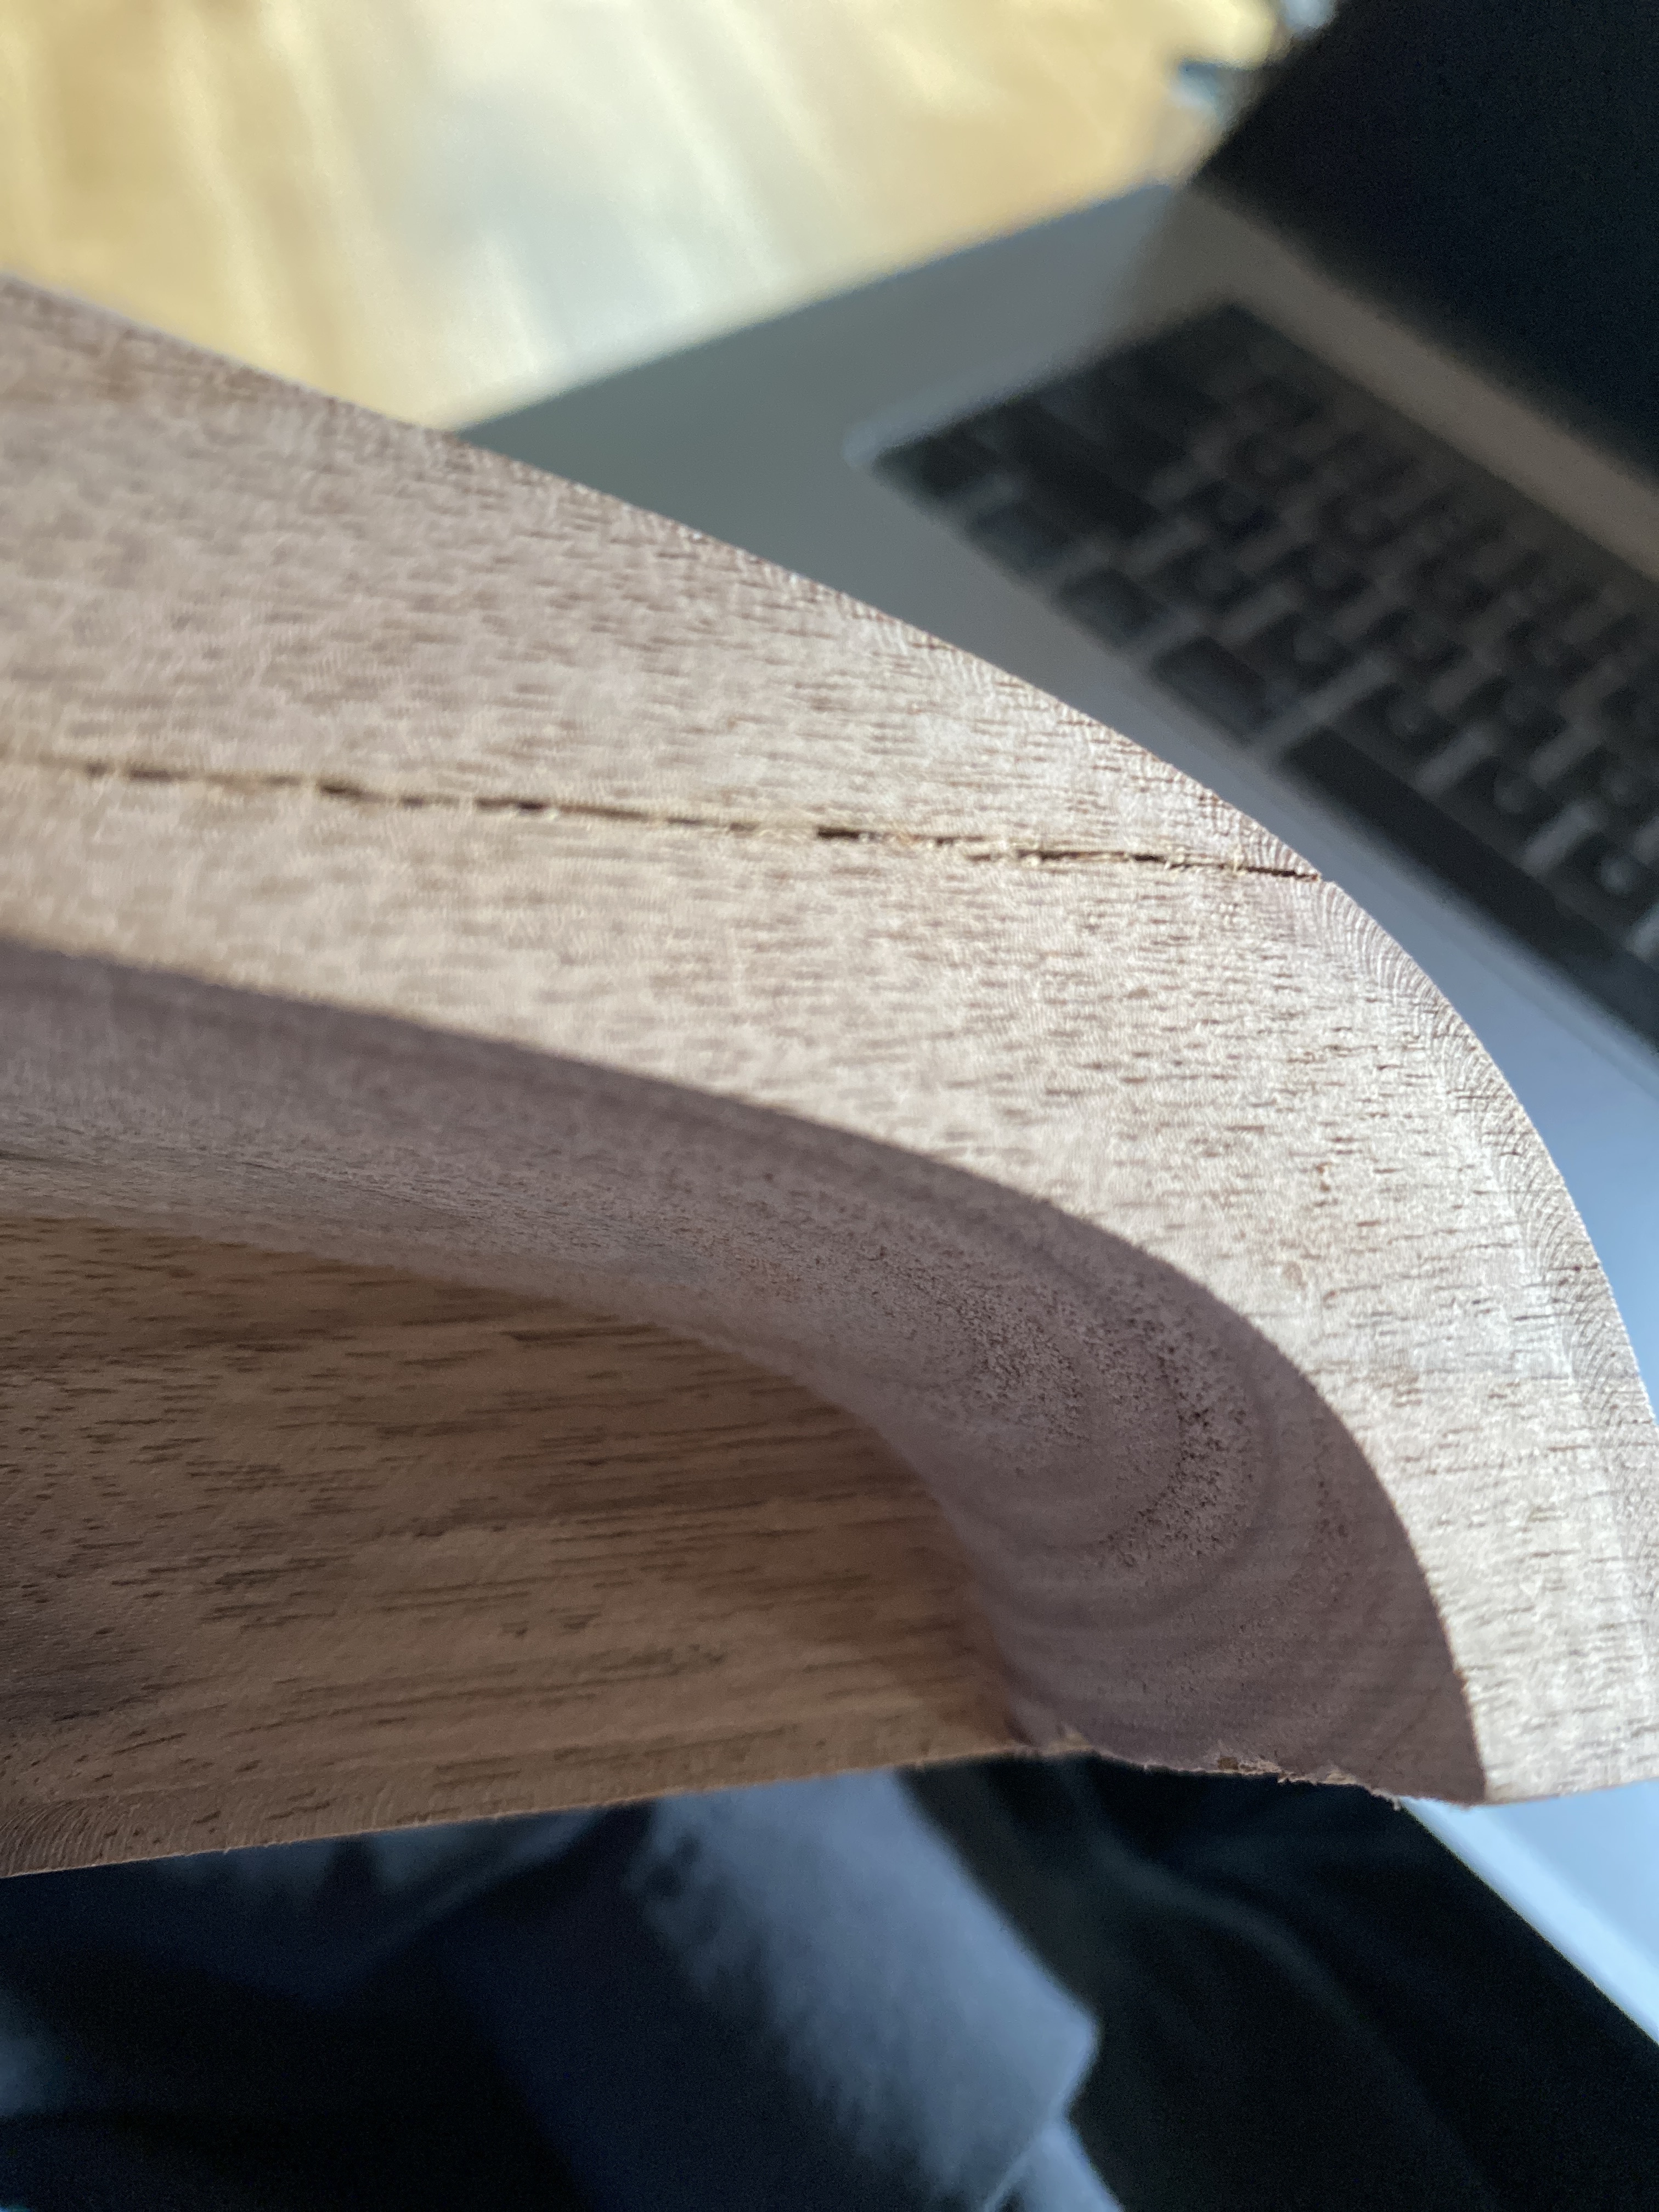
I tired that, but unless i’m misunderstanding it wont be possible because there are features on the second side that need to be machined further toward that side then offsetting to the minimum would allow. Picture below explains what I mean.
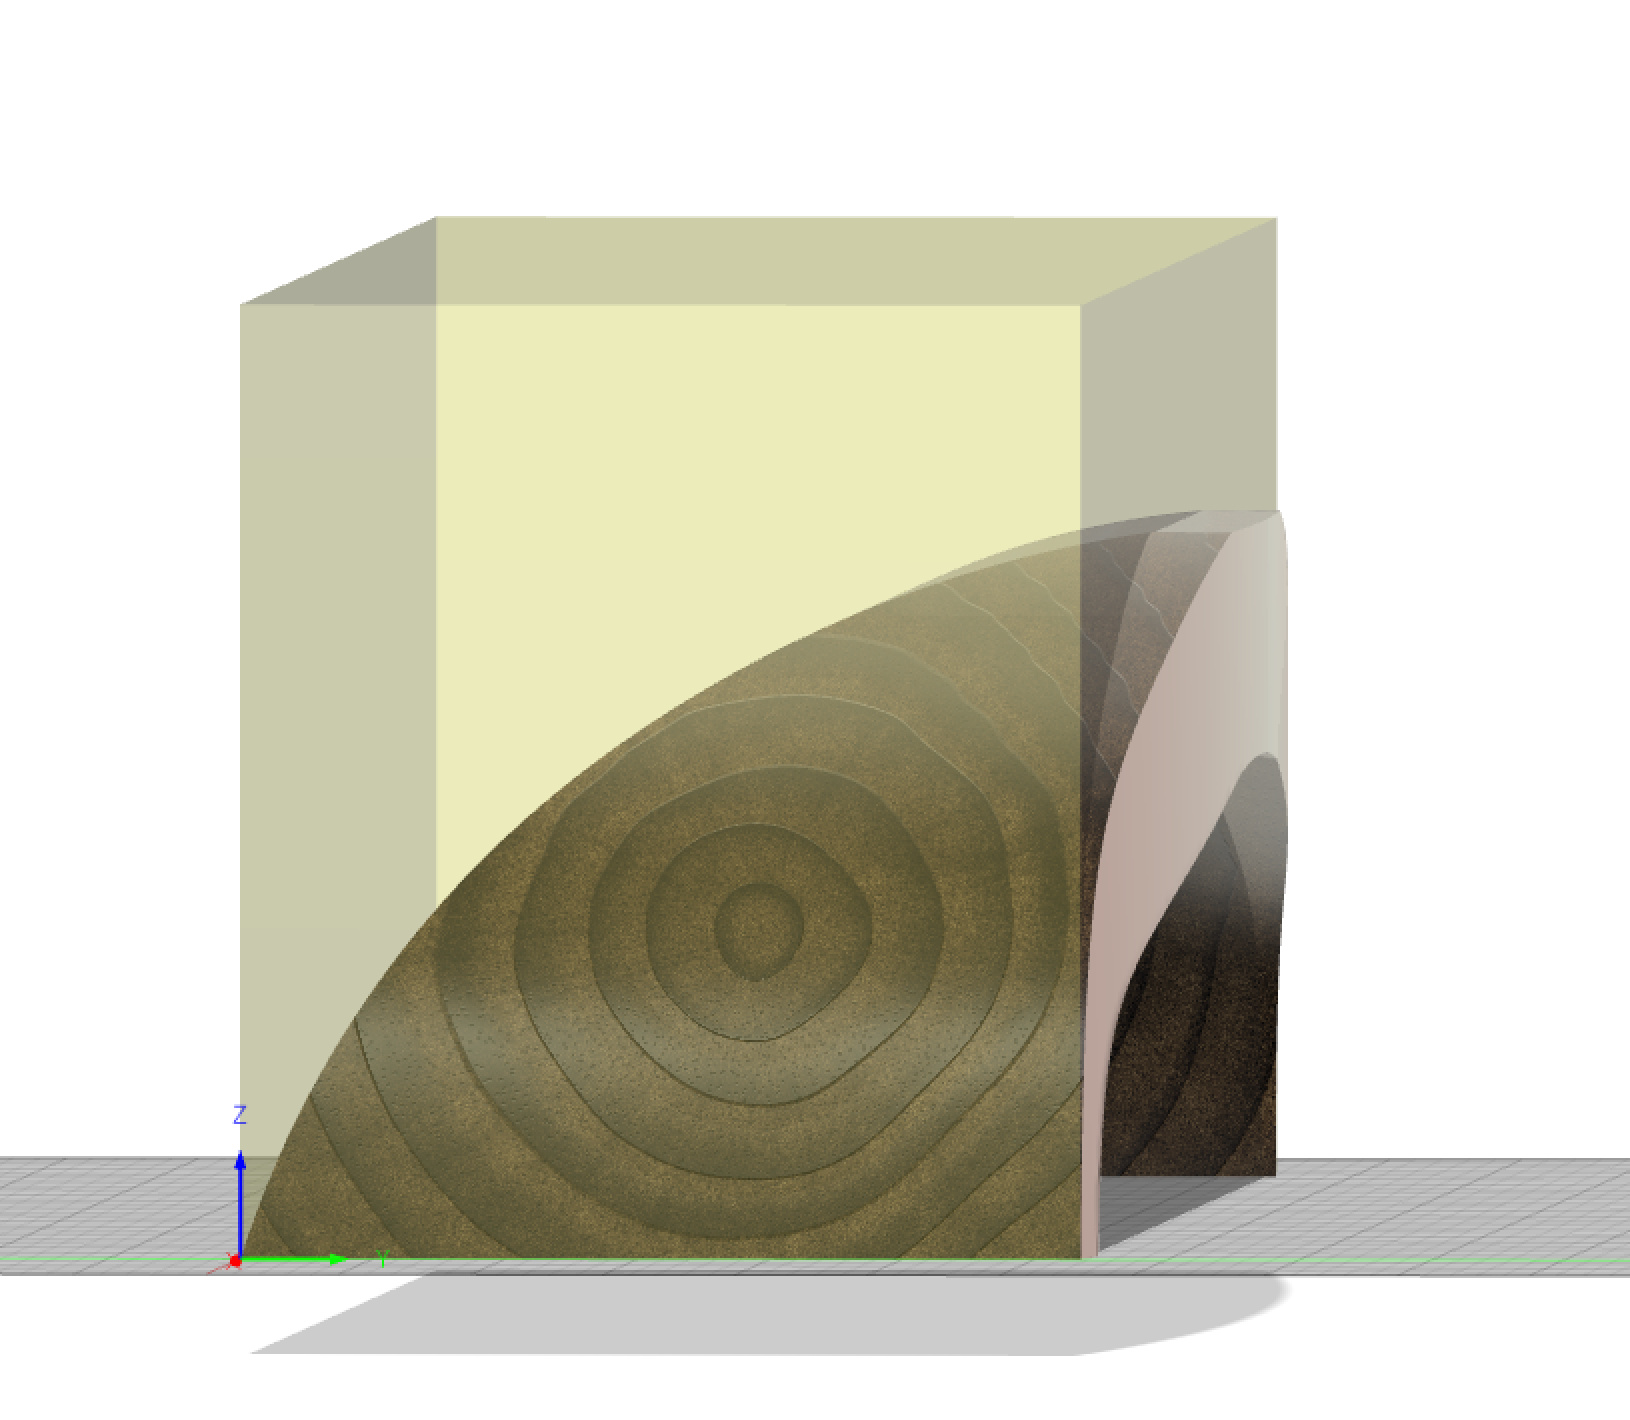
Ah, sorry, it wasn’t clear that there’s an overhang, I thought that face was perpendicular.
I think @mikep’s suggestion is probably best. It looks like Fusion has an experimental feature for carrying over stock between setups, otherwise there are instructions for Mike’s suggestion here.
NYC CNC also has a video here .
2 Likes
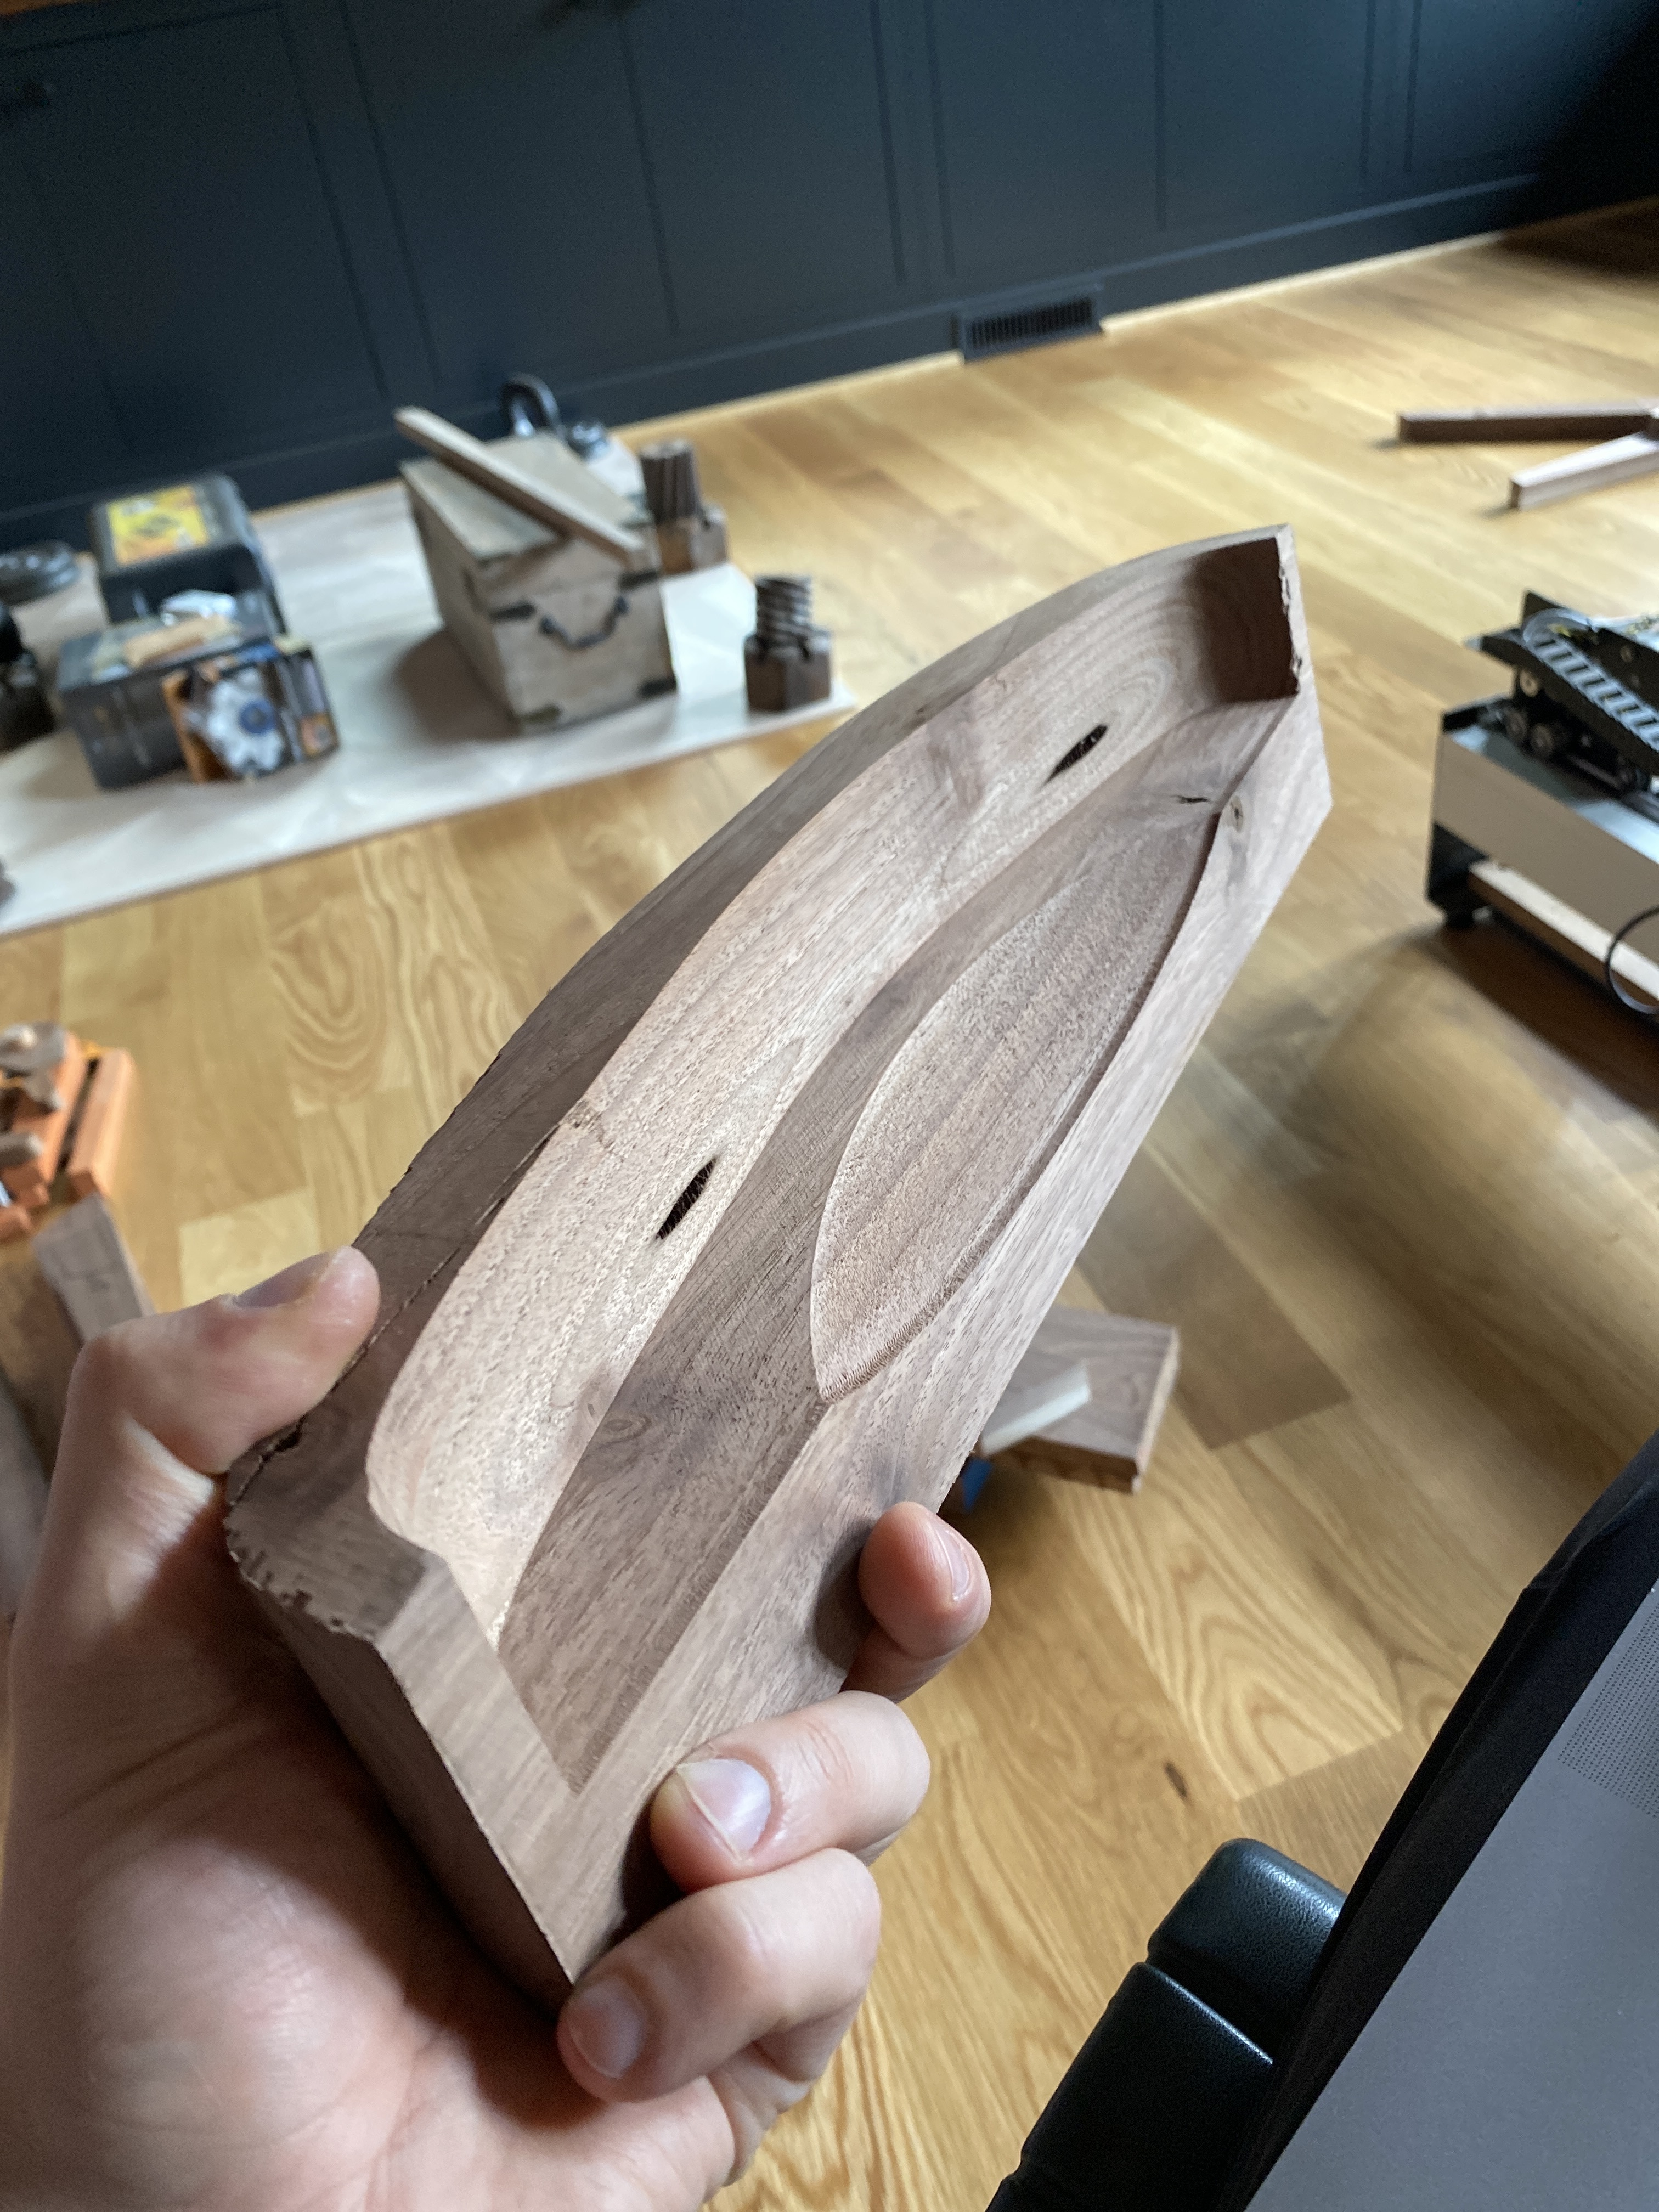
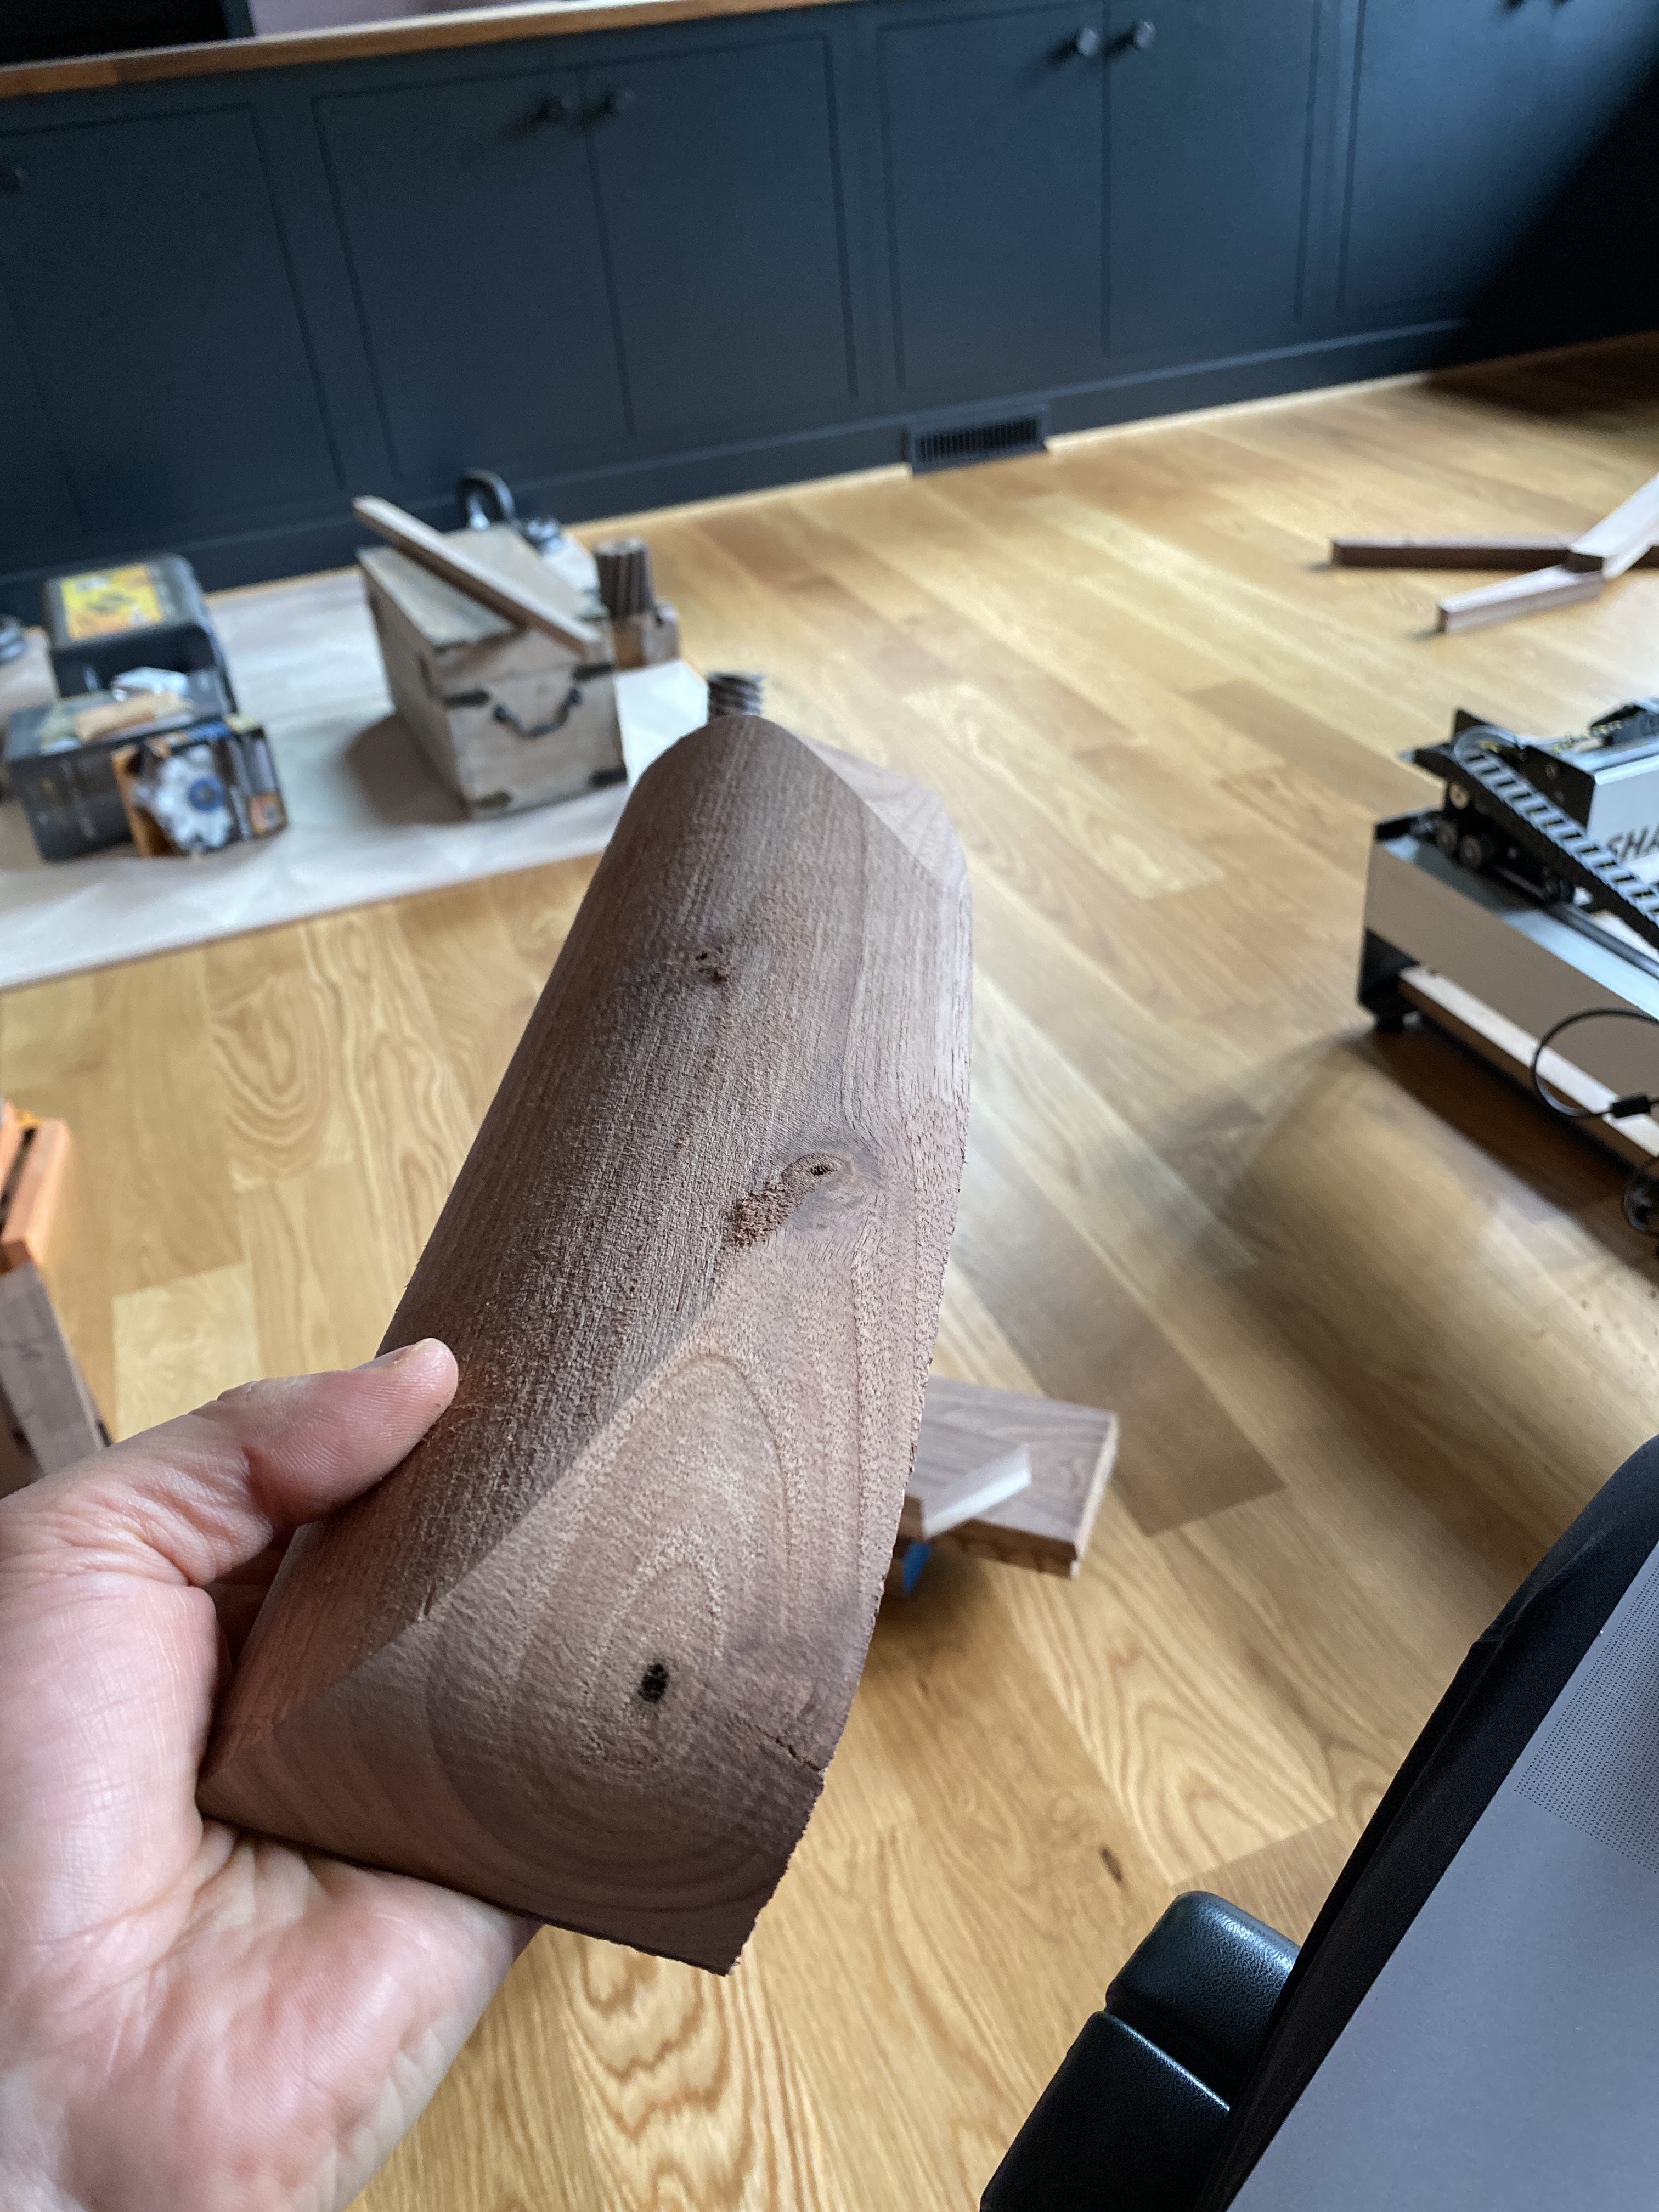
Thanks I’ll give that a shot next run, I’ve got 4 more to make.
This time around my work around was I turned on “Shaft&Holder” then gave it an .2" holder clearance and that seemed to work.
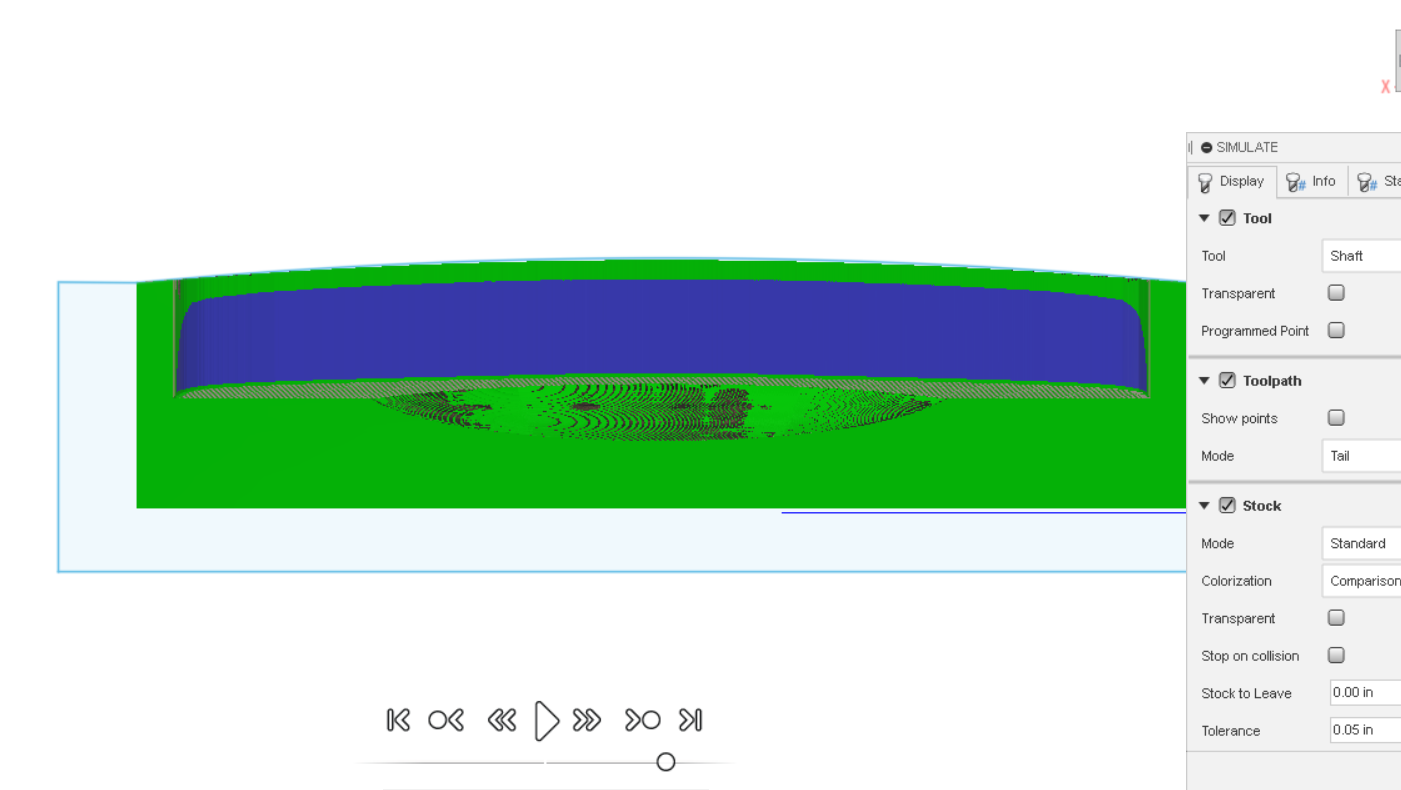
AND… No Joy. Went through the rigmarole of loading the stock.stl file into rest machining for the 2nd setup AFTER simulating the 1st stage to completion and i’m STILL getting these plunges on the adaptive clear on the red face side. If I don’t have a bit that is 3.5" out of the collet those plunges will cause the collet nut to hit the piece.

File updated: https://a360.co/35nIhMu
You can most definitely rest machine based off of multiple setups.
Edit* just saw you tried that. Maybe I’ll have a crack at the file tonight. Wooo, more Fusion lol
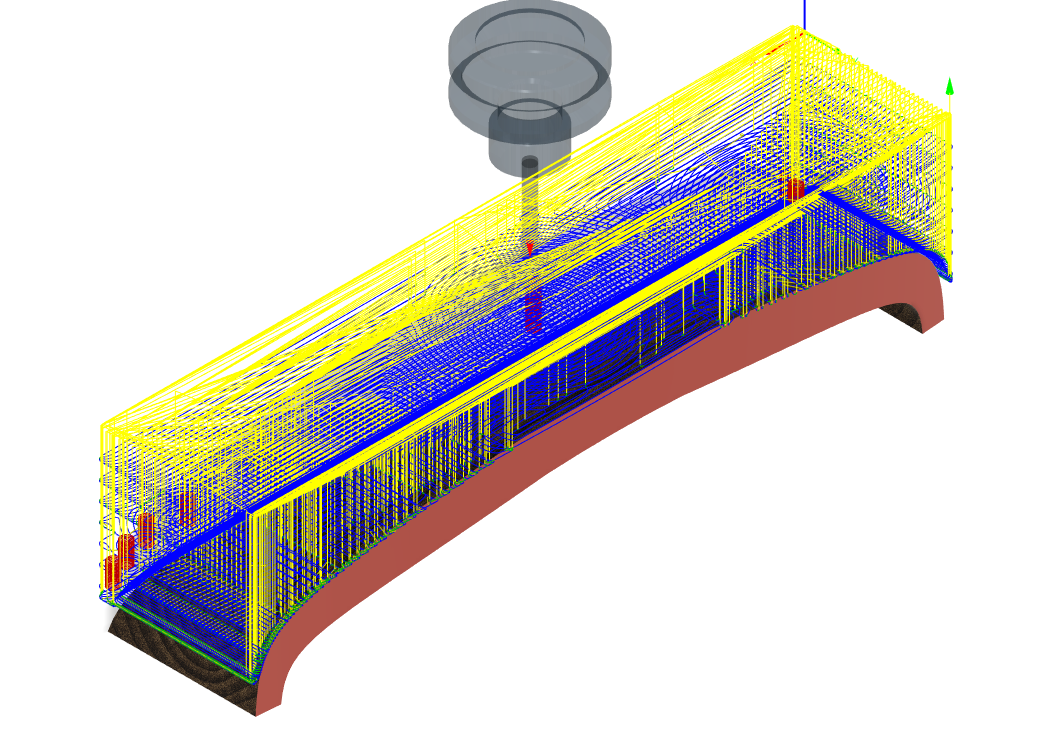
Boundary Sketch. Should machine faster and have more coverage that Neils, not that this is a competition 
2 Likes
If I knew it was a competition…
EDIT:
Ha!
2 Likes
I actually got it to work about an hour ago with a boundary sketch too. @neilferreri did your version use RM?
3 Likes
I didn’t mess with the toolpaths you had…just a sketch and your setups. On my phone now, but I’ll just share it in a few.
Based on the model, you will have quite a bit of extra stock left due to the overhang on the first setup.
All good guys, thanks!
Actually, almost all good the 1st setups parallel pass has done this twice now. But only on the right side. 
Left is okay?
5 Likes
Looks good!
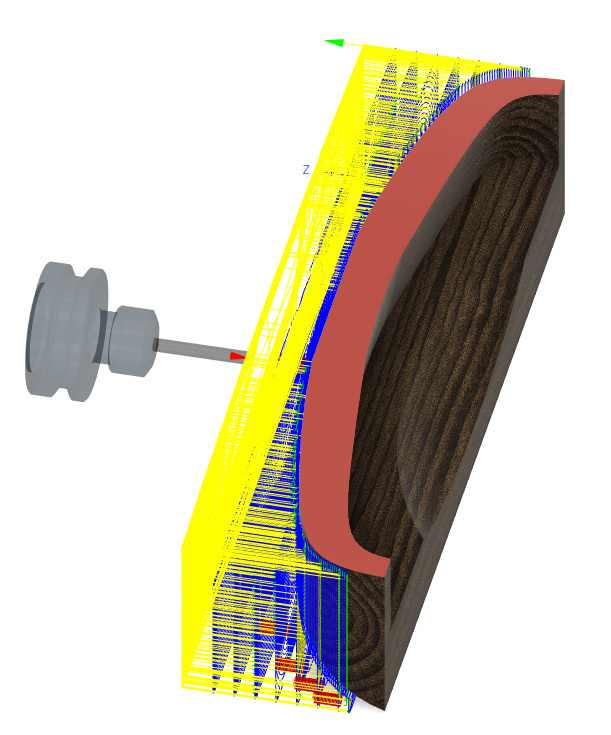
If you use a 2d contour referenced off the top edge before using your finishing toolpath it shouldn’t hit any high load areas. Vertical walls like that are tough.
What does your simulation show?
1 Like

