If you cut off pieces from the end of a board and placed them end grain on the spoilboard you’d have long grain for all the sides.
1 Like
Are you planning on standing on them?  Sure, end-grain glue-ups are “weak,” but I wouldn’t think you’d need a tremendous amount of strength for this. If you are really concerned about it, though, you could mill in a couple of dowel through-holes to tie it all together.
I’d go with Neil’s way, is what I’m saying.
3 Likes
Thanks for all your feedback - Its interesting that there are lots of different opinions here.
I think I am going to take a crack at @TomH idea first to put it in front of my bed. I ordered an extra long endmill so when that arrives I can give it a shot. Its a little intimidating milling out there and and I’m a little afraid of a crash bit I think it should work fine with proper retract heights. My thought was I could doubleside tape the blank to both the front of the machine AND the counter top in front of the machine.
If that fails I think I’ll do the option B cutting oval cross-sections and deal with the fact that with end grain to end grain glue ups I can’t roll over the final product with a truck…maybe a final outer coat of epoxy
End grain glue joints is generally weaker with normal adhesives, but it is not the case anymore with Cyanoacrylate glue also known as Crazy Glue. Glue two pieces of dowels end to end and try to break the joint, if the pieces of dowels are long enough, the breakage will happen anywhere but in the joint.
2 Likes
So quick update here. I did a test run last night of the top down approach (Approach A). I secured my blank to both the table top and the front of the CNC with doublesided tape. I used a clap to give it an extra “squeeze” so that the tape would really grip. I was amazed how secure the block was - it was not going anywhere.
The one advice I would give to anyone trying this would be to babysit this carve with dust extraction. If the dust piles up too much it will cause all sorts of problems. I did intentionally make a pocketing operation for the outer cut to avoid a super deep slotting cut which helped a little but I still needed to pause a few times when it got deeper to clear out chips.
Overall I am really happy with the end result - There was some deflection at the bottom and I think part of it was due to chip interference. I’m glad I did a test run to learn all the lessons before going to my good blanks! Thanks again to all the feedback and suggestions - I love this community!
Here is my Instagram story from the process for your enjoyment (feel free to follow @bashopworks for more experiments and build stories)
7 Likes
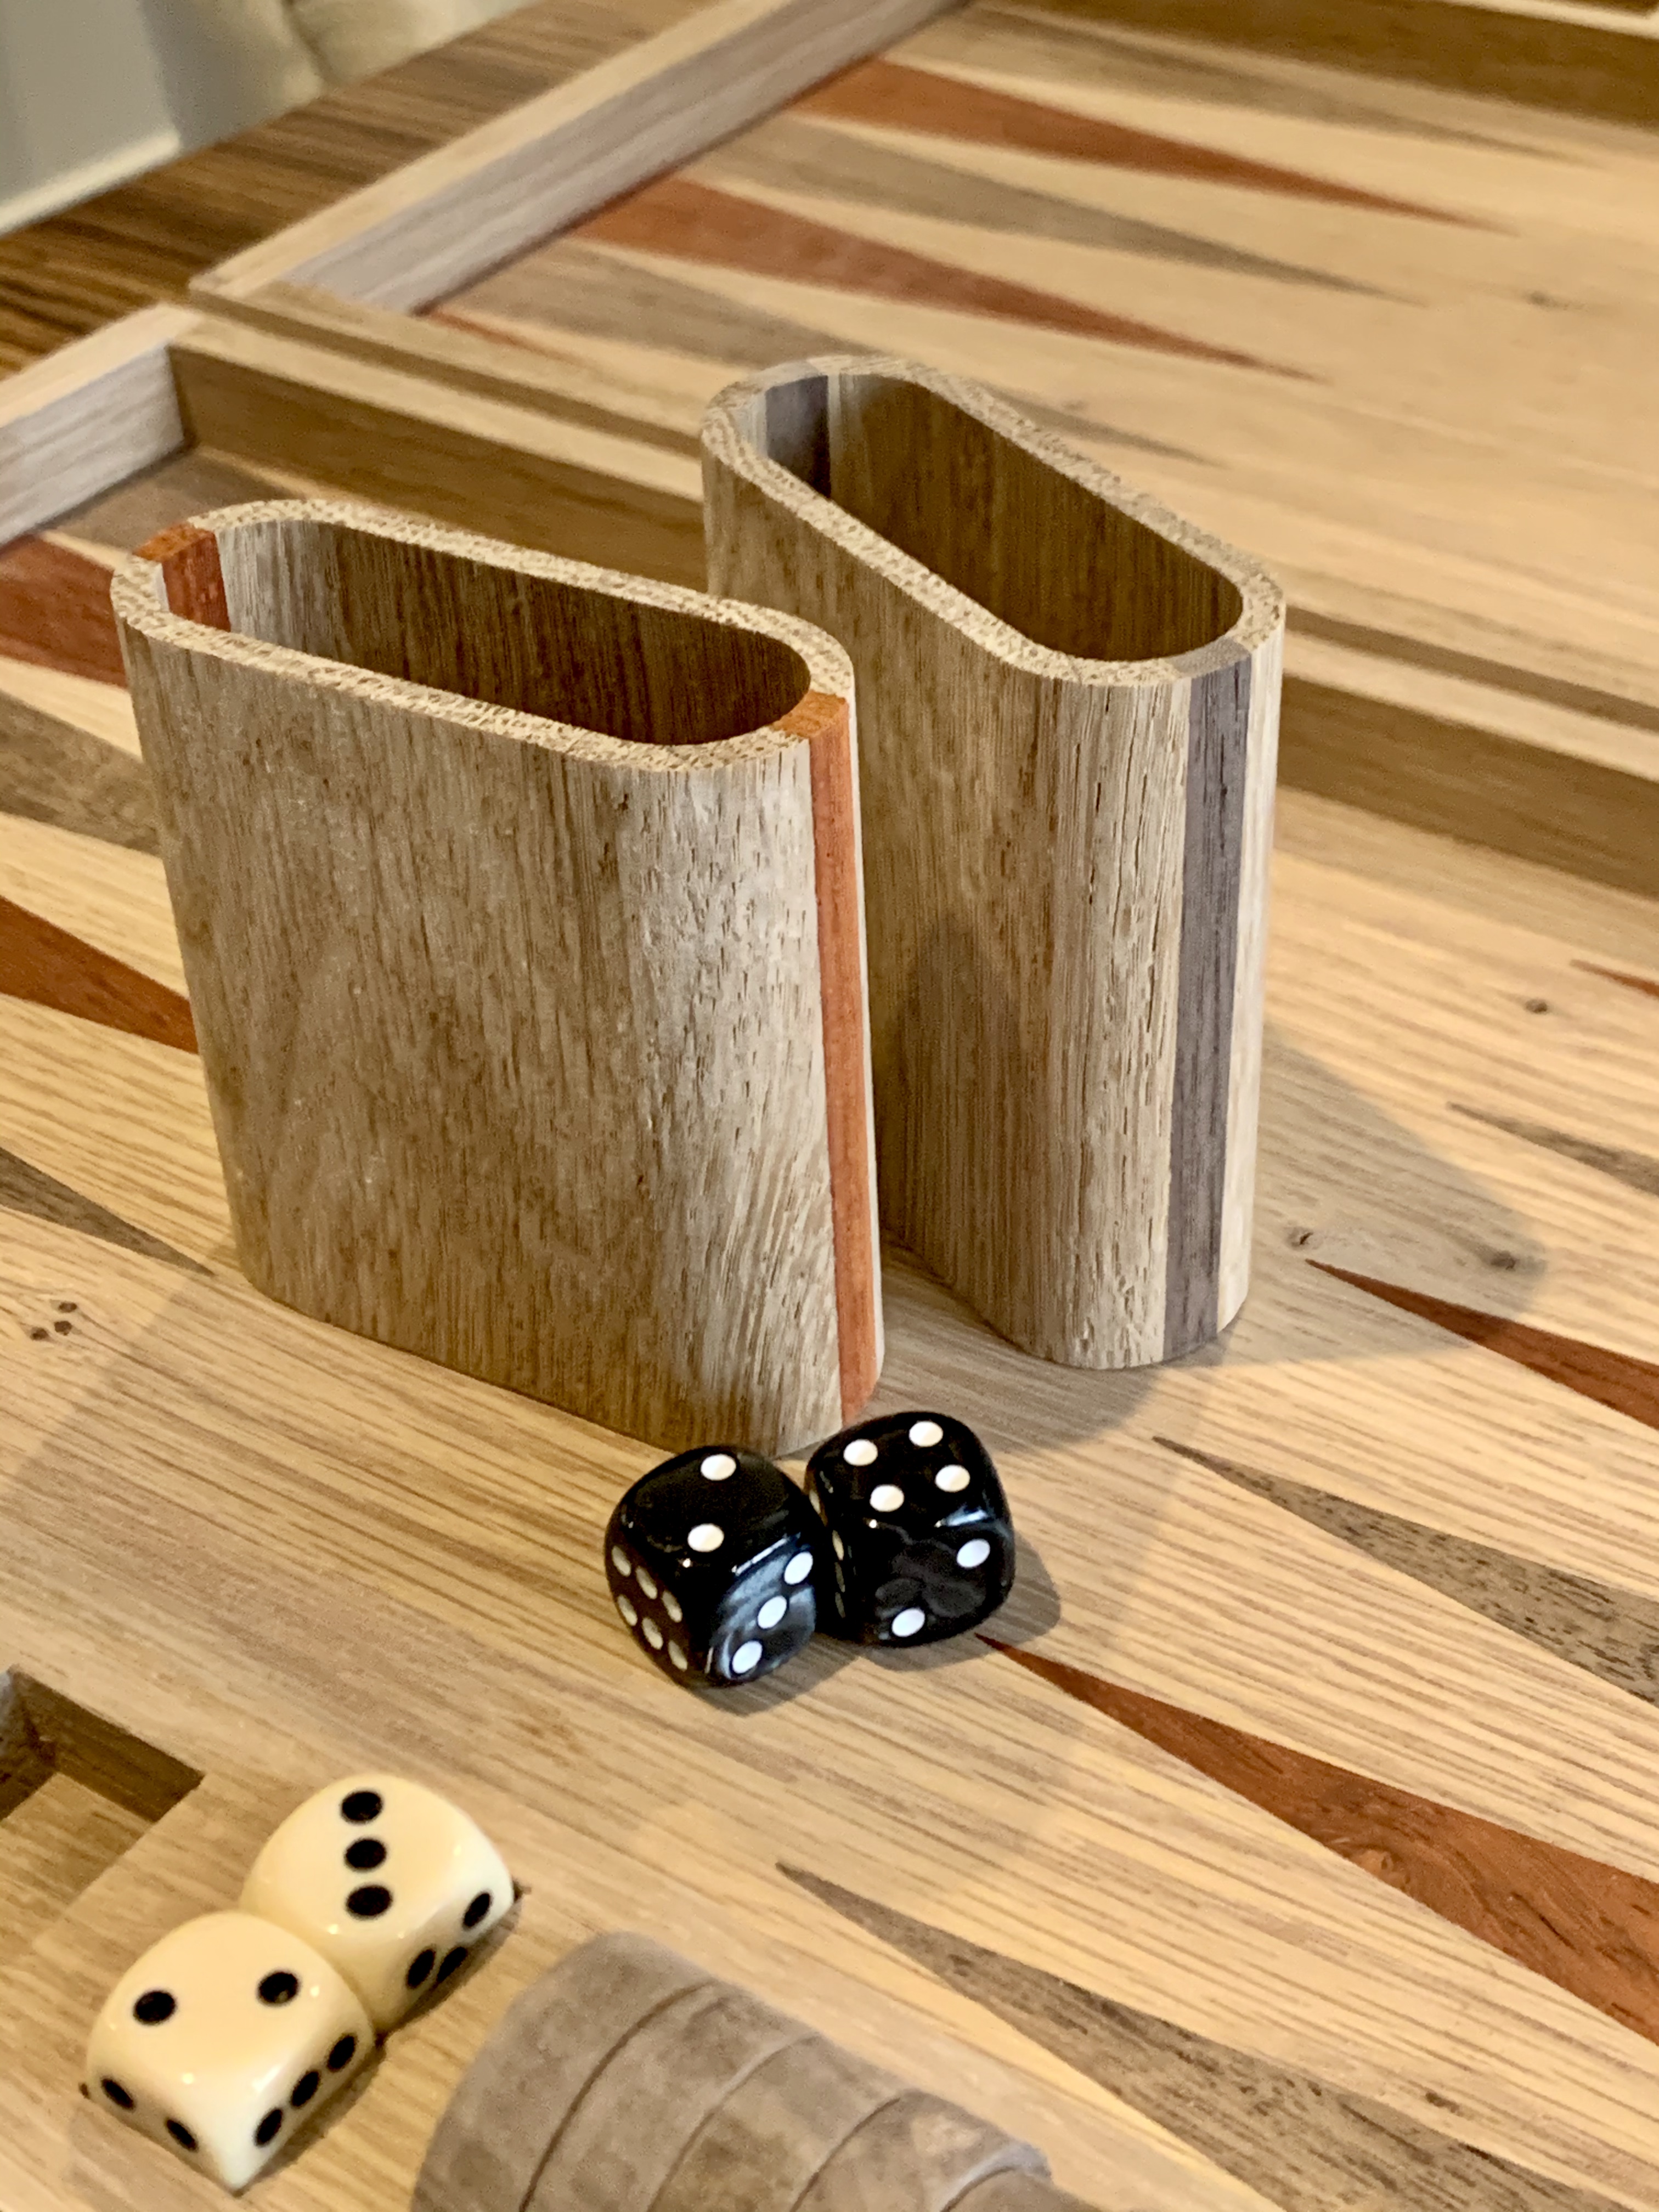
Last post on this topic just to close things out here. I carved to two final dice shakers and they game out fantastic. Since dust evacuation was such an issue with the test run, I came up with a new strategy. I babysat the carve leveraging a combination of a shop vac and compressed air (I don’t have an air compressor, but got a great deal on this a long time ago: https://www.monoprice.com/product?p_id=28822) The compressed air immediately evacuated all the chips and also made it rain sawdust everywhere. If anyone else is considering a similar carve, go for it - just don’t walk away as normal dust extraction will not work.
4 Likes
You should really get dust extraction. Some exotic woods can make you sick and they make clean up much easier. Plus if you dont have dust extraction you need to clean your v wheels often. Sawdust will cake up on the wheels and ruin a good project.
You dice cups look great.
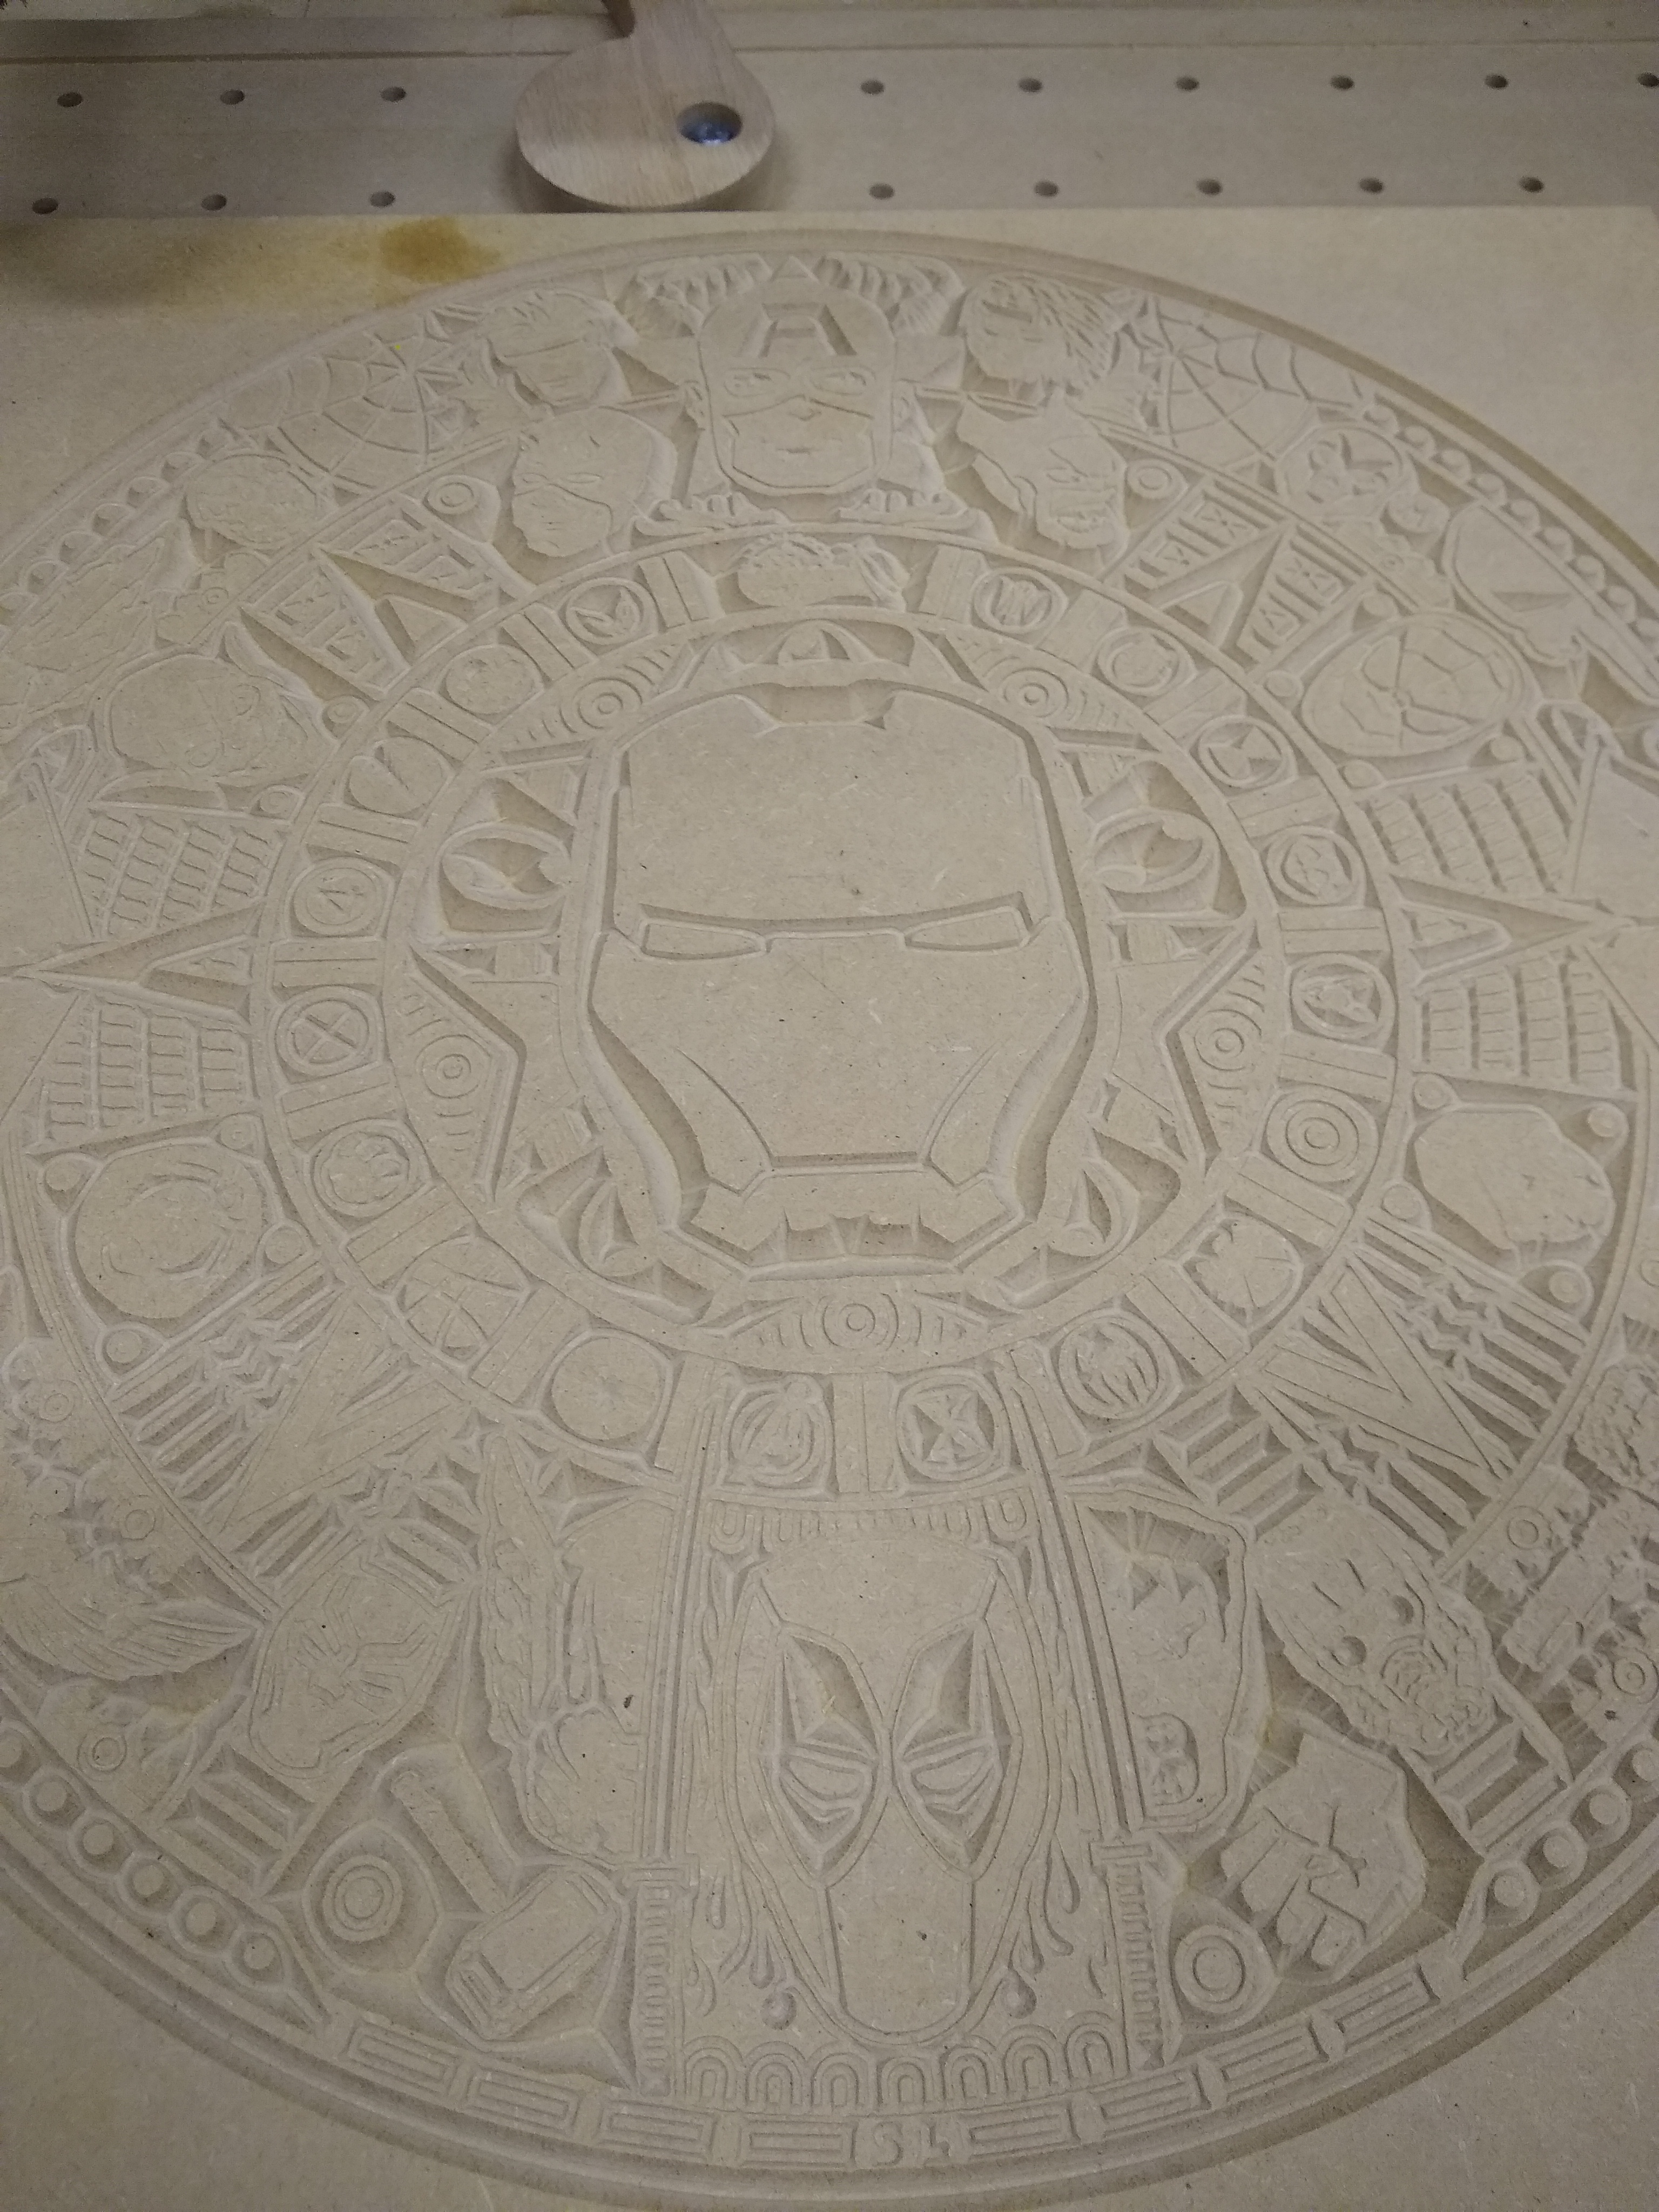
This project ran on mdf for 11 hours and 45 minutes. This picture is when the cut was complete. There was not a spec of dust any where. Do your self a favor and get a dust extractor.
2 Likes
Don’t get me wrong - I have a massive Jet dust extractor with SuckitBoot attached. It just would not be effective in a 3 inch deep slotting cut and cause catastrophic failure if left alone. I was also focusing on the belts and wheels with the compressed air as much as I was on the work piece. I agree under normal circumstances proper dust extraction is a must.
Rest assured I wore a dust mask while working and left my shop promptly when done. I do want a filtration system - its on my short list
2 Likes
Could you also do this with glued up FLAT boards and cut slots in the board to be able to make the rounds on the ends. That might be an easier quicker way to make a deep cup. You could insert the bottom and possibly cut one full piece as a lip on the top of the cup.
That was “Approach B” I described in my initial post. I agree that is an easier approach, but there a few drawbacks to it. First its a endgrain to endgrain glue up (either that or you have endgrain visible on the sides of the cub). Second sanding the glued up cup may be difficult, especially on the inside. Finally, The glue line would be visible and personally I think the seamless cup looks better.
2 Likes
This topic was automatically closed 30 days after the last reply. New replies are no longer allowed.