So wrong bit?
Dull bit?
Feed rate?
Just looking for some educated opinions.
Nomad tools #102 square .125 .5”loc 2fl 1.5 OAL
Should have put that in my post.
my guess is dull tool. post your feeds and speeds?
What kind of plywood is that? I’ve had similar results when running a test cut in a piece of scrap plywood that was laying around my garage.
Upcut mills will have a hard time making clean cuts on plywood. I personally would cut straight to trying a downcut or compression bit.
Definitely need a downcut bit - at least to run around the outside perimeter of the letter carve.
But the only part of cutting plywood sheet material to use up-cut on is the last layer against the CNC bed - hence why compression bits are often used.
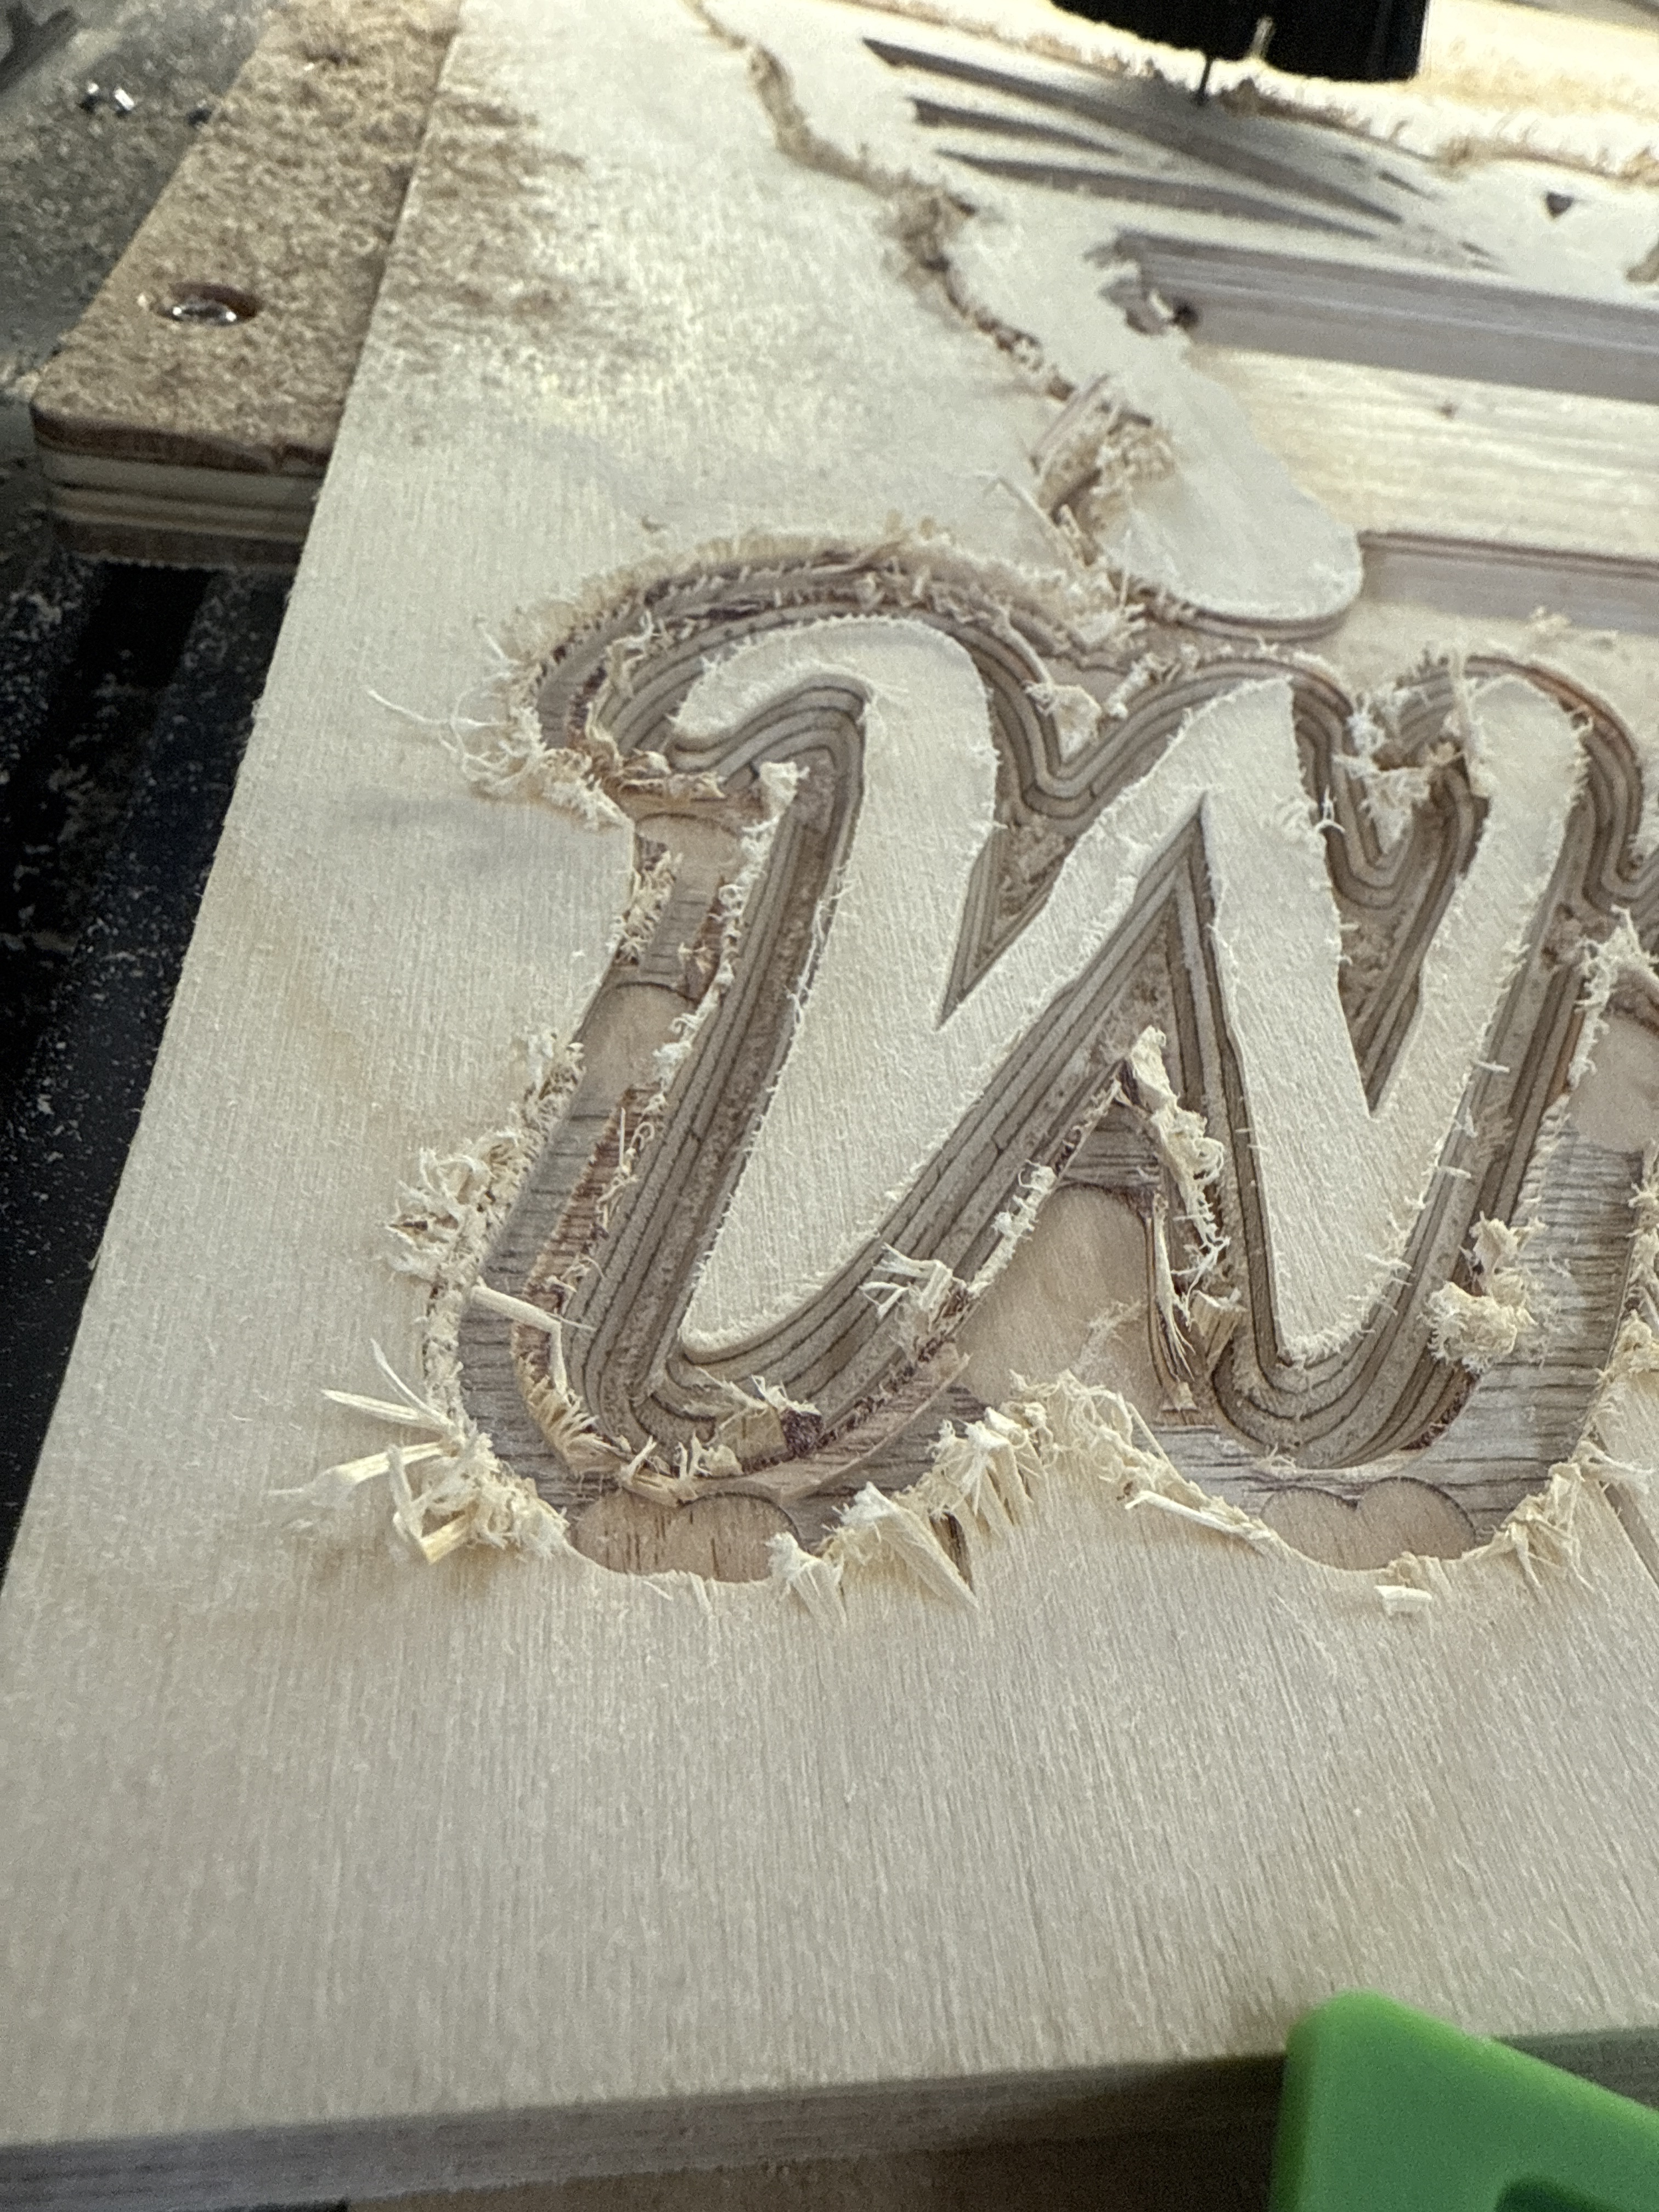
Is the material for your project or is this just a test? If this is the material you want to use you can see the tear out is bad all over but more on the end grain fibers of the top layer of plywood. So you can try a couple of things. Minwax makes a wood hardener.
Next would be Zinsser Universal Sanding Sealer (dewaxed shellac). This may make your wood harder.
Next would be DuckTape Adhesive Shelf Liner. This is a cheaper version of Oramask. I have used it and it may help. You can get this at any big box store and Walmart.
With all the above the real problem is the material. It looks like that whitewood no name cheap plywood. It seems similar to lauan plywood that is made of softwood and is not the best material to use for a cnc project. You can try any of the above remedies but I think your material is doomed to look ragged.
Others posted good advice, sometimes it’s just the grade of plywood is the real culprit. Some of the veneer sheet is very, very thin and I’ve had the same results with a new downcut and compression bit. I always try to get ply with a thicker veneer sheet applied on the finish surface. Testing is key.
I do a lot of projects in Birch plywood both 1/2 and 3/4 thickness and the same in CDX, BC and even the 3/4 sheathing the latter is mostly prototype and for my use around the shop.
All of these has similar results such as you did and about 2 times worse on the non Birch.
most of the bad results were from up cut bits.
I changed to down cut bits and that reduced the tear outs and fraying drastically. I also used this
Amazon.com: Frisco Craft Stencil Vinyl - Compatible Stencil Vinyl for Most Cutters - Blue Removable Sheet - Professional Grade, Easy to use, No Residue, Multi-Purpose (12” x 60ft) : Arts, Crafts & Sewing This is a cheap non brand name but worked great.
I have also pre treated the surface of the material with some of the same products mentioned in the other post. Using any and all of the items will help but even the expensive plywood’s will have issues due the the minimal vernier thickness on the outer show side of the material.
Even on a table saw with the best and most engineered blades you can get, you still get bad results some times and the same goes with your CNC.
I can not tell what your project is for or how you will use it but sometimes knowing that helps to get info on what to do.
Anthony
Usual preface, I’m with PreciseBits so while I try to only post general information take everything I say with the understanding that I have a bias.
That seems really bad regardless of the tool and material type. You also have a ton of deflection. I’d check that nothing is able to move. Make sure the material is rigidly held down and that you can’t move the spindle/router around by hand (with it off).
Another thing that I’ve seen that does this if it’s a spindle is the spindle spinning backwards. So if you have a spindle make sure that it’s spinning the right direction.
Plunge 18
Feed 60
Rpm 18000
1/2 Birch plywood.
Spindle rotation? Heck to fast to see. Old eyes. Just plugged it in
Thanks for all the tip and tricks definitely going to try them.
What “good” plywood is everybody using? I am learning with 1/2 birch but tons of tear out. So.
Where you using a flat end mill with a Vcarve tool path? I ask due tot corner points on several of the pockets on the wings.
That’s fairly slow. That works out to only a 0.0017" chipload (Feed / RPM / Flutes). I’d normally have people run a minimum of a 0.002" chipload (72 IPM at 18K RPM) in that material. We regularly have customers run at a 5% chipload with 2 flute 1/8" shank tools. That’s a 0.00625" chipload or 225 IPM at 18K RPM. Not saying I’d run that as it will depend on the tool, material, and machine. But you shouldn’t be even close to a limit there.
Might run into deflection issues depending on the pass depth. I wouldn’t expect to see this much with that feed and speed though. How deep are you going per pass?
If you can, I’d run a higher RPM. The higher the surface speed (RPM) the more shear the tool has and that can help clean up the cut in soft materials. You can go too high on this but for 1/8" even just 800 SFM is over 24K RPM. You also need to increase your feed proportionally to maintain the chipload or you could lose any benefit.
Just turn the spindle on and off. You should be able to tell what direction it’s spinning as it slows down.
What did you have to do to get it cleaner? If it was lower the feed by a ton I’d say either an EXTREMELY dull tool or incorrect spindle direction.
I don’t know how I got the corner points I thought it might have been how it was drawn…
but it looks like I might of,
[Processing: willow.c2d…]
()
I ended cleaning it up with another vbit and also used end mill to help give it some depth. May not be able to recreate the finial project. but I think it turn out pretty good. Going to paint it different colors. its for my granddaughter.
This topic was automatically closed 30 days after the last reply. New replies are no longer allowed.

