Hello All,
This is my first “post”?
I’m a new CNC person. I’ve only made about10 cuts so far.
I think this ought to be a simple question but I can’t find an answer so I’d thought I’d as 'you all" and to learn a little bit more about how this community works.
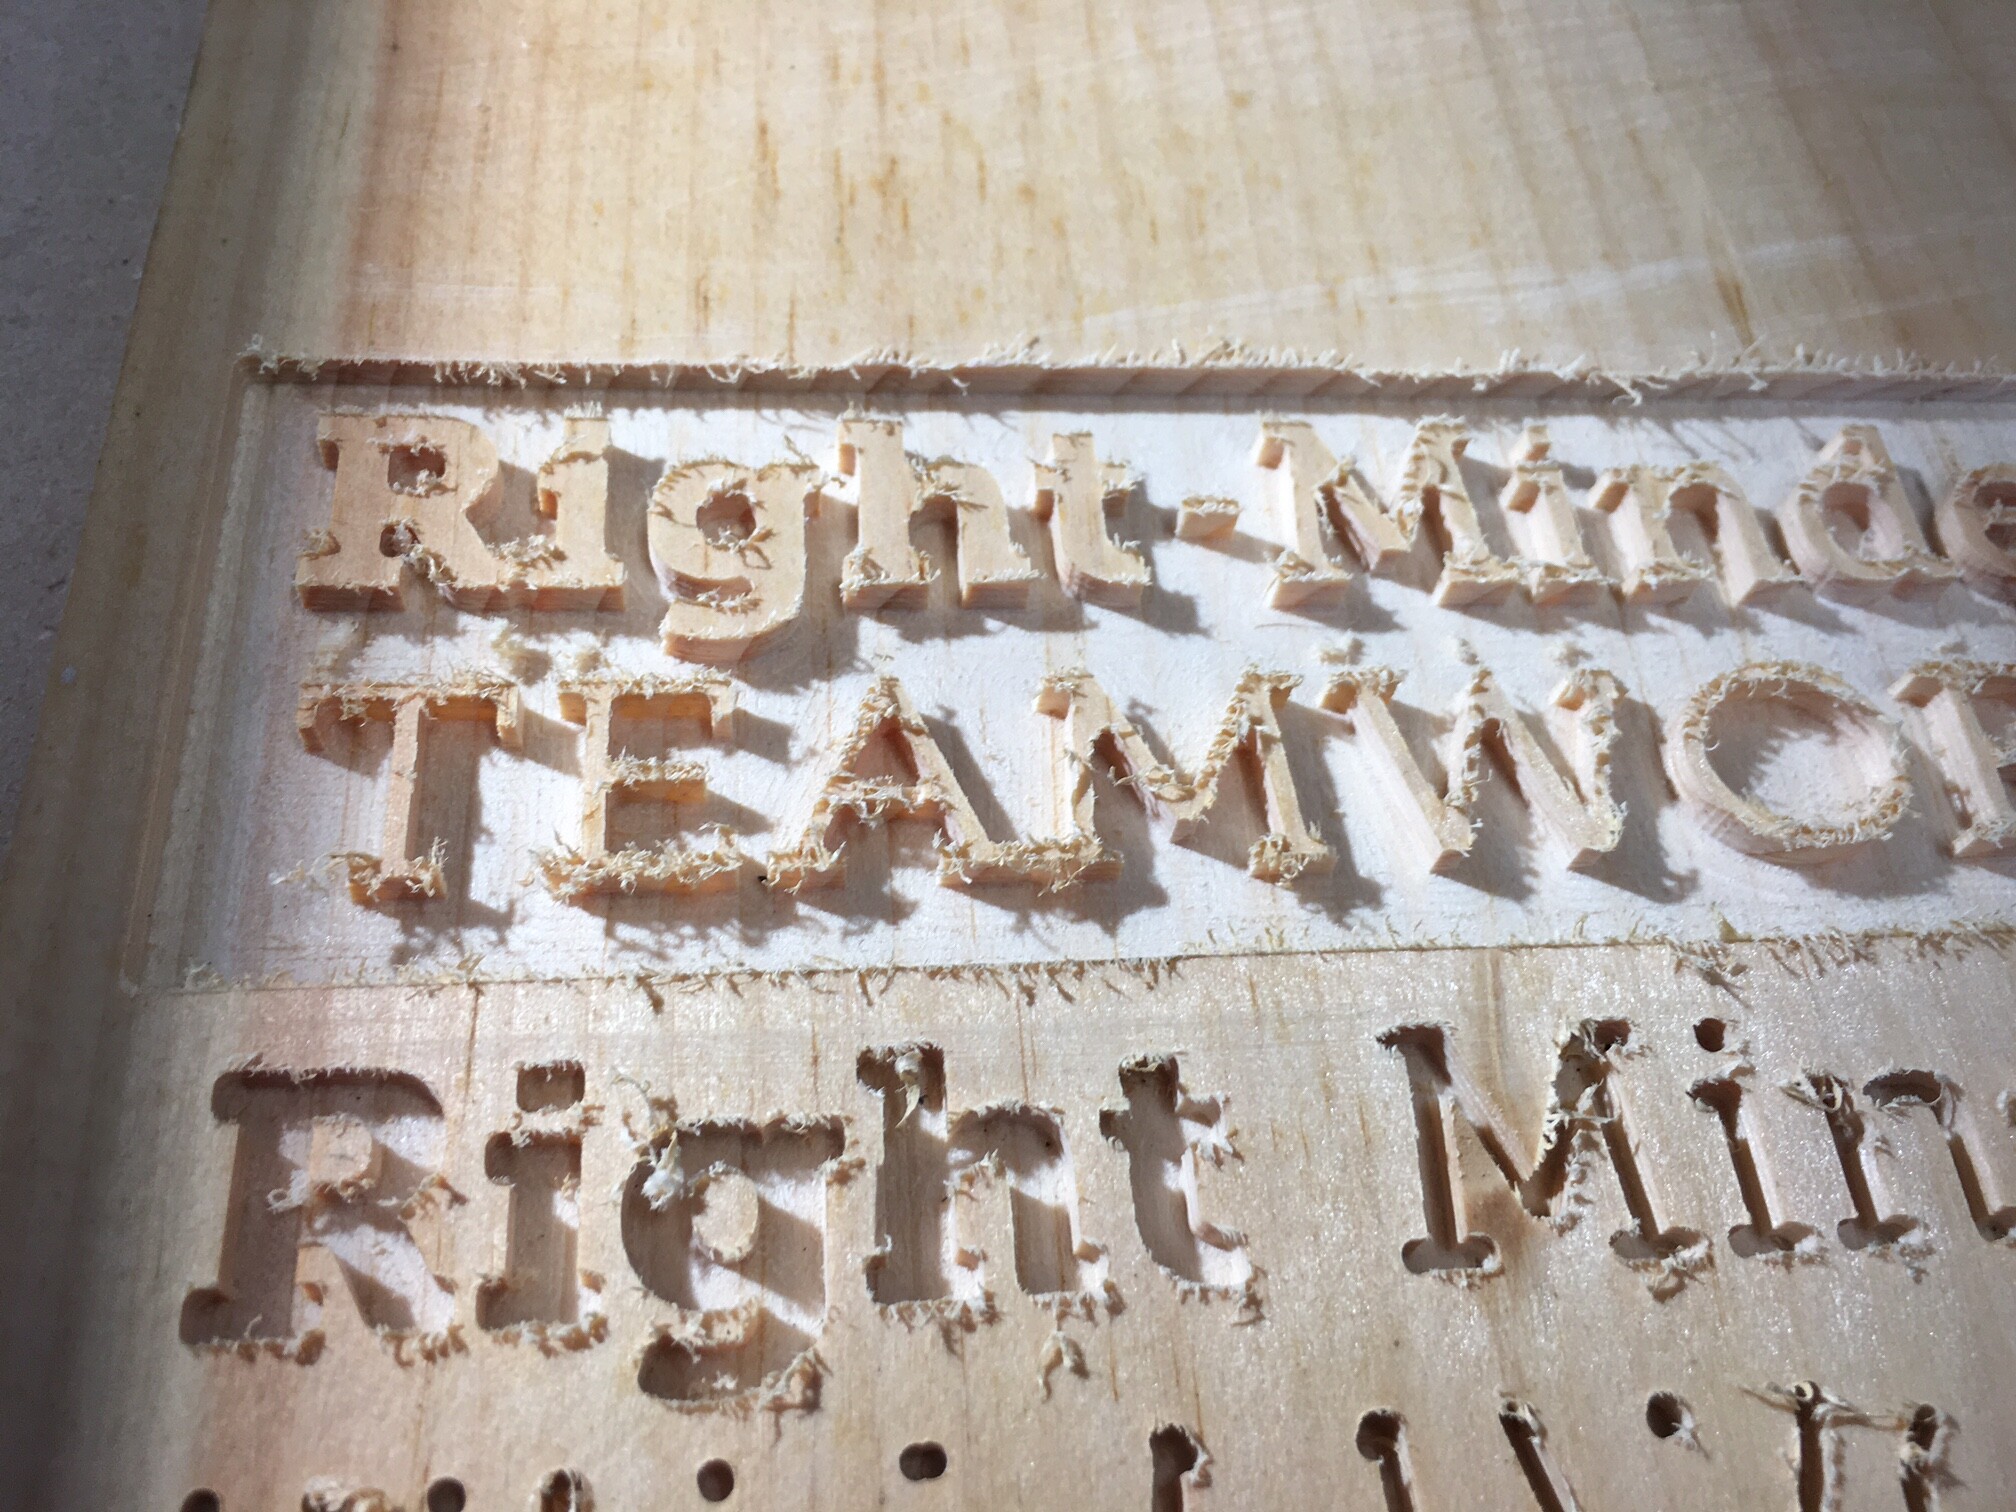
If the picture can be seen in this post [hopefully], 1) what are those tiny bits of cut wood chips called and 2) what caused it to happen? Wrong speed?
You could try running a sander over and it may be ok. But like Will said a Down Cut will make less fuzzies on top. I cannot tell if that is pine or popular or plywood. Even with a down cut bit you may still get some tear out. You can also try putting on some dewaxed shellac or a coat of polyurethane whipping finish on, that hardens up the surface. You could also try some Easy Liner Adhesive Shelf Paper you can get at Walmart and other big box stores. There is also Oramask 813 and that is similar to the shelf paper. You may still get some fuzzies but a stiff nylon brush gets rid of most of the fuzzies and makes a good mask if you are going to paint your project with acrylic paint.
Guy, great ideas - shellac, etc.
the wood I think is pine. I’m still just practicing on any scrap I have, and I am learning something every day.
Thank you VERY much.
regards, Dan
downcut is absolutely the way to go, especially with “stringy” woods such as pine.
but there’s other things you can do to reduce this a bit; for example you can do an extra toolpath as first step, that is an inside contour, at a very shallow depth (say 0.02" or 0.5mm). This will basically score the fibers in the top layer, which are the most problematic for this sort of fuzzy. To double down, don’t do this on the actual design, but do it on an inside “offset” (using the CC offset tool) of say 0.02", that way if fuzzies do happen, there’ll be a pass later that takes out the last 0.02" separate and might reduce it…
but again downcut for the win on stringy wood.
(actually, on any design with wood where you don’t cut all the way through it… I only buy downcut endmills nowadays)
Arjan,
AWESOME advice. To do “an extra toolpath” makes so much sense! I’ll try that next time.
and I appreciate your last comment about downcut endmills. I don’t even own one.
OK, I’m going shopping now.
Thanks again you all. You are very helpful/ thoughtful. I’m grateful.
most of my designs… I have nothing fancy on the back so I still use a downcut endmill and just sand the edges.
also I tend to use double sided tape for work holding (same holds for blue tape method) and the tape will prevent some of the splintering (at the cost of gumming up stuff at times)
For downcut bits, especially for letters and stuff like you showed in your example, I use these 1/8" downcut bits. They are fairly inexpensive and I haven’t even worn one out yet. I have no affiliation with them other than being a customer. You will need to get a 1/8" collet for your router if you don’t already have one.
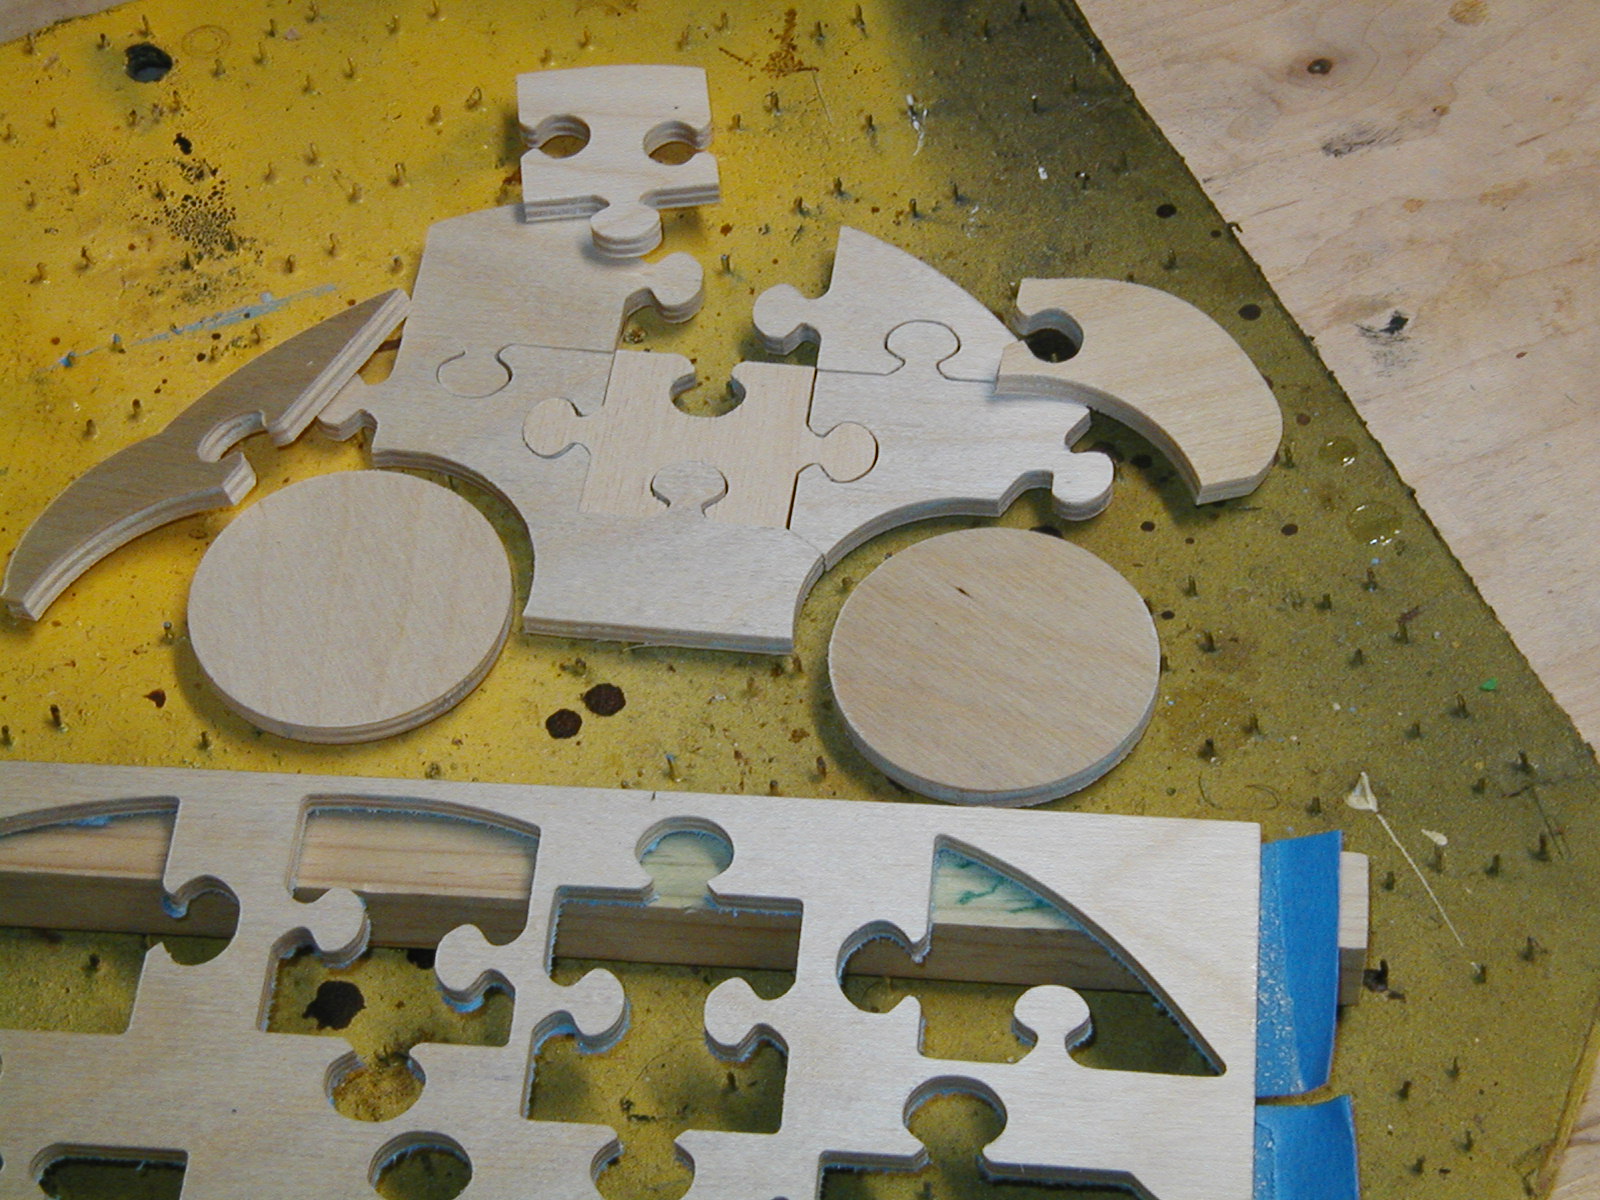
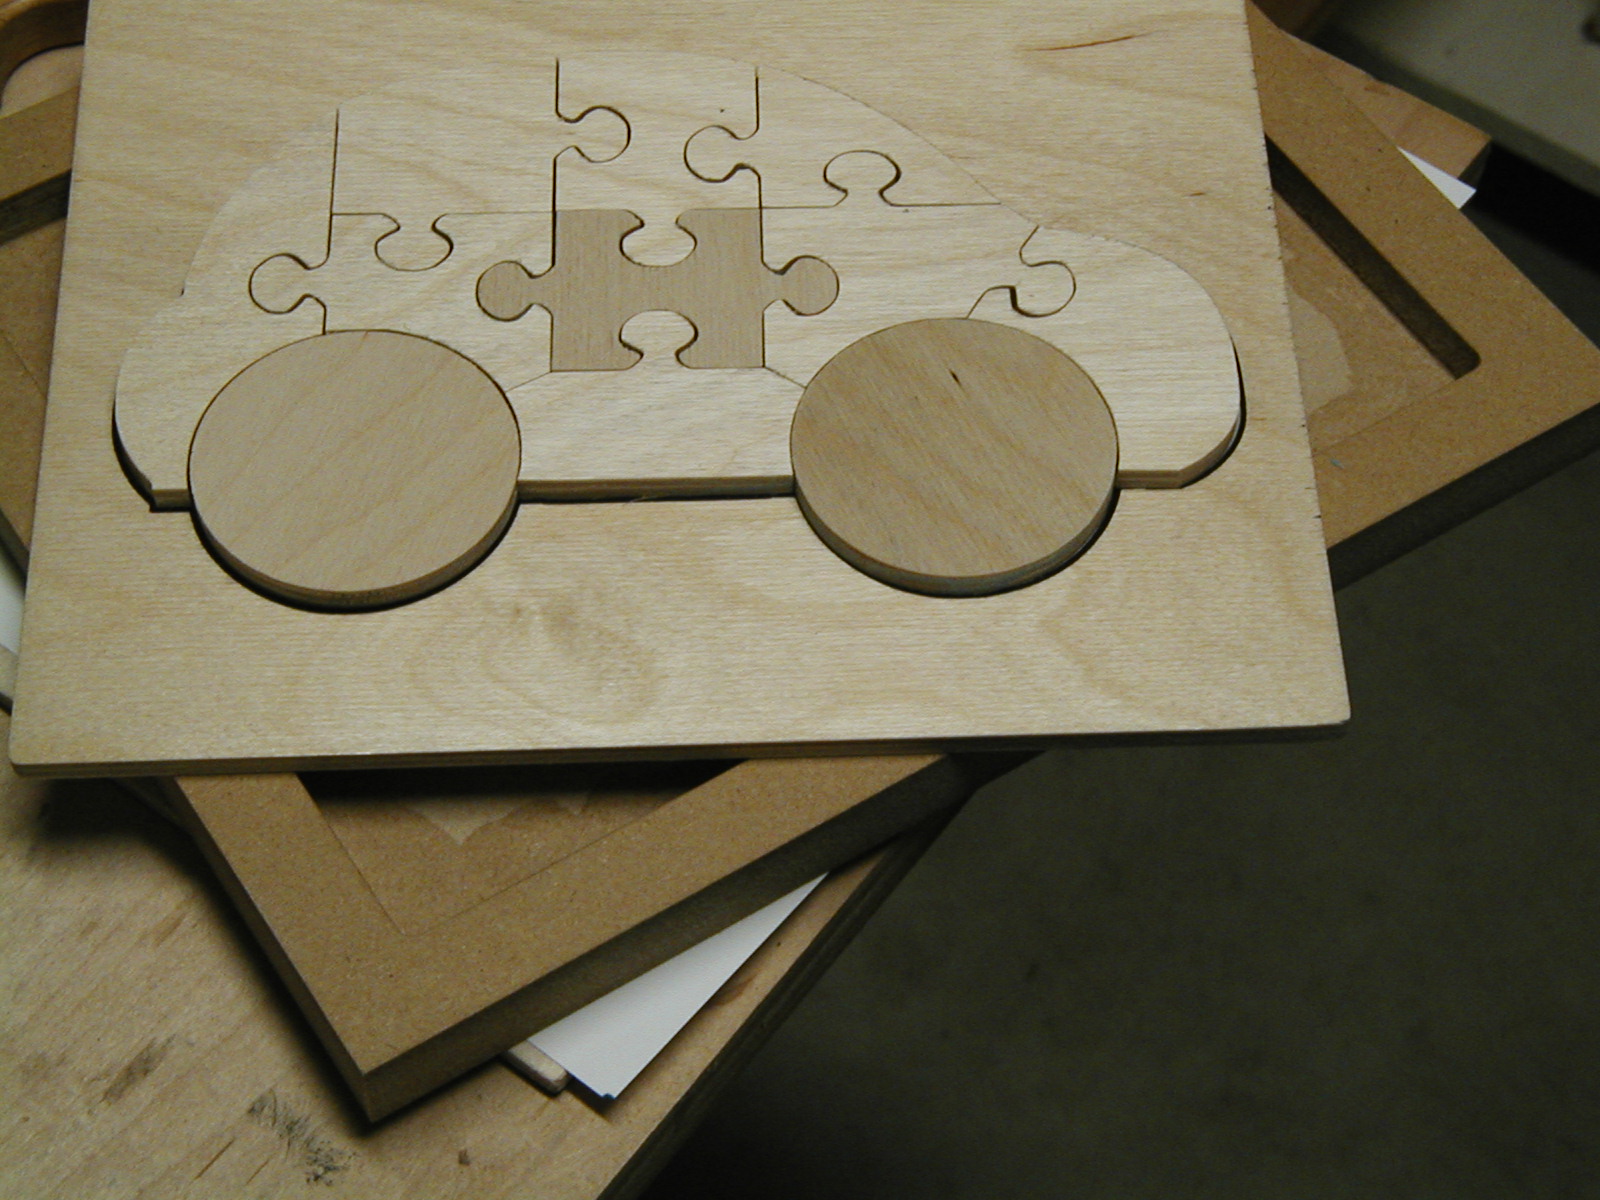
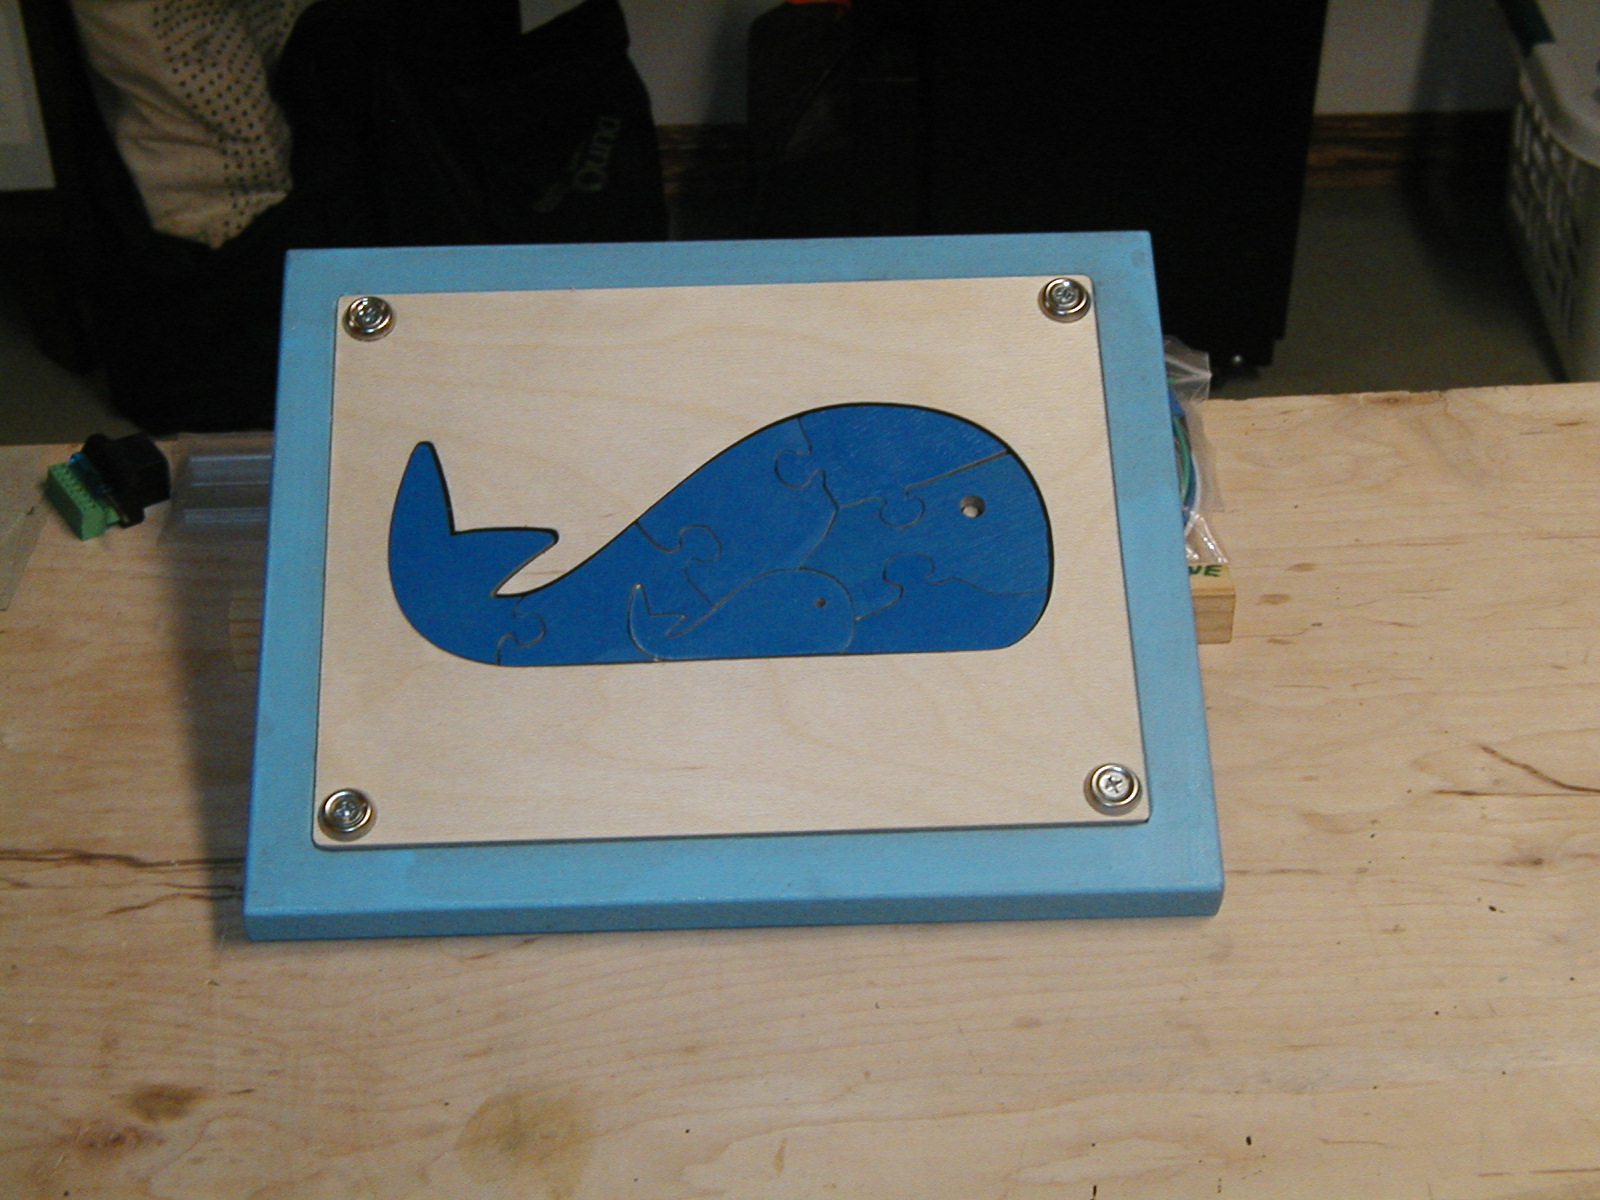
The rest of the parts that make up the puzzle were my design.
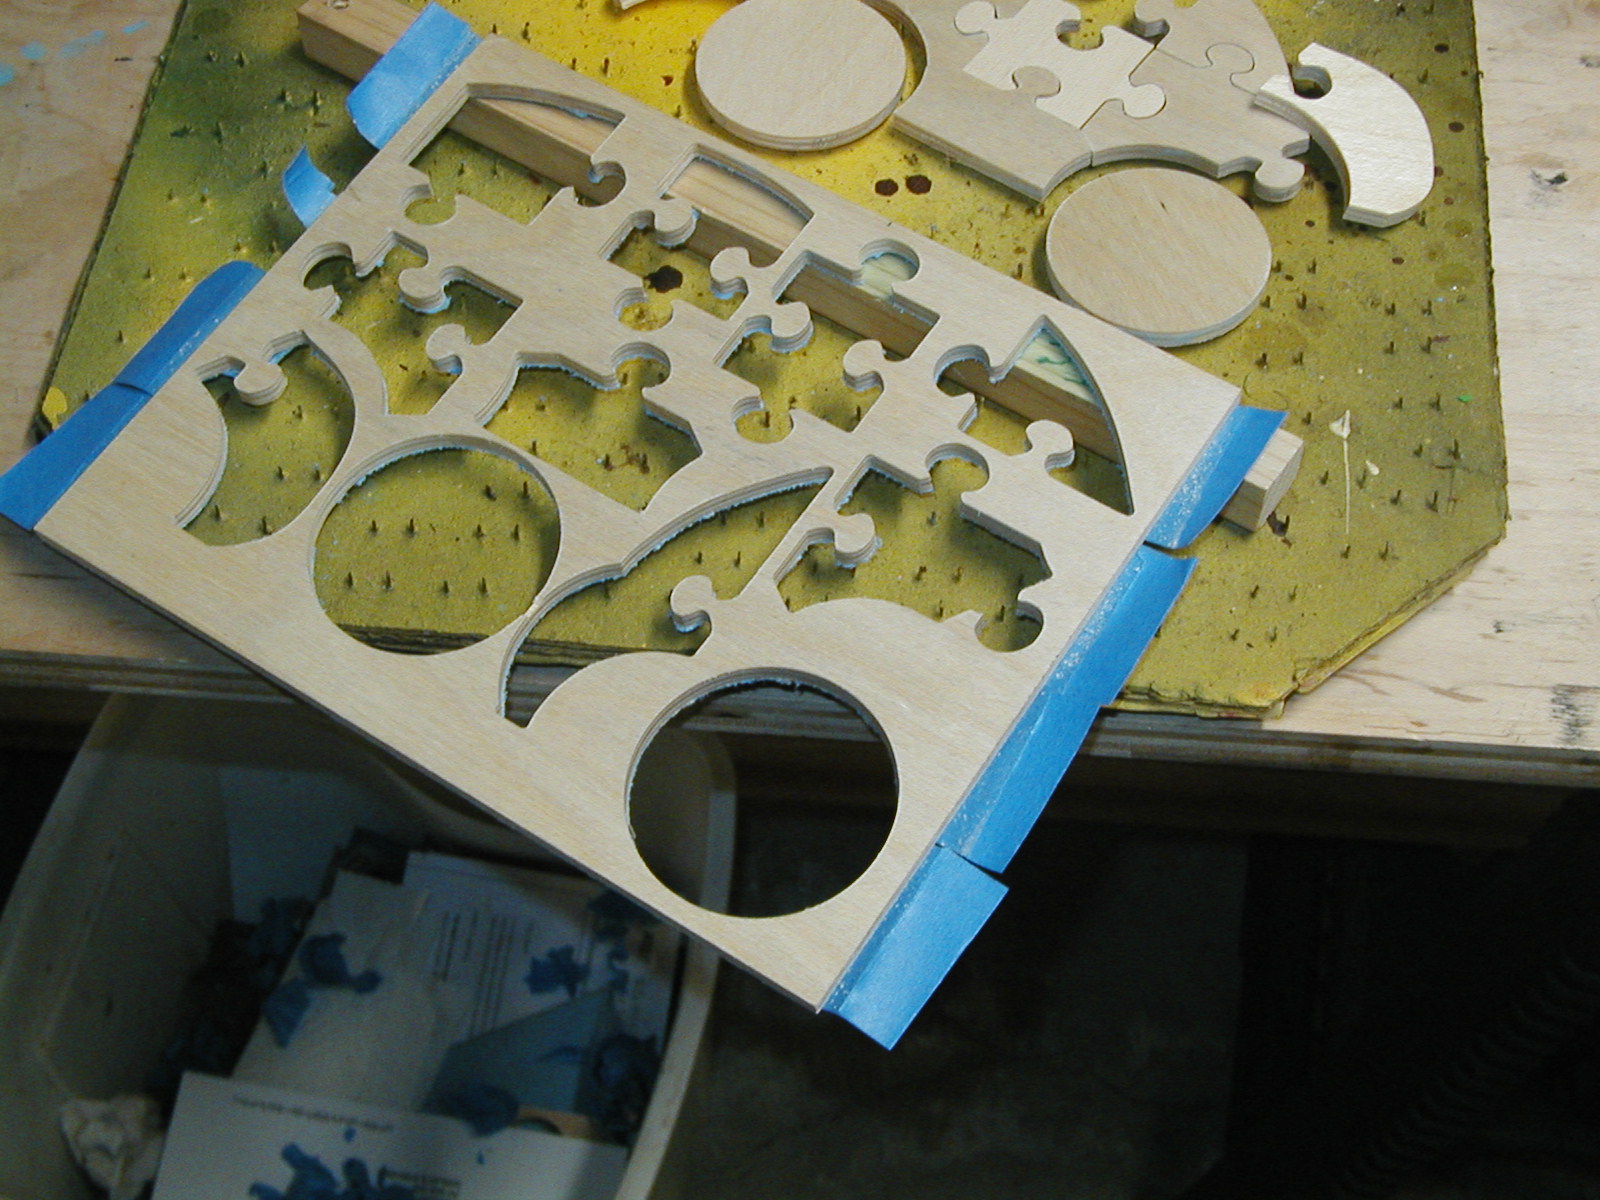
They include the ¾" MDF frame, the base (with puzzle pattern drawn using a Sharpie using a DIY plotter fixture on the Shapeoko), the separate puzzle pieces and the inlay the pieces fit into.
The pieces are cut to their height and width on the tablesaw but everything else is done on the Shapeoko. The challenge was getting the parts to fit somewhat snugly but not a ‘snap’ fit. I tried various solutions including Inkscape, straight copies from an SVG file and finally bit map tracing. Each provided different levels of detail. The best result - so far - used a combination of the SVG file and bit map tracing. The SVG format produced a good outline of the puzzle with no need for node editing. It also provided a good outline of the assembled parts.The bit map tracing allowed me to separate out the individual parts.
Cutting the individual parts was done using a contour cut on the outside of the line while the inlay to accept the puzzle pieces was a contour cut on the inside of the line.
An additional option that just occurred to me is I could make the individual pieces from different species of wood or different thickness.
Lots of options.
Here is a completed puzzle using the same technique. This time a Whale 'n a Whale
I bought my Shapeoko XL one year ago. And this with NO prior experience with CNC machining.
Learning this technology has been a long, frustrating slog with its share of “Ah Ha” and “Oh Shucks” moments. And they were not in equal amounts Albeit my projects are very basic compared to some you will see on this forum they are rewarding.
The good news is that all skill levels are encouraged here.
Will:
Thanks for posting back to the link where you created the individual parts. I admit I did not use the fruits of your labors. I purchased Vetric V-Carve Desktop and created the bit maps with that program. Then a few weeks ago Carbide Create was updated to include the bit map trace option. I used Carbide Create to make the individual parts for the car puzzle.


 Albeit my projects are very basic compared to some you will see on this forum they are rewarding.