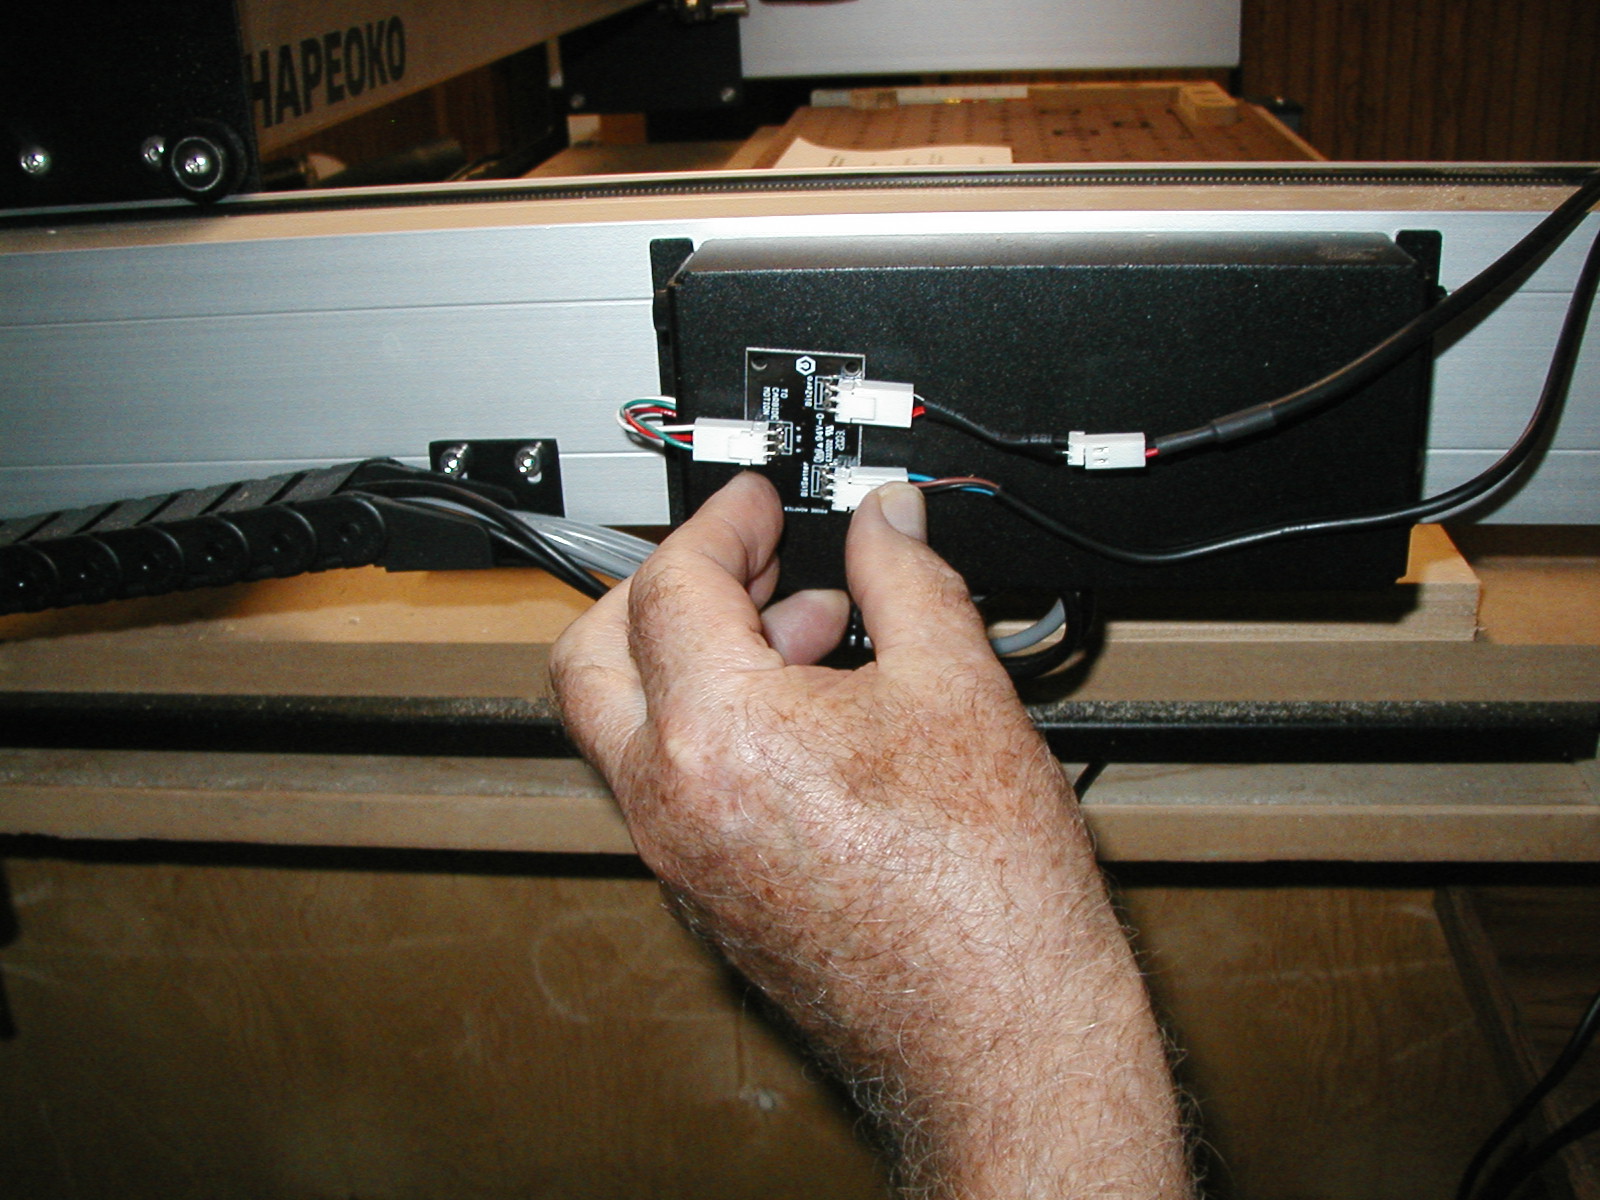
The splitter PCB that comes with the BitSetter does not mount in the electronics enclosure. The instructions rather casually say
“After your cable is routed to the Carbide Motion Controller, re-install the controller cover or enclosure. Make sure not to pinch or accidentally loosen any of the cables.” Sort of tech speak for “Ya’ll be careful, now”.
Looking for ideas on mounting the splitter PCB and its cabling in a safer, secure manner.
I was thinking about this today. Recently I had my Motion board/PCB die, and I was thinking it may be due to the splitter board. I am thinking about 3D printing a cover, and incorporating standoffs, and a place to either tape it with some kapton tape or screw it into place.
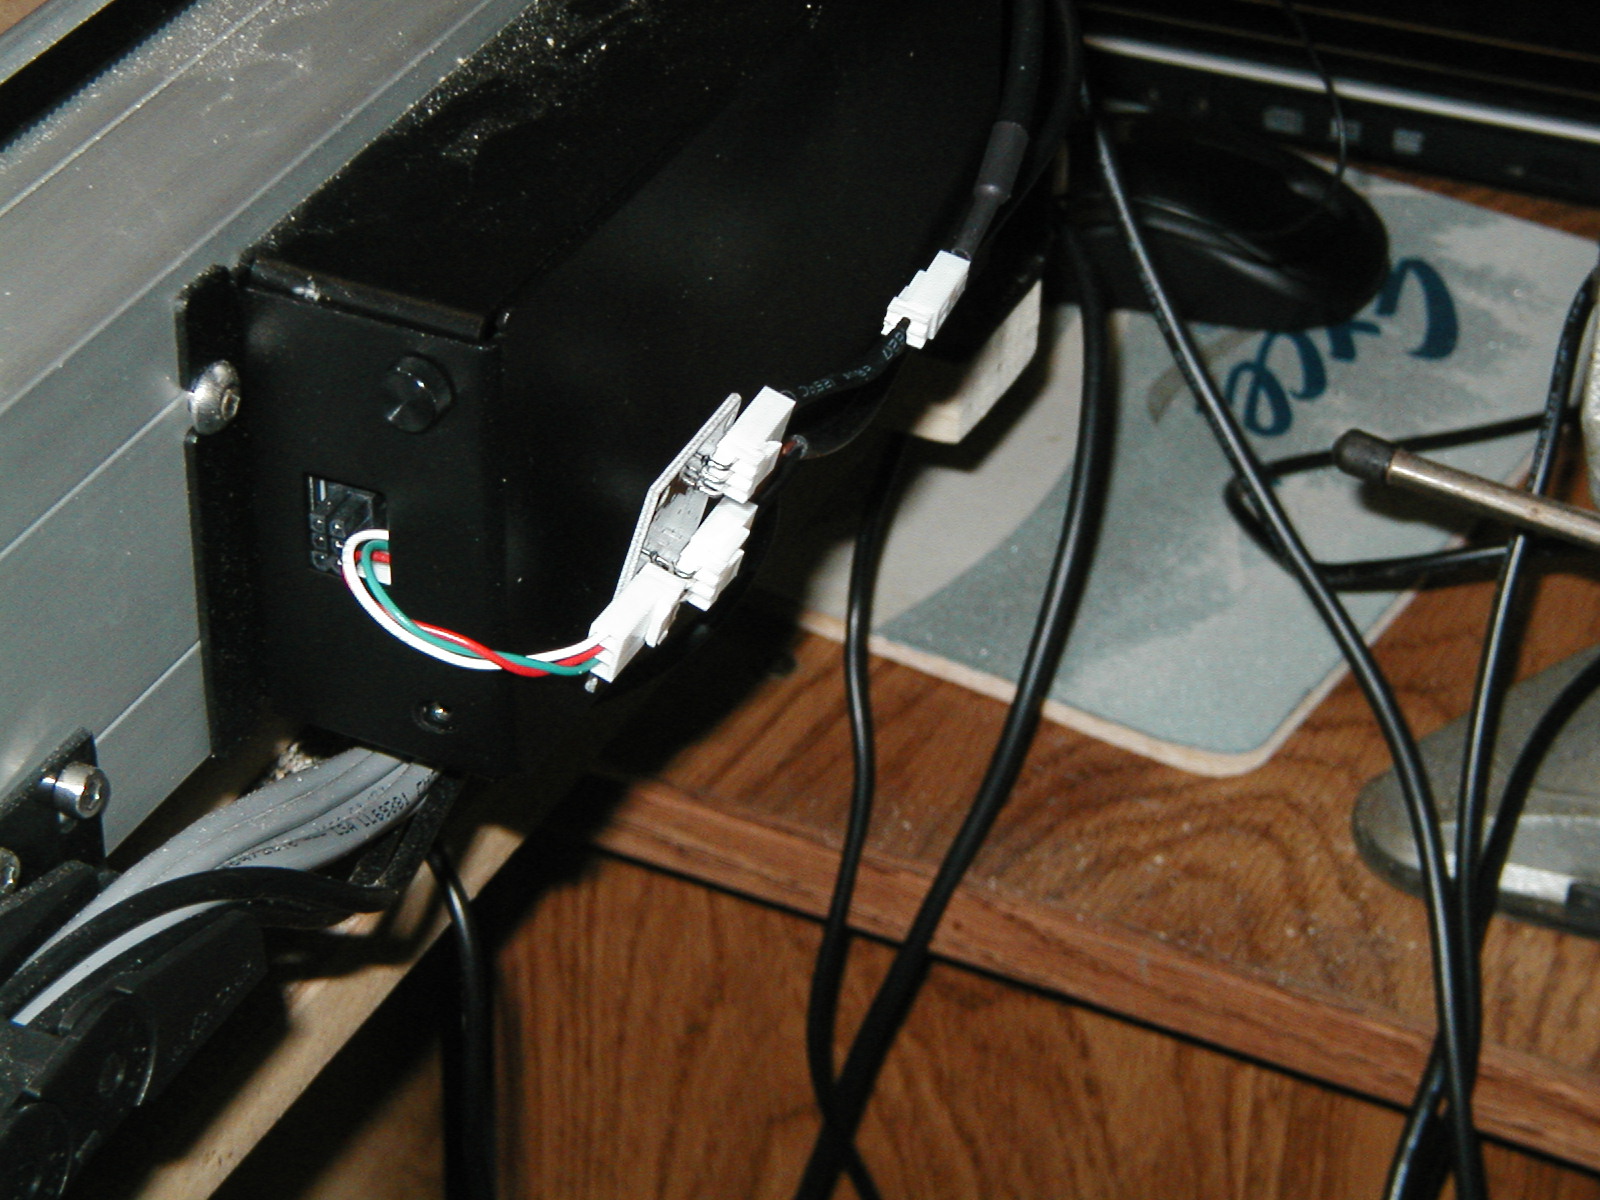
The splutter board I got had a coating on the back of the board. I still wrapped the whole board with electrical tape so avoid any problems. I cannot remember but I dont think there are any components on the board other than the connectors. But there is voltage going through the board so I wrapped. This is another example of the bad upgrade instructions. The board position is never really addressed or at least not in the instructions I got.
The extension cable between the carbide motion controller and the splitter PCB feeds easily through the rectangular opening in the carbide motion controller enclosure cover. The cable is long enough to reach into a small enclosure made for the splitter PCB which would be mounted on the cover.
I don’t have a 3d printer but will make a simple enclosure from wood that would be mounted with bolts into tapped threads in the carbide motion controller enclosure cover.
To me, it would be much easier to desolder those 3 connectors from the board and make a much more flexible “Y” jumper cable. Then throw the damn over-engineered PCB away!
PS. Which is what you are starting to do … over-over-engineer the problem.
I am trying to address the underlying design flaw which is adding more cabling to an already filled enclosure. As a retired computer tech I have seen this more than once and moving the excess cable out of the way seemed a reasonable approach especially since the included cabling easily reached a simple enclosure mounted on the front of the original metal enclosure.
I admit I will be mounting the MDF enclosure with screws after tapping threads into the original enclosure - over engineering - but it could be added with double stick tape or hot glue.
The instructions that come with the BitSetter are not very complete when it comes to installing the splitter PCB.
From the installation guide:
“ After your cable is routed to the Carbide Motion Controller, re-install the controller cover or enclosure. Make sure not to pinch or accidentally loosen any of the cables.”
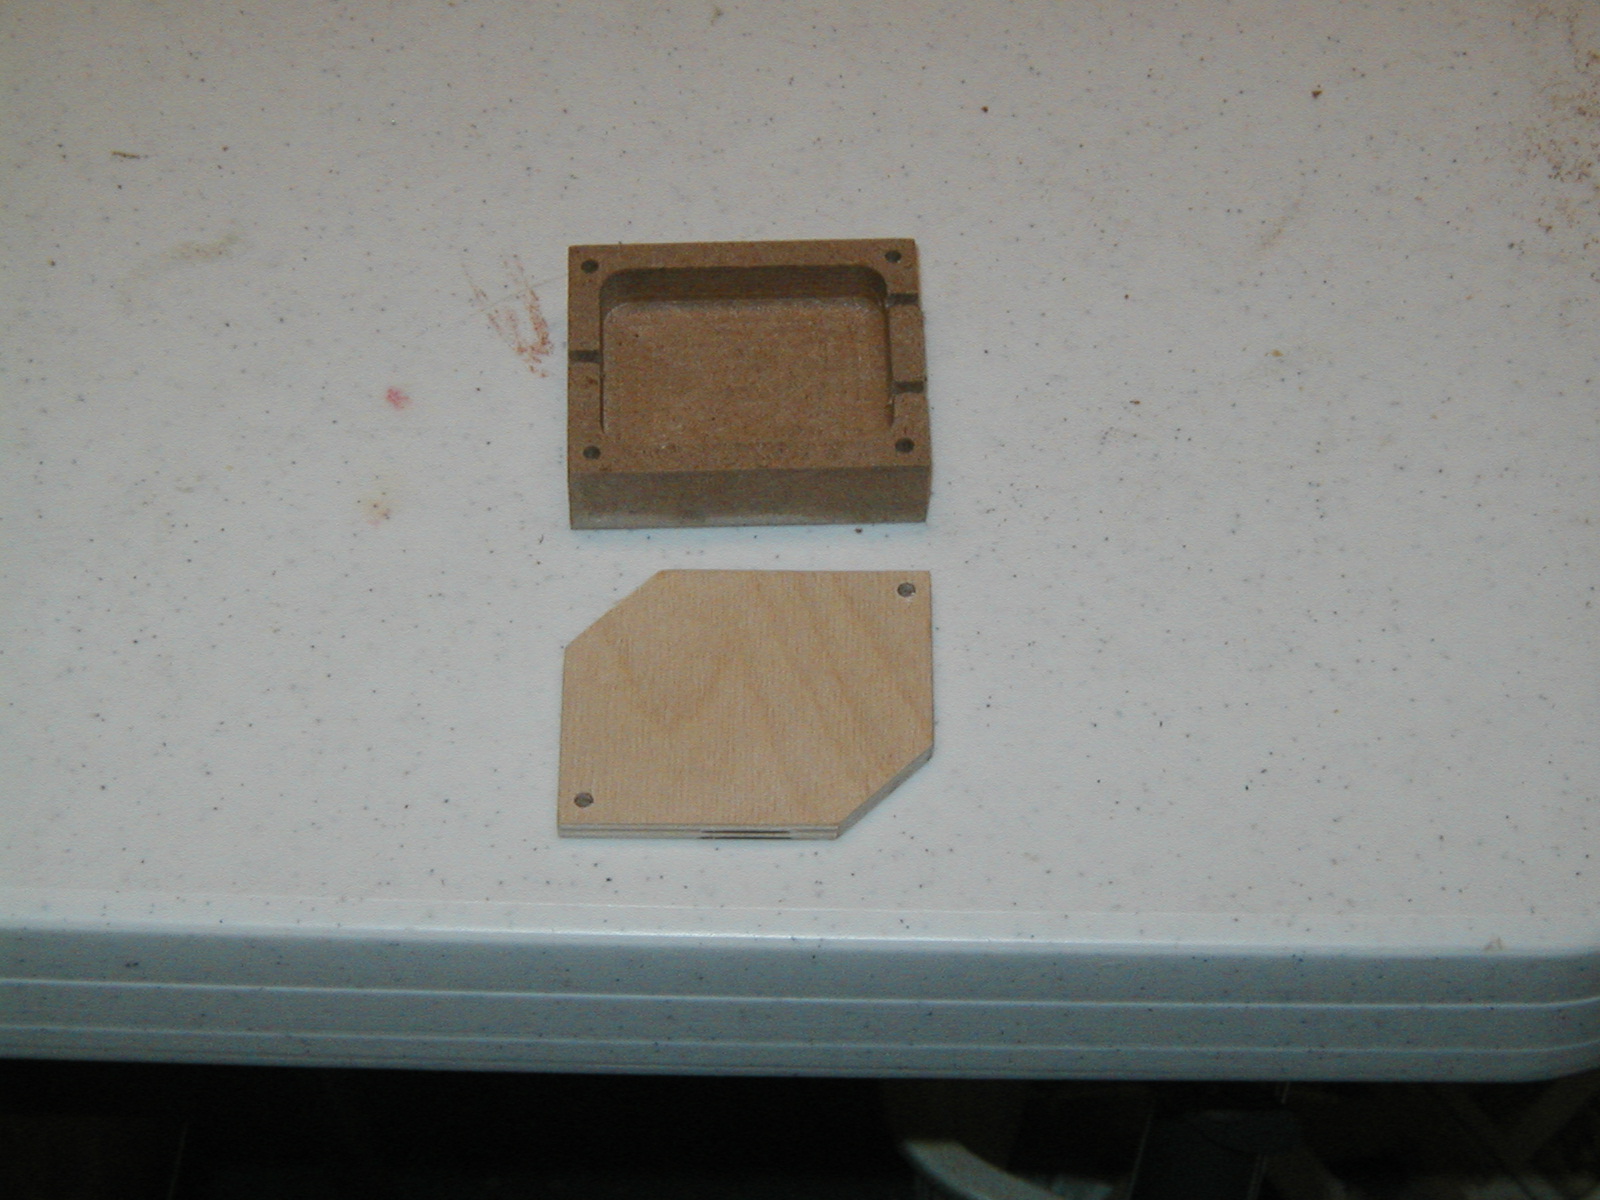
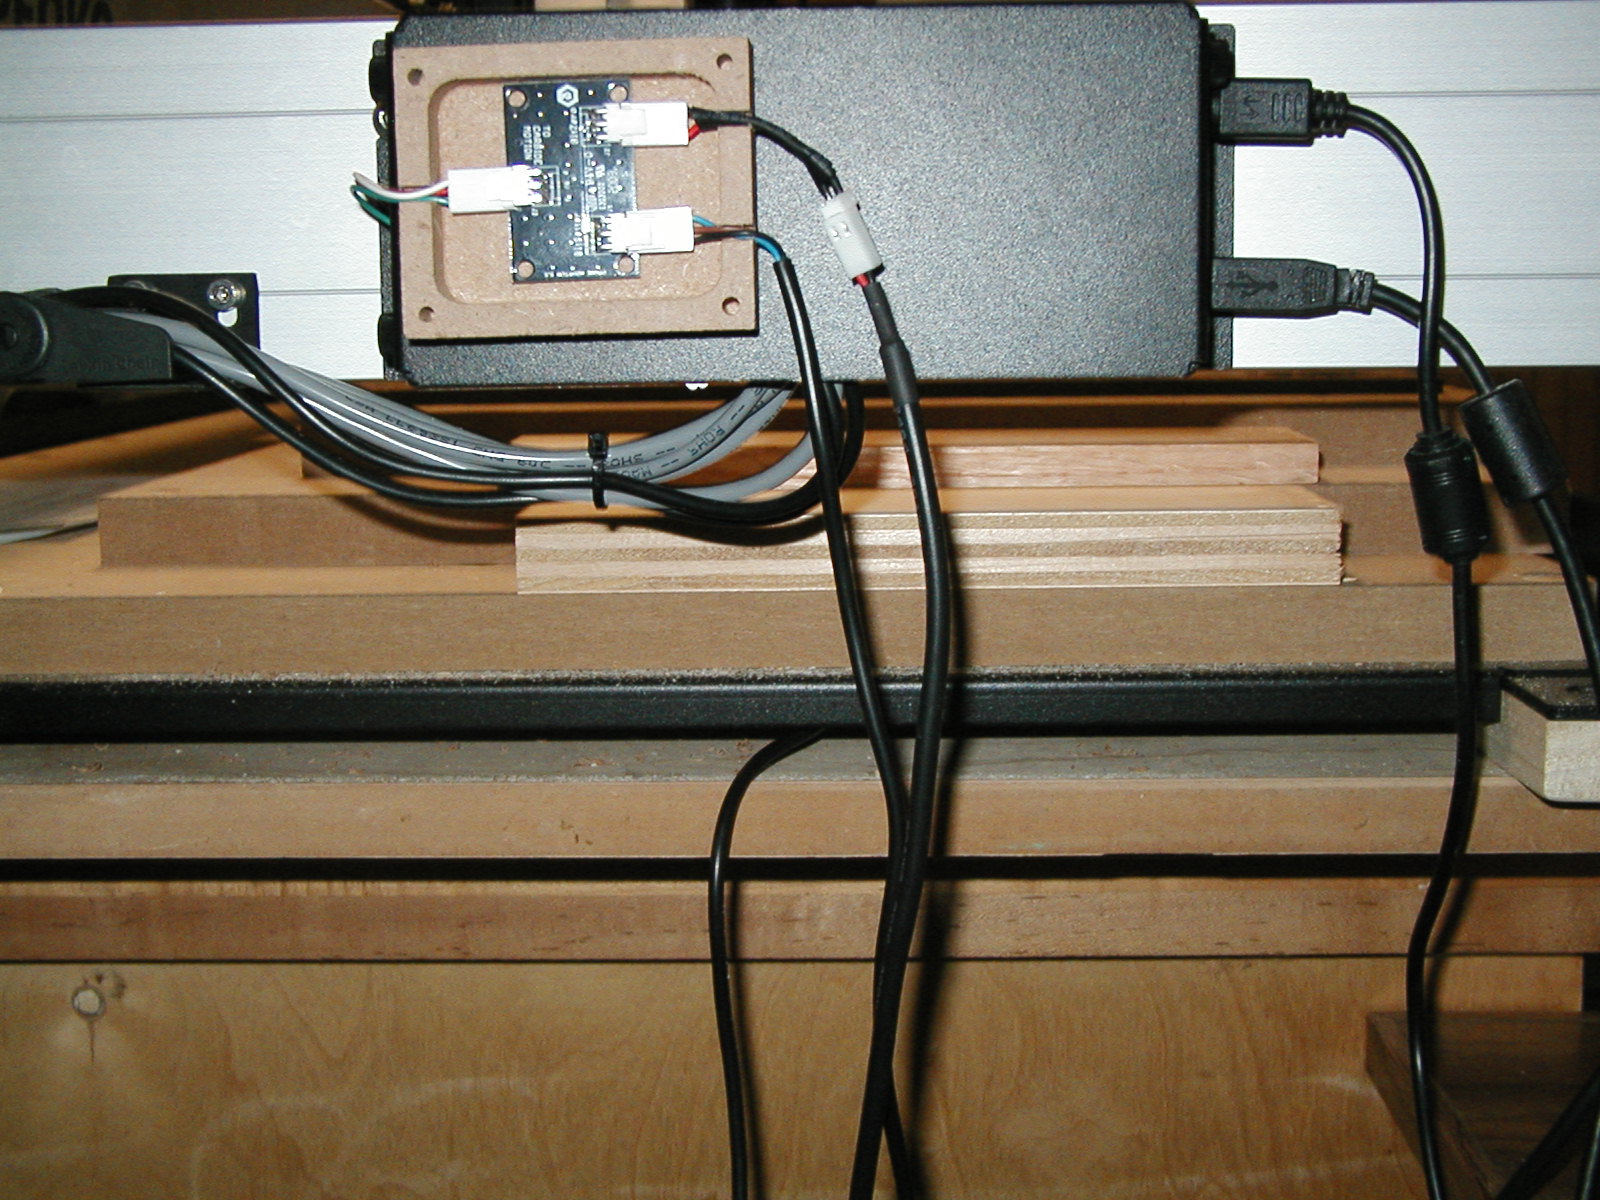
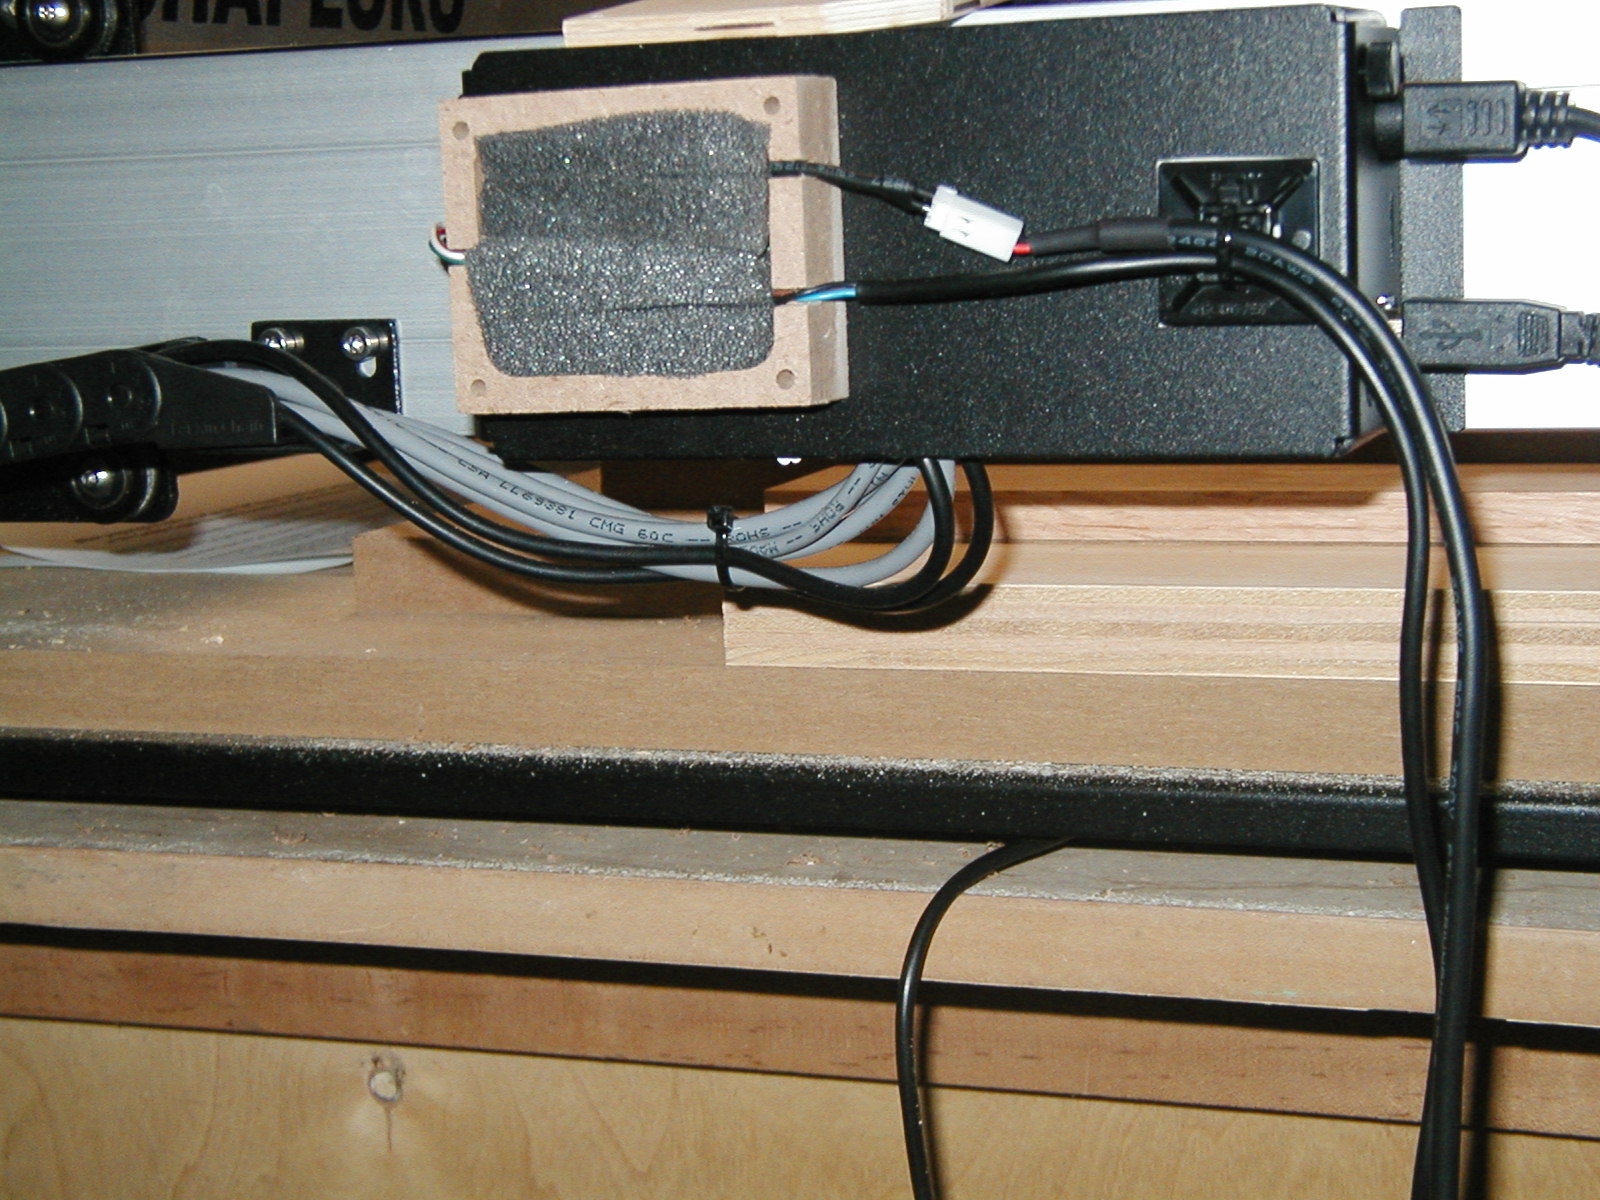
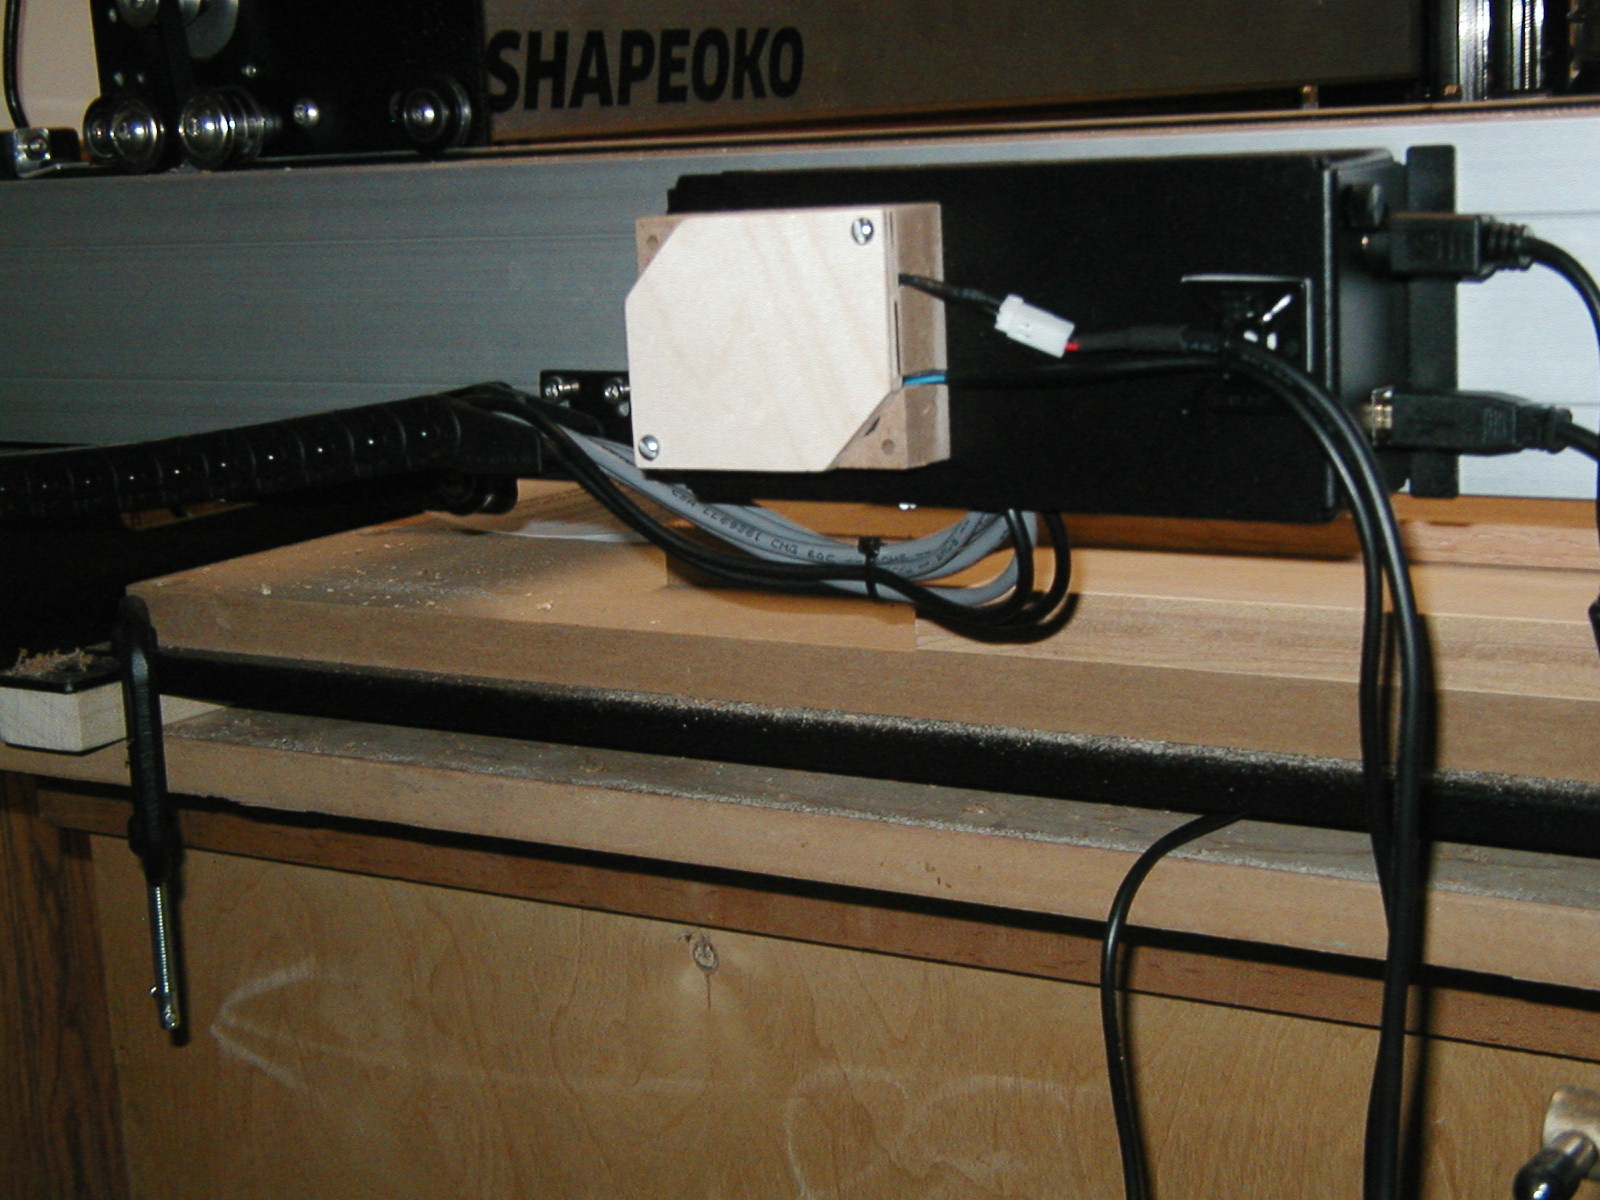
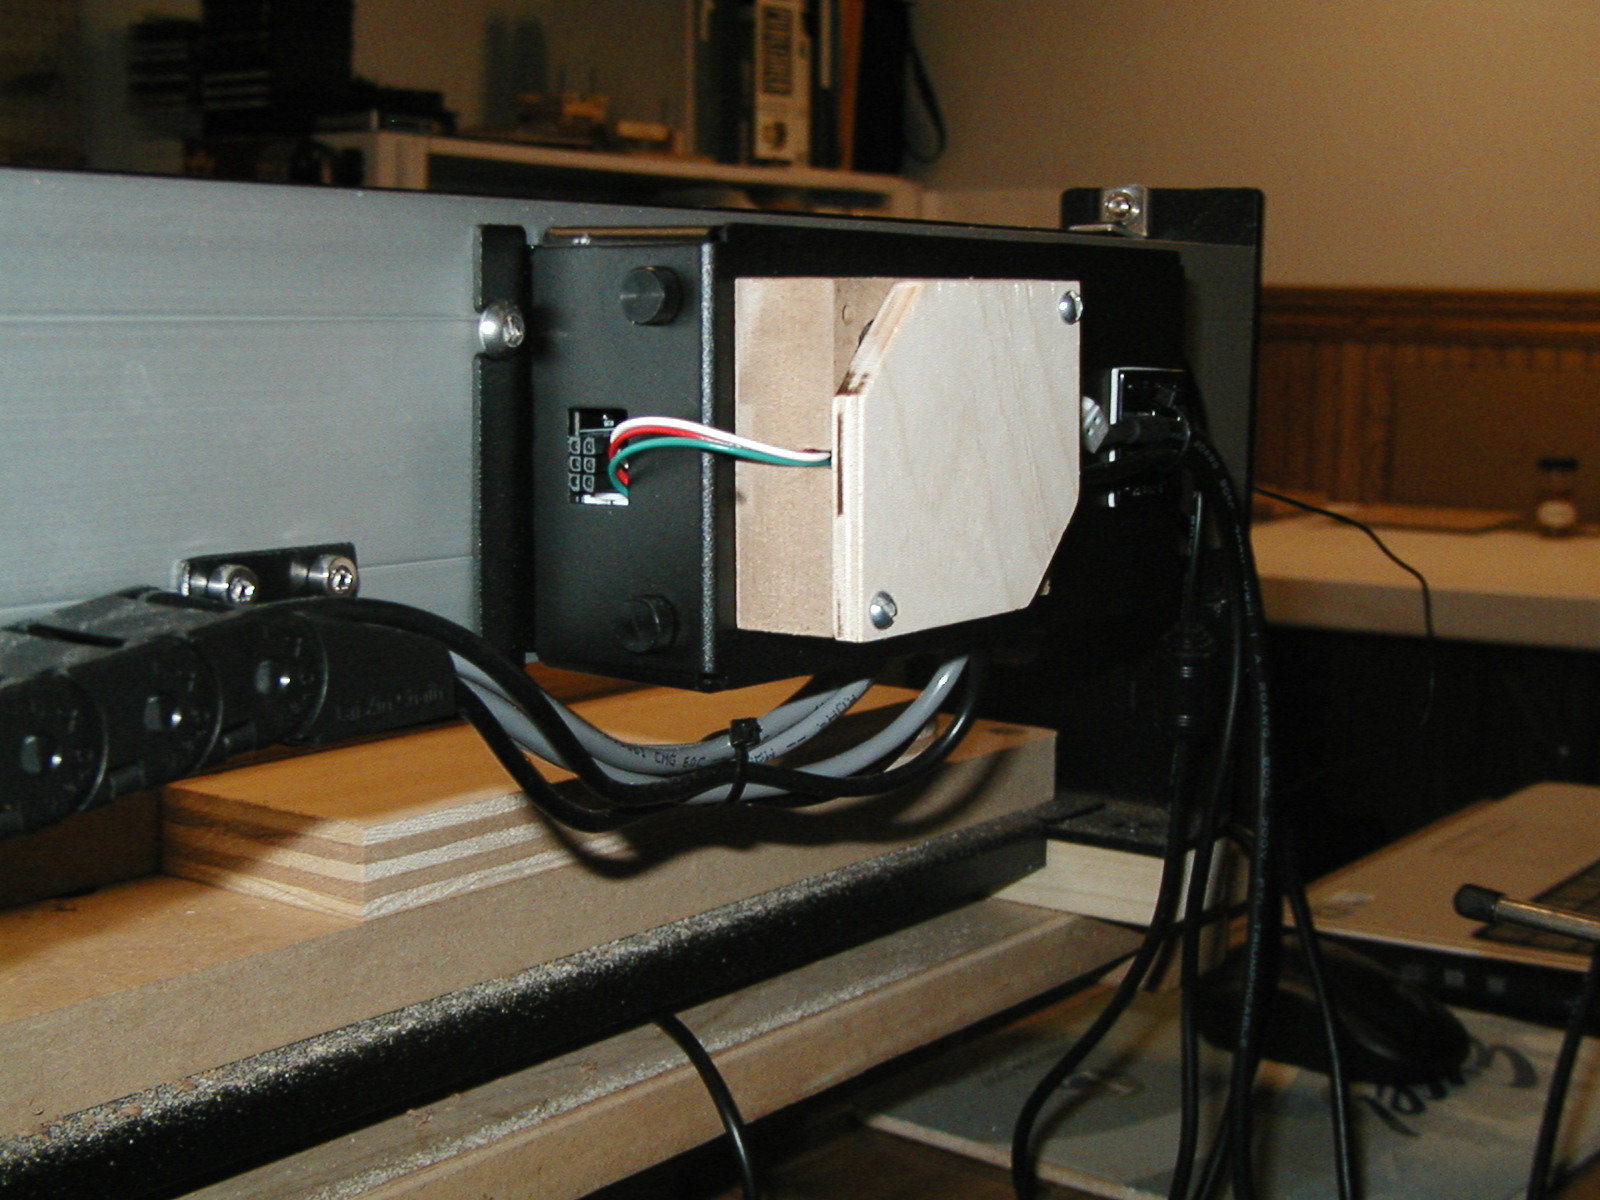
In order to address this design flaw I made a small wooden enclosure for the BitSetter splitter PCB. It attaches to the carbide motion controller enclosure cover with double stick tape. The enclosure is MDF, the cover is 1/4” plywood and 6-32 x ½” round head bolts secure the top to the enclosure. A few pieces of packing foam keep everything in place.
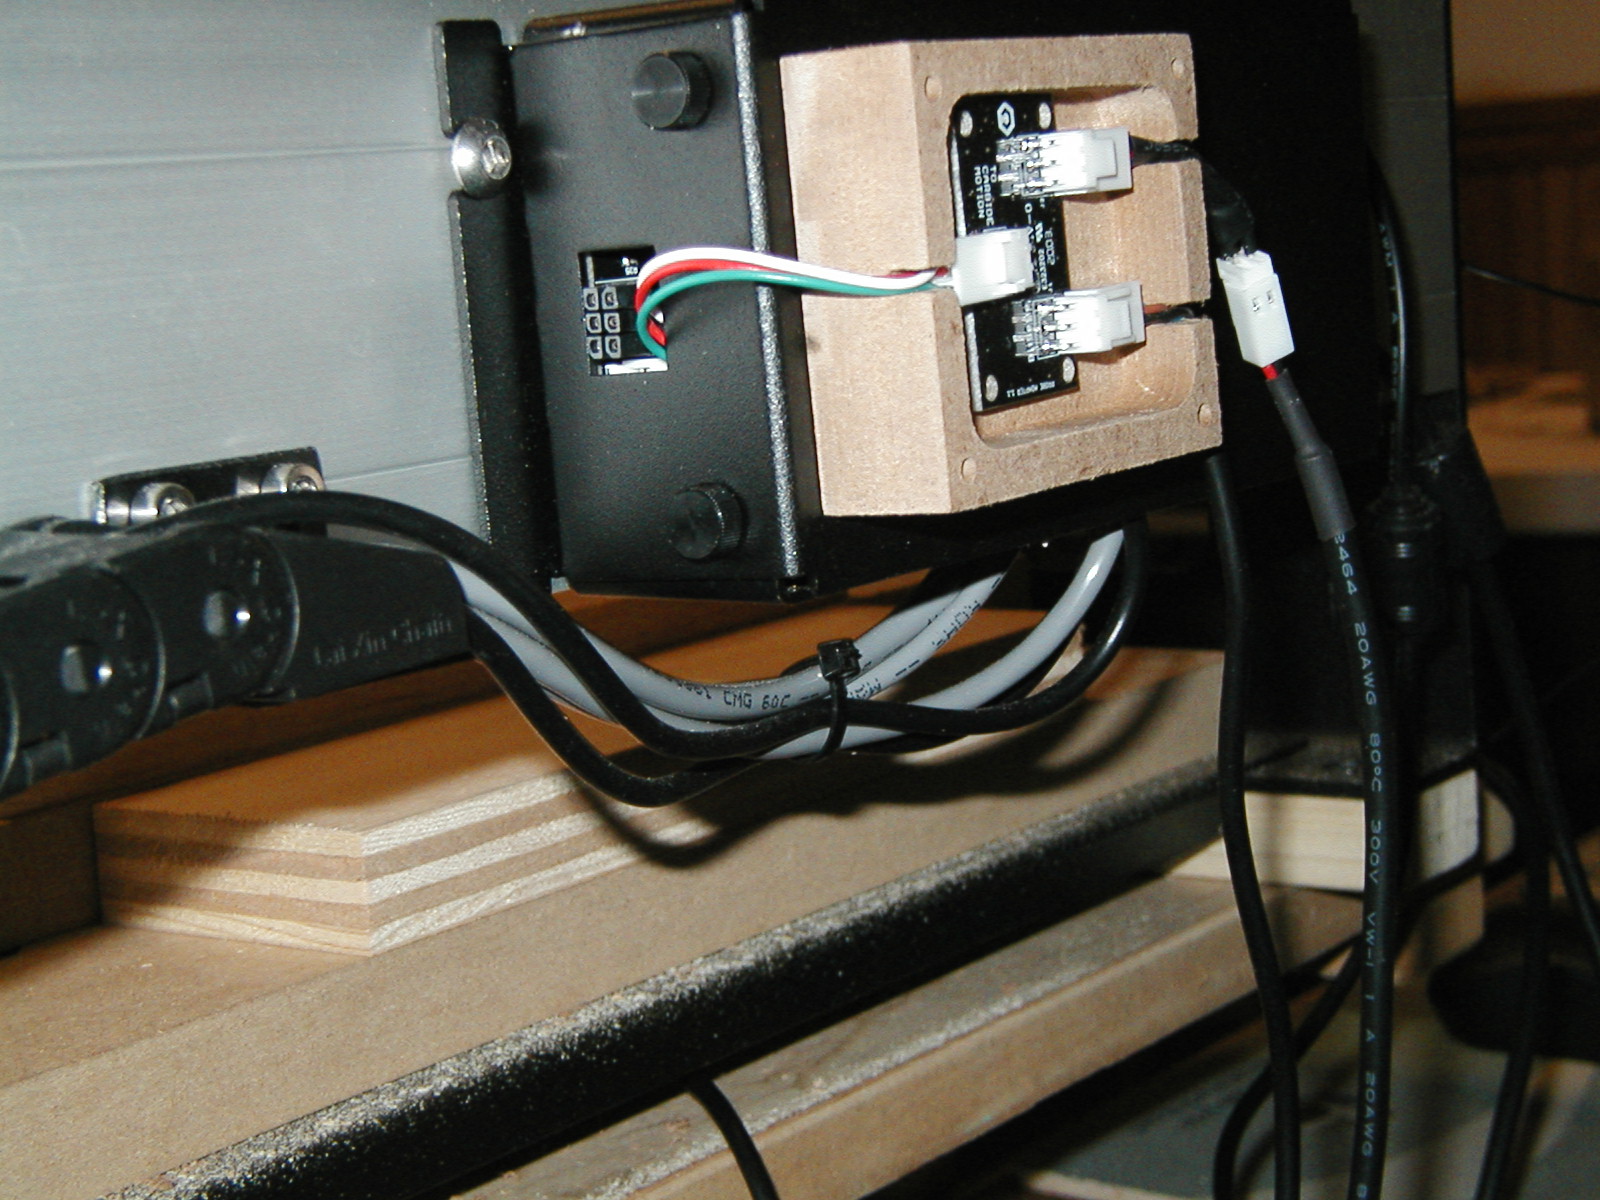
The cable / connectors that come with the BitSetter easily feed through the rectangular opening on the rear of the carbide motion controller enclosure and are long enough to reach the wooden enclosure.
I will be posting the enclosure project files to CutRocket.com if anyone is interested.

 - but it could be added with double stick tape or hot glue.