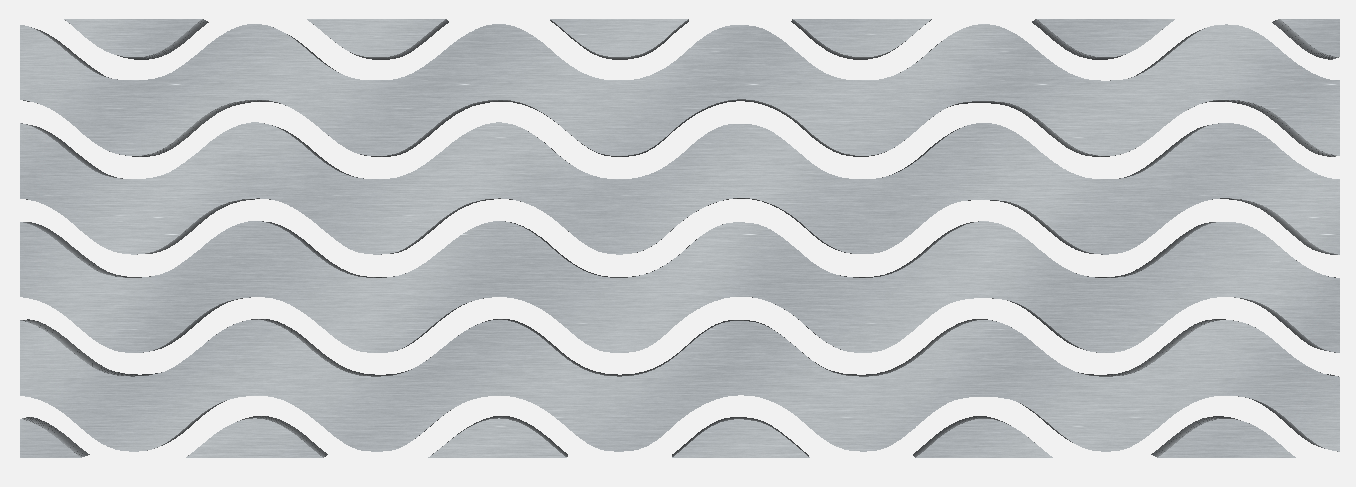
I have an SO3 XXL with HDZ. I am also a wood turner. There is a youtube channel called Papa1947. He turns a lot of interesting things. One thing he makes is a wavy bowl from a board. You create a board about the size of the bowl you want and then cut rings out at a 45 degree angle. Then you glue the boards together and form a bowl. You then turn the bowl in the lathe to get it smooth inside and out. I have wanted to make a bowl from a board for a long time. I am an experienced turner and did not want to make a boring bowl from a single board. So after seeing Papa1947 using a cnc mill to cut his waves out and then gluing them together into a board I went straight for the hard stuff. Hopefully it will come out ok. I got the image from Google and in Inkscape converted a jpg to an SVG. Then in CC I made an array on my work piece that is 6" X 18". I have two 6X18" maple boards and two purpleheart boards to make the board from. I will be cutting it out this afternoon and gluing. Hopefully if that is successful I will be making the bowl from a board this week. I love my Shapeoko and hope all this effort works out.
Here is the video from Papa1947 about making a bowl from a board. If you have a CNC and turn he has some very interesting videos.
What I like about his videos is he tells you how and does one and skips all the repetitive steps many youtube videos go on and on about. He does straight turning but also integrates his CNC machines into his turning. Very interesting.
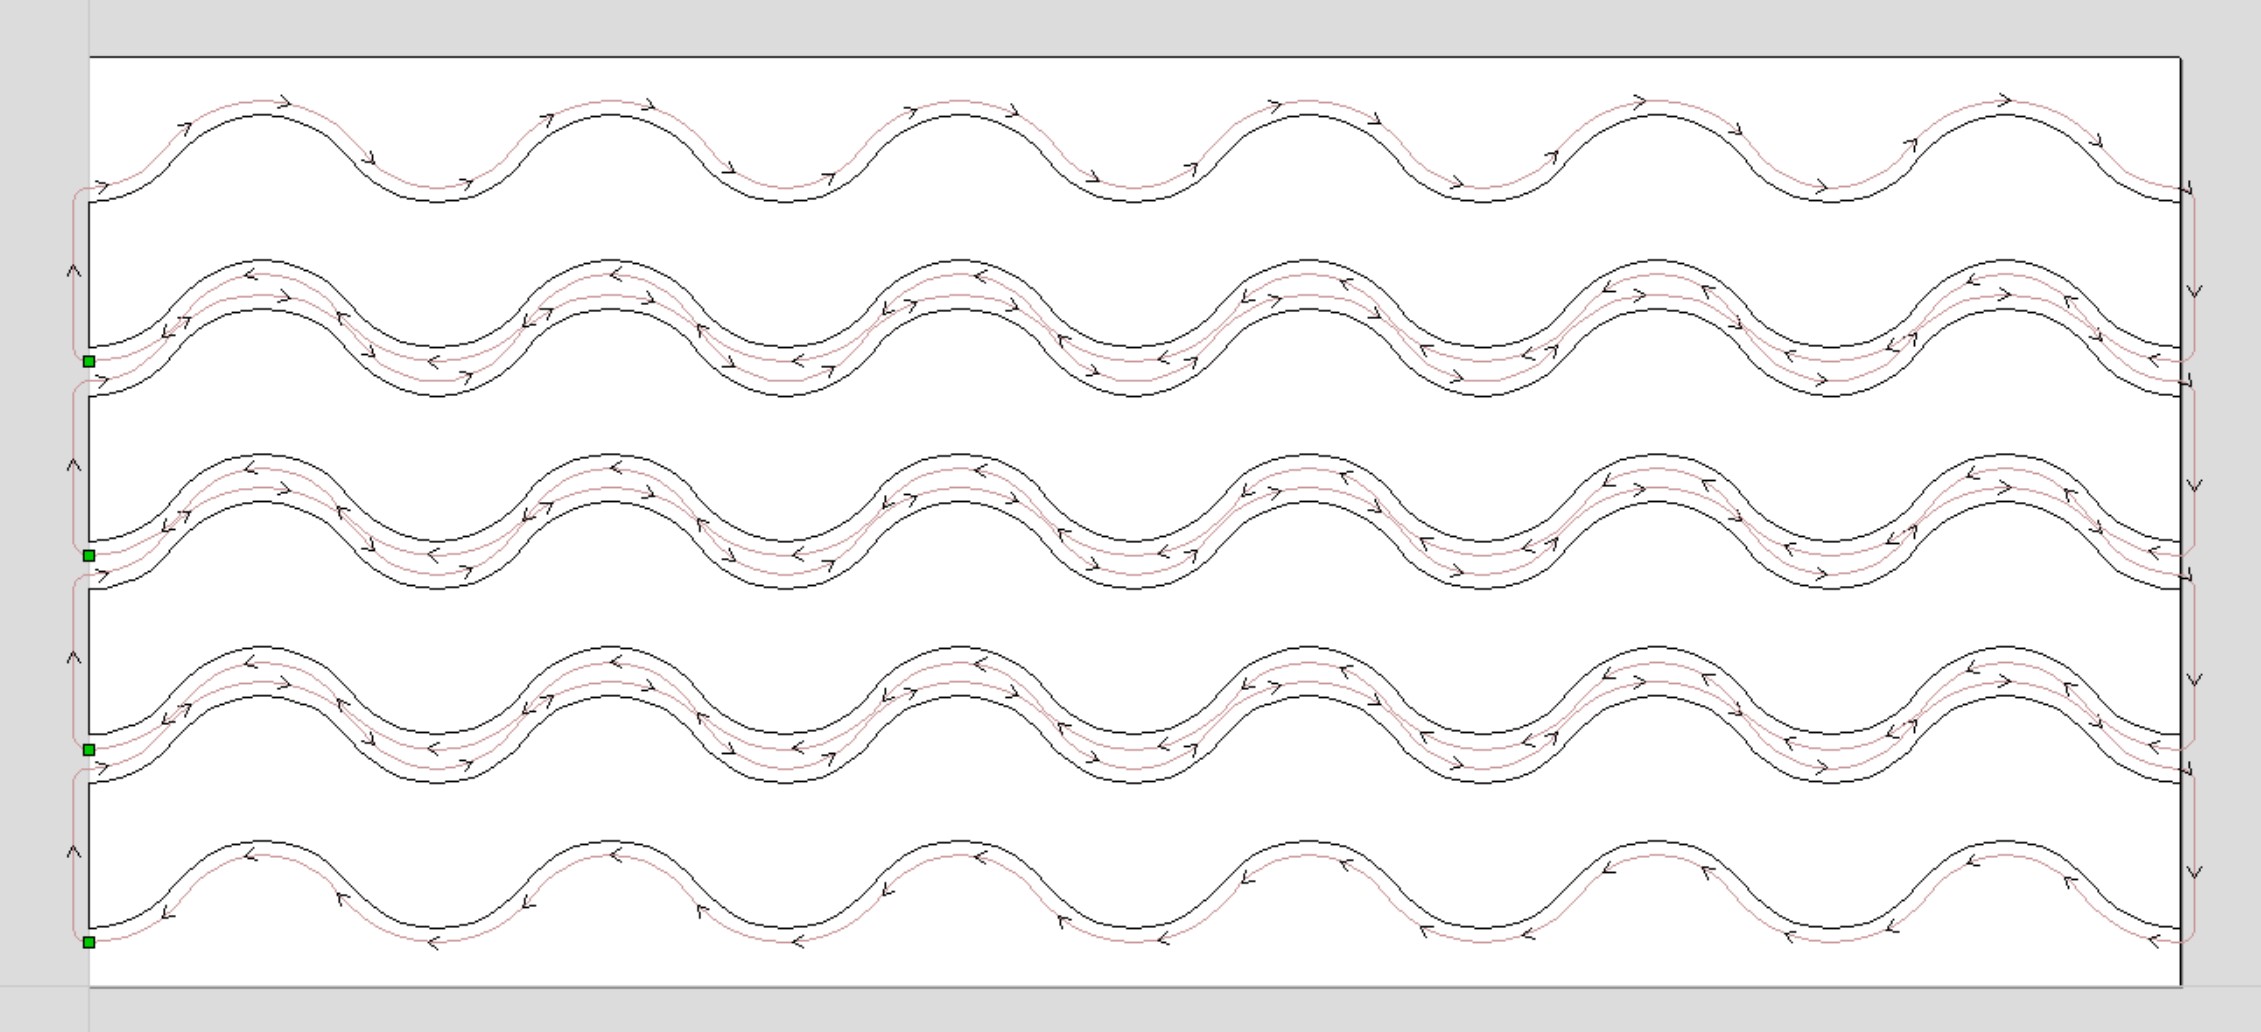
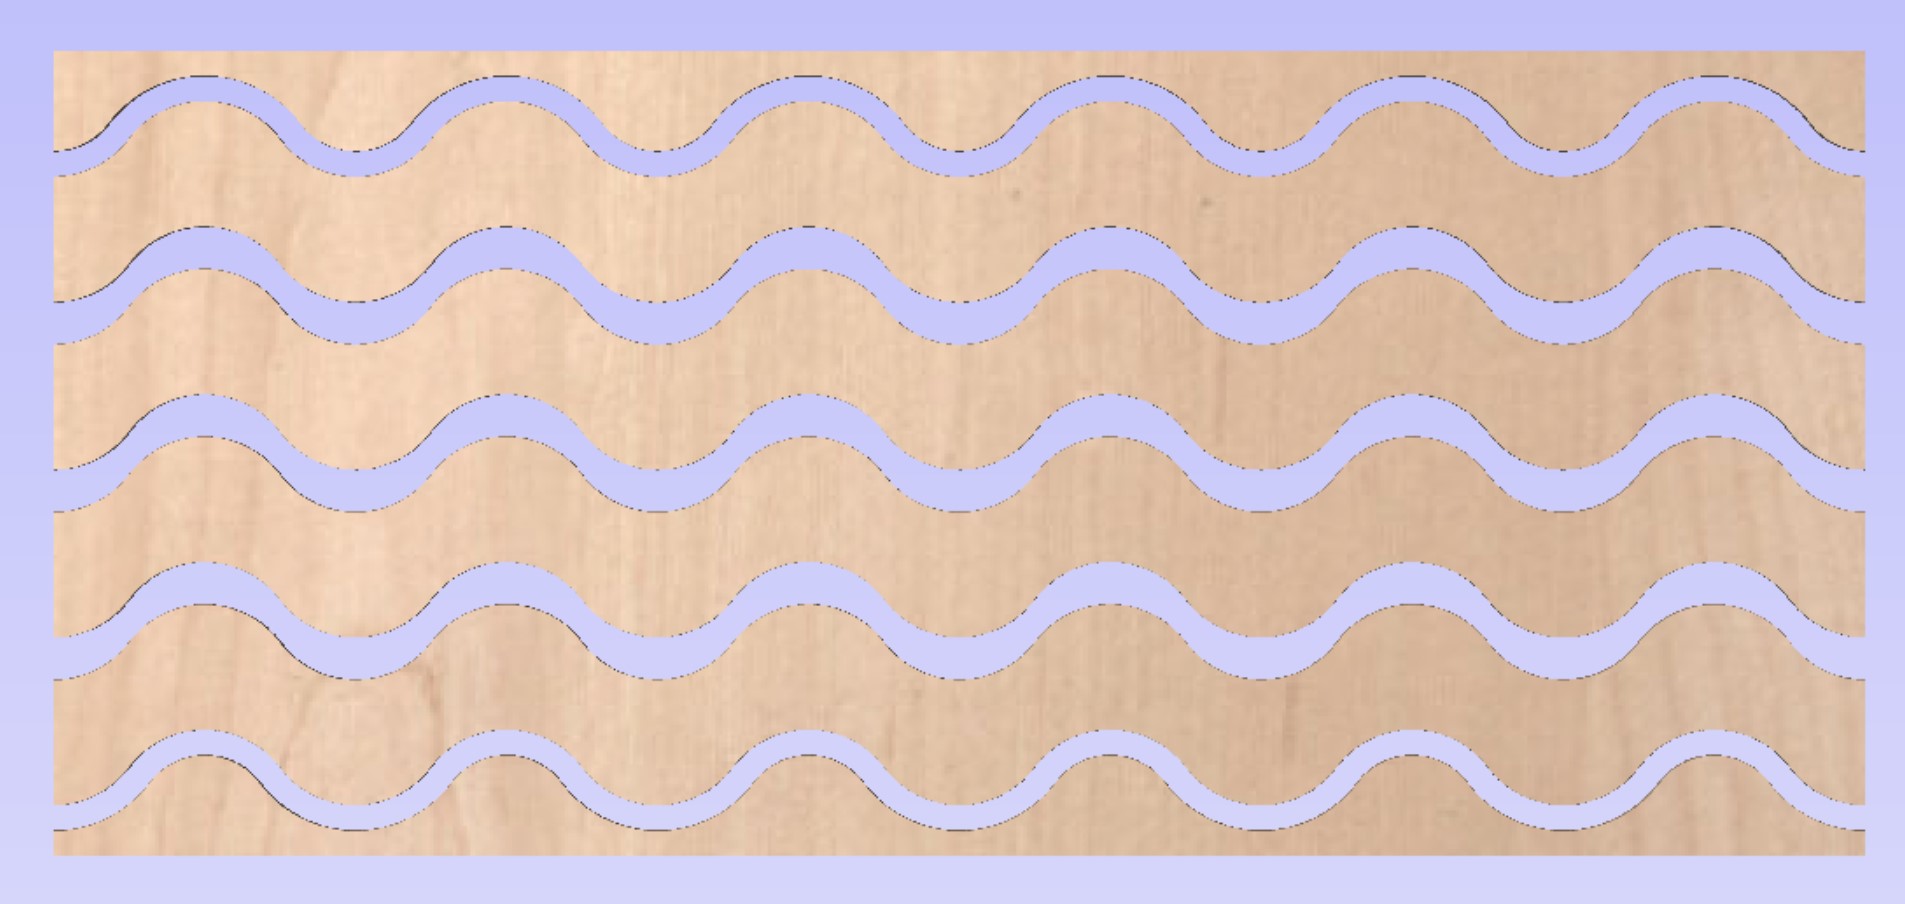
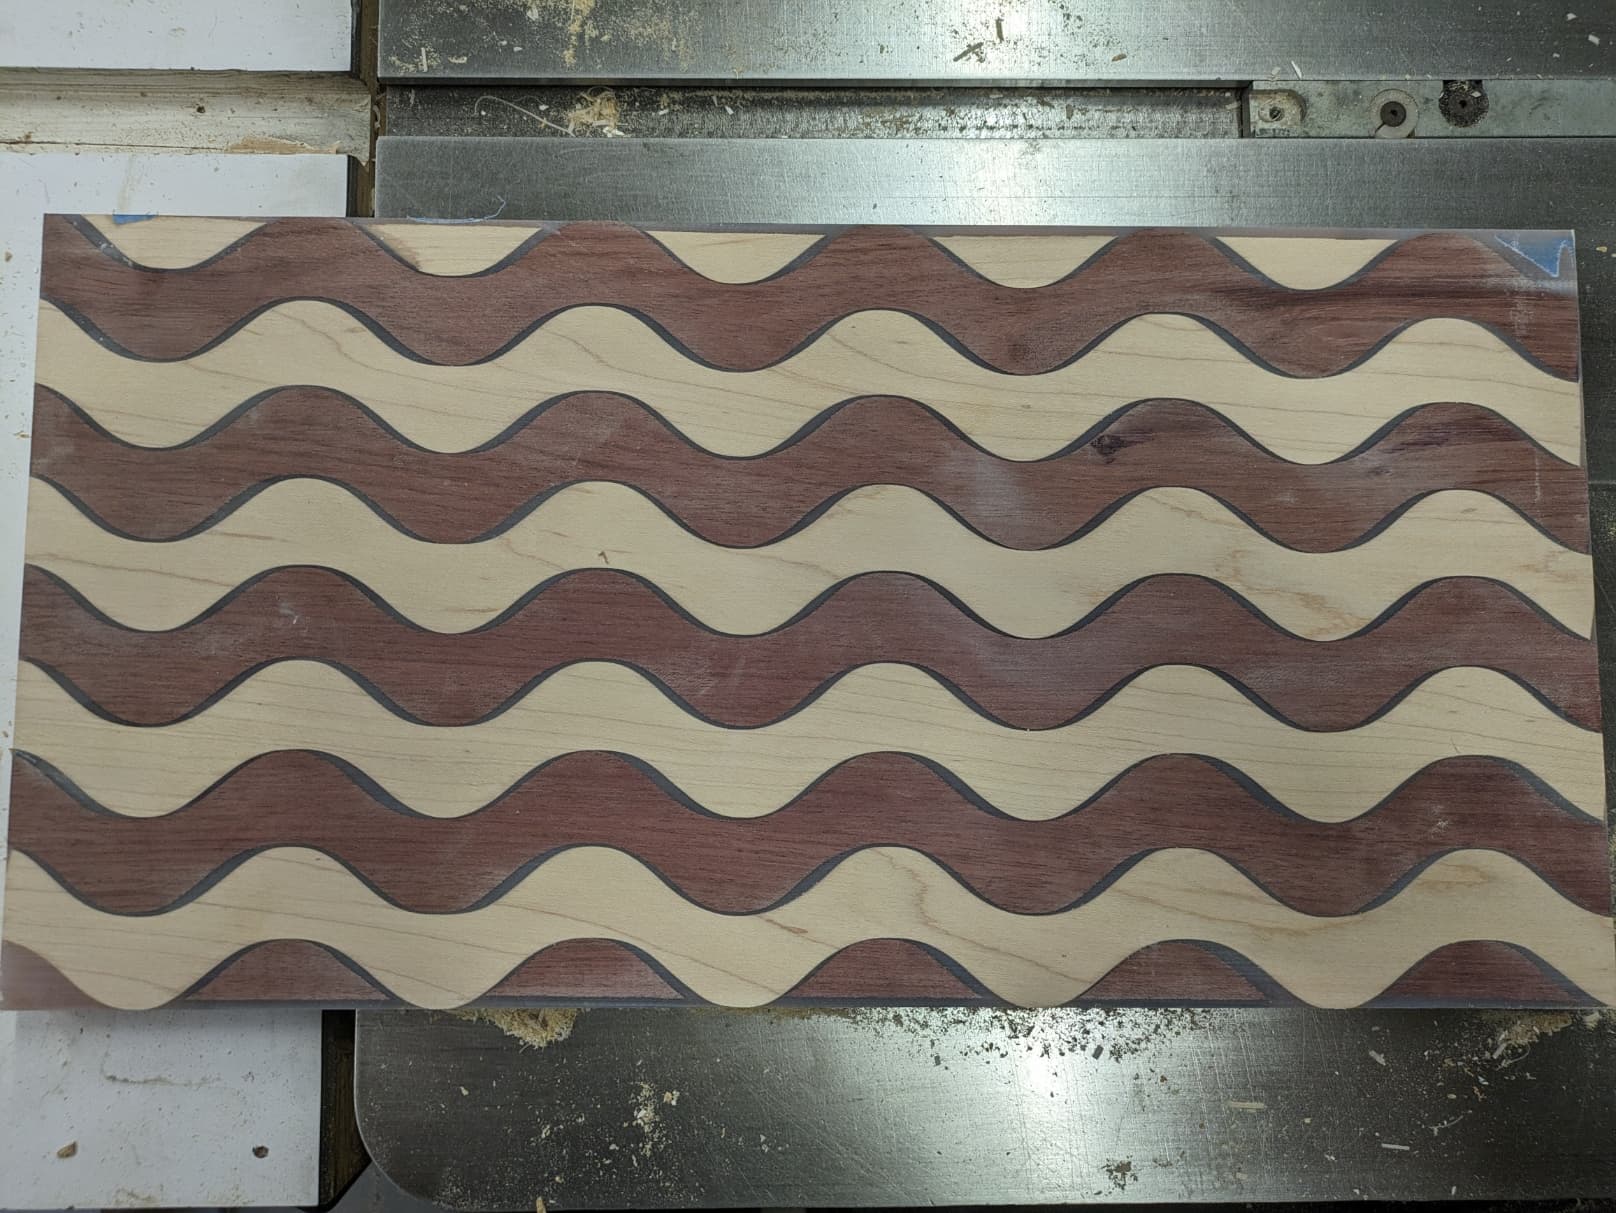
Here is the simulation of the patterns I am going to cut out. I get 4 waves per board for a total of 16. I will be using super glue and painters tape to hold the material down. Cutting with a 3/16" down cut bit.
I will cut out the patterns and then glue them alternating maple and purpleheart. Then I will cut a rough circle out and put it on the lathe and cut the rings. I love combining my traditional woodworking and the Shapeoko.
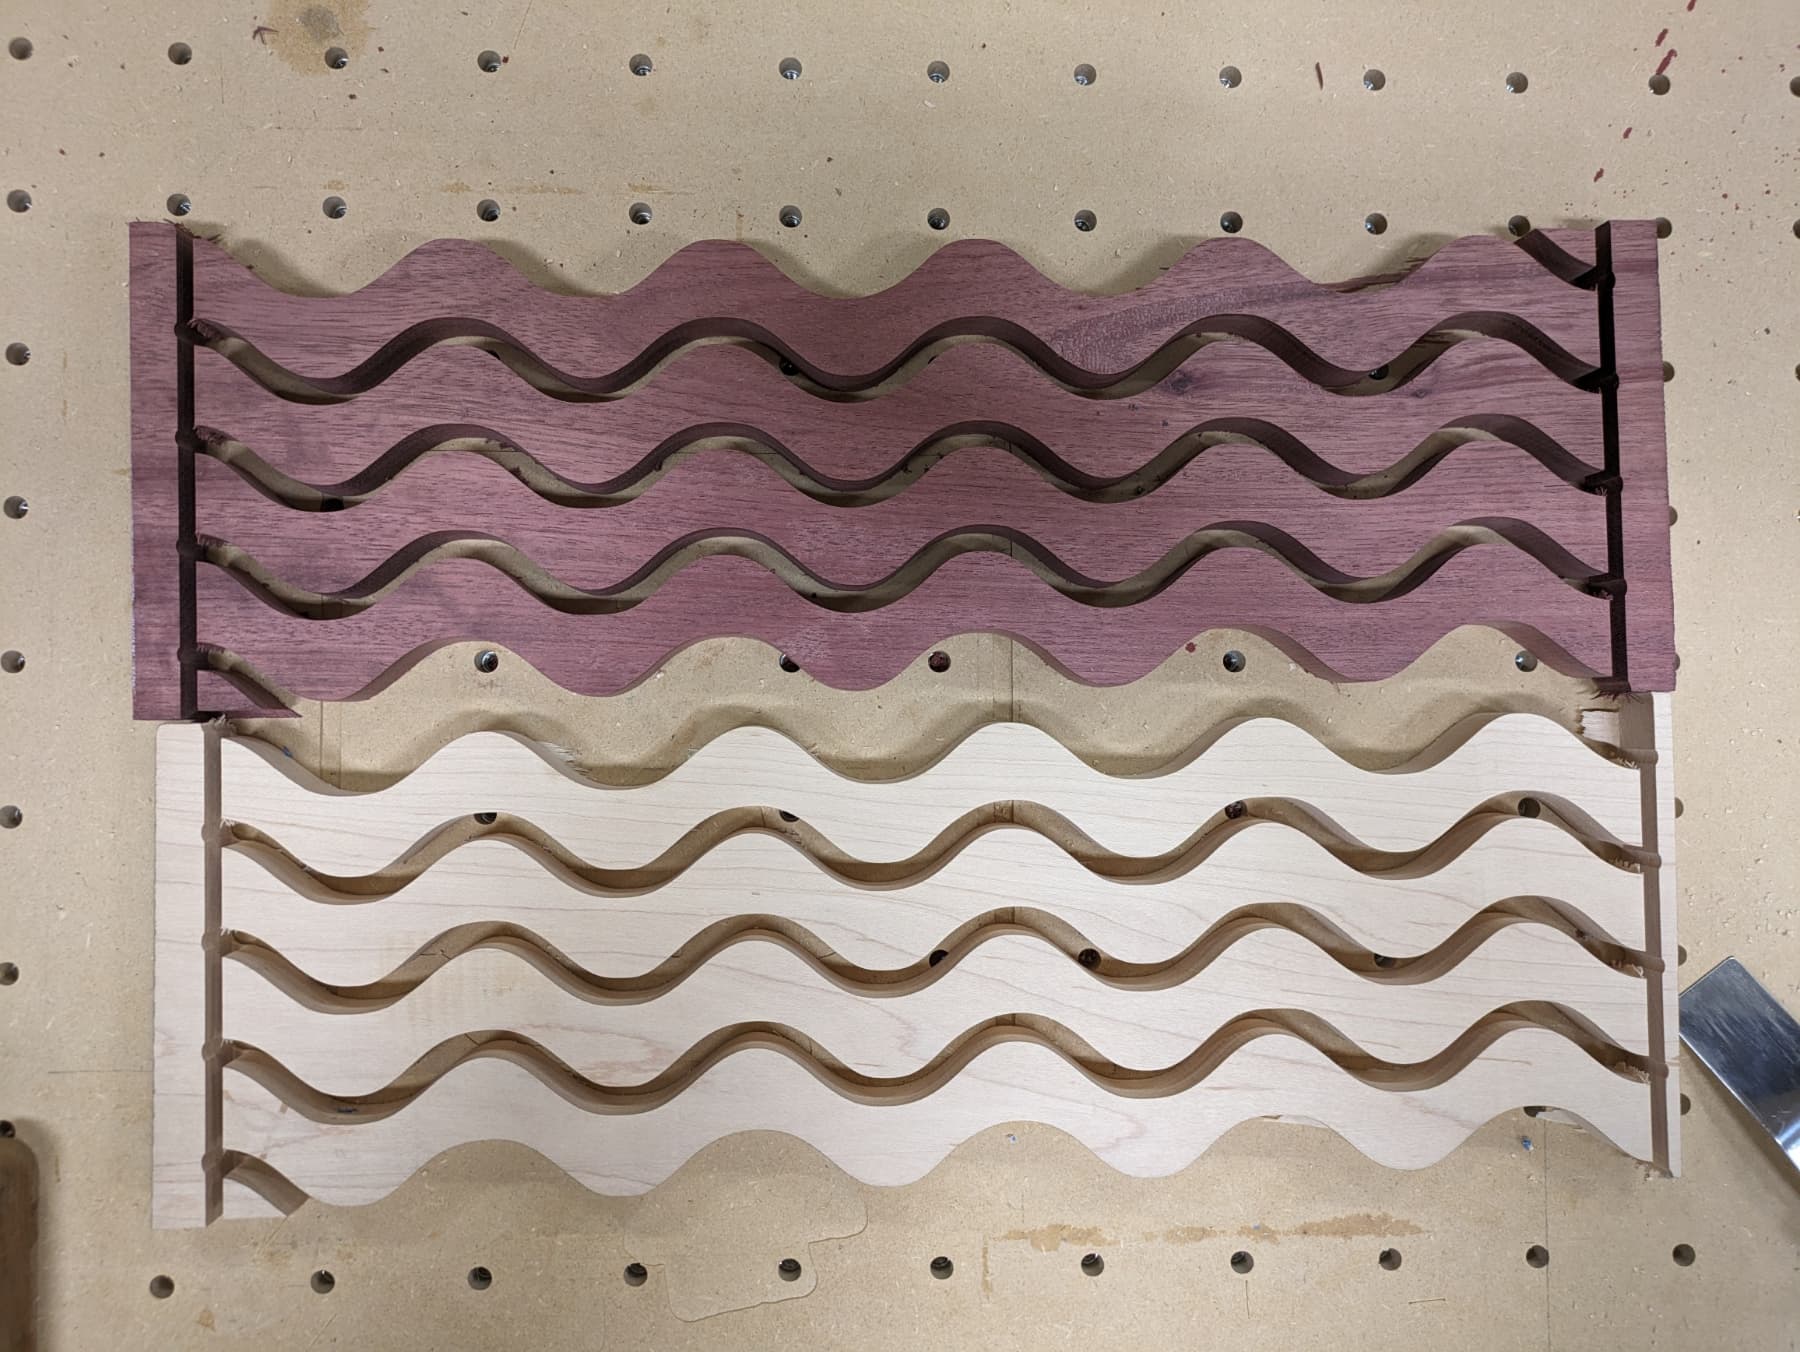
I will find out in a little bit. I got one purpleheart and one maple board cut. I will see if they fit together. I hope because the design is symmetric that they will fit together. If not it is live and learn.
I got two boards cut. Each takes about an hour. I should have made the boards a little bit wider. Each of the outboard sides had little humps left that were not really attached well. So I watch and on the last go around I pulled them off so they would not get caught by the router. The design had the waves and a box around to cut the waves out from the board. I was worried that the cut out might not be attached well at the edges so I did the same thing of watching and on the last pass or two I paused and stopped. I will just cut the ends off with the bandsaw.
I will cut these two pieces out later and see if they fit together. @WillAdams was worried that they may not fit together. I will just have to see. I hope so because the design is symmetrical so hoping they go together.
The goal is to alternate the two species to make a board and then make the bowl from a board.
If the ends are a little ragged it wont matter. Each wave is 18" long. The maximum size bowl I can make is 16". So after glue up I will rough cut a circle and the ragged ends will disappear.
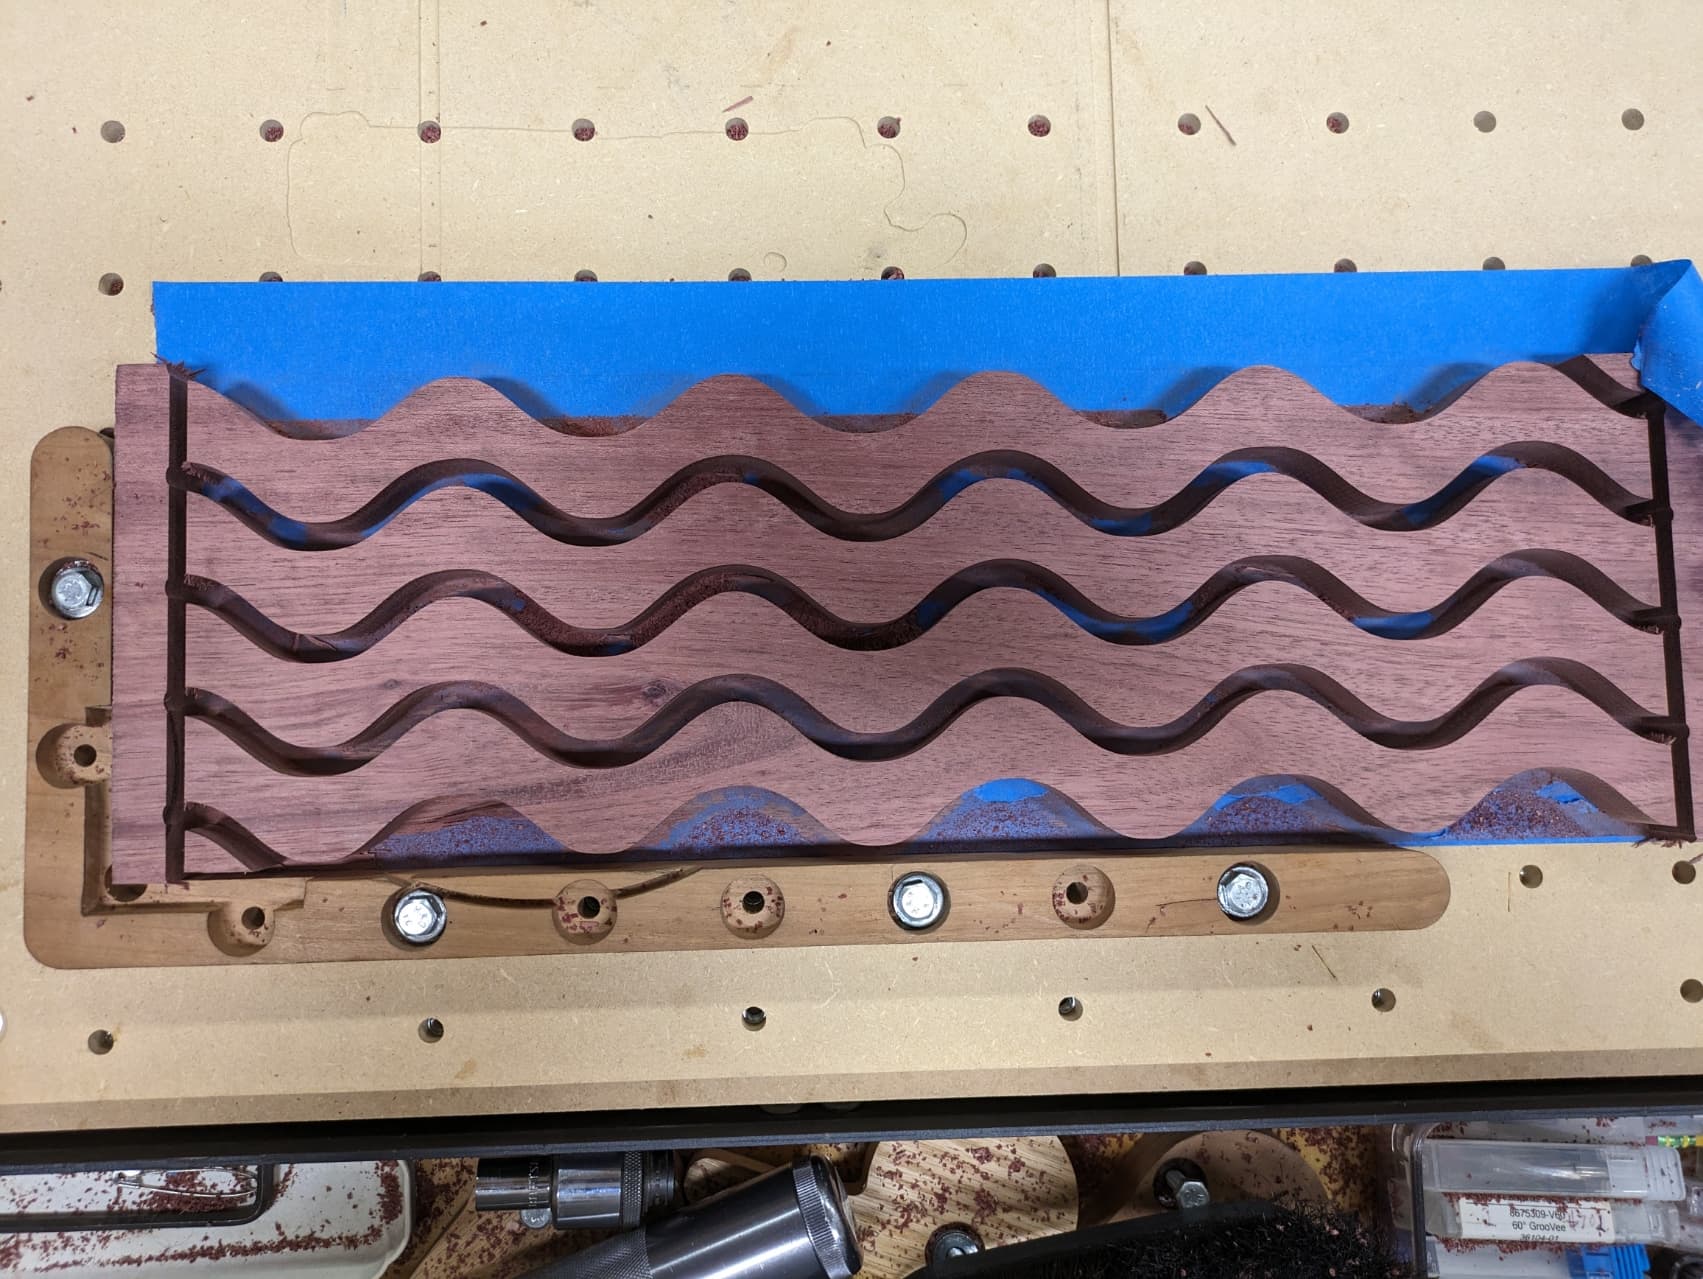
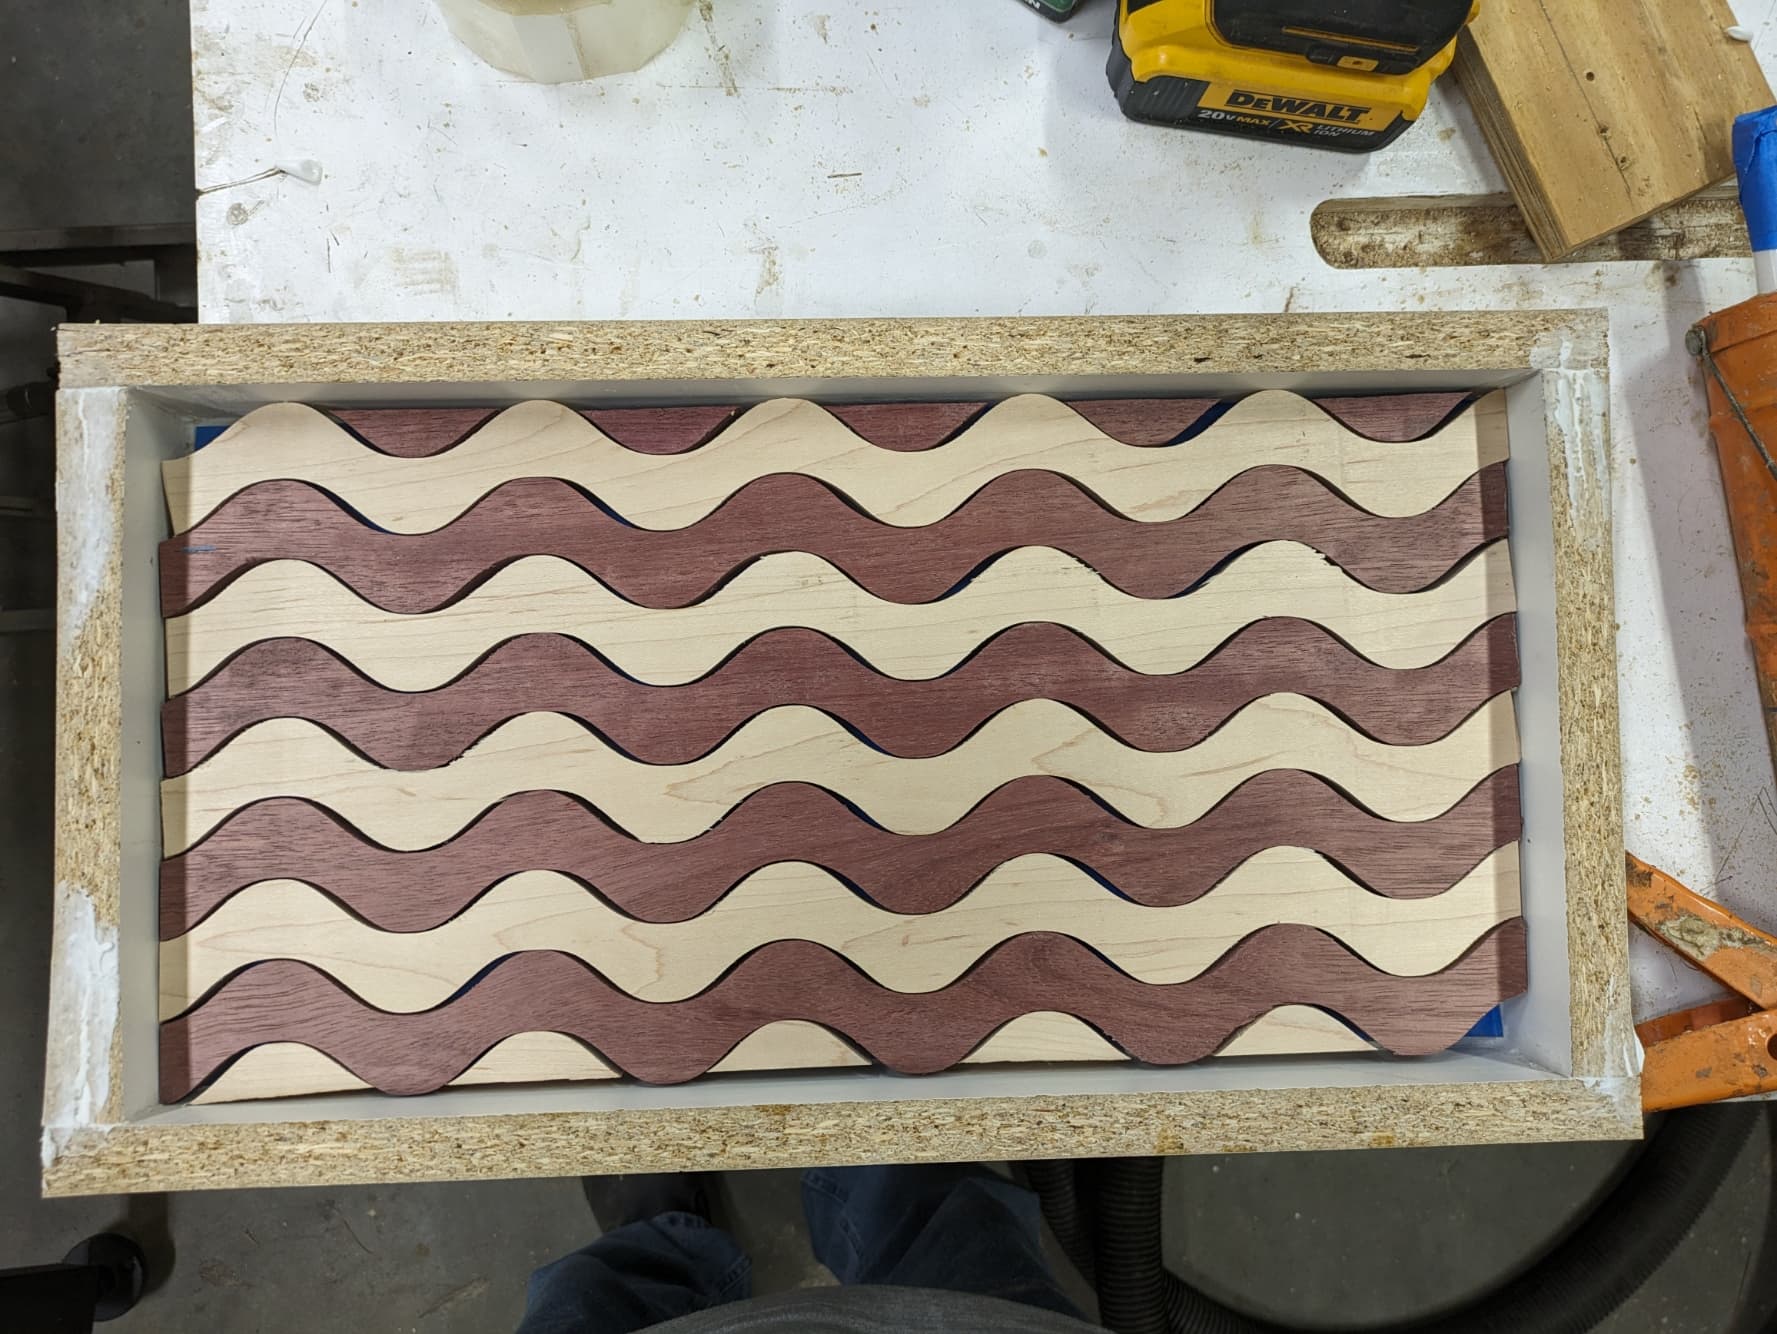
Here is what they looked like mounted to the spoilboard. I used the L bracket to get them square and removed the L bracket before cutting. After cutting I put the L bracket back in place to cut the other boards with the same settings of X Y and Z.
Nope, it ain’t happening, but you can still salvage your project by doing a little math, and instead of centering your cut on the line, offsetting to one side or the other.
@WillAdams and @Steve.Mc and @neilferreri are right. The design was not symmetrical. I will rethink what to do. I have a lot of epoxy so that might be the way to save what has already been cut. I will sleep on it and see if it looks better tomorrow.
Here’s something to chew on. I used Fusion 360 and created the wavy lines with tangent arcs, I gave up on trying to use splines,. I exported the dxf into Vcarve, and took screen shots of the generated toolpath, using a 1/4" endmill.
Thanks, I will give it a try. I went back to find some sine waves but that seems to be the problem. When I cut the contour with no offset the bottom of one and the top of another one do not match up. I cannot quite wrap my head around why but it has something to do with the no offset.
After downloading I went in and resized it to suit my needs. I will cut it on a scarp piece tonight and see. I did notice that the dxf was not curves but short lines. It looks like the short segments line up so it might work. Thanks for the help.
Don’t know if your pieces are large enough to clamp and hold this way, but you could cut a single MDF template using your primary curve as the edge of the cut (not the center), then use that with a bearing guided edge trimmer to reshape the edges?
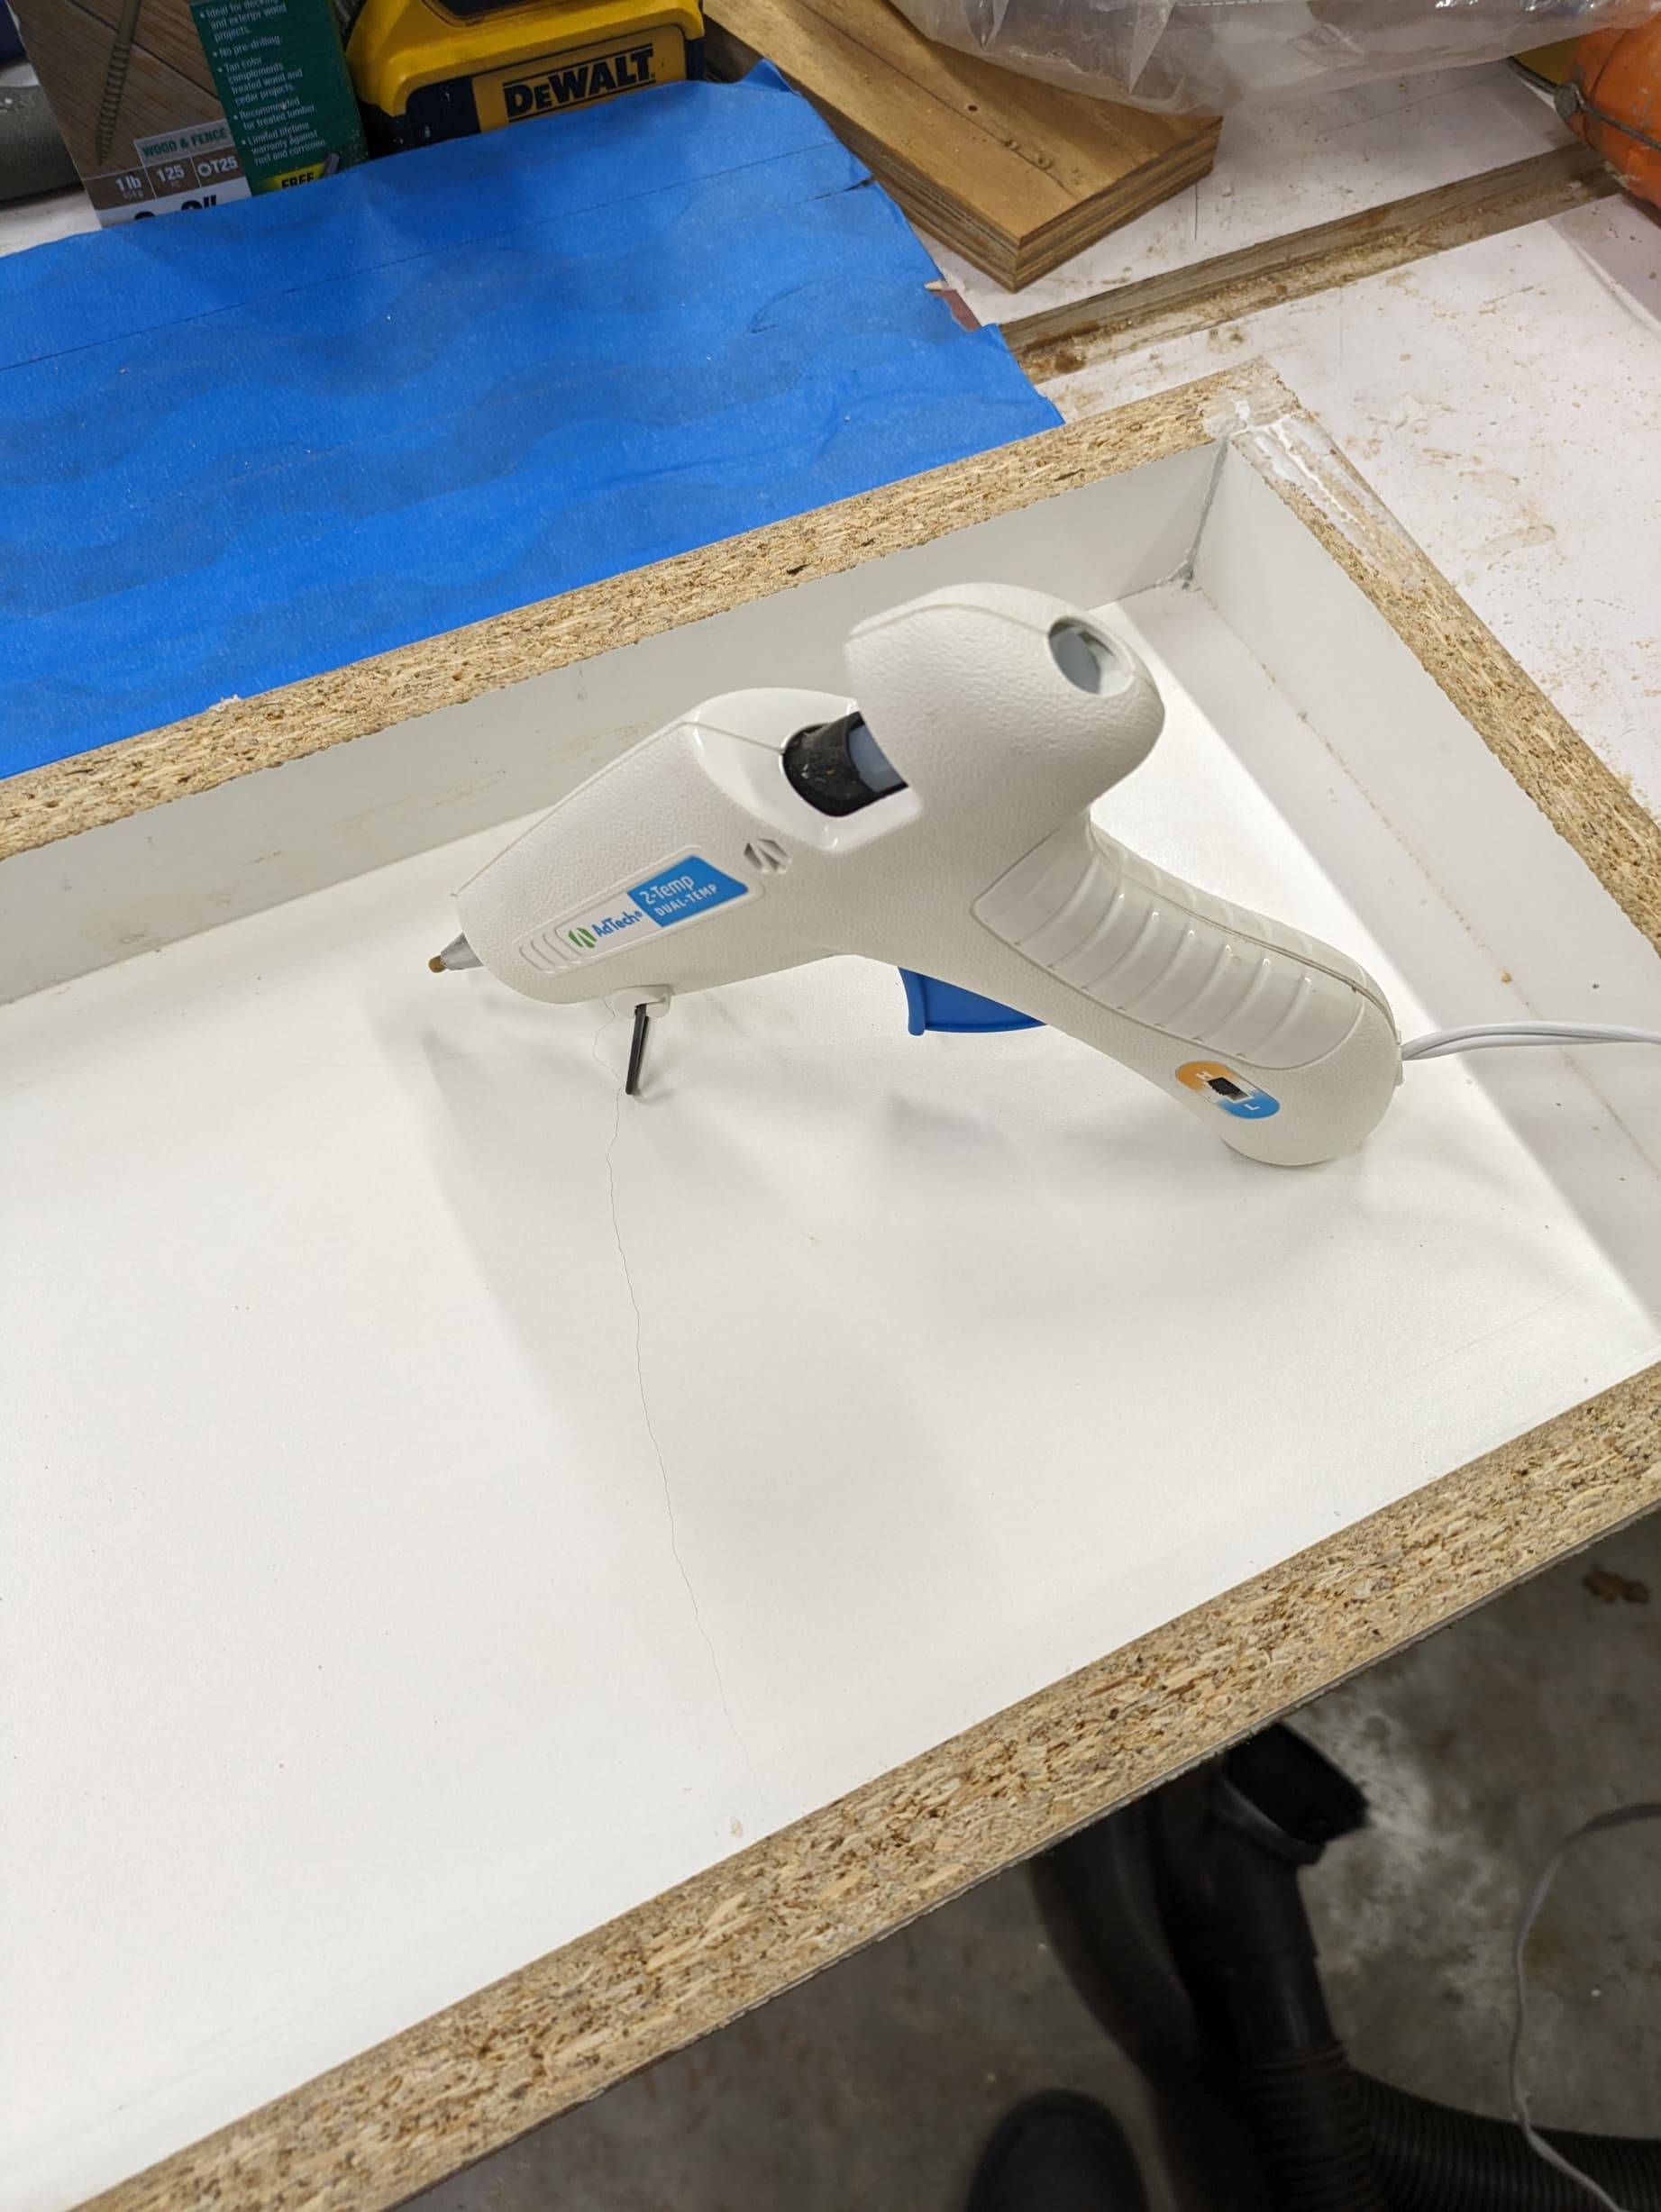
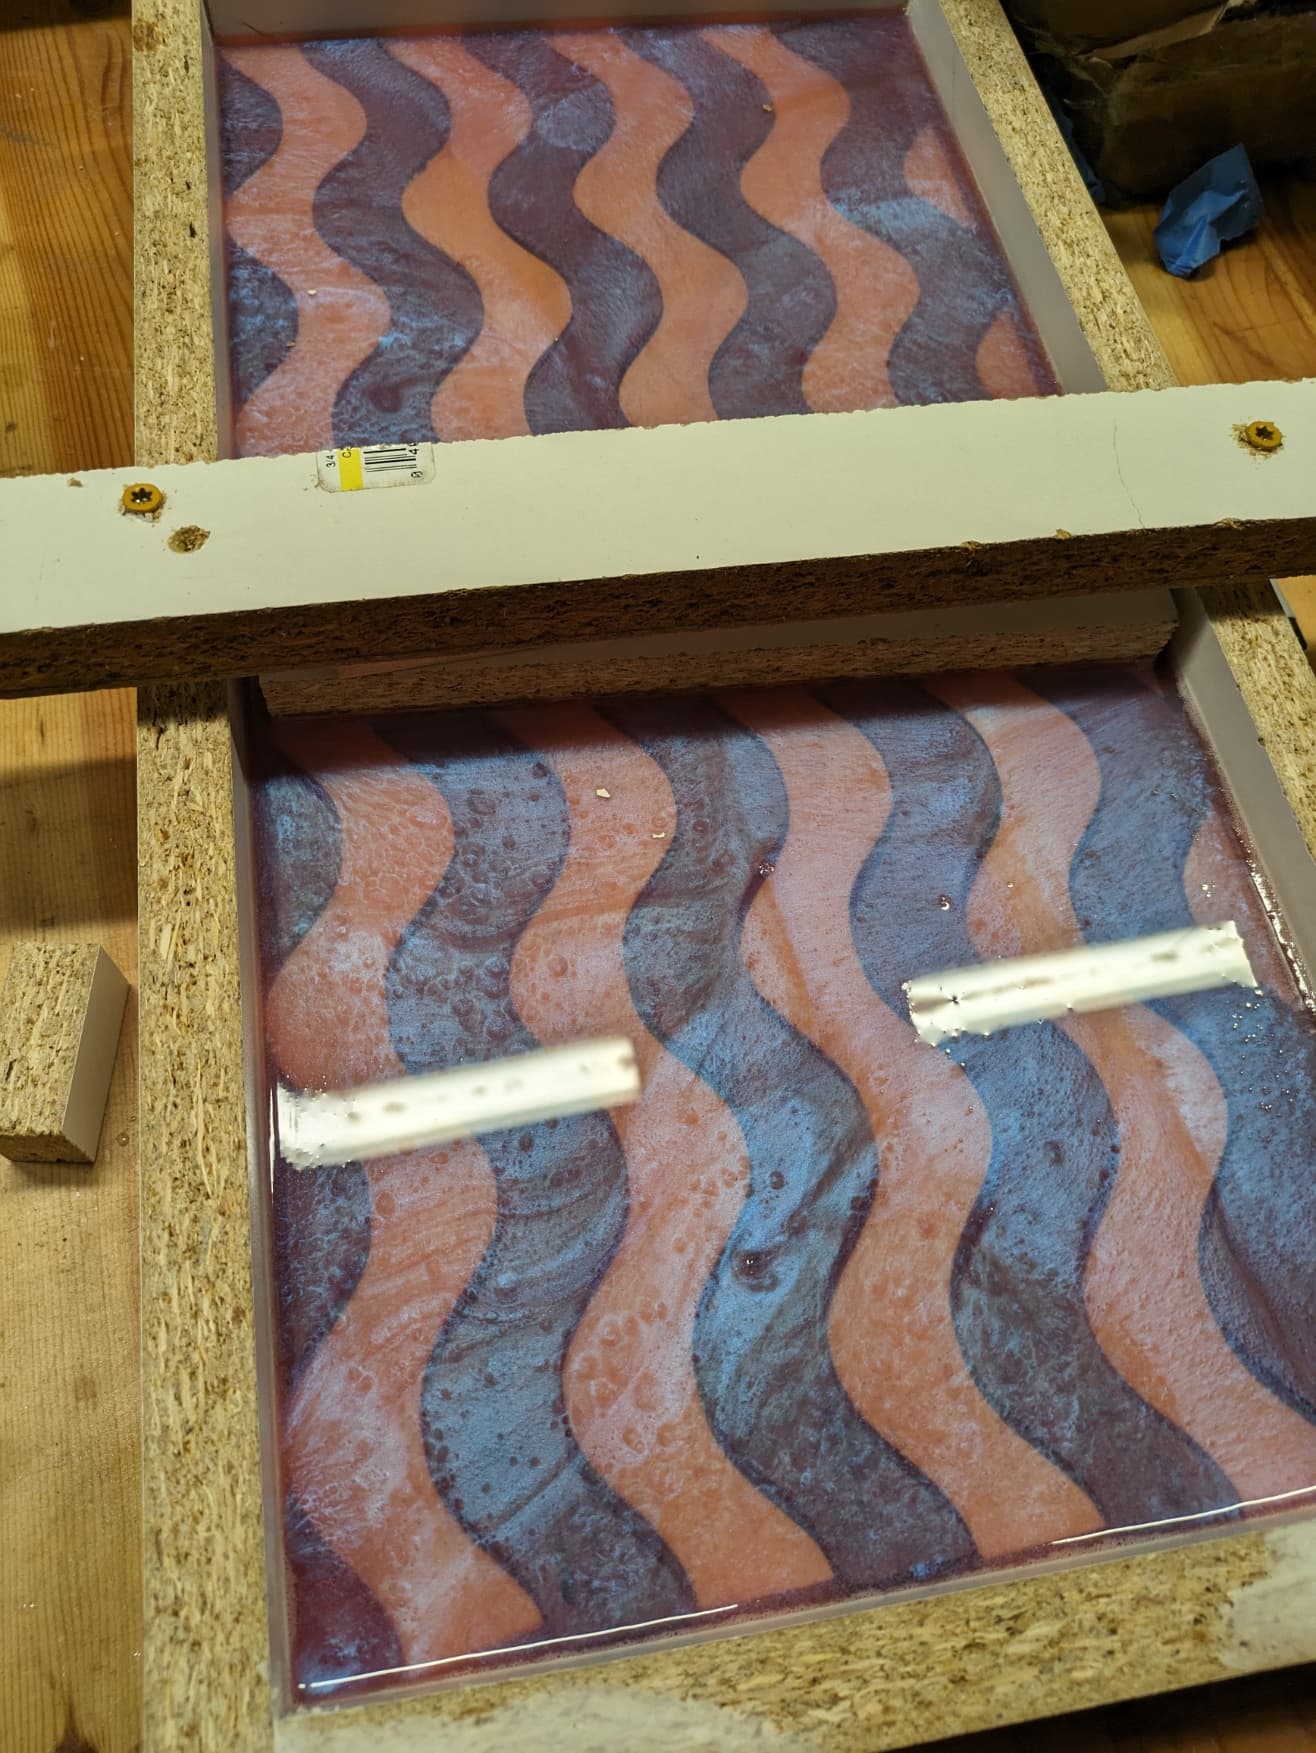
Thanks for the replies. @Steve.Mc sent me a dxf I will try on some scrap. The old story of if life gives you lemons make lemonade. So not to waste what I had already cut I took @neilferreri suggestion and poured Magic Resin Deep Pour Epoxy in. I made a melamine mold and sealed it with caulk and put house wrap tape around the outside in case of leaks. I made the mold about 1/4" bigger than my 9" X 18" assembled pieces. I put painters tape over the bottom of the pieces to hold them together and then put hot glue in the bottom of the mold to keep the project from floating. I used some purplish colorant I have used before. So to salvage this I will cut 2-3 small bowl out of this that I was going to make anyway. The bowls will be still a bowl from a board and will be trinket bowls to put on a dresser or bathroom to hold jewelry. I had planned to make some from segmented turning so this will simply add to the collection.
In the above picture I never throw away anything from a project until it is completed. The little humps that were cut out were saved. I was able to put them in place to give me the maximum width possible.
The Magic Resin does not get hot and does not get a lot of bubbles. It still gets bubbles but very few. Every 15 minutes until I leave after while I will run my heat gun over it (going to a photo club meeting tonight). I have about 1/8" over pour so even if you get a few bubble eruptions by the time I sand the epoxy off they wont be a problem. The deep pour epoxy cures in 4 days but they say wait 7 if possible. That is fine. The colorant I used on another project tends to drop to the bottom because the epoxy is so water like. On a river table I built I was able to stir it the next morning in a jello like state to pull the colorant back up. On this one there is not room to stir it so I will just use the bottom as the top of the bowl with the colorant more concentrated than the current top. I used the deep pour even though my project is about 1" thick I was afraid the MAS Table Top might over cook. It is only rated for 1/4". Even though the space between the waves is only about 1/8" I did not want to take a chance and waste the project and the epoxy. I can just wait a week and get back to it.
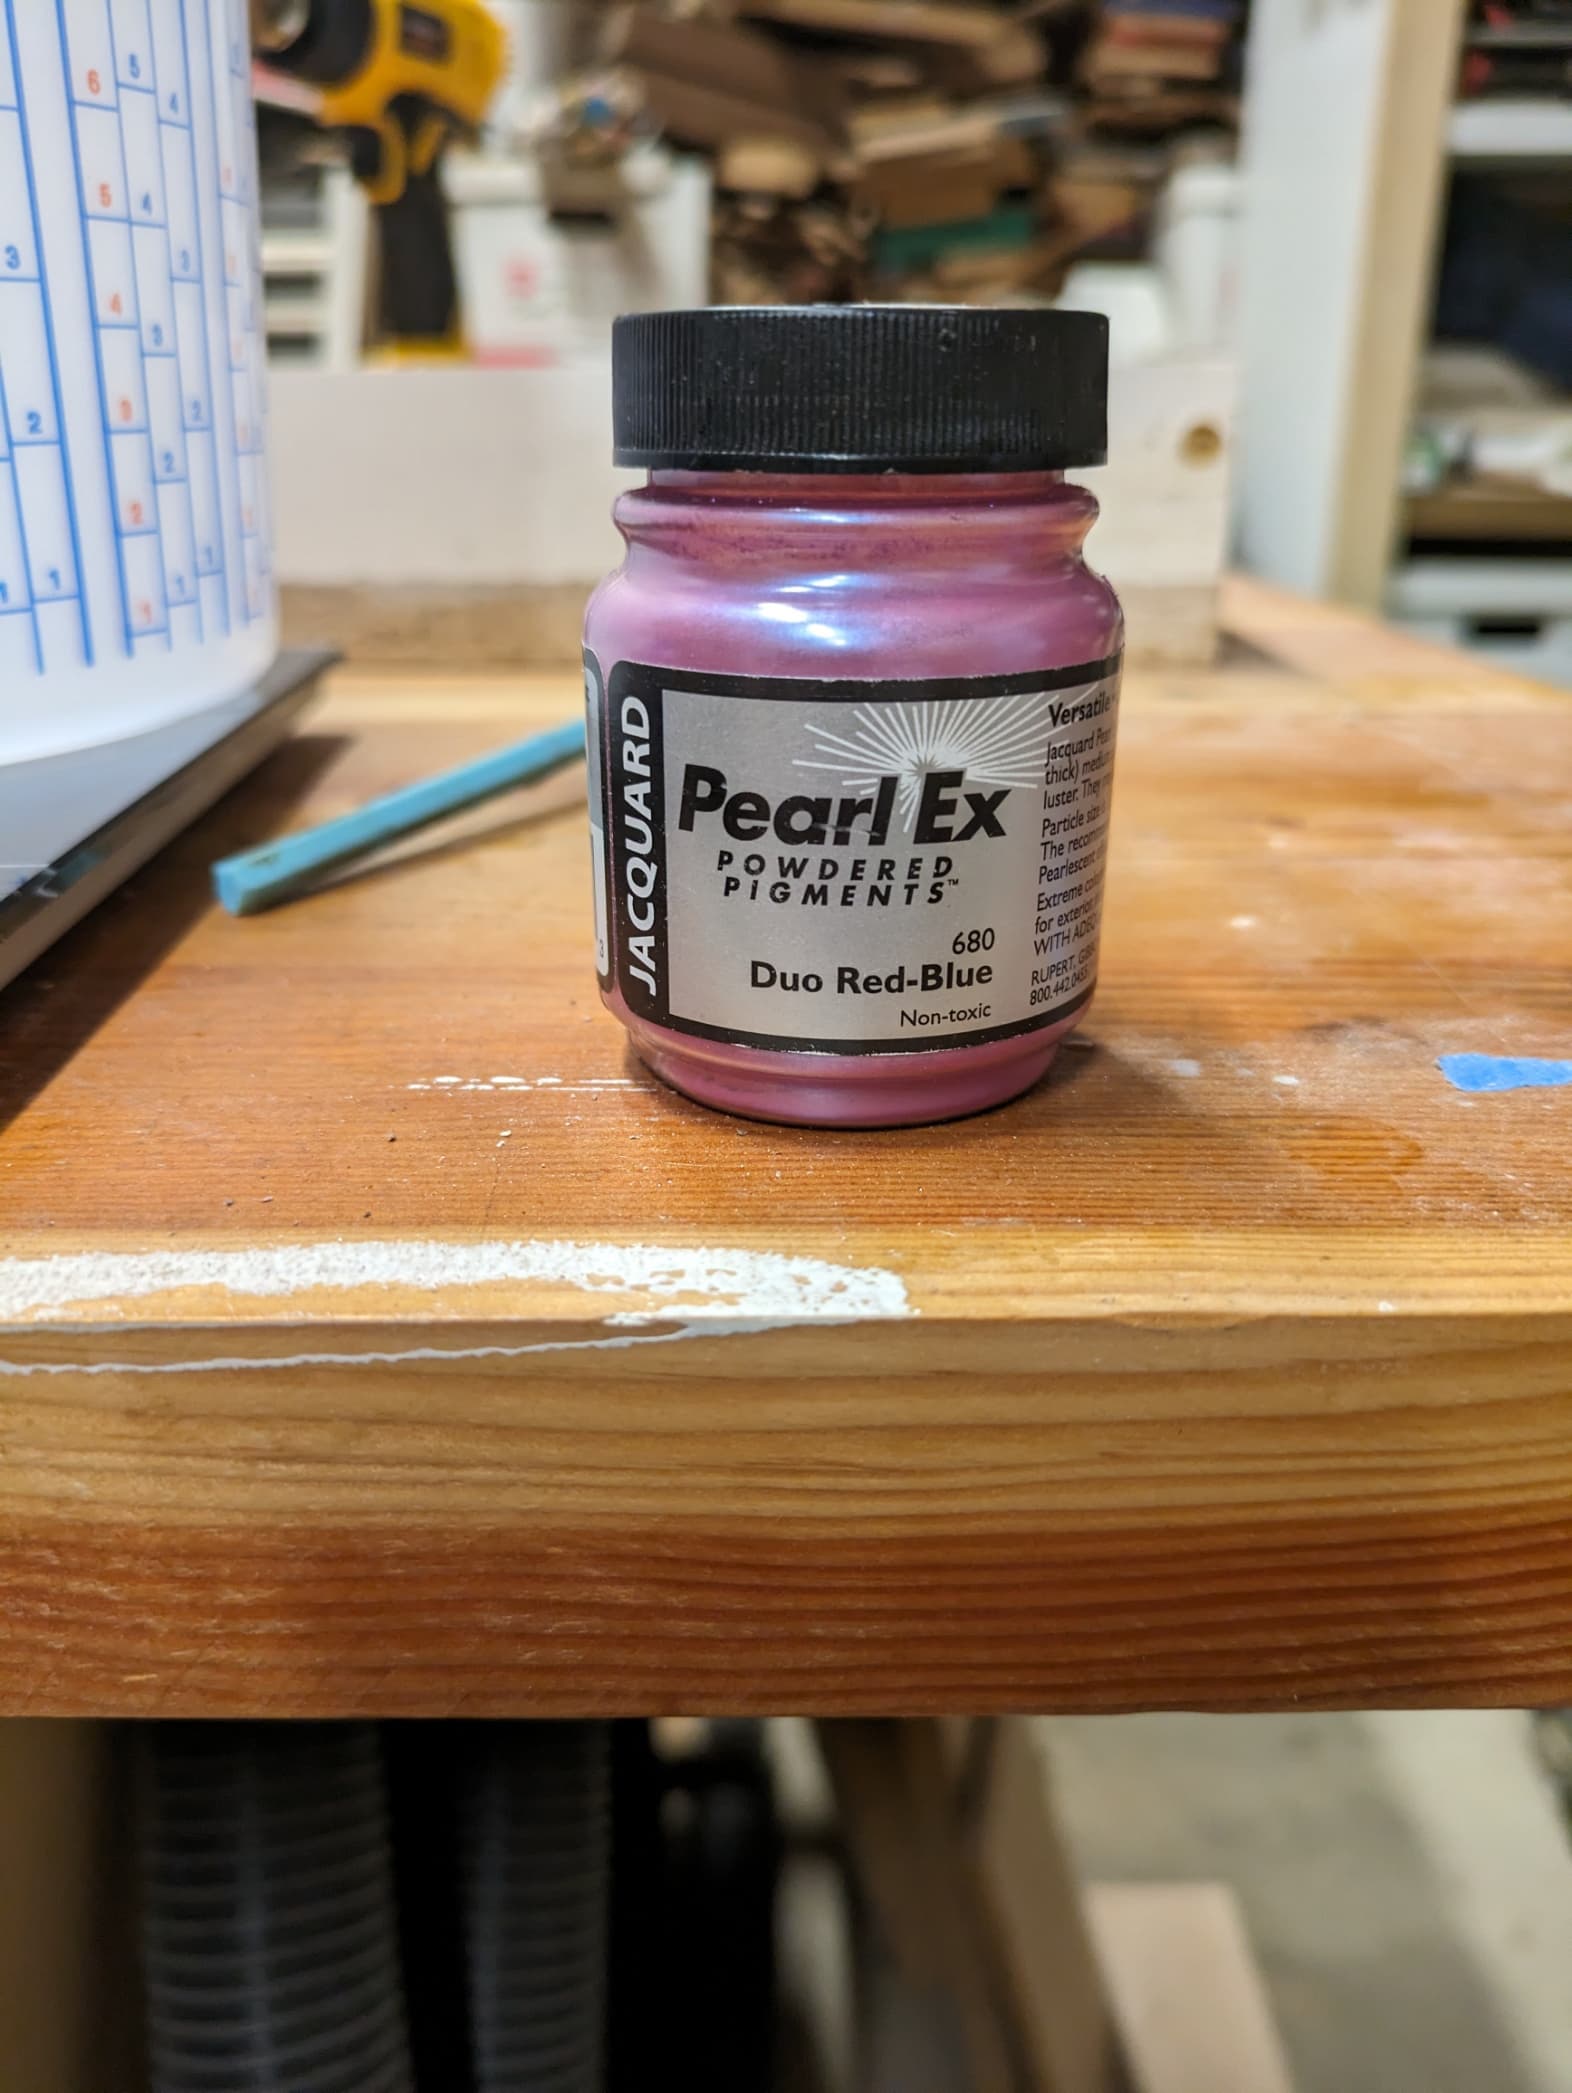
I did a google search of what colors complement purple and white (Purple Heart and Maple). They suggested yellow, blue and a few others. I had this purple looking colorant and did not want a big contrast between the boards so that is why I picked the purplish. I had some yellow but thought that would be too loud and contrast too much.
I went out to use the heat gun and the project had floated up. No damage it was just poured less than 30 minutes ago. So I put a block on top and screwed it down. That will hold it down.
Either I did not put enough hot glue down or the epoxy had an effect on it. I have used this block method before to keep wood from floating up in epoxy. At least I caught it before it had time to harden up. The good news is it stirred the color. Wheeeew!!!
I took my Bowl from a Board out of the mold today. I had to cut it off on the table saw and the bandsaw because it stuck to the mold. I cut the 4 sides off on the table saw and then resawed the bottom off on the bandsaw. I then ran it through the drum sander to get it flat and smooth with no epoxy left on top.
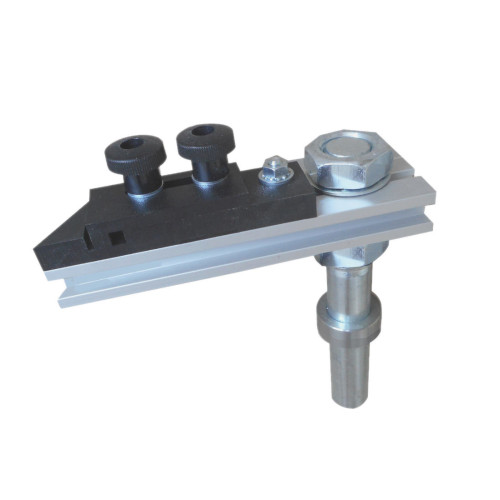
Ron Browns Best is a turning fixture maker. He sent me an advertisement this week with buy one and get 40% off a second one. I had wanted a hollowing stabalizer but just could not justify it. I wanted his new Bowl from a Board jig. So I ordered them both and got them. So I will be cutting the Bowl from a Board from the above stock later this week.
Hollowing Stabalizer:
Bowl from a Board jig:
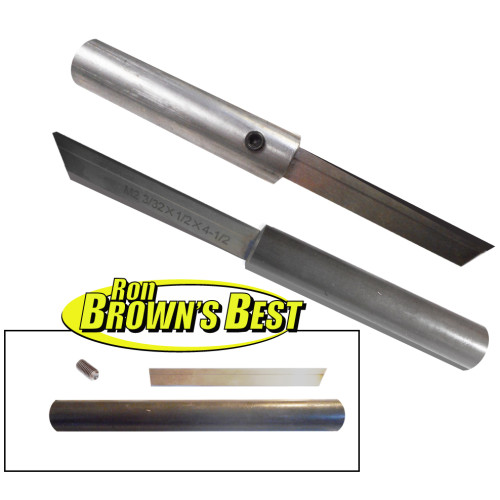
I also got his thin parting tool:
To cut the Bowl from a board you need a thin and short parting tool. I will have to set up my slow speed grinder to sharpen the parting tool. Since the wheels are round I will get a hollow grind.
The parting tool is just a piece of steel tubing. I will make a handle on the lathe and carve my name in it with the Shapeoko. I put my name on all my tools and the date I got them.