Hey everyone, first time posting to the forum. So I bought a used XXL last March and I’m only just really getting into it mostly because of the steep learning curve. I bought it from a guy that didn’t know much about cnc routers either so he had it poorly built.
I thought I would tear it down and build it better than the last guy. I did to a small degree, but since I didn’t know much of what I was doing I didn’t do so well. That was last March and I didn’t realize that I had assembled it poorly until last month when I tried to surface a piece of aluminum and it was full of ridges.
So then I started looking into squaring and calibrating the machine and this is where the post is headed. I started by gathering whatever info I could from threads found here and elsewhere online. Once I had a clue as to what I was doing I tore the machine down almost all the way.
The first time I assemble the machine I could not get the wasteboard to line up with the holes in the bottom rails so I drilled the holes out to give me the needed movement. This time I first made sure the end plates were square to the Y axis rails and the wasteboard lined up perfectly. So already I made some progress.
I also remember seeing posts regarding the sag at the center of the wasteboard. So I went ahead and bought some furniture leveling legs, drilled and tapped the holes and threaded the feet in a cross shaped patter along the center area of the bottom rails.
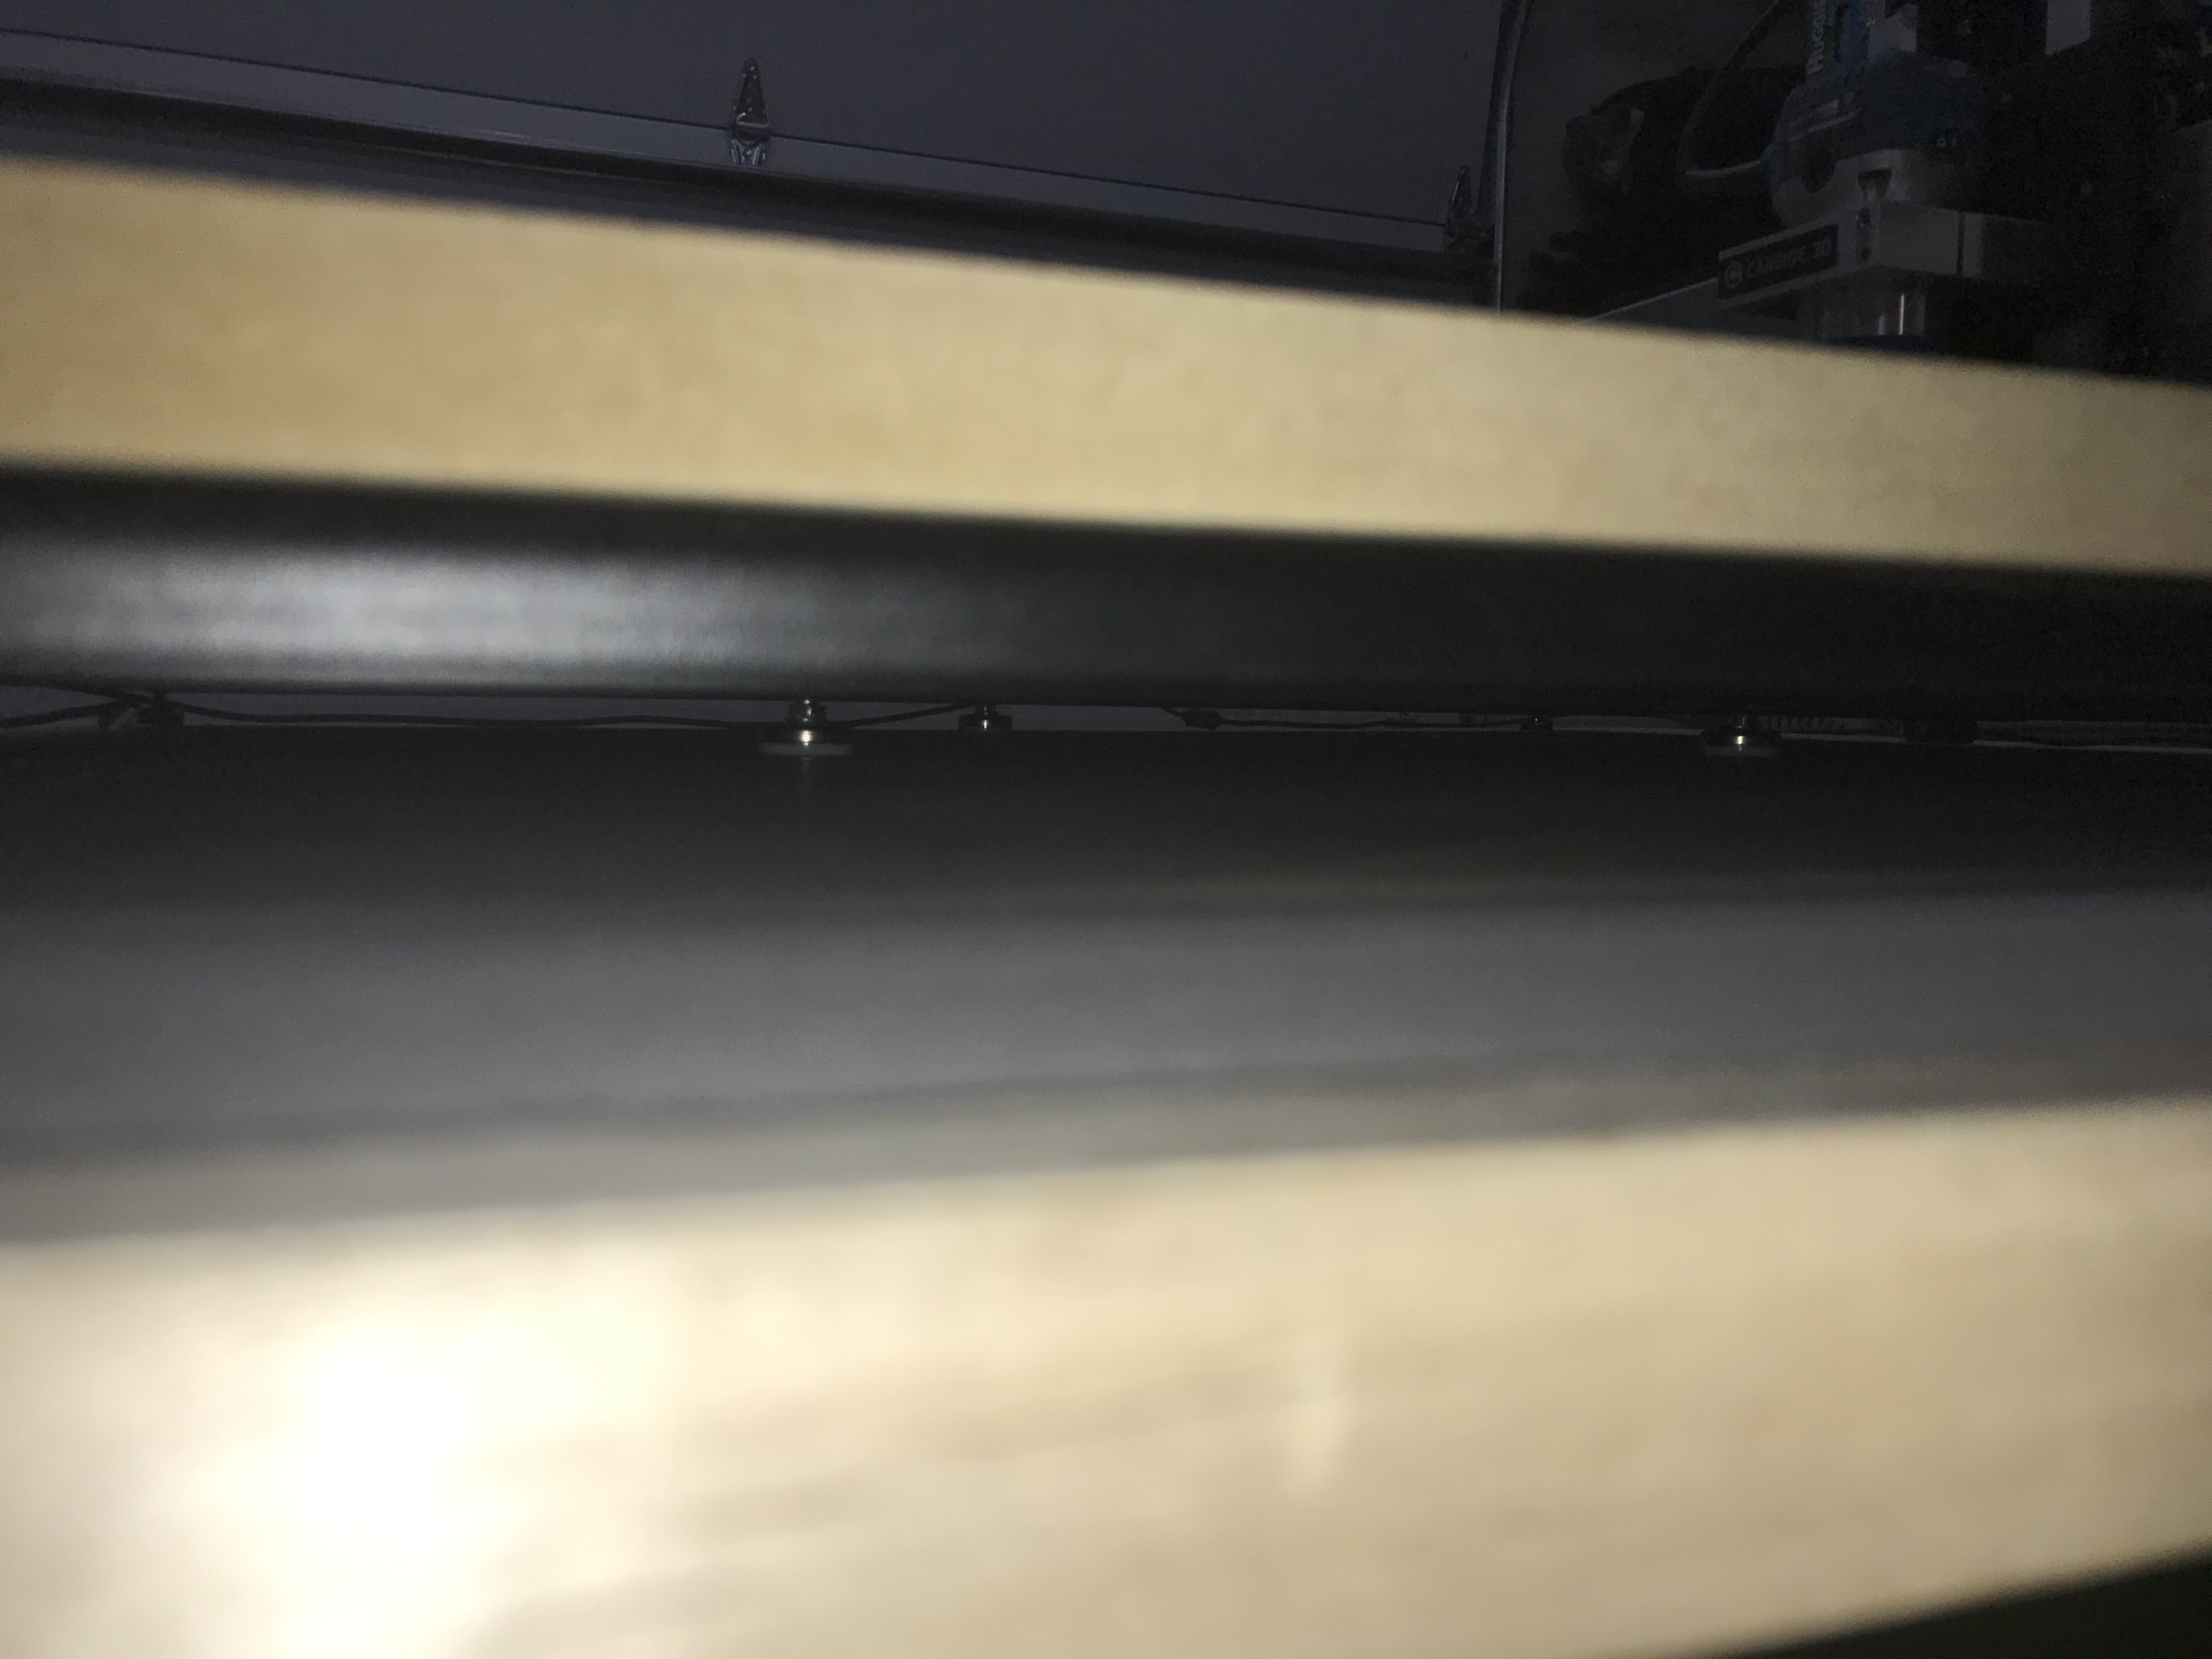
It’s a little hard to see in the pic but I forgot to take a picture during the mod process. This really helps keeping the center of the wasteboard from sagging. Next I starting making sure that everything was square, parallel, perpendicular, etc. Everything was mostly dead one except for one Y rail needed to be shimmed with .004 close to the bottom. This got me within 1 thou of square.
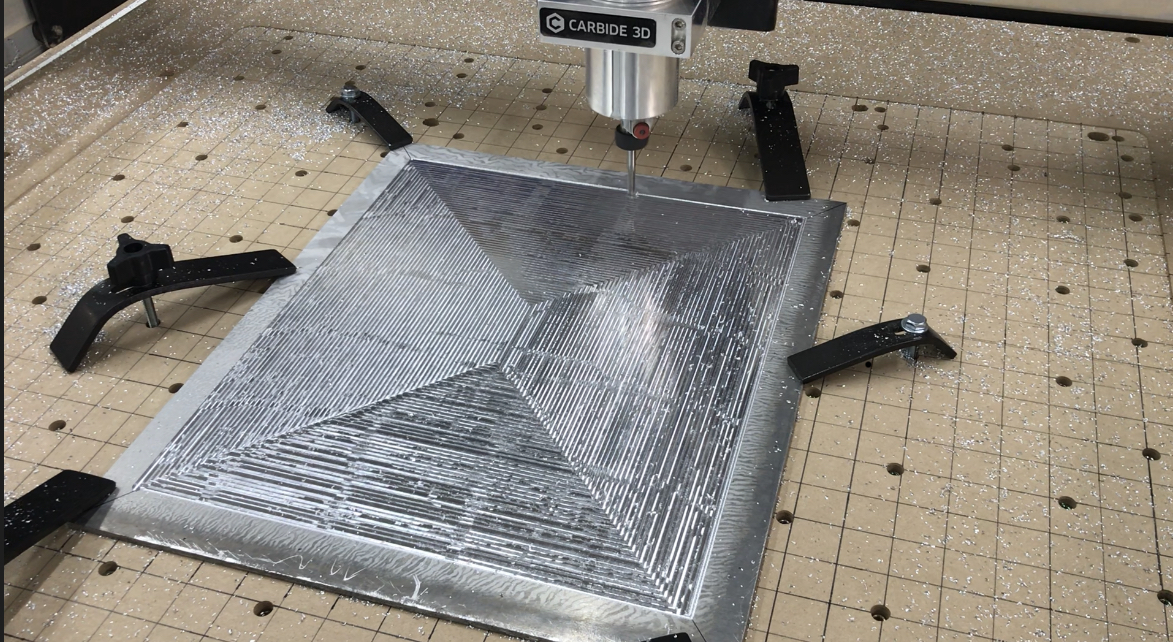
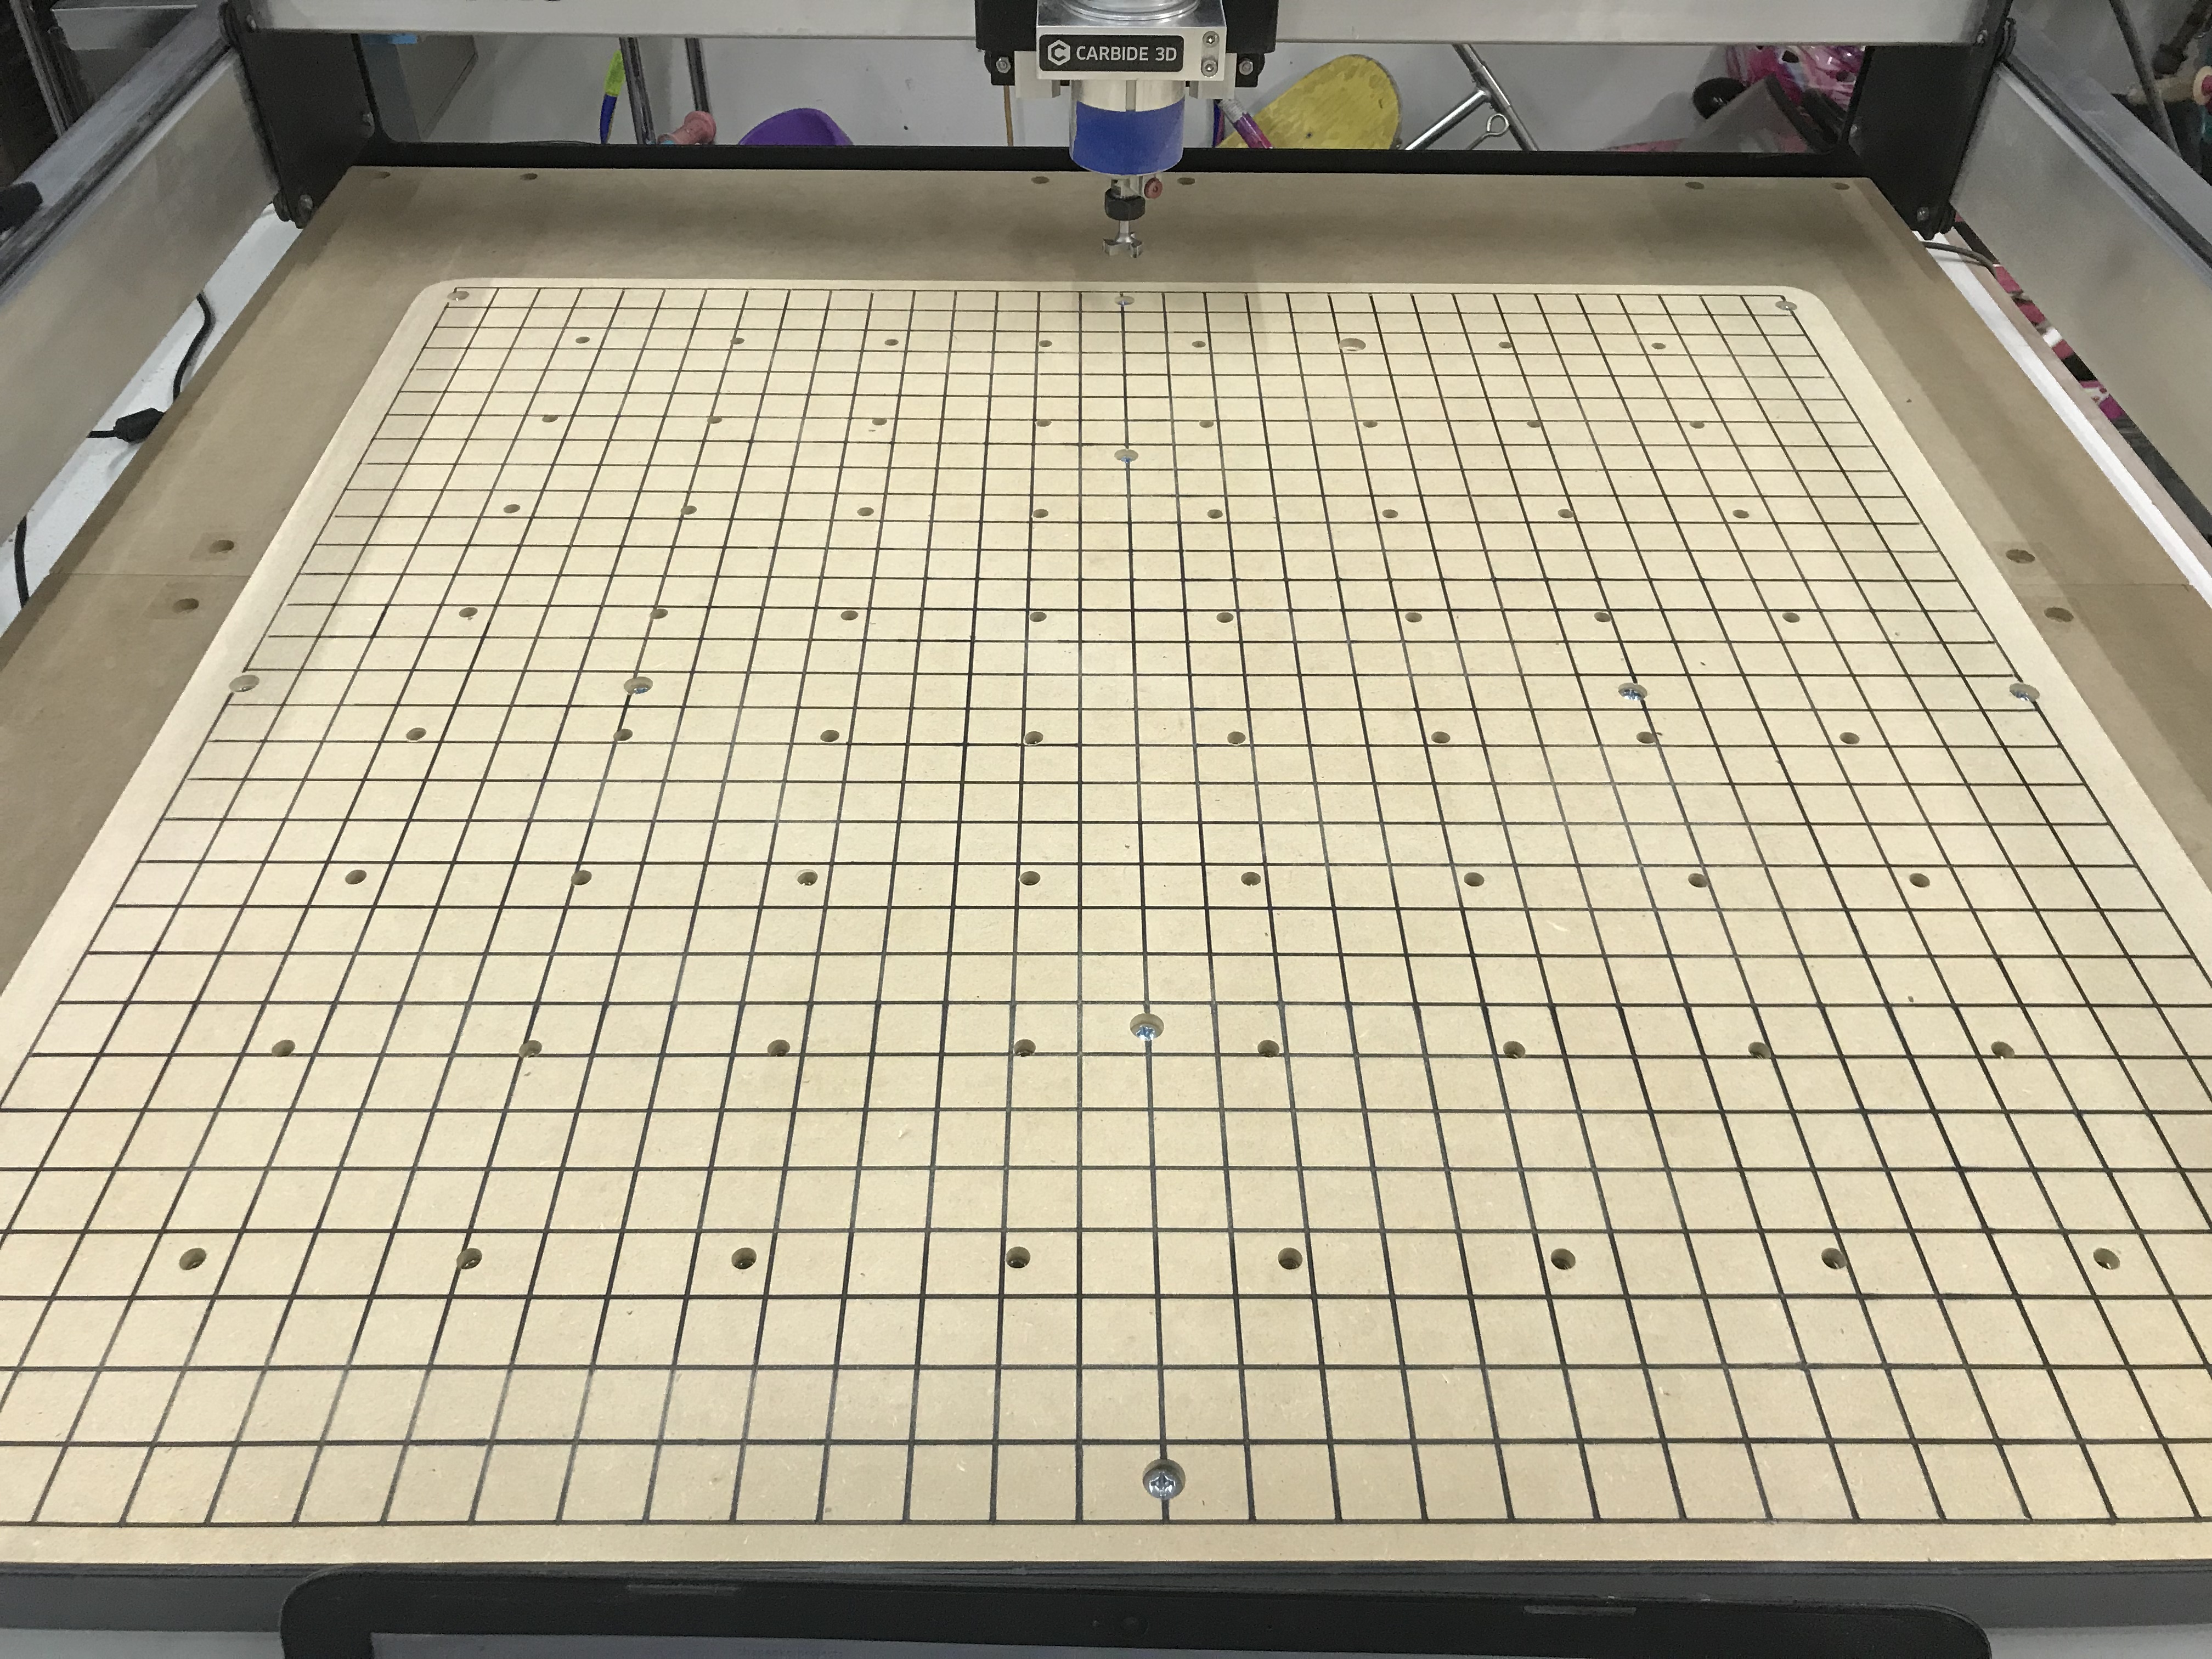
Once I got the whole thing reassembled I decided to put a raised wasteboard in the center cutting area. I cut out the grid and that’s when I noticed all my lines were not an even depth. So I finally found info that talked about tramming. I tried all the tricks that I found online but honestly the results were subpar at best. I bit the bullet and bought the Edge Technology mini pro tram.
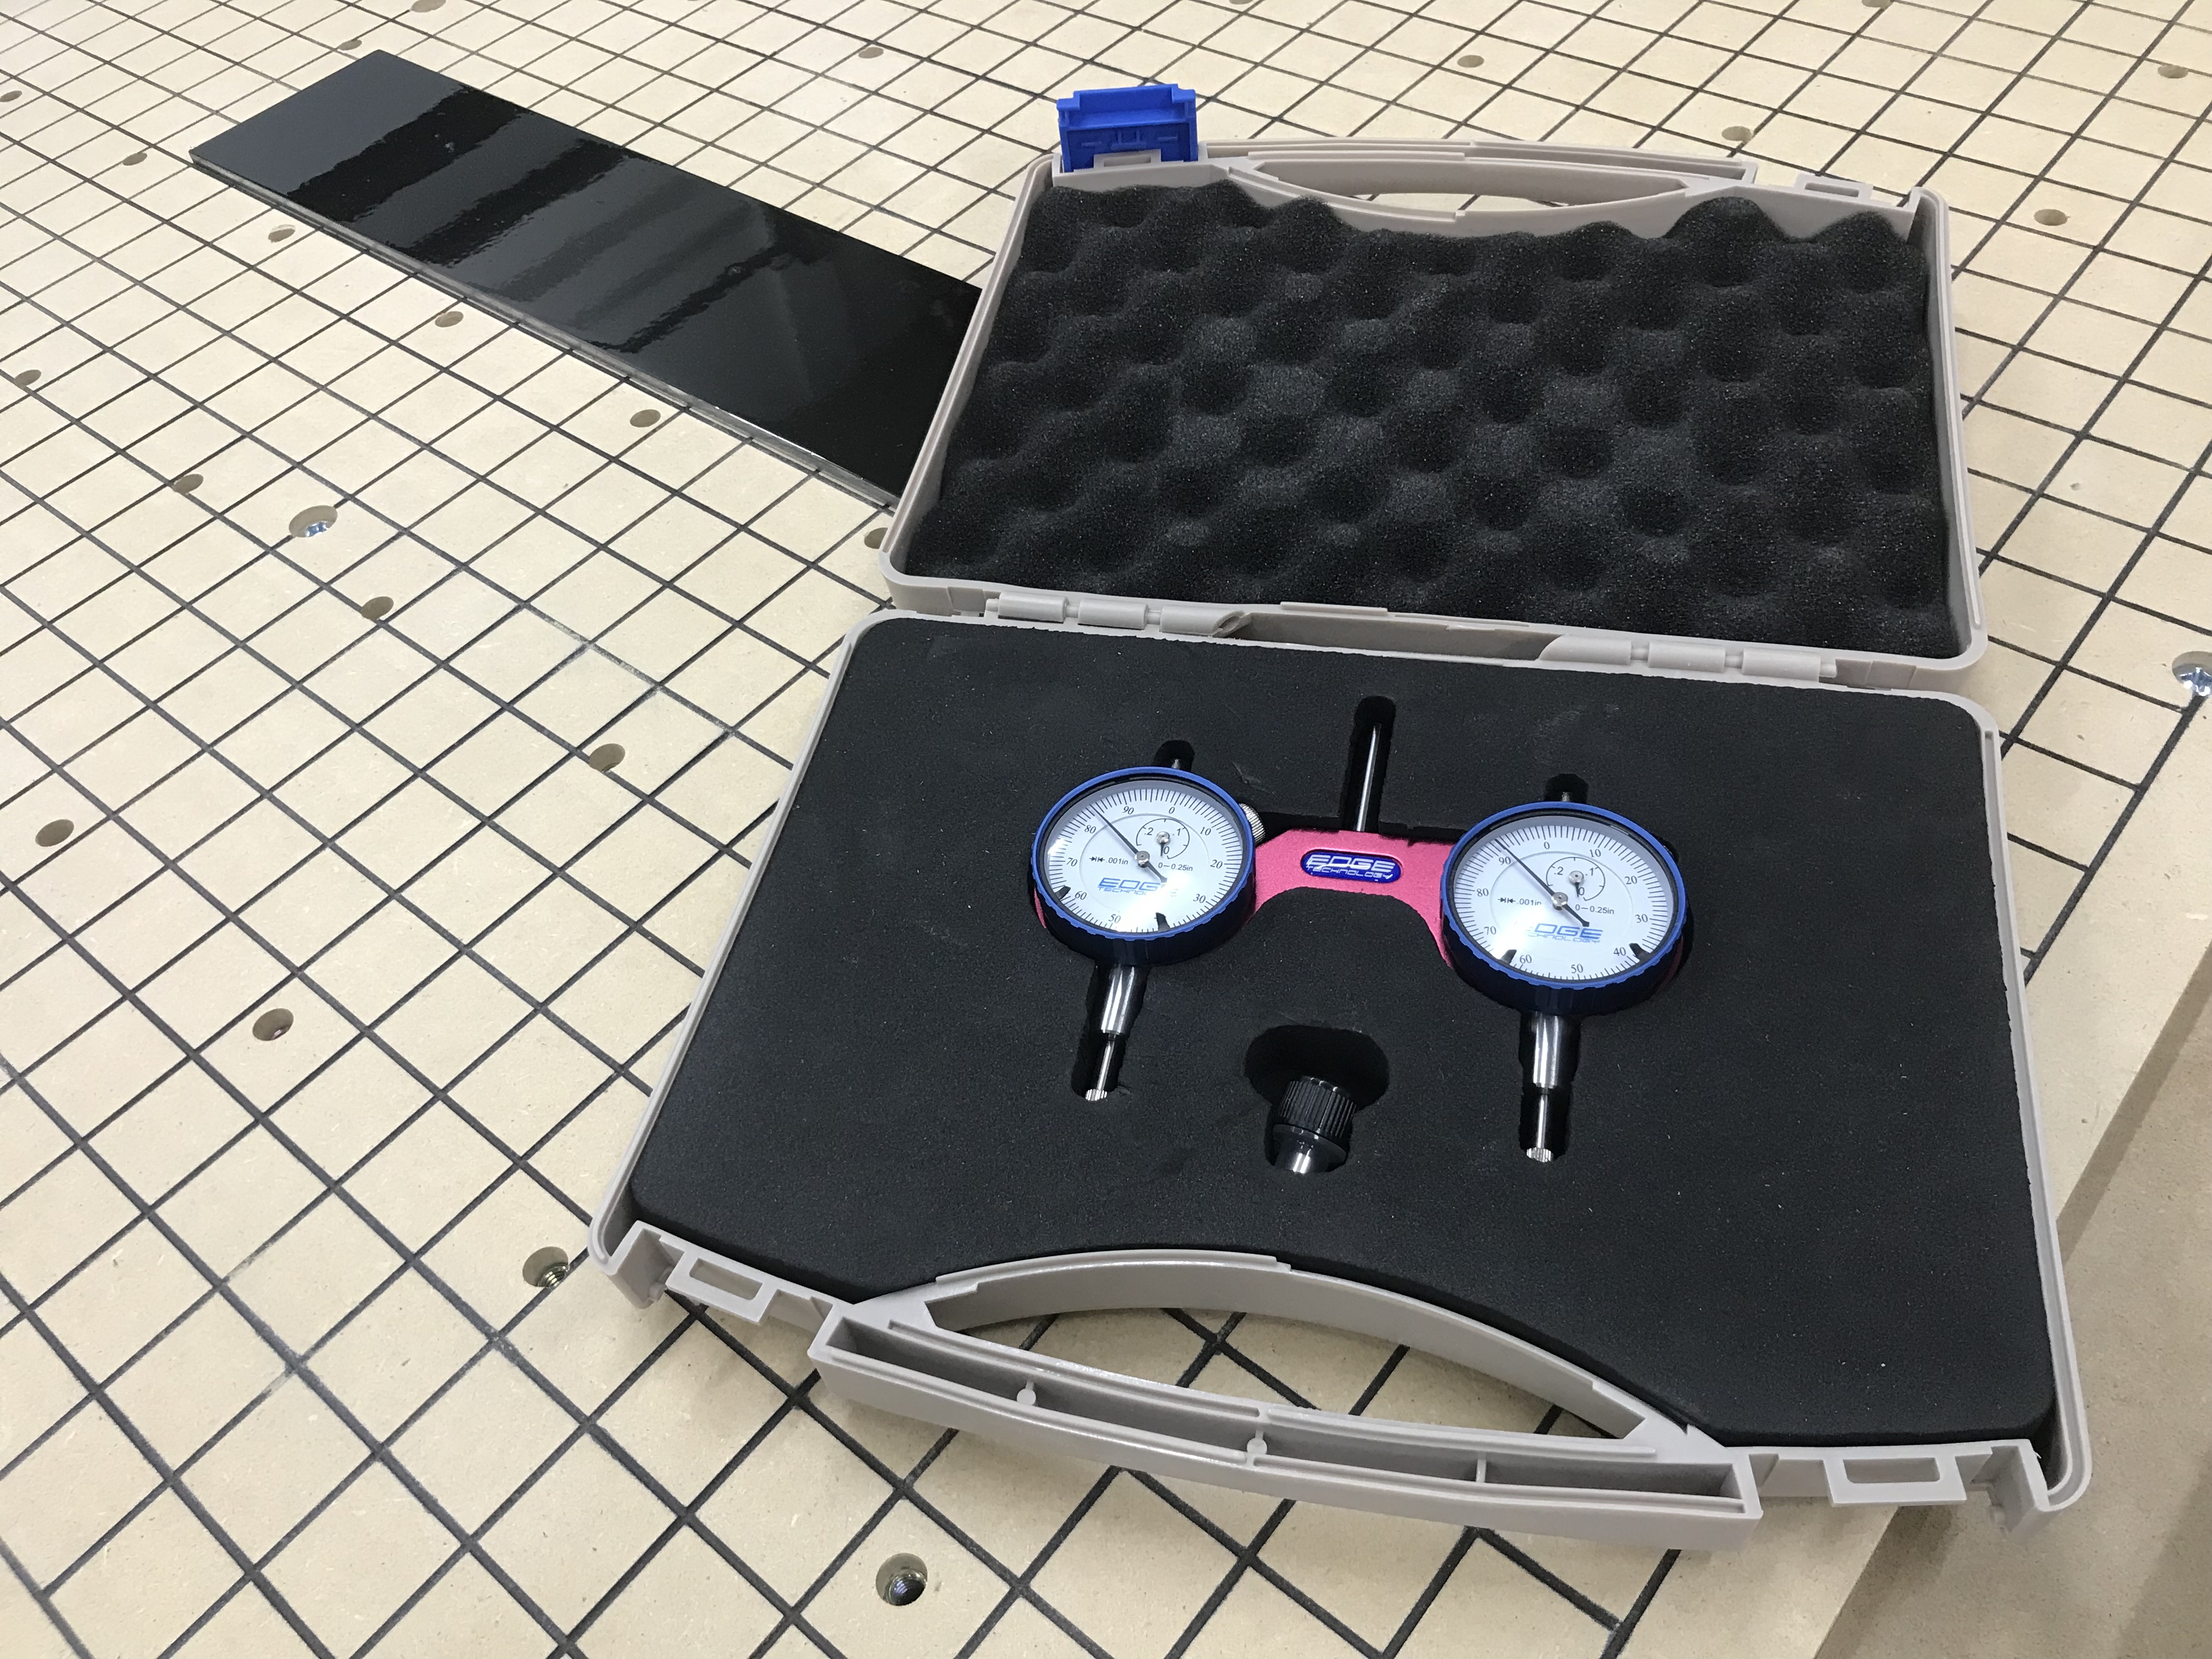
I can’t speak highly enough about this spindle squaring tool. Wow! It got me within .0005 on the x axis and .0015 on the Y axis within 1 hour. I had been fussing with other hacks and tricks on how to tram my spindle for hours and hours and I was still getting deep ridges (.005-.012) when I would surface my wasteboard. I could have gotten closer but at that point I felt it was close enough. And sure enough, when I surfaced my wasteboard for the last time I could barely see a hint of a line where the stepover for my spoilboard end mill made its passes.
So… to sum this all up, you can get this machine almost dead square with some effort, knowledge, and time. If you are a newbie like me and you are having issues, go back to square one, make sure EVERYTHING is square, parallel, perpendicular, flat, etc. Shim where needed and properly tram your spindle. Sorry for the super long post.
