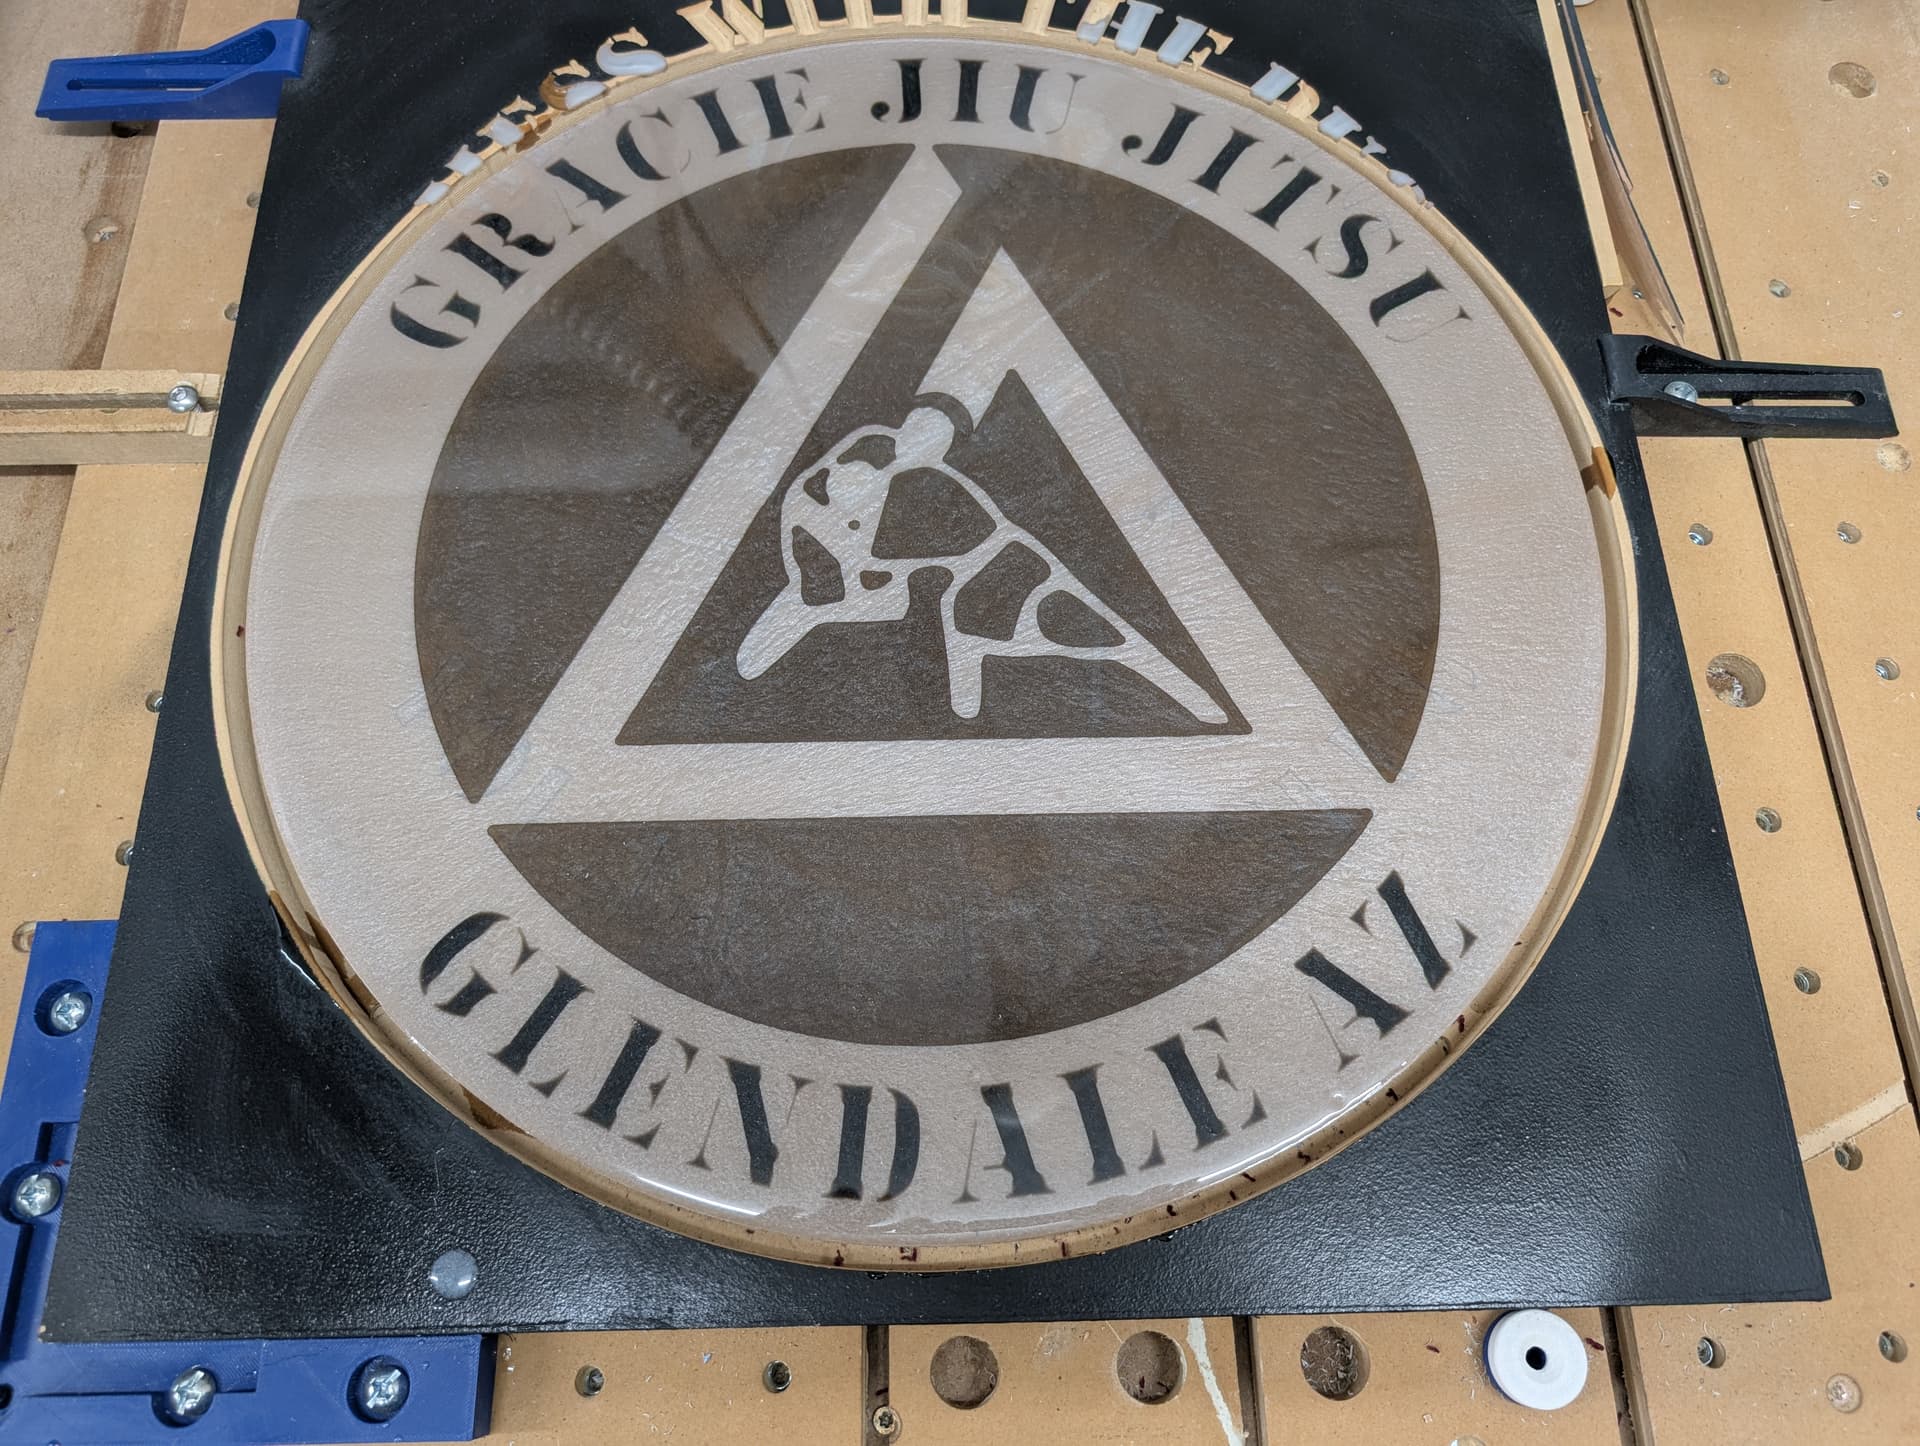
I’m going to try and make a sign for my Jiu jitsu school but the 33" limitation would be too small. It’s supposed to be a gift, so I can’t go crazy on spending. It’s a 2 color design so for my smaller test piece, I carved 1 layer, poured, then carved the second poured, and then surfaced it and poured a top coat.
Let me know If you think my idea will work or if there is a better way.
Get a 4x8x1/4" mdf and cut that in half
Cut one of the halves into 4 equal pieces
Break my design into 4 quarters and carve one out on each of the smaller pieces
Individually carve and pour two layers on each of the quarters
Glue the 4 smaller pieces on the remaining 4’x4’
Try to fill the gaps best as possible and pour a top coat
I know I would need to leave a lip between the quarters so the epoxy doesn’t pour out and account for blade width etc…
Has anyone done this? Is there a better way or another option to start with a material that is all black and only do 1 carve? Any advice is greatly appreciated!!
I think you may still end up seeing the lines after you assemble the quarters and fill in the gaps.
You may want to consider cutting smaller sections along the lines in the design. Maybe you cut the inside triangle separately as a fifth piece and the outside sections in three of four sections. Once you assemble and fill the gaps, the lines should be less noticeable.
Carve the text in relief (which will take longer), but once you assemble all the sections, you can pour a white layer to fill in the background and eliminate potential lines.
Once assembled, make sure it’s all well sealed - thin coat(s) of epoxy resin brushed on, so you don’t have any leaks or bubbles once you pour you color level.
Another tip I’ve learned here, is to paint the background white if you want your colors or white resin to be brighter and clearer.
Alternatively, you could use tiling and carve two 2’ x 4’ sections and then assemble the two halves and finish everything as described above.
Don- First note I haven’t done any epoxy work, but you may want to think about breaking up your project in differently. I am assuming that you are on a Pro XXL so your are is 33x33. One approach is to carve the inner circle separate from the outer ring. My estimation is that the inner circle would be pretty close to the scaled size that would fit in the 33 in. You could then segment the outer ring away from any carved area.
You may want to look into something like ColorCore (HDPE with two color layers). King ColorCore HDPE Plastic Sheet | BuyPlastic
It may be available locally to where you are from plastics or sign shops.
Another cheaper approach is to paint the field on the substrate with a different color than the substrate and carve through
Seems like you got some advise. Sometimes we get tunnel vision on how to do a project. The advantage of this forum is you get different points of view about how to tackle a problem.
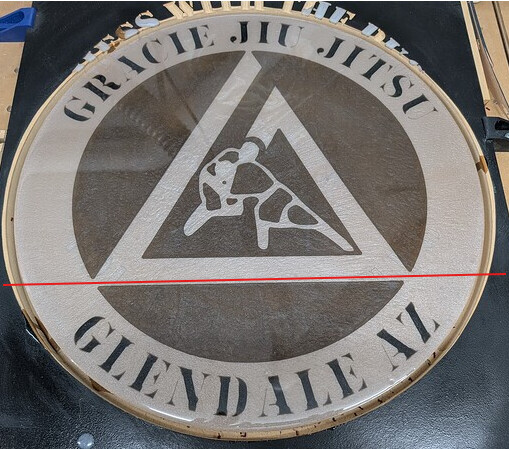
As @Tod1d suggested the tiling and splitting the sign up into 2 sections about the 1/3 mark would be the simplest method. Tiling is not hard. I put a board on the left side of my spoilboard and ran the router down it with the jog to make it straight and square to the Shapeoko. After machining the two part and joining them then fill your epoxy. To join them you can use dowels, biscuits, loose tenons or mortise and tenon, tounge and grove. You could simply glue the two parts together. If it is mdf I would use something besides just glue as mentioned above. A groove in both parts and a long tongue to join them together.
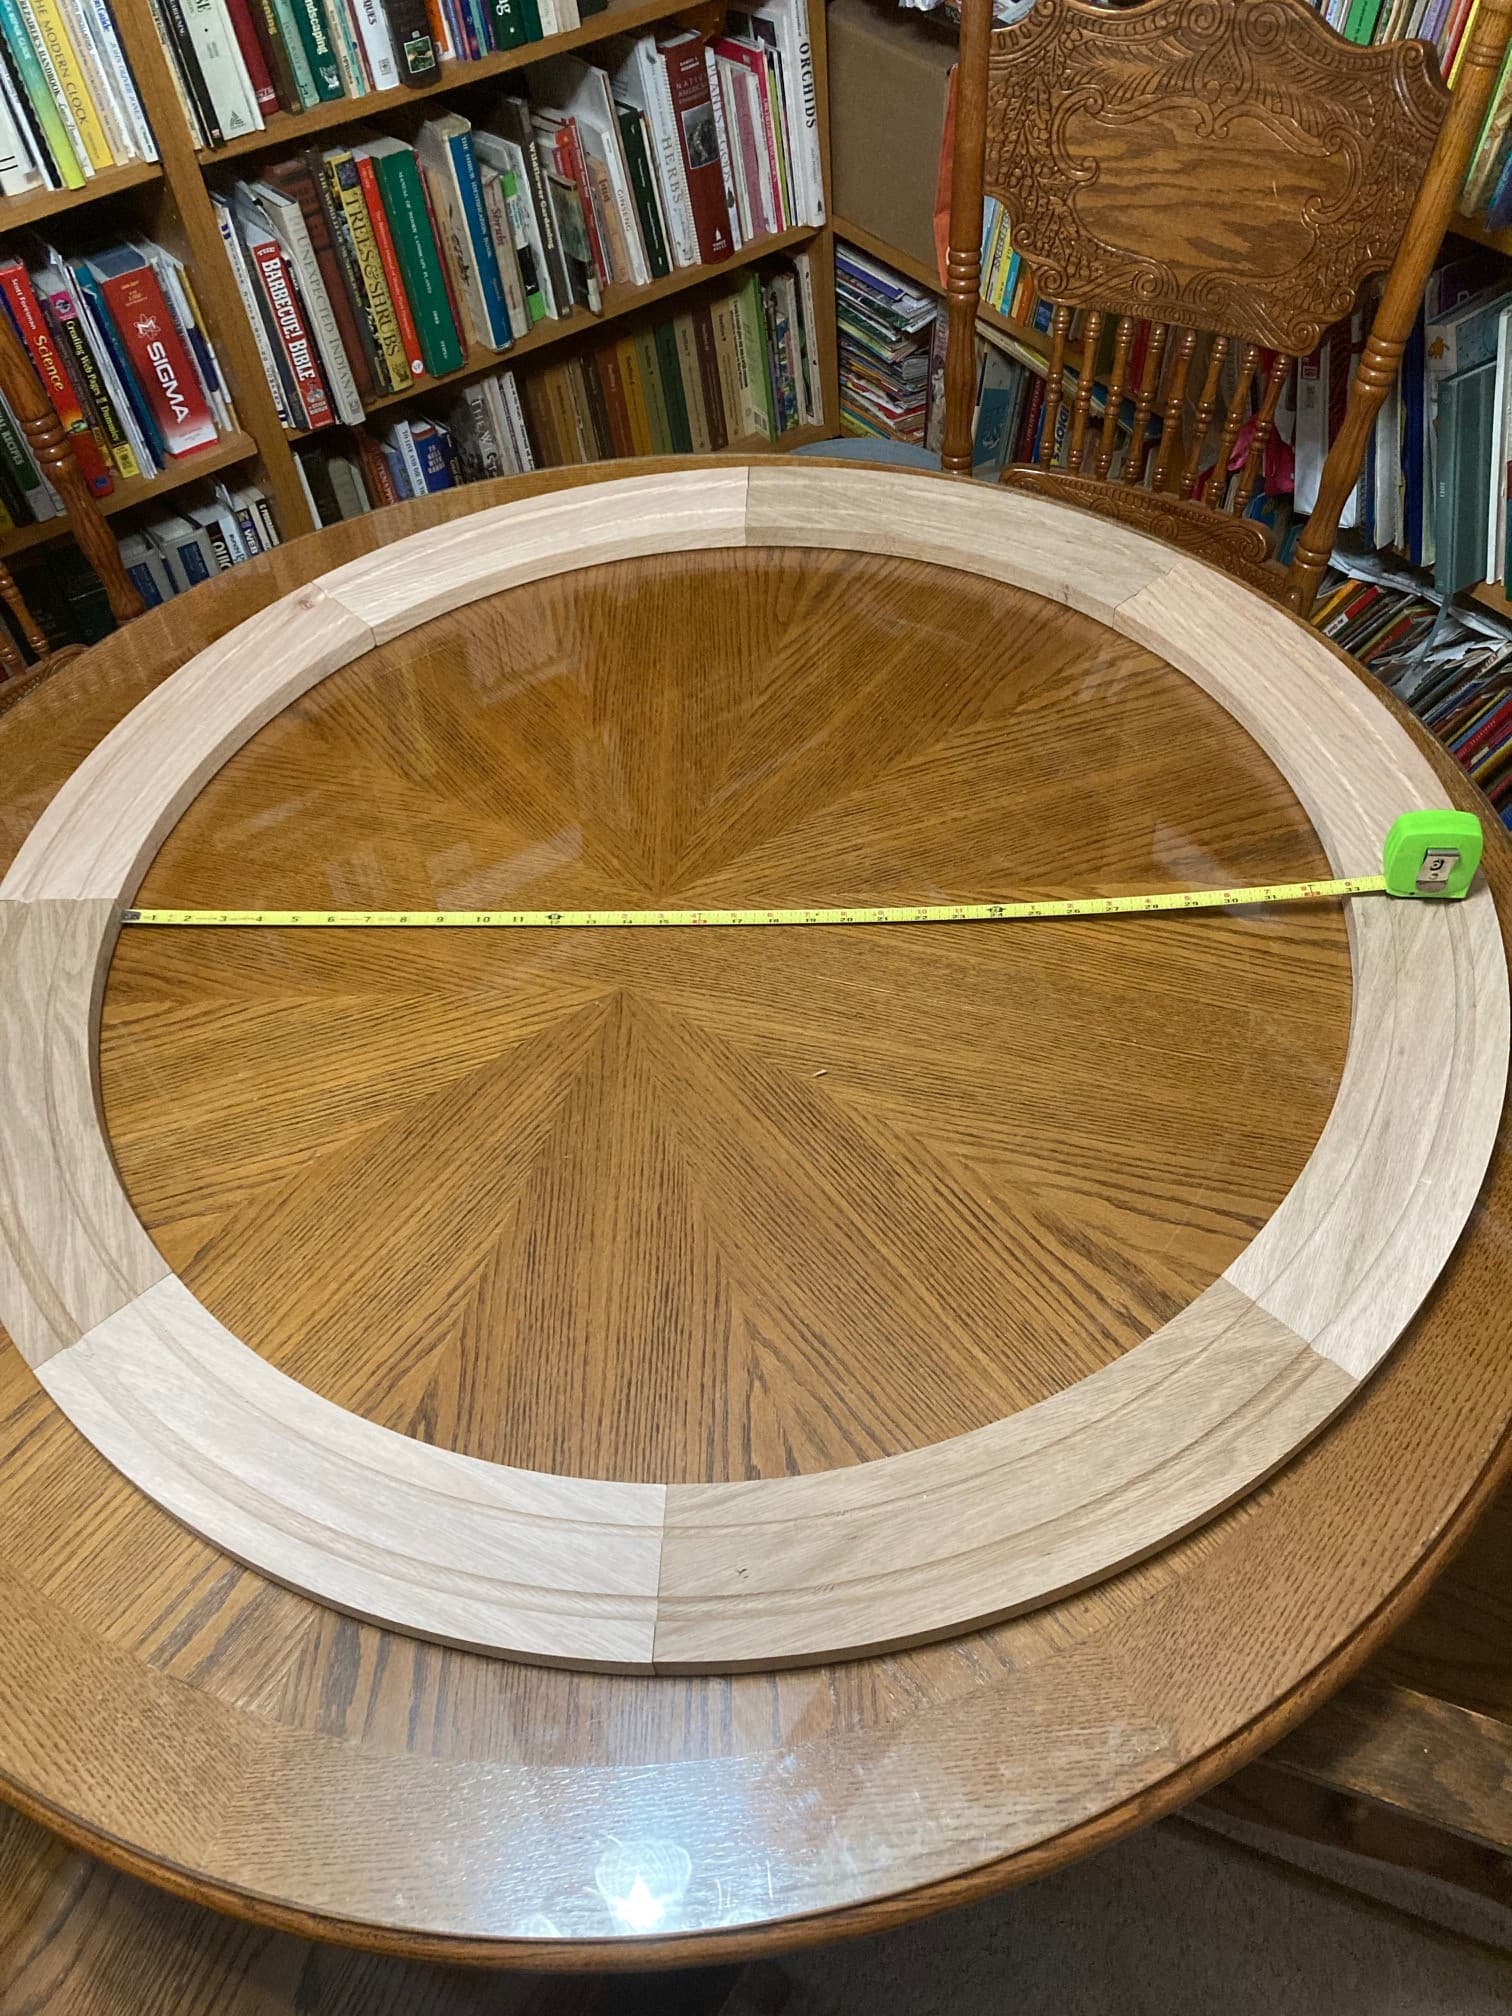
I would do what Stankus suggested above. You may have to scale the sign down a bit but it will still be quite large. First paint the material white. Cut a maximum square to fit on the machine and cut the inner circle (maximum diameter your machine will do). Design the outer circle in segments (six or eight) and cut them. Glue up the outer pieces and the inner circle. Here is an example where I did a ~42 inch diameter circular trim for a custom window. This was eight pieces of red oak. Cheers.