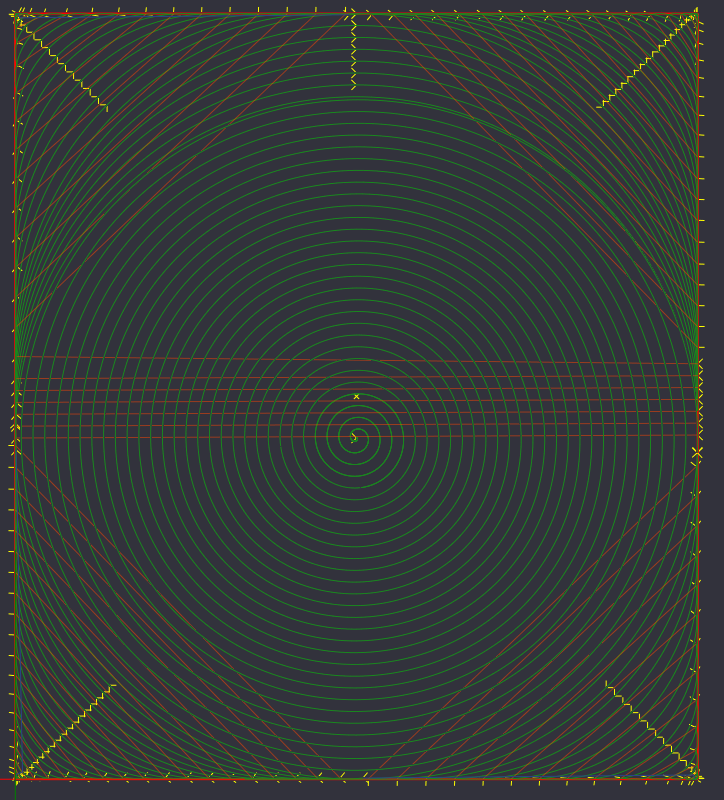
Note that since we are using a round tool, cosine error works to our favour and the tool should be pretty comfortably off the stock.
An undocumented feature is that the plunge rate is set to 1/4th the feed rate.
There is a loop which checks for if the last pass is beyond the Y-extent — if it is, the loop ends.
Yeah, abbreviating the number of decimal places is probably a good idea — that was actually a serious issue and caused a bunch of problems back in the Grbl 0.8? 0.7? days, but 0.9 allows for fairly long lines so I don’t think it’ll be an issue — if someone encounters a set of parameters which actually result in a problem on the machine let me know and I’ll work out how to truncate.
Any further adjustment is left as an exercise for the reader (Use the source Luke) and hopefully we can continue the discussion over at:
I just use top of stock and roughly the bottom left as reference points. On the computer that runs CM, I just have several leveling (flatting) programs saved in a folder with some rough sizes. Like a 12" x 12" and 0.010", 0.020", and 0.30" depths for example. That way I have some, that even if oversized, I just run. The various depths are to re-run deeper to quickly change the depth without having to change the Z.
3 dec pl
overtravel = diameter
Added tool dia
stepover defaults to 1/2 dia, but can be changed.
removed downward motion at end. (Z6.35, then Z3.175) and replaced with G53 Z-5
Added cut feedrate to cut motions
(taught myself enough python to modify code )
Hey folks, I watched Corbin Dunn’s video on chipout and he talks about surfacing in there.
I think it’s worth a watch for more than the surfacing part. But anyway, I put an option to choose the axis for the cutting pass, so that one can make a final pass with the grain and have tool marks that are more easily sanded out.
Here’s my gist again if you are interested. This is not meant as a contender in the “who’s code is the best” competition. I just want to throw in my two cents.
@Tod1d That’s really cool that you can fill out the fields that way. I never thought of putting this into a web format. My command line is seriously long but I just scroll back in my history, change a variable or two, and hit enter.
A simple routine i do. I set zero to the top of my material when flattening, after my first pass, if not cleaned up I jog to a safe position, for me is usually the “S” rapid jog position. Rapid to z zero, change to the set zero screen use the -Z button jog the Z to my desired next depth of cut. Set Z 0, then run my program again and repeat this till my material cleans up. The downside is after every pass the machine goes to the home position and adds a lot of time to the flattening of material. I would rather have an optional stop that can be added to the program by a check box and a second check box to end the program. This would allow me to determine if I needed another pass by clicking ok. This way you can use the max depth to control the maximum amount of material to be removed and also allow you to set zero to the bottom of the part.
Ok, after I started working on this in Rust to help learn for work, I told my wife that I could probably get this done in 1 day if I was doing in Javascript and have a nice interface as well. So last night I decided to just do that so that it’s something shareable.
It’s not perfect but here are the basics:
Allows you to enter settings and bits that are saved into your browsers storage so they persist when you refresh the page and reopen the page
You can input as many bits as you want with all the normal settings
Set the zero point for the z axis to top or bottom
Set the xy zero point to bottom left, center left, top left, and center
Set the angle to either 0 or 90 degrees
Can work in inches or milimeters
Toggling between the two converts the bit values so you can enter your bits once and if you change between units you can still use them
Set your depth of cut, retract height, material thickness, material height, material width
Gcode output on the page so you can see what’s being generated
Button to download the Gcode as a file called flatten.nc
Still needs:
The interface needs to be more responsive to different viewport sizes
I don’t know what some of the top matter in the files generated by CC mean so I need to get better clarification. Specifically the stockMin, stockMax, and STOCK/BLOCK entries
Some of the styling should be tweaked for more clarity
I’d like to find a way to make this more touch-friendly because I plan on using it on my machine that I only interact with through a touchscreen. I need to test it first and see what does and doesn’t work, but I want it to be easy to use in that way otherwise I won’t bother using it myself
I have not yet tried the output with a real machine so if you try it, keep your hand next to the kill switch but also tell me if it does or doesn’t work. I’m hoping to give it a try tomorrow evening but we’ll see if my schedule permits.
Any feedback would be great. It’s written entirely in Javascript, CSS, and HTML.
This looks great! I have only taken a cursory look so far and have not run your gcode.
I think you should set an option for how much overlap you want on each pass. It’s pretty simple to throw that in to what you already have.
You might consider going to the end of your pass / far edge of your material and then reversing direction instead of returning to X0Y0 but that’s not necessary; it would only save a little time. I throw all my X or Y coordinates into a list and reverse it – I’m pretty sure that’s easily done in JavaScript.
I can’t answer the questions about stockMin and stockMax. I have only used Carbide Create and my GRBL update has broken my ability to use Carbide Motion as my machine isn’t recognized (for now). I’ve been using CNCjs since the beginning.
If Carbide Motion accepts an outside GRBL file, then I think you have what you need already.


 )
)