Unless you are a programmer I dont see how you would change the BitSetter behavior.
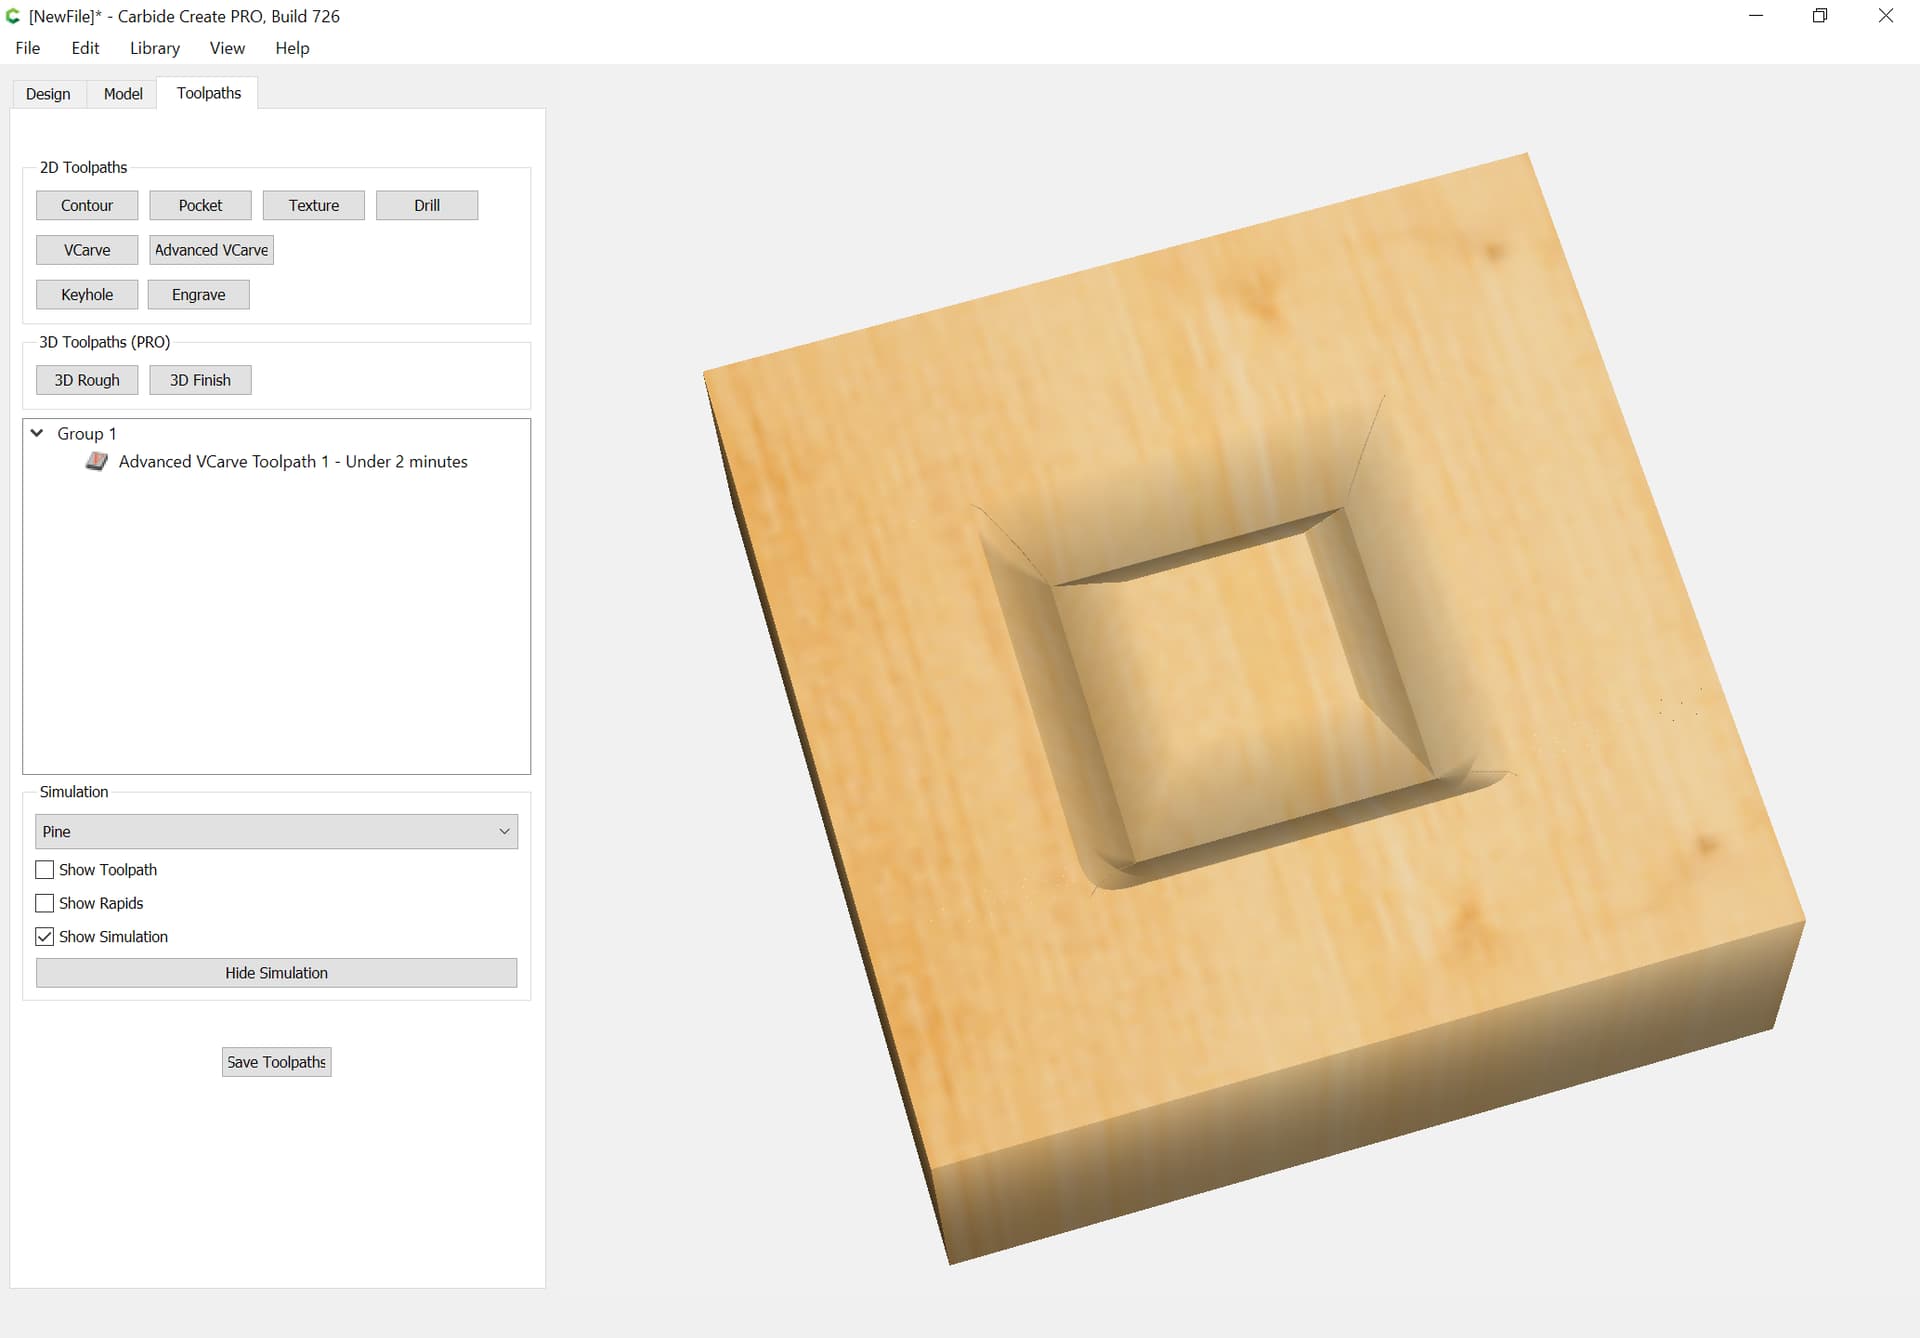
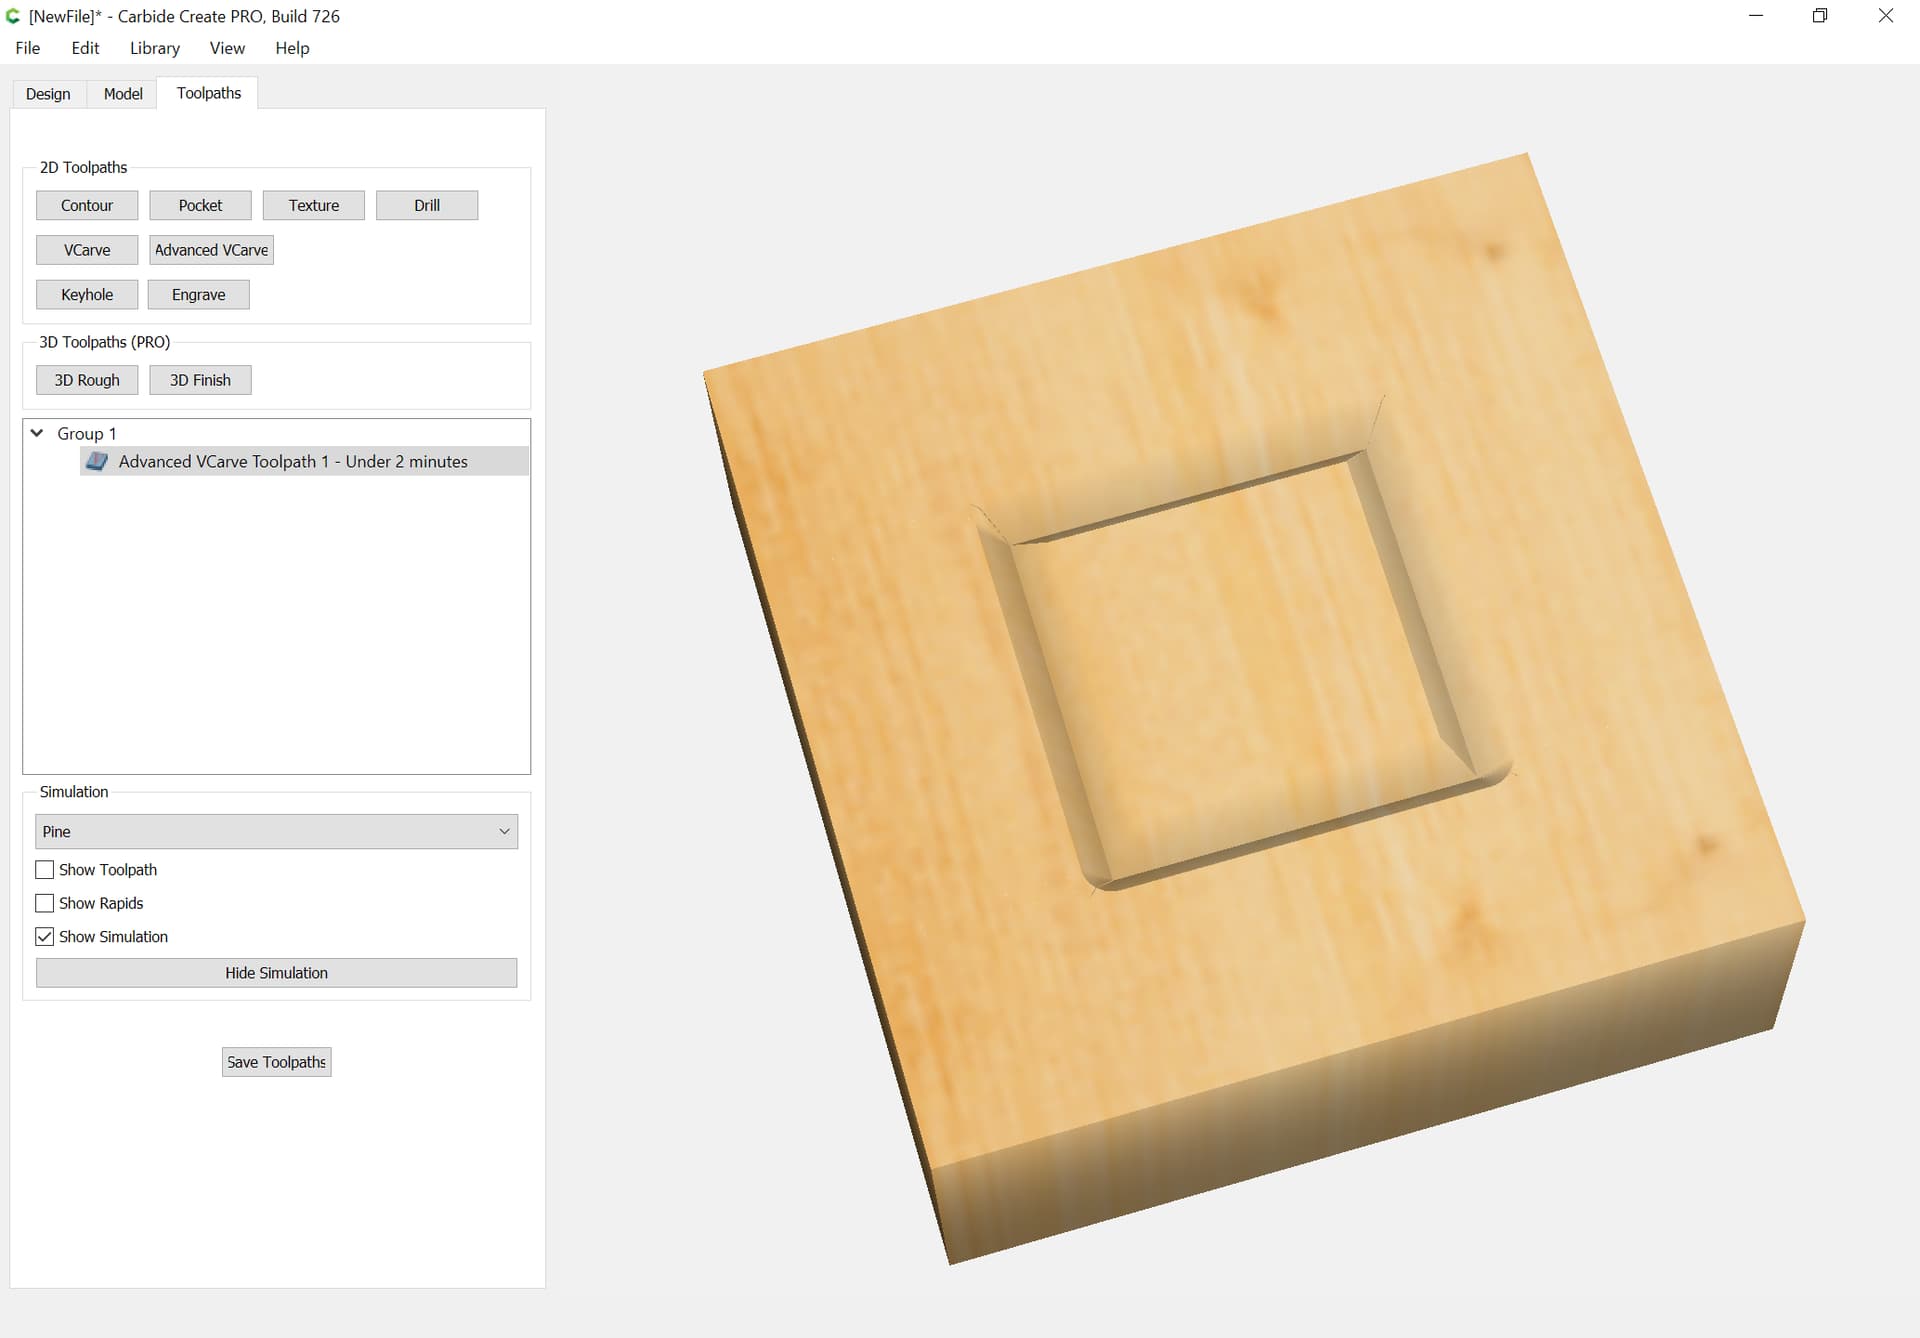
The reason to use stock bottom in a simple vcarve is because the vee bit just cuts down as far as is required to touch both sides of the line/lines you are cutting. By using stock bottom you get a full depth cut that touches both sides of the lines. If you limit the depth then use advanced vcarve and it will cut down both sides of the line. If you use the end mill it will give you a flat bottom between the lines being carved. Be careful cutting thin material with wide lines because using stock bottom can cut through your material and ruin your project.
I have both the C3D bits and some others like Freud. The C3D bits are competitive and they are listed in CC to use. When I use my Freud 60 degree and 90 degree vee bits I just tell cc it is a #302 and #301 for simplicity. If you use something that is not equivalent to the C3D bits you need to create a custom tool. I have several Whiteside up and down cut bits. For the upcut bits I use the #201 and for the down cut bits I use #251. The #201 is a 3 flute cutter but I get acceptable results using the Whiteside bits.
When using small bits 1/8, 1/16 I always use dowels to zero. 1/4 inch, I can turn the flute to line up with the flat. Yes, I am playing dangerously. I will post when I try to cut off my finger.
Disable the BitSetter — some folks do this for production runs which don’t involve tool changes, just be sure to re-zero the Z-axis, or re-initialize the machine. Alternately you can use a different communication/control program
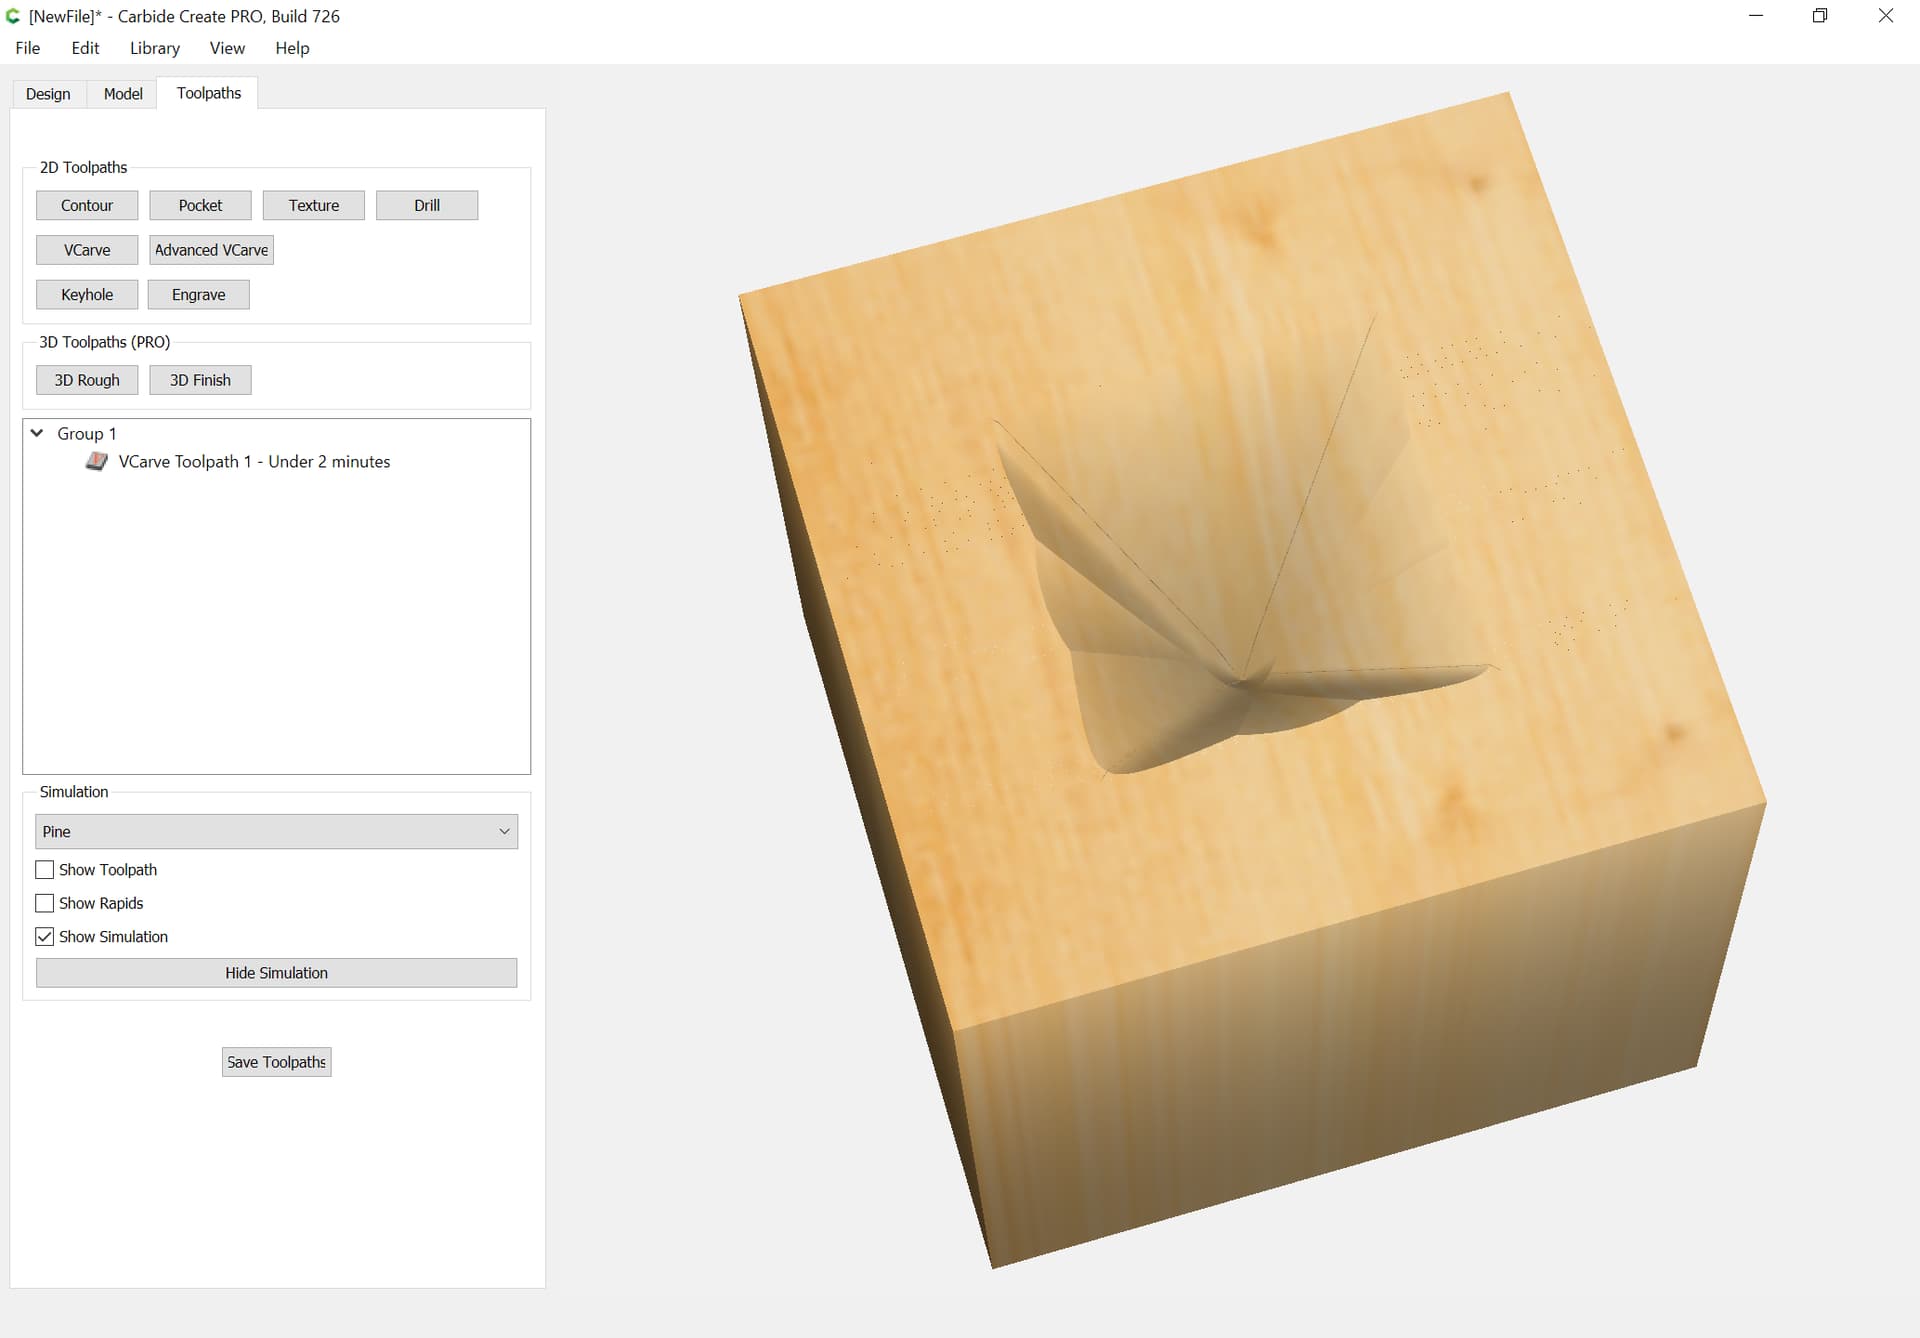
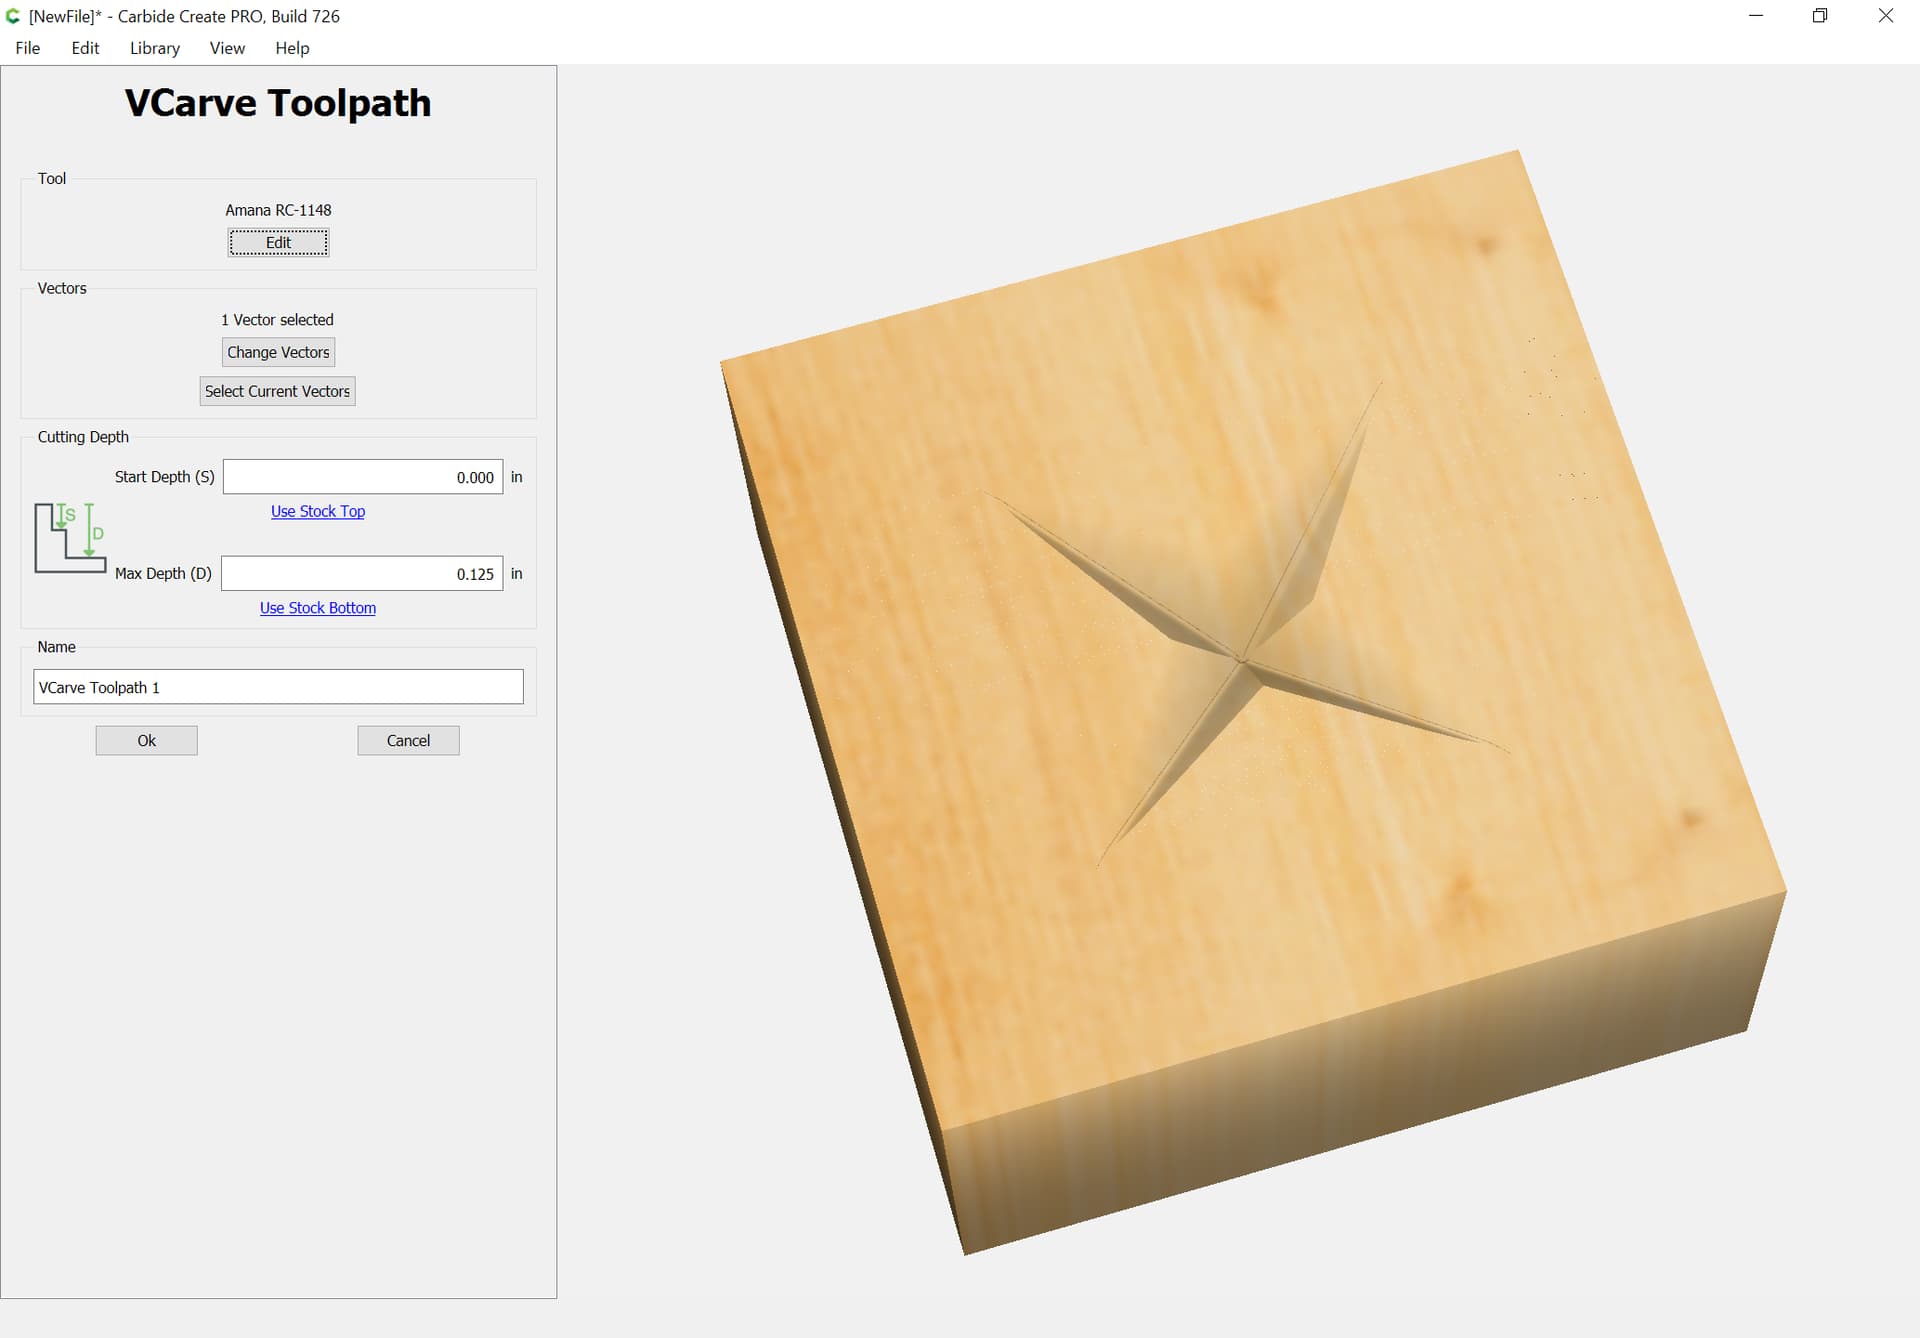
EDIT: I mis-understood — @gdon_2003 has it correct — use bottom of stock so as to “allow the algorithm its head so that it will cut as deeply as needed to make a given figure” — note that one can (ab)use this feature to get special effects, such as cutting a square as a 4 pointed star.
(ob. discl., I work for Carbide 3D) — the #301 and #302 are made by a well-regarded U.S. tool vendor and for most folks hold up well. If you buy them w/ a machine they’re covered by our 30-day warranty (but the only folks I can think of who have needed to use this have plowed the tool into the T-track or a steel clamp)
I ran mine through the t track on the first cut I made due to it creeping down in the collet on the second pass and then on the third pass…yep, right through the sides of two tracks. Didn’t get a new bit but C3D sent me two new aluminum slats immediately. My router just clunked out on me Sunday and they are already in the works on sending me a new one. Outstanding customer service.
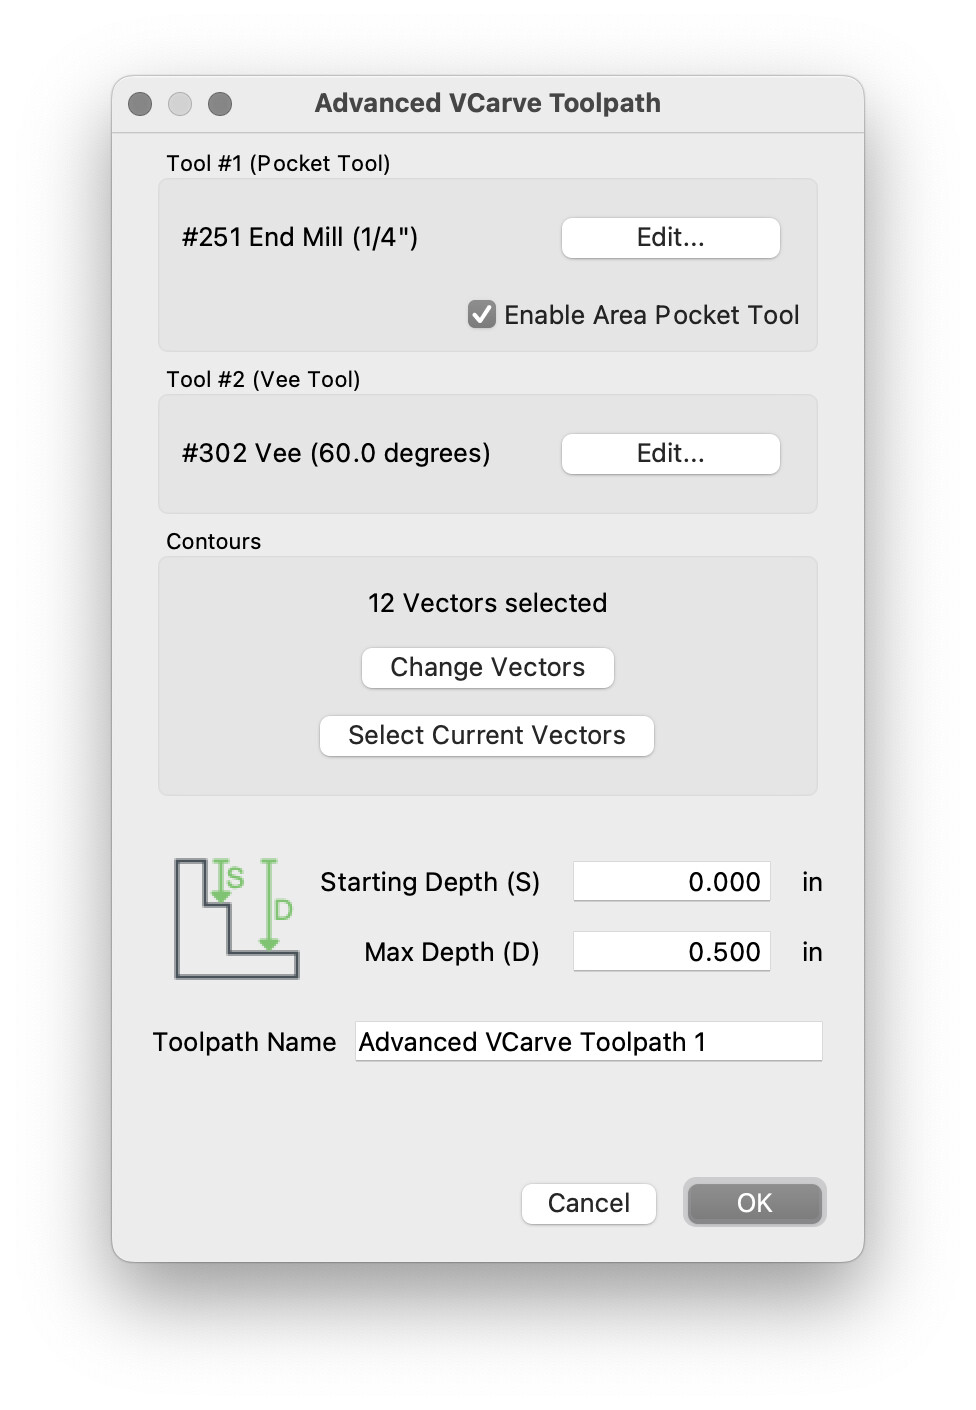
One follow up question. I used a bold font and 3” tall letters on a piece of poplar. I thought Advanced Vcarve would use a 1/8” bit to clear out material and 60 degree vbit to do the outlines of each letter. Is that how vcarve works? Would I use stock bottom? The poplar is 1”+ thick. Thanks.
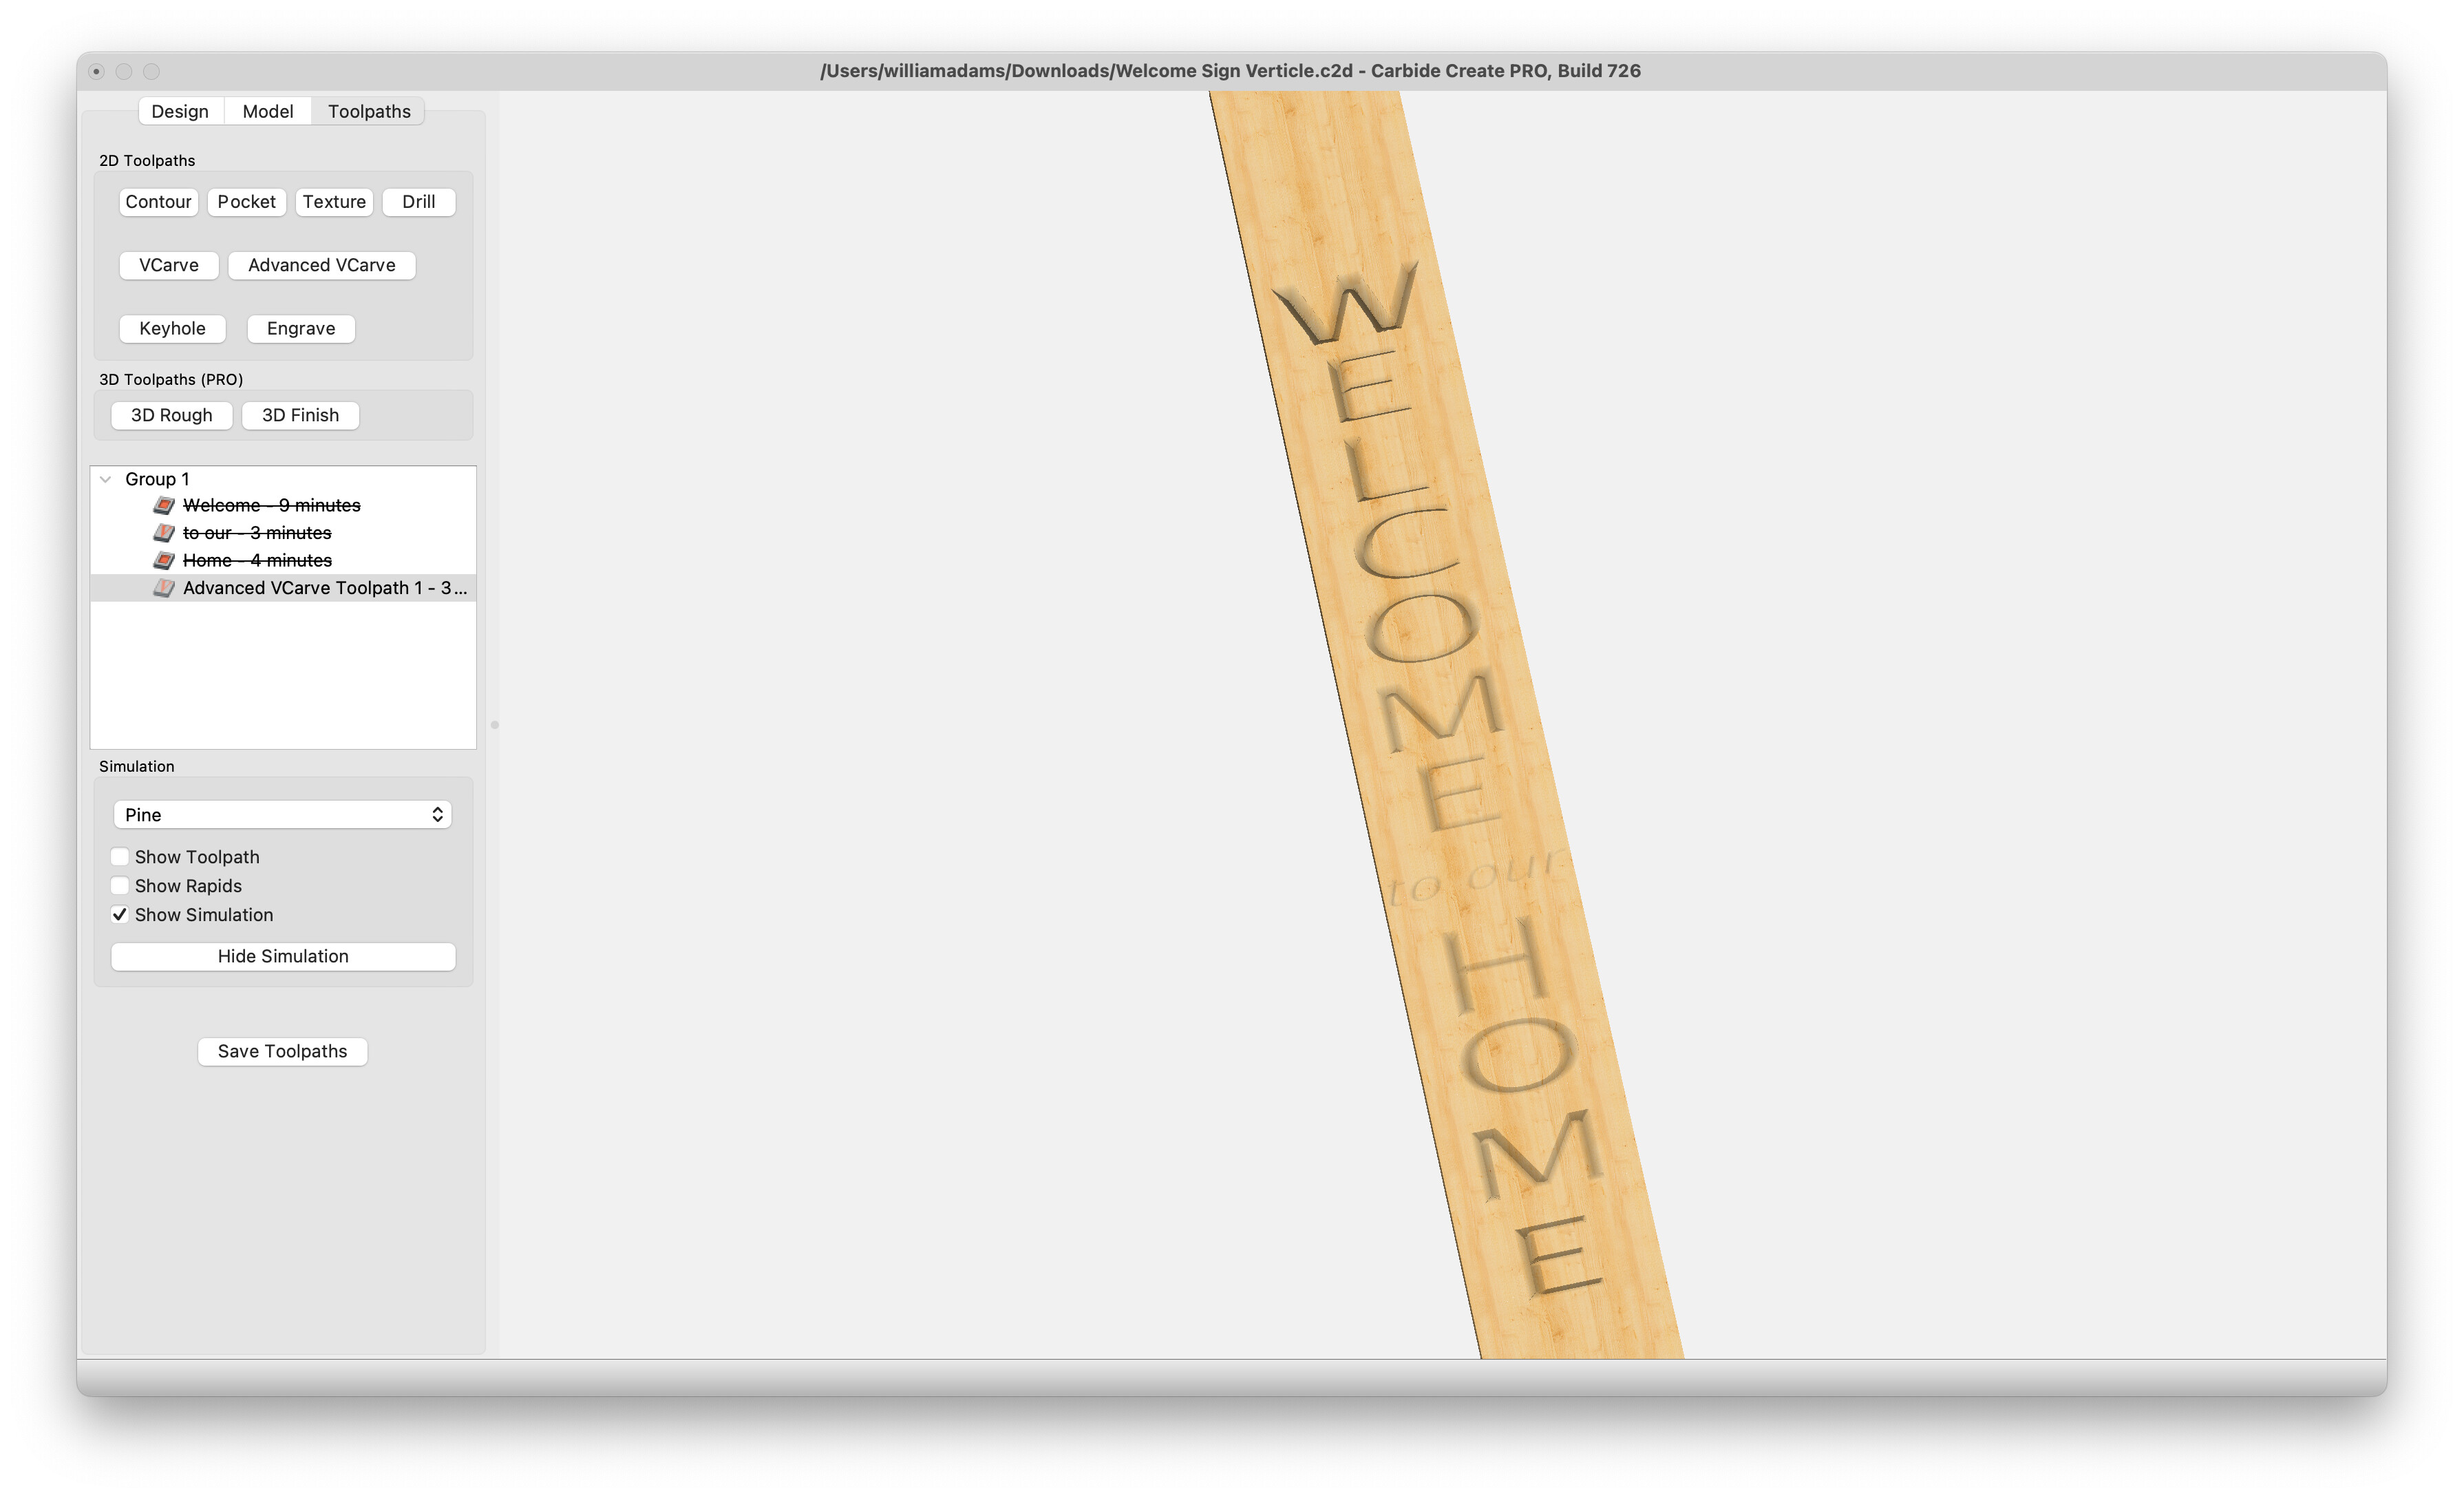
This is the file I wanted to use Advanced Vcarve to get the result of pocketed letters with the Vcarved edges. I settled for just using a 1/4" downcut endmill. Could I have used Advanced Vcarve to get a better result? Welcome Sign Verticle.c2d (116 KB)
Thank you for all of the great support. The visuals are really helpful!!!