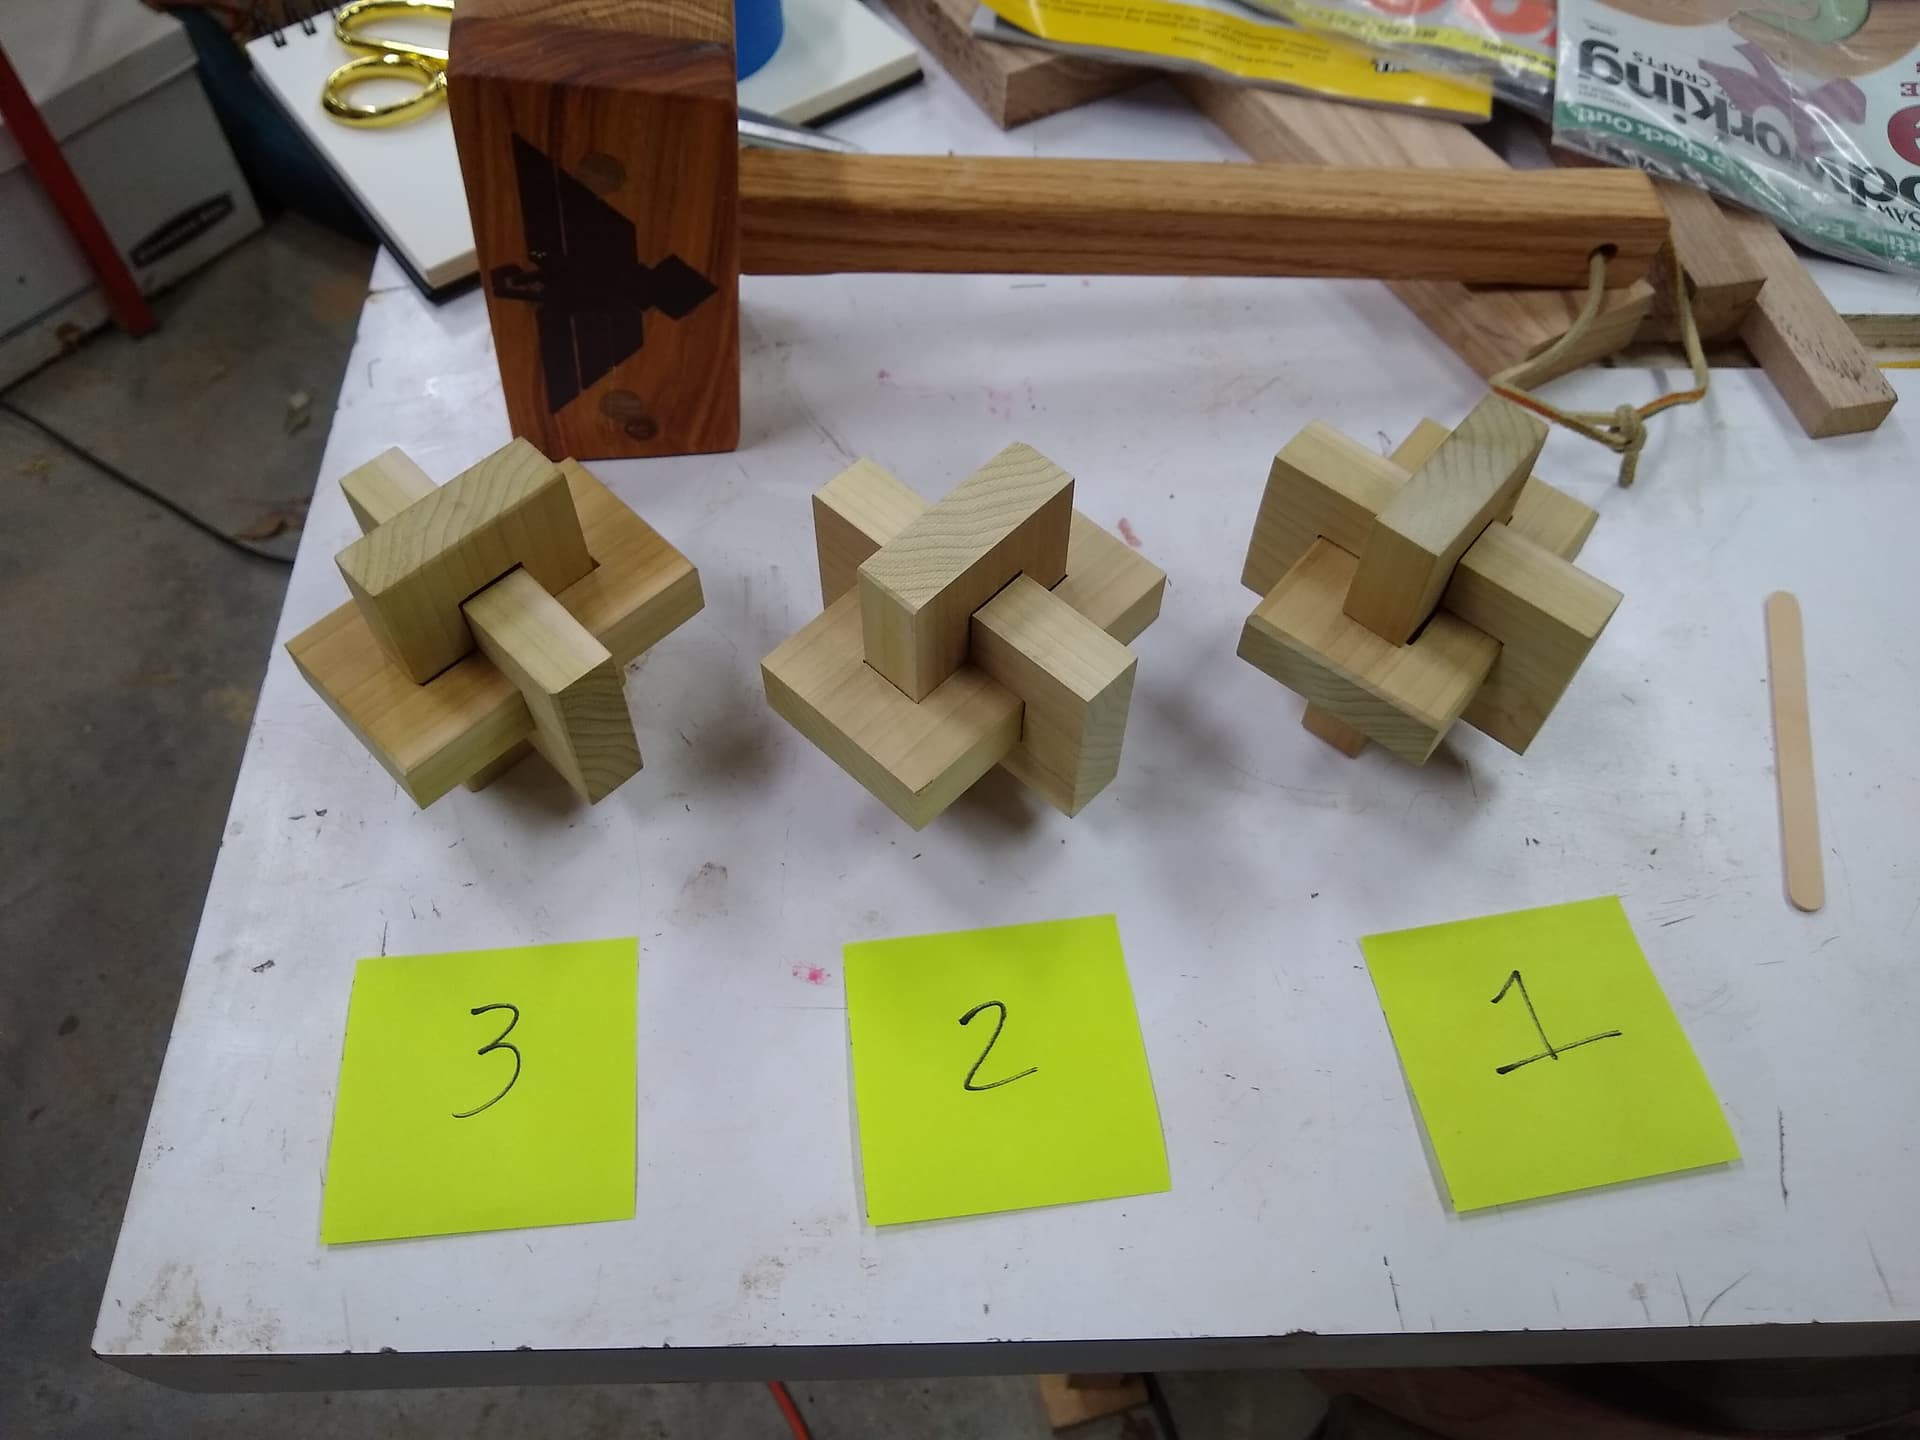
My Woodworking Club of East Texas is having a supplemental meeting at one of the members shop Next Saturday. The subject is games and toys. I had seen this a while back and downloaded the plans. I cut one out yesterday on the scroll saw and it came out pretty good. I got busy this afternoon and drew it up in CC. I cut it out and came out good. I did have to take the parts to the scroll saw and cut the corners square. I could have used a file and/or chisel. The puzzle is fun to give to someone and see them try and solve it.
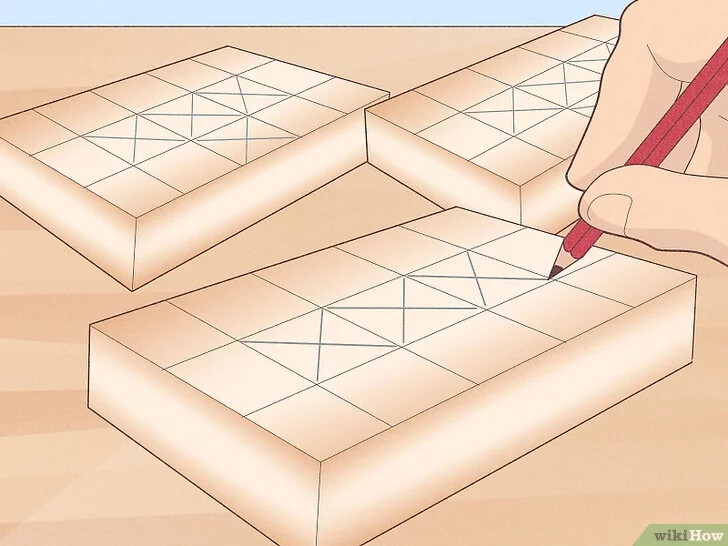
I will include the file. However you should modify it to your stock thickness. The basic design is everything is a multiple of your thickness. The plan called for .75" thick stock that is 2.25" X 3.75. The analog version has you draw a grid that is .75" in both directions. So if your stock is 1" then modify the design for that with multiples of 1".
Here is an example of the grid.
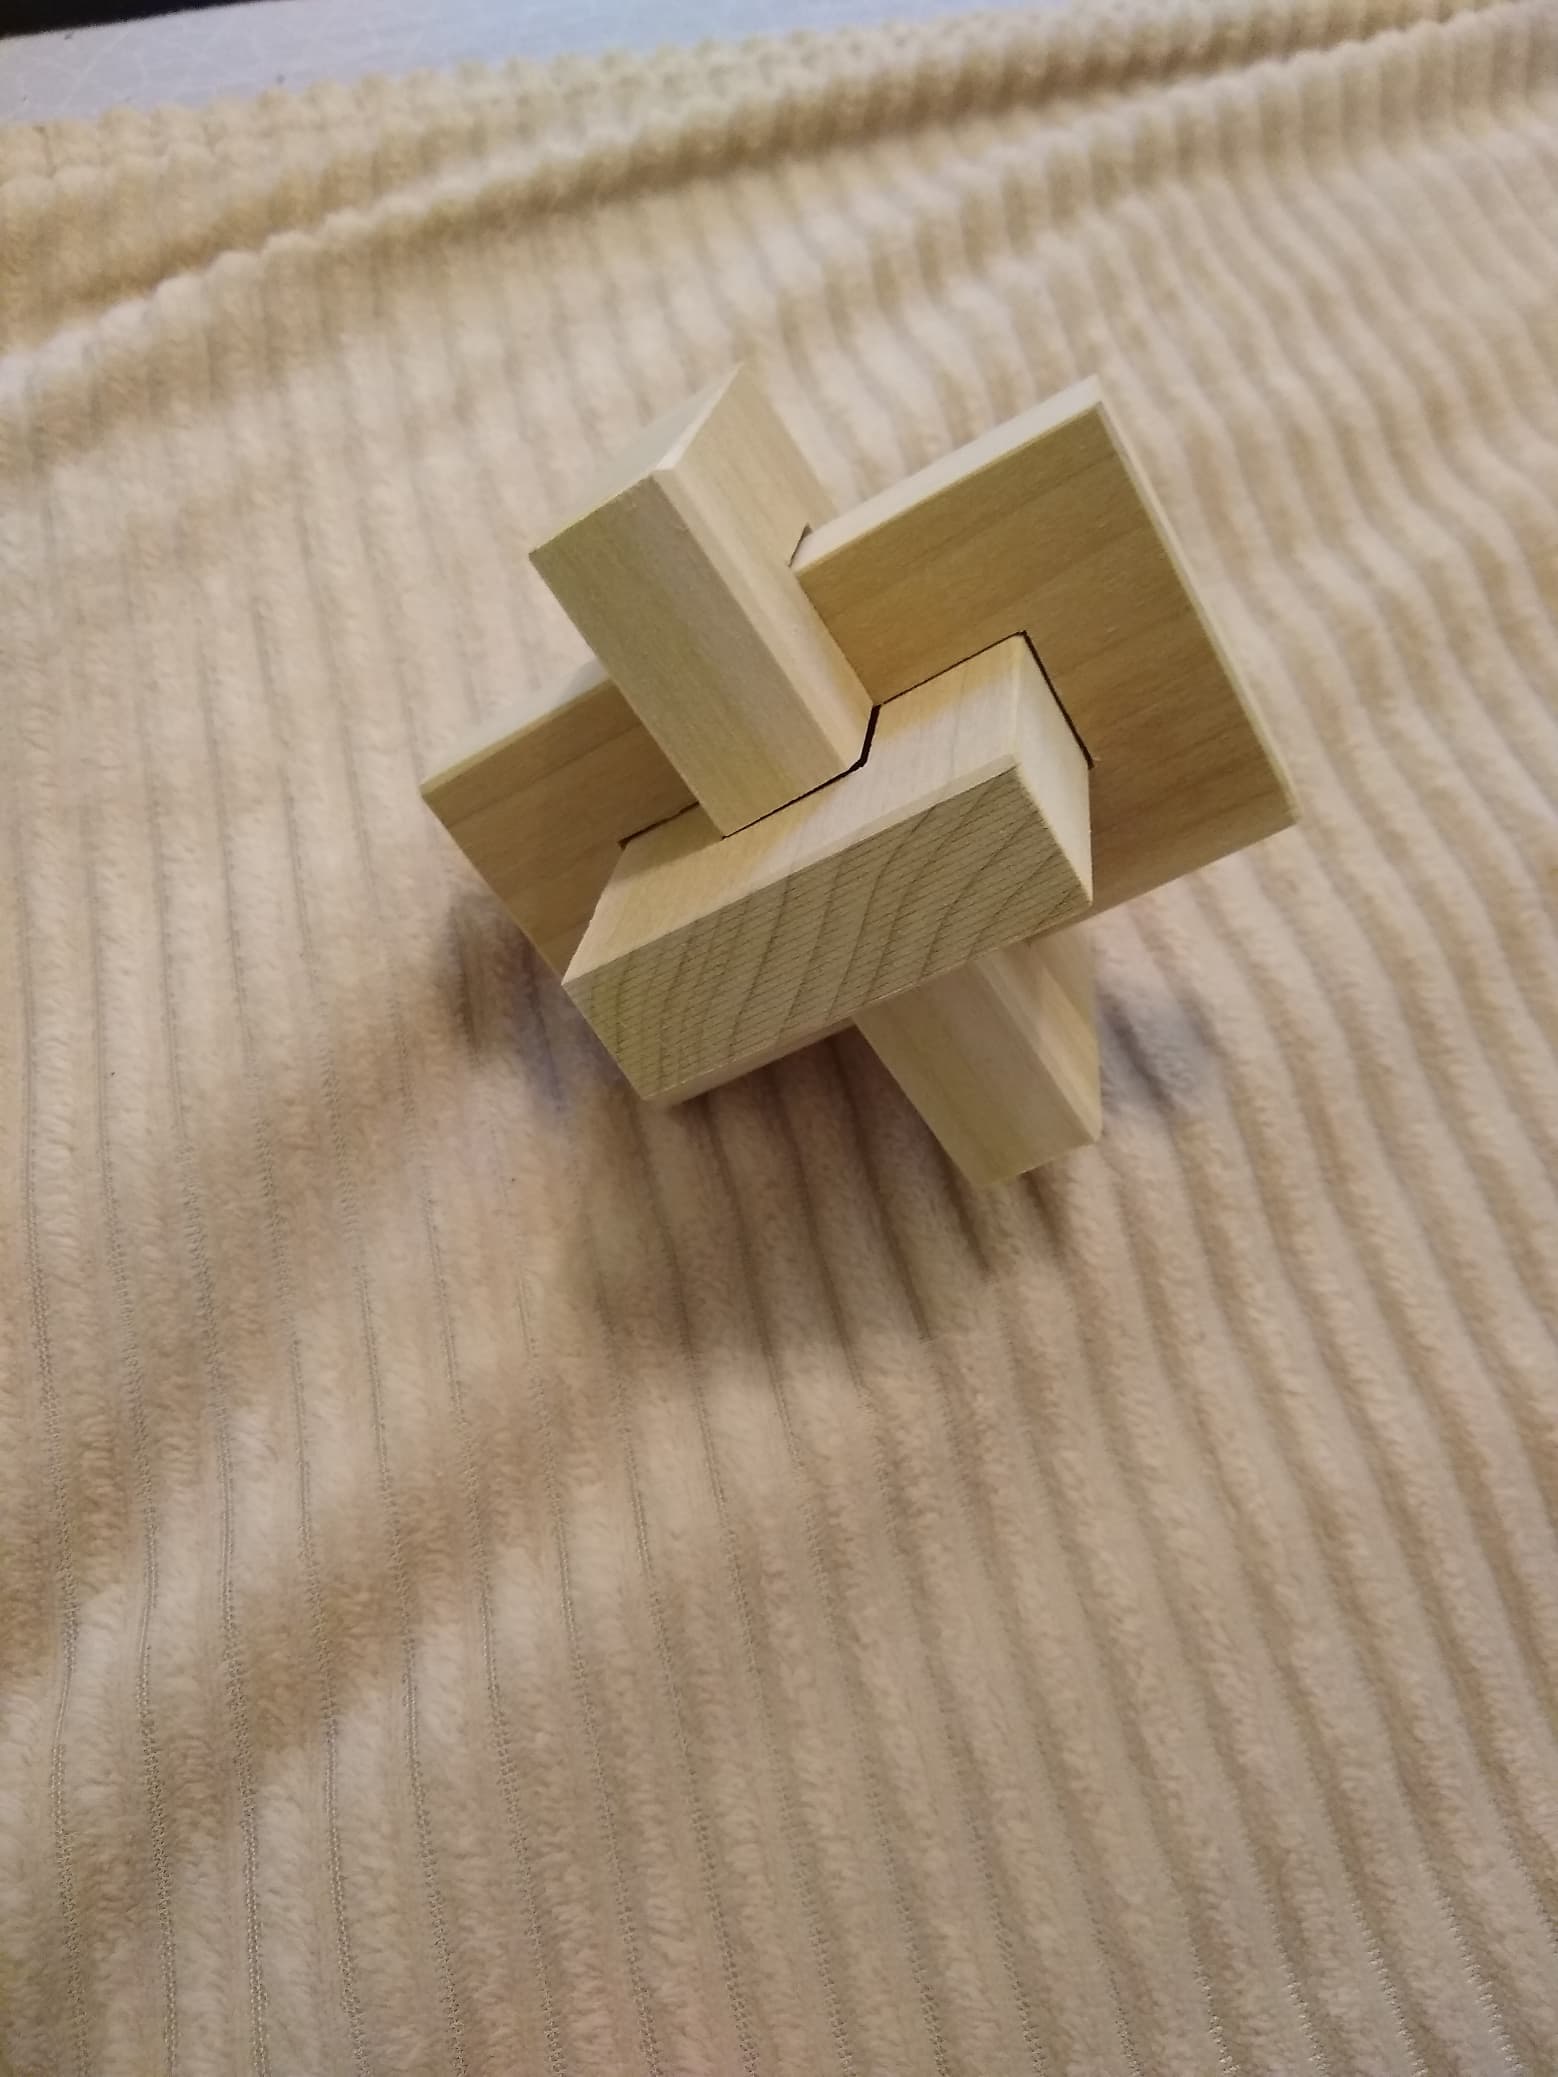
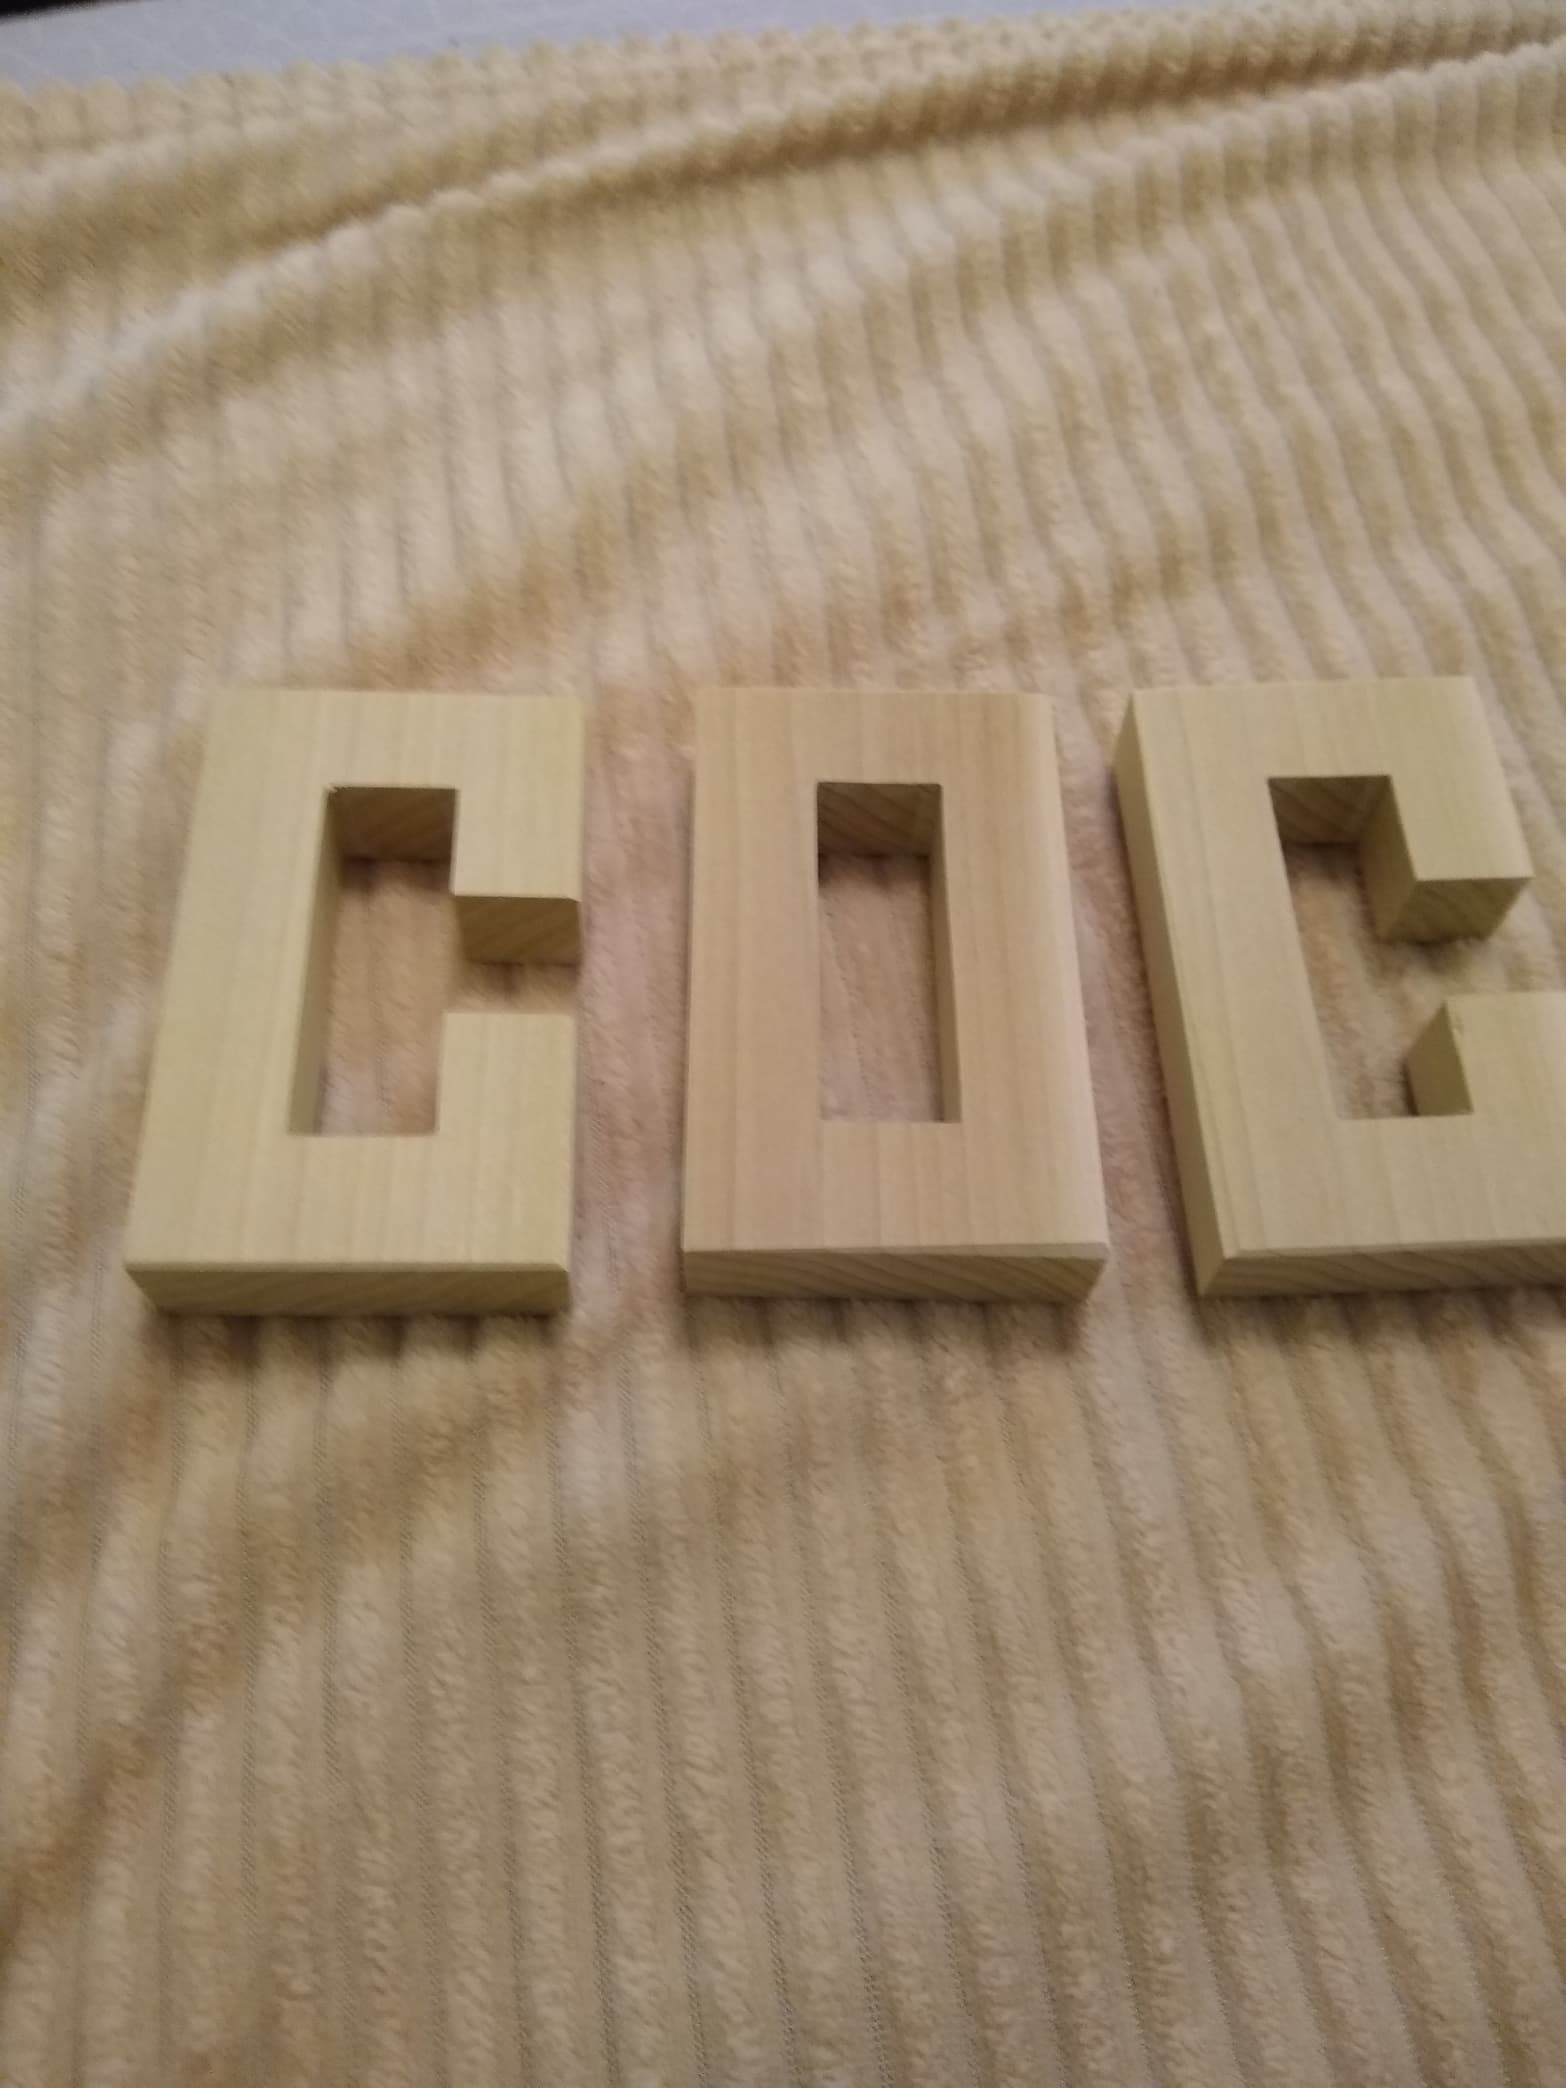
Here is the pictures of my Burrs Knot cut on the CNC and touched up on the scroll saw. It is basically one O shape and two C shapes.
Here is a PDF that tells you how to build it in metric and also how to assemble the puzzle.
Knot Burr Puzzle.pdf (604.6 KB)
3d_interlocking_puzzle.pdf (514.4 KB)
Here is my c2d file. Modify it as you like to fit whatever size you want to make.
burrs_knot_768.c2d (3.9 MB)
I have replaced this file from the original post. This file has text that explains the process.
I used painters tape and super glue. If you use clamps be sure to add tabs.
I think that a large version of this would be fun.