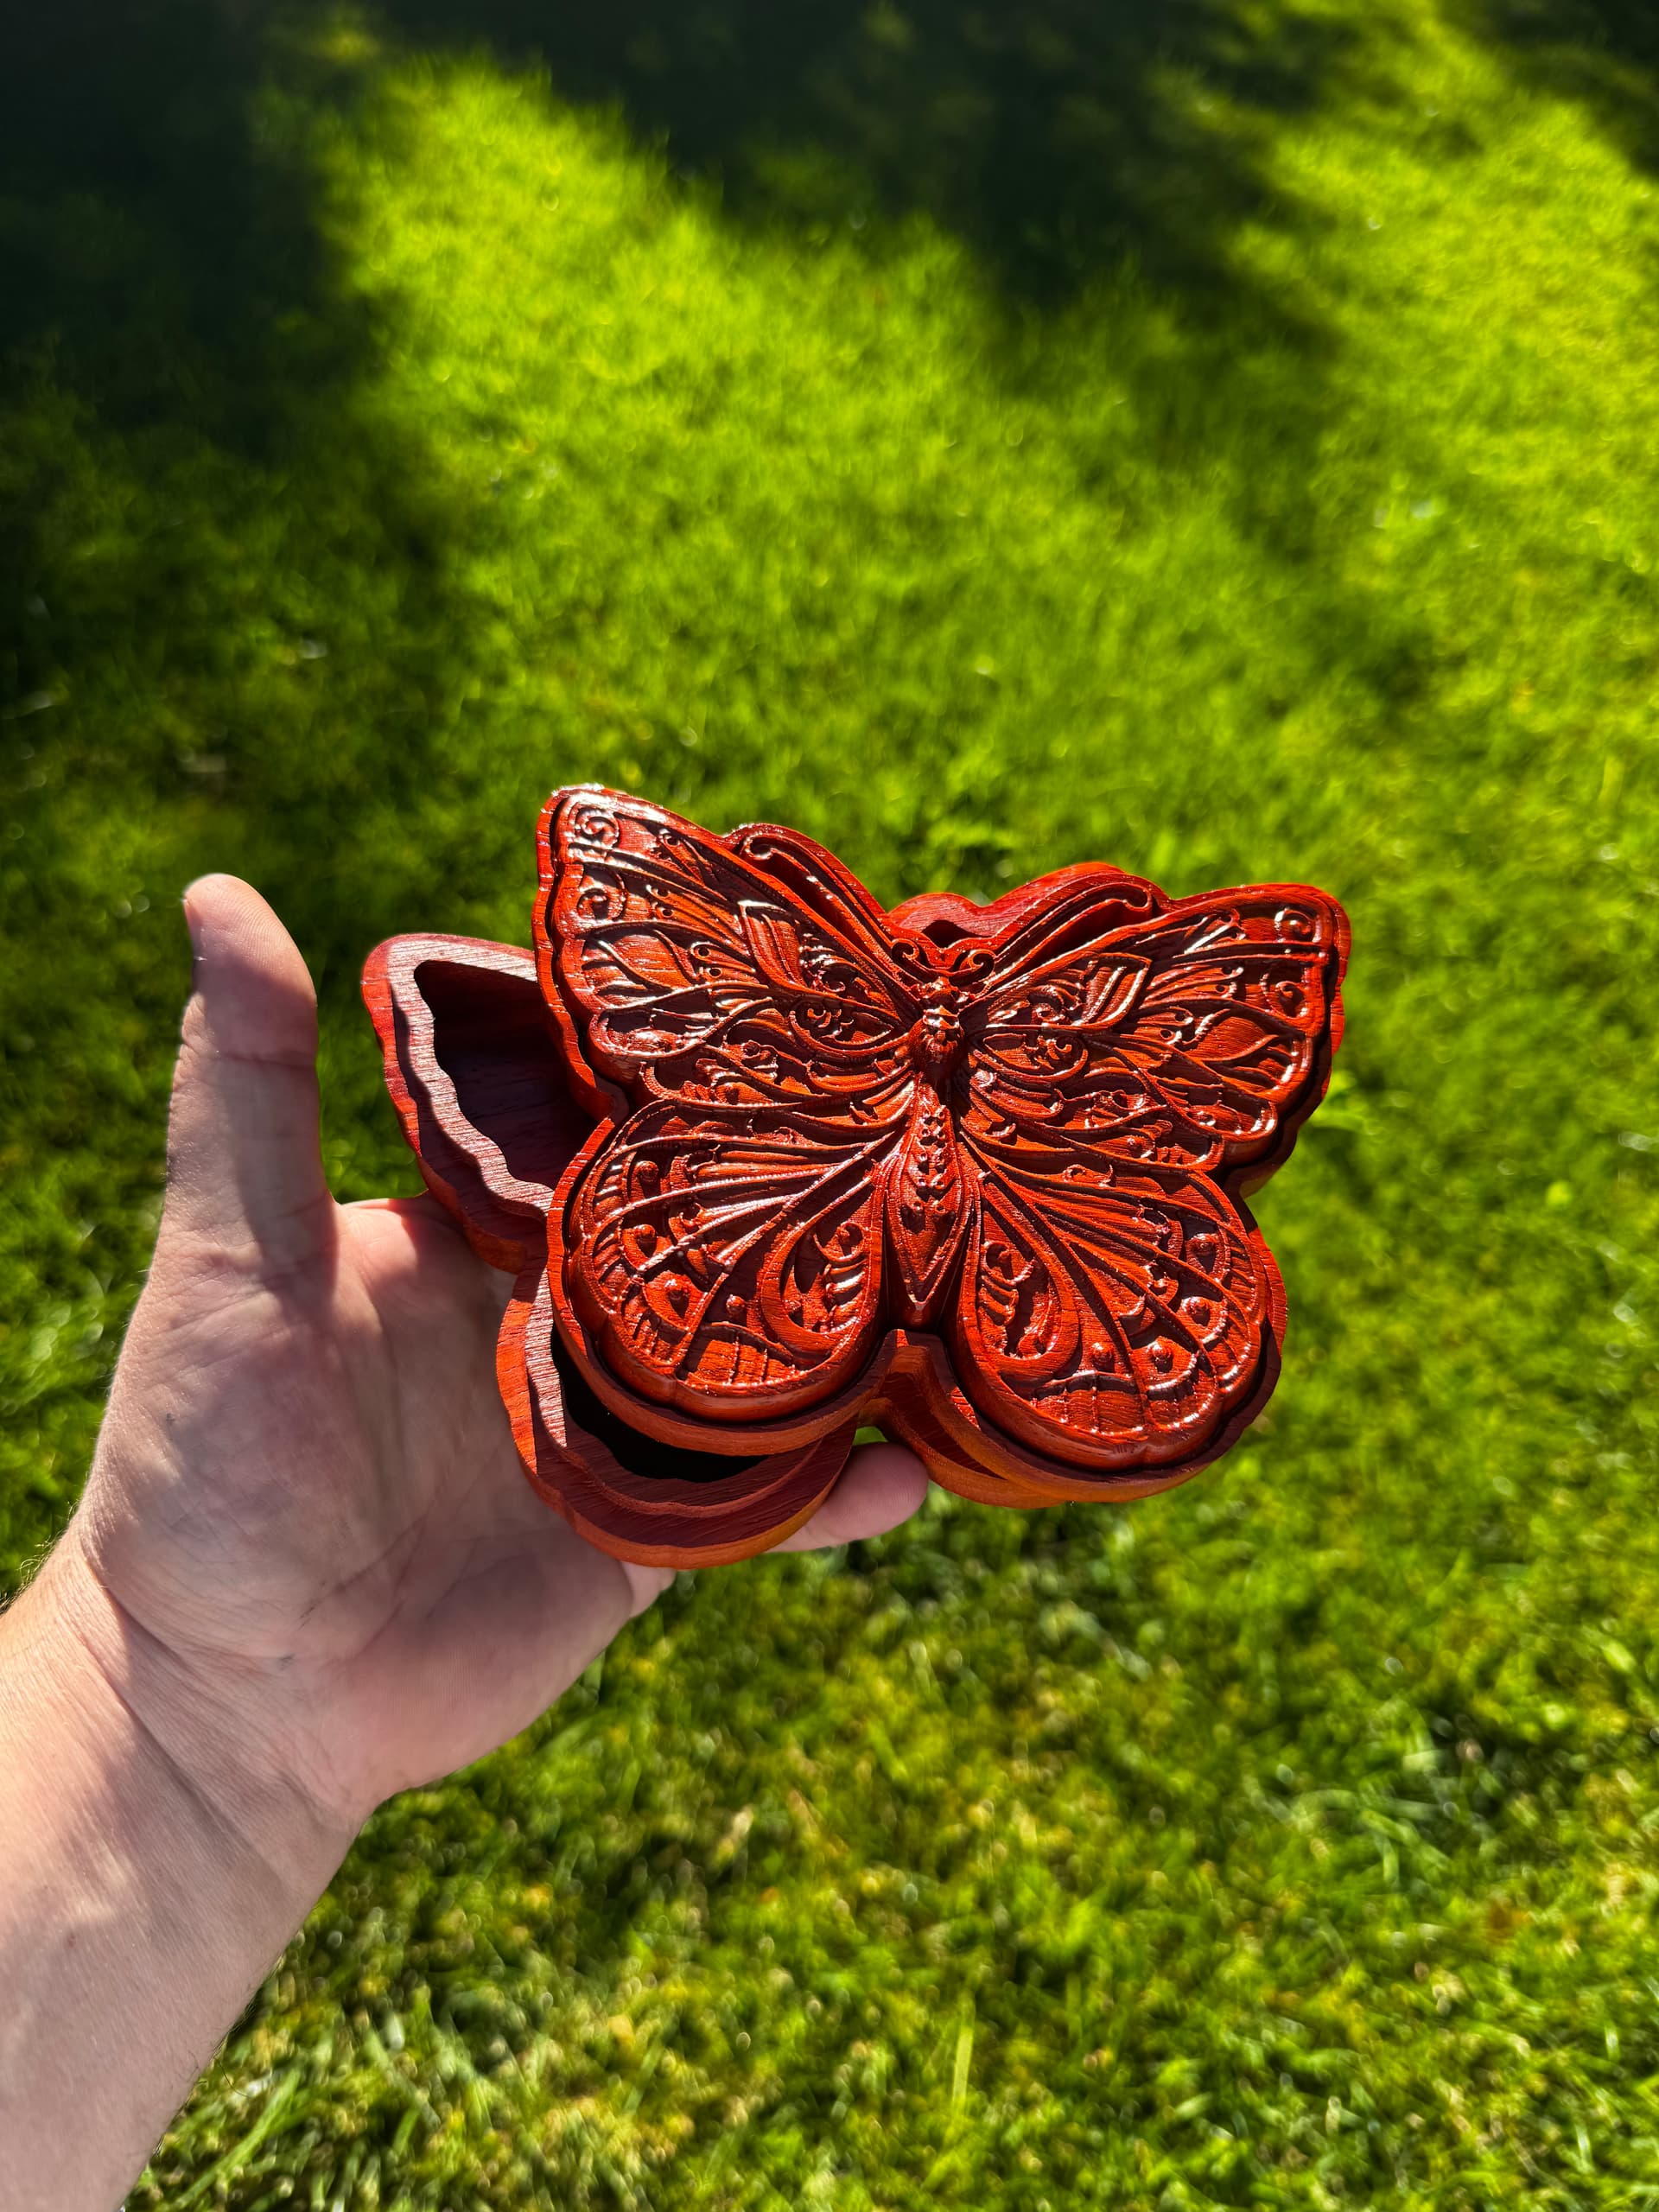
I have been practicing doing 3d model carving on the CNC. I recently purchased a ShapeOKO 5 Pro XXL and registered for the Carbide Create Pro software. I can’t believe how easy it was to get a .stl model downloaded and carved using the Carbide Create software. It takes about 45 minutes start to finish to make one of these butterfly boxes. I have made several of them now that I have the file created with the kinks worked out. I had practiced 3 times until I finally got a design file created that could be repeated without flaws. Everyone I have gifted them to absolutely loves this finished box. I use Mohawk spray lacquer to finish them because it only takes about 15-20 minutes to dry. I start with a 6.5" X 6.5" blank.

29 Likes
Lots of detail in that carve, well done!
1 Like
That looks great! What kind of wood are you using?
Very well done. Care to share if/how you rabbited the back of the lid? In particular, how you indexed the piece?
This was padauk wood.
This is the order to cut the butterfly box.
- Cut inside (back of lid) first.
- Cut top (top of lid)
- Cut the base
To make the lid was a bit tricky (two sided cut) until I discovered how to index it exactly every time. This is what I do.
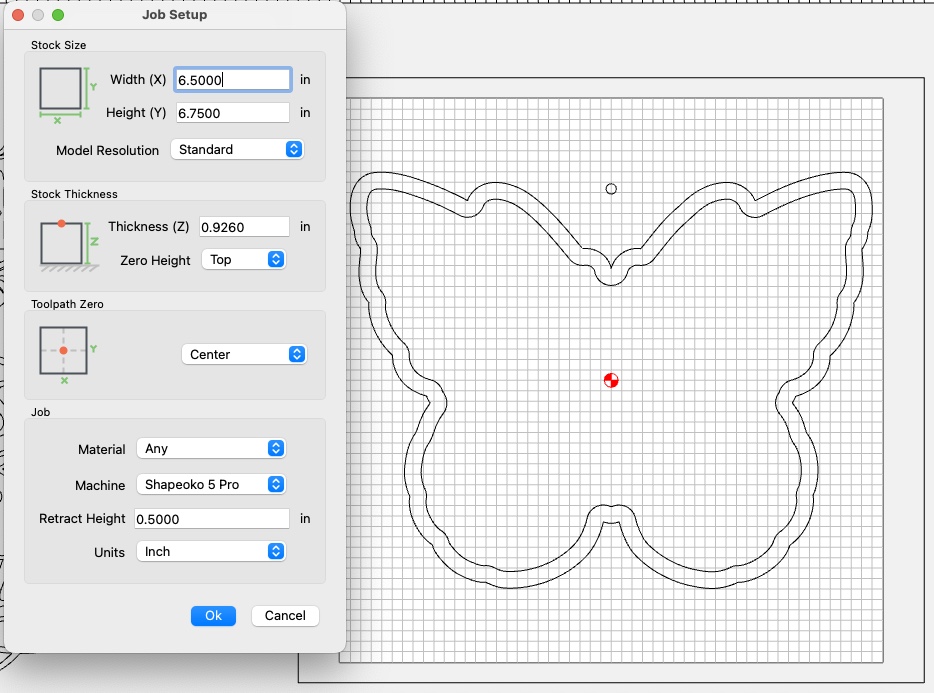
- Make the Toolpath Zero Center. Work with the outline of the image (stl) that you imported. In this case it was a butterfly stl file.
- Center it and then create a .126 inch diameter hole and center it as well either above or below the model.
- Use 1/8" drill bit to drill that hole through your project wood and into a backer (either a sacrifical back or the wasteboard itself). This will be the reference hole you will use next.
- Use an 1/8" pin (I had an 1/8" brass pin from another project which is 2" long) when you flip the project piece over use the 1/8" pin while it’s in the hole you drilled and line it up with the hole in the backer/waste board. This is the index for the top side of your project piece which centers it with the back side you just cut.
- Key is to center everything. Also, make sure you use a fence for the base side of the project piece. That keeps the project square and free from any rotation.
Here is a link to the project file if you want to see how I created the Carbide Create Pro file for this box.
https://drive.google.com/drive/folders/12o9lAsqGiUQYiGBMeNtdJ1FvjYvQR5UU?usp=sharing
3 Likes
Thank you for the detailed explanation! Huge help!
1 Like
This topic was automatically closed 30 days after the last reply. New replies are no longer allowed.