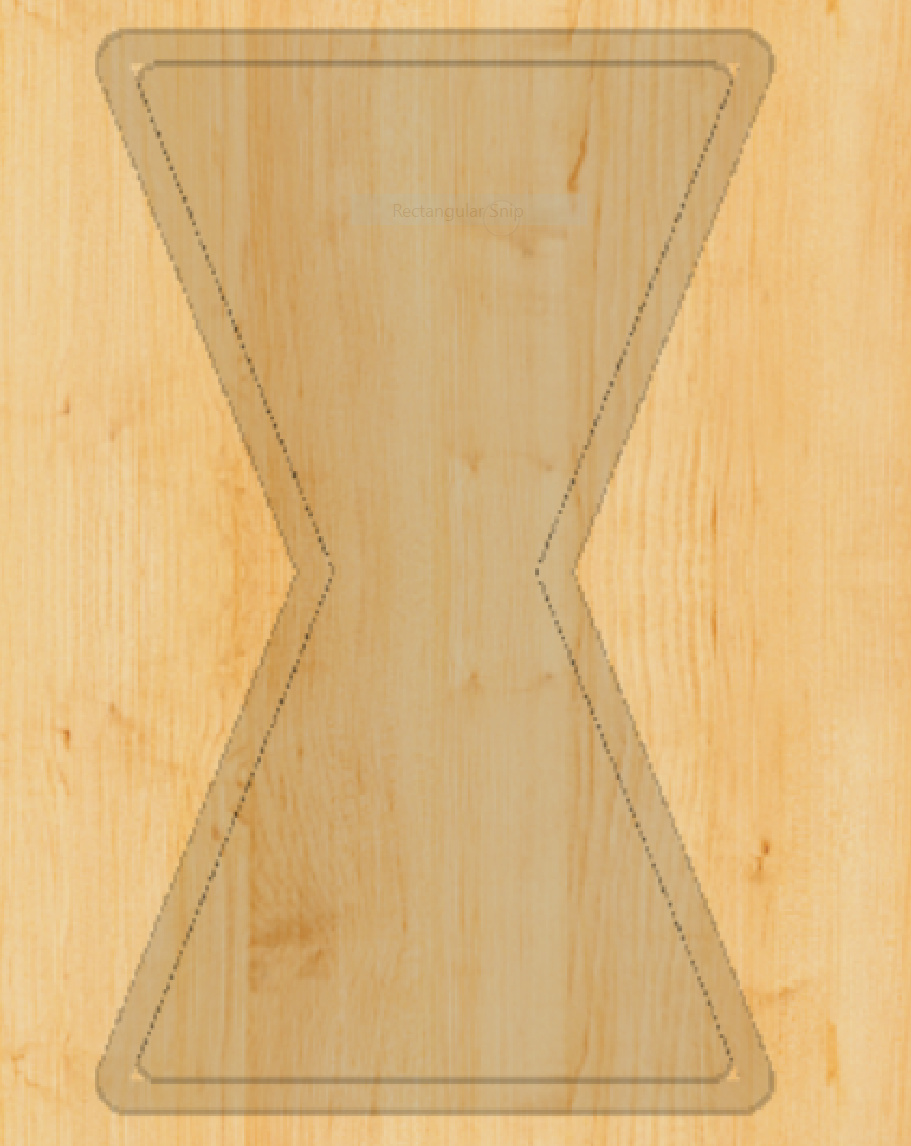
I am having a small issue and am under a time crunch to get this finished. I am trying to make a butter fly patch for a cracked piece of wood. I created the patch in CC and made a pocket .375" deep and used the same shape to create a patch to go inside the pocket. I cut the two objects out of a scrap and both came out good except for one problem. The pocket seems to be about 1/8" larger. I did use the #102 1/8" flat end mill to cut these out. I know it has to be an offset but if someone could tell me how to cut the pocket out to fit my existing patch. I have limited material to experiment with. Attached is a photo and I have attached the CC file and the .nc files for both tool paths. Thanks in advance
I’m not sure why the patch came out smaller than the pocket, unless you accidentally selected an inside or no offset cut instead of an outside cut. However in your c2d file you selected the proper cut.
But…when you are cutting one part to fit inside a pocket, your shape should not have any sharp corners. You should radius all sharp corners to a minimum of the cutter diameter (.125" in your case). This is essentially because a round cutter cannot make sharp inside corners. The butterfly shape would need to have six corners radiused in this way.
I was just going to trim the ears off. As I said I am in kind of a hurry. The patch is on the bottom of a Jewelry Armoire base and no one will ever see it. So as long as it holds the crack together I will be happy. If I had more material I would just make a new base
Thanks Will. I will try your suggestion. Since the patch is good except for the ears being sharp (I will trim them with a chisel) I will try to scale the pocket. I can cut the pocket in anything and try the patch in in. I only want to cut the actual pocket once in the material on the base because of a lack of material. I need to get this patch glued in tonight so I can finish the part tomorrow after an over night drying time.
I tried to resize the pocket and after an hour of redoing and redoing a lightening bolt hit me. I already had a template from the patch I had made. I had a Rockler routerbit and collar set up for routing. I could not find the butter fly patch template. I used the left over part from the patch and routed a new patch and pocket. That fixed my problem. I have seen some people that want the CNC to do everything. I am only interested in the result and not the method.
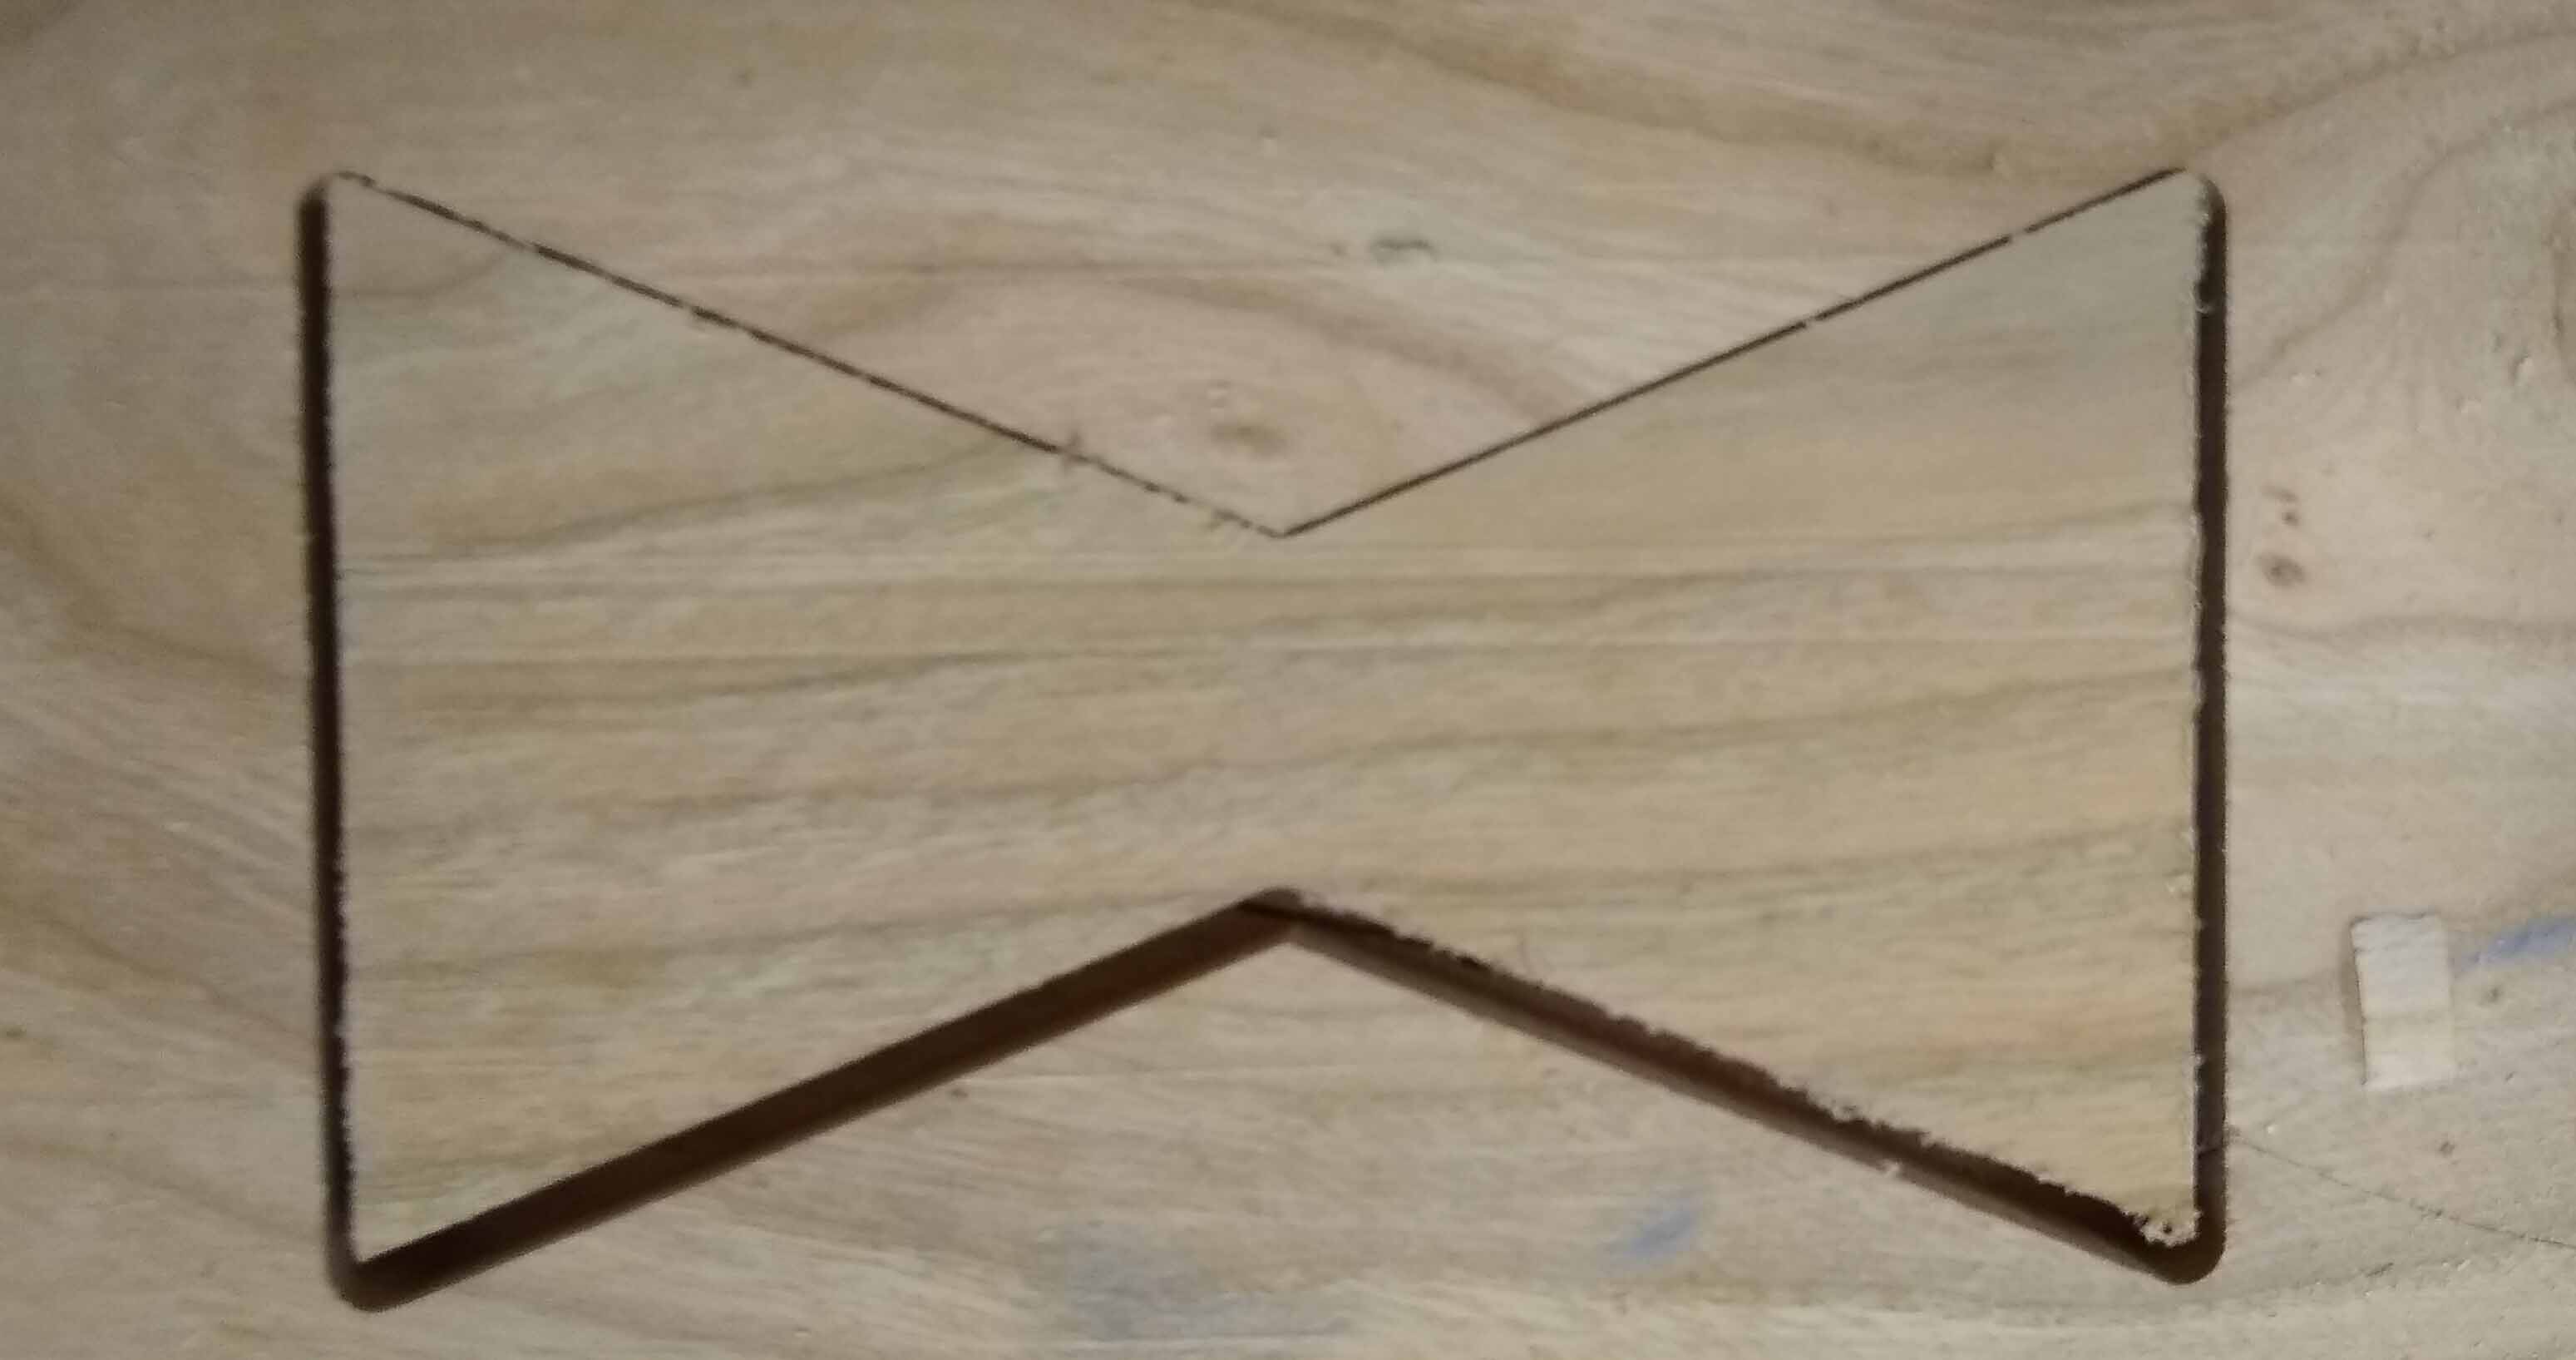
This picture is of the left over after cutting out the patch and resawing on the tablesaw to get the patch
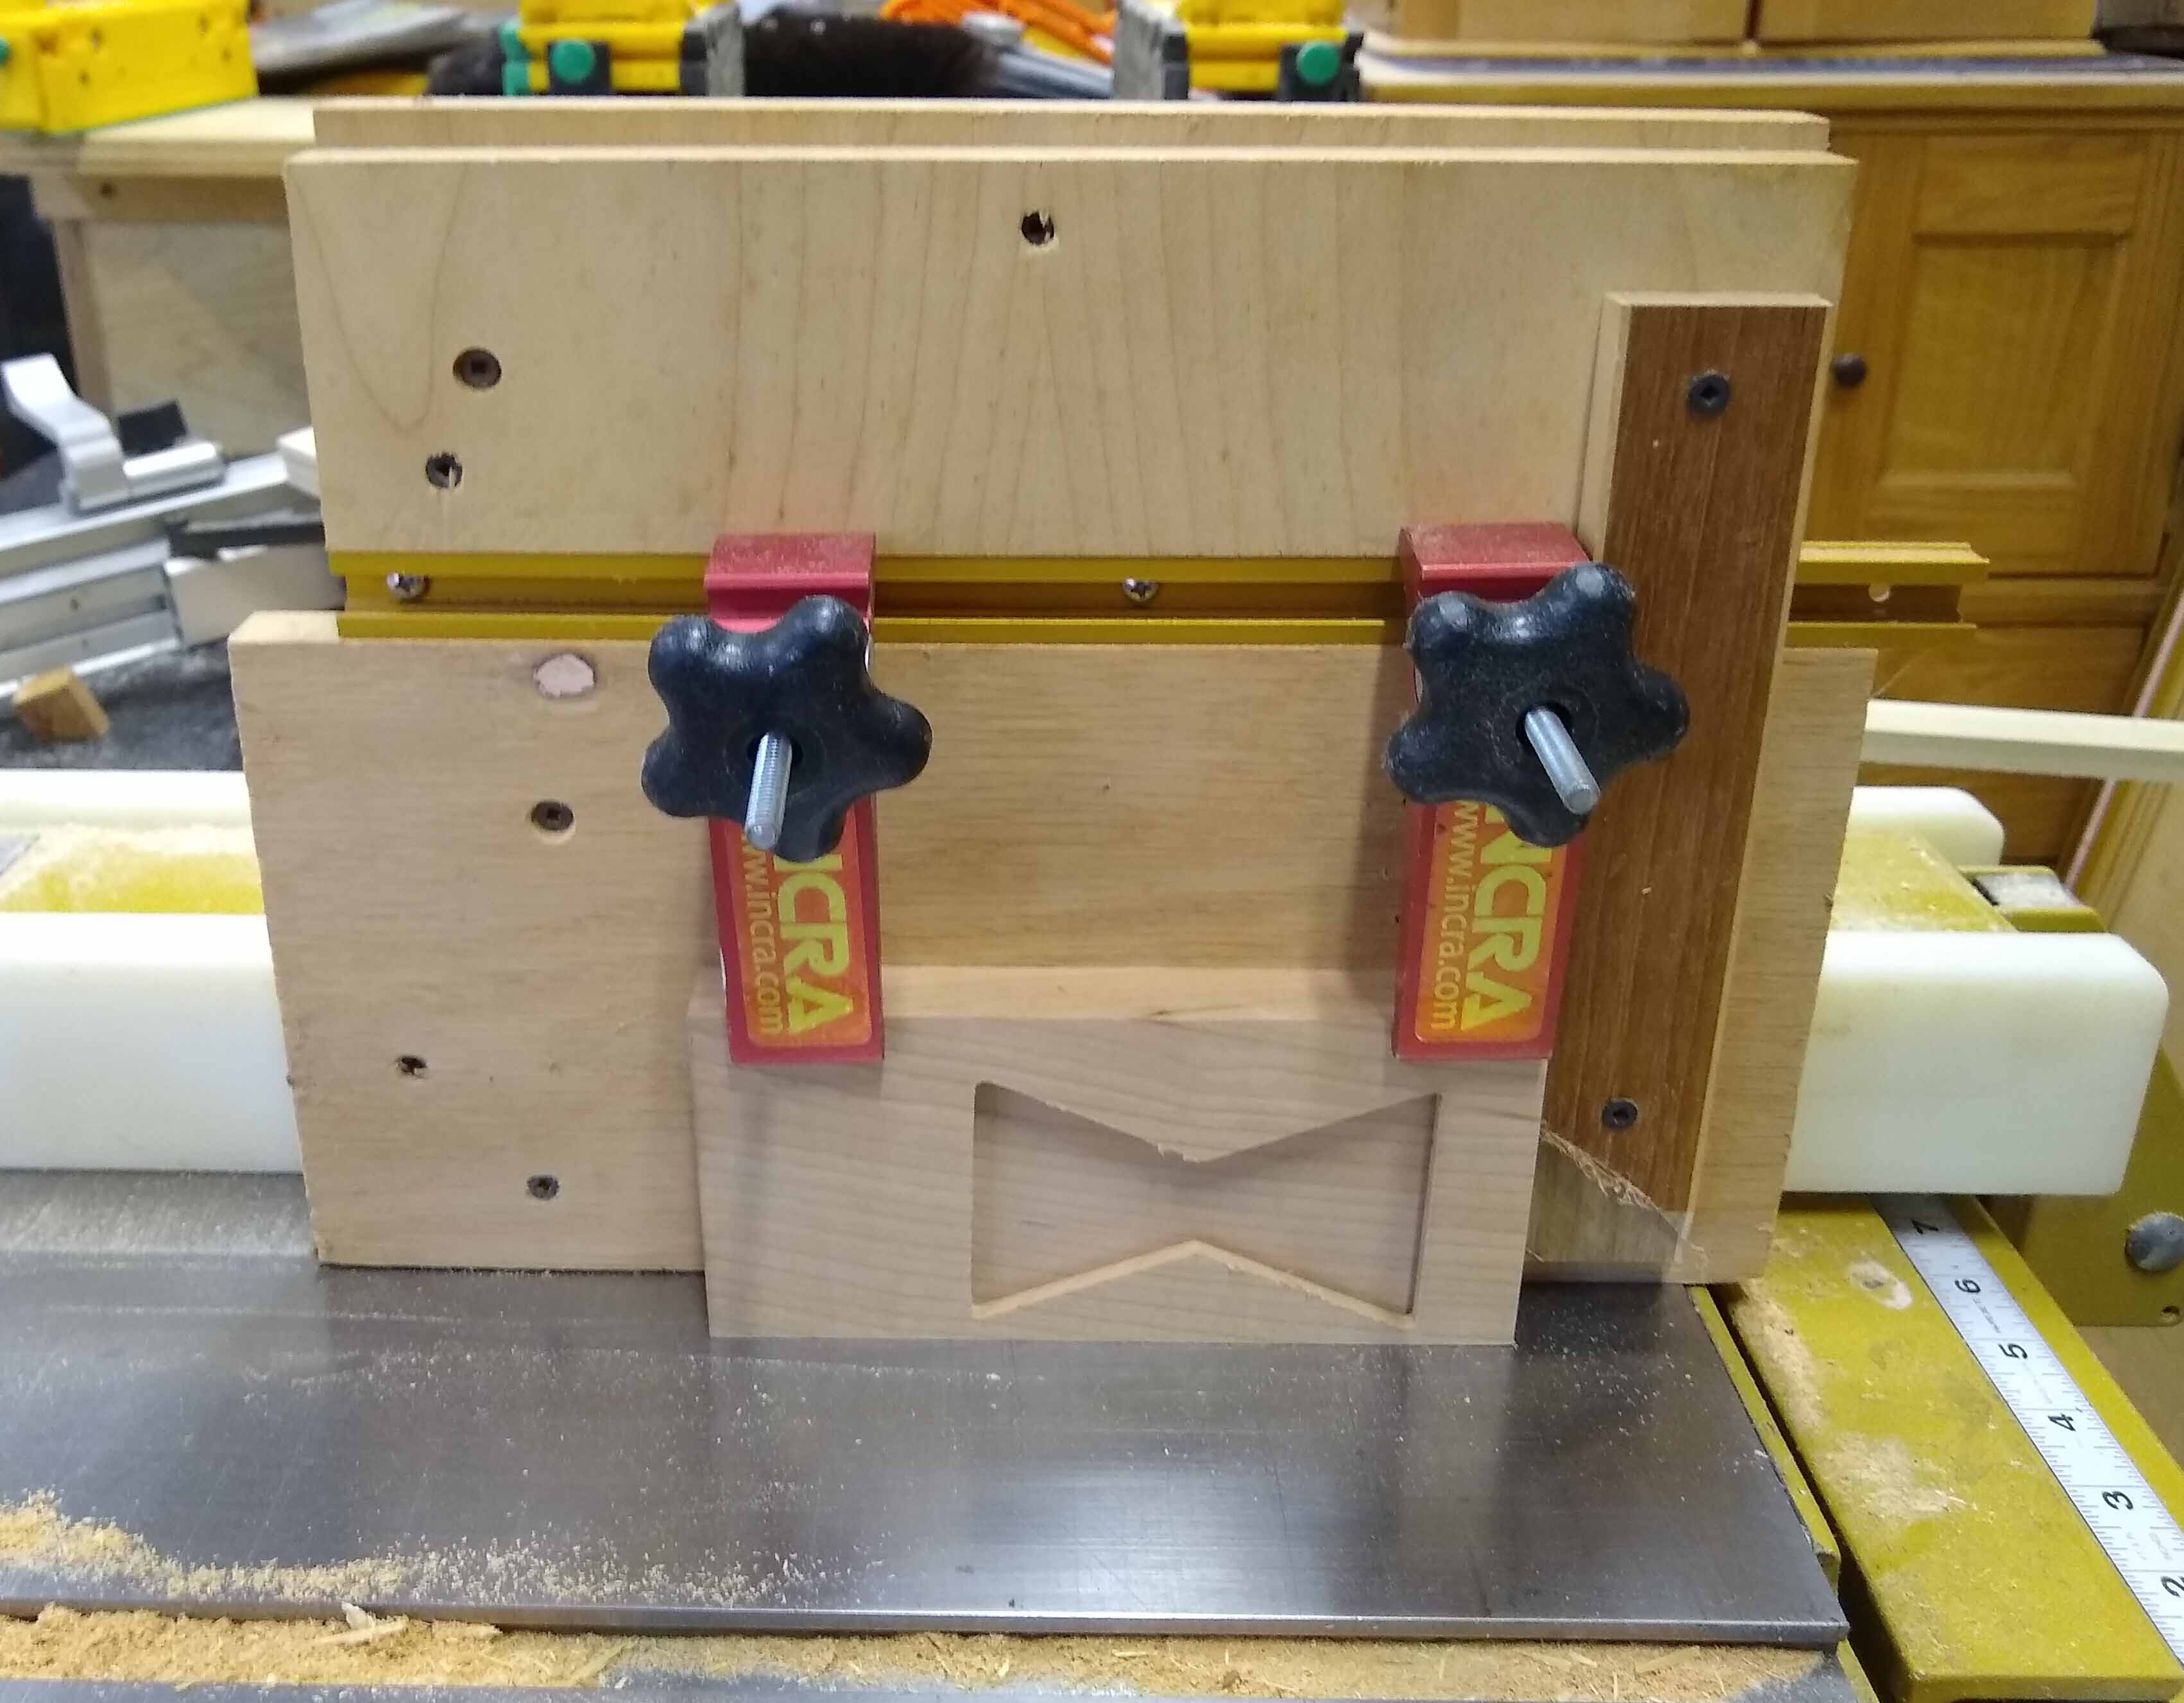
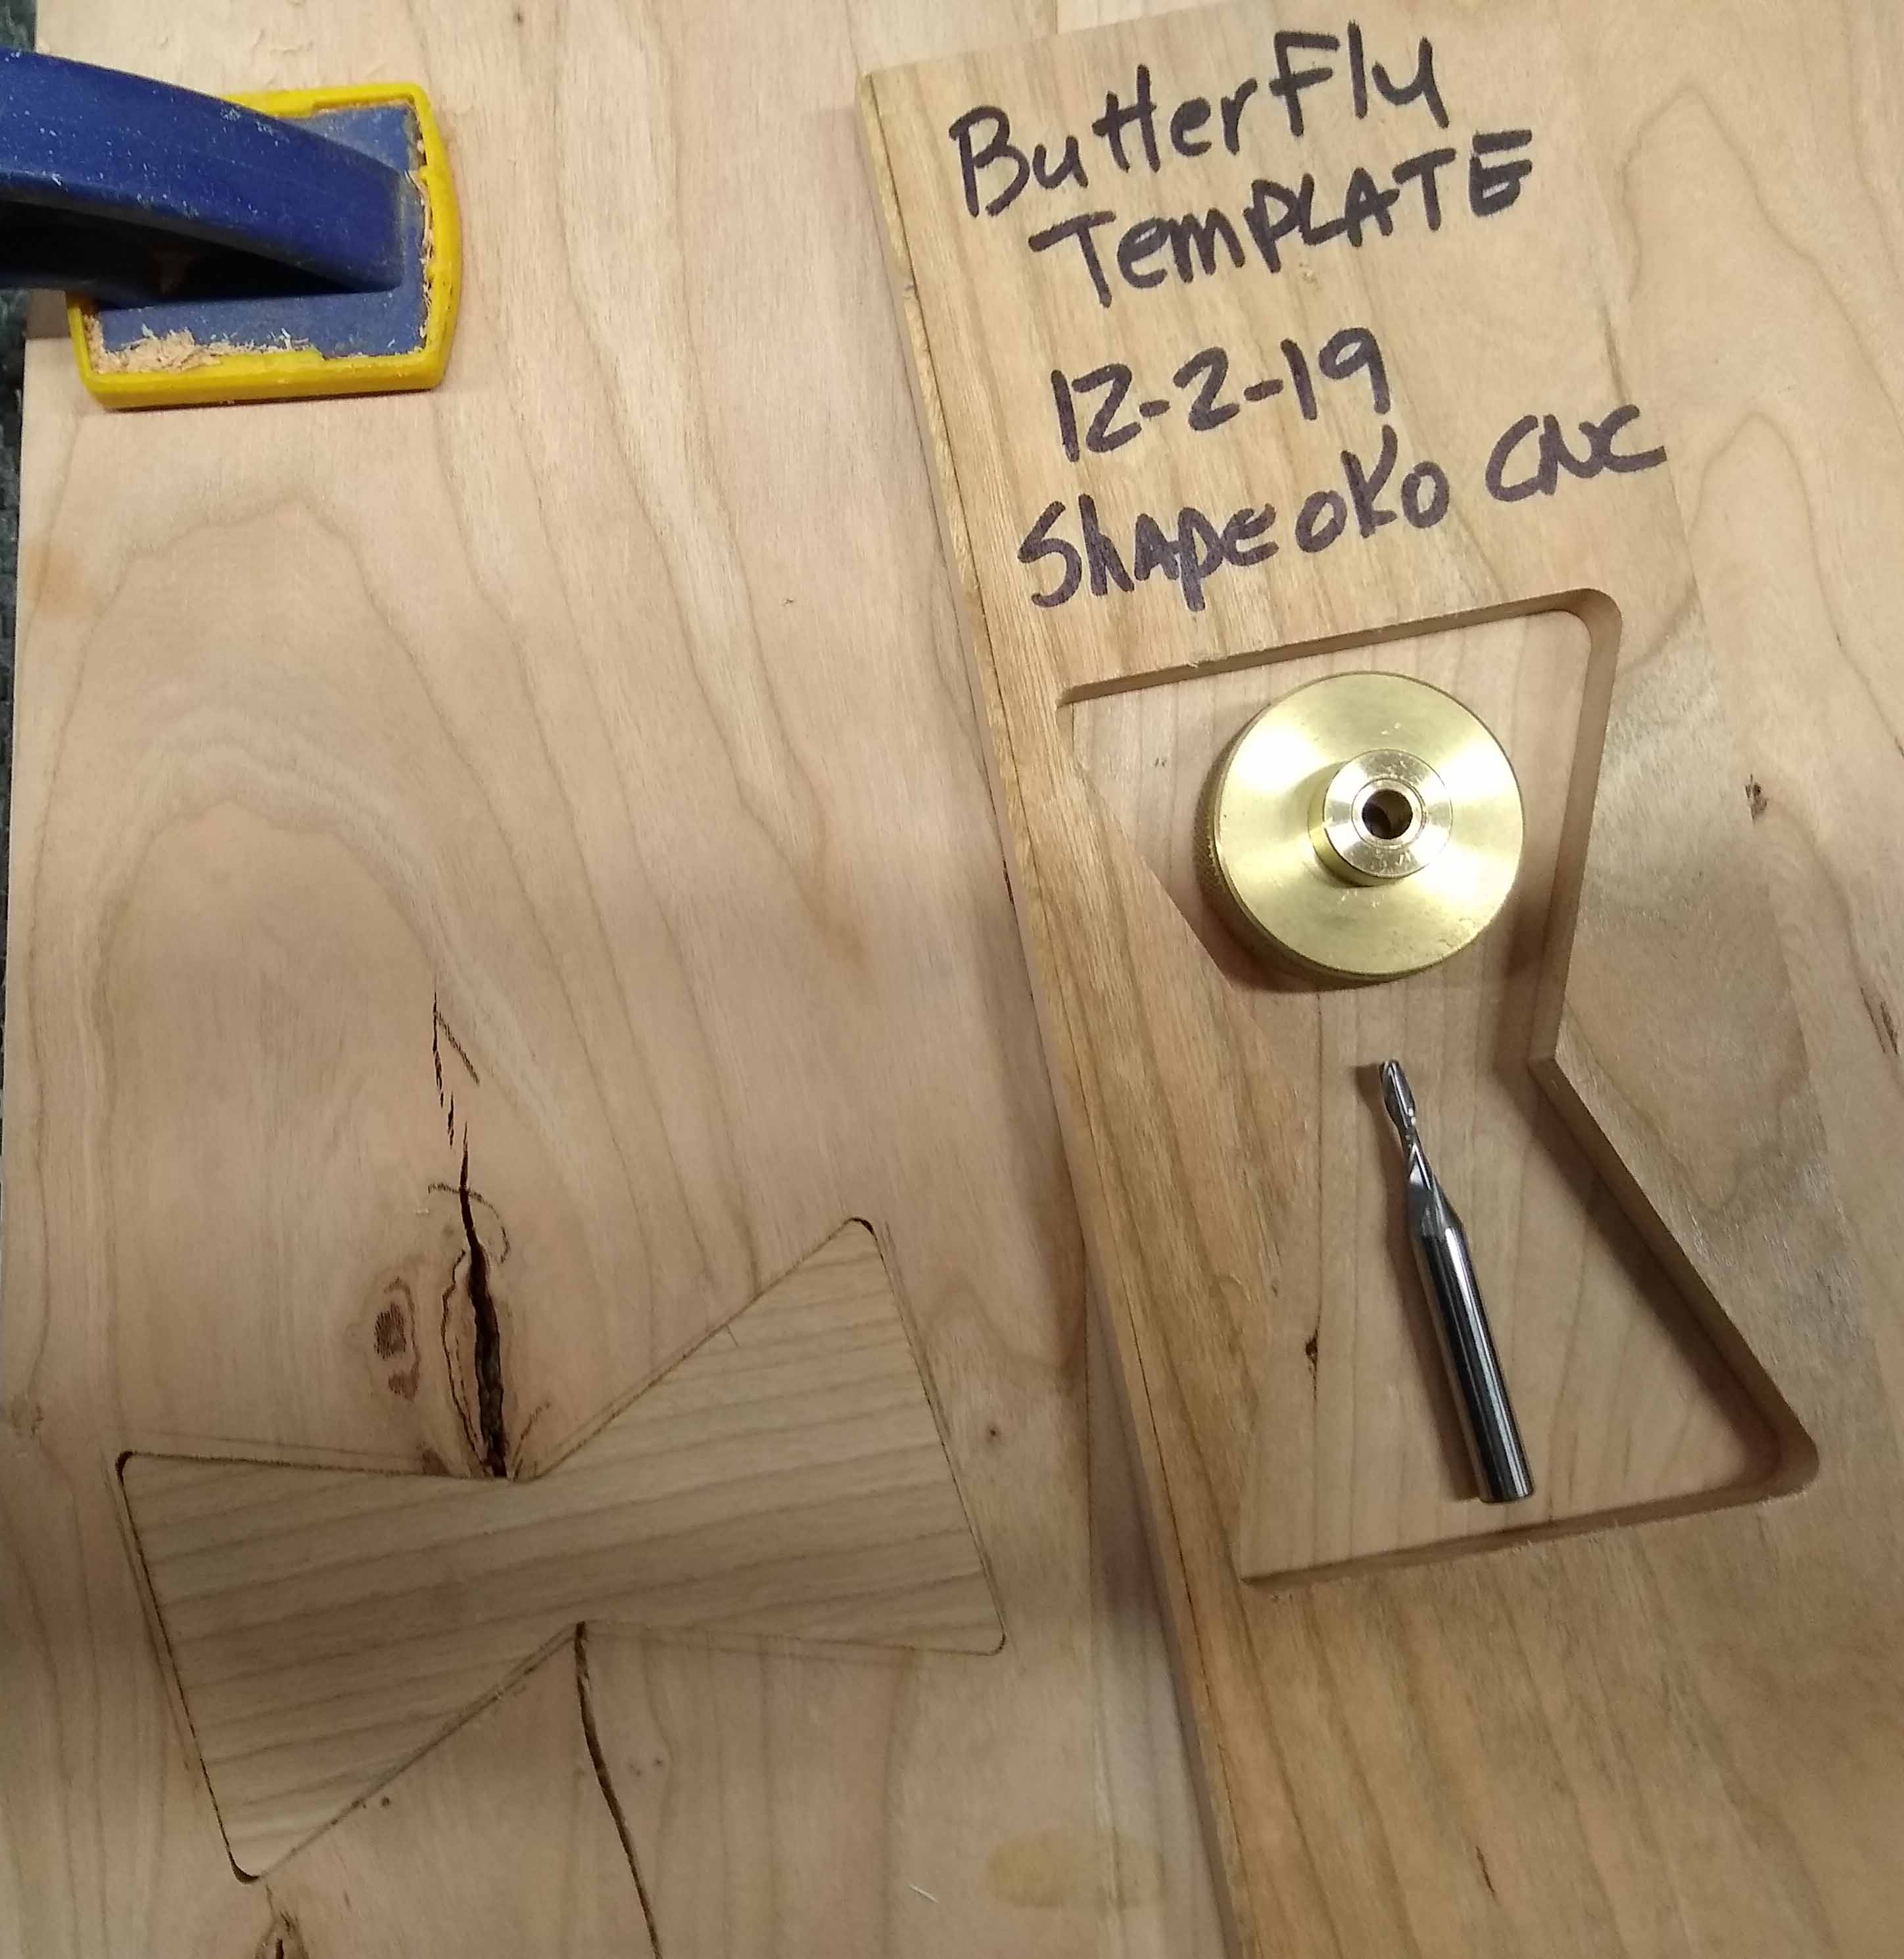
This is the picture of the Rockler router bit and template
(upload://i1iGDBOeWECLowT7XD7mBcD7Zkm.jpeg)
(upload://yFTw6FvXeSKs7I50Sgq8TKnll1m.jpeg)
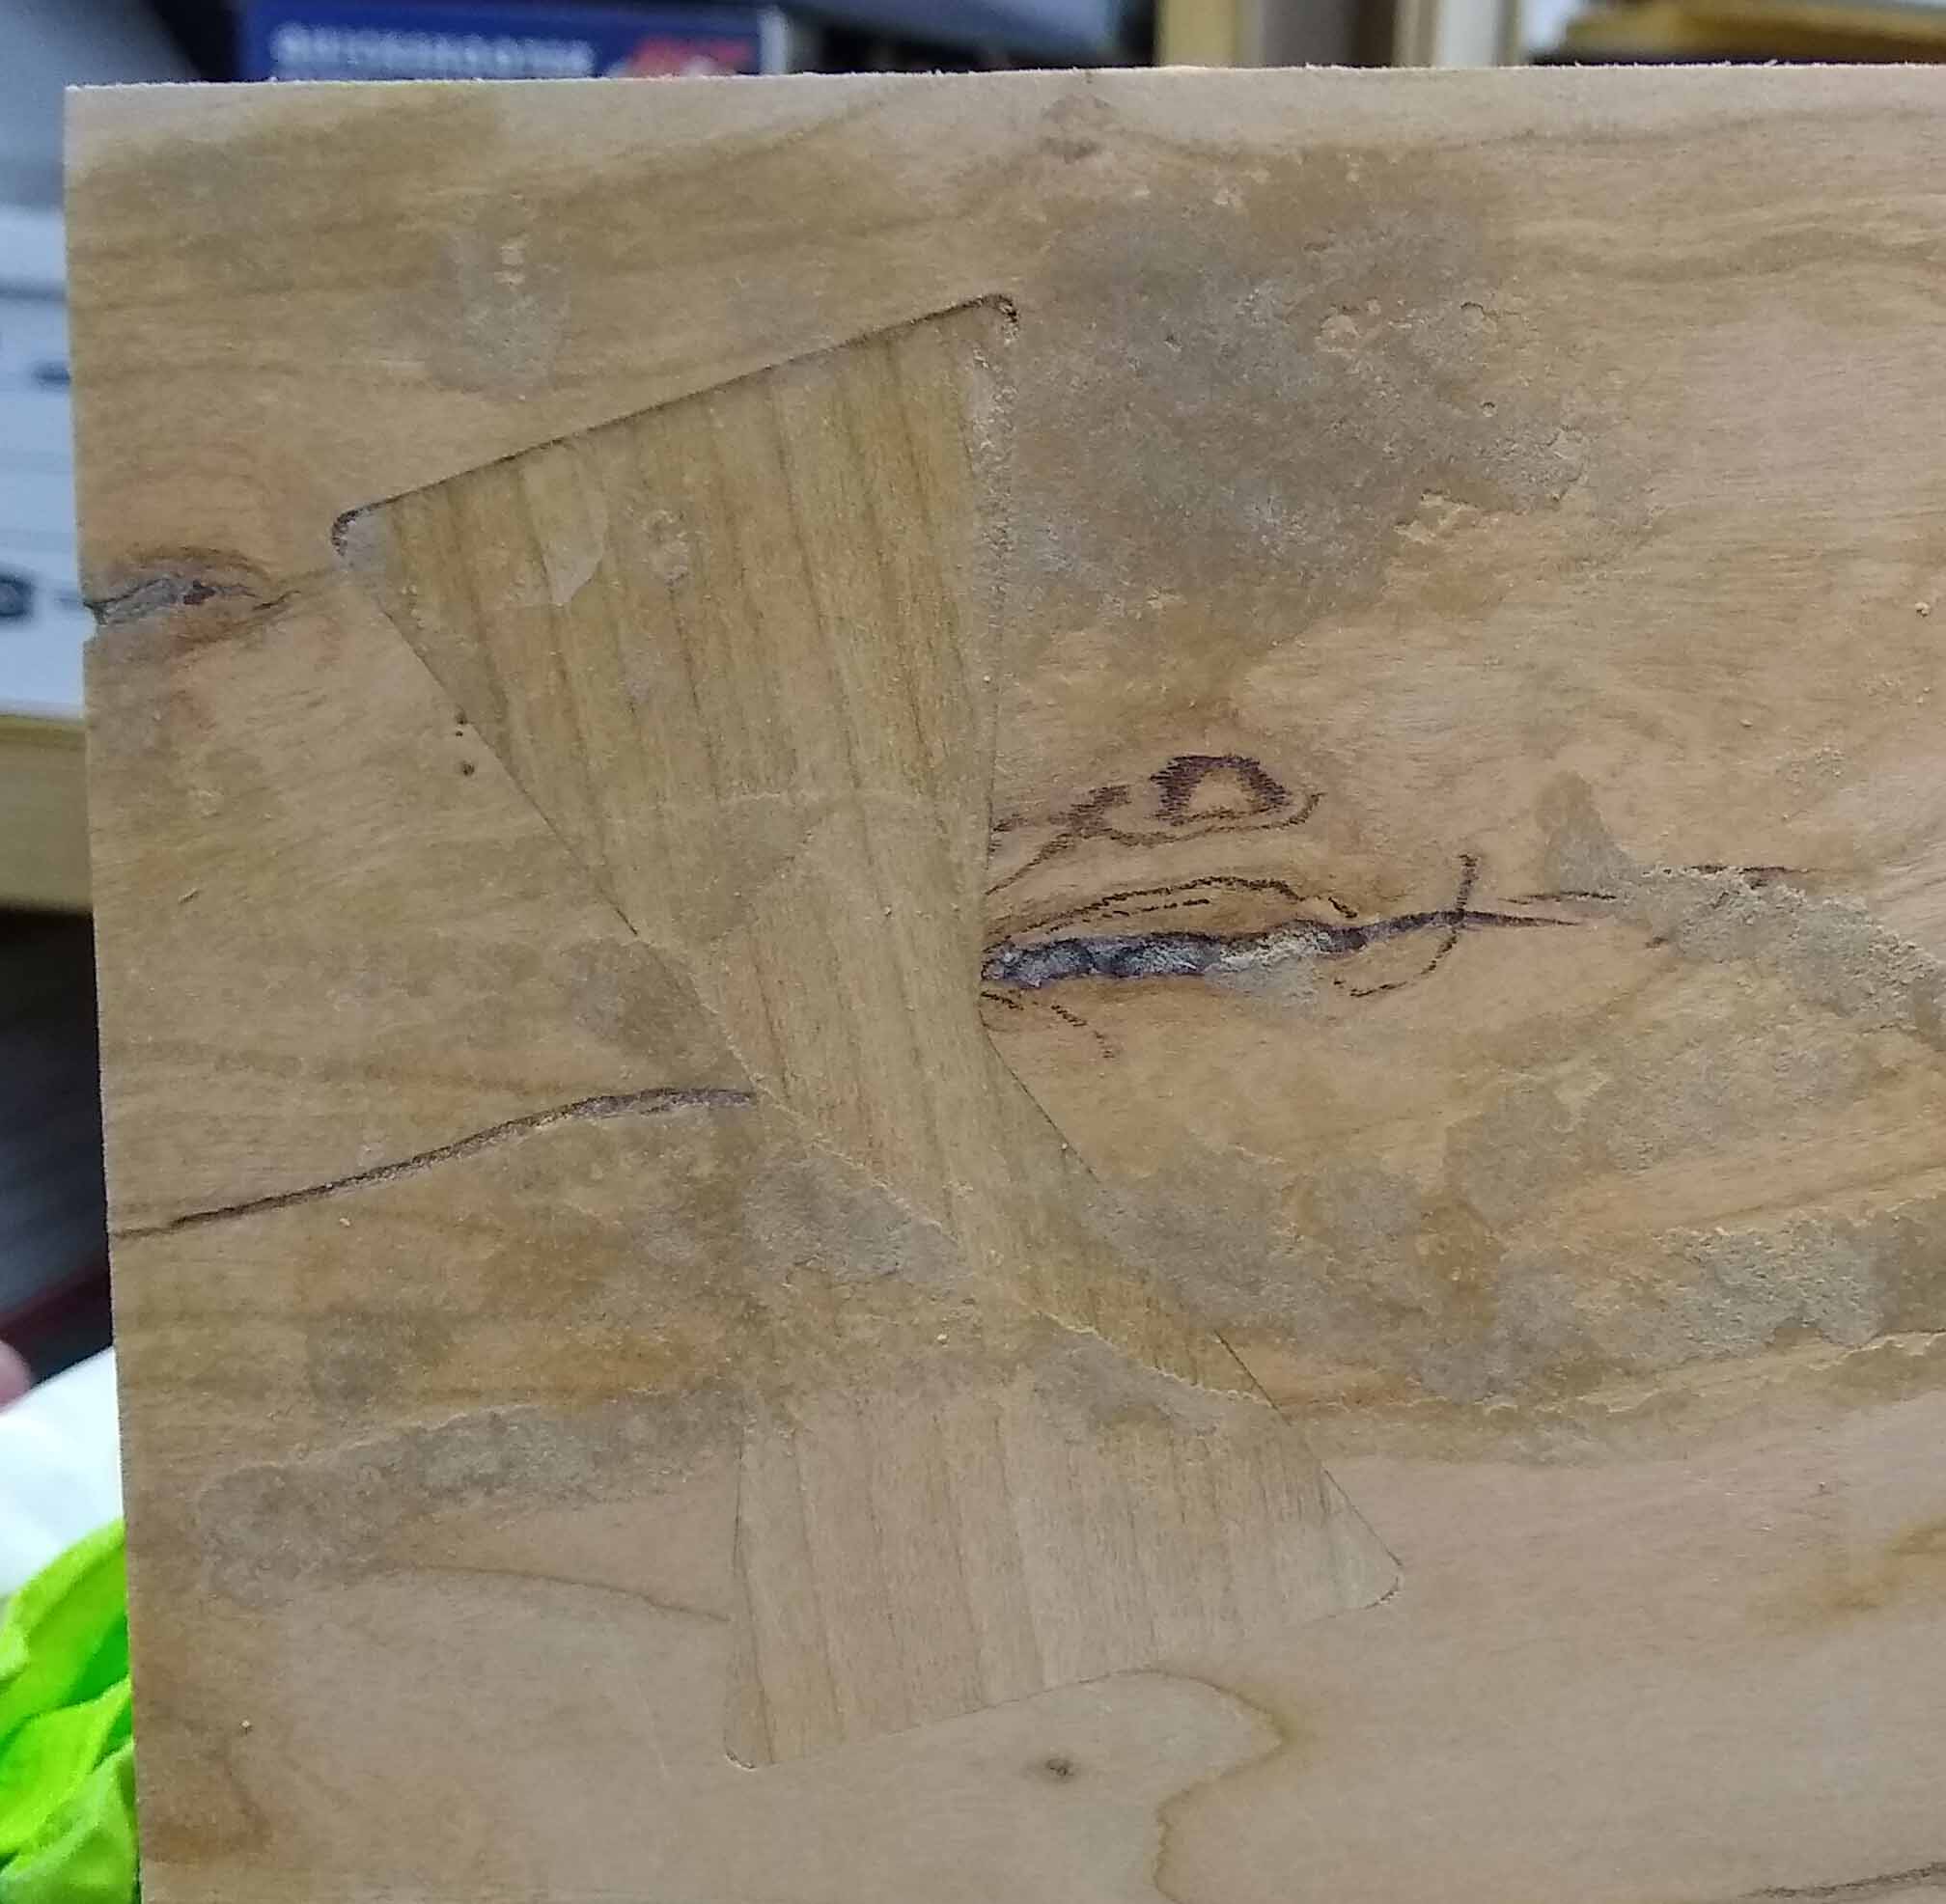
This is the patch still in rough form. I made a pass with 80 grit sand paper and the epoxy was not quite dry. In the end the patch and crack are solid even though no one will ever see them.