Hey all,
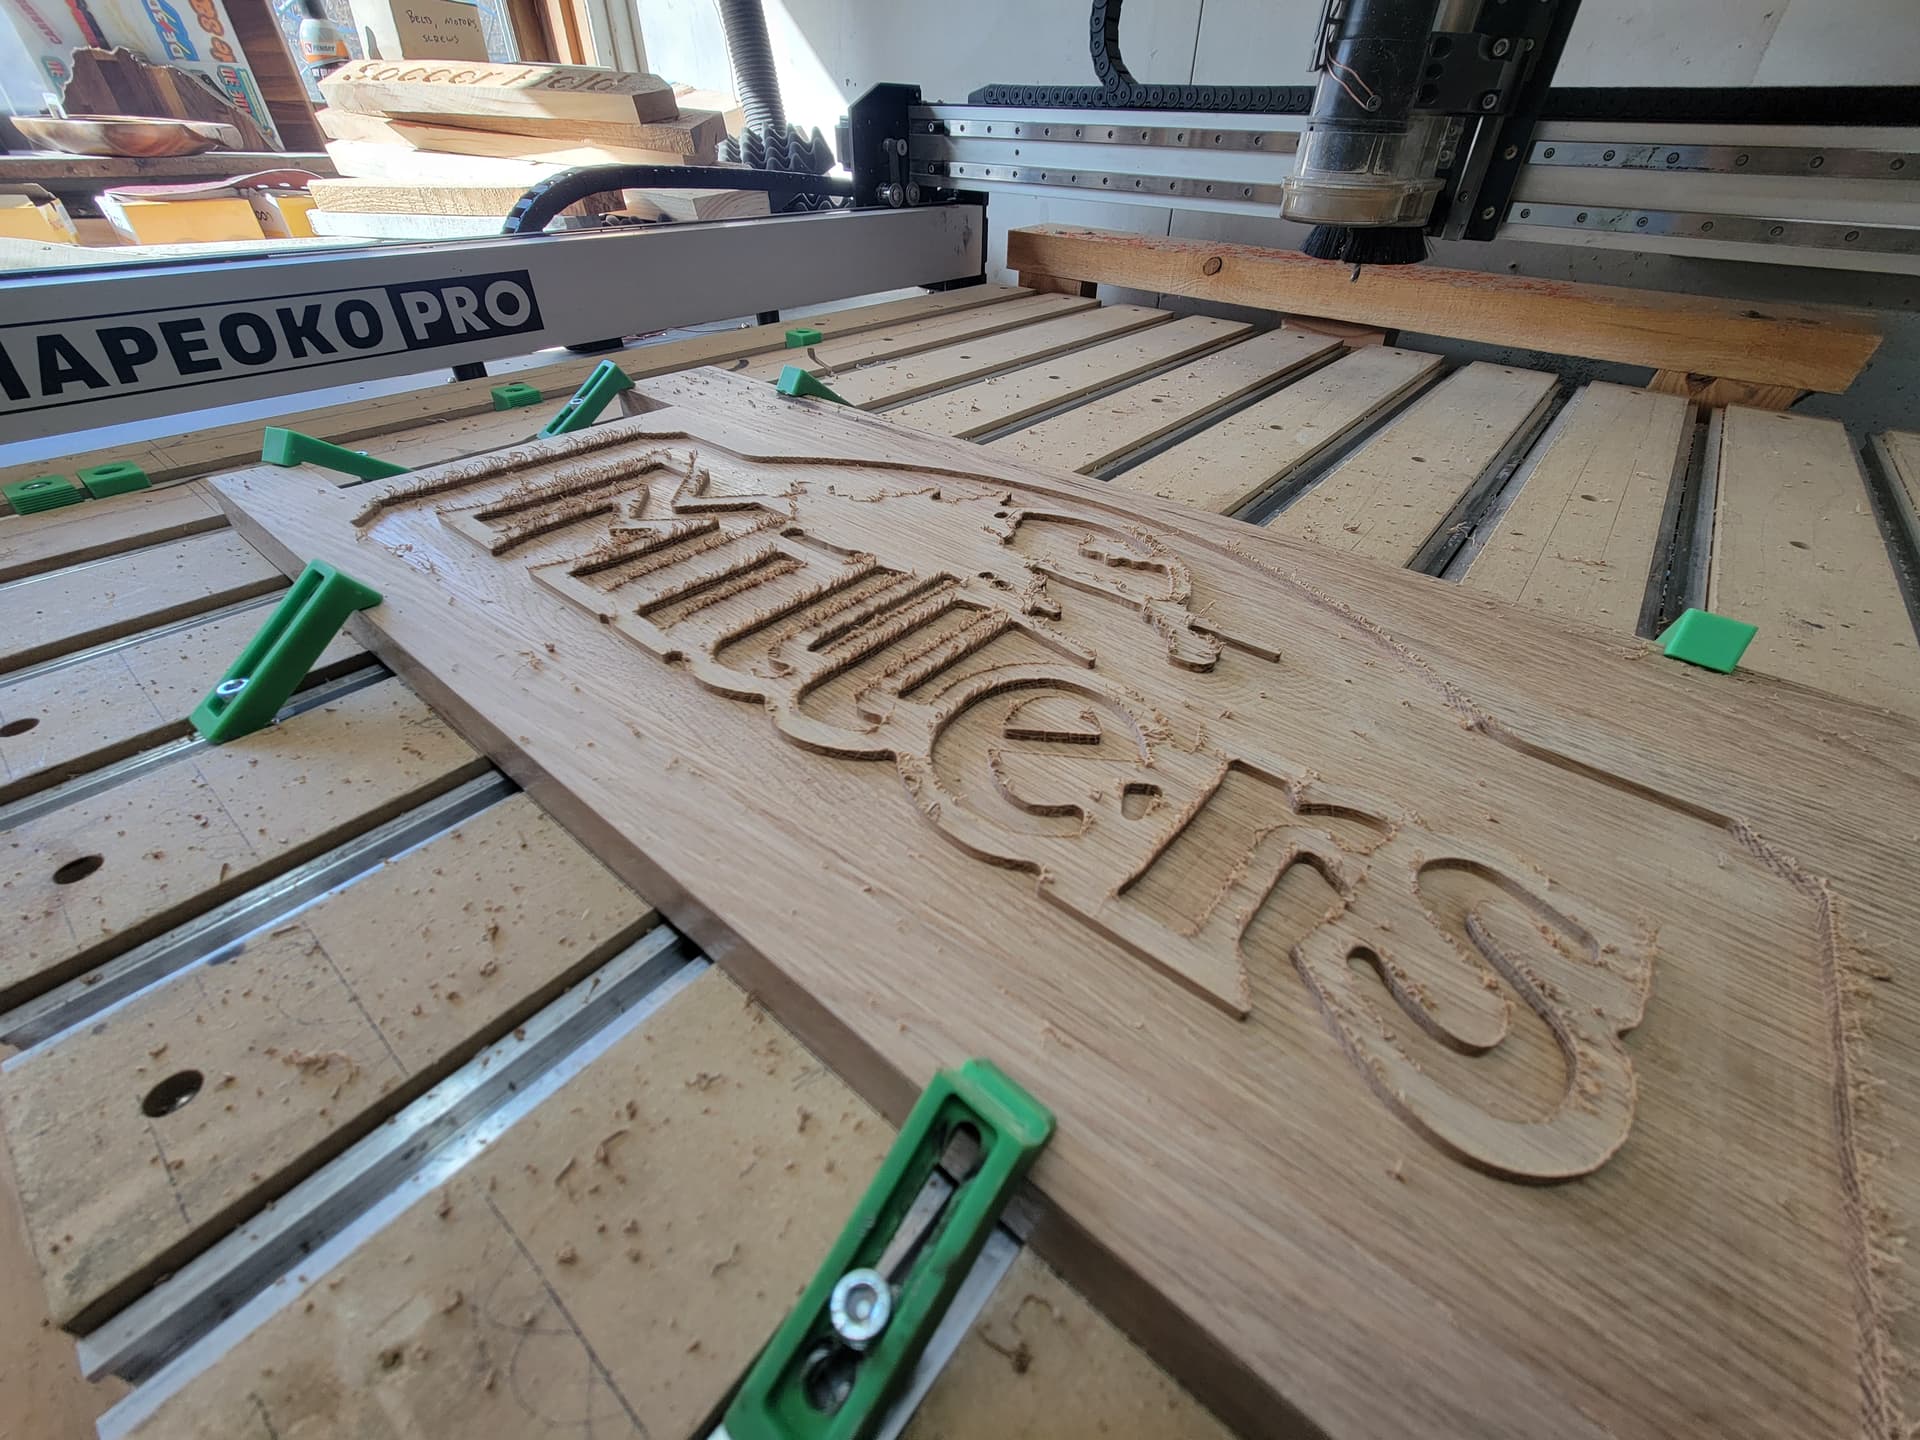
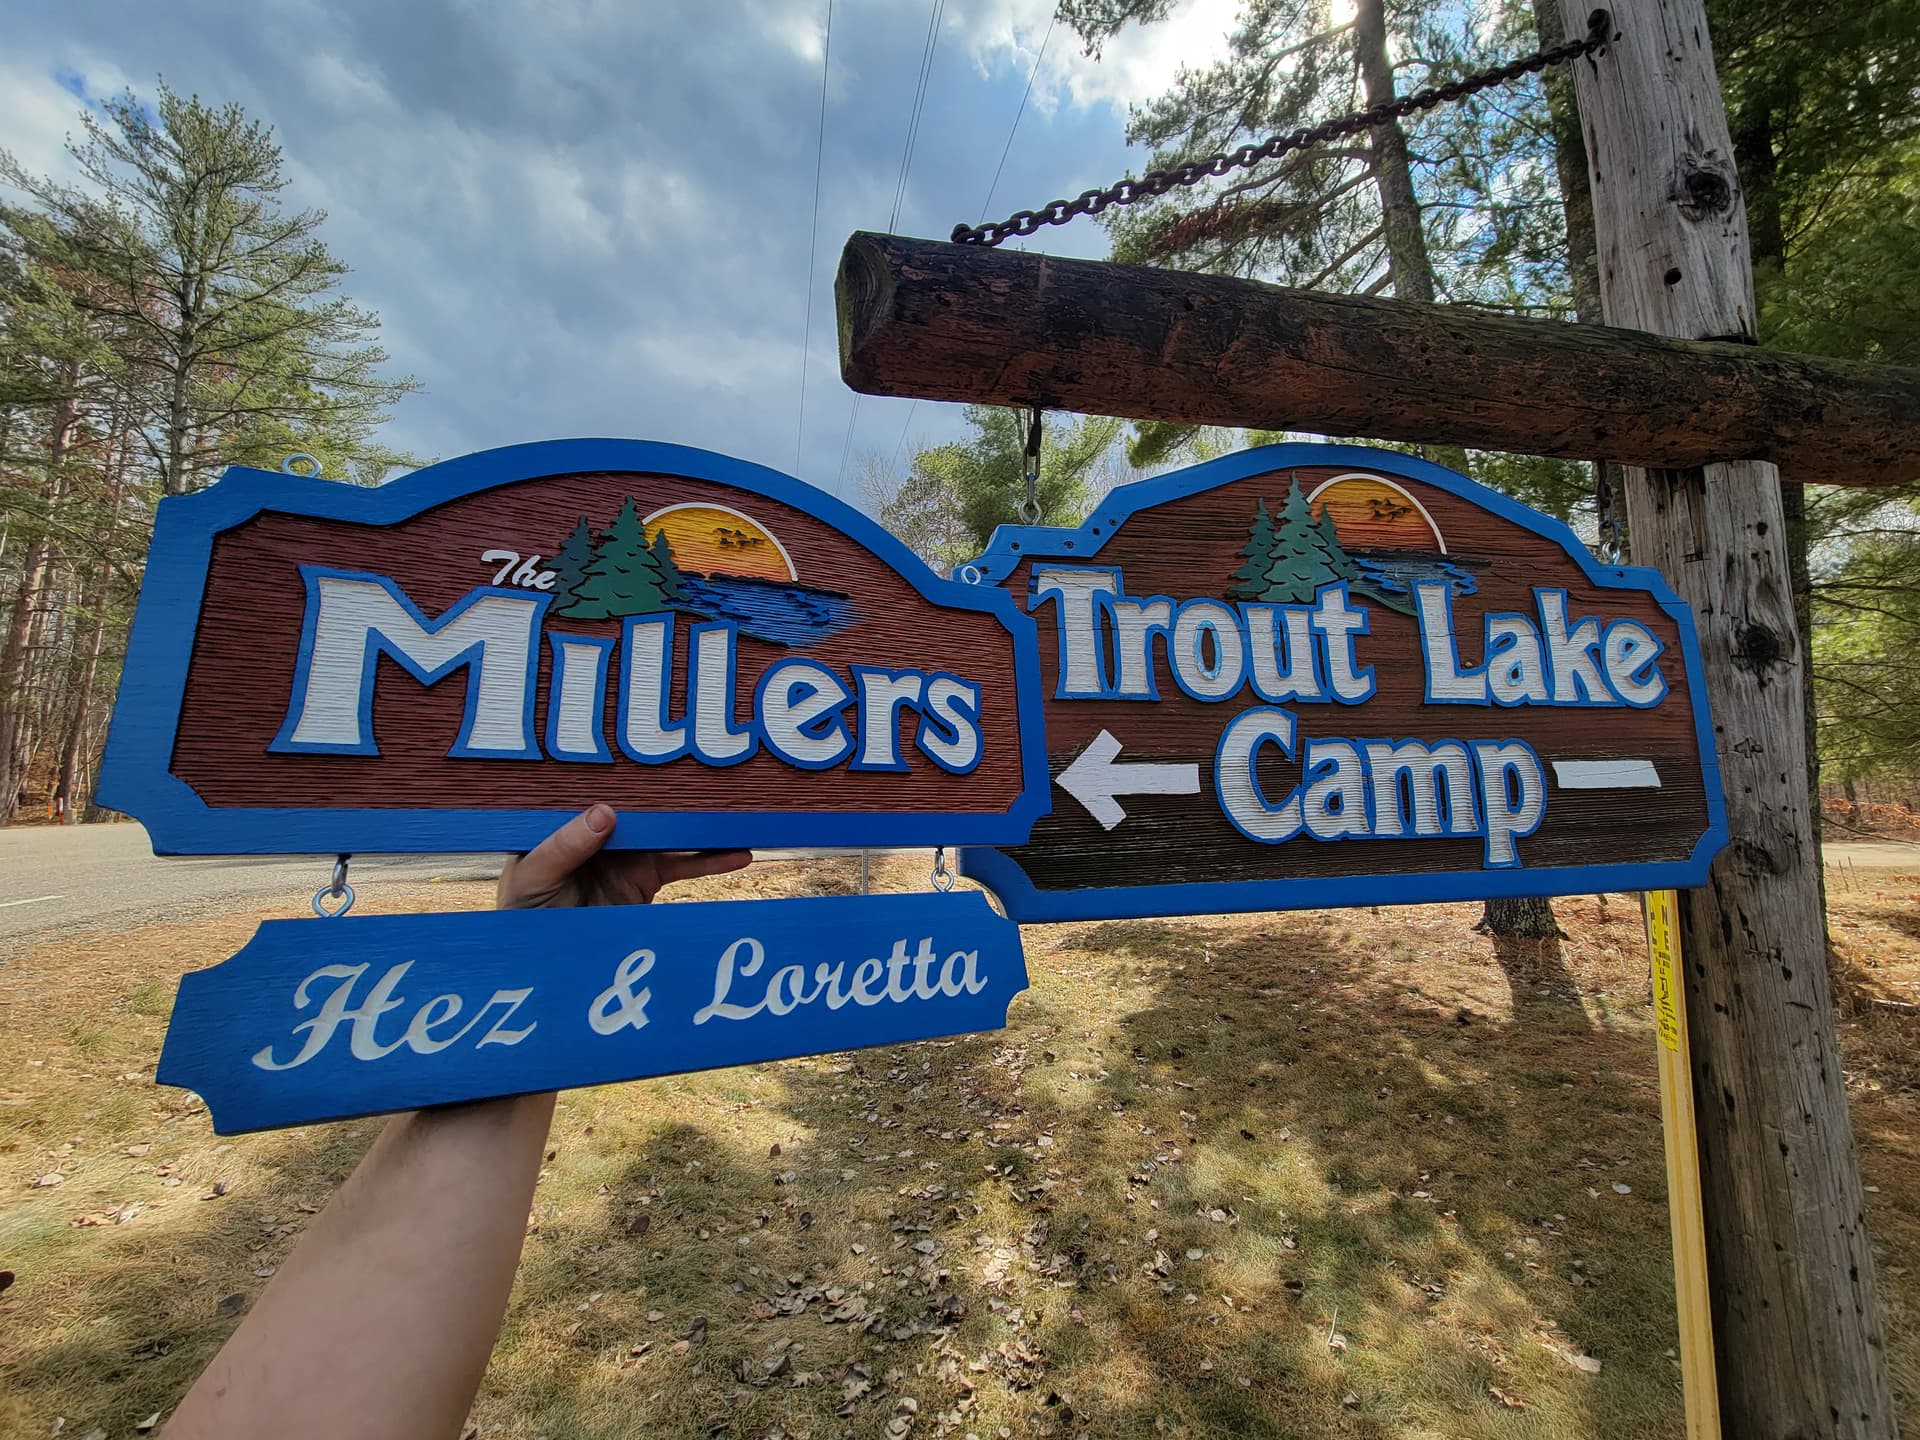
This was a leftover stair tread. First time I’ve used the texture feature.
Lots of work on transferring a logo.
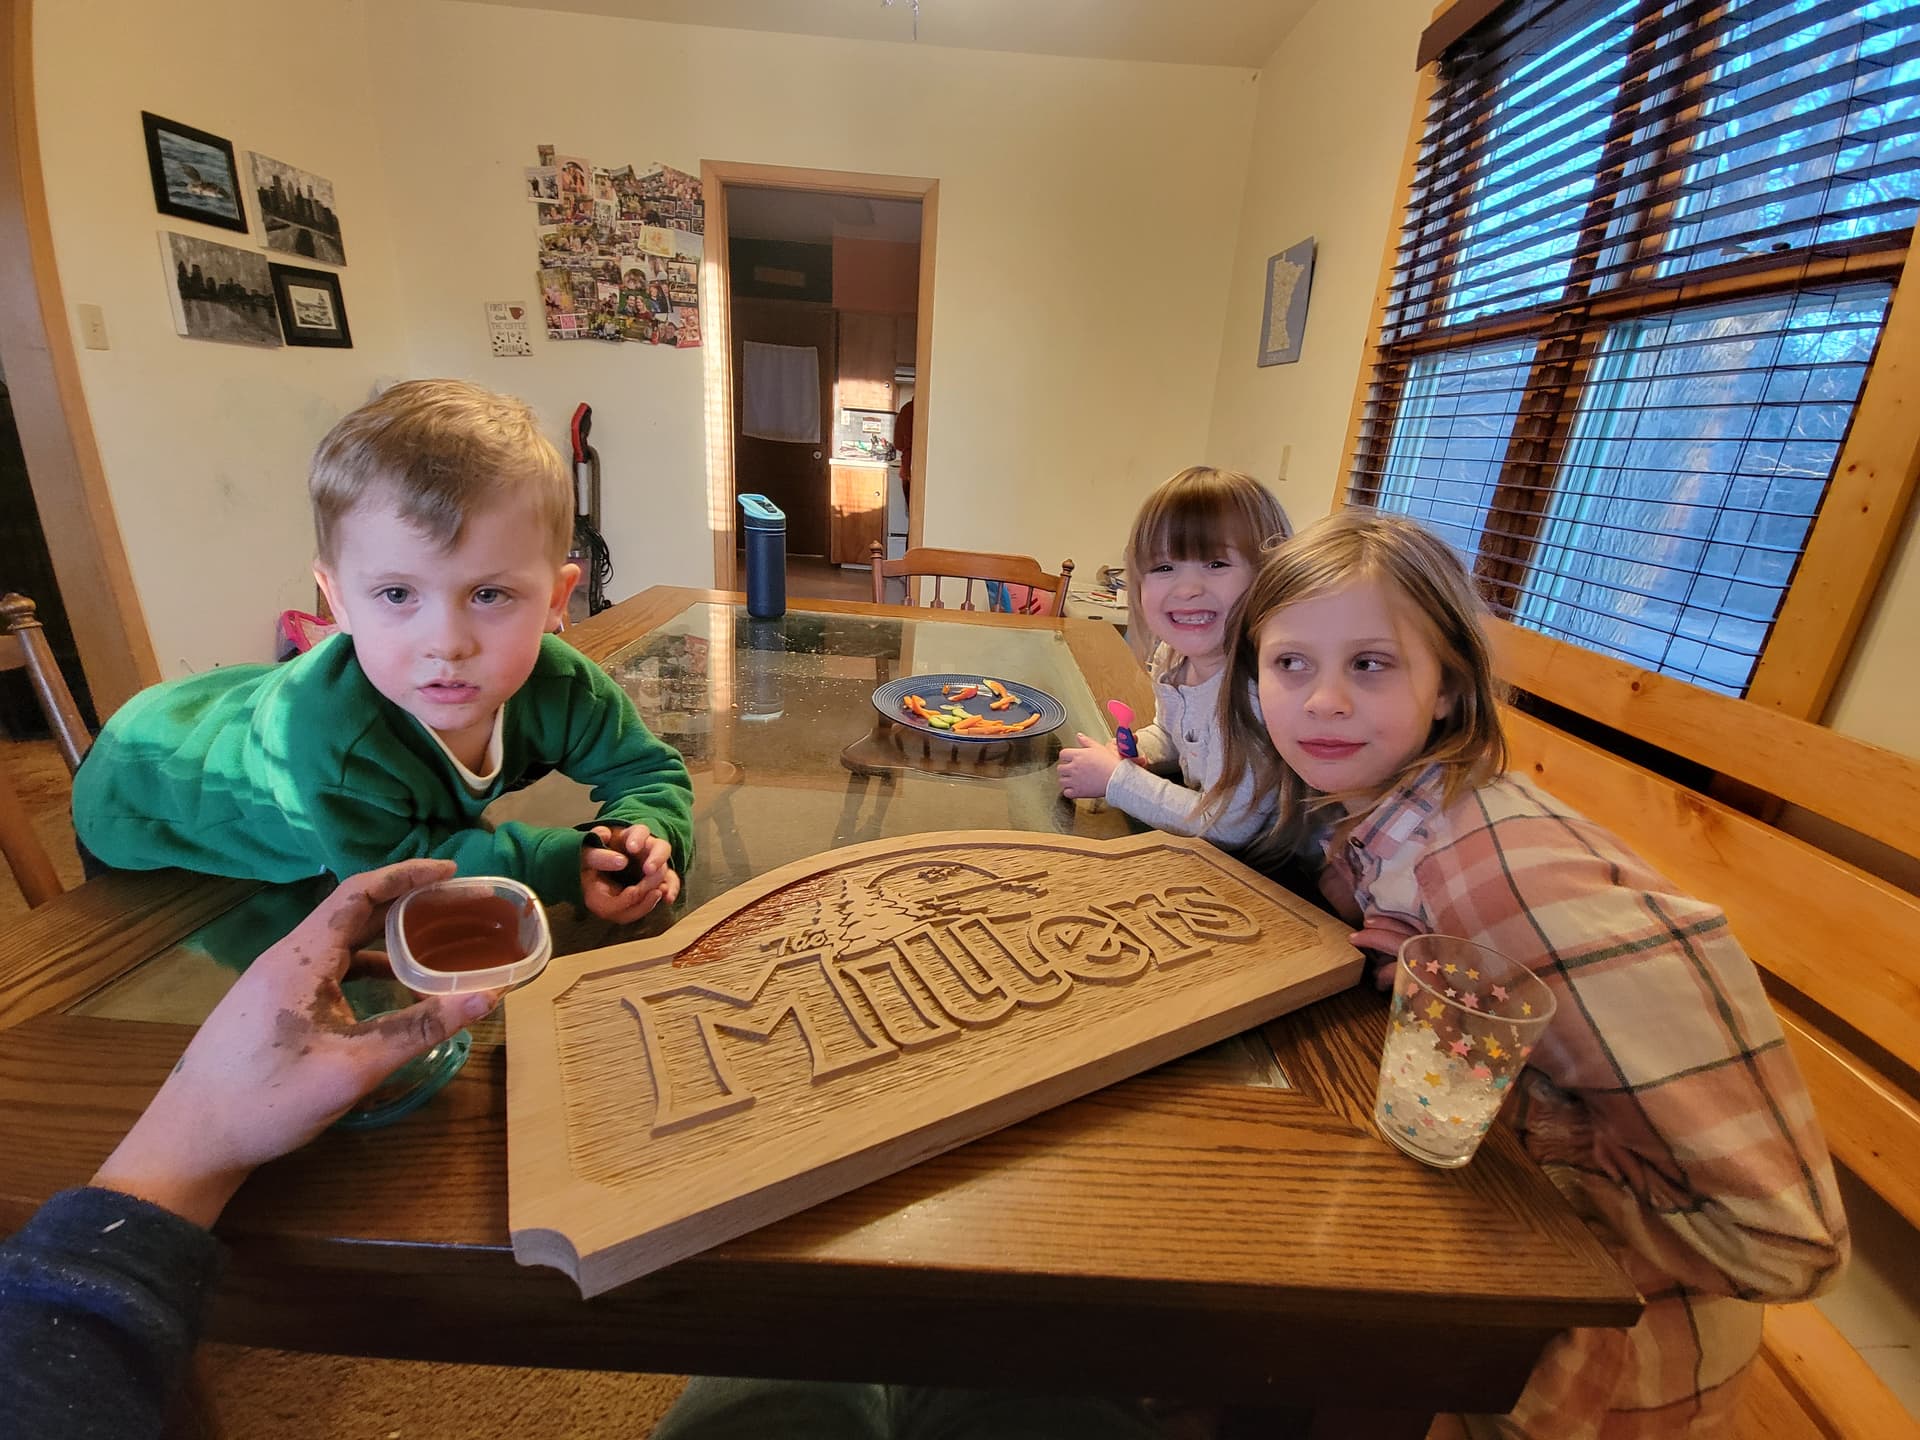
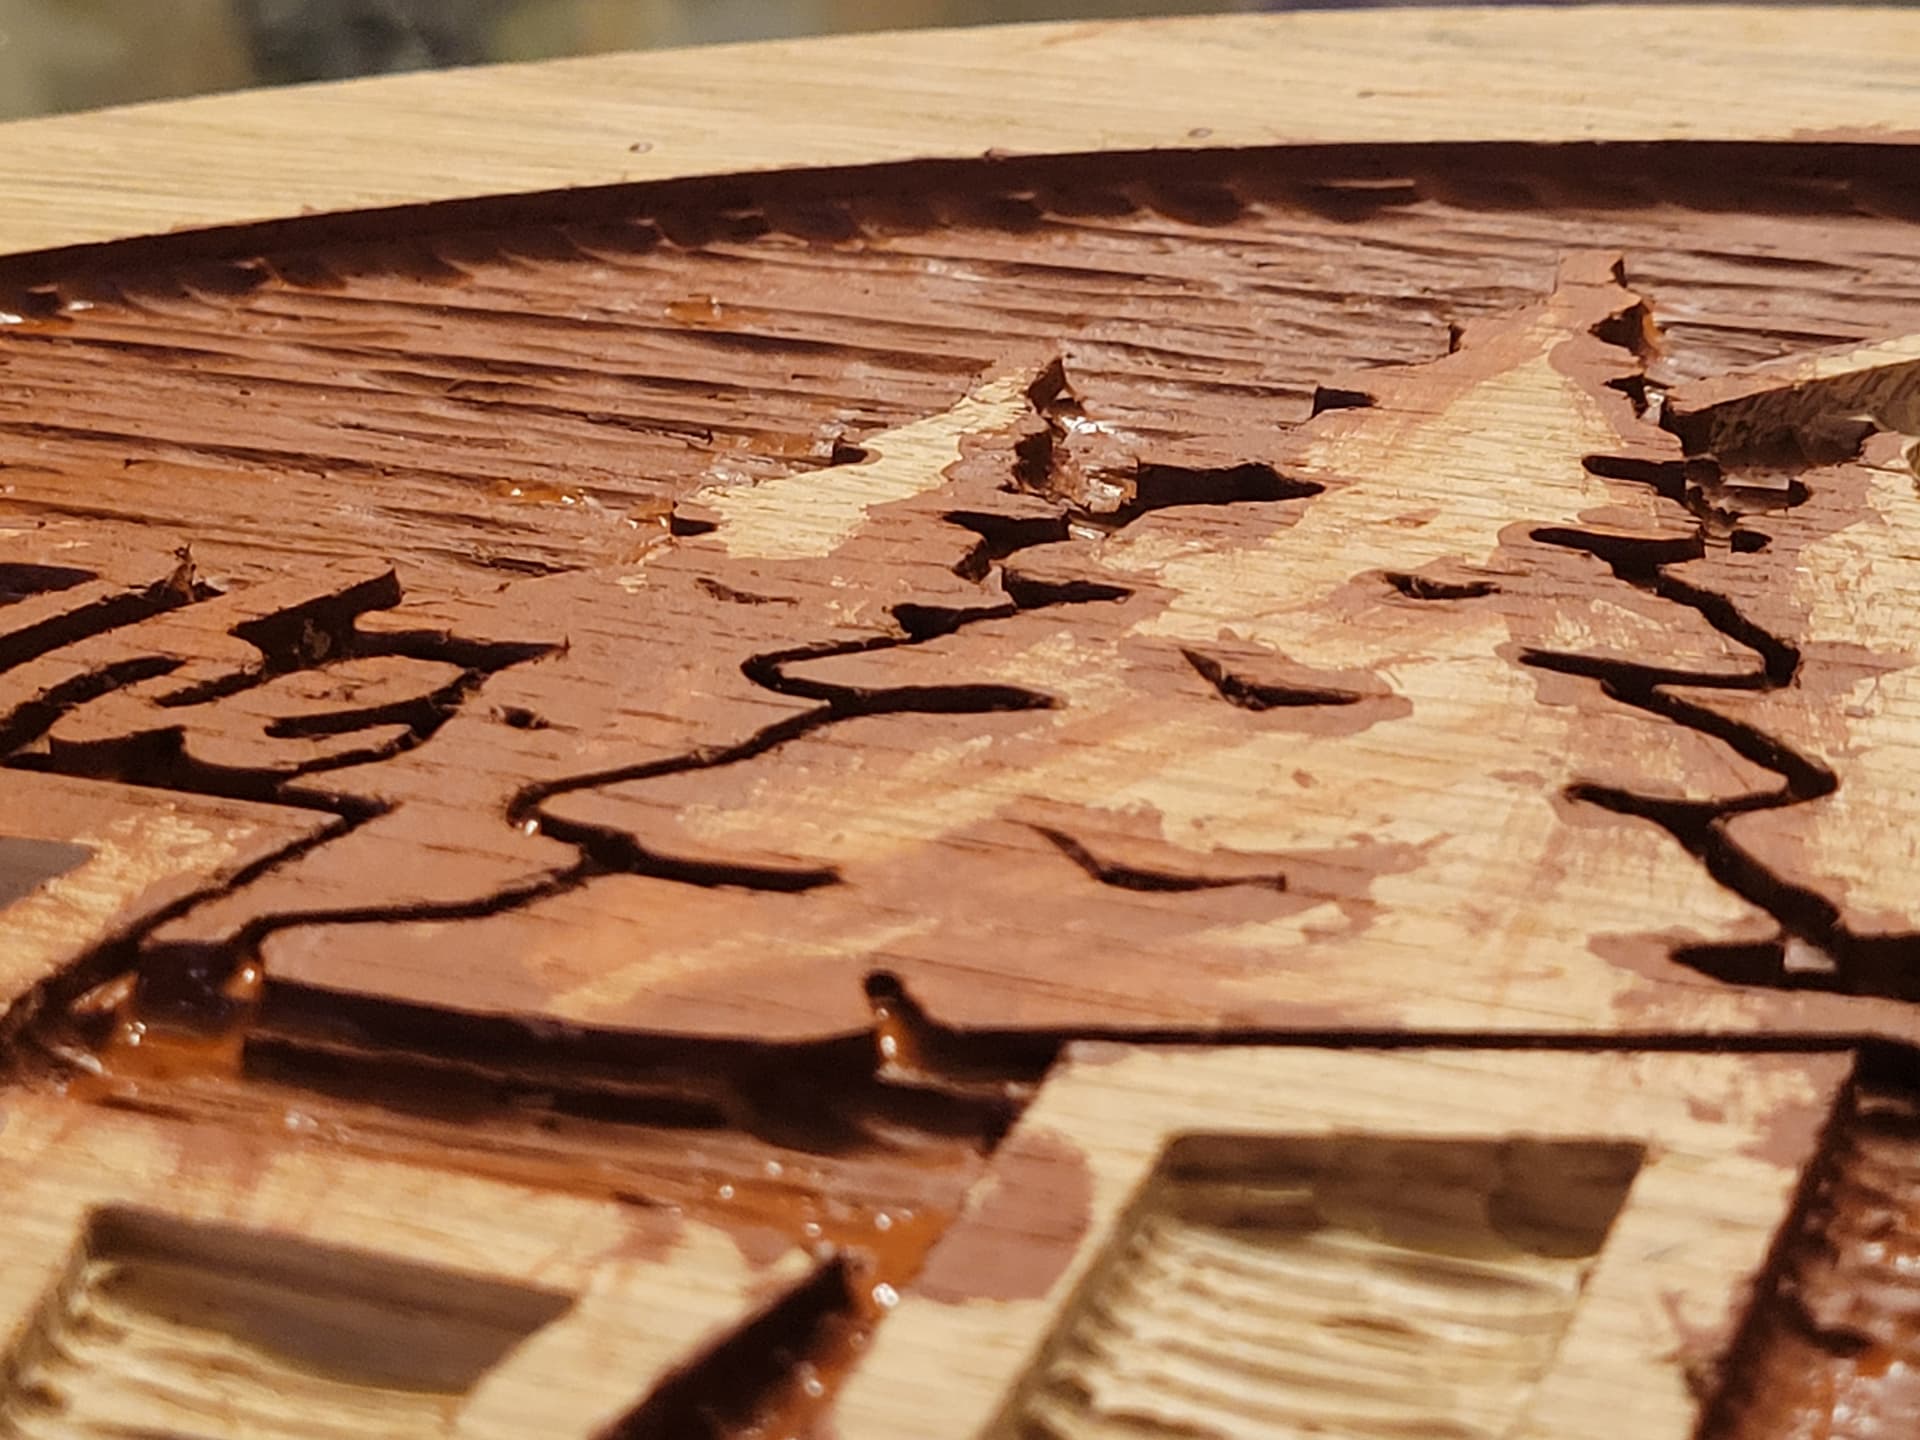
A bunch of hand painting.
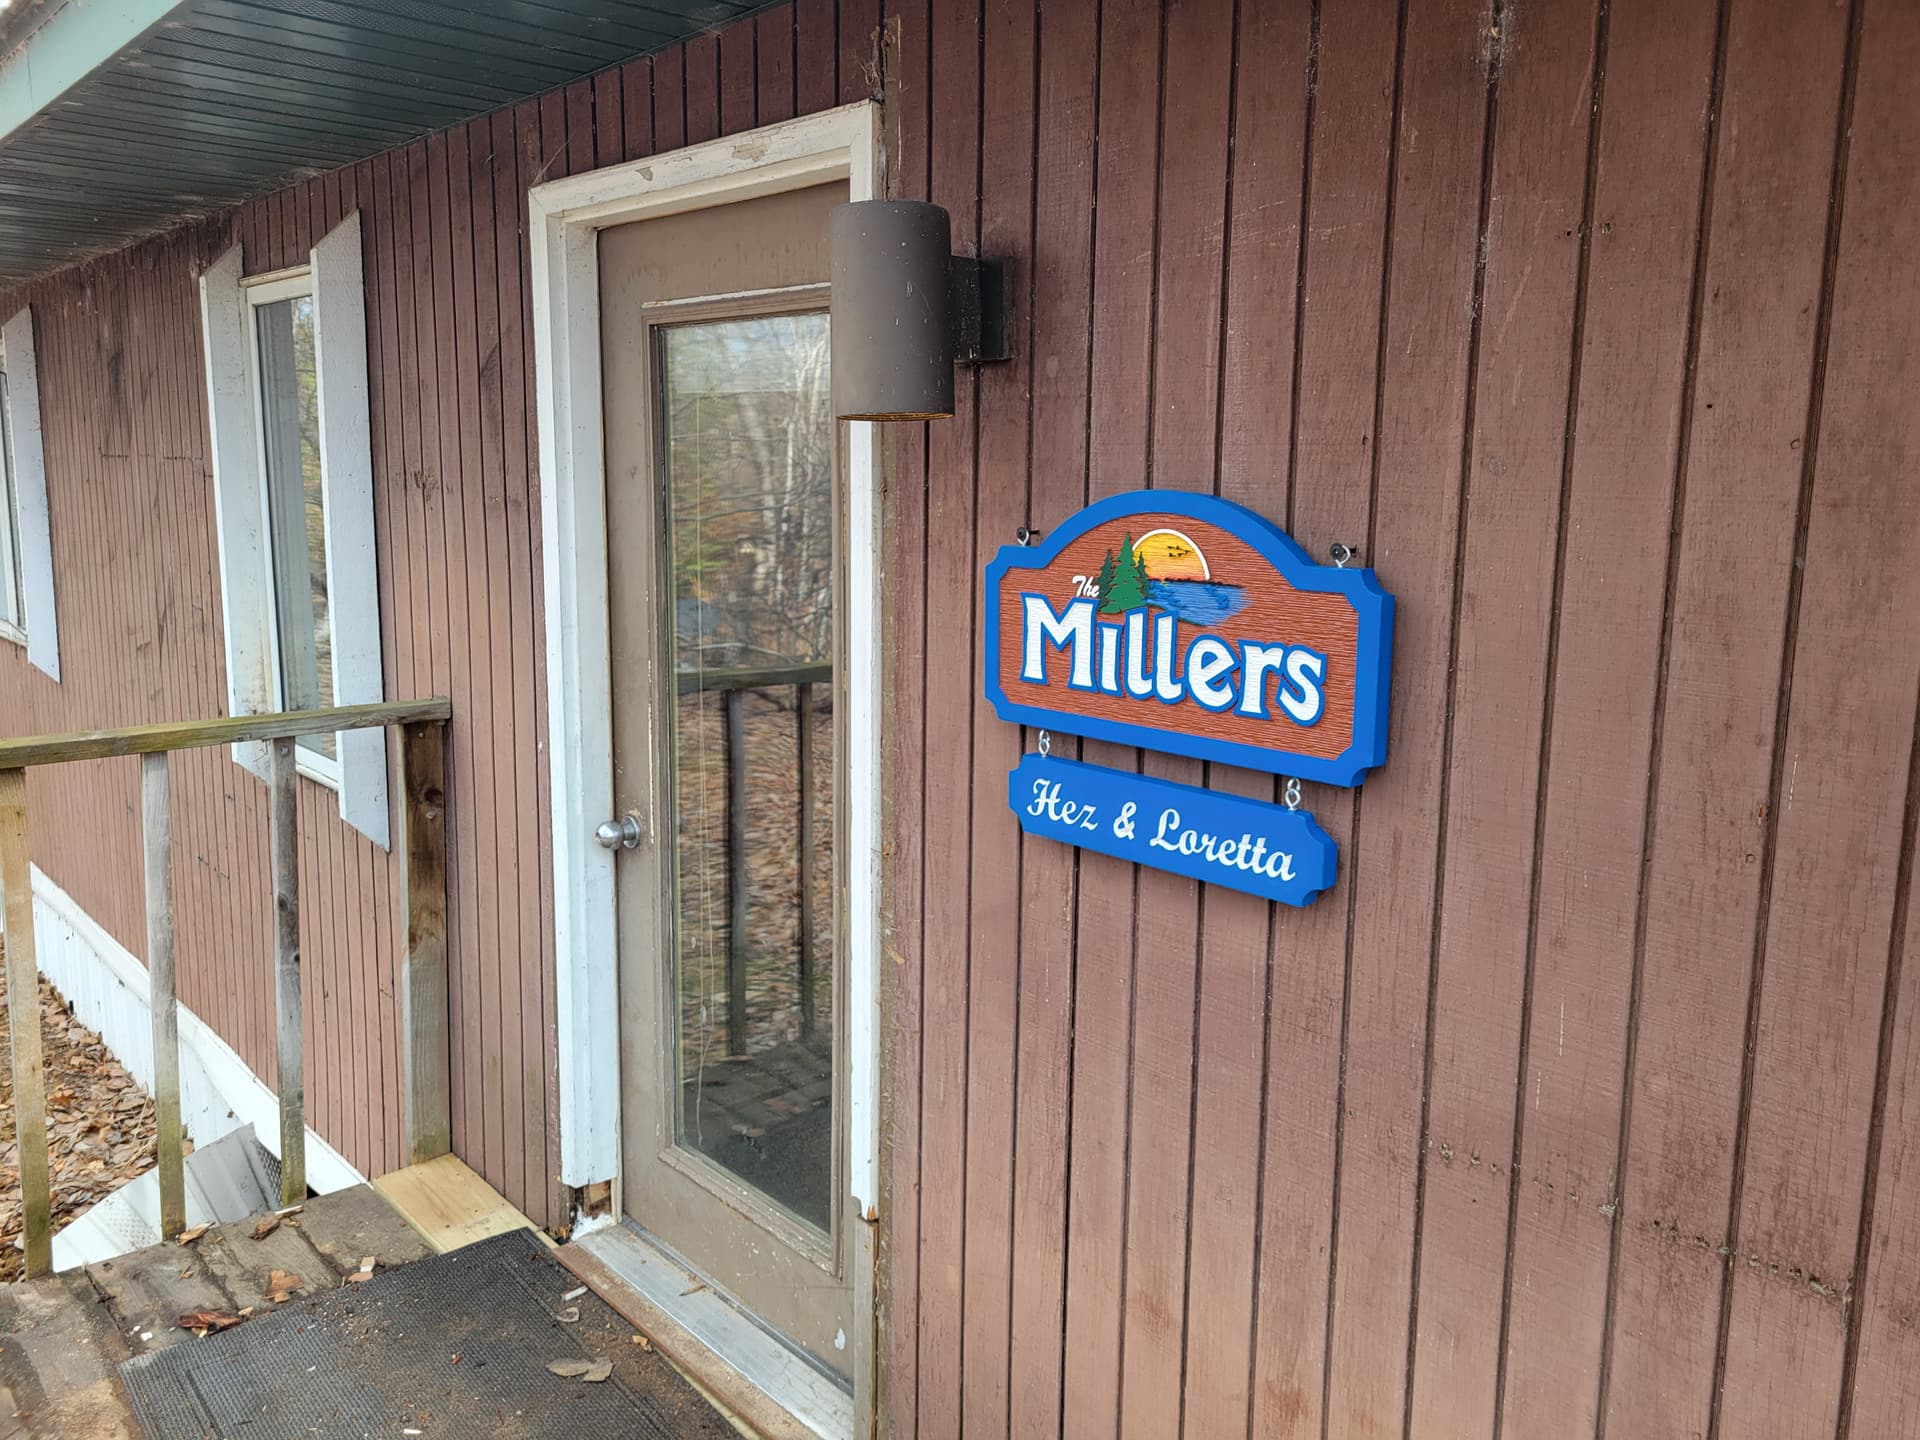
Satin poly to help it age well.
Hey all,
This was a leftover stair tread. First time I’ve used the texture feature.
Lots of work on transferring a logo.
A bunch of hand painting.
Satin poly to help it age well.
Very nice, now that the job is done I’d say it’s time to go fishing. ![]()
![]()
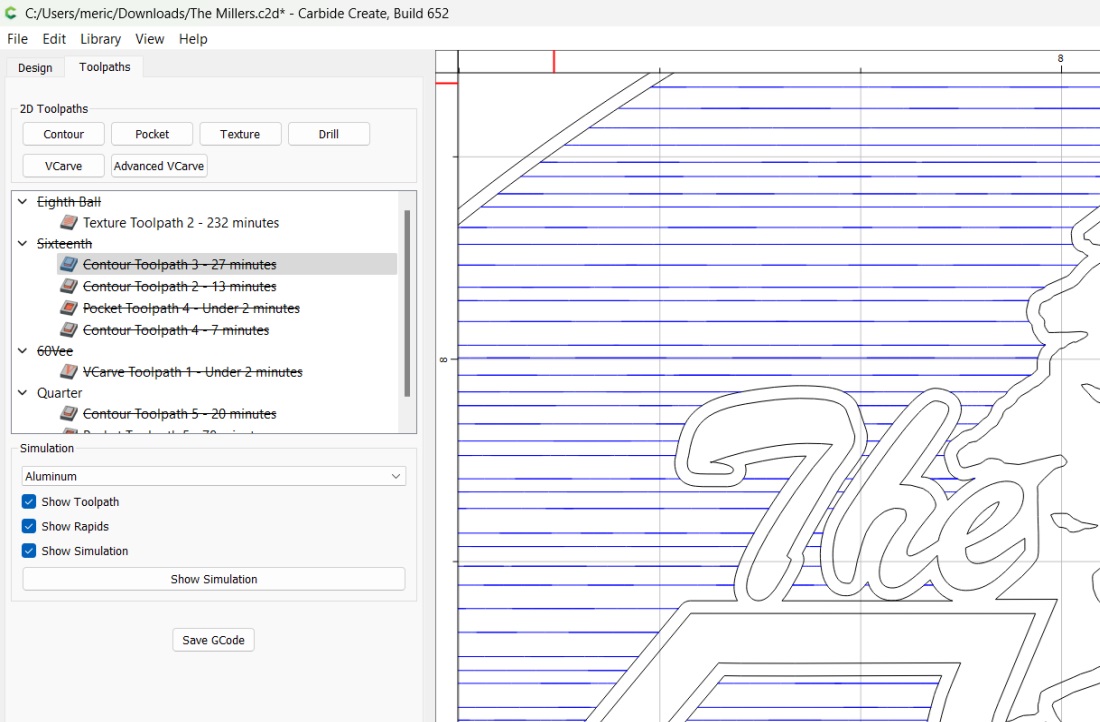
This is amazing. Can you share the Toolpath Settings and the bit type/size you used for the texture?
I’m interested in the toolpath depths you used as well. Looks like you pocketed out ~1/4" then textured below. My rendering doesn’t show crisp lines when I do that and wondering if it’s just the simulation or if I’m not doing something right
Hey @ben2ek, not trying to ignore you. This time of year is crazy for me.
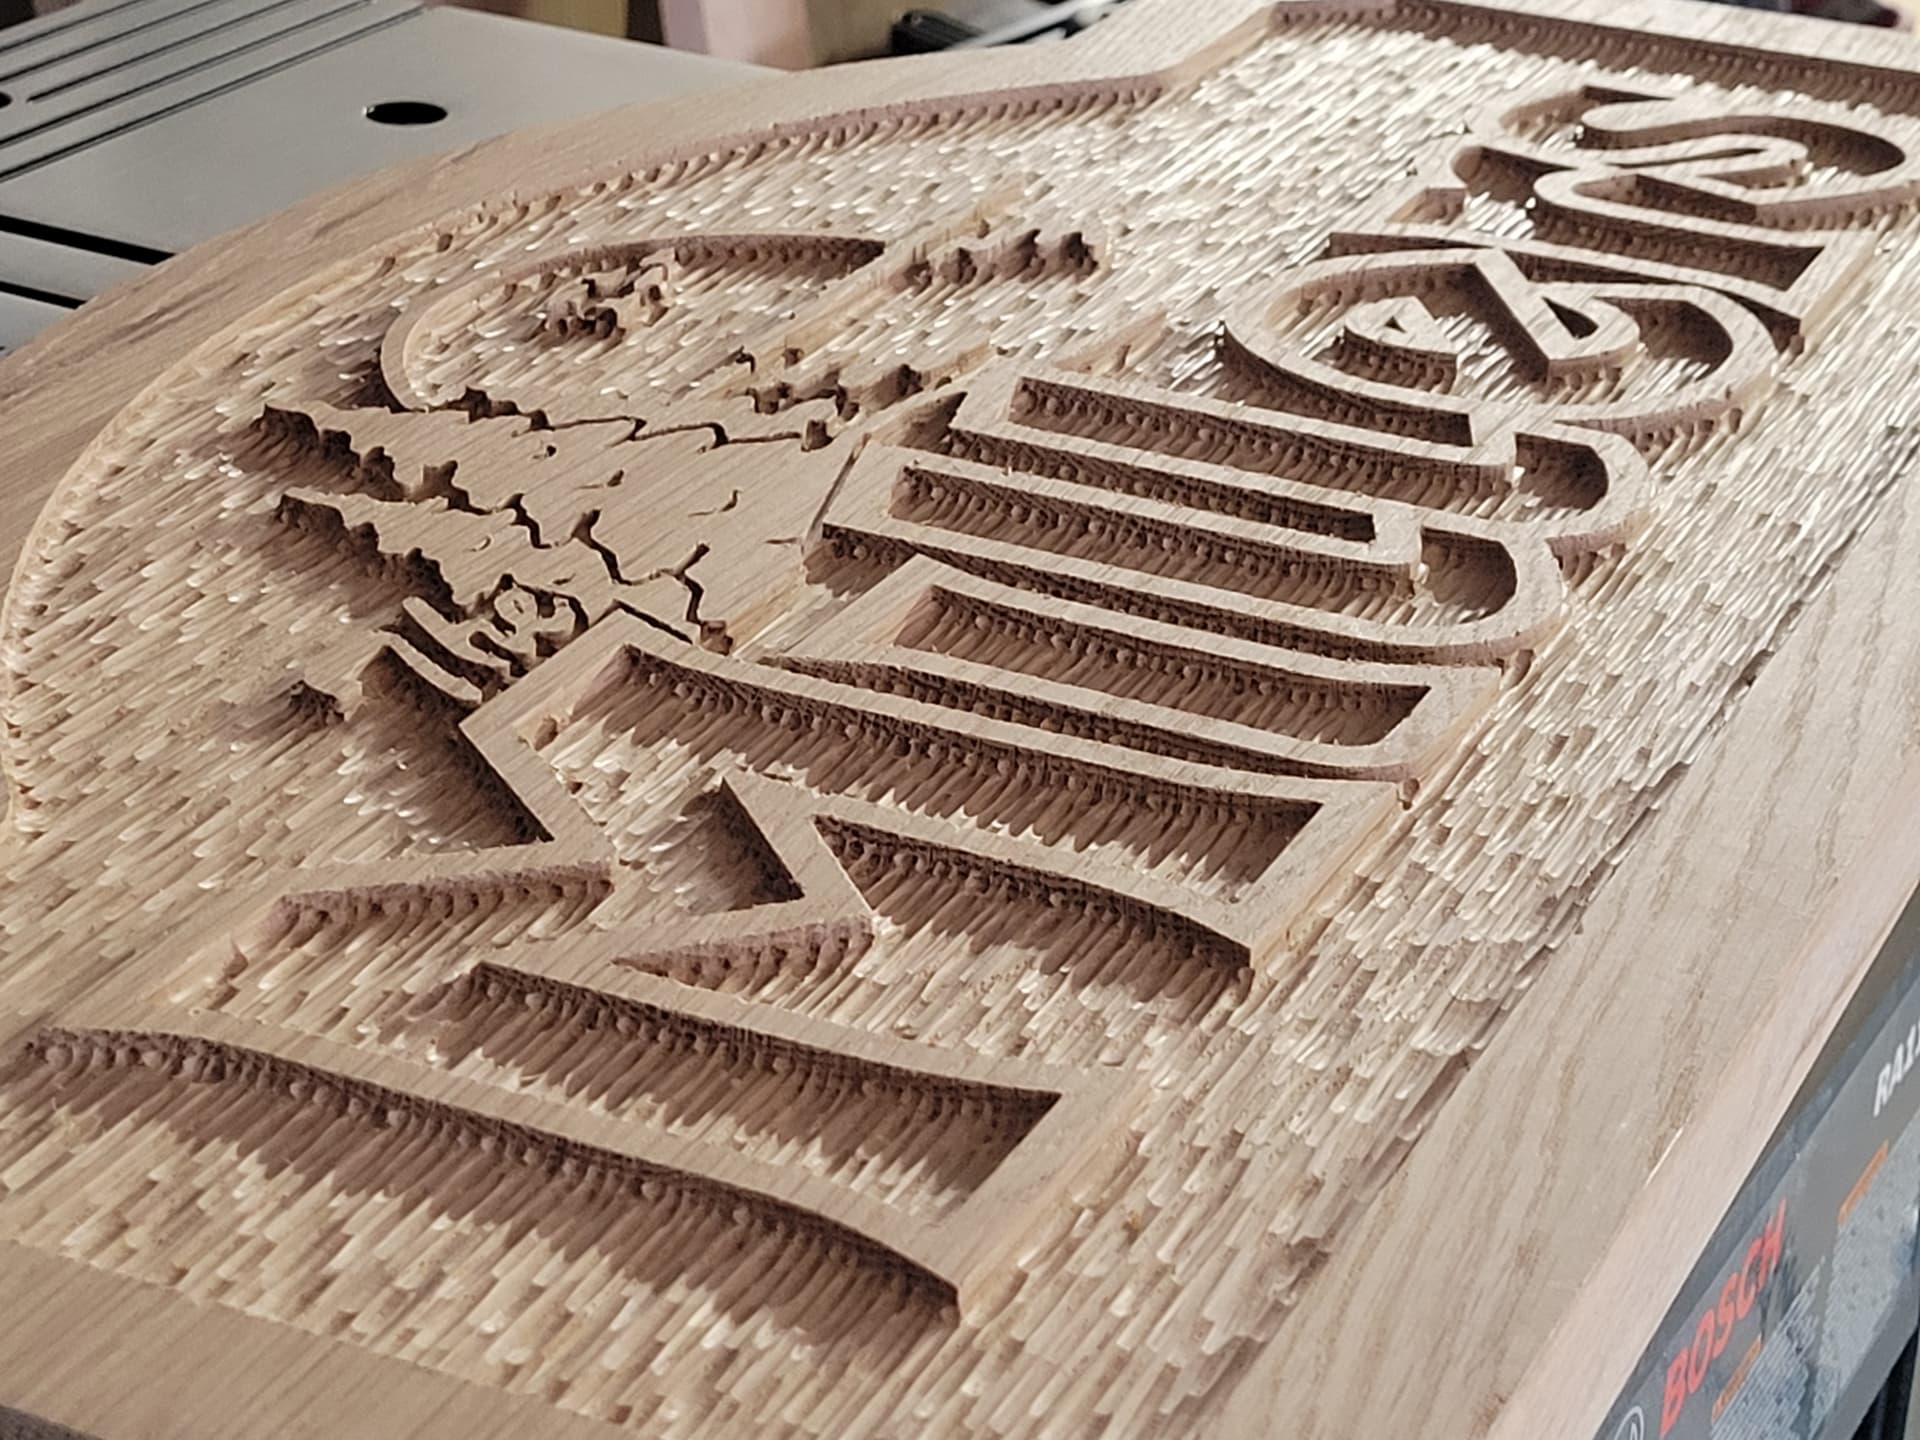
This is the first time I’ve used the texture feature and I noticed what you were experiencing on my tests, that it didn’t automatically produce any clean edges. My solution was to use the Offset Vectors tool to create a new boundary 1/16th away (half the diameter of the tool I was using to texture) from the edges I wanted to look crisp. I pocketed down to 0.2 inches, starting the texture at 0.15. Then I made another pass with a 1/16th endmill 0.1 inches down to create a sharp edge, contouring the desired text.
You can see the double line around the word “The”, as well as the trees, and basically any detail.
Not sure the rules on this exactly, but here is the carbide create file for this sign.
The Millers.c2d (1.0 MB)
That makes sense, thank you! This gives me some good stuff to work off of.
Looks like the file has the orders reverse, though I’m sure you just re-ran in steps.
This topic was automatically closed 30 days after the last reply. New replies are no longer allowed.