Carbide Community weekly Build Competition #1
We have been talking in another thread about a weekly competition so here it is!
Rules:
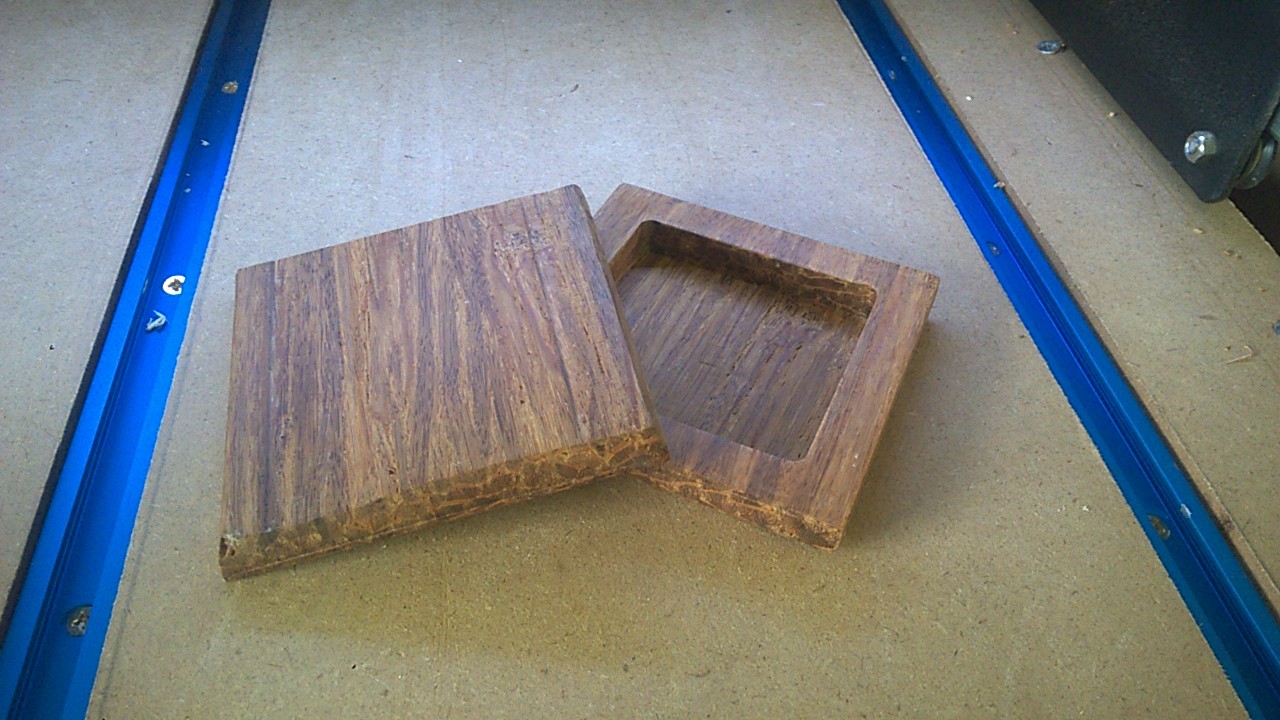
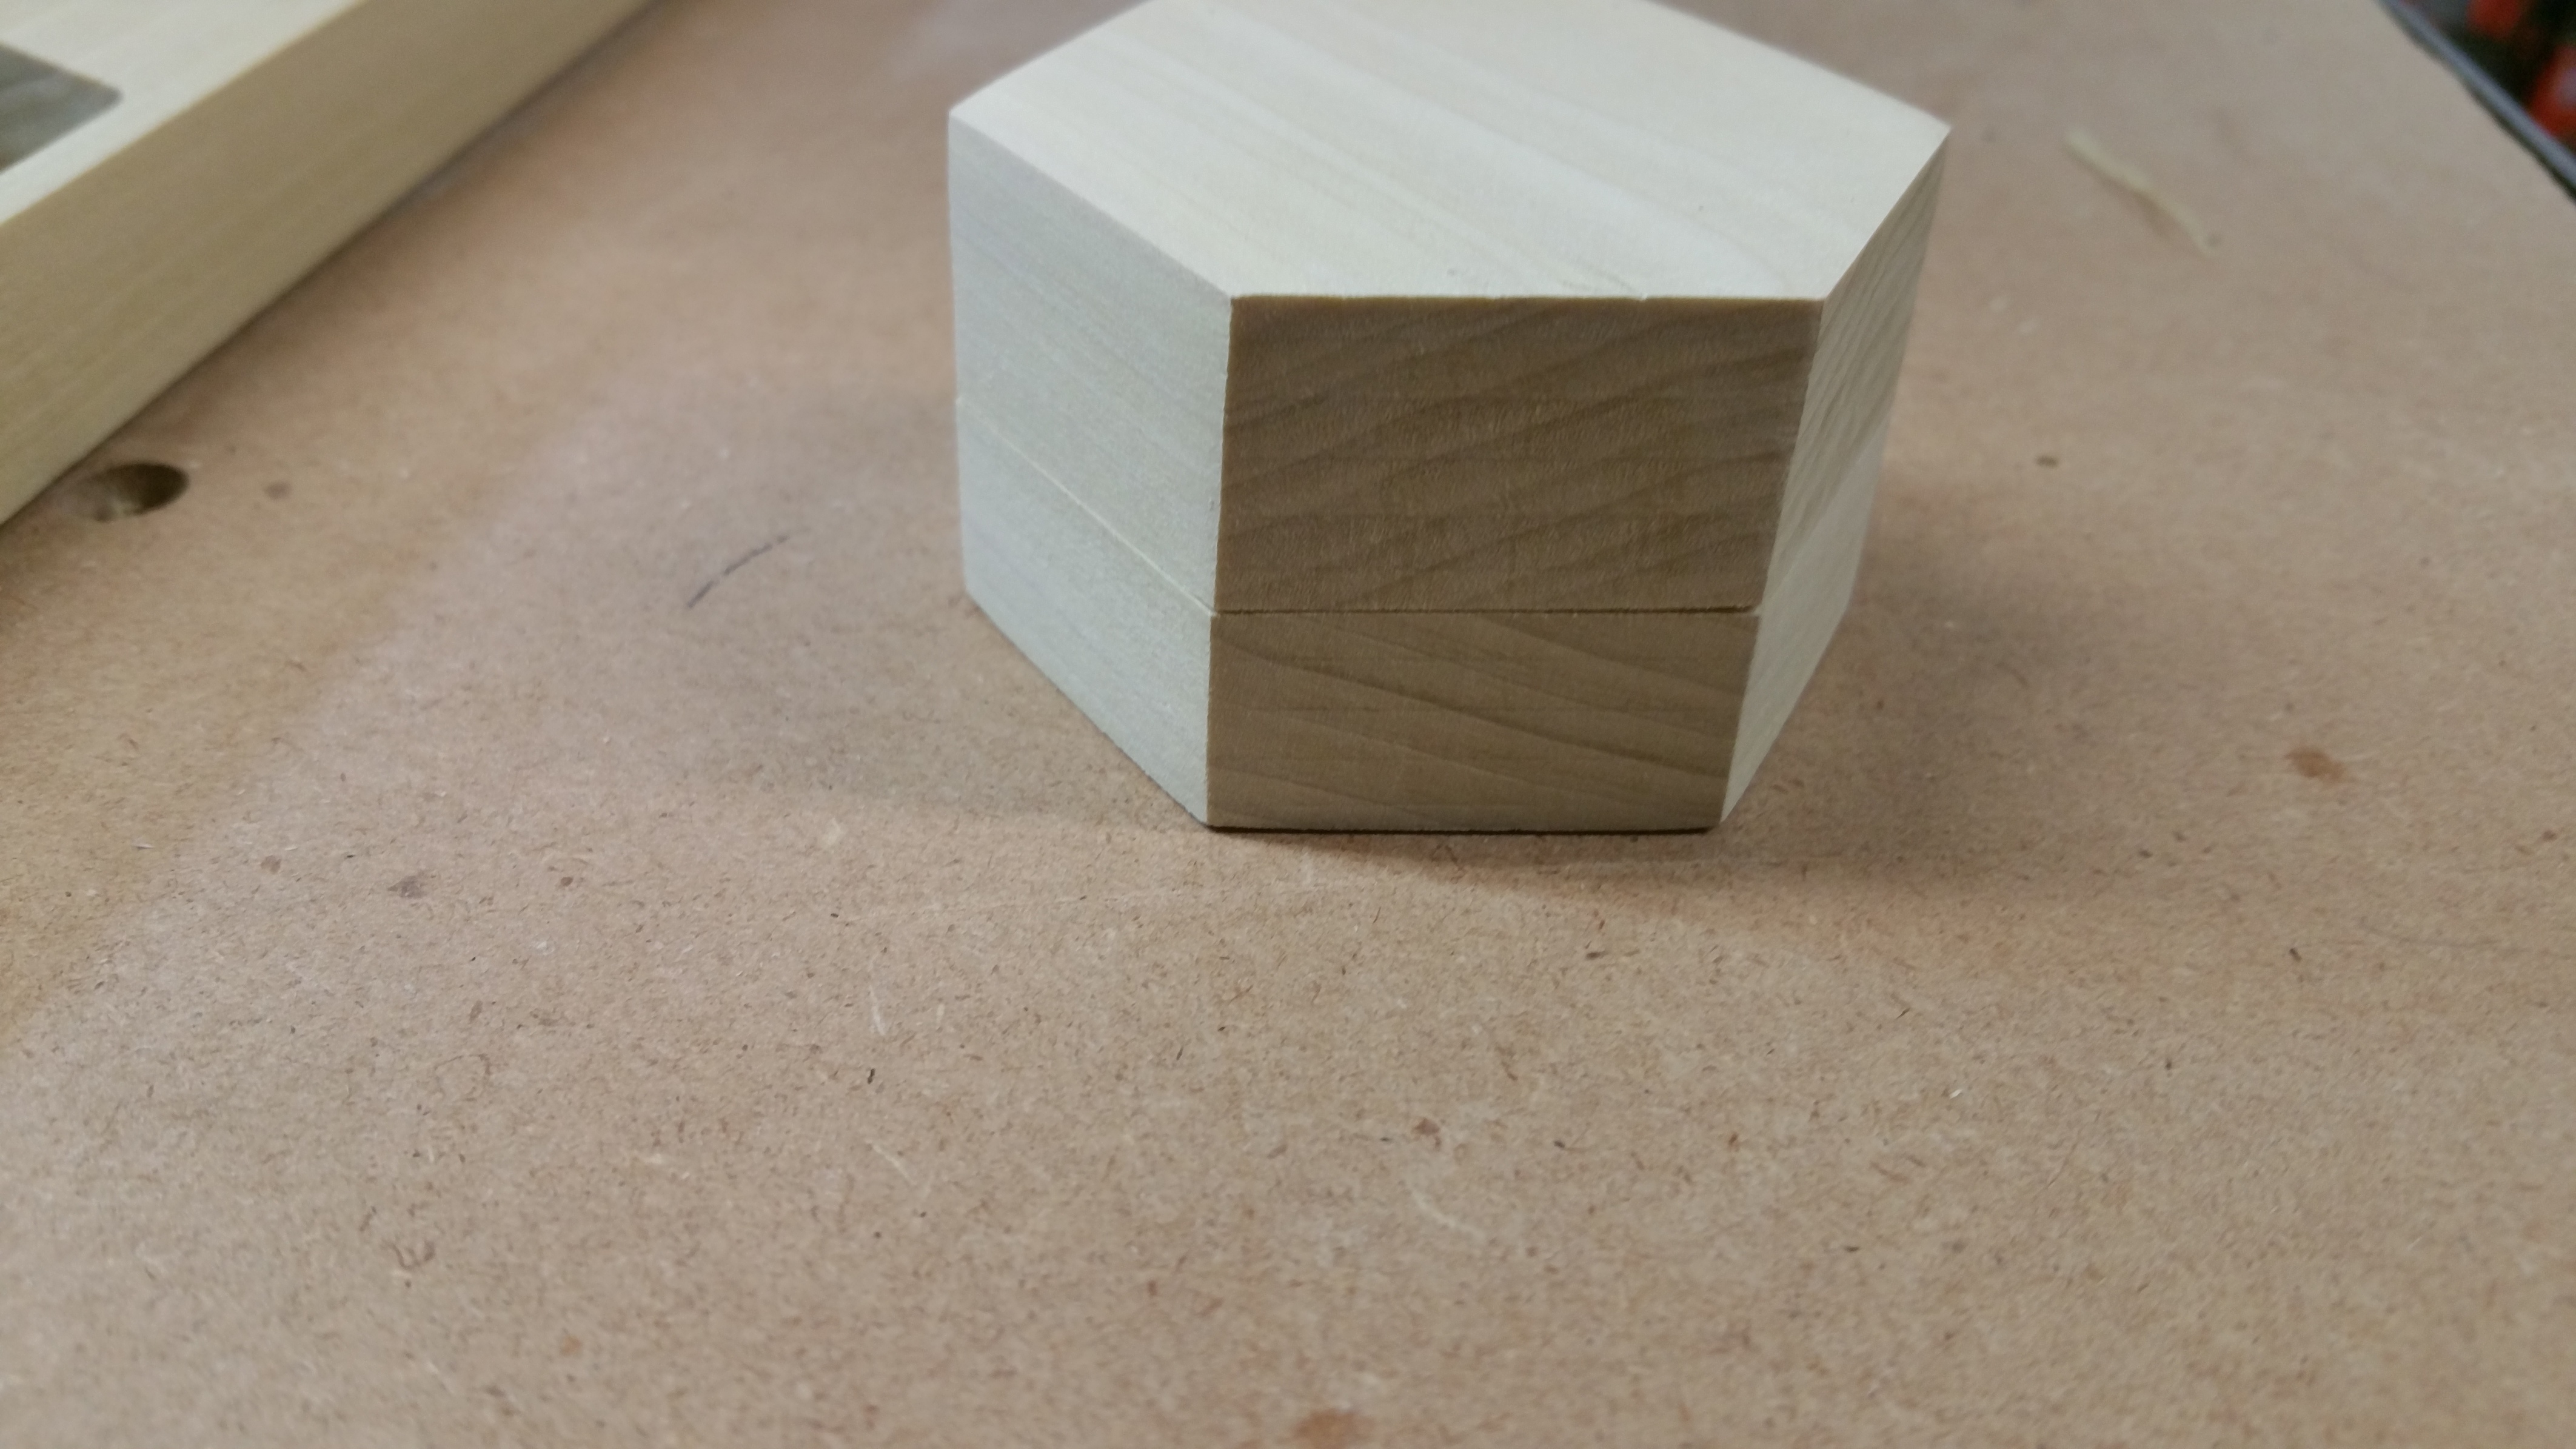
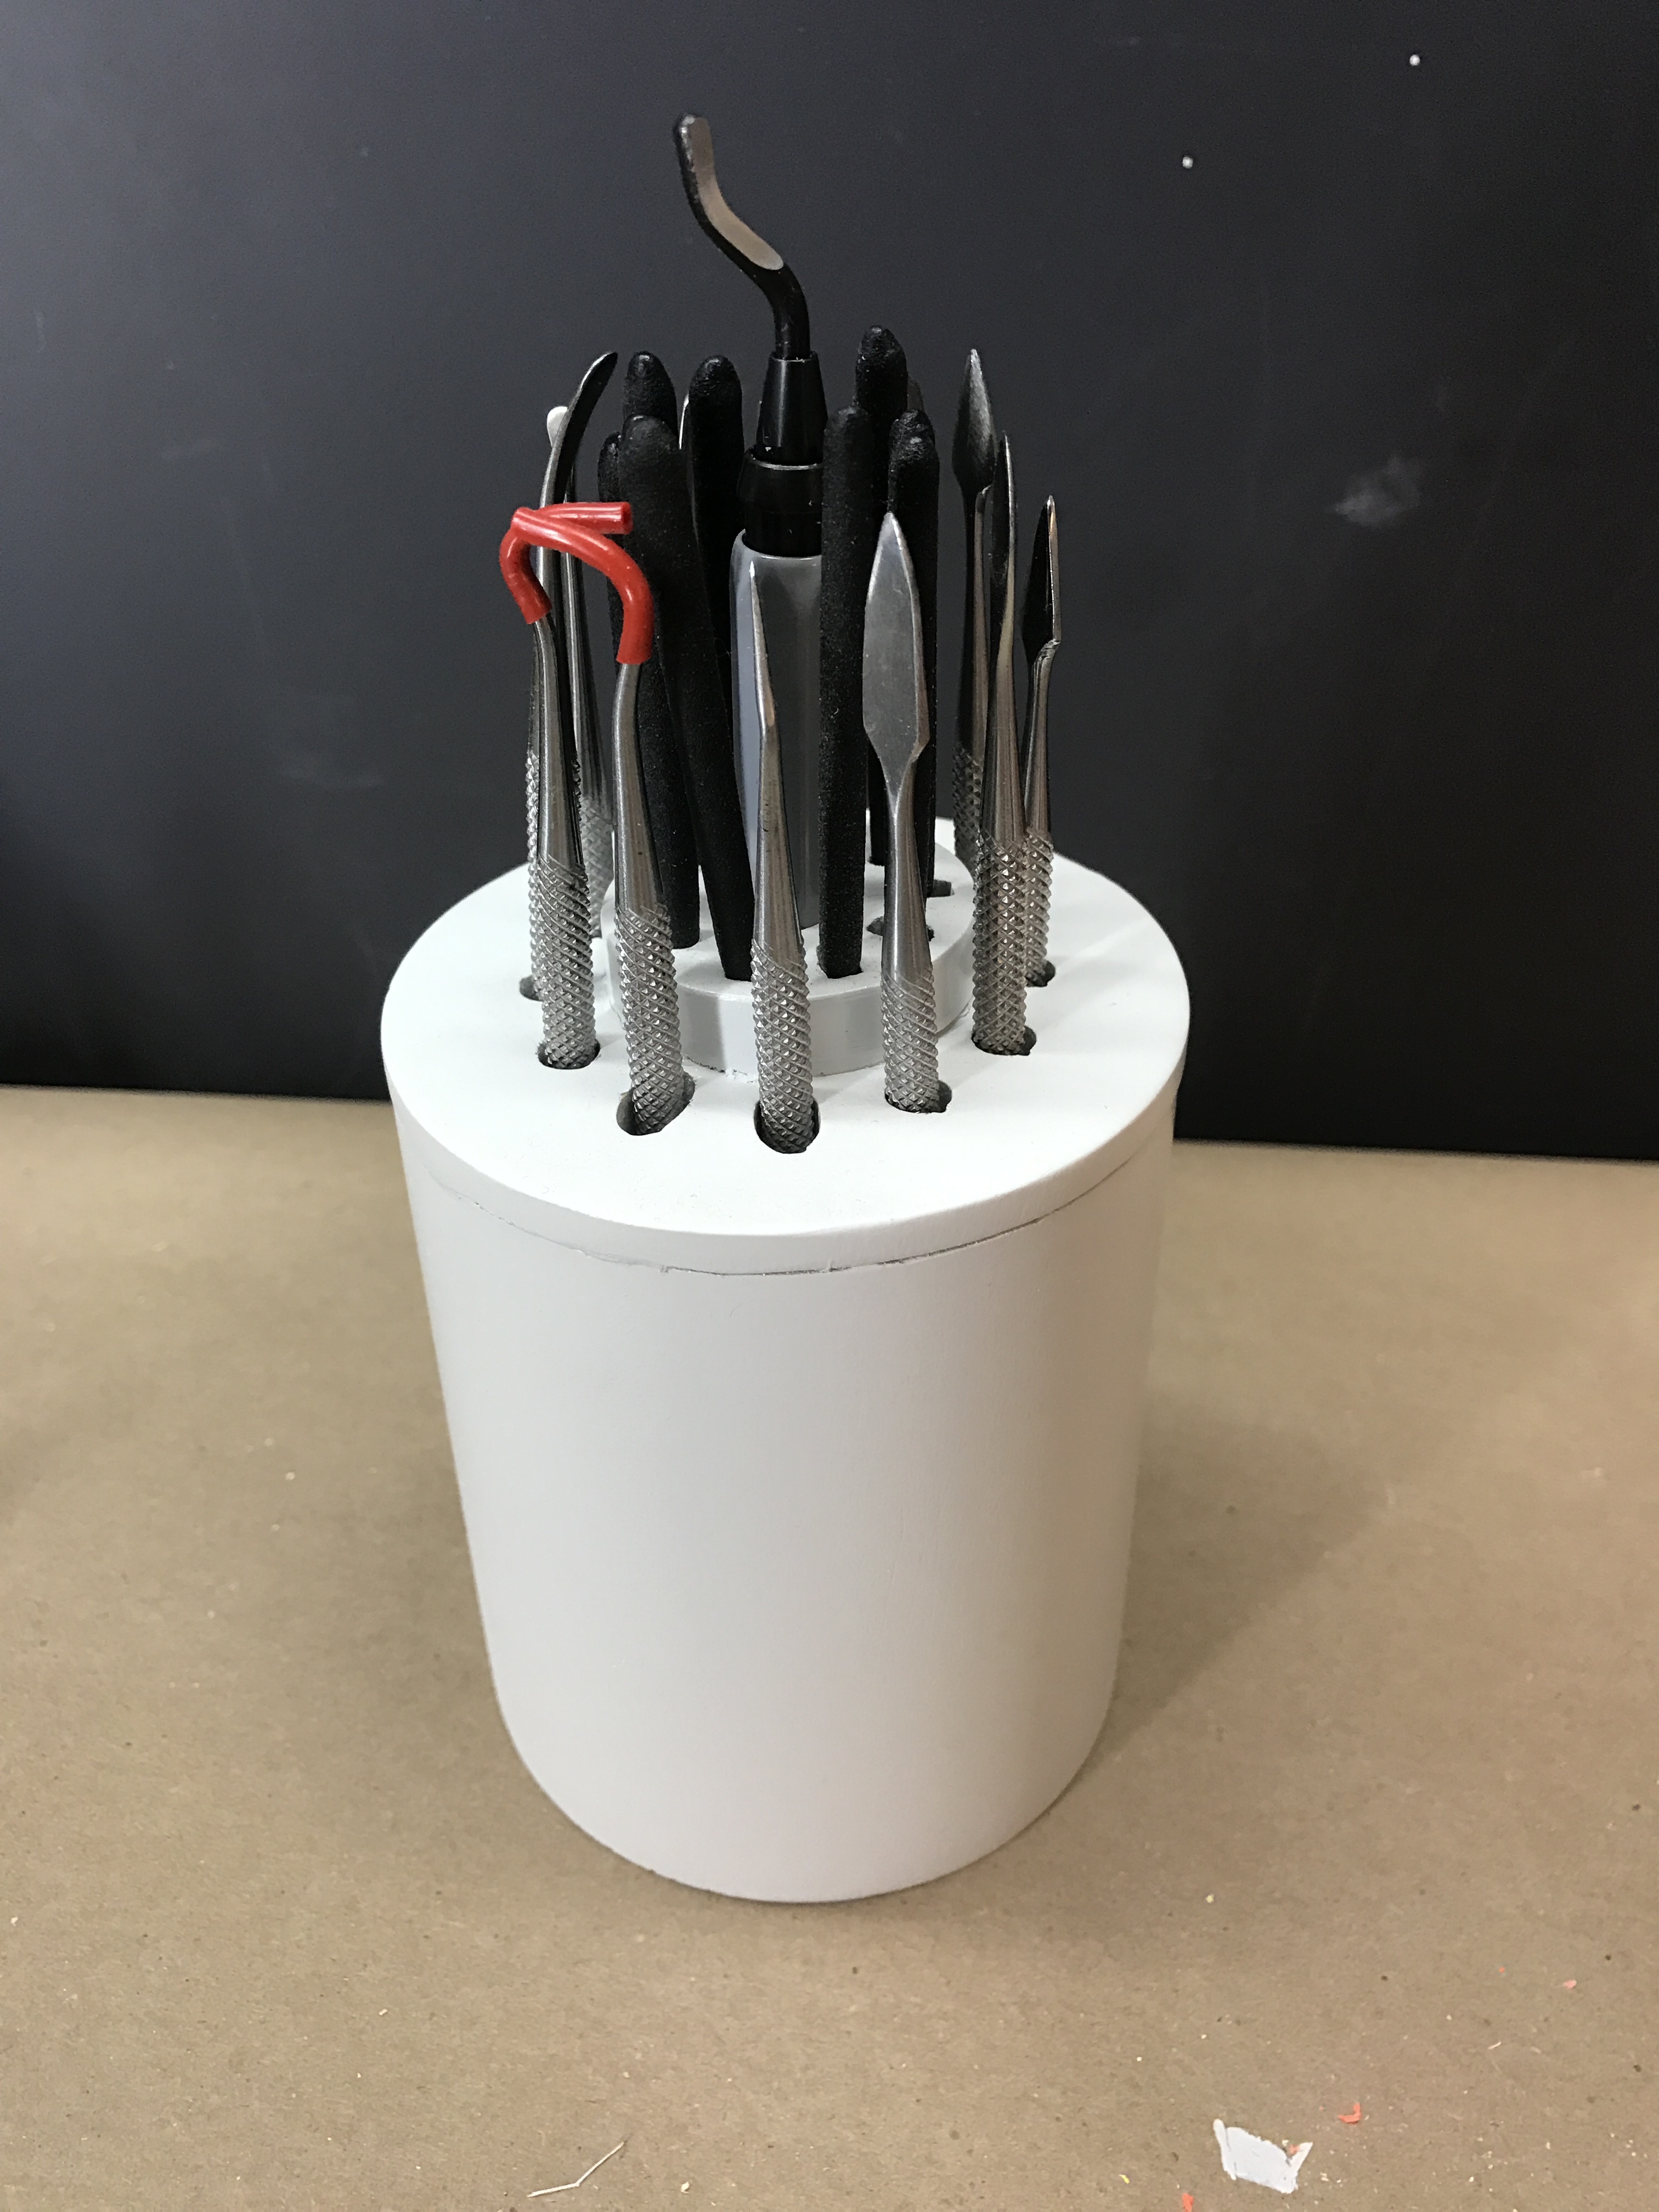
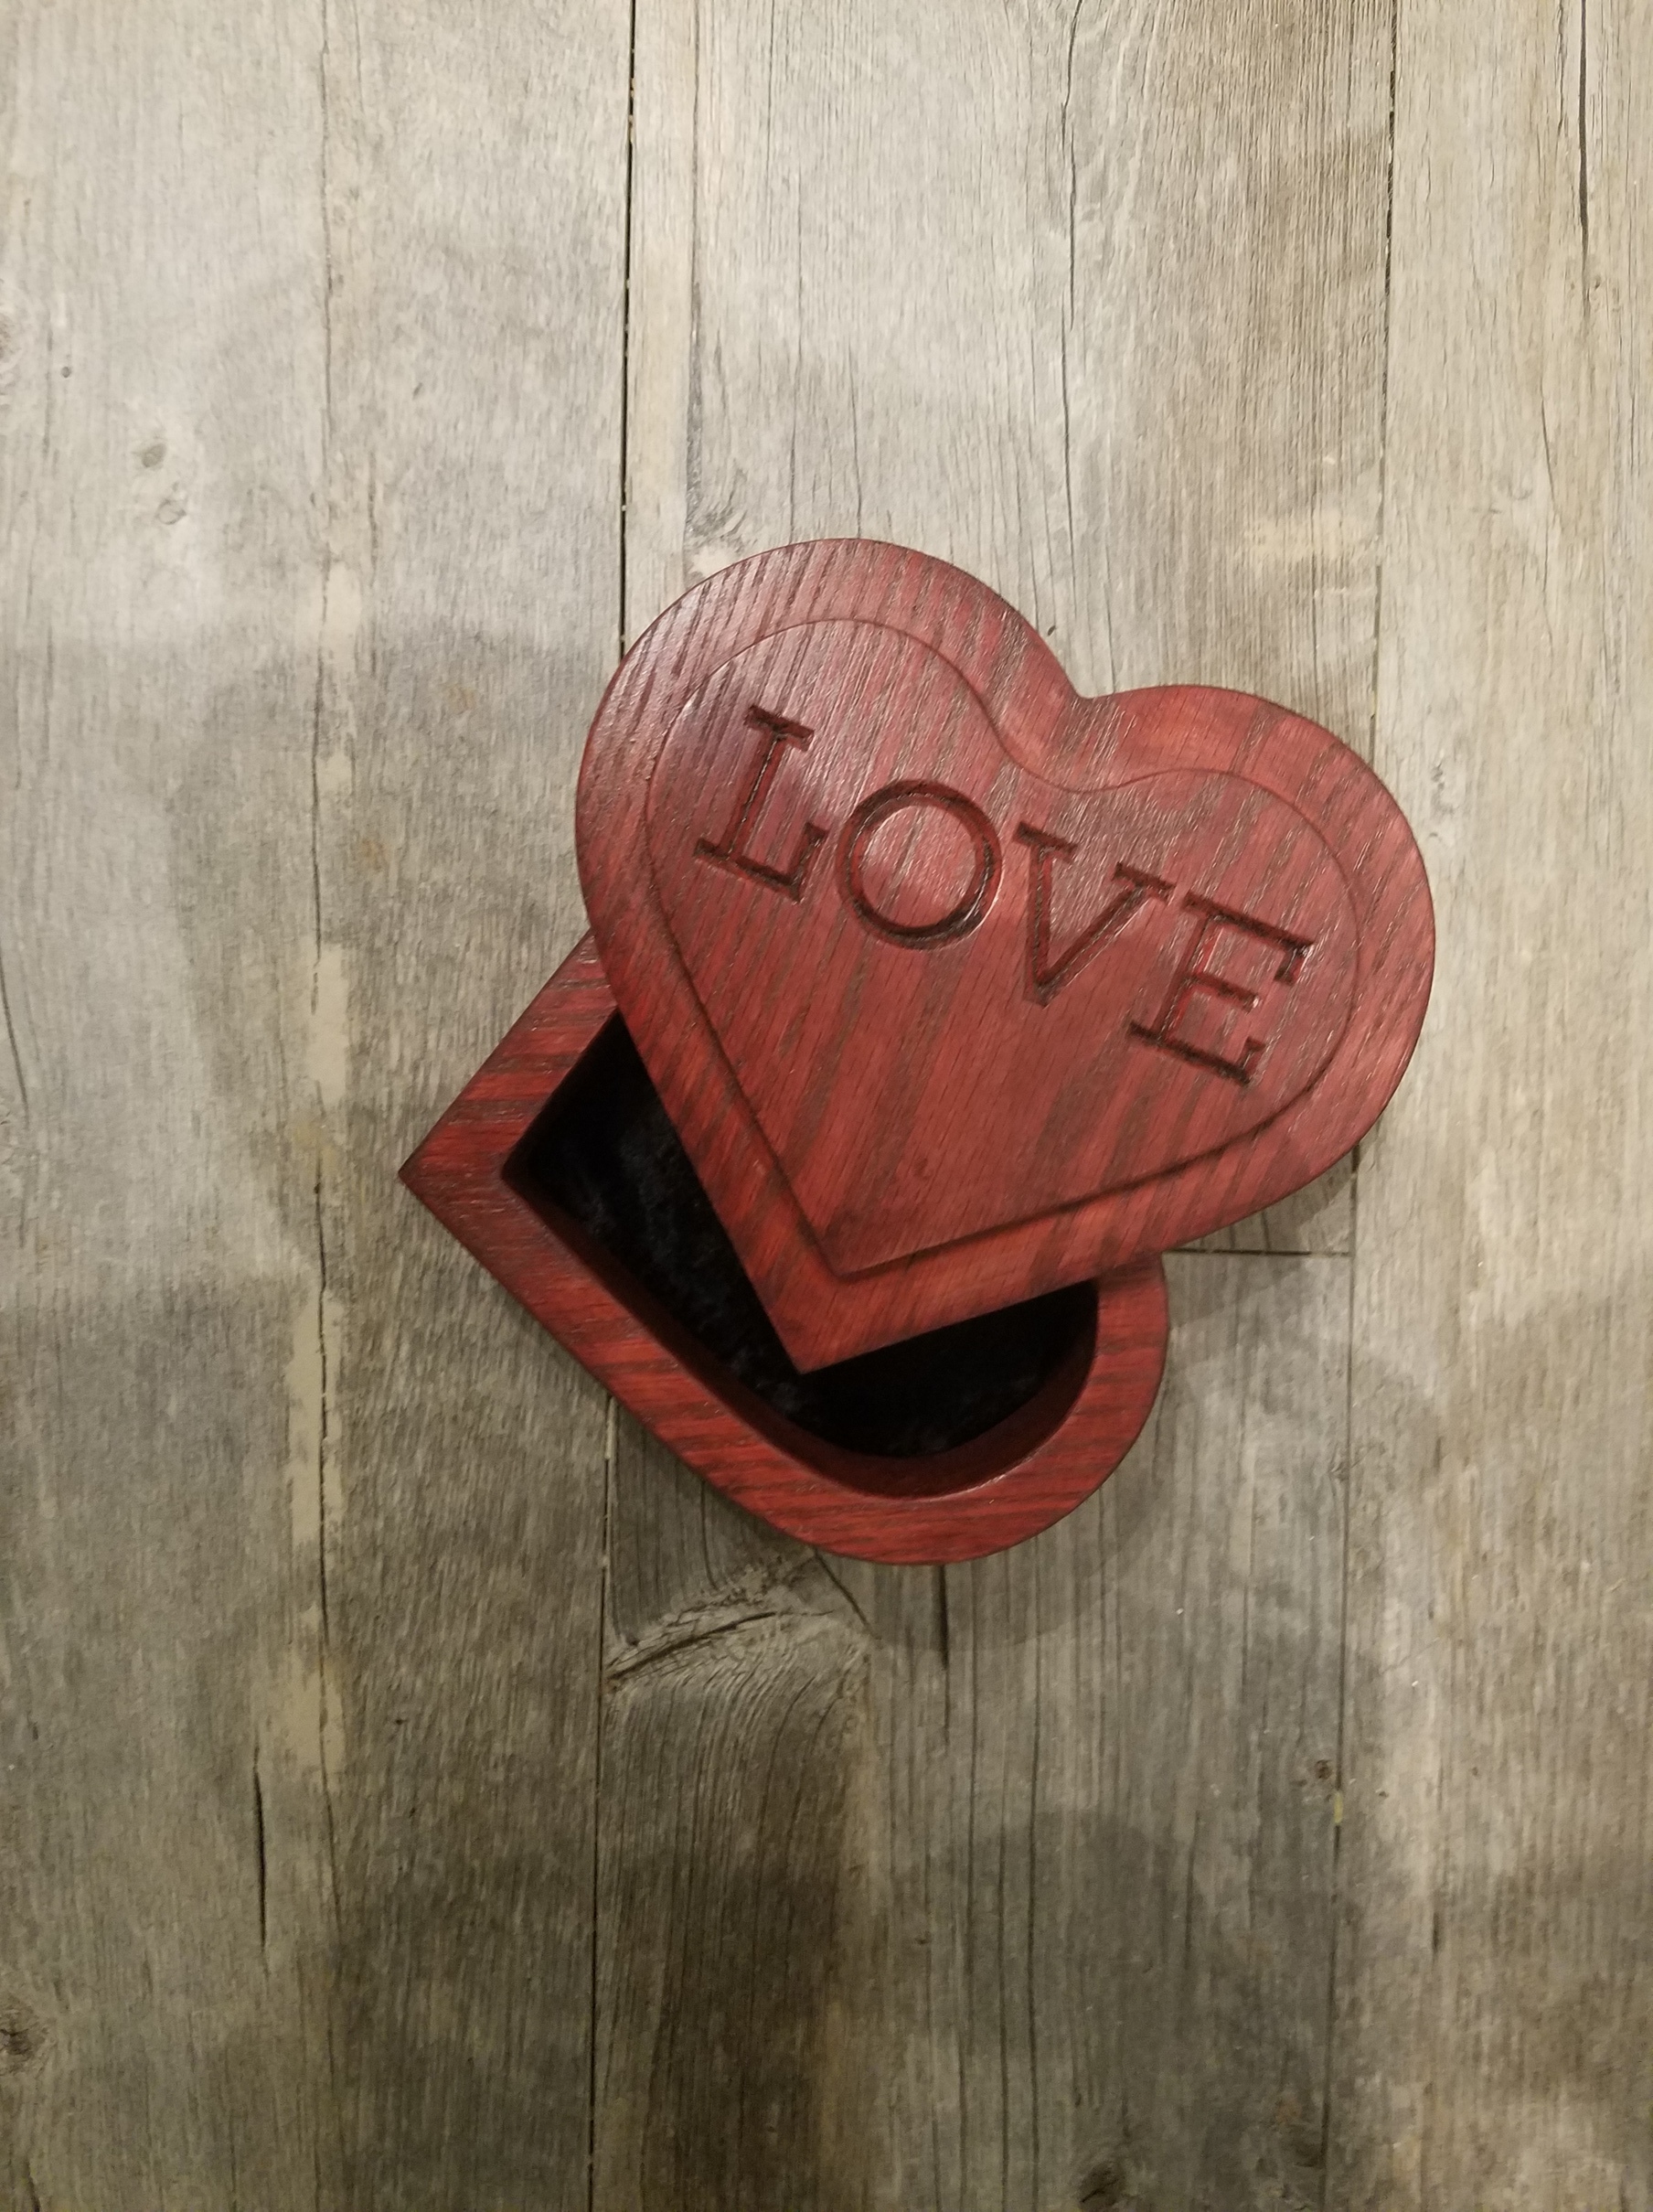
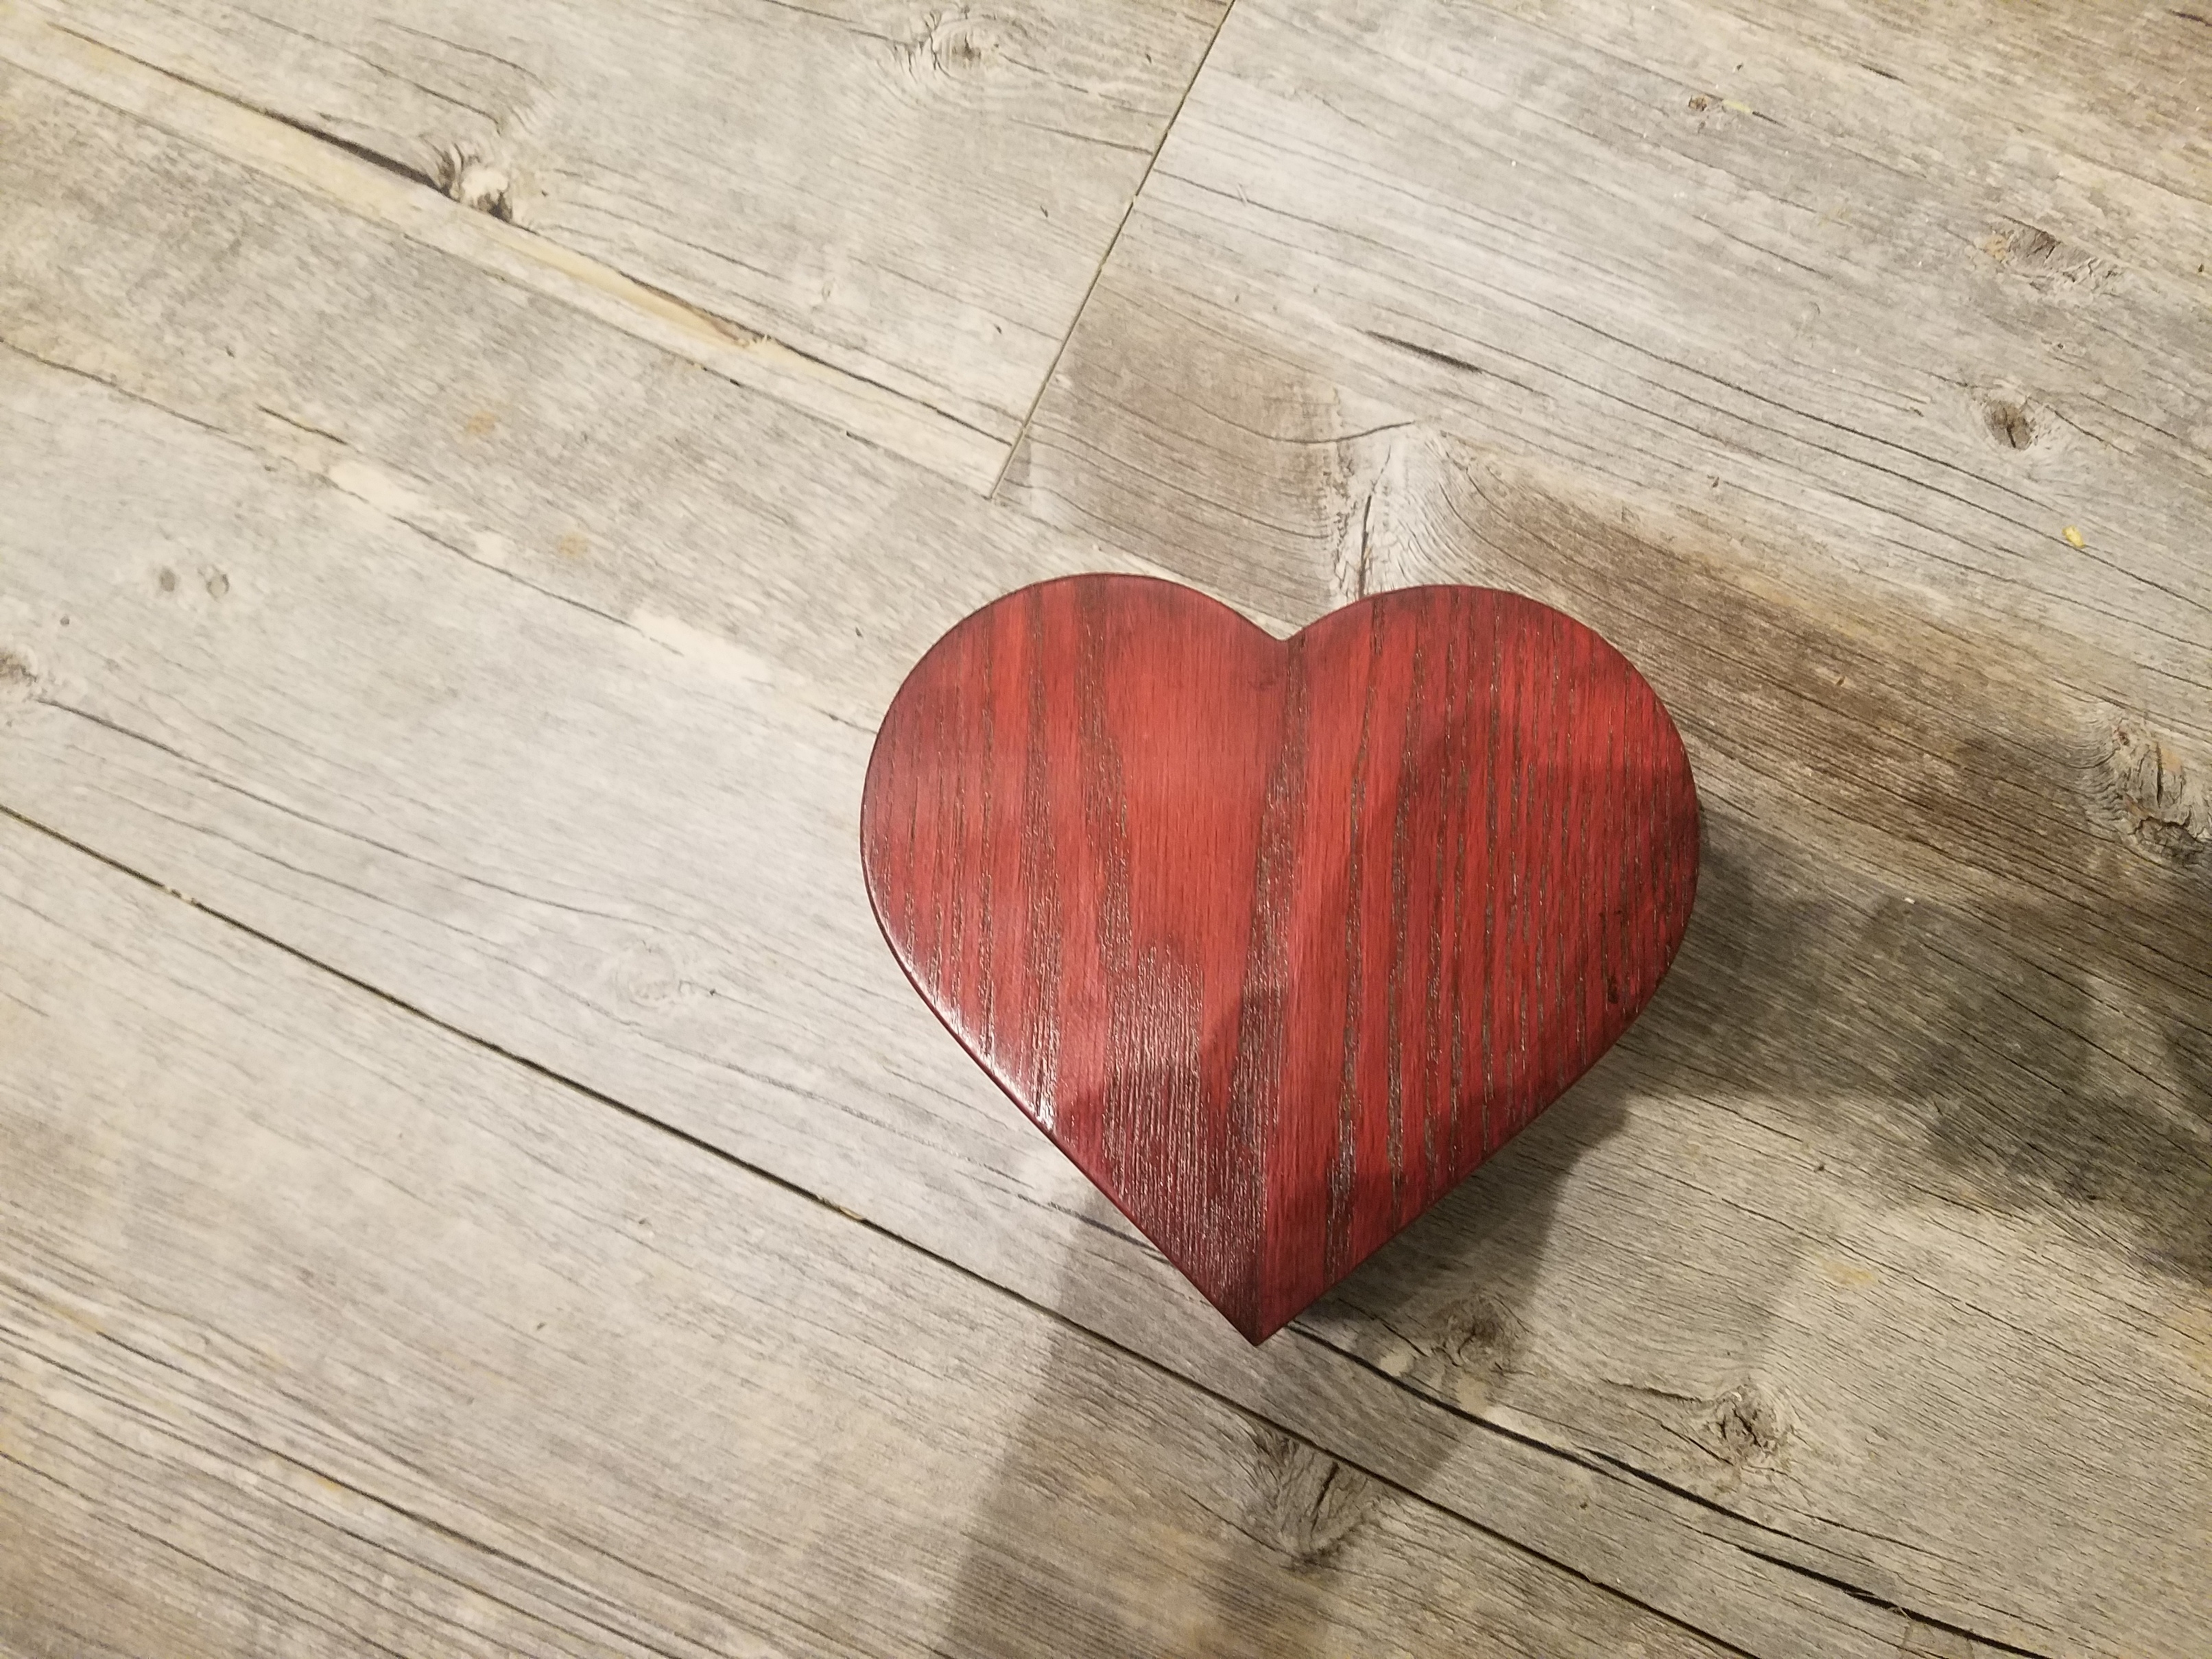
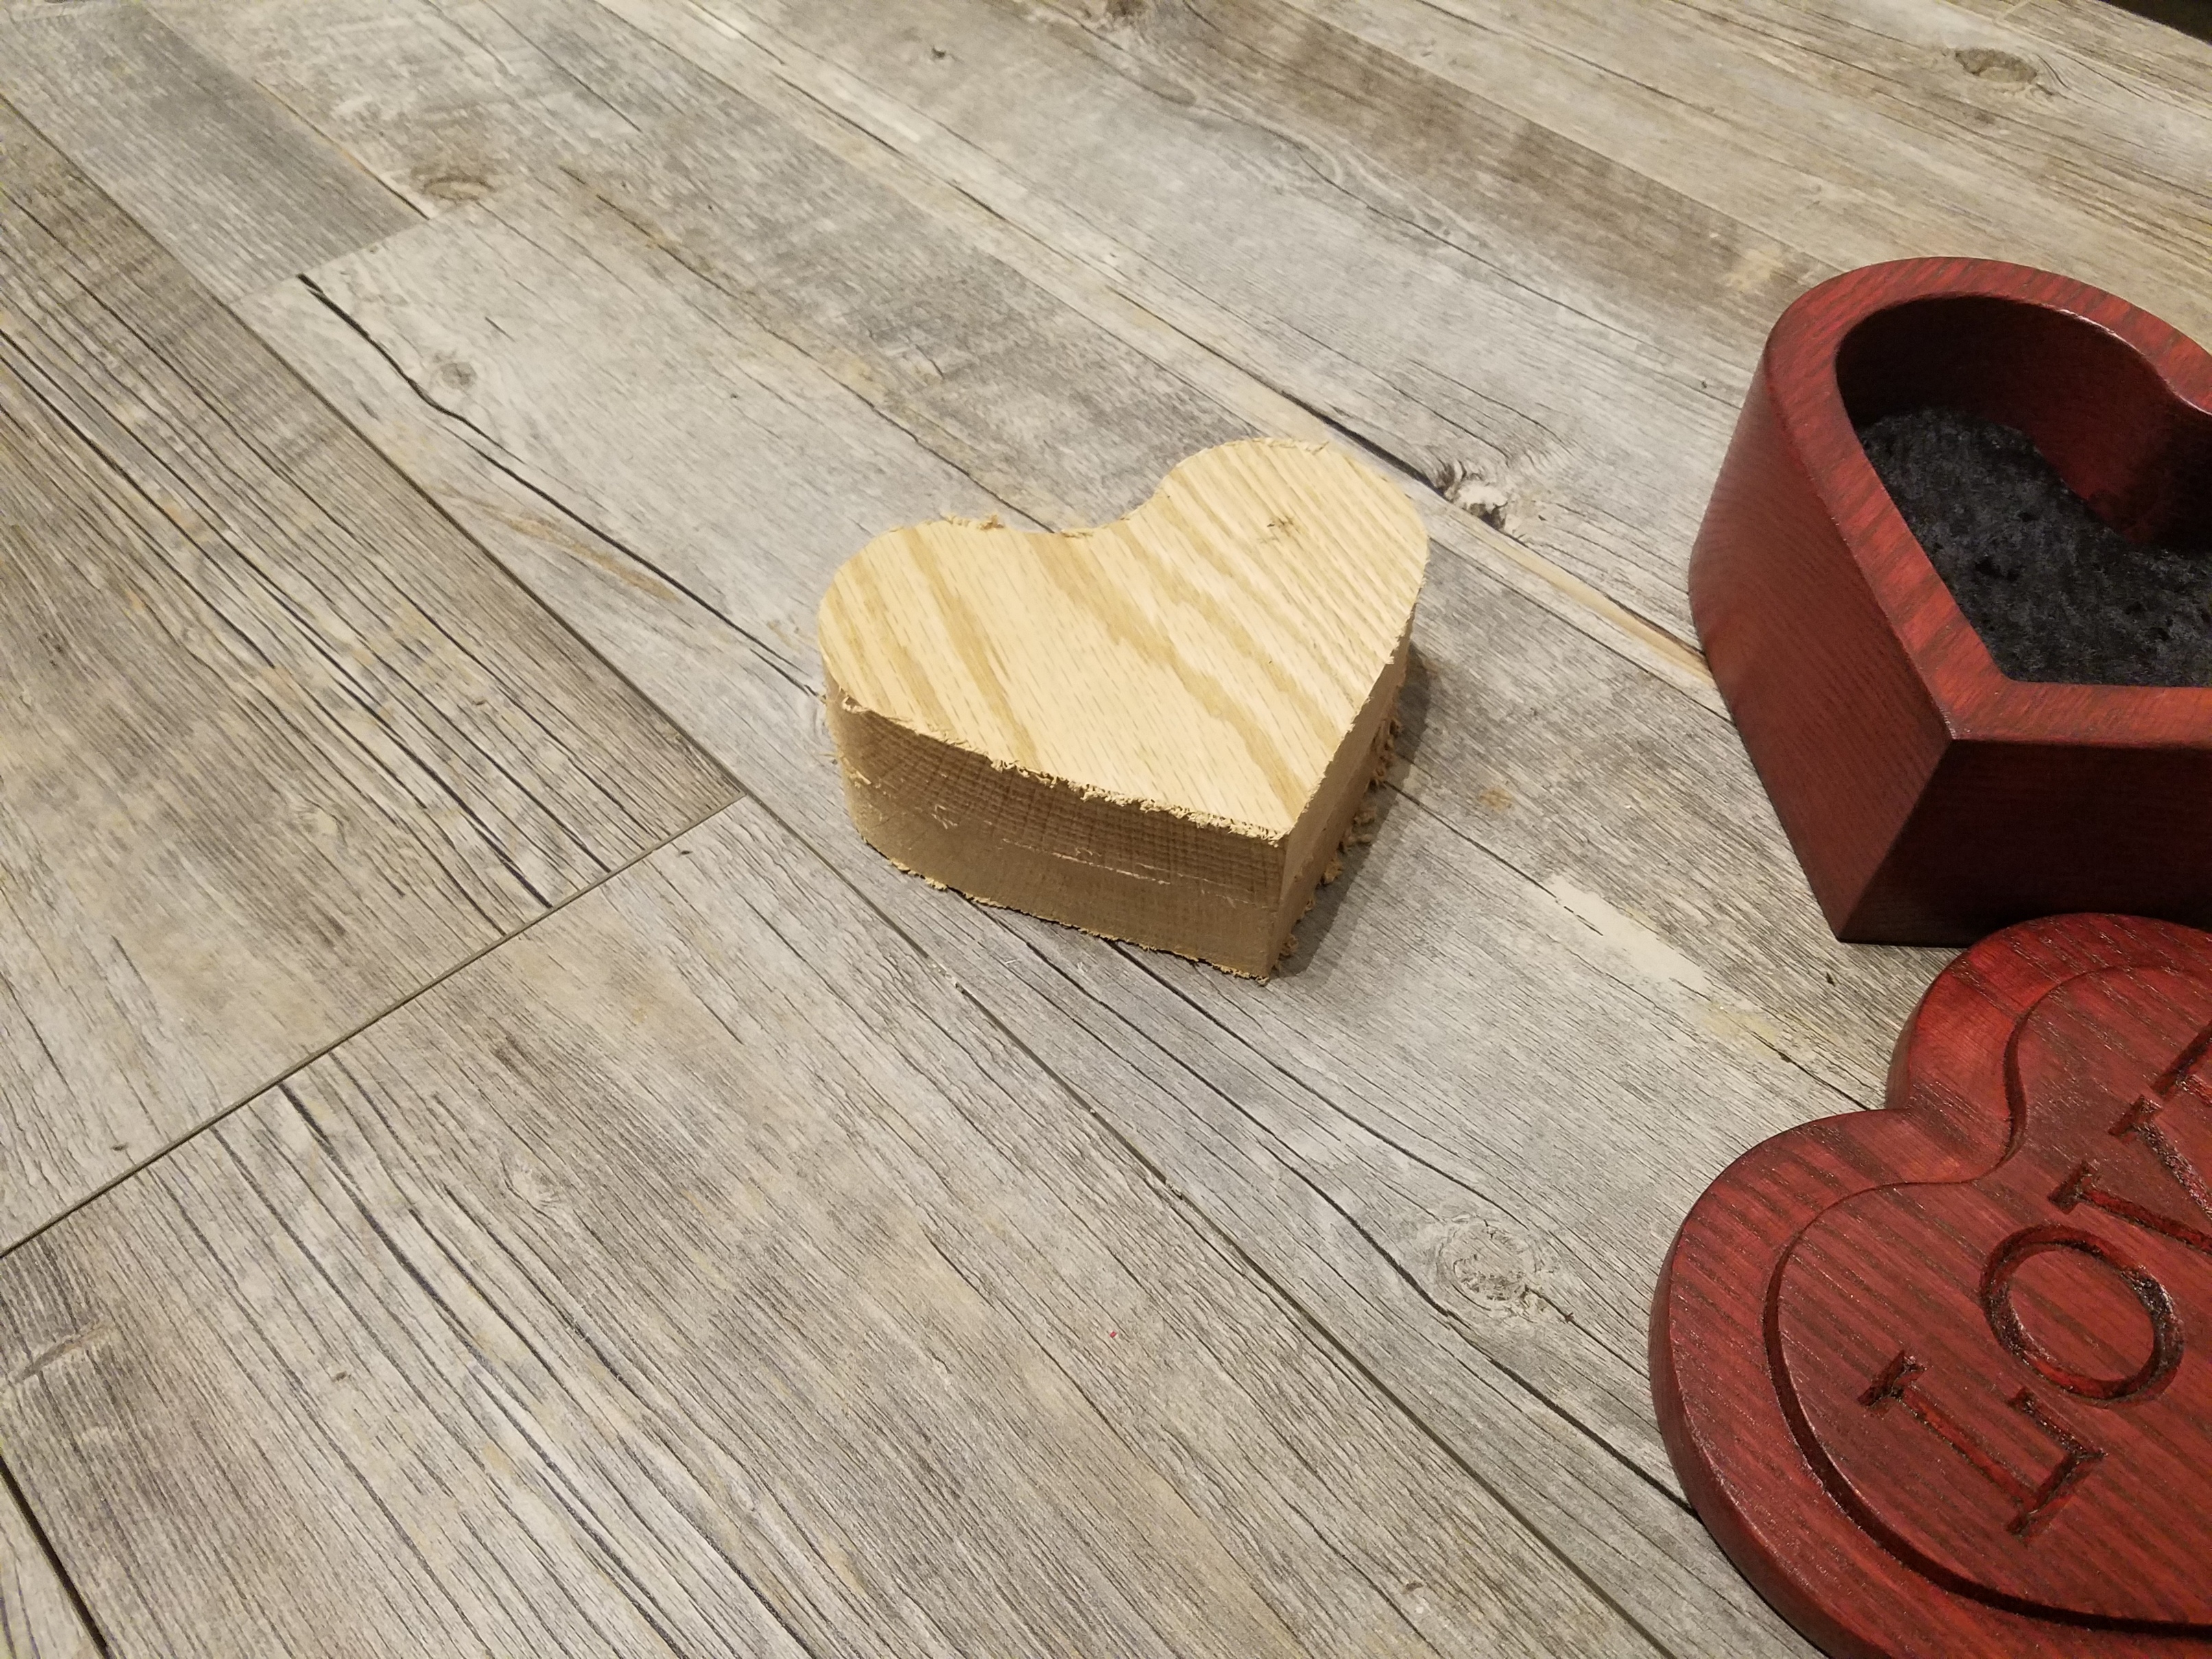
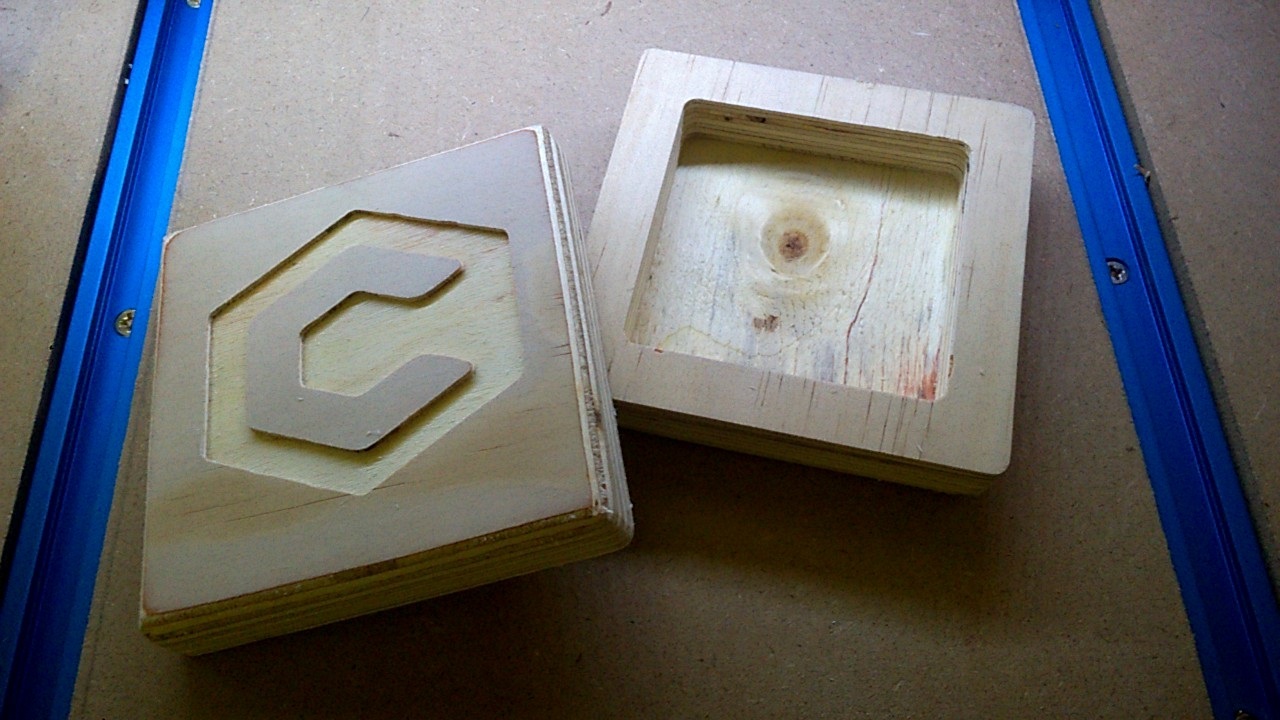
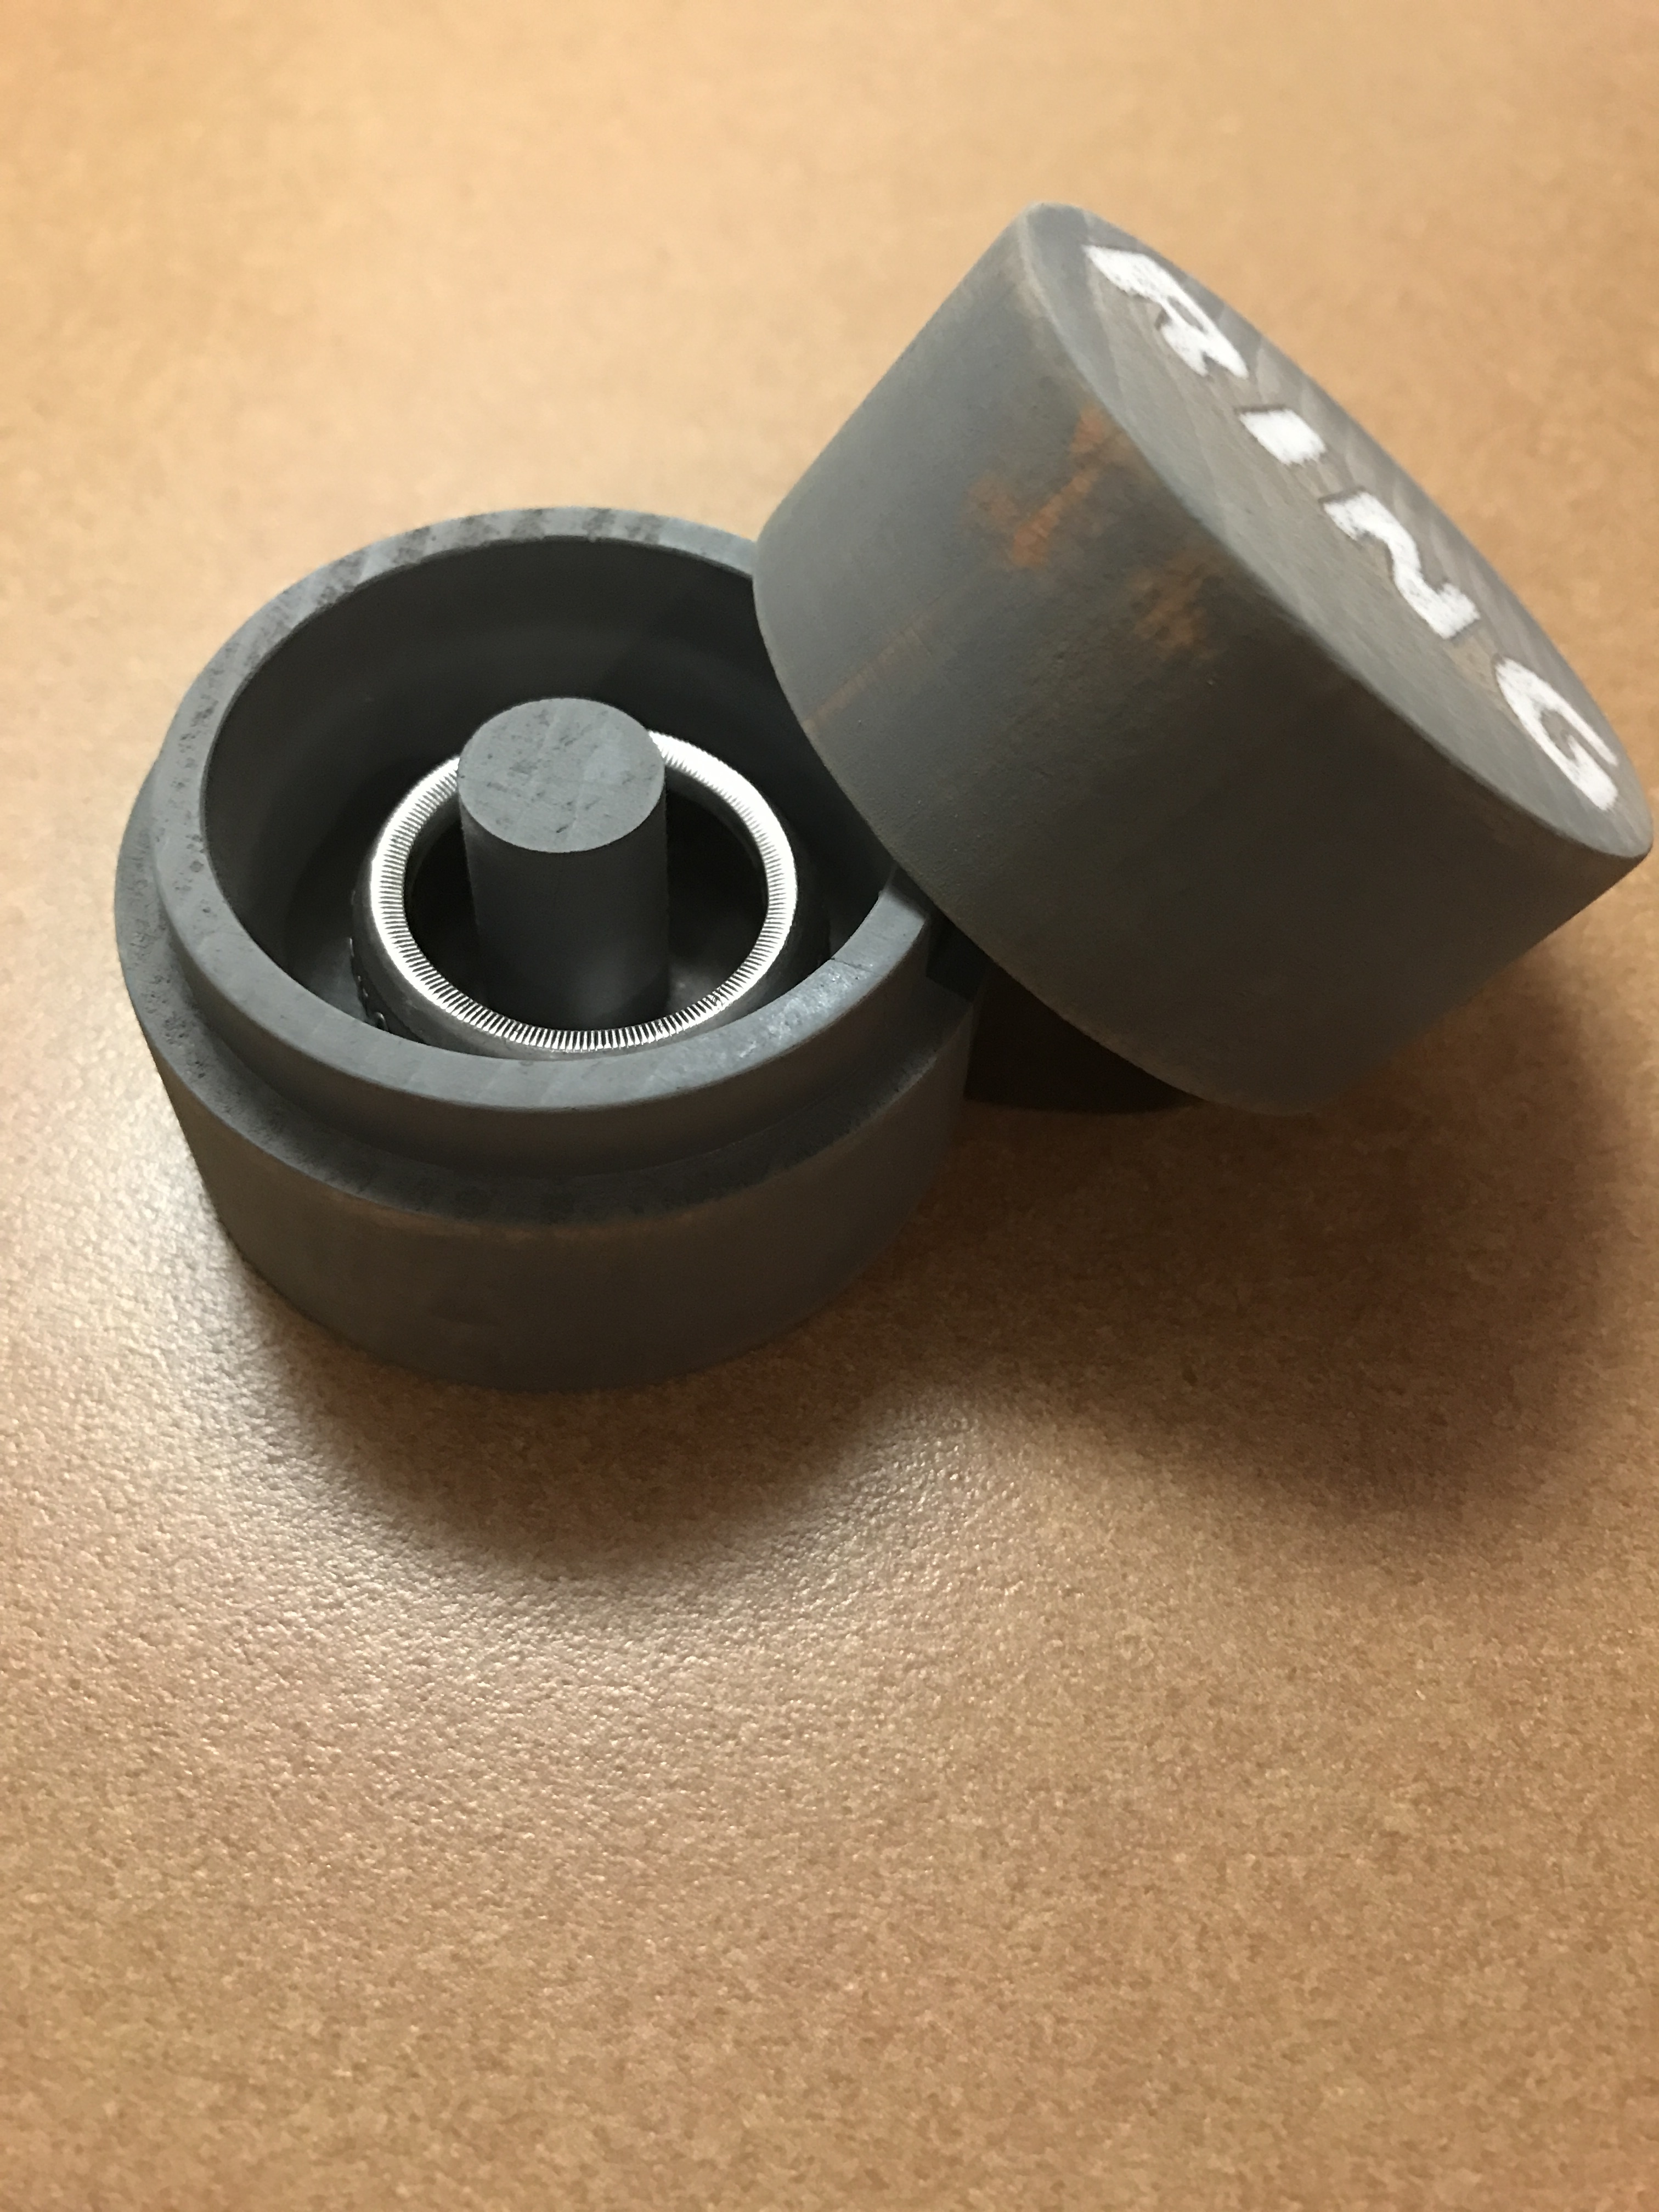
Theme: Box or storage of sorts
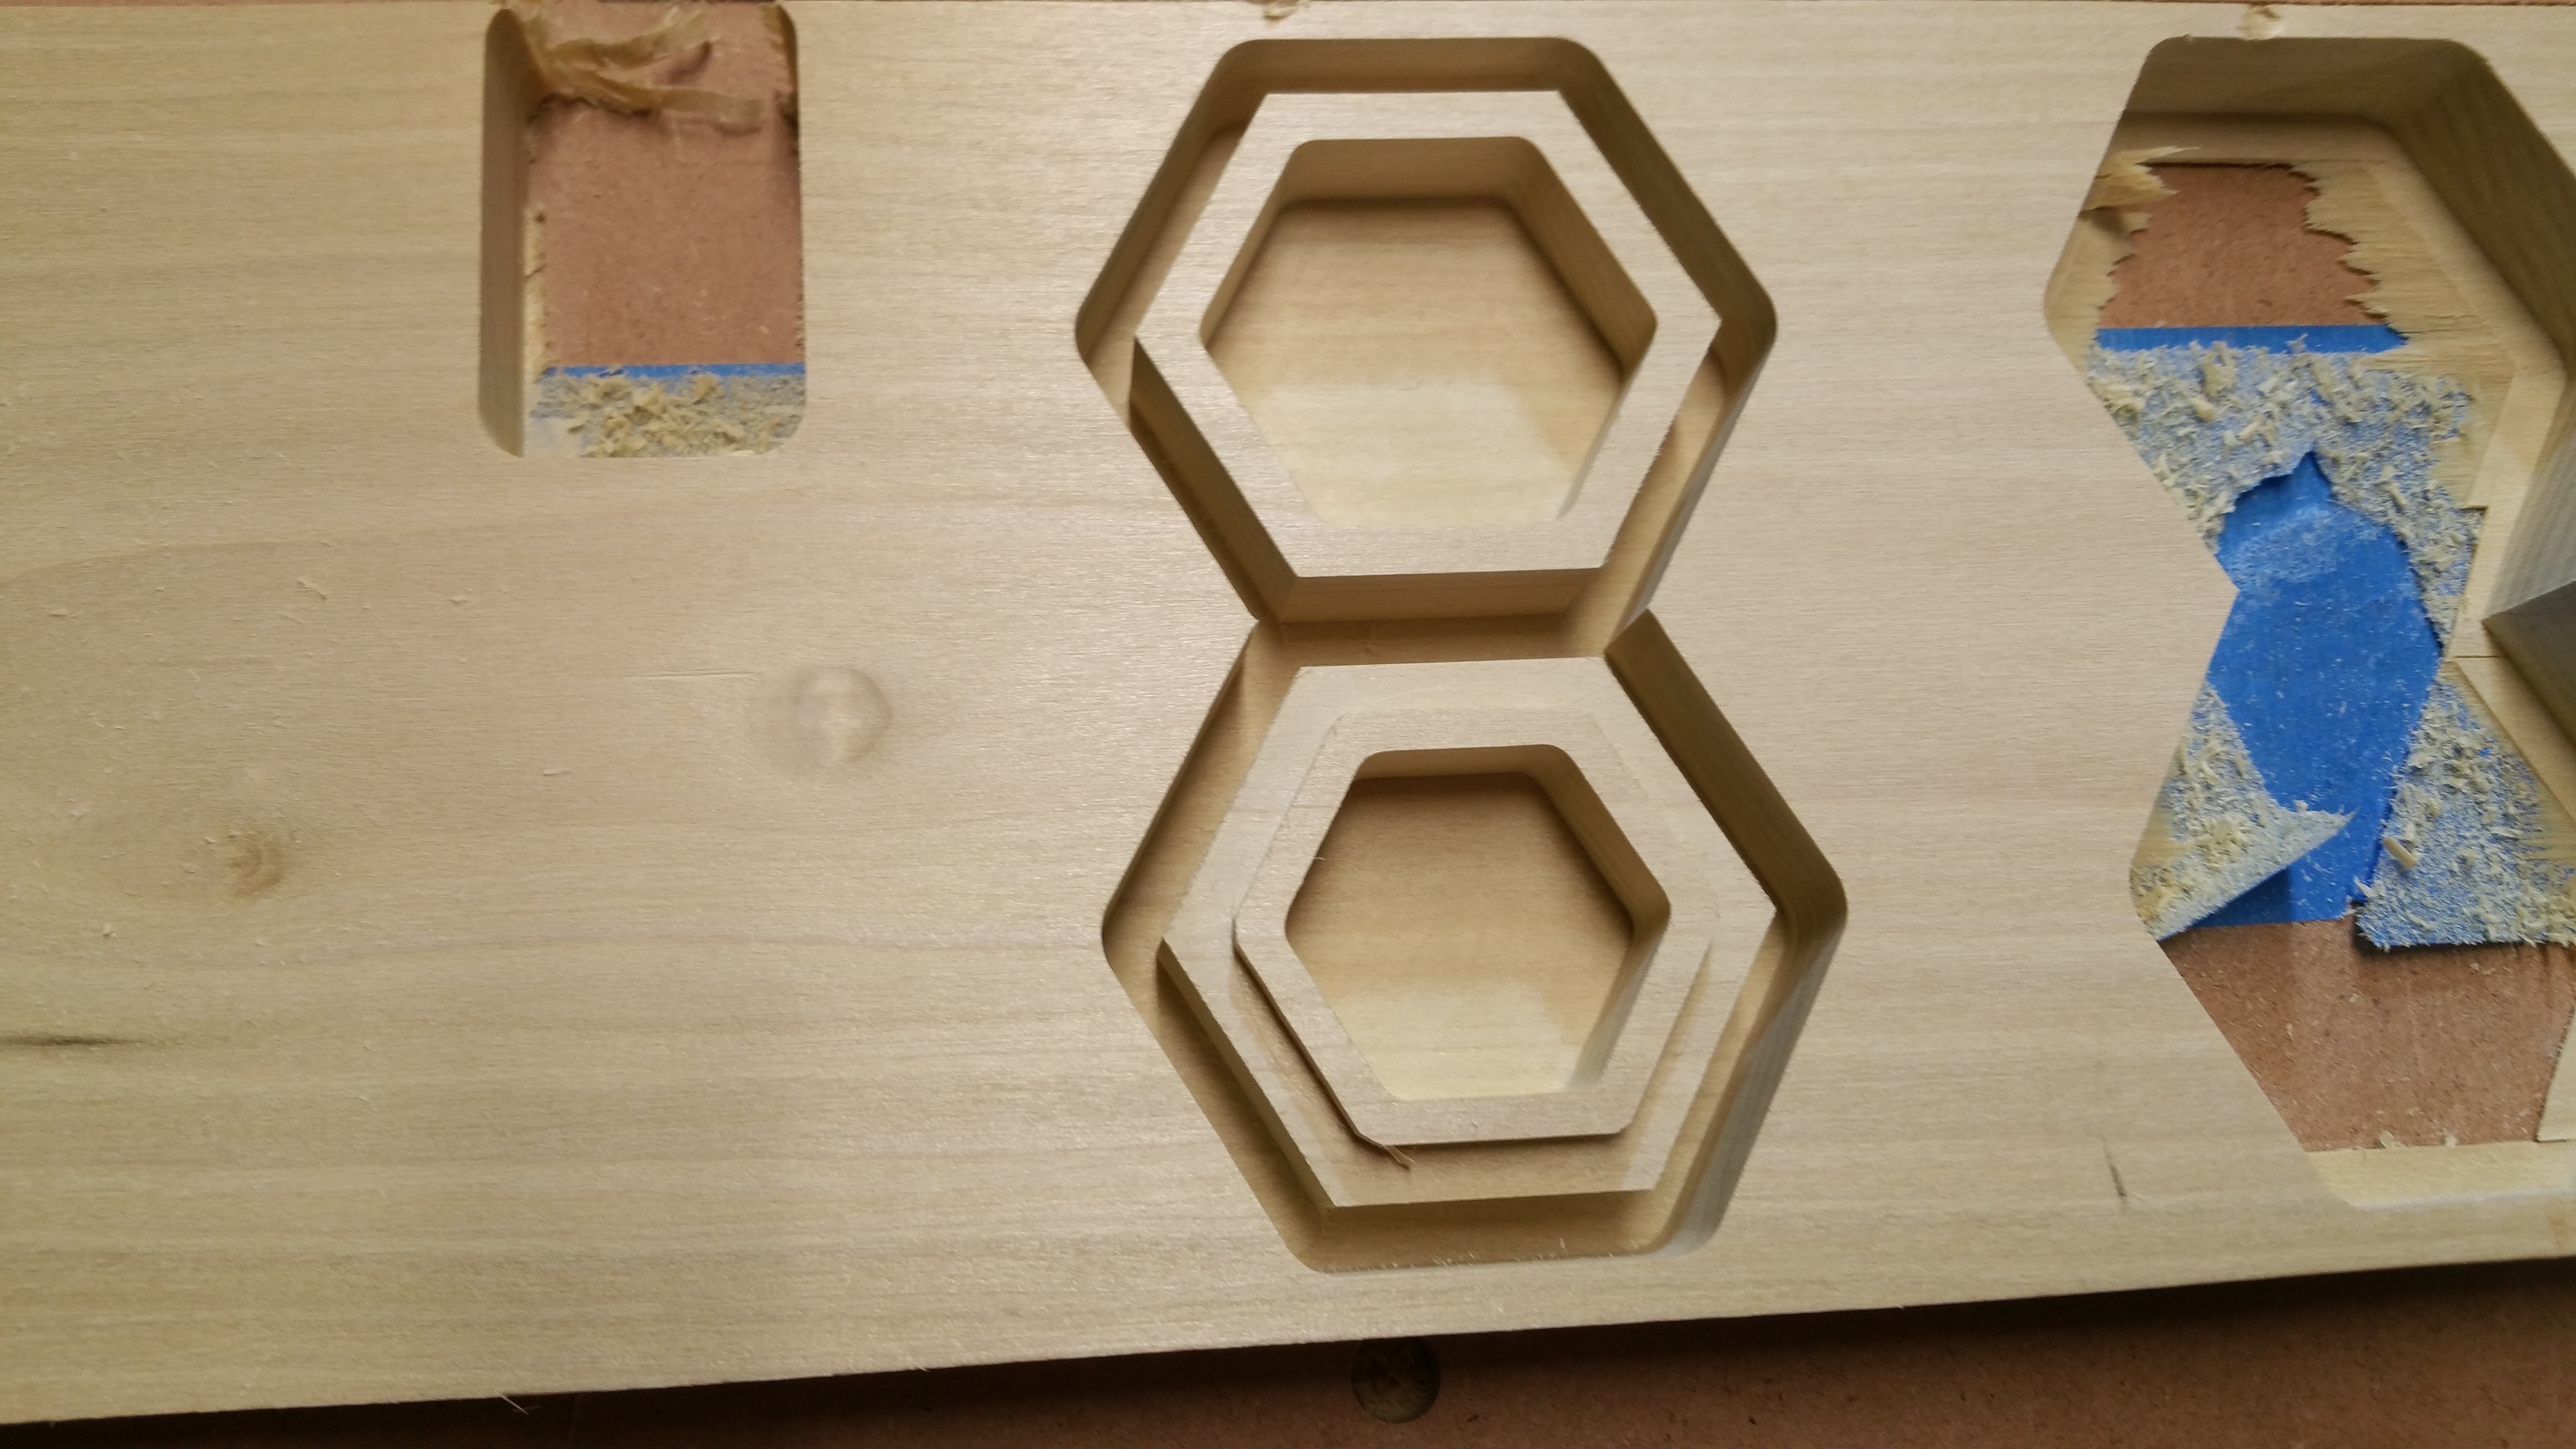
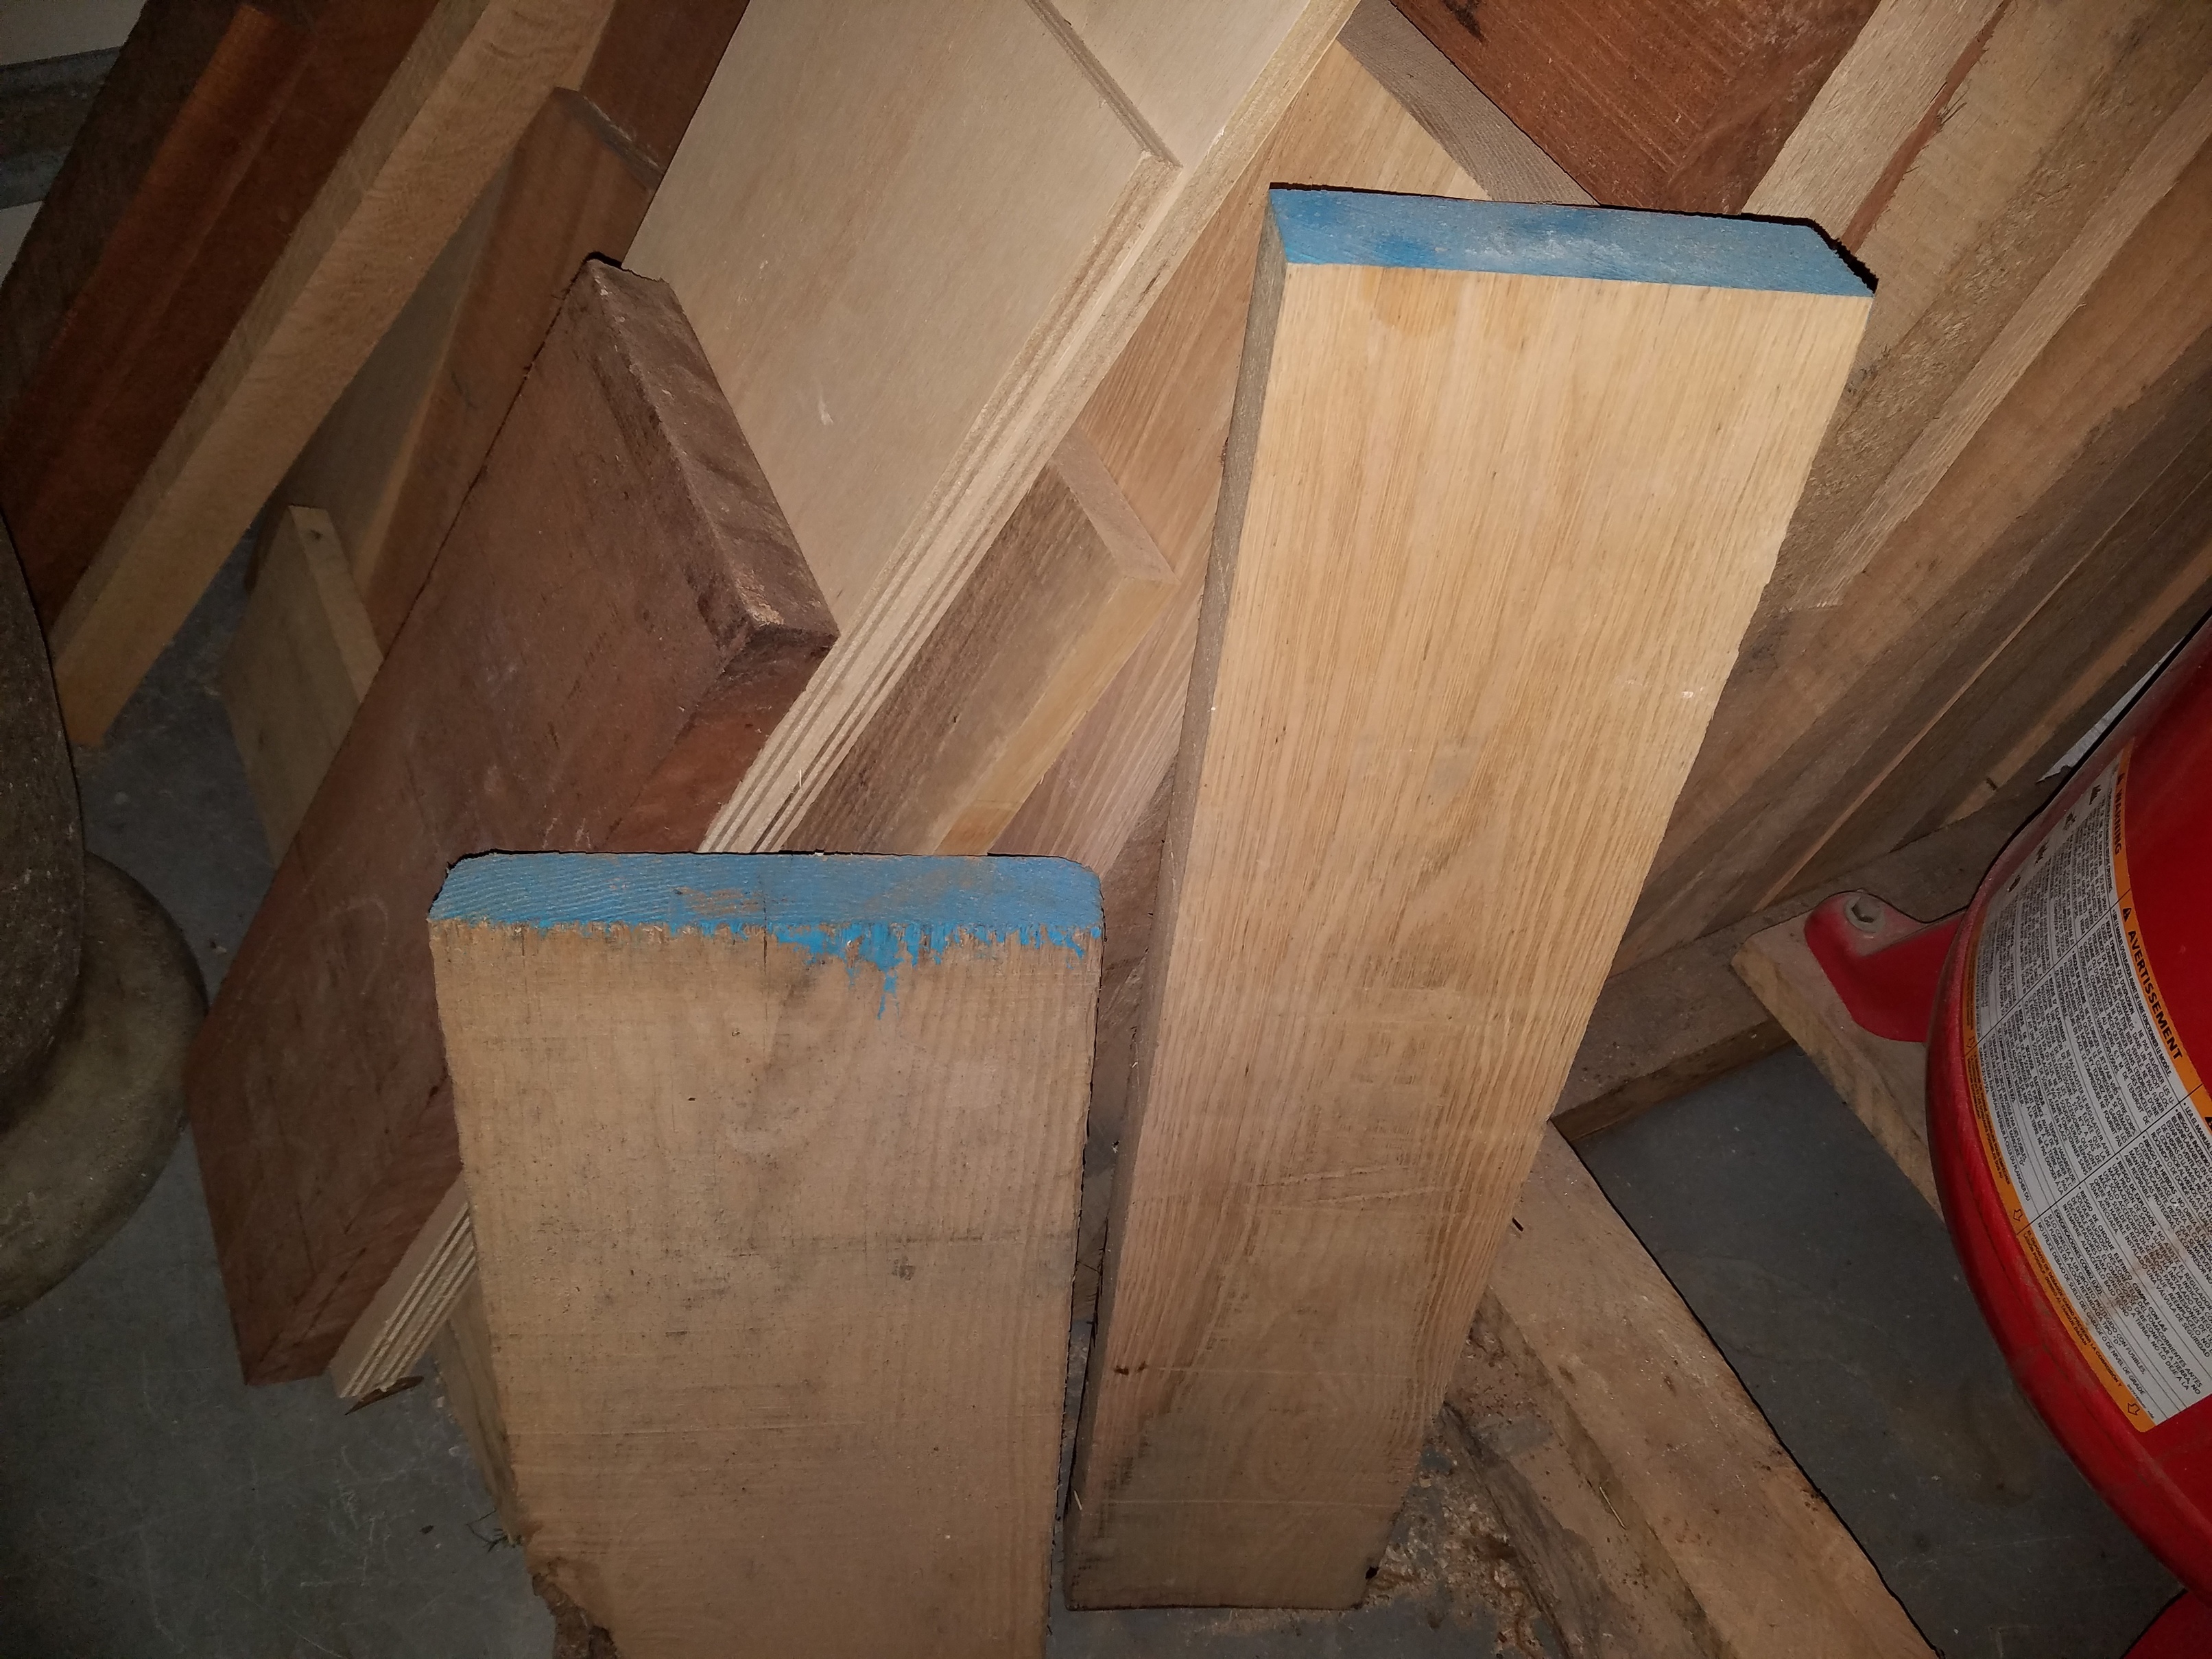
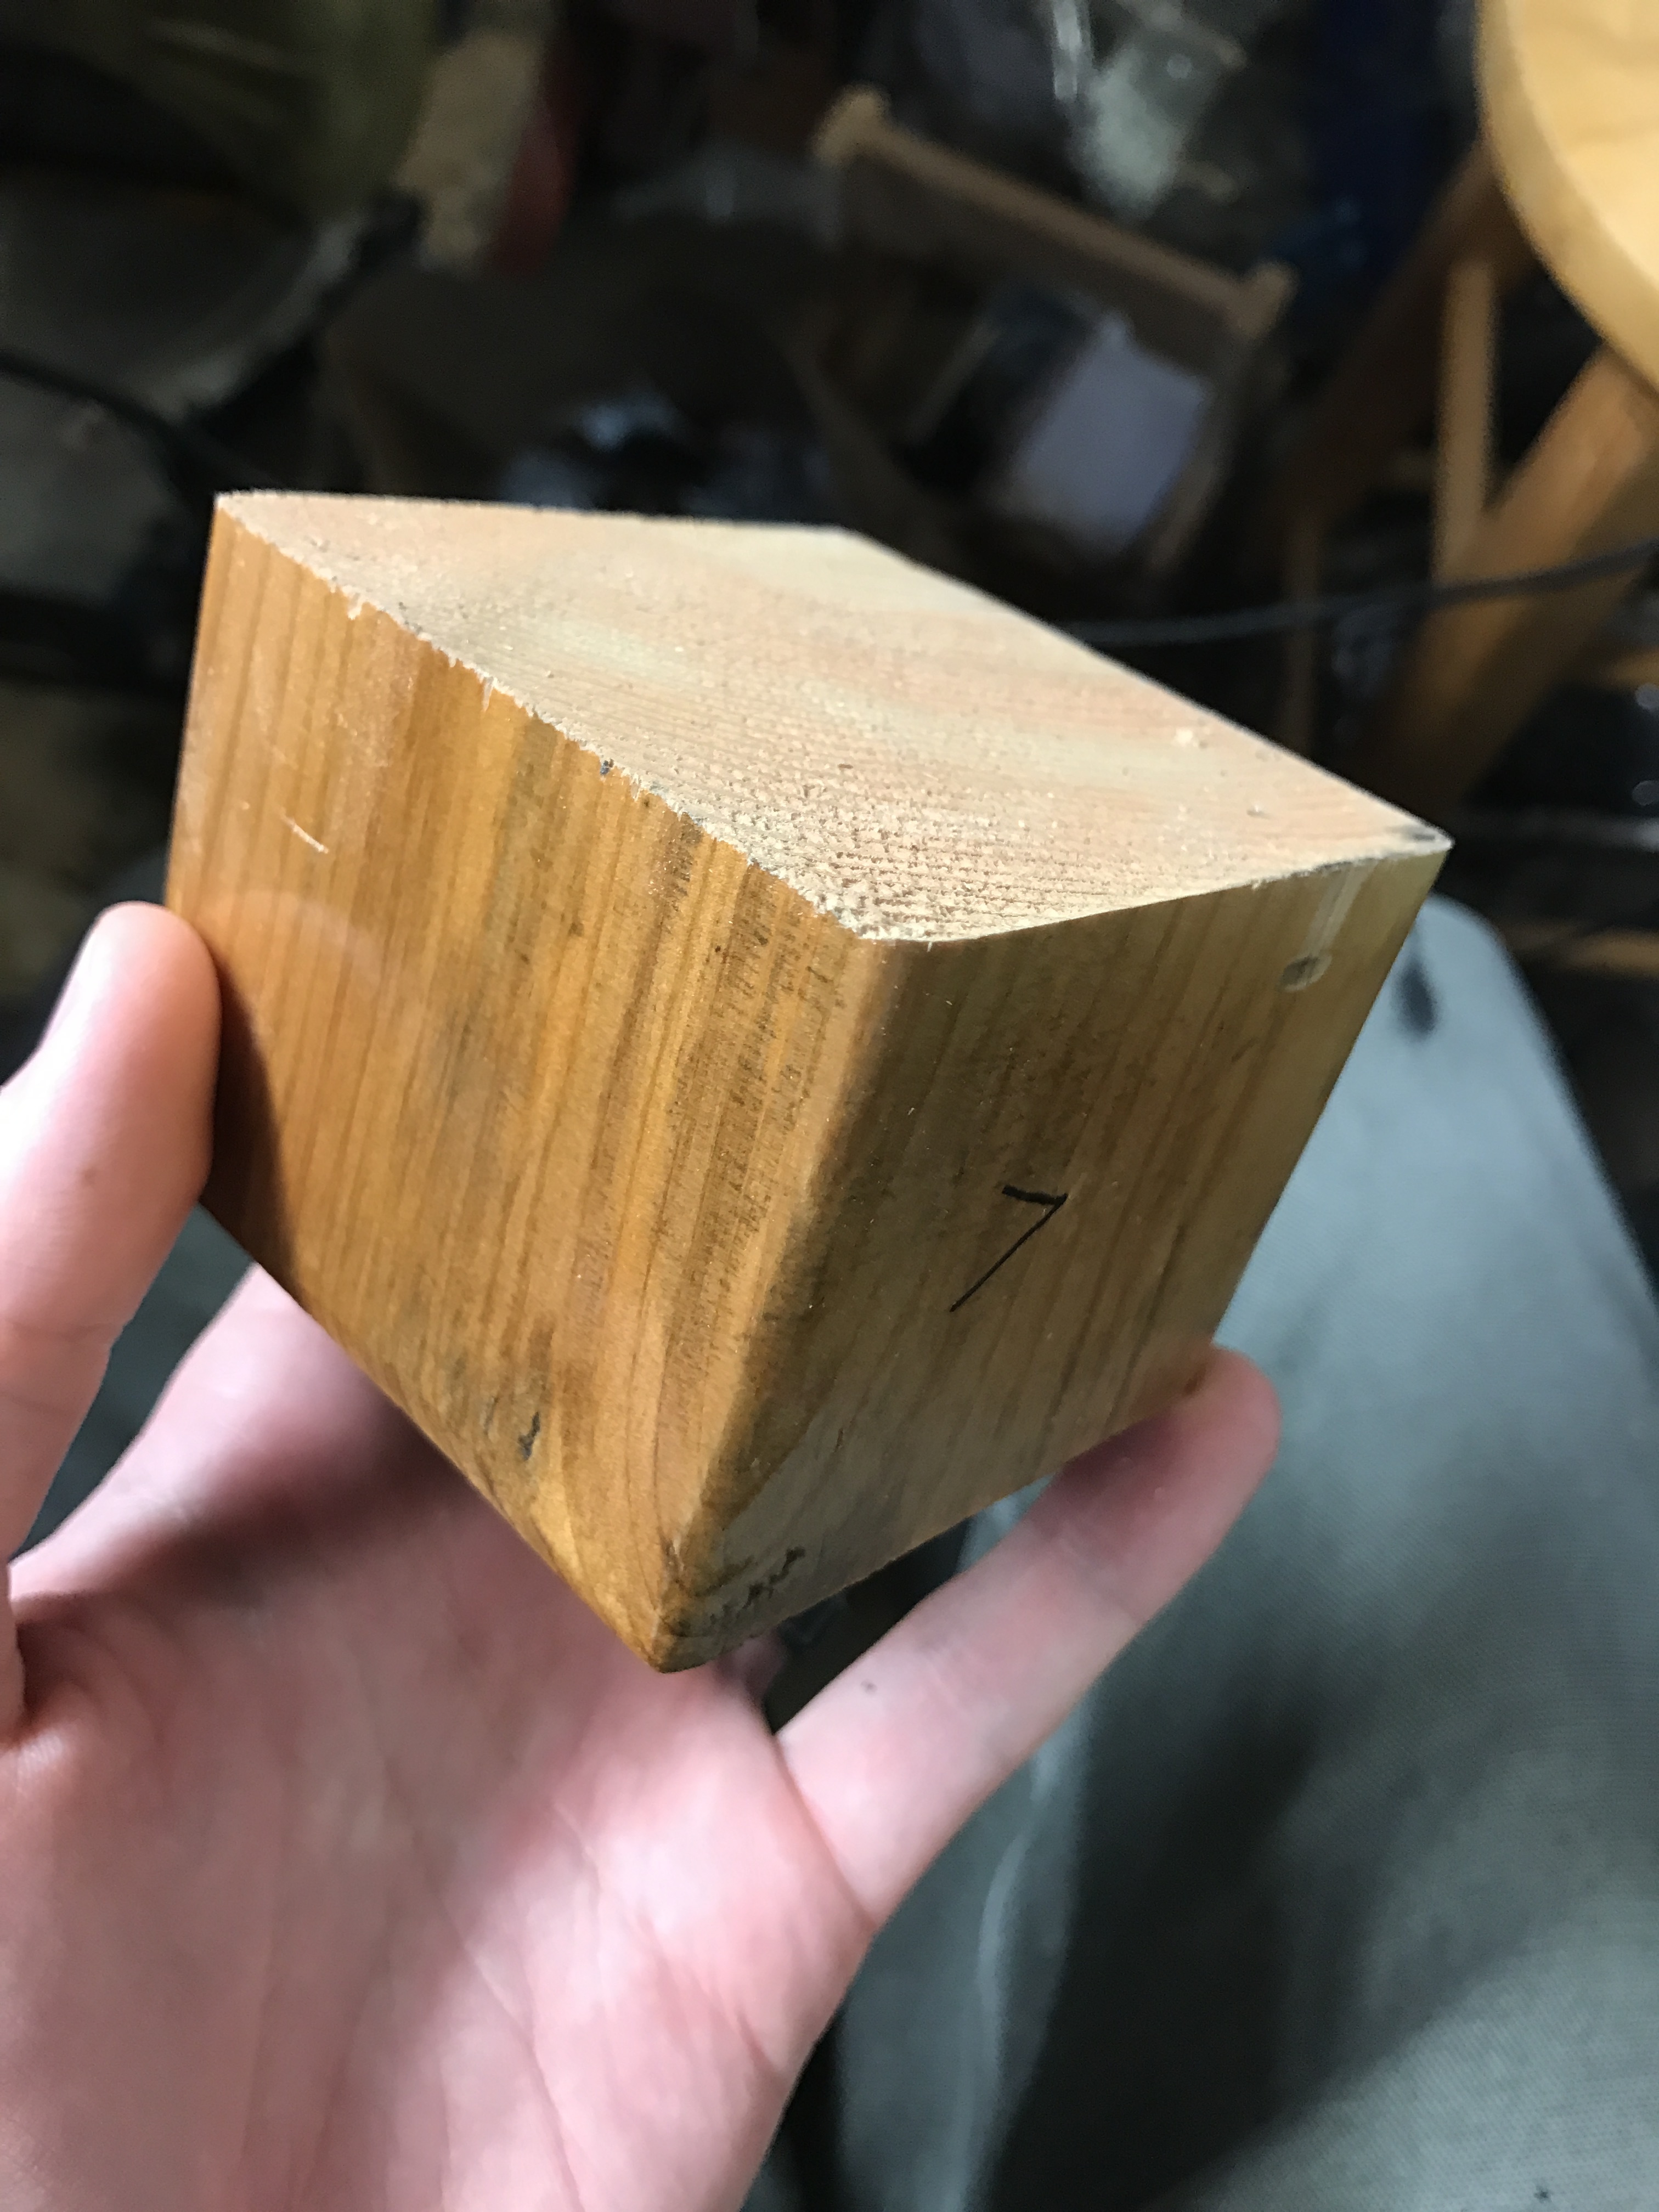
Material: Scrap
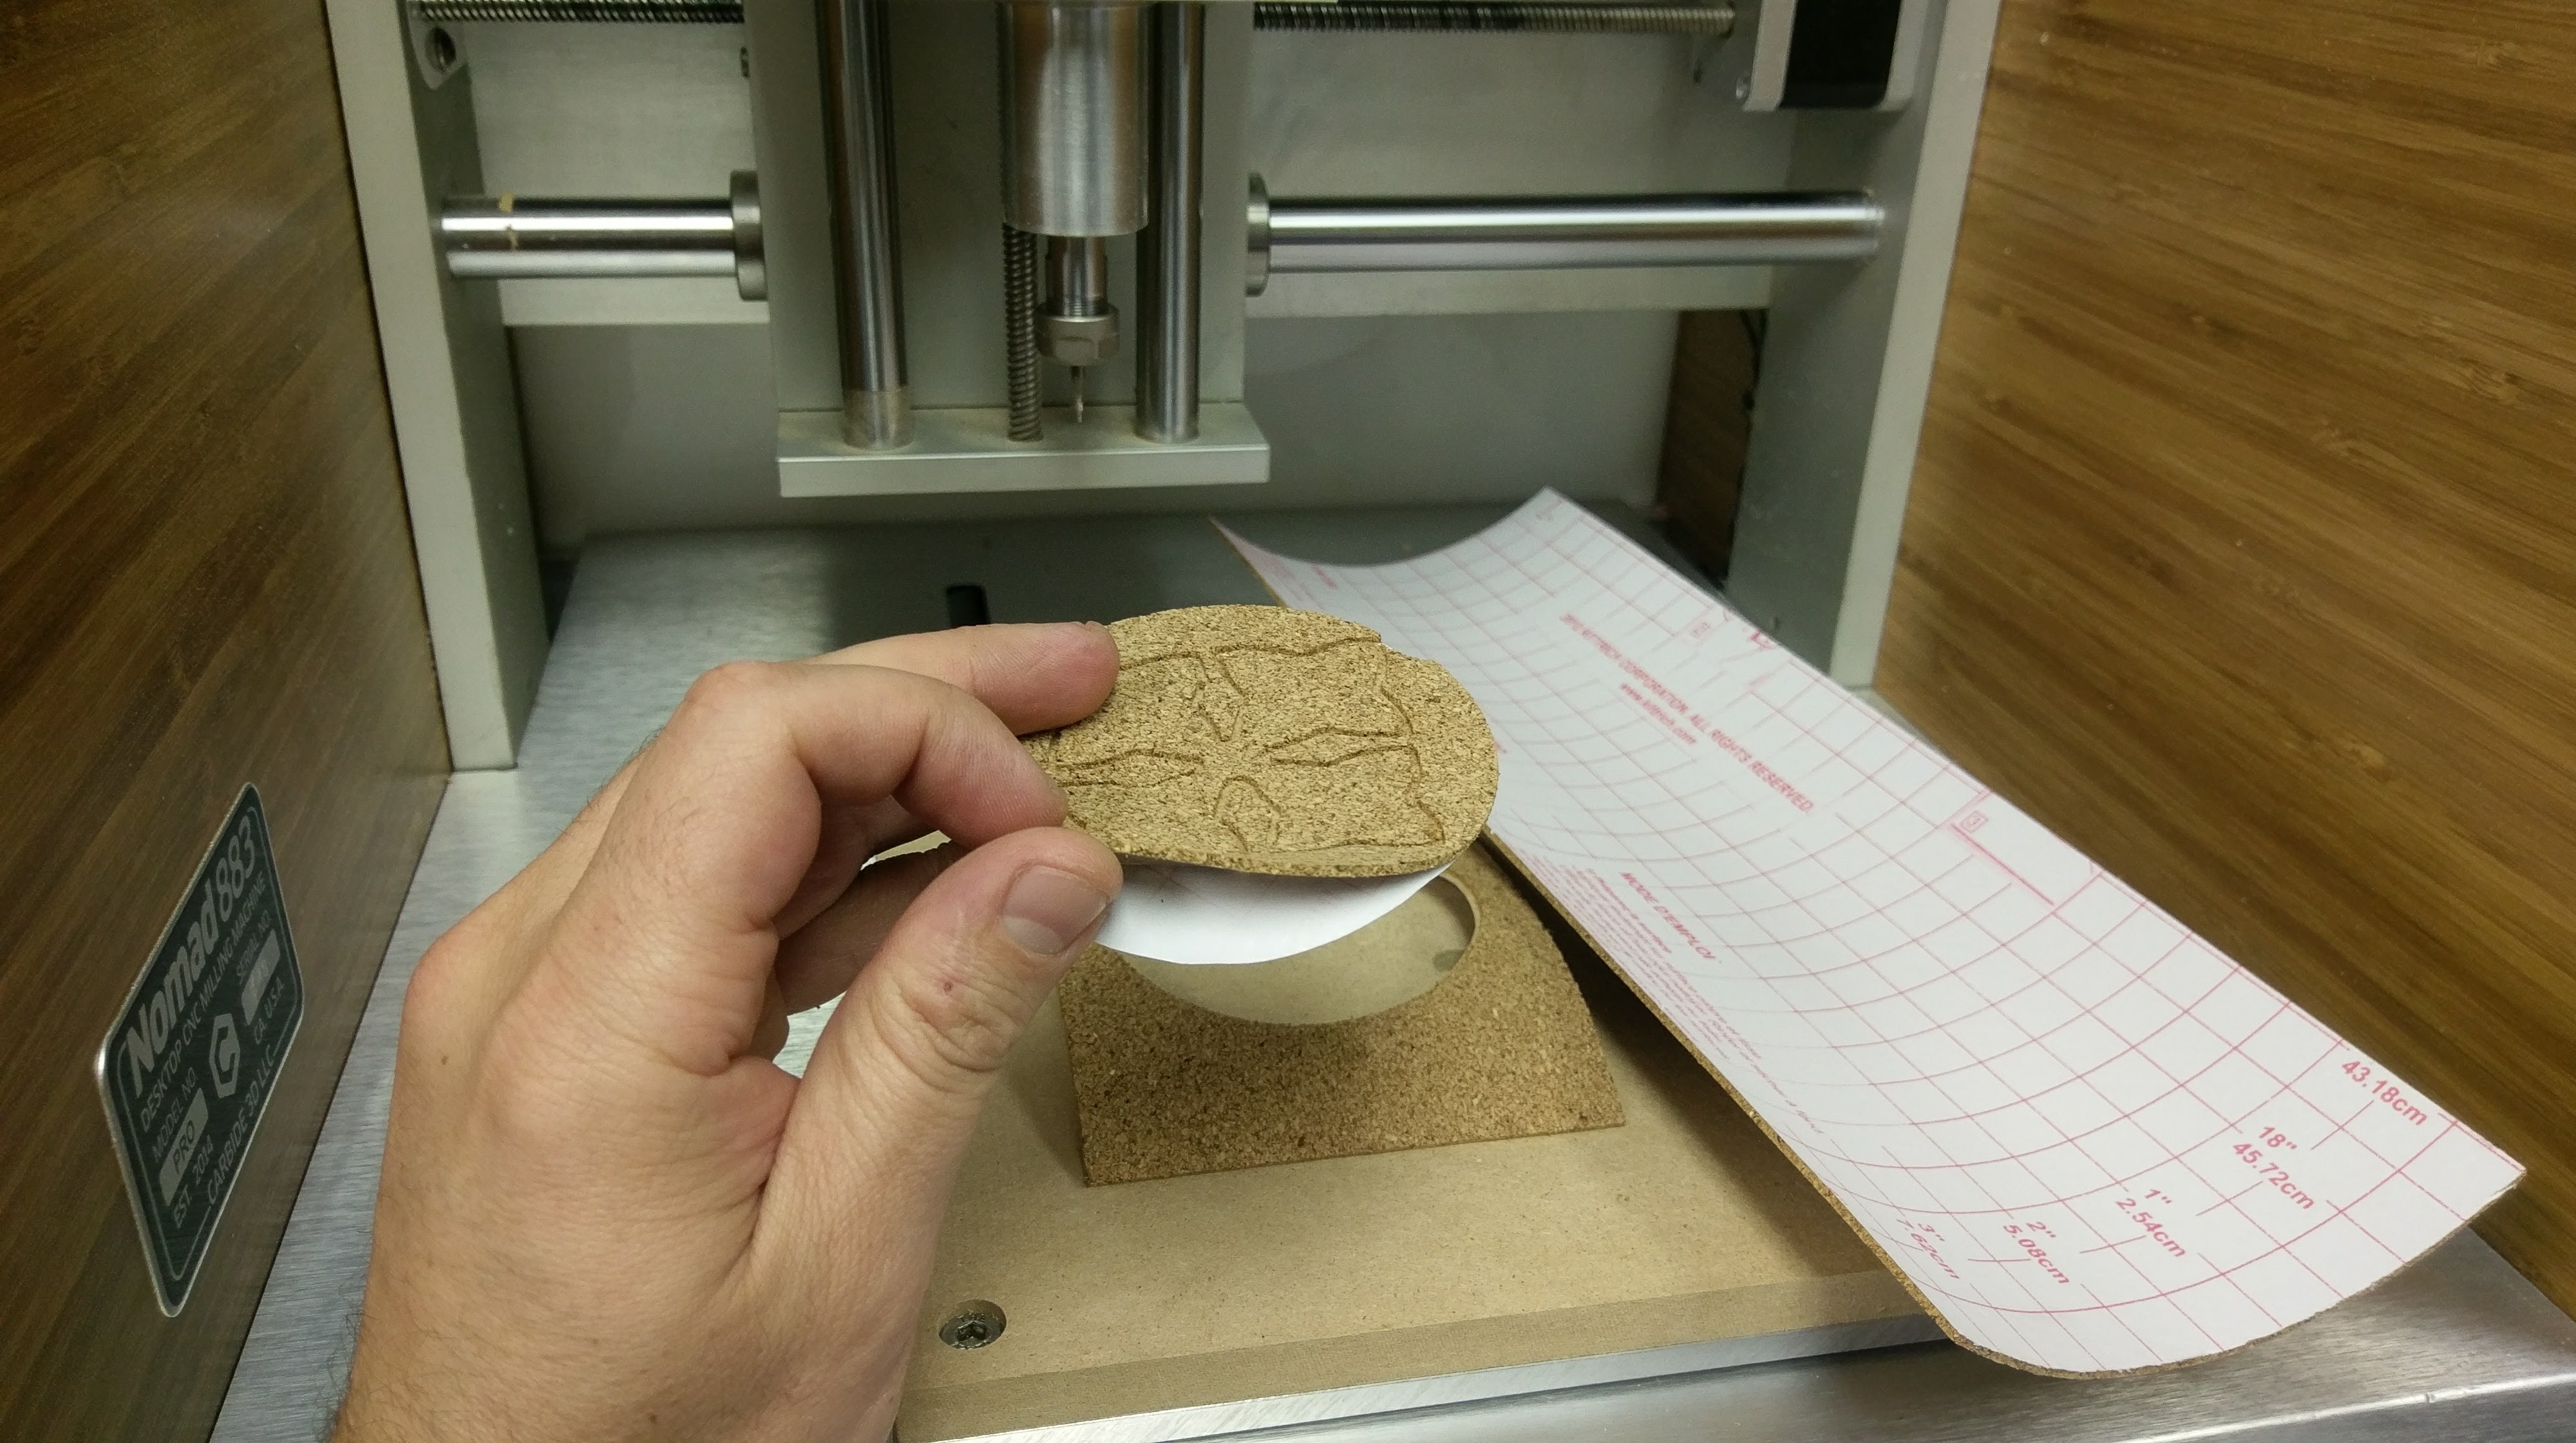
Machine: Nomad or Shapeoko
Tool: Your choice
Required Info in your Post:
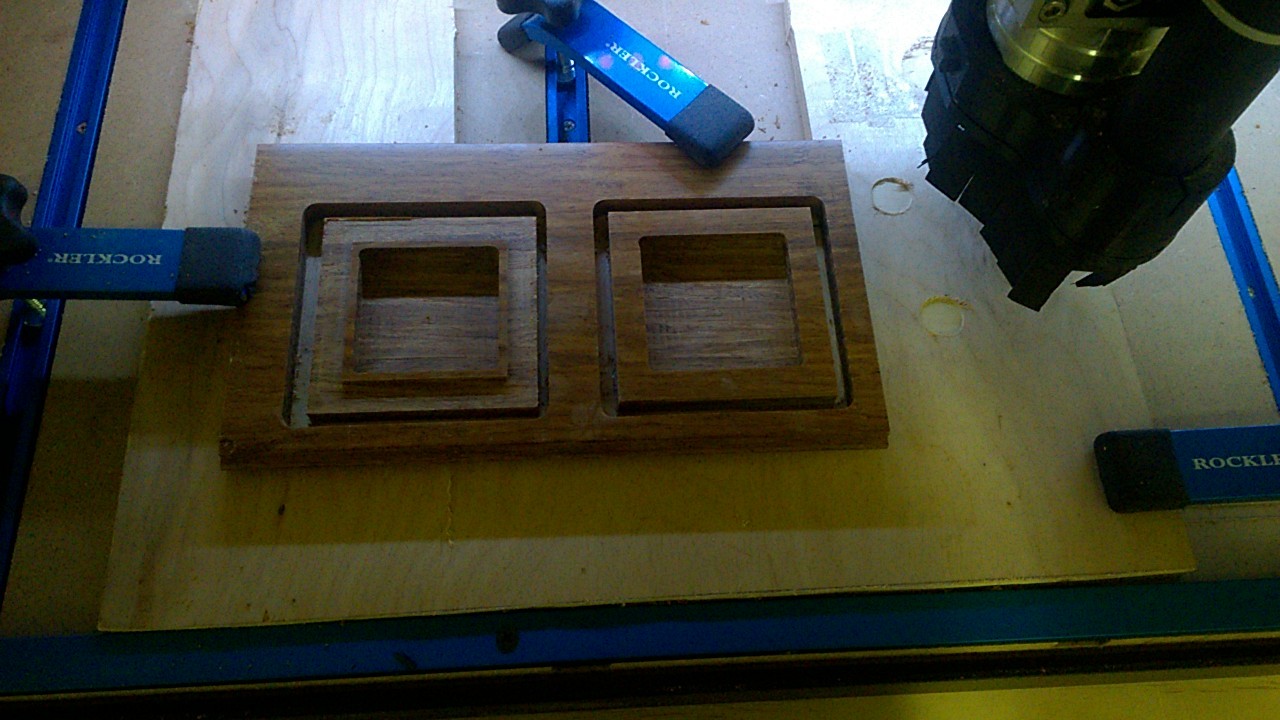
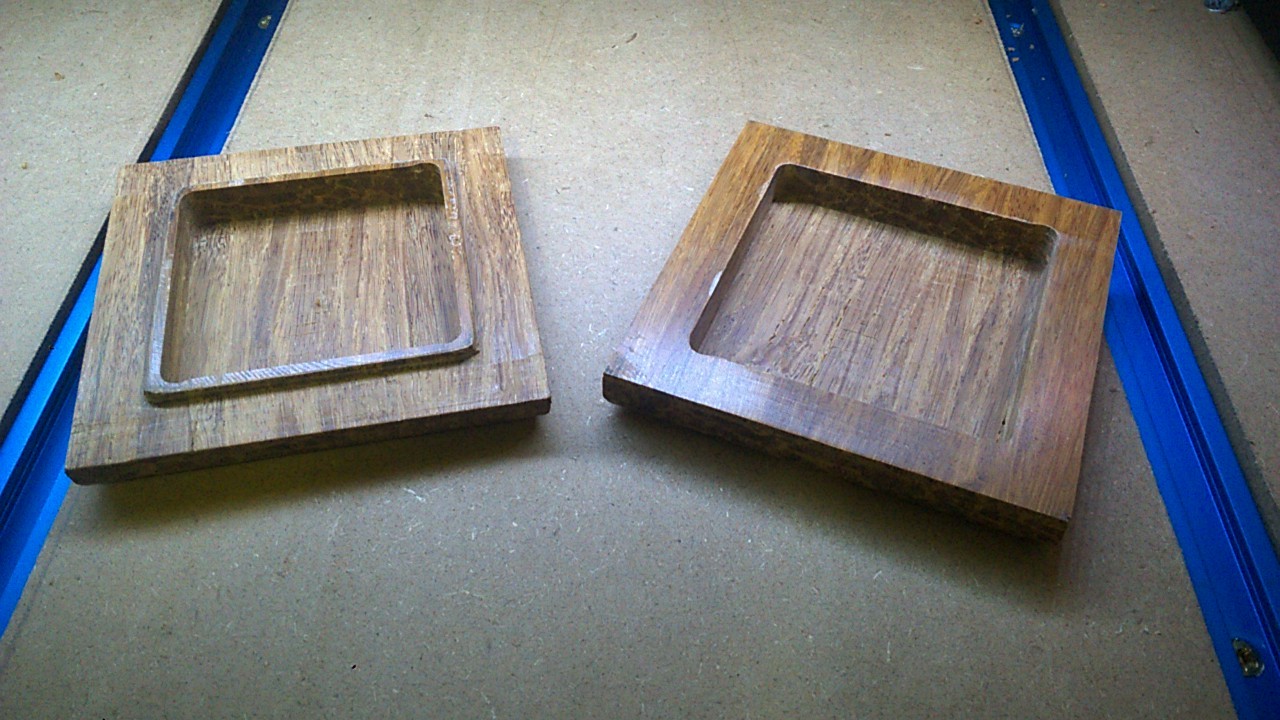
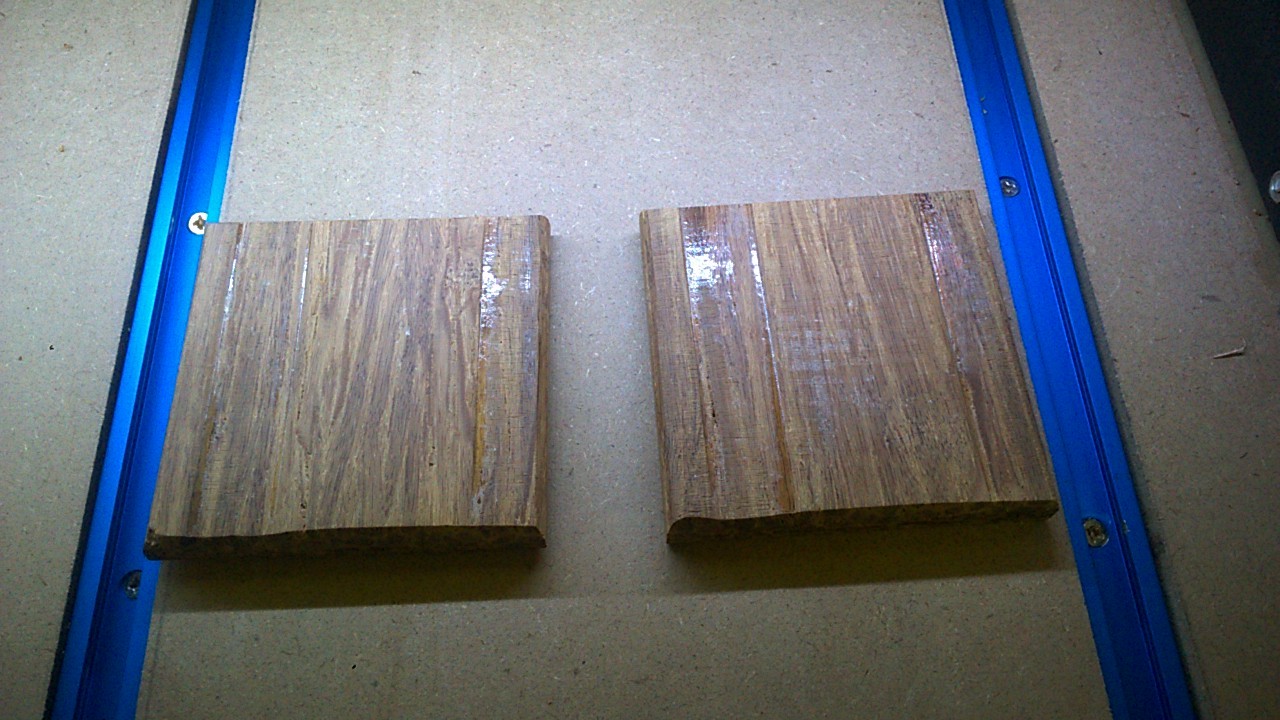
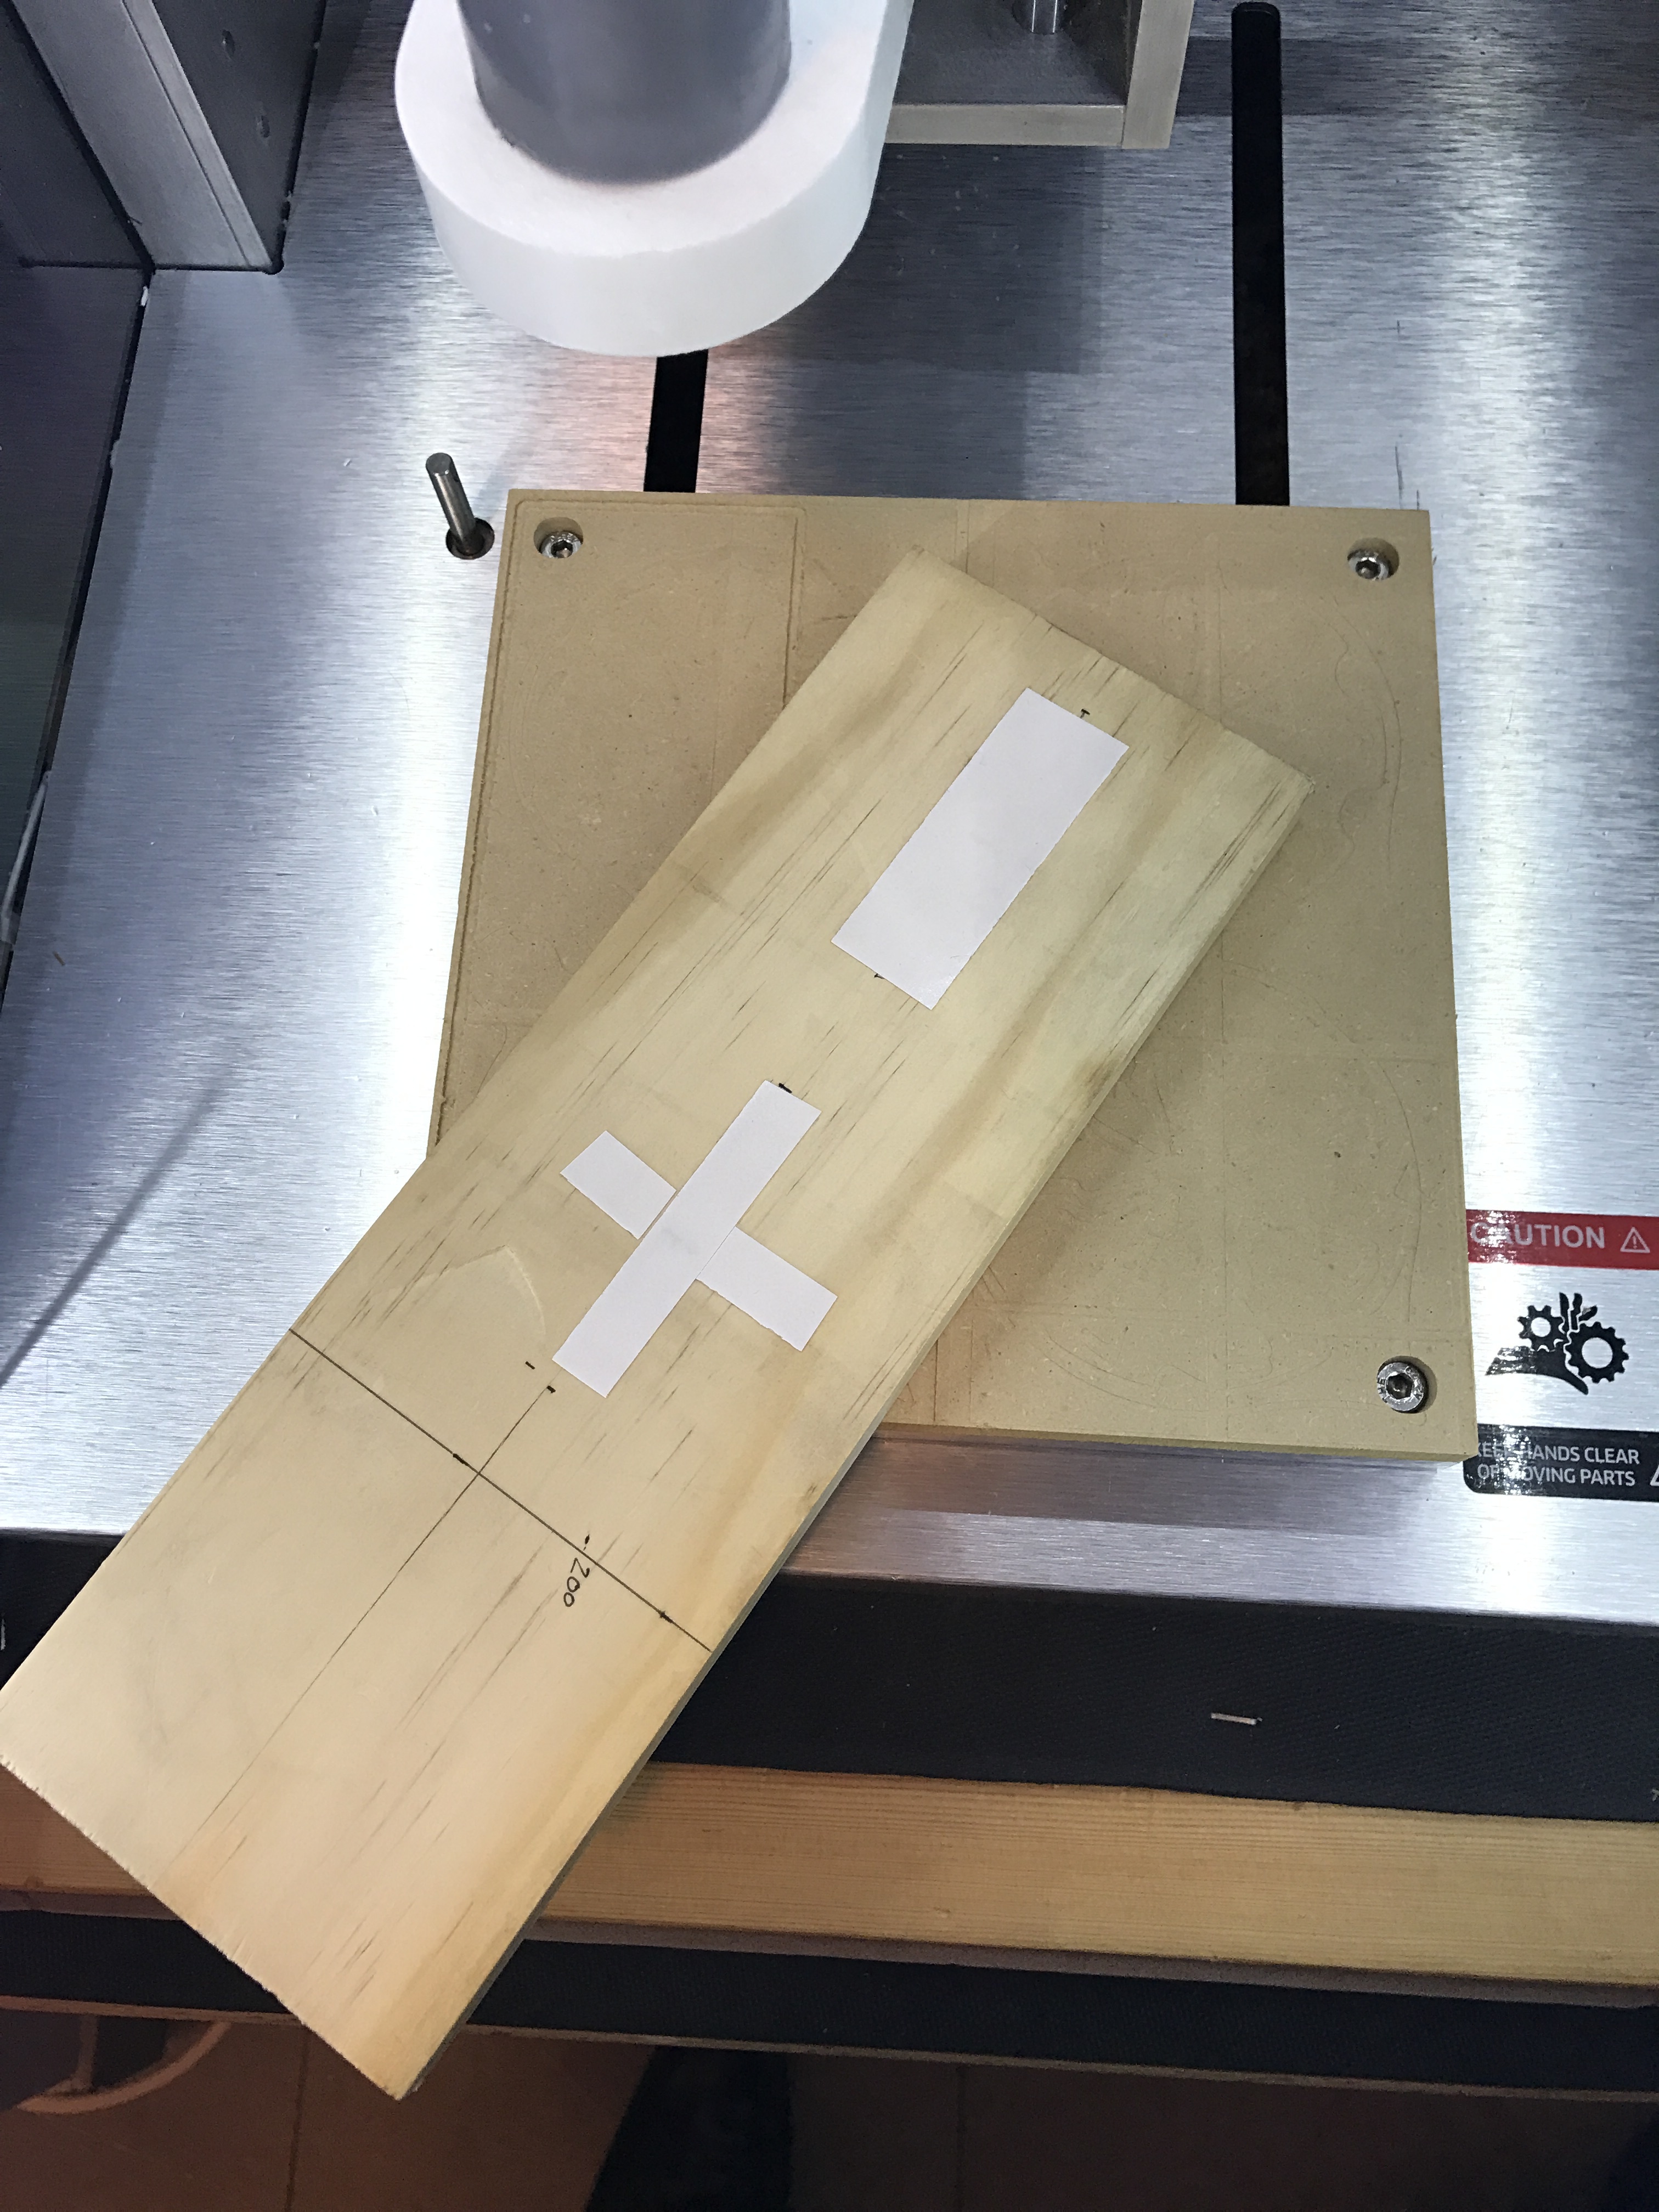
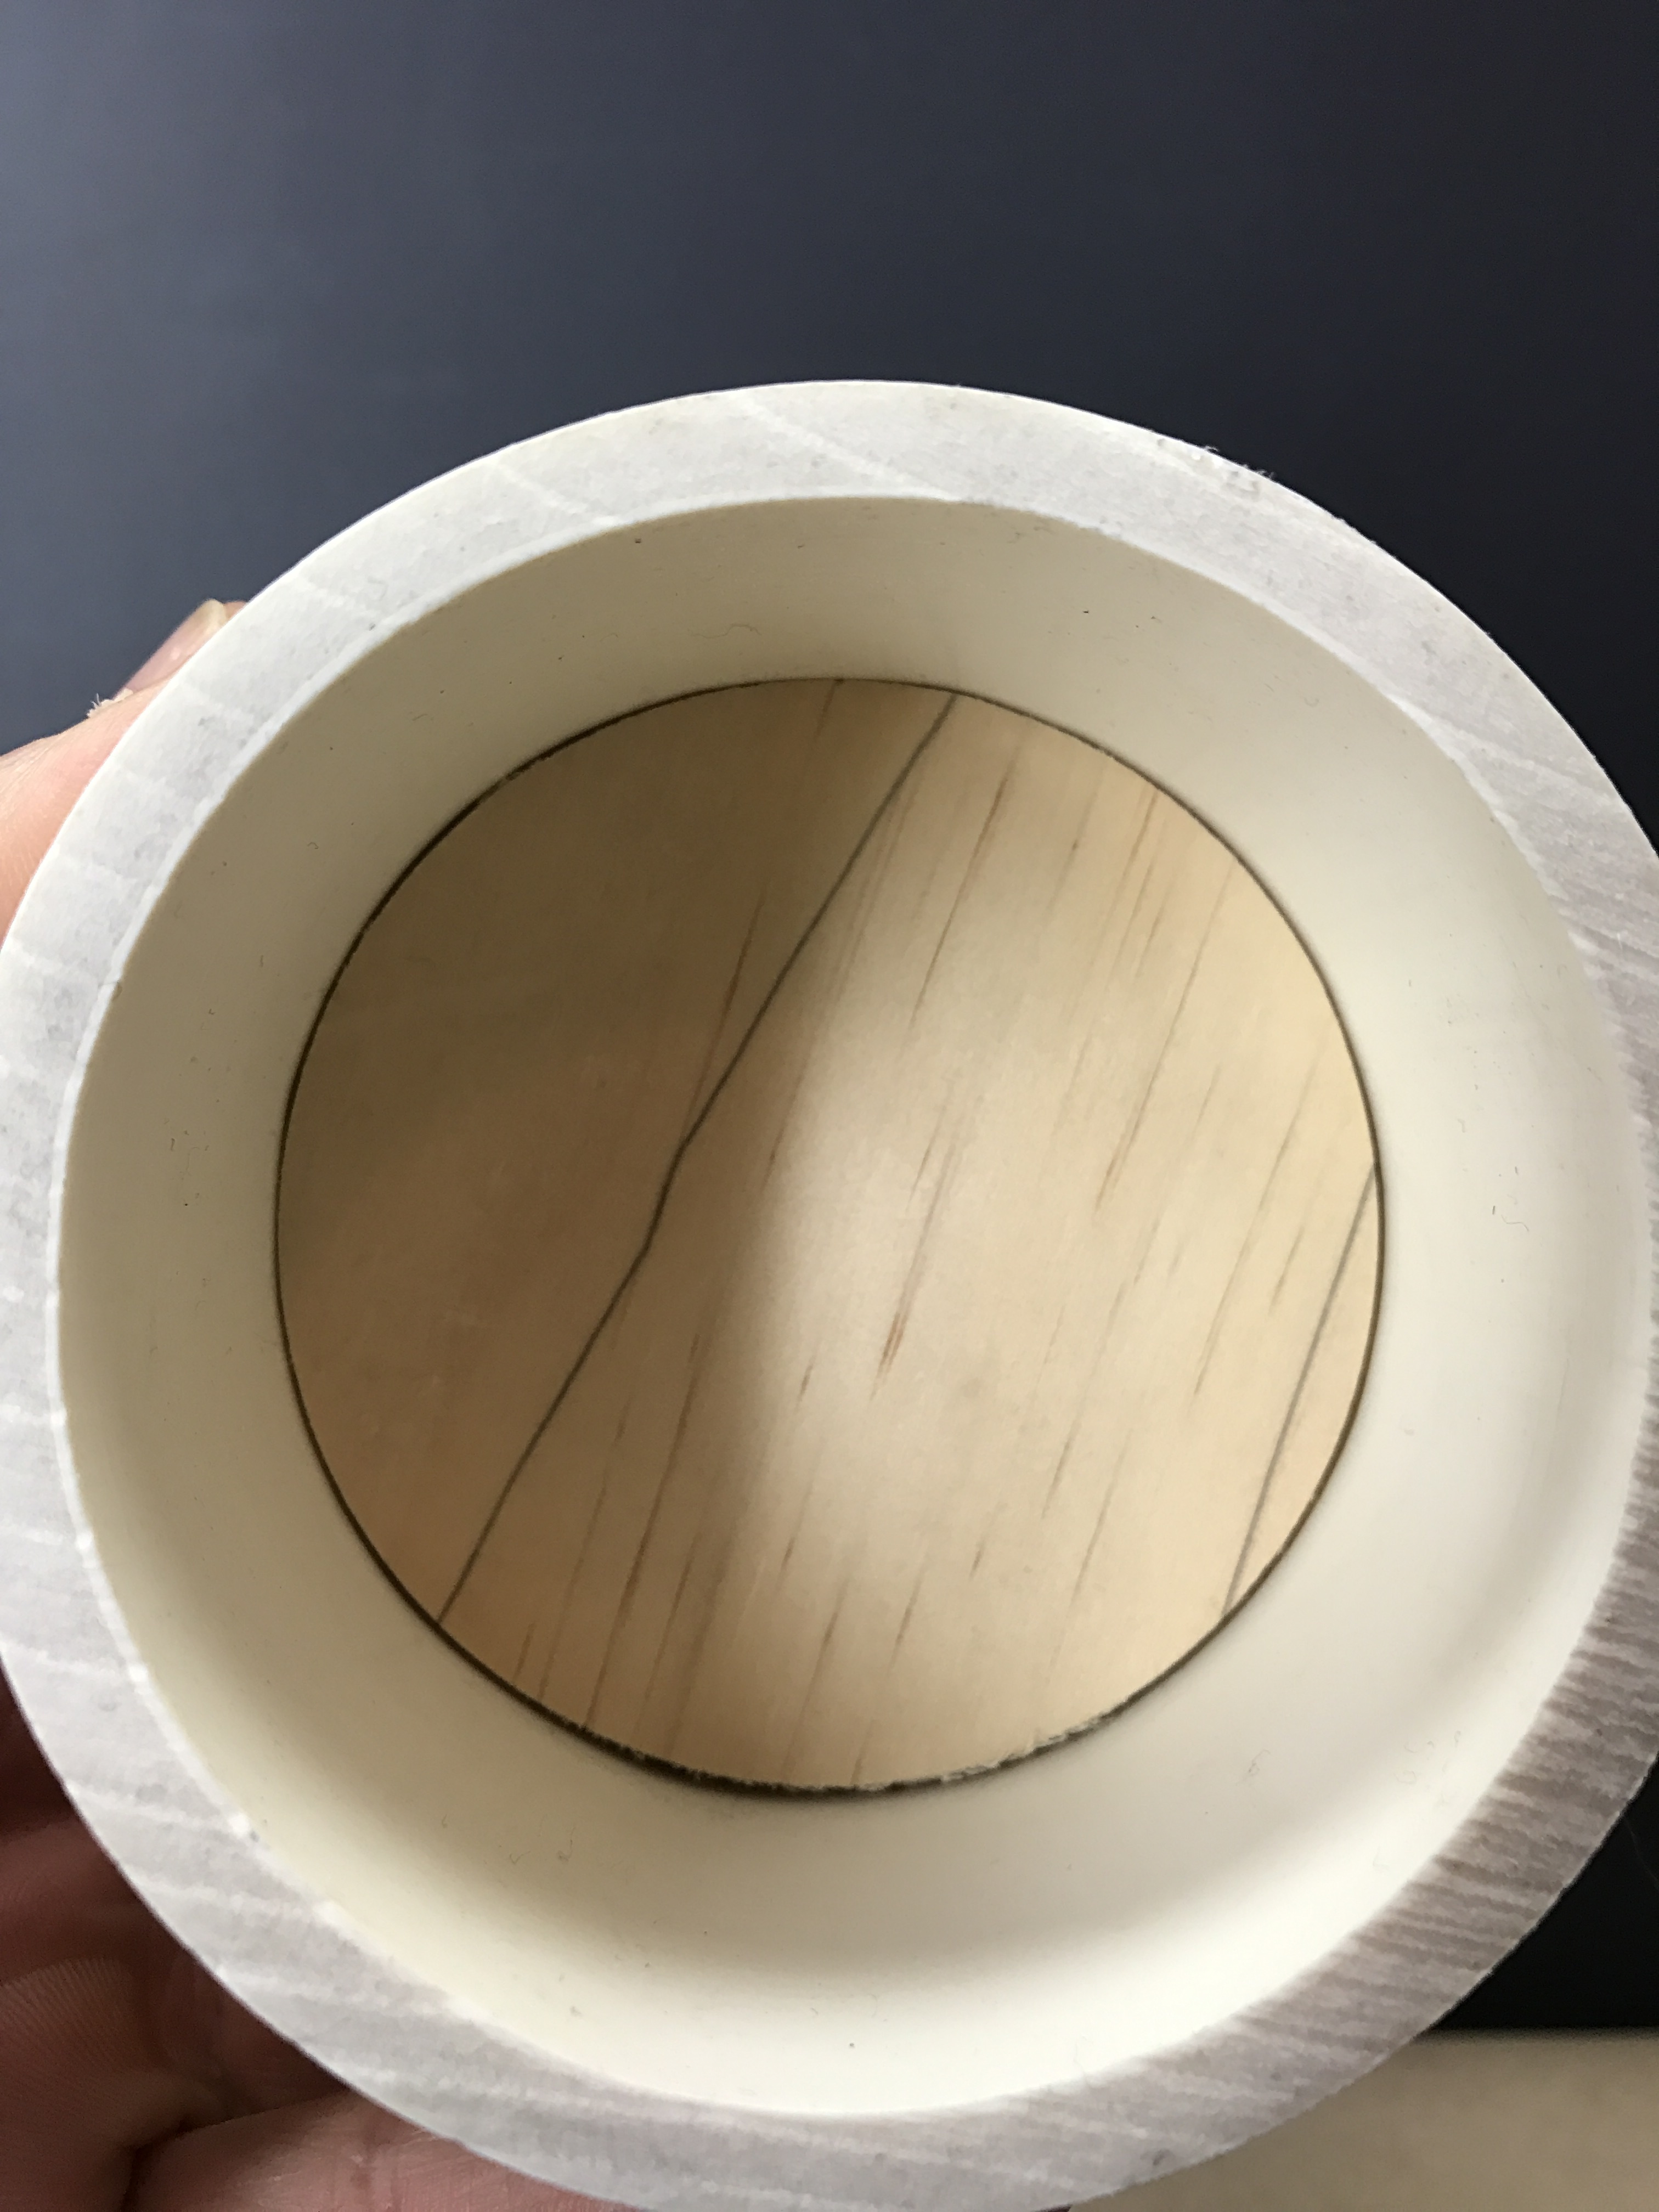
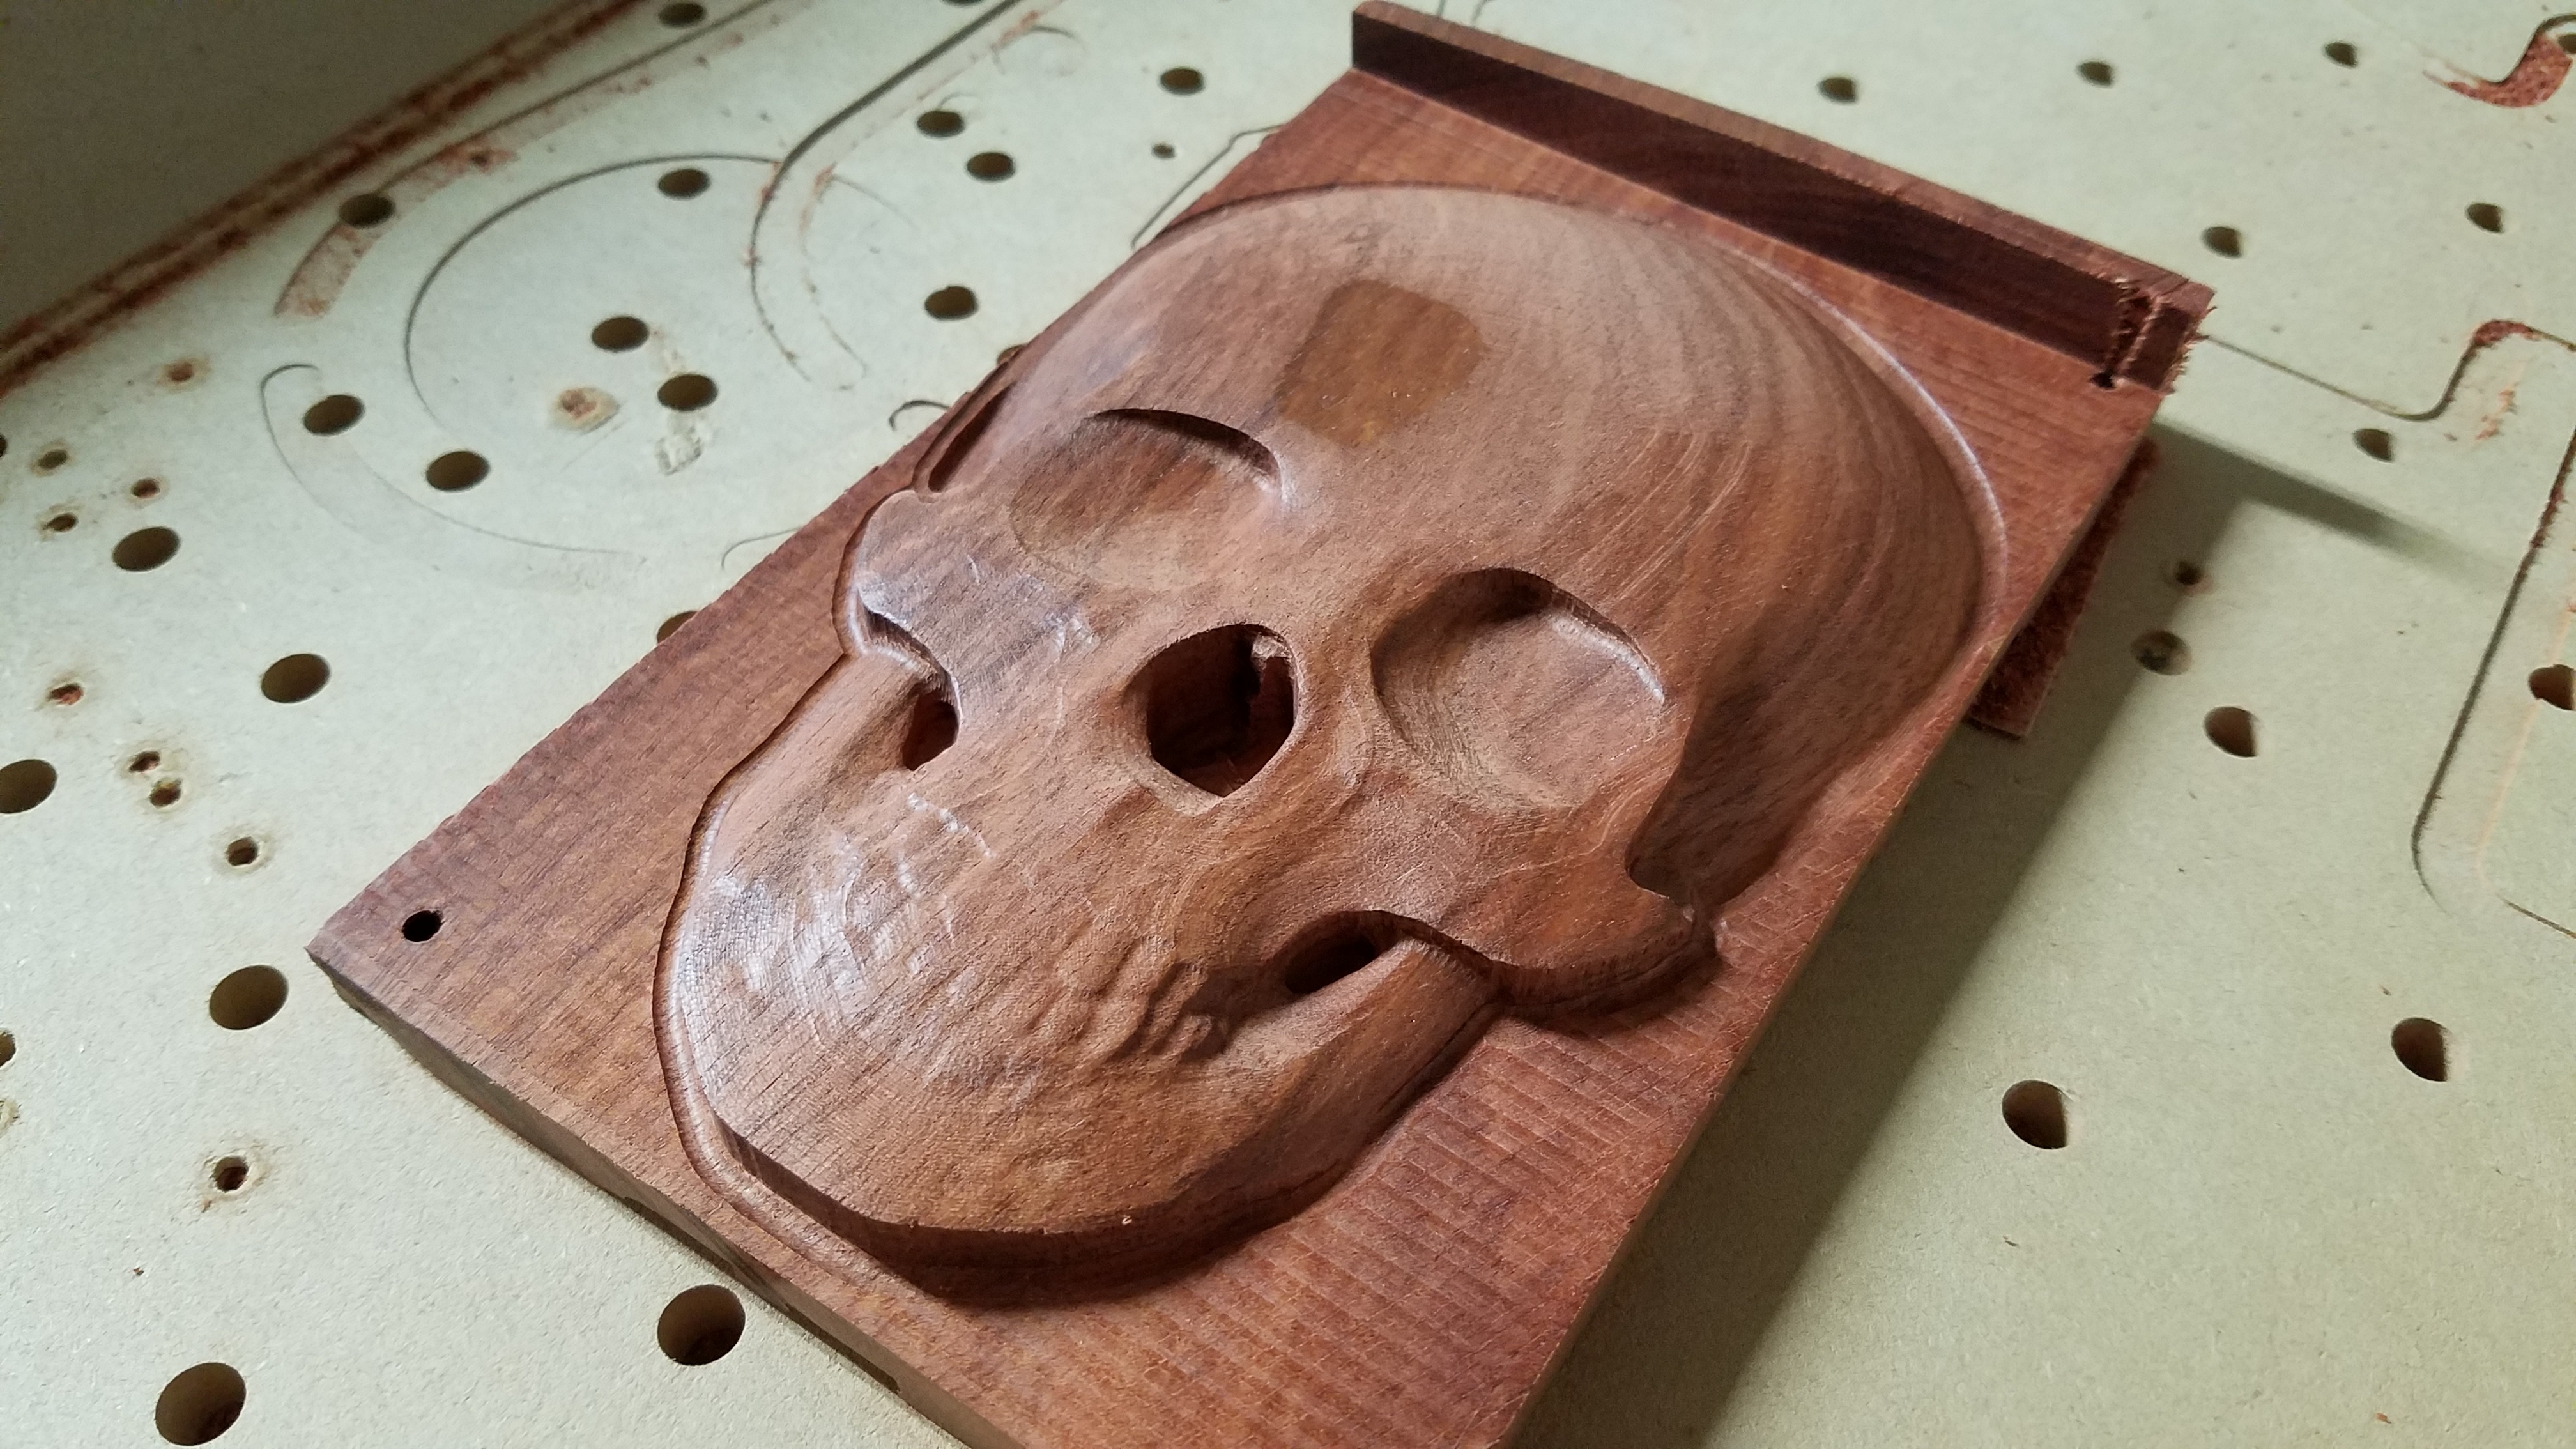
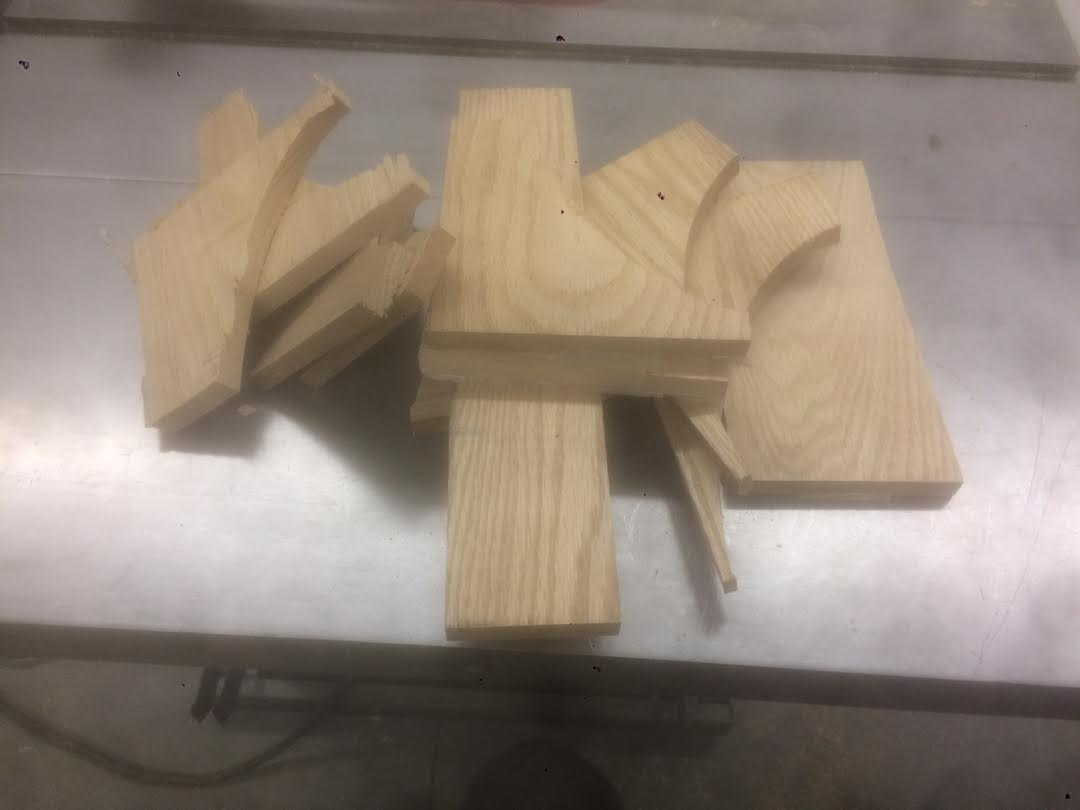
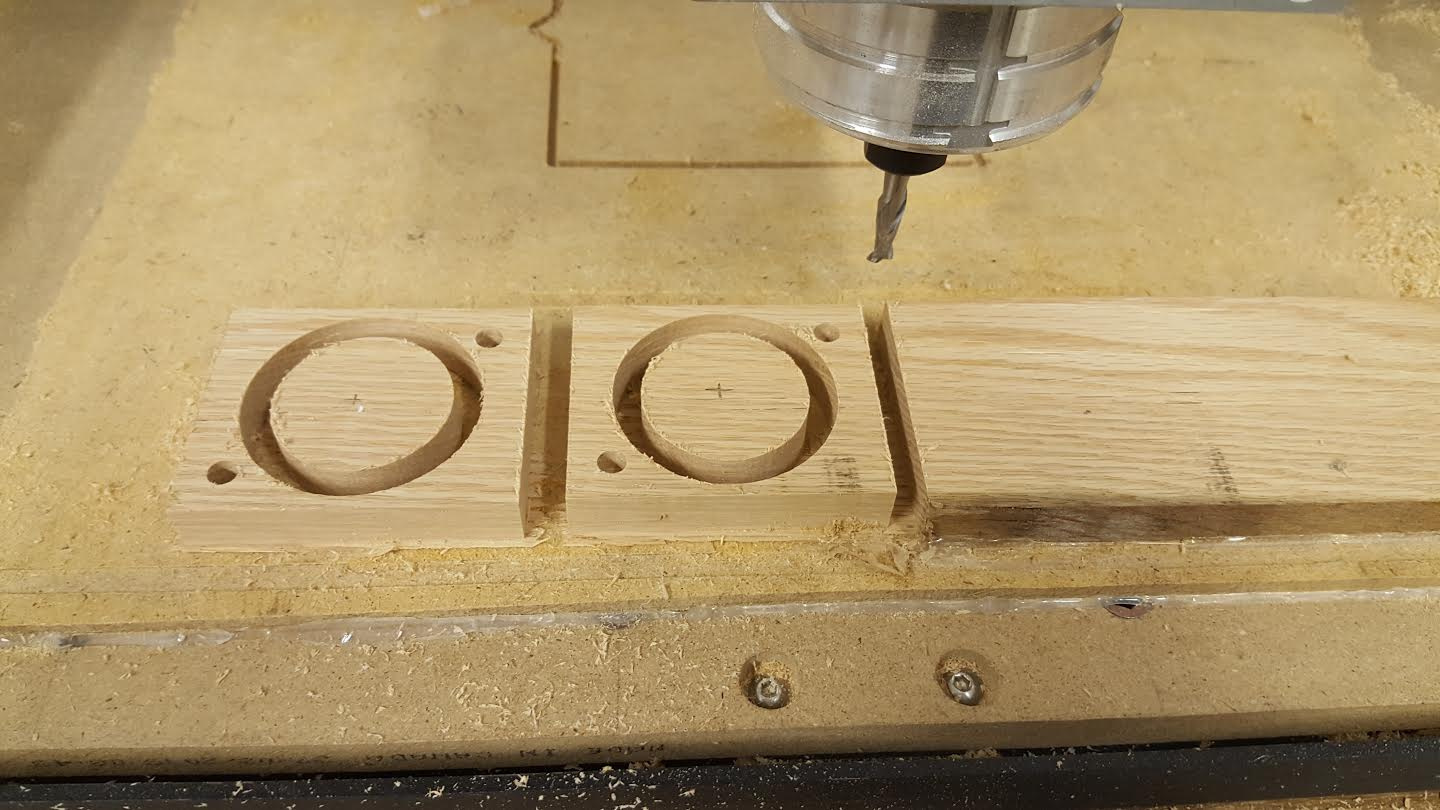
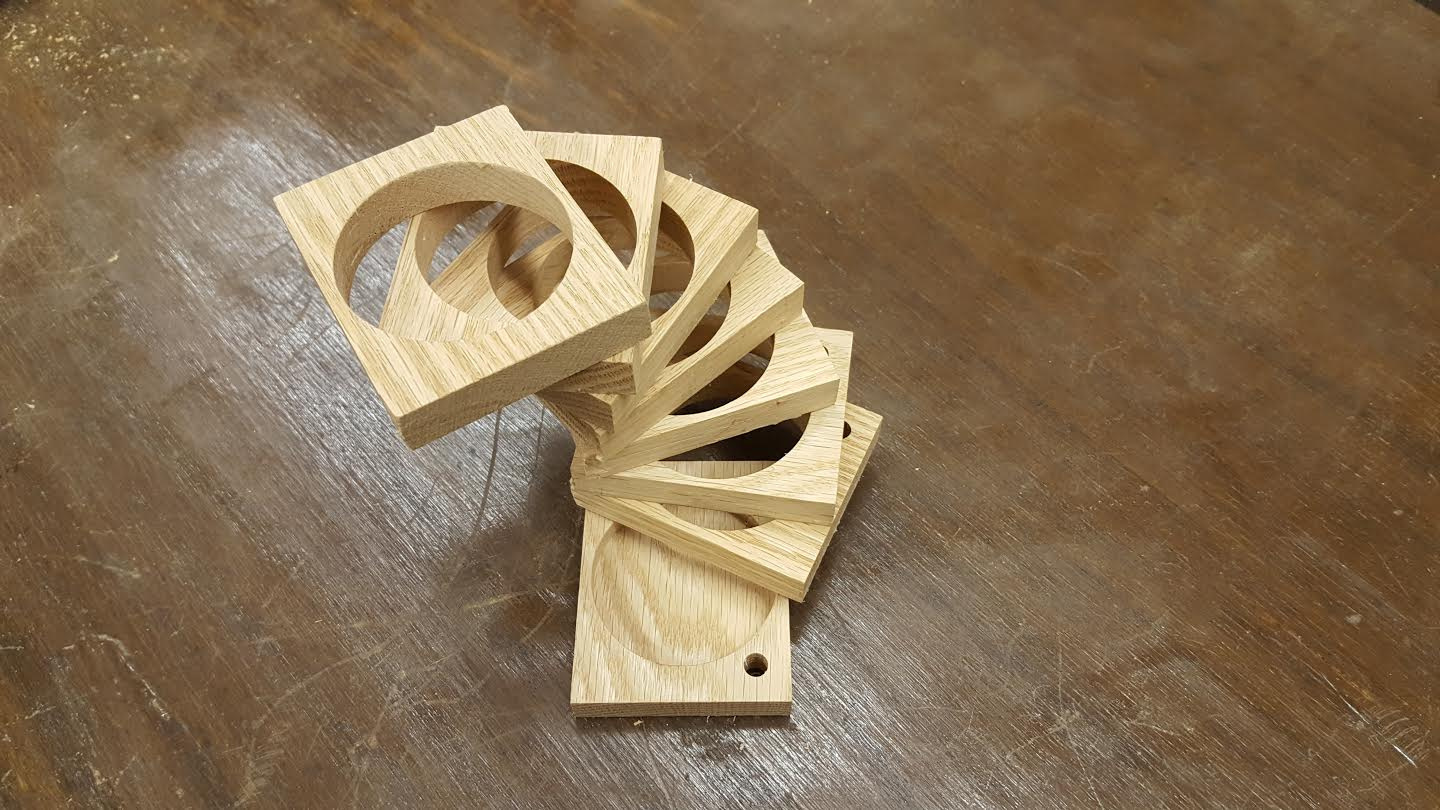
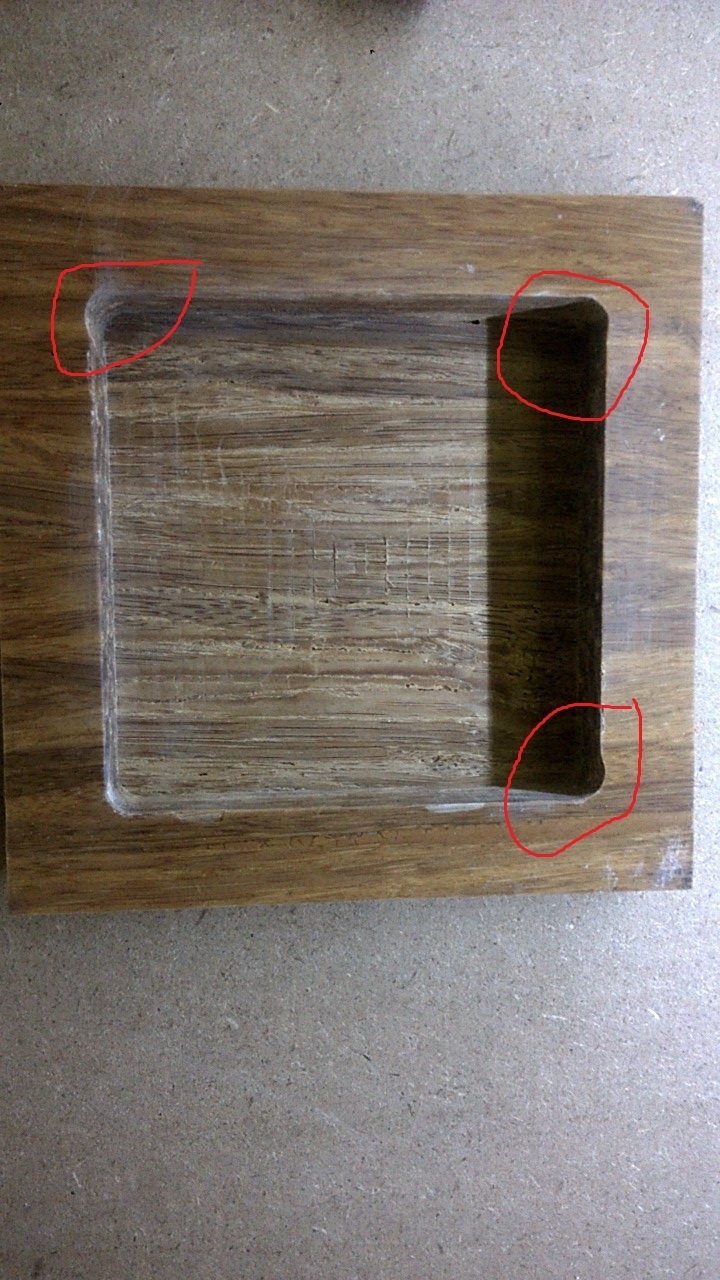
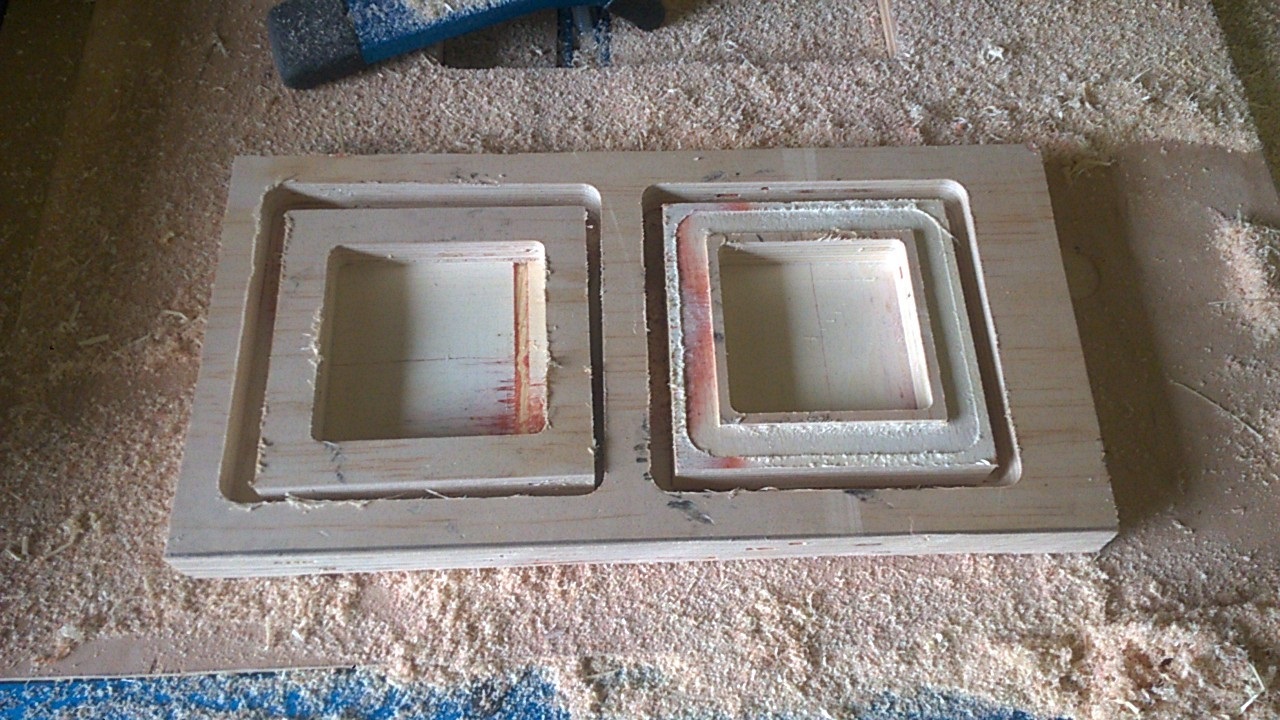
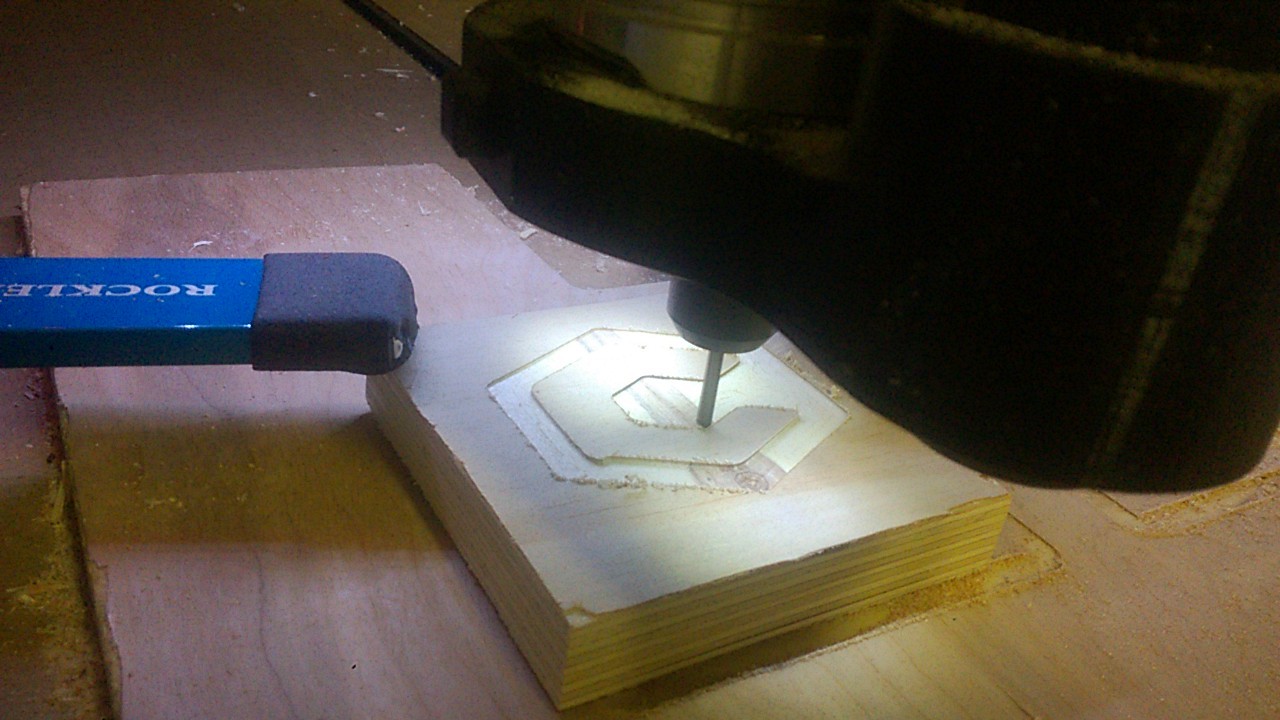
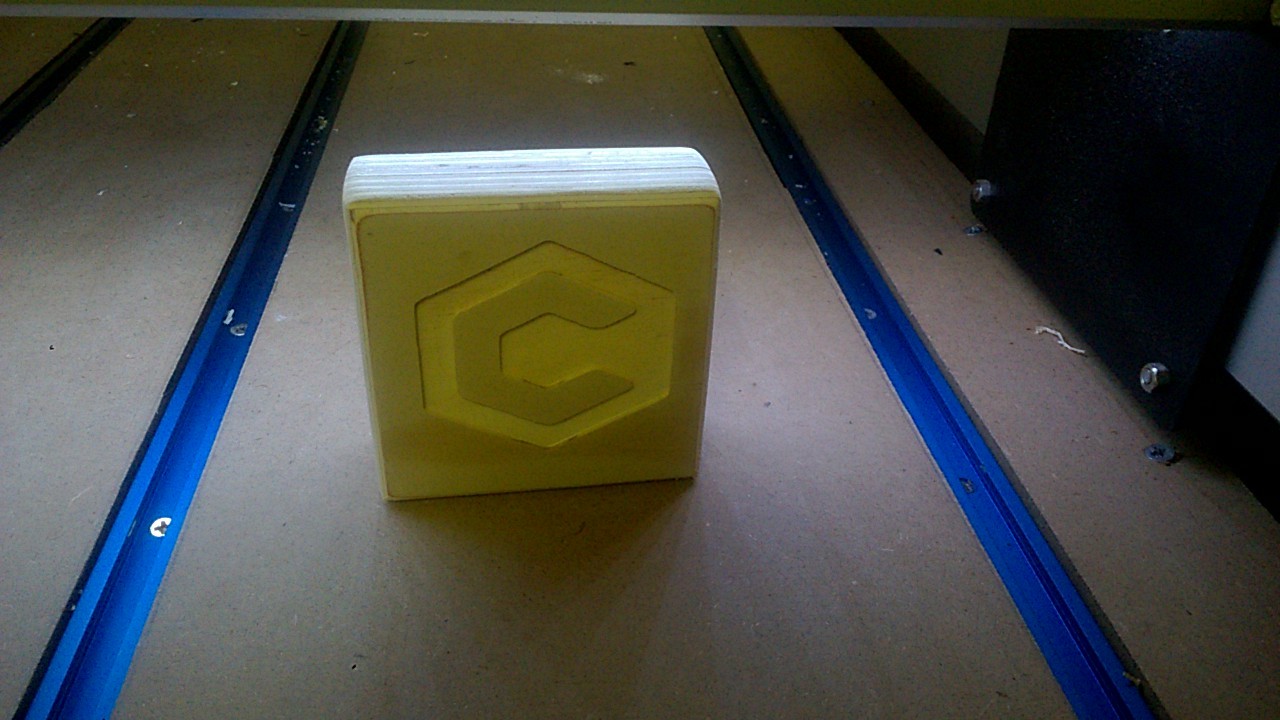
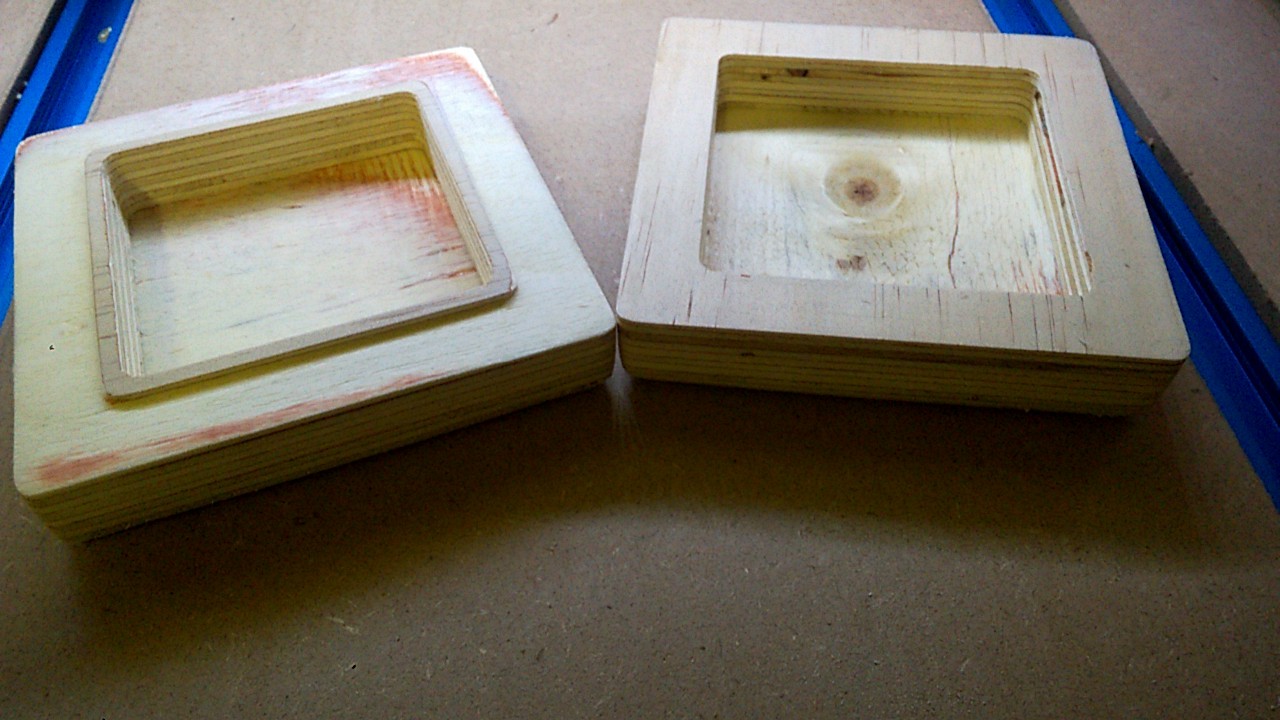
Photos! The More the better.
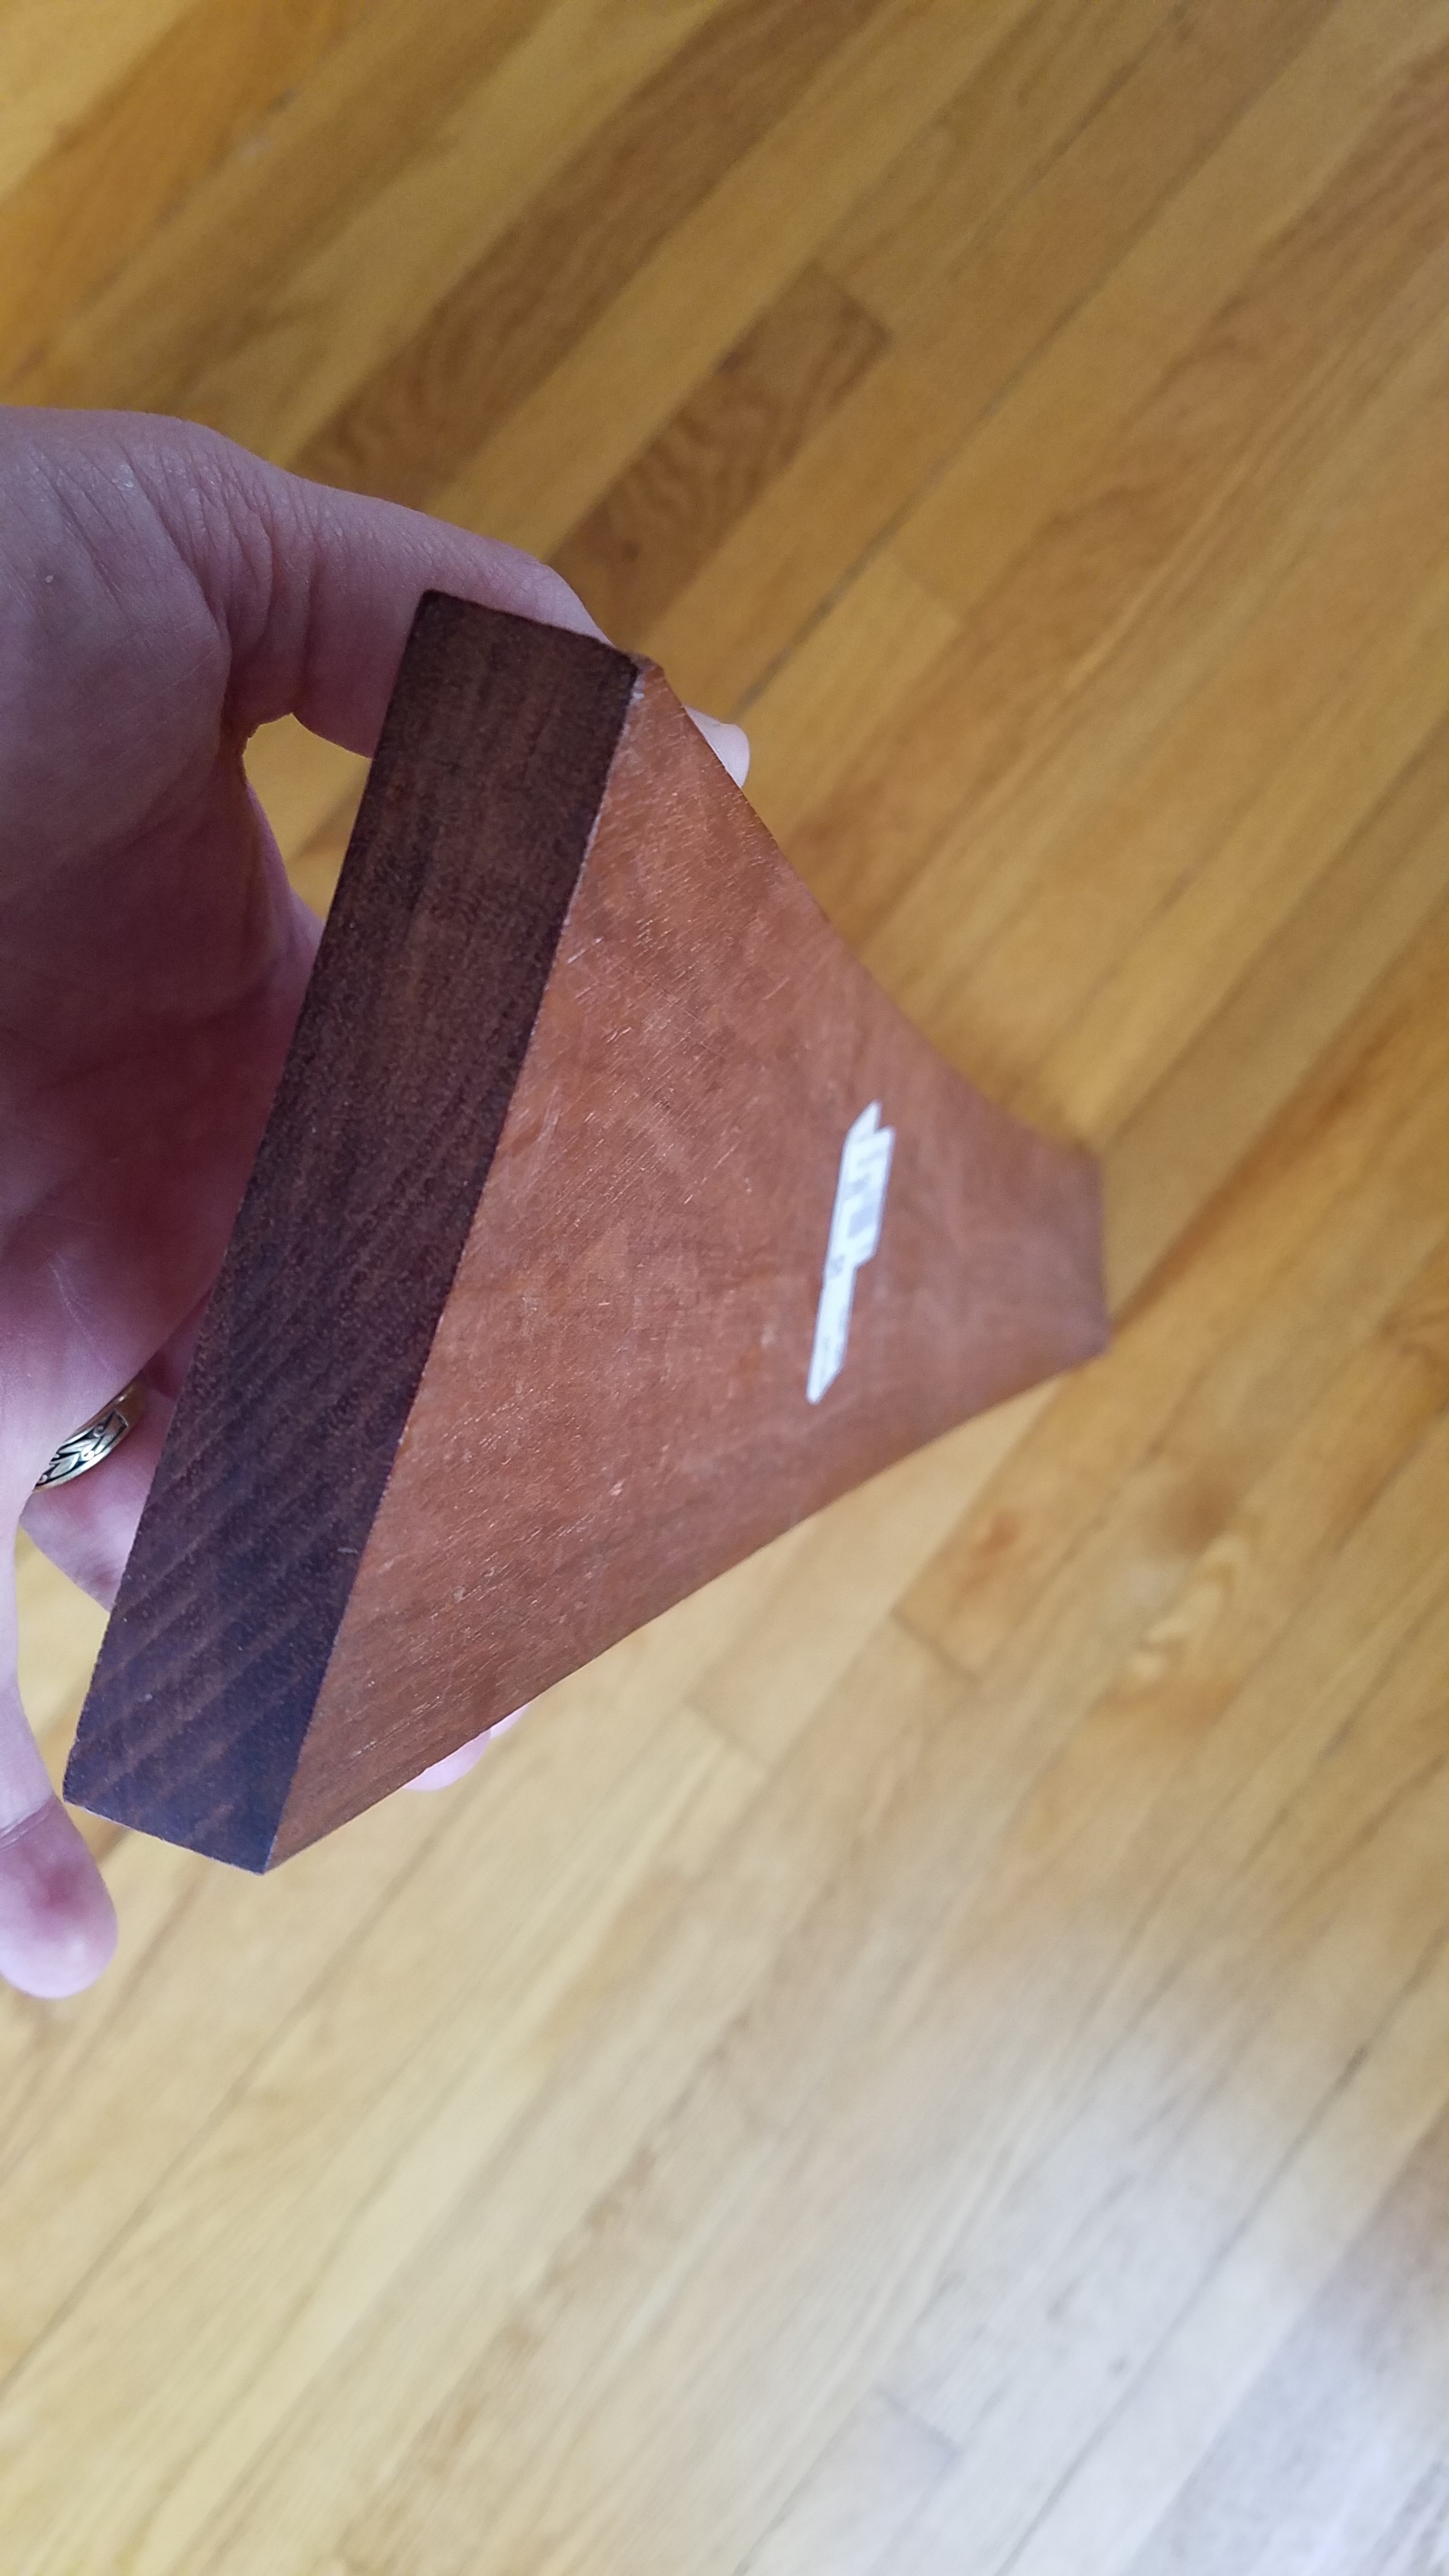
A) Materials used
B) Cutters
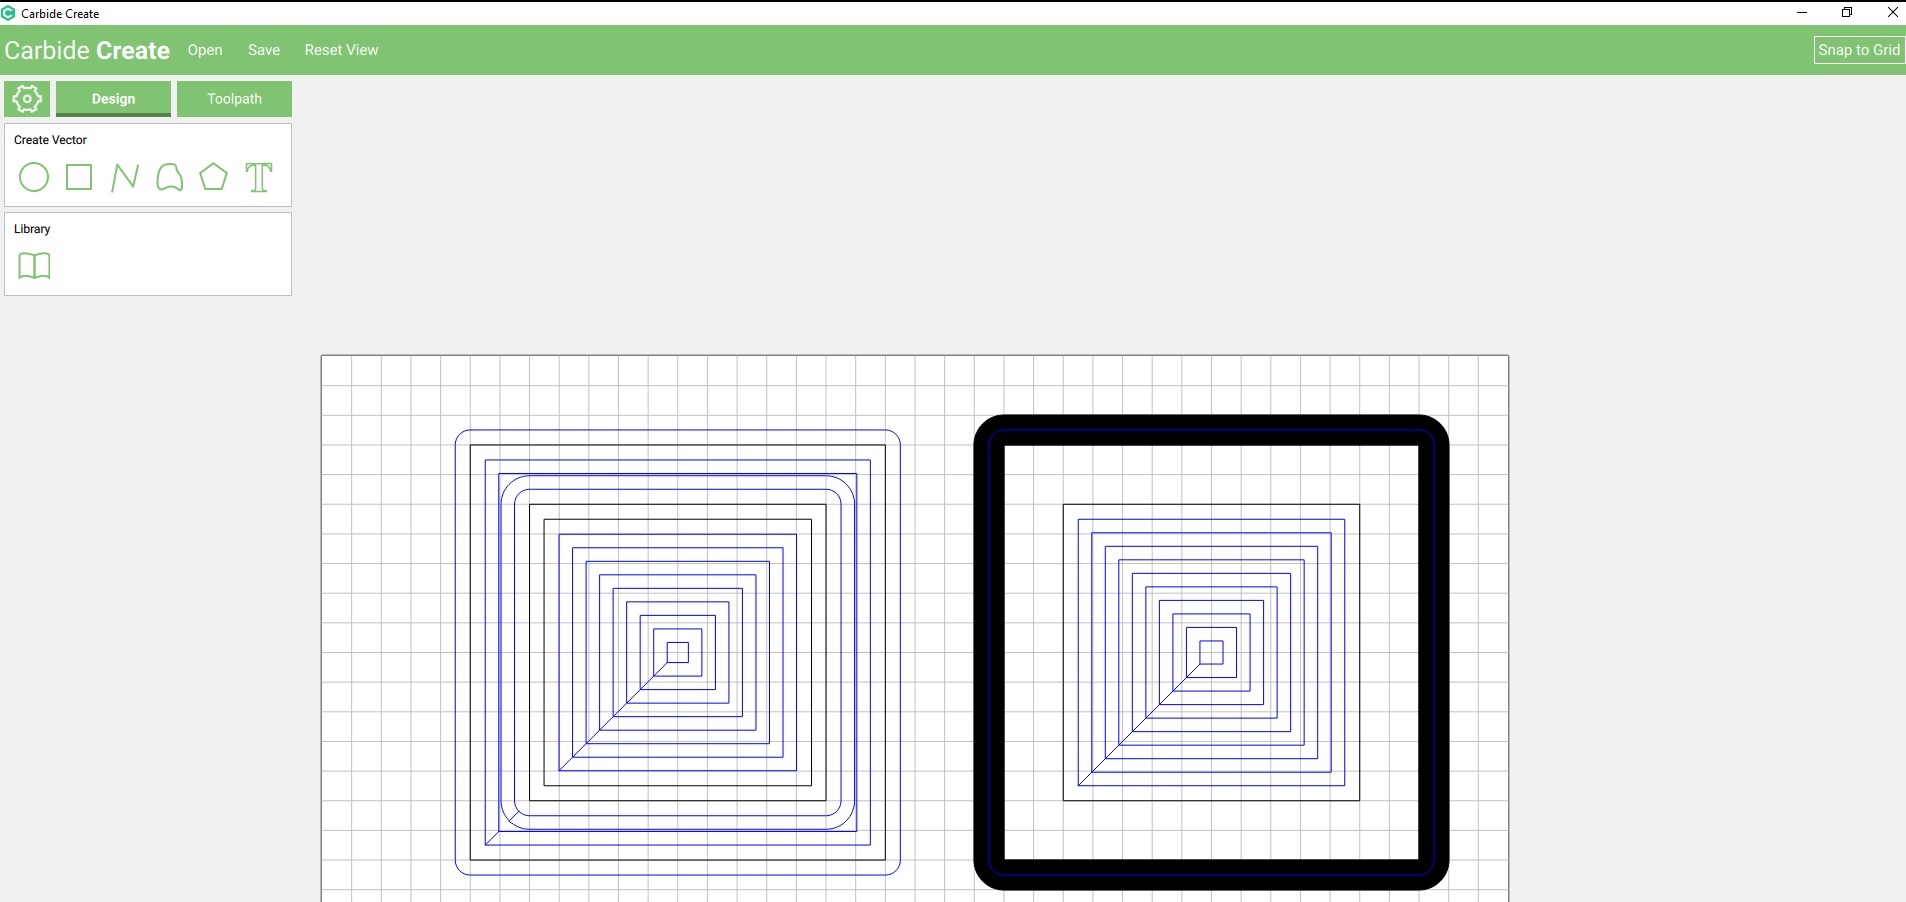
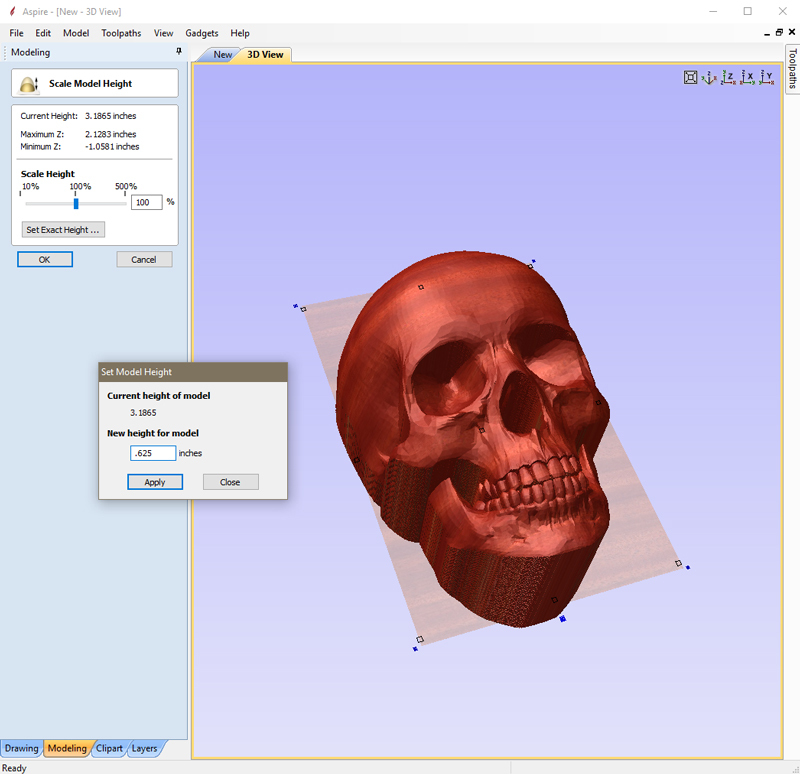
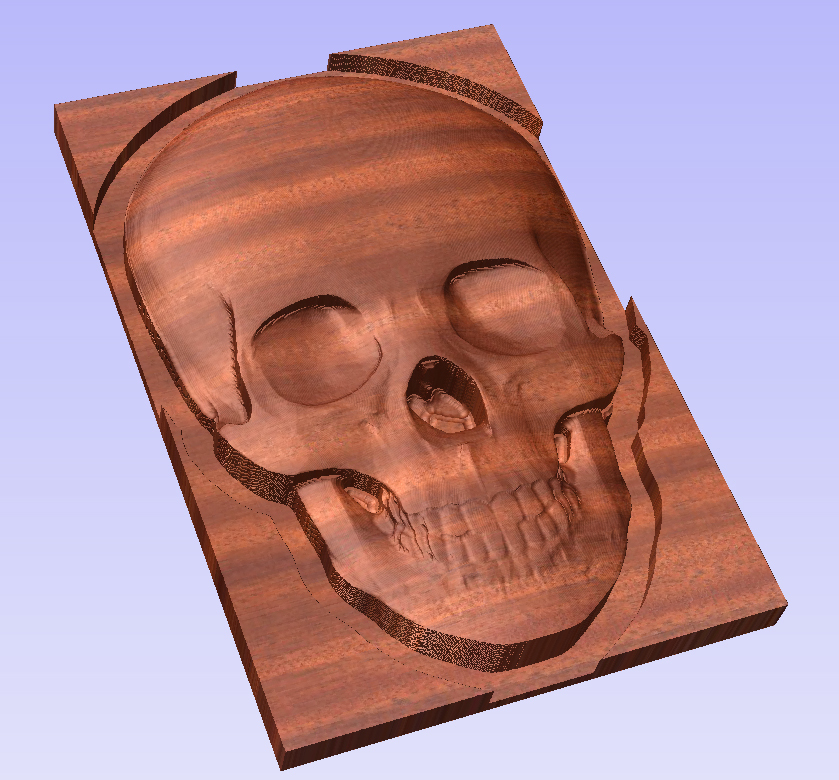
C) Design software used to create your project
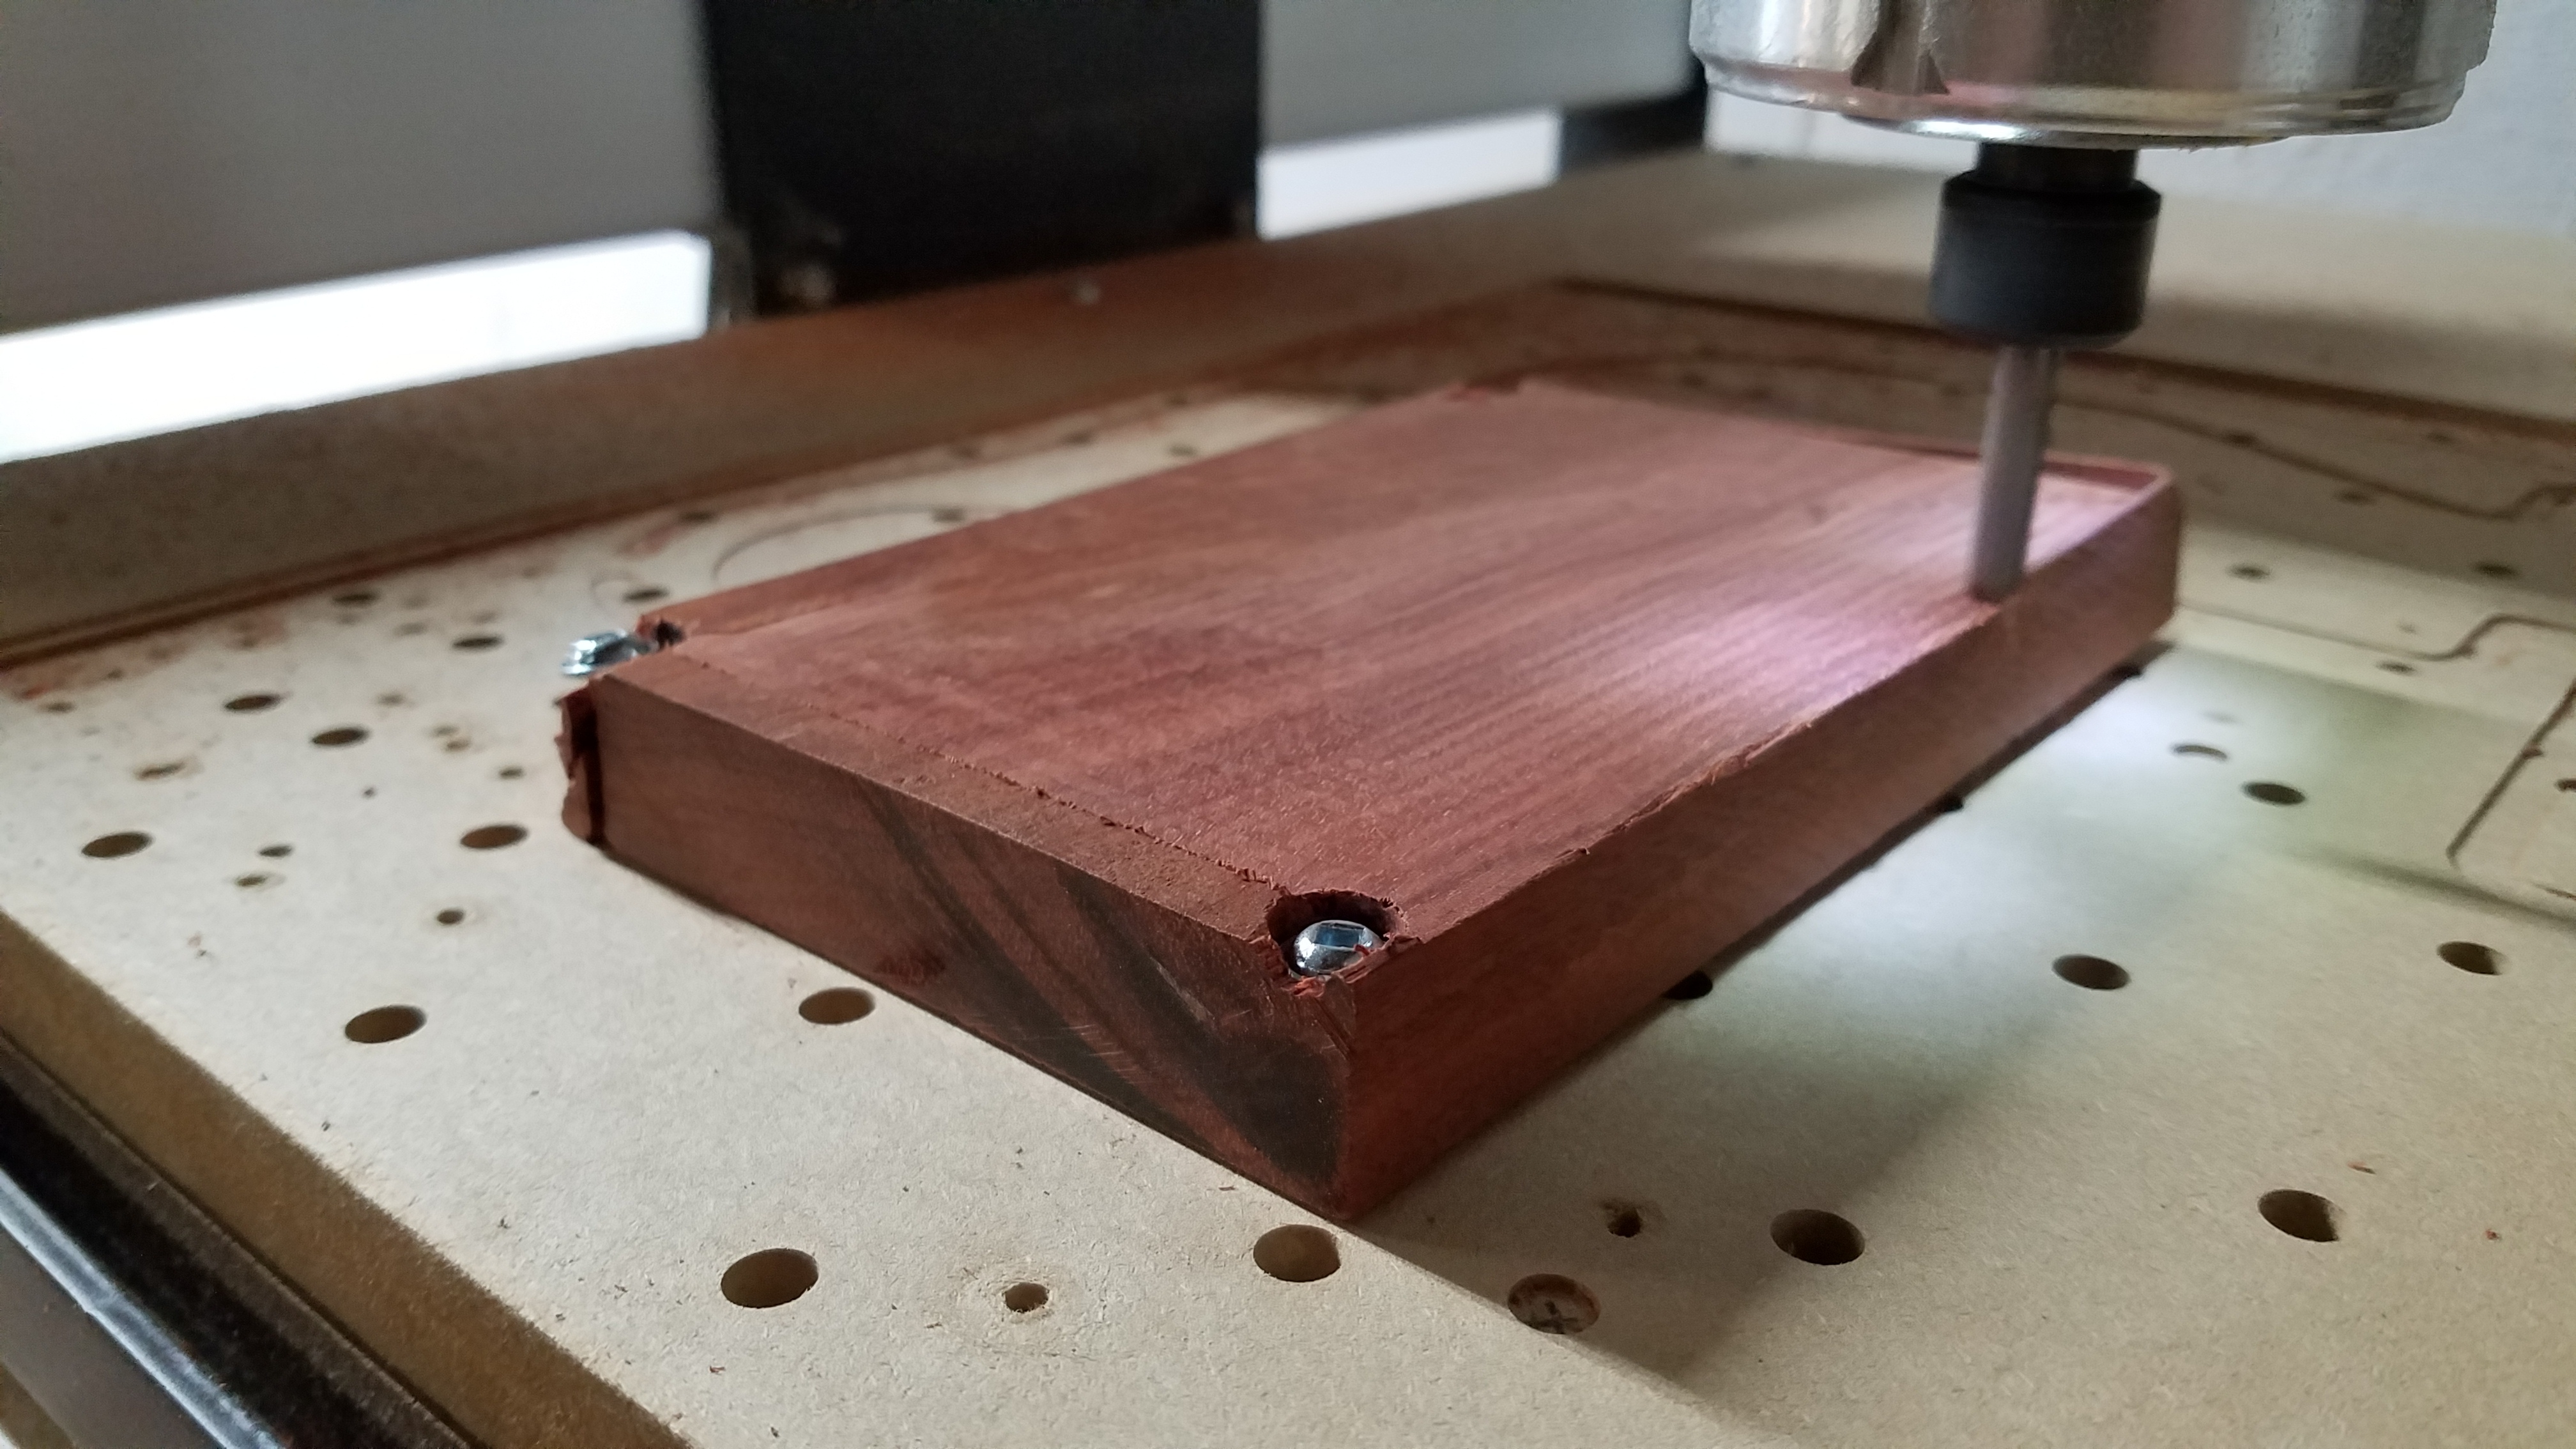
D) Machine used
…And these additional details I would think would help earn votes from the Community but are not required:
E) Work-holding
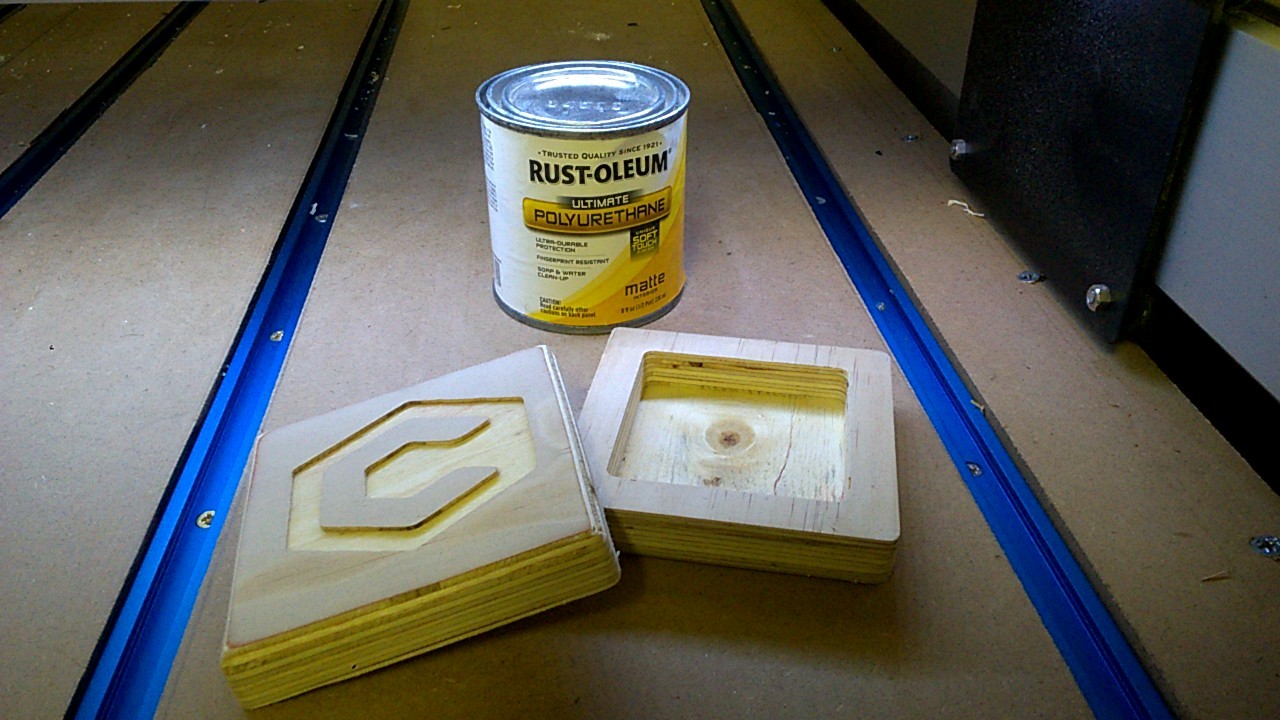
F) Finishing
G) Sourcing of supplies is often very helpful.
H) Concept Sketch
I) Machining Time
J) Carbide Create .C2D file
Voting will be done with the heart, the post that gets the most likes wins.
@robgrz Rob Grzesek Said carbide3d will provide the prizes.
The winner each week will start the challenge off for the following week so be ready with ideas.You will get to decide the theme/rules/tools/materials and whatever
The idea here would be somthing simple (its only a week) and somthing most people have on hand ie scrap/scrapwood/pallet wood would all make great weekly choices.
This weeks build is from 3/8/17-3/15/17 (wed-wed) post as many projects as you want.