So yesterday I tried surfacing my stock 2x4 machine’s wasteboard with the file attached. I followed the instructions in the C 3D video for setting X,Y, and Z. It gave me a warning that it would go beyond the bounds at the back of the machine when I started it.
I accepted the warning and proceeded to surface the wasteboard. Not only did it bump up against the back stop like it warned about, but it also did not surface all the way to the front of the machine.
They advertise that the 2x4 and 4x4 can machine on the entire surface. During configuration the limits are set so when jogging the machine stops before hitting the mechanical stop. In older versions they limited the jogging because the Suckit Dustboot had ears that stuck out farther than the sides of the Z. That was to keep the suckit from slamming into the rails of Shapeoko machines.
So you can jog all the way to the extremes and power off. Physically see if you can move further before hitting the mechanical stops. If you can you can change the shapeoko.json file. That file is created during configuration and sets the limits of jogging. During execution of gcode the machine will try to go as far as commanded until you hit the mechanical stops and you start losing steps.
If you can go physically further than jogging you can modify the shapeoko.json file but do not make the machine hit the mechanical stops. I am not previe to the internals of C3D configuration limitations but I know that the legacy was to make the cutting area slightly smaller than the physical cutting area.
To access the shapeoko.json file open CC (Yes CC). Go to Help and About and open data directory. Under the CarbideMotion6 you will find the shapeoko.json file. Copy your original file somewhere else to save it just in case. You can edit the Shapeoko.json file with a text editor like NotePad. After modifying power on and initialize and see if you can jog further than before. Just dont over do it and allow the jog to slam into the side rails.
Thanks @beep_beep_morales. That sounds very similar to what I am seeing on my machine. What concerns me is that I was using the 1" McFly to surface mine and it still left that much uncut wasteboard at the front. Oddly, the first two slats on the right were nearly cut completely there it only left maybe an 1/8 inch.
@gdon_2003 I’ll go out to the shop tomorrow and see if I can manually move it any further to the front.
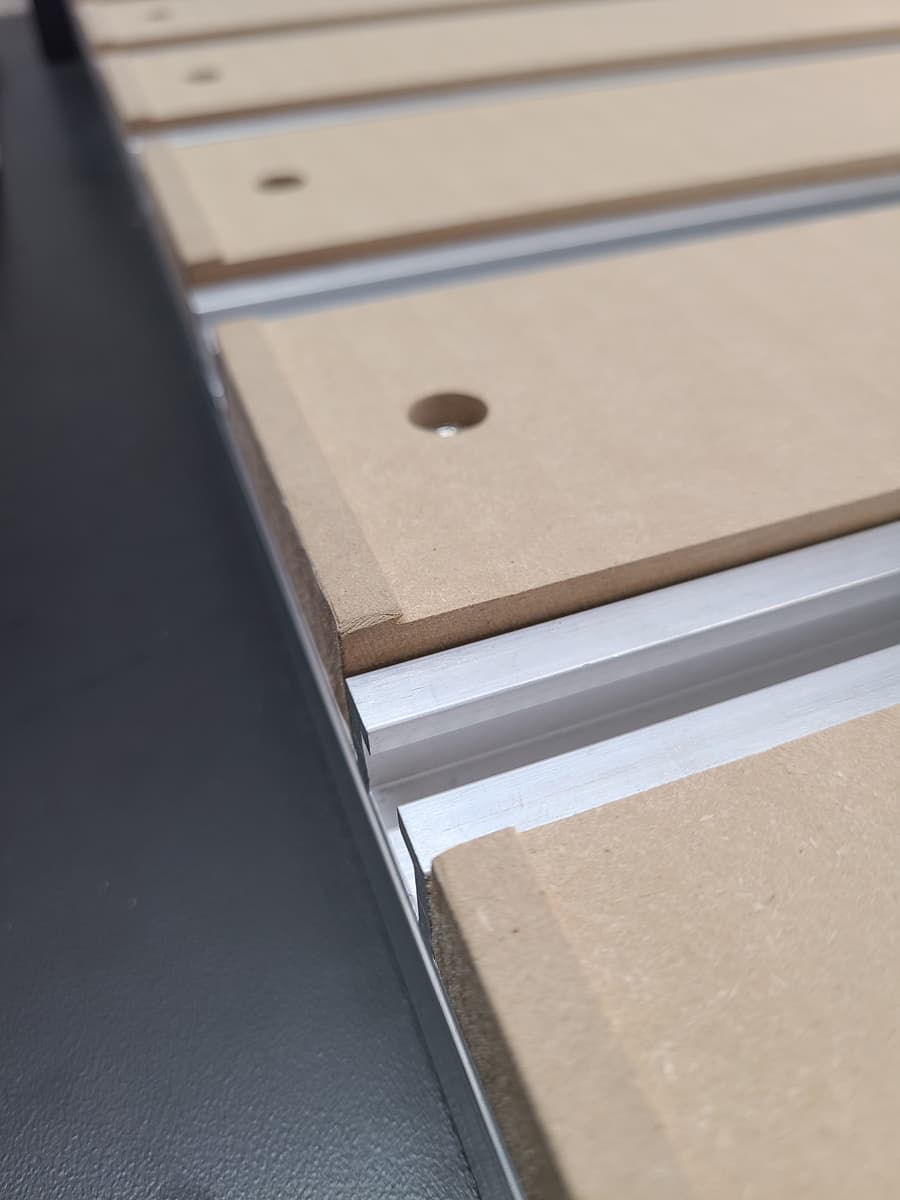
It did not cut on a diagonal, it cut the first couple of slats further to the front. In the below photo I chalked the raised, uncut portions of the slats to better show what was and was not surfaced. I also removed them from the machine to better show the differences. Slat 1 is the furthest one to the right of the machine when standing in front of it.
I made my own file, but it is accentually the same thing. I think my stock size was larger to actually match the 25" length of the slats. I don’t think it would have matter as when jogging the machine, the Y axis just does not go all the way forward. See photos below in my follow on reply to Guy…
The short answer is yes, I can physically move it forward more than the machine will go when just jogging it.
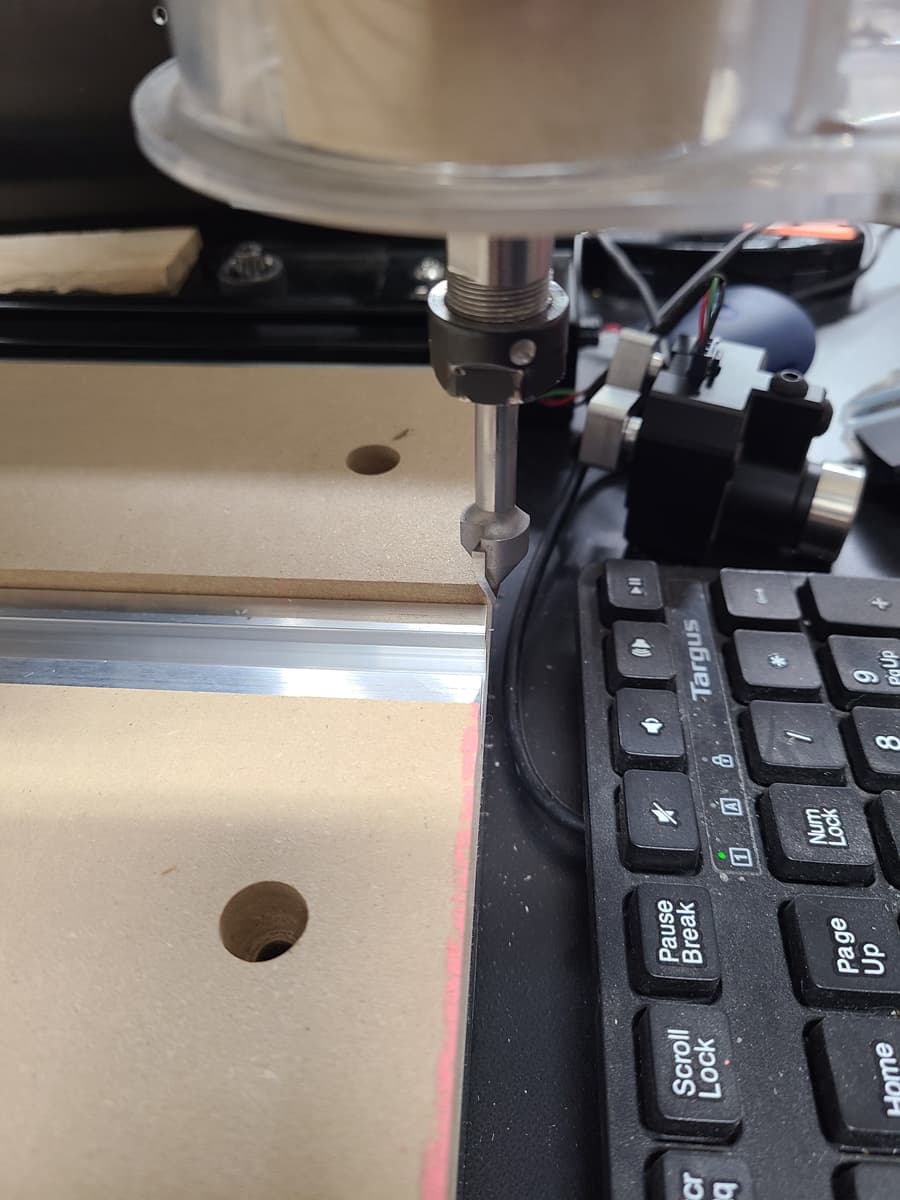
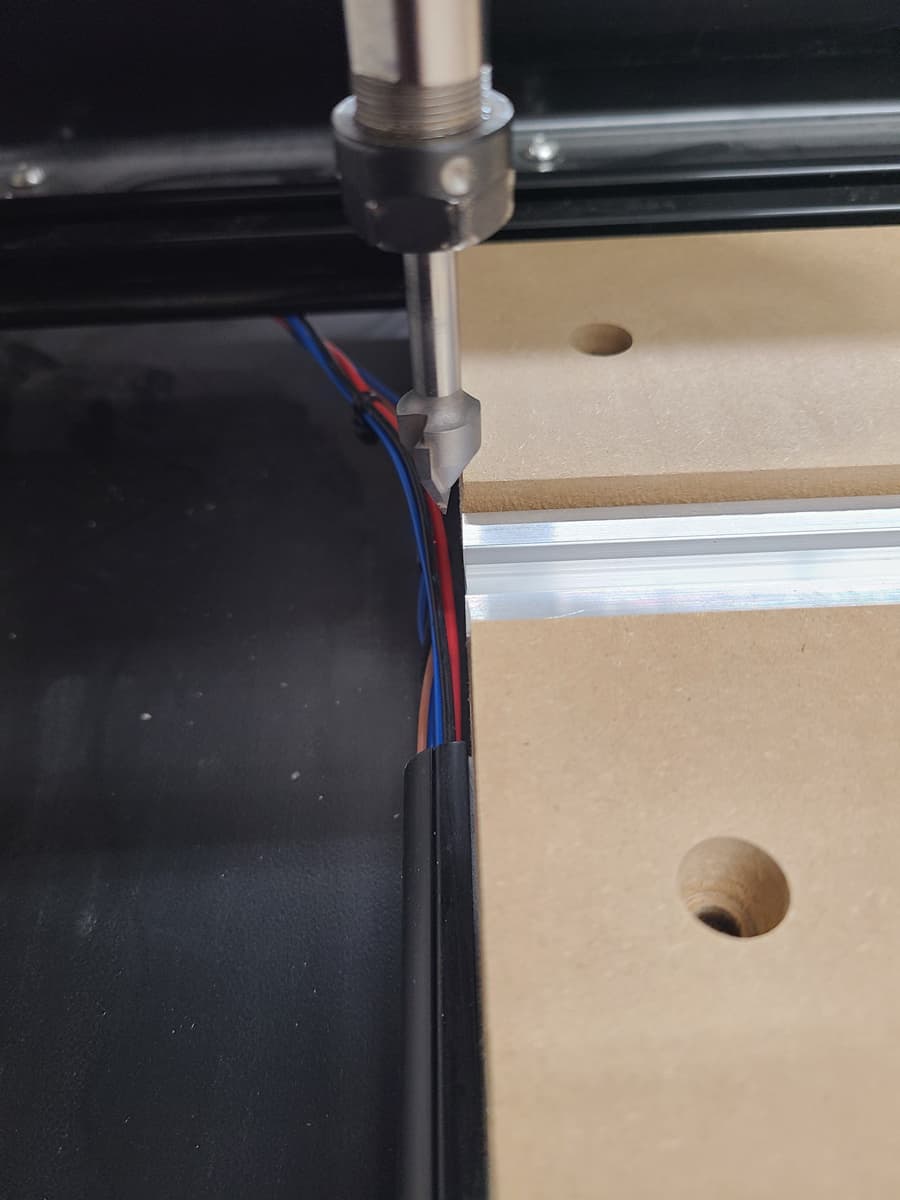
This is how far forward it will jog on its own (note, that is in the front left or SW corner)
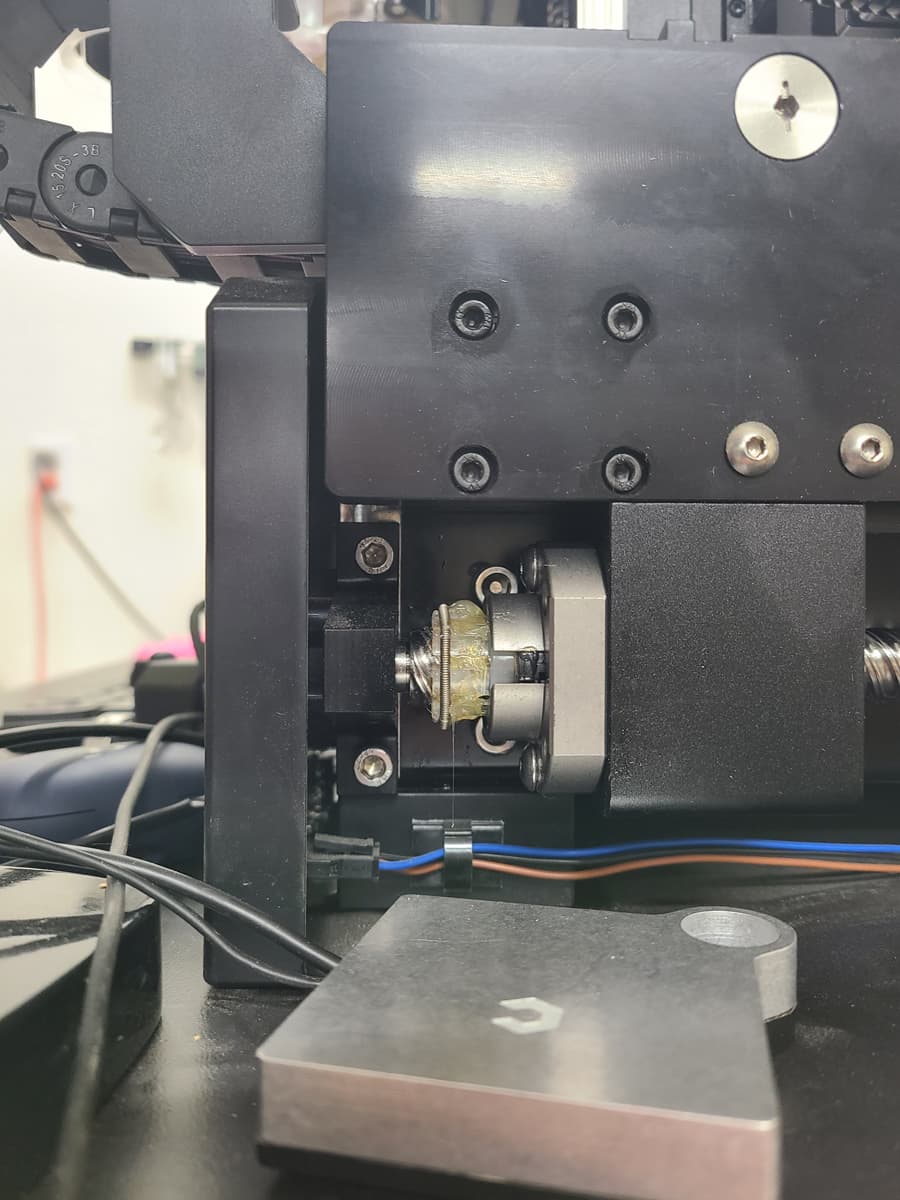
After powering the machine off and manually pulling the gantry as far forward as it would go, this is where it stops. (note, the machine is in the SE position in these photos)
Based on the other thread about the same issue that @beep_beep_morales posted, I did verify that I setup the machine up as a Shapeoko 5 Pro 2x4.
So, I’m wondering if this is an issue in the setup of the machine or in how the machine sets its limits after setup?
Is the best way to fix this to edit the json file as noted in the other thread? If so, what are the units of measurement for the XYZ travel settings in order to know roughly how much to adjust them by?
Thanks for the help everyone and I hope you are enjoying your Christmas Eve day.
I’m a total newbie with this stuff, so take what I say with a microscopic grain of salt.
I made my own file, but it is accentually the same thing.
I would not assume this is correct. Before I went editing json files, etc., I would try the cutrocket file and follow the instructions exactly.
I think my stock size was larger to actually match the 25" length of the slats. I don’t think it would have matter as when jogging the machine, the Y axis just does not go all the way forward.
Again, it is my understanding that you may be making some incorrect assumptions here. The “official specs” list the machine travel at less than the slat length, so when you have jogged all the way forward the “center” of a V bit will not reach the front edge of the slats.
The difference is made up by the extra large diameter of the surfacing bit.
You included a picture of the machine jogged all the way forward with a V bit in the chuck. Maybe put your surfacing bit in and repeat that picture?
I am betting that you are dealing with some lost steps causing this issue.
When you “bumped” in the back. Aka a crash. You lost steps causing the machine to not know where it is at anymore.
Reinitialize. Jog all the way to the front left. As far as it will
Let you go. Then jog right rear as far as you can go. Look at the position read out read out. This is the max travel of the machine in both x an y. Now when you use a surfacing bit you’re going to get half the diameter of that but added in every direction.
I don’t know carbide create. But I can tell you in fusion360 it takes a lot of doing to get a facing op not to crash due to lead ins and outs. A 3 d adaptive works best.
I appreciate all response Charlie. Good or bad that is how we learn. I can retake the photo in that location with the 1" McFly, but the photo I already posted above shows where the McFly actually cut to. So I know the extra width of that cutter did not compensate for the additional length of the slats. What is really odd to me is that it cut further forward on the first two slats.
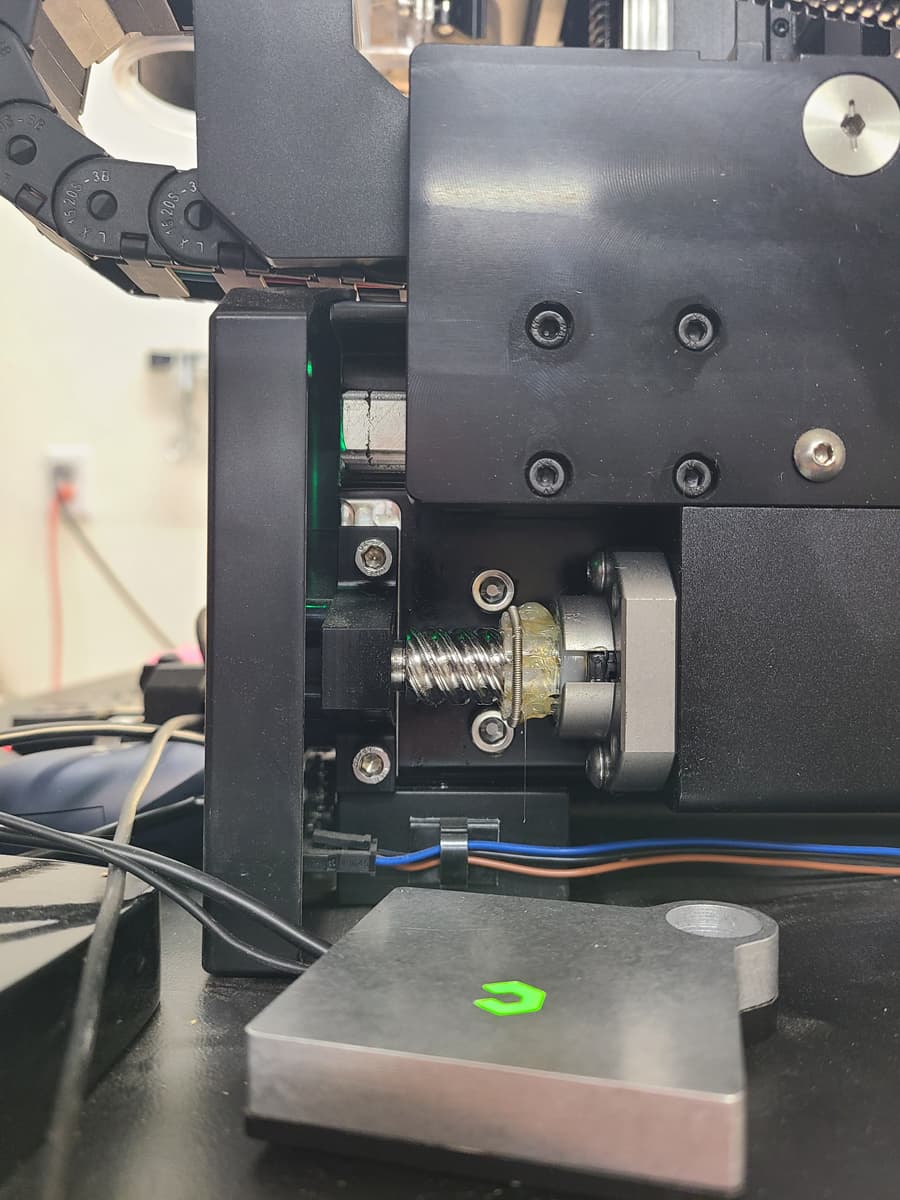
Do you have a 5 Pro 2x4? If so, would you mind jogging all the way forward and then taking a pic of the Y screw on the side? I’d be interested to see how much screw you have showing compared to mine.
Lost steps is a real possibility Ryan. When I note the max travel via the X and Y readouts, what should I compare them to to see if they are correct?
@beep_beep_morales , perhaps the lost steps that Ryan points out were caused by my surfacing project settings and maybe the “official” one would not crash in the back causing the lost steps. I’ll have to give this another try with those two things taken into account.
I’m new to CNC but I just moved my gantry fully forward and mine also stops just shy of the end. But, with the McFly bit or similar, I believe it will reach.
I’ll find out soon enough. My surfacing bit is supposed to be here tomorrow. I’m planning to resurface the deck and then dial in all the axis.
Using the “official” surfacing file and the 1" McFly, my machine will just barely surface the entire wasteboard. By barley, I mean there is less than a millimeter of overhang of the bit to the boards.