I was getting started with the shapeoko 3XXL using the Advanced VCarve.
The dialog box for Advanced VCarve makes it possible to enter a smaller Max Depth (D) than the Starting Depth (S) with no warning popup unlike using pocket or “standard” VCarve. Not a big deal. Then I struggled with my V-bit always cutting much deeper than planned or simulated. I created several tests to understand this issue to find my error. I created a square pocket 85x85mm, 5mm deep (to level) and start from there to Vcarve 1.5mm deep. Means Starting Depth (S) 5mm and Max Depth (D) 6.5mm, it should cut max 1.5mm deep. It simulates correctly. I use the touch probe to get X,Y,Z from the top of the workpiece. After tool change from 1/4"end mill to 90V bit I use the touch probe again to zero Z for V-bit tool length. And it cuts way too deep and wide. Now I repeated this with S=0mm and D=1.5 with the difference getting the Z zero from the 5mm pocket level using the paper method and vola! It workes correctly. Why is the logic S=5mm and D=6.5mm not working? G-code looks correct.
G1Z-5.00F304.8
X131.38Y60.00Z-6.50F1143.0
Do I get somthing wrong? I’ll try the same logic with the pocket tomorrow. My brain is already melting.
Dont know if it is a bug but there is a newer version 520. Go to carbide3d.com and scroll down the page to the bottom and the link to CC and CM are there.
Could you post the file in question?
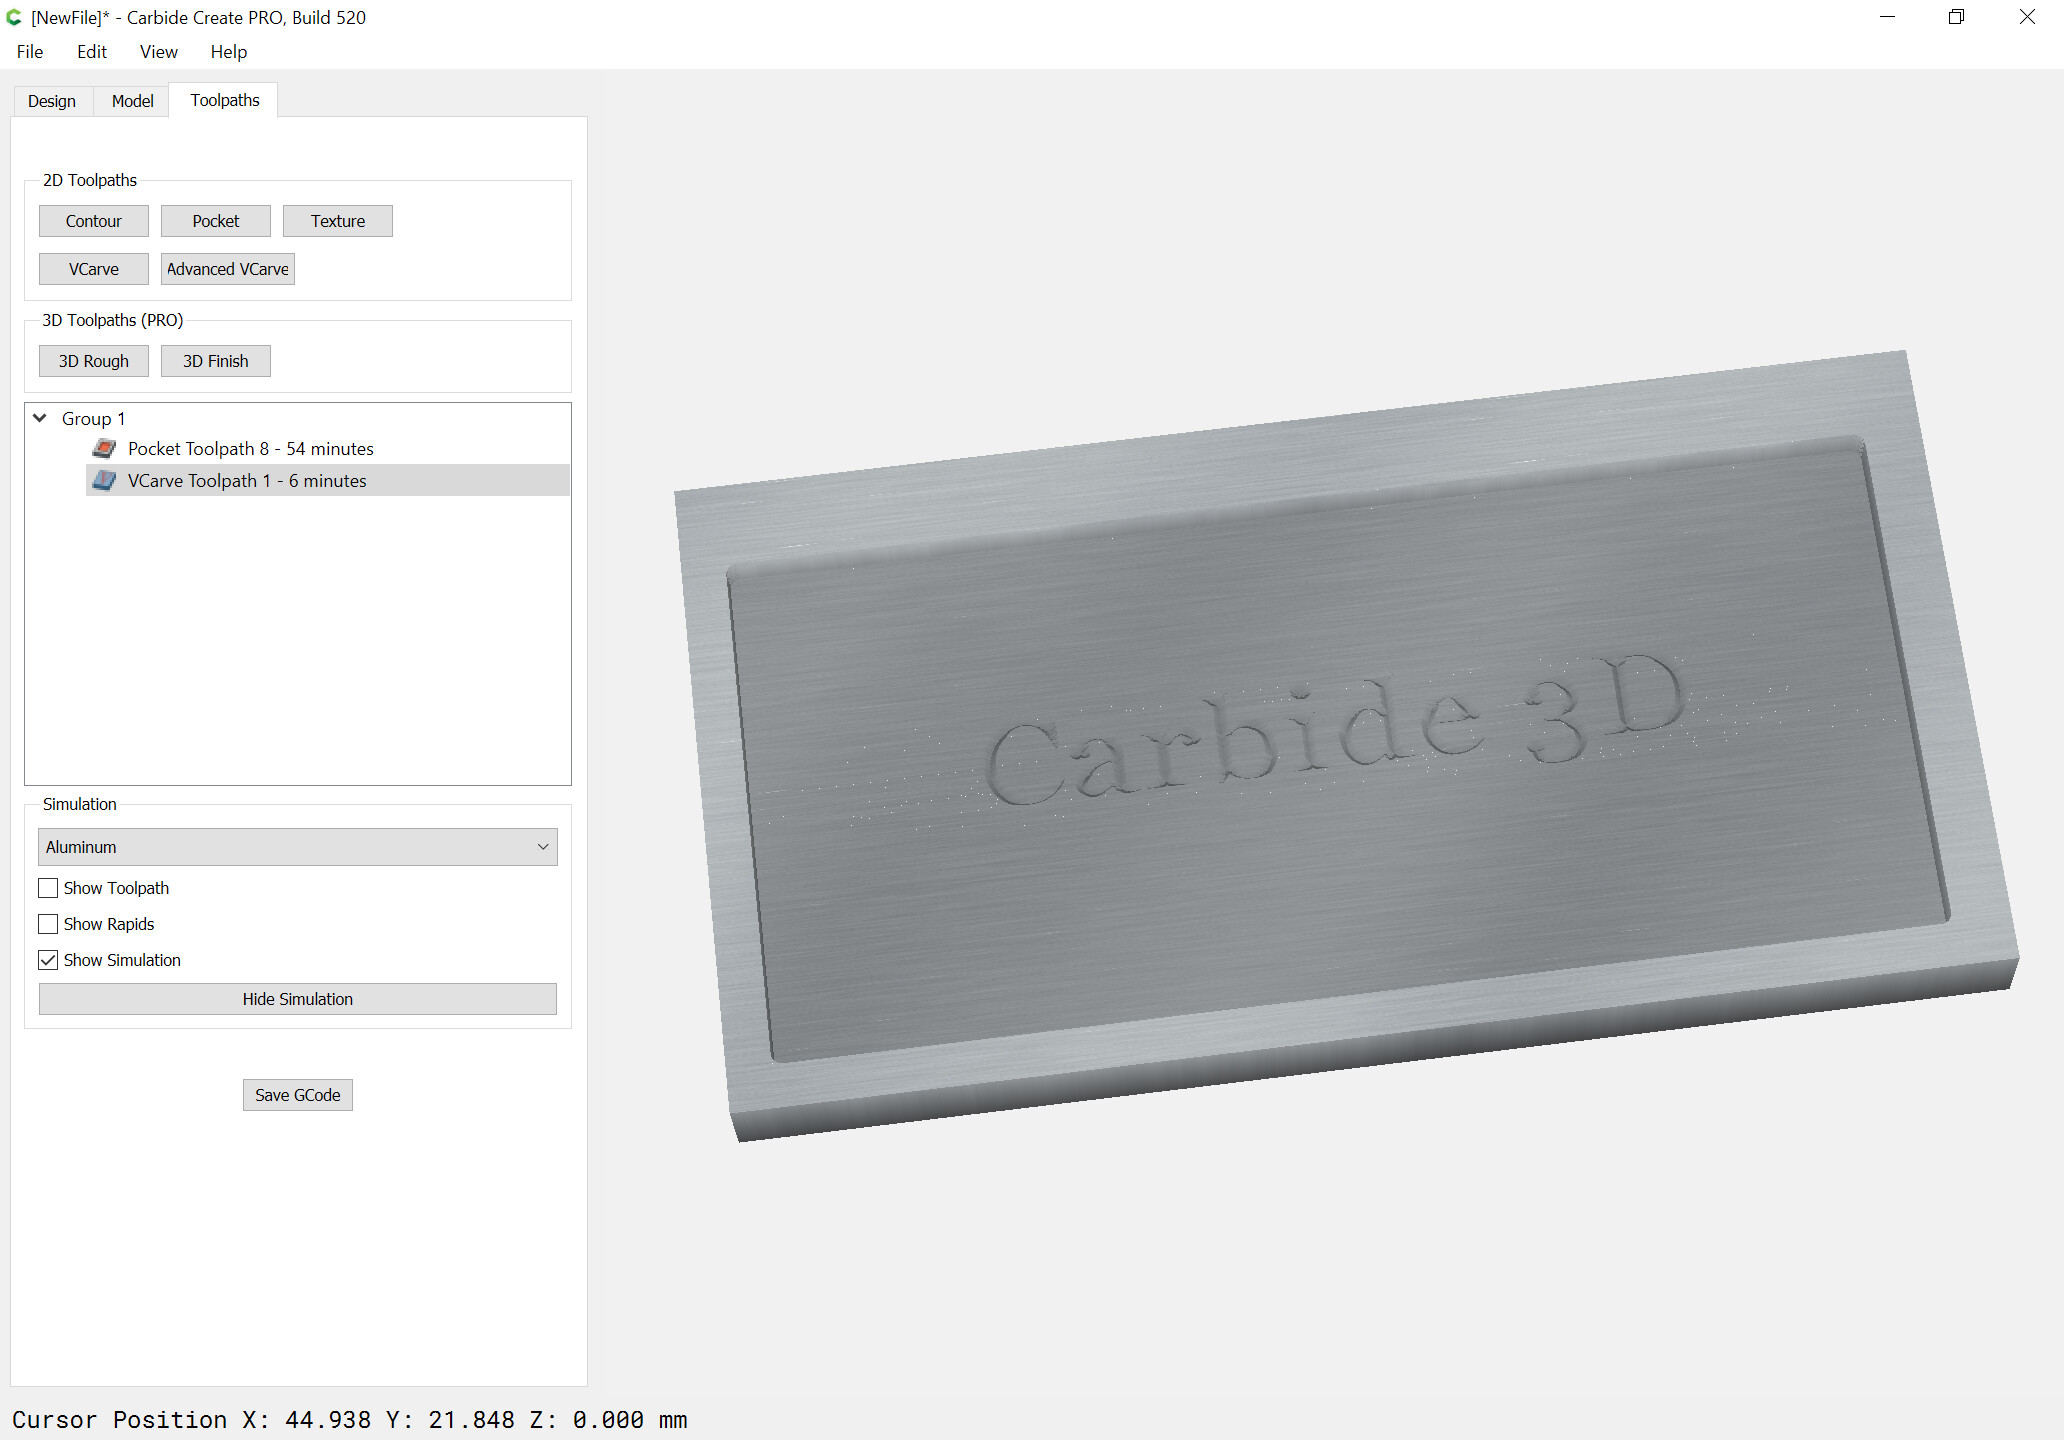
The max depth for a V carving feature is a bit odd — arguably it should default to the bottom of the stock, and unfortunately, when set can have odd effects, and isn’t useful except for special effects (turning a small square into a star)
As an example, if you set the V depths as you describe, you get a distorted appearance:
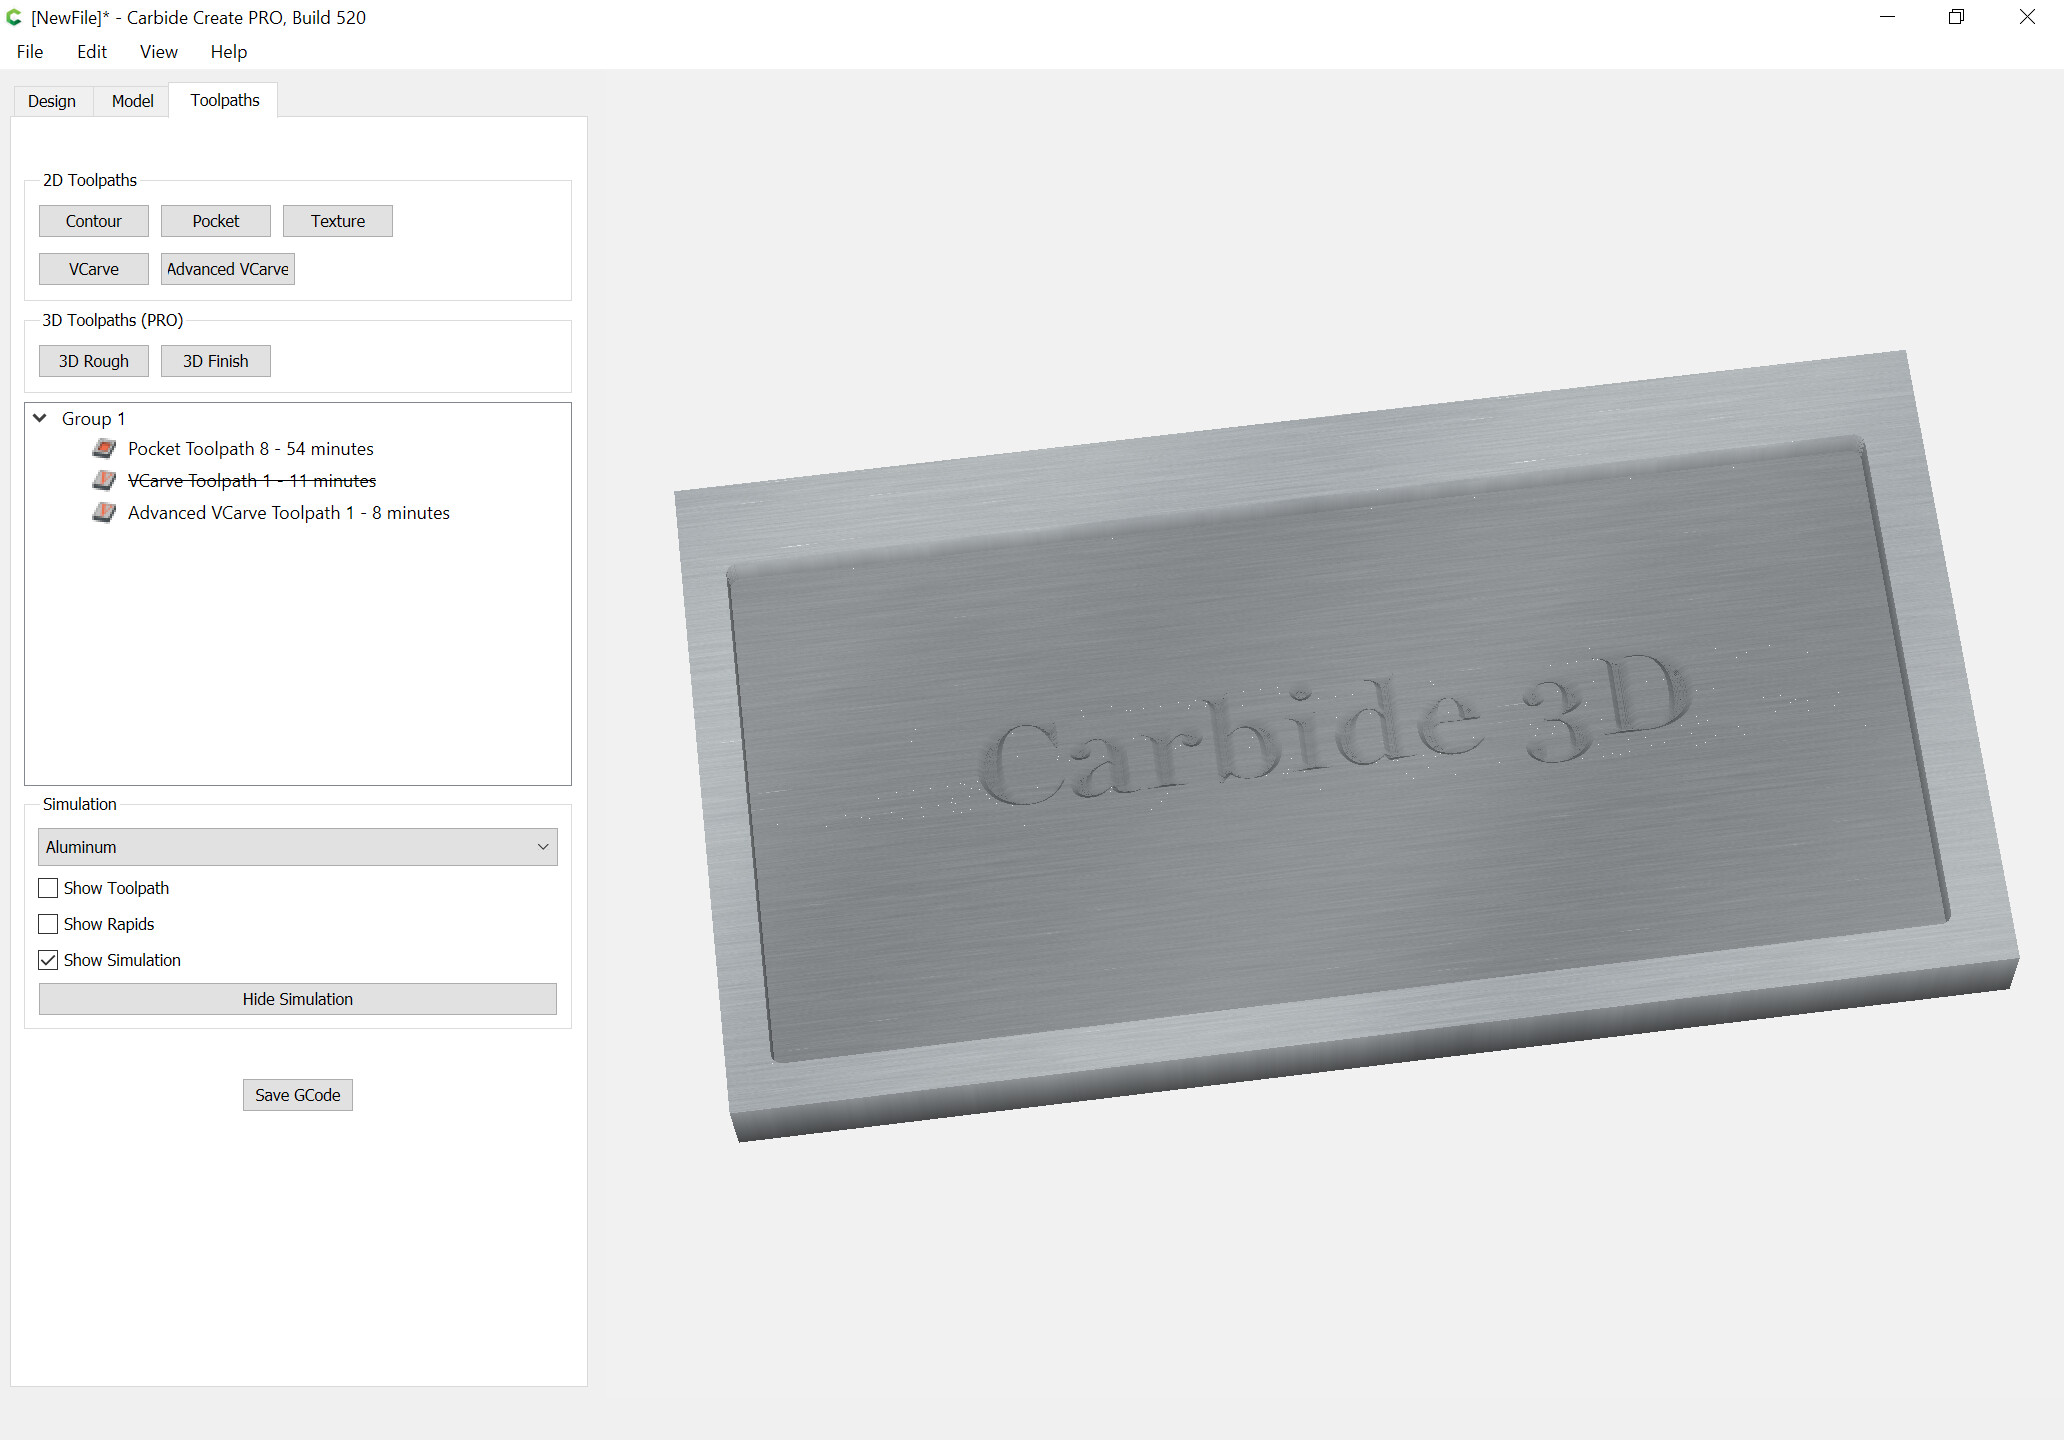
but if you allow it to cut as deeply as it ought:

Depth control works as one would typically expect for the Advanced V carve toolpath option:
Thanks for your answers! I downloaded the new CC 520 version and will test it tonight!
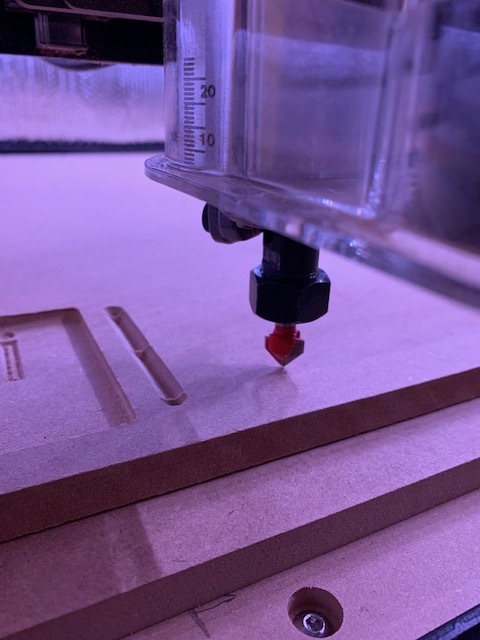
I took a picture of my test cuts (90degree V-bit) made with my test file.
Vcarve_test.c2d (392.7 KB)
IMG_0264|640x479.
The #2_line is 6mm wide, the actual cut measures about 13mm wide, means the 90V bit went 6.5mm down when it is supposed to plunge only 1.5mm. Gives me the conclusion CC 514 makes a projection of the element Z-5mm and adds -6.5mm. That’s wrong. I also wonder what’s the nominal Z height of the Carbide Touch Probe V2 (maybe the plastic space height of the probe is off)? My 5mm pocket measures about 7-8mm deep. What is the nominal Z-height Carbide Motion calculates for the V1/V2 touch probe? Questions over questions.

I downloaded latest CC 520 and CM 536 version and repeated the test. The G-code is generated correctly (for a 2mm wide groove to plunge 1mm with a 90V bit). Result looks bad again and I measure a groove 8mm wide, means it plunged 4mm instead of 1mm.
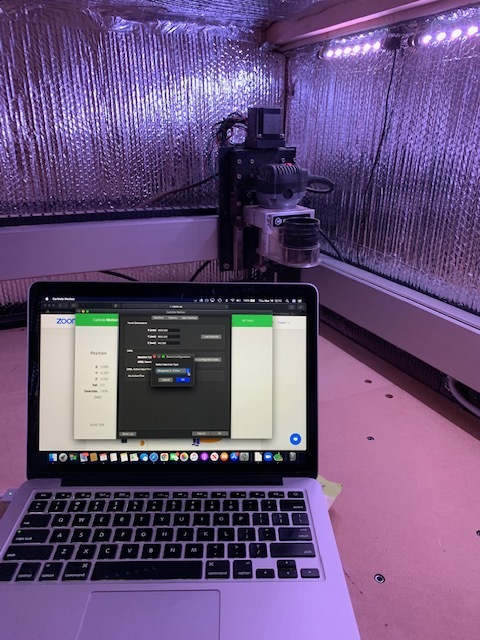
So, I positioned the V-bit at the workpiece Z0 with the paper method and the Z coordinate on the screen reads 2.73mm. That’s the error! The 1mm+3mm tool plunge. The touch probe Z-heigth measures 1/2 inch or 12.7mm, nothing wrong. Since it plunges correctly 1mm when I manually Z-zero on the workpiece I believe somthing wrong with the probing macro. Maybe I’ll try to switch to the good old inches instead of mm, lets see 
One more thing I noticed. When I home initialize the machine and clear all offset the screen shows x -3 y-3 z-3. is this normal?
When the machine homes it pulls off the switch. If the homing cycle stopped on the switch it would give a code that the machine failed to pull off home. This is normal. Over time the pull off has changed from 1 to 6 to 3MM. It is firmware and CM dependent. But it is normal after homing to not be set to 0.
Ok, thanks, understood. I now looked at the probing cycle. I used the 1/4"pin that came with the probe. I probed XYZ and tested the Z axis to touch the workpiece and get exact 0 on the screen. I changed the tool to the 2 flute V-bit to probe Z-0 again. I touch the workpiece and get 2.6mm not 0. It happens with the 2nd Z-probing, getting an offset of 2.6-2.7mm.
I repeated the probing cycle. First xyz probing with 1/4"pin. The machine moves in position
X 10, Y 10, Z 19. I repeat the Z-0 probing (no tool change) and the machine moves in position X10, Y10, Z 21.5 not Z19! I don’t get it. Here we have the 2.5mm which comes close to me manually touched 2.6-2.7mm. Somthing wrong.
If I read this correctly I believe your issue is setting zero off the bottom of the 5mm initial pocket area after tool change to the vbit.
When you create the file you set zero at the top of the piece. From there you should pocket the area, then do the tool change and not rezero the whole setup, just the bitsetter for tool length difference. You are asking your vcarve to start at 5mm and end at 6.5mm. If you rezero at the bottom of the 5mm pocket the machine thinks it needs to vcarve 6.5mm down from there.
My thoughts after reading your initial post.
Thanks hkyswim. Zero from the bottom of the 5mm pocket was just a test with starting depth S 0mm and D 6.5 considered in this case, the machine cuts correctly. I want to use the touch probe at the same spot during the whole project and always zero Z after tool change with the probe. However I just found out that after the second Z probing cycle I get an unexplained offset of Z+ 2.5mm. Means the machine thinks my workpiece top is now 2.5mm lower than after the initial XYZ zero probing. But you gave me an idea to test one more combination. First xyz zero with the probe and after tool change Z zero manually at the workpiece top (not the bottom of the pocket) This would tell me if the issue is really happens with the 2nd automated probing.
When you probe for Z are you positioning the BitZero fully on the stock?
Yes, I looked into that. I push and hold the BitZero against the edge to make sure the probe edges touch the workpiece edge and sits flat. My plan is to create a probing G-code to see if I get the same issue as using the probing button. Or run a G-code to repeat Z- axis positions with the probing pin. XY axis coordinates are good, machine always travels back over the probing hole center. Is it possible the Z-stepper motor is faulty?
Do you have the correct Z-axis type set?
If you jog 10mm with the Z, does it move exactly 10mm?
I checked, I have a Z-plus unit and re-checked the settings in CM.
I ran a manual “jogging” test with the 1/4"probing pin installed and the BitZero to use the red LED for contact. I used the 1/8"probing pin length 50.5mm repeatedly correct and went down to zero on the BitZero multiple times, send the router home and back. Very precise results. Even when I overran Z slightly backed off and toched again I get 0 (0.015) fantastic.
I used the Z-probing cycle again just in case the machine changed his mind over night.
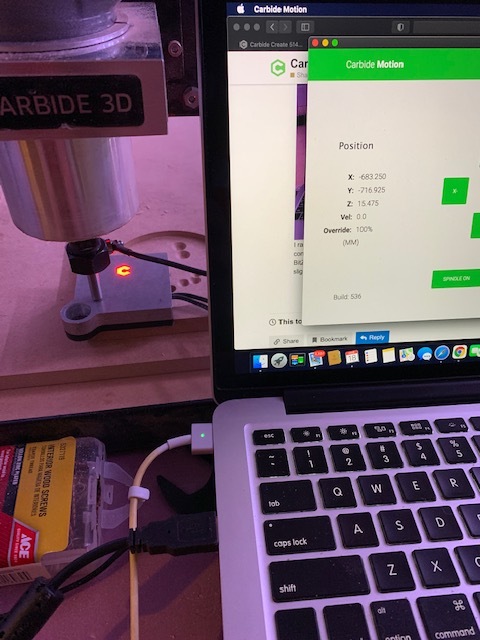
The probe touches and moves in Z 21.5 after the cycle is complete. I go down to the BitZero again and read Z 15.475 when it supposed to read close to 12.7 for the 1/5" probe height. Very stange.
When the BitZero is positioned thus are you probing for all 3 axes?
The unit has to be fully on the stock to probe for Z only.
Thank you guys! I had a “Bruh moment” my son would say  . I used the BitZero wrong for probing Z. Didn’t expect to put the probe with its entire area on the workpiece which gives it another 3mm + of height. It was interesting to see that the probing procedure/macro from CC514 to CC520 changed. In CC514 I could probe all 3 axis in one cycle which made me believe I keep the BitZero in the same spot. Now with the CC520 update you have to probe X Y Z seperately. This throwed me off track. However I learnd here how to create a probing G-code that would work keeping the BitZero at the corner point giving Z the offset of 12.7mm. I came a long way