Hello,
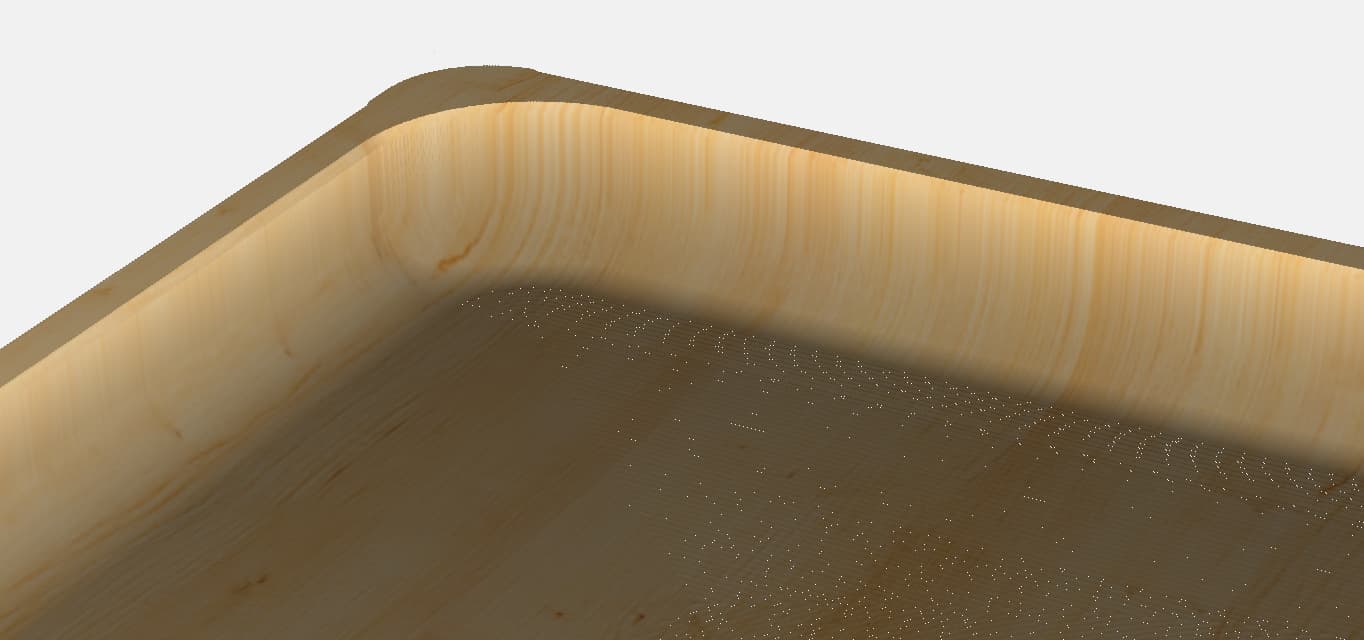
I’m starting my 3rd CNC project for a wedding present. I’m using Eric Ahrens’s Serving Tray With Dip Bowl design and have simply added some text to the bottom of it.
I realize I’m running out of vertical room in the pocket to be able to etch this text, but my walnut is actually about .06 thicker. I will adjust this. I’ll be adding tabs too.
In the mean time, would someone with more experience than I please do a once over on the tool paths of my text to see if all looks good? Any suggestions/tips would be welcomed.
Now that I am semi retired I have more time to devote to CNC-ing (Pro 5 4x4)
Since you have a Pro 5, you can be more aggressive with your feeds and speeds.
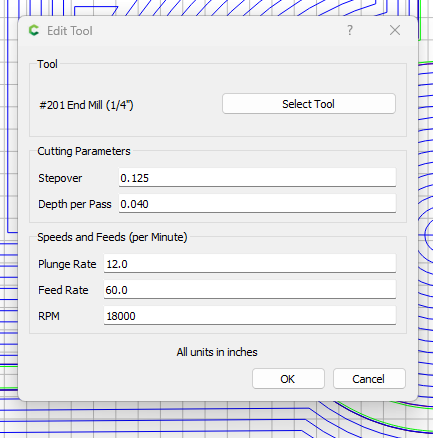
I would run the DOC of the Pocket 1 at .125", you are using .04", which is fine, but at .04 you can run that .25 EM at 100 IPM.
With Walnut and you’re likely to want very little chip out, I suggest .125" DOC at 60 IPM, that should be fine. Chamfer cuts, 30 IPM is conservative. I would bump that up to 60.
On your V carves, 115 IPM with a .125 EM seems too fast. That machine can easily handle it, but the bit may break; Go down to 60 ipm.
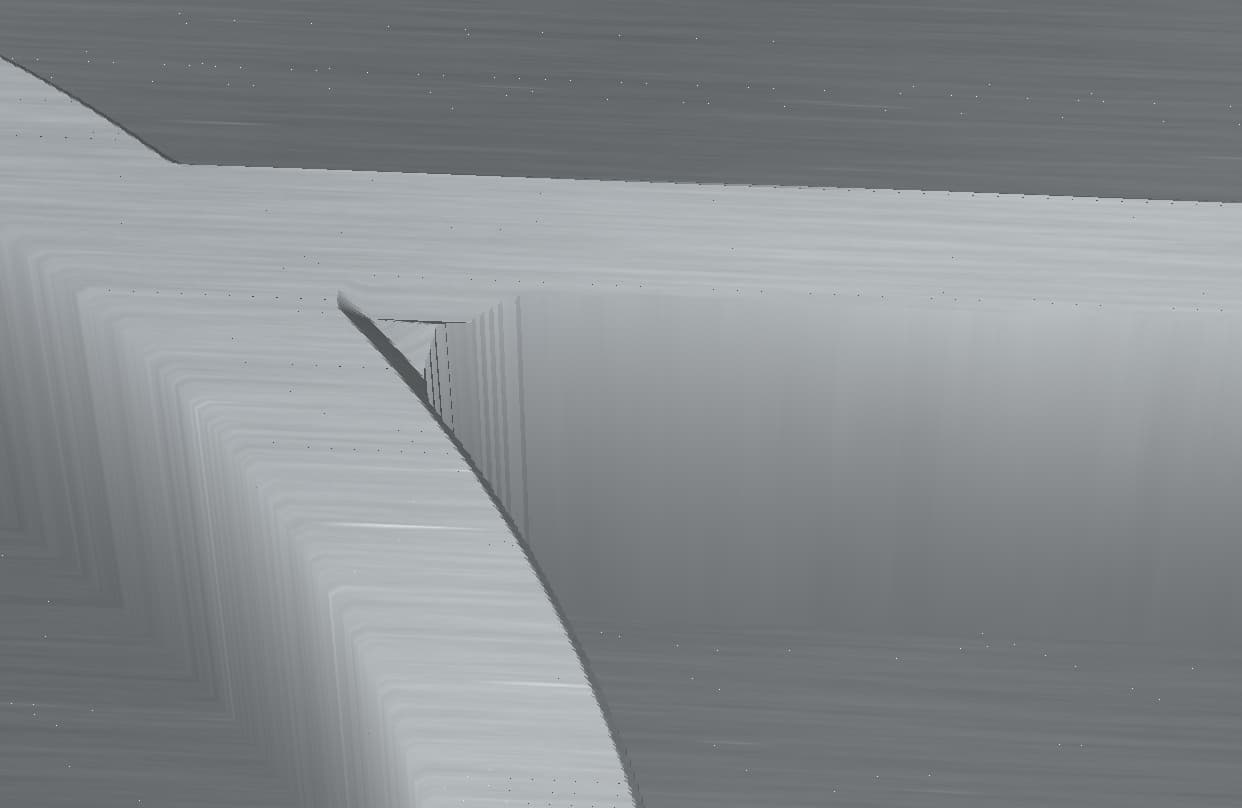
The other suggestion I have for these types of Valet trays is to use a bowl bit. Using the .25 EM will give you a 90 Degree angle at the bottom of the tray, which makes it hard to pick up things like coins, earrings, etc. If this were my project, I would use a .75 Bowl Bit.
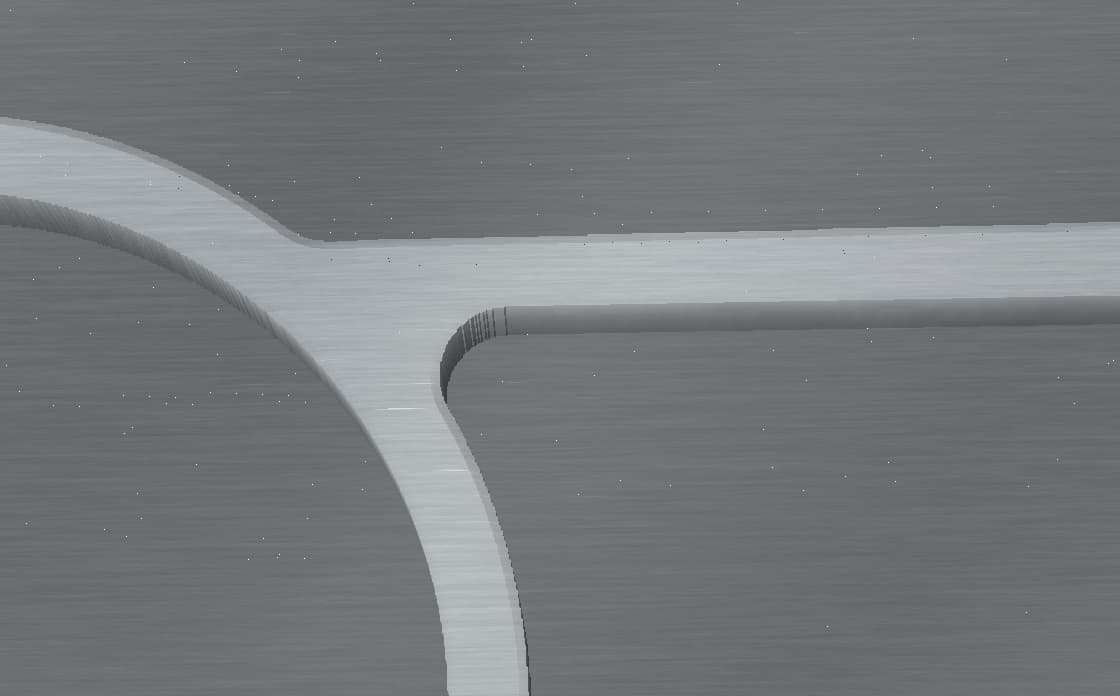
Here is the how it would look using a .75 Bowl Bit. Note to make the Filets work with the larger bit size you simple select the vectors and do an inside offset vector using the diameter of the bit as the offset, then you repeat but select outside vector.
I think that will improve the outcome of this project.
A few things to note.
When I use a bowl bit, I run both a rough-cut and a finish-cut toolpath.
The reason is the stepover. For the Rough cut pass, I suggest going with t-.22 with a .375 stepover. You want to leave .02 for the finish pass.
For the finish pass, go with a t-.2 but adjust the stepover down to .0375. That will save a TON of time and sanding.
When using the bowl bit, ensure the feed rate is correct. I have found that I must watch it for the first few passes as if it’s too slow, it will burn the wood. Too fast and you skip a step. I hesitate to give you what I use here because each piece is a little different. Start it out at .1 DOC and 40 IPM and watch it carve. If you see burn marks on the wood, hit the “increase” button in CM and note the feed rate.