Carbide Create Live is an opportunity for you to ask direct questions about Carbide Create, the design process, tools (both design and endmills) and anything else that’s been vexing you as you work with your Shapeoko or NOMAD machines.
The show will run 60-90 min. and feature a specific design project in addition to open forum discussion.
My plan is to host a series of these shows over the next two months. The first one will be July 9th at 3pm Pacific time. Fleming, from Carbide 3D Support, will be joining this episode.
Let’s get some topics and questions listed:
What Carbide Create Design Tools do you have questions about using?
What types of projects are you looking to take on?
What’s holding you back from exploring that project?
Are there some general design principles on which you need some thoughts or advice?
When you get to your machine what’s been tripping you up?
Endmill questions…?
Workholding questions…?
Ask Anything…Put it down here and we’ll consider it for a topic.
The more interaction generated here, the better the show content.
I look forward to hearing from you, the community.
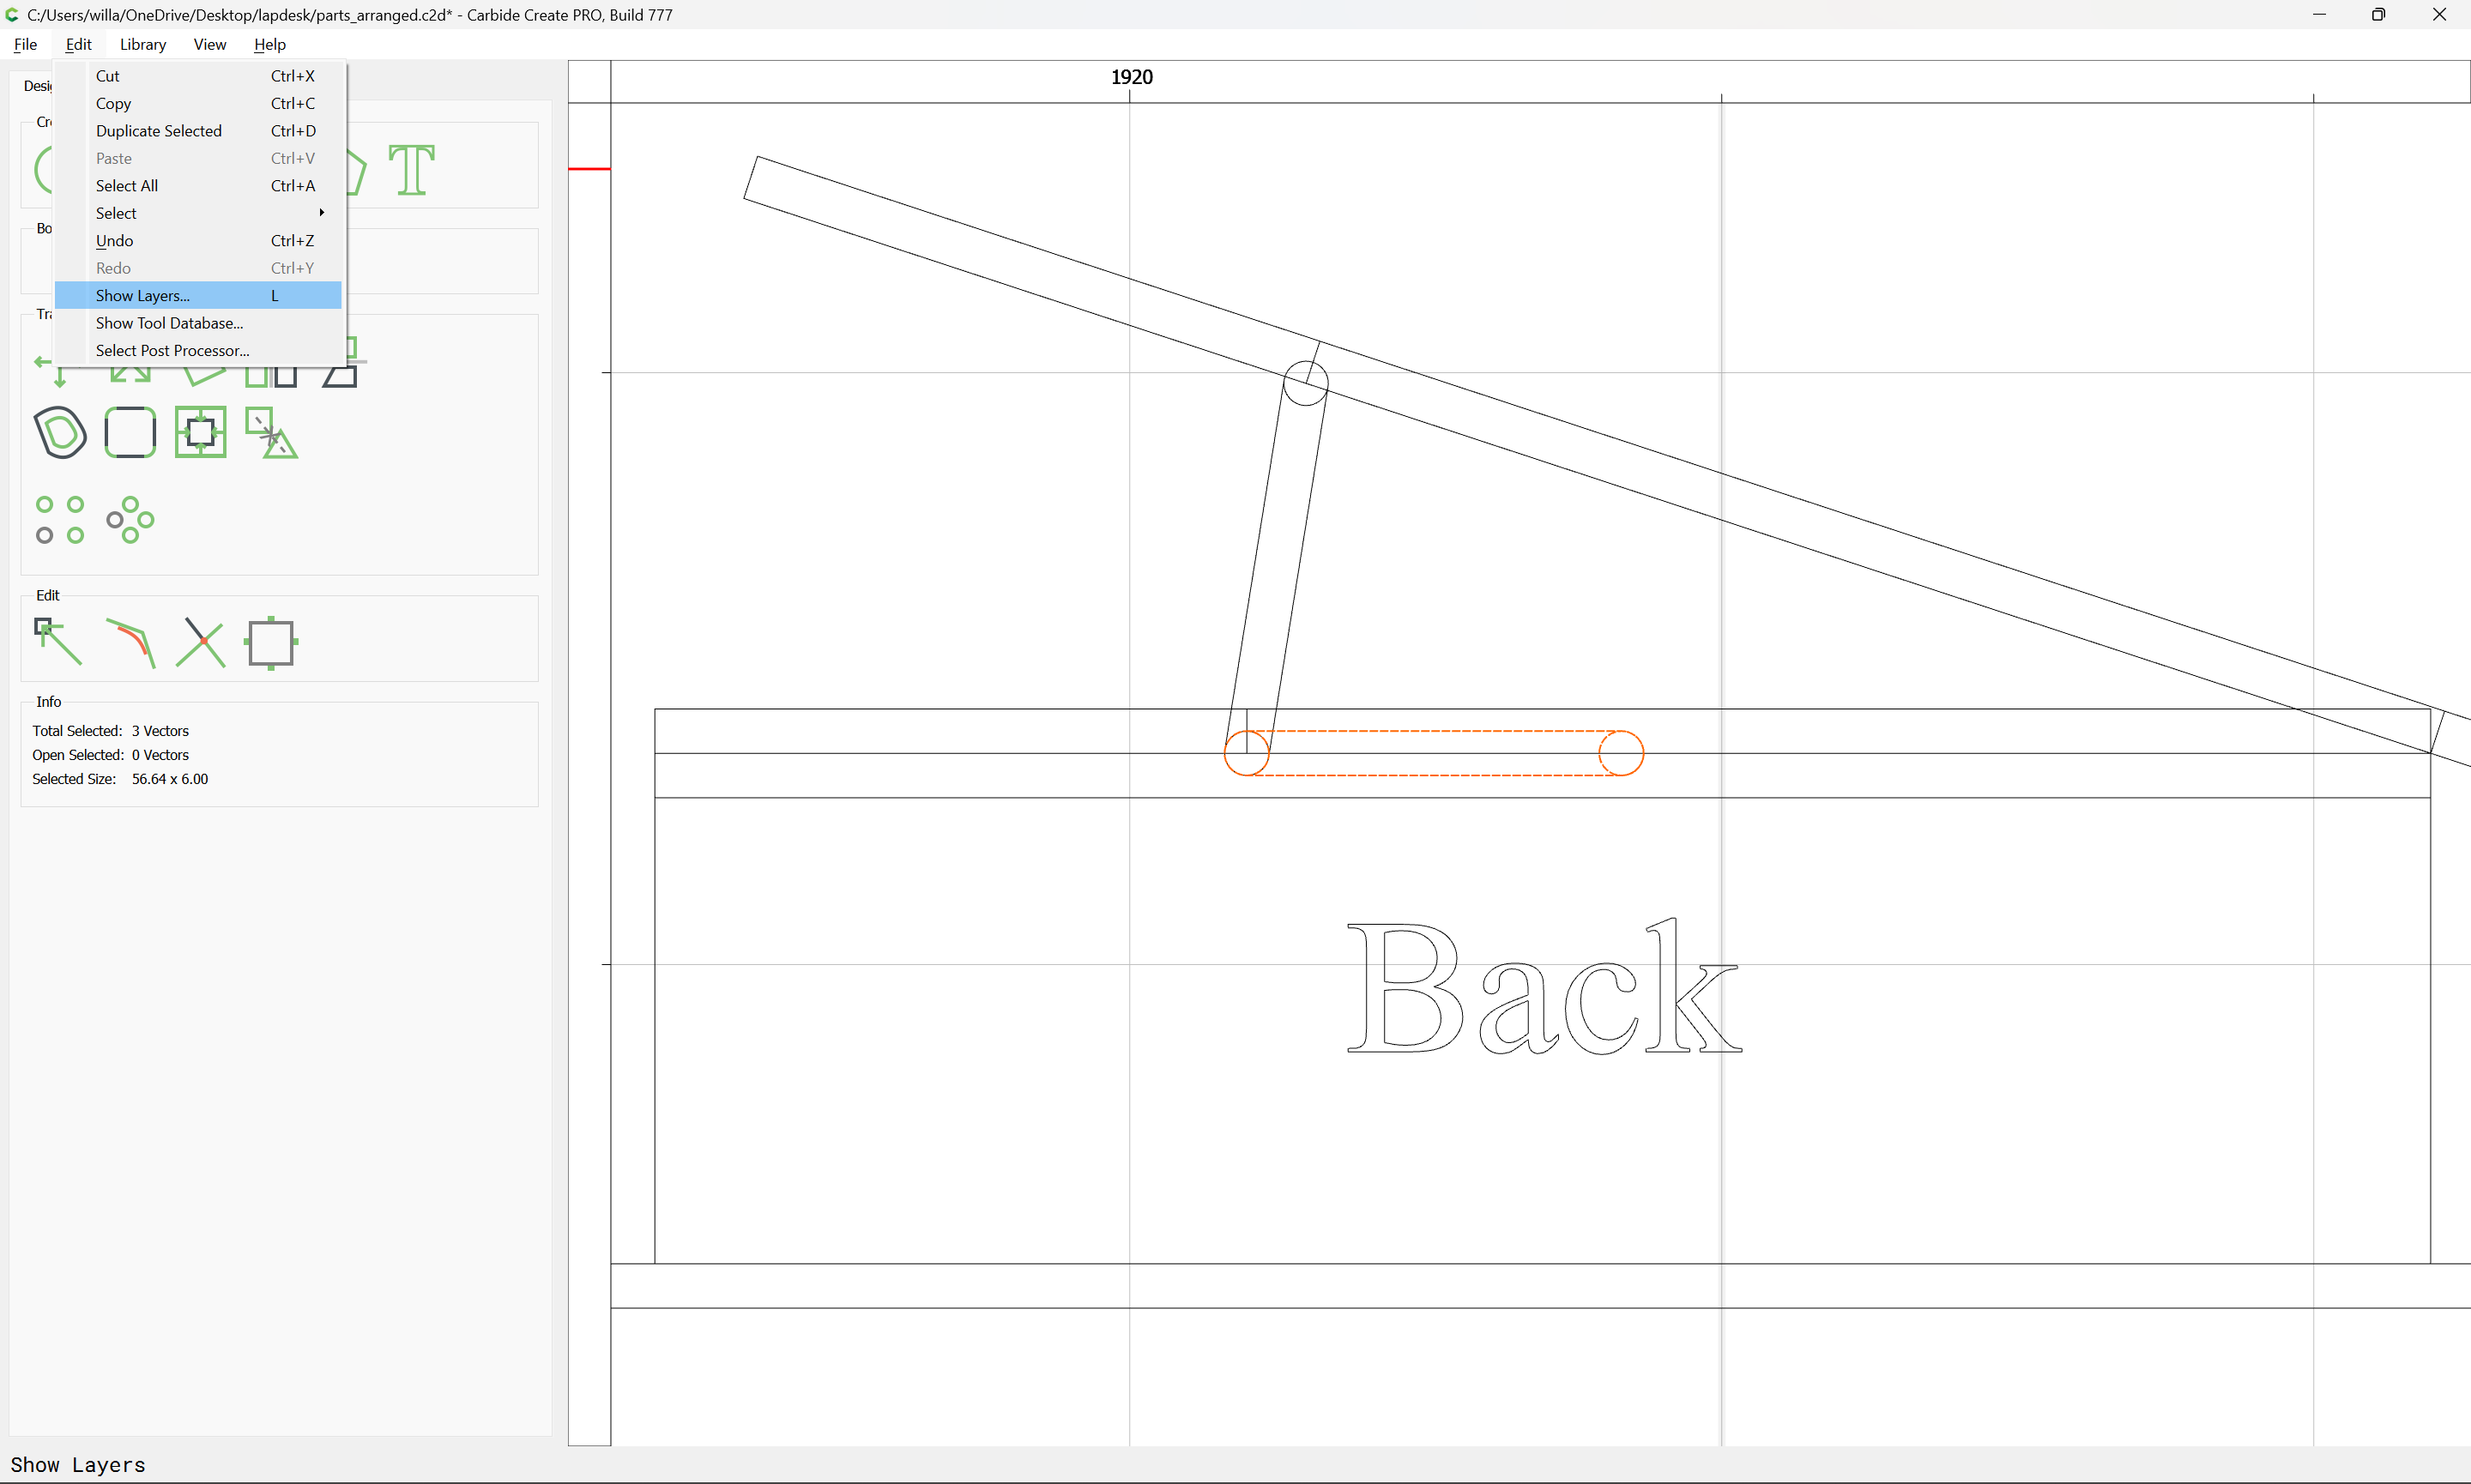
I have a project that has a pocket followed by a contour. It uses the same tool but the workpiece needs to be flipped between between processing.
How do I pause the machining between processing to allow flipping then continue machining? I know that if I had different tools there would be a tool change pause.
That’s what I thought as well, I was trying to avoid this as at times the machine needs to be re-homed and origin reset causing a risk of misalignment from the 1st process.
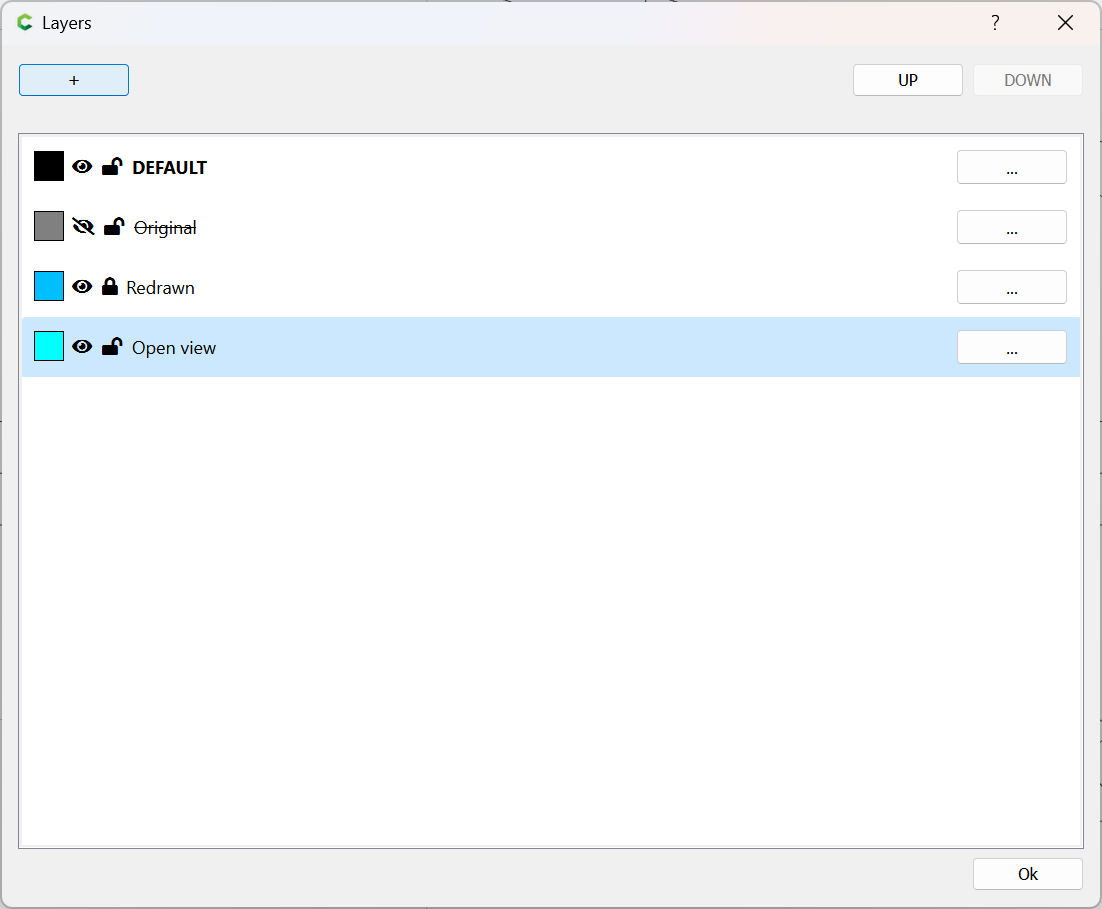
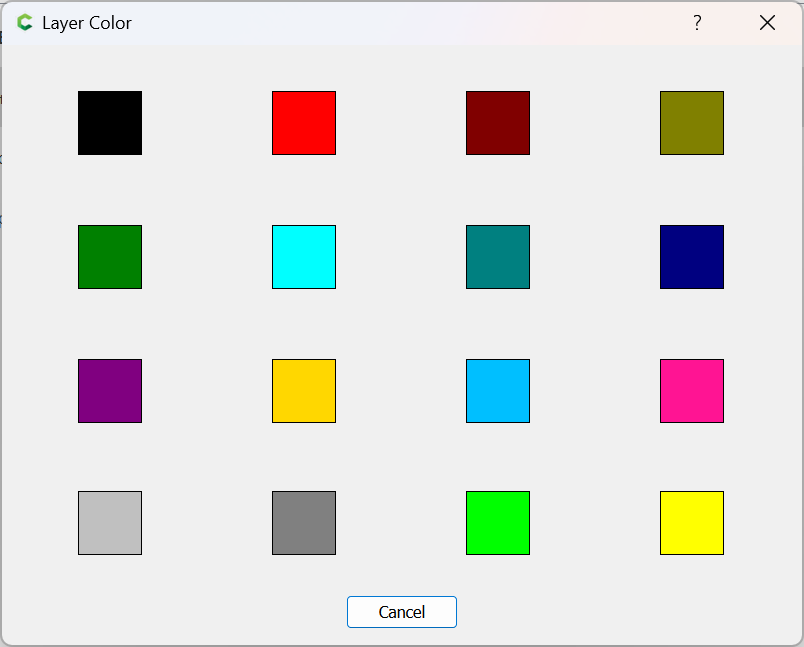
How they are used, depends on a given project and how a user wishes to approach it:
a two-sided job might have separate layers for each side
a file with multiple parts might have each part on a separate layer
a file with multiple tools or which has different types of toolpaths or toolpaths which cut to different depths might have the geometry for each tool/toolpath type/depth on a separate layer, and use the Toolpath facility to associate a toolpath w/ a layer
Thank you for dropping some topics on the thread. Here’s our tentative list:
How to utilize the 3D Tool
When to use the 3D Tool
Organizing Layers
Layers / Toolpath Groups
Flipping an object
Using Hot Keys (shortcuts)
The Zoom Link info is below. Bring your questions!
The more participation we get in these shows, the more inclined we are to spend the time setting them up
Topic: Carbide Create Live - Ep. 3
Time: Jul 9, 2024 03:00 PM Pacific Time (US and Canada)